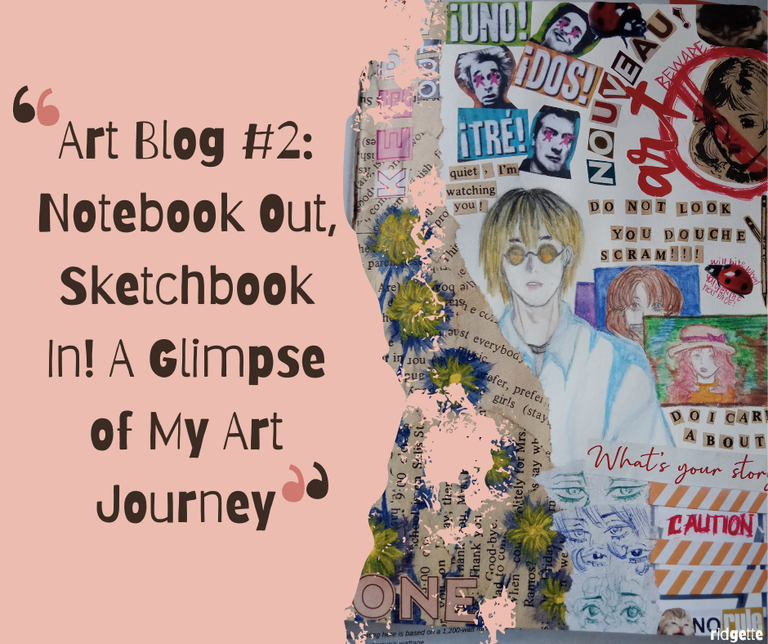
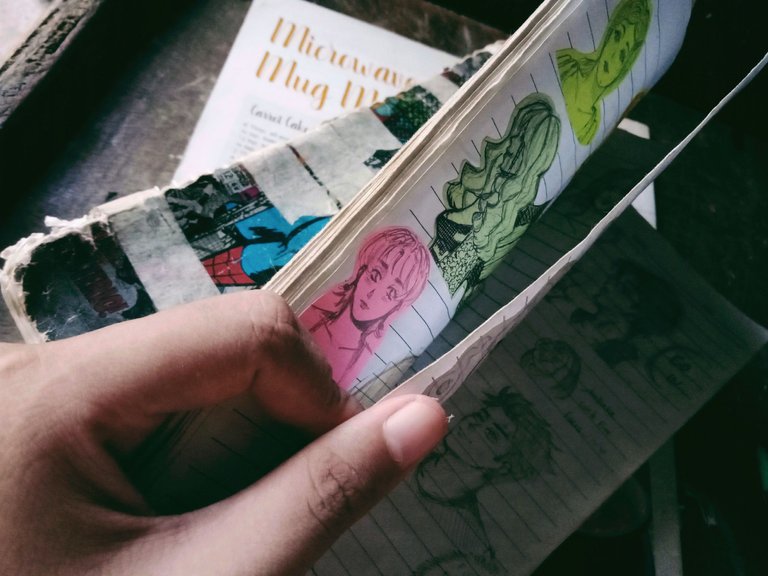
Konnichiwa Hivers! It's me, your ridgette again. Today, my second artblog will be all about me filling in the first page of my new sketchbook. Since it's the first page of my very first sketchbook (after weeks of contemplating whether I would buy a new sketchbook, finally it is here!), I did my best to make it look presentable. By the way, I still have my old sketchpad, which still has many leaves left, but I guess I want something that I could easily put in my bag.
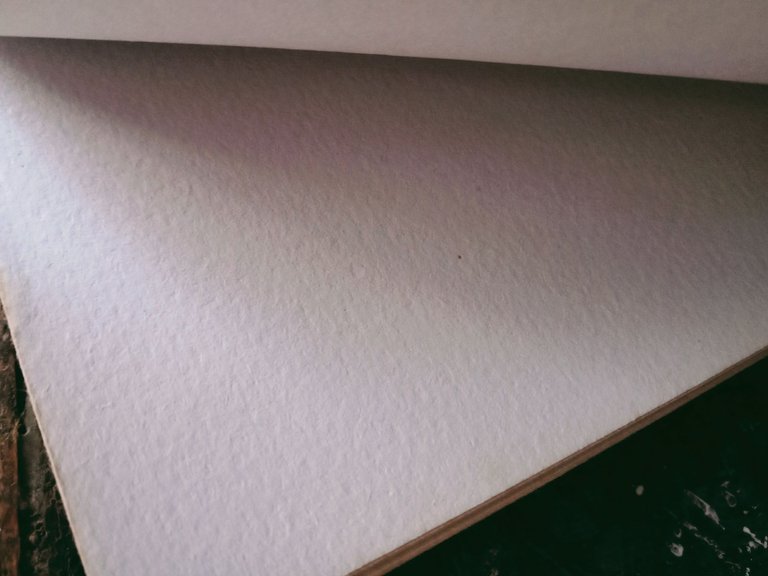
Also, I somehow don't like the paper's texture on my sketchpad because it's rough and my sketching mistakes are hard to erase; definitely not sketch-friendly (lol, it's a watercolor sketchpad, matte yo!—don't judge me yet—I know it isn't good for sketching, but what can I do? It's just a gift from my friend). Long story short, I bought a new sketchbook, and now I'm going to share with you all the process of how I transformed its plain page into something that's personalized—something that contains a glimpse of my art journey.
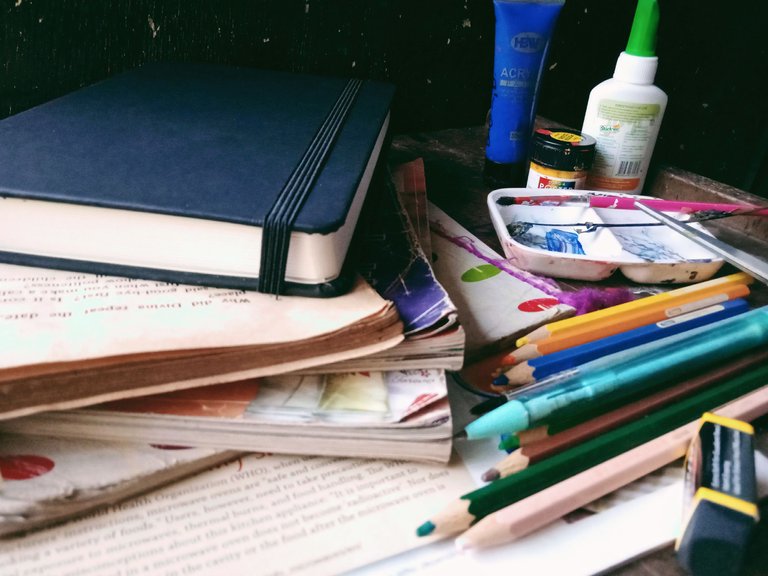
Materials Needed:
- Mechanic Pencil (a pencil will do)
- Eraser
- Watercolor Pencils
- Acrylic Paint (blue)
- Poster Paint (yellow)
- Brush
- Dried Flower (any will do)
- Old Magazines
- Old Brochures
- Old Book
- Crumpled Paper
- Glue
- Scissors
The Process:
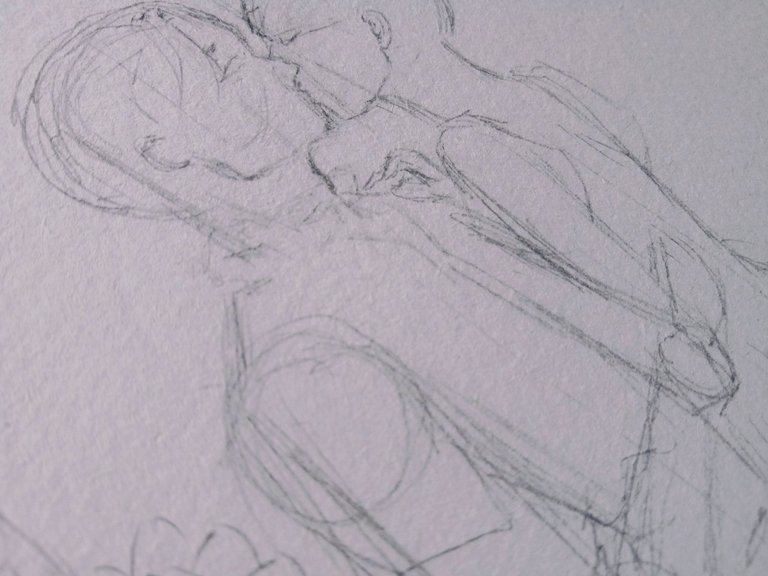
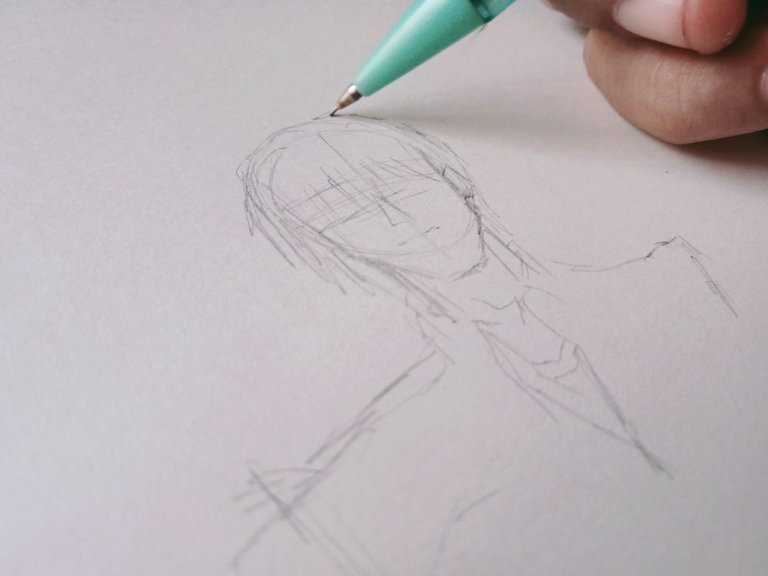
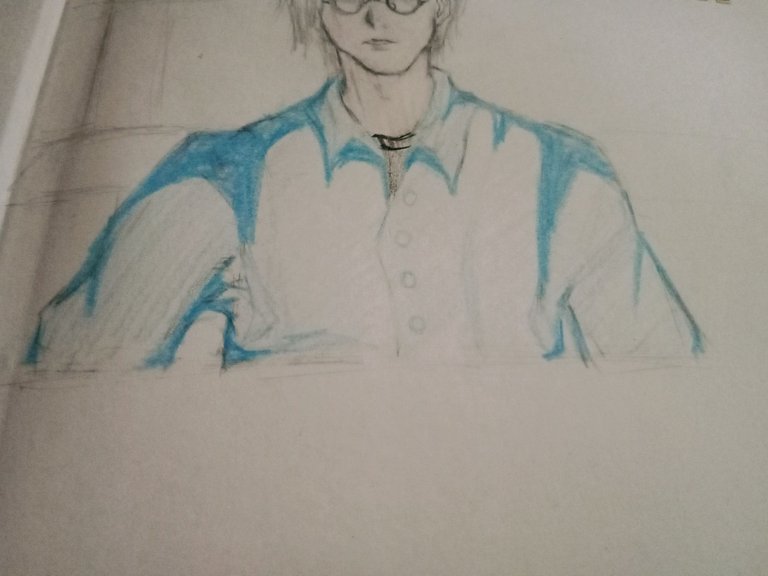
1. I first sketch the man who's supposed to be the center element of my first page.
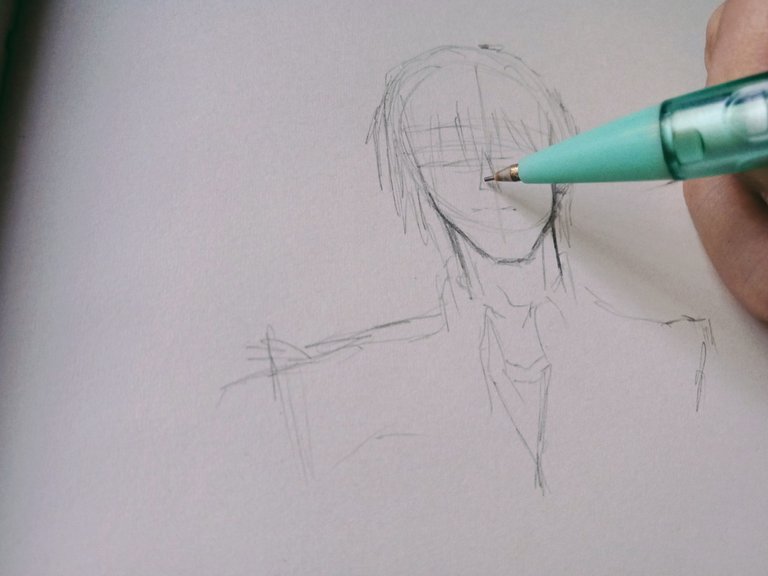
2. Next, I defined its figure more by drawing the features of the parts of his face.
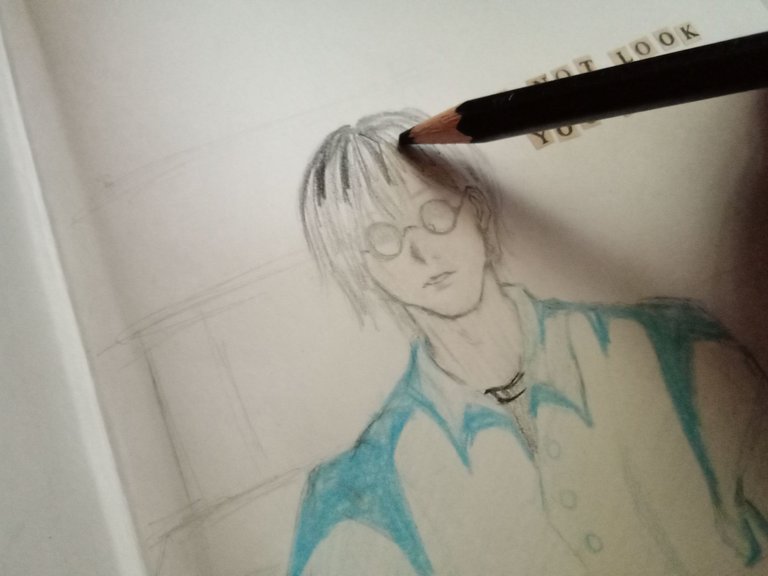
3. After defining it, I erase the unnecessary lines, and I proceed to color it.
4. Done with colors, I proceed to paint one of its sides with red poster paint (which I immediately regret).
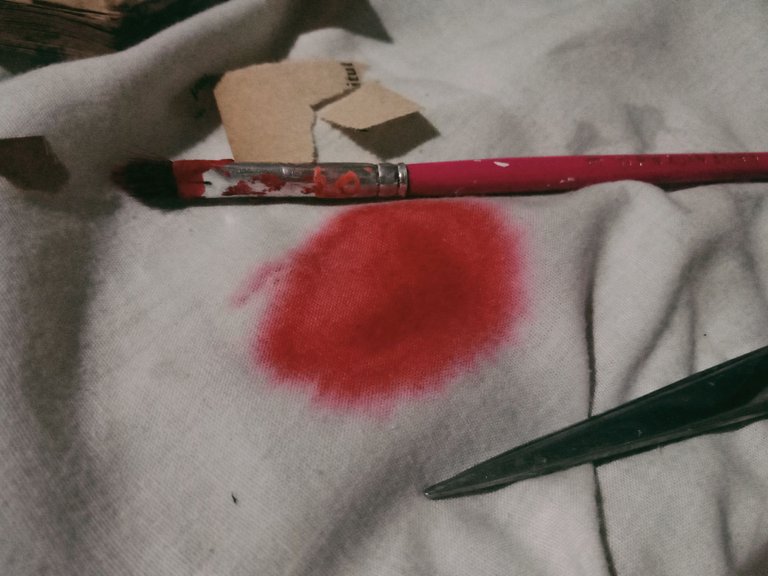
5. Realizing my mistake, I decided to put ripped paper from the old book on top and cover it up.
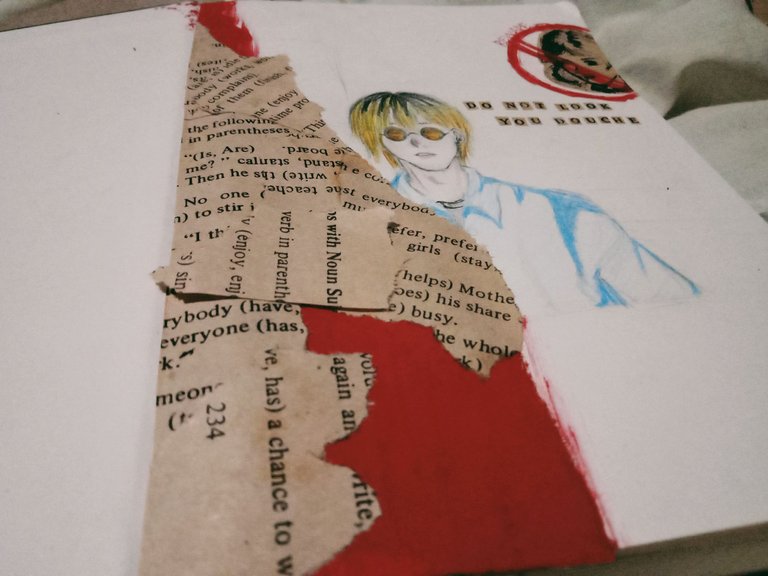
6. After the cover-up, I noticed that the covered part looked too bland, so I decided to add some color to it.
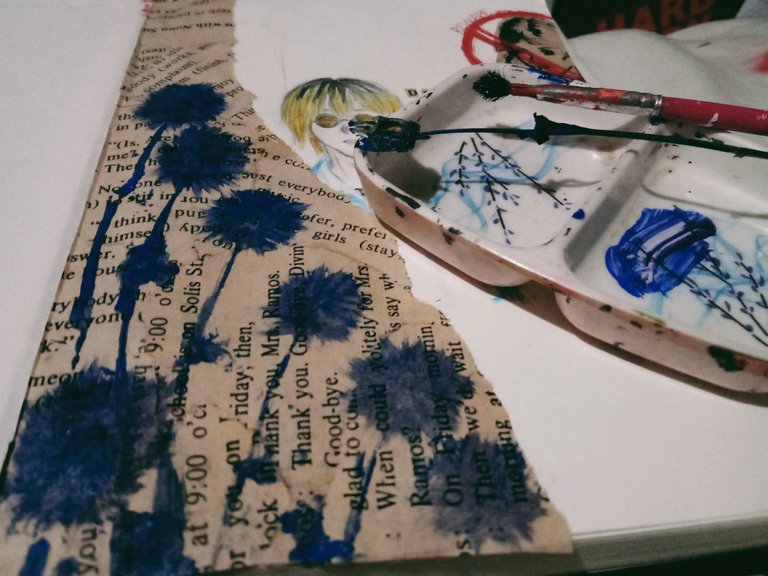
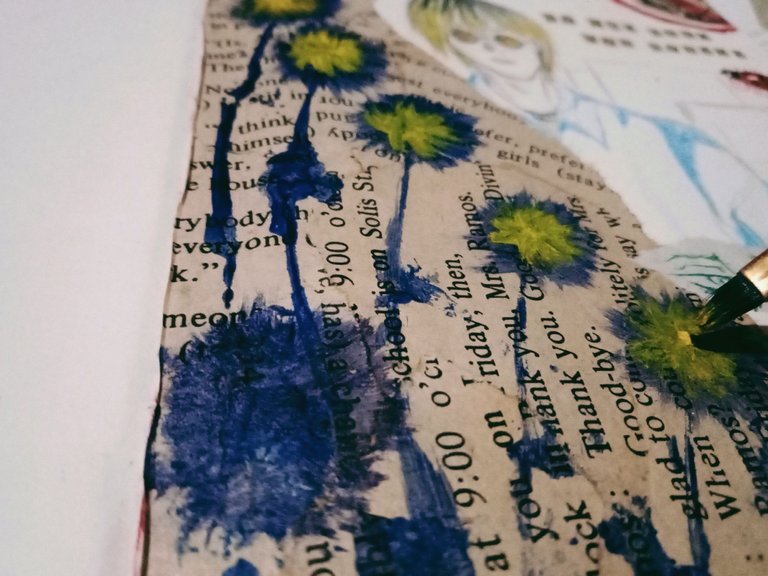
7. I painted the dried flower and pressed it to the covered part.
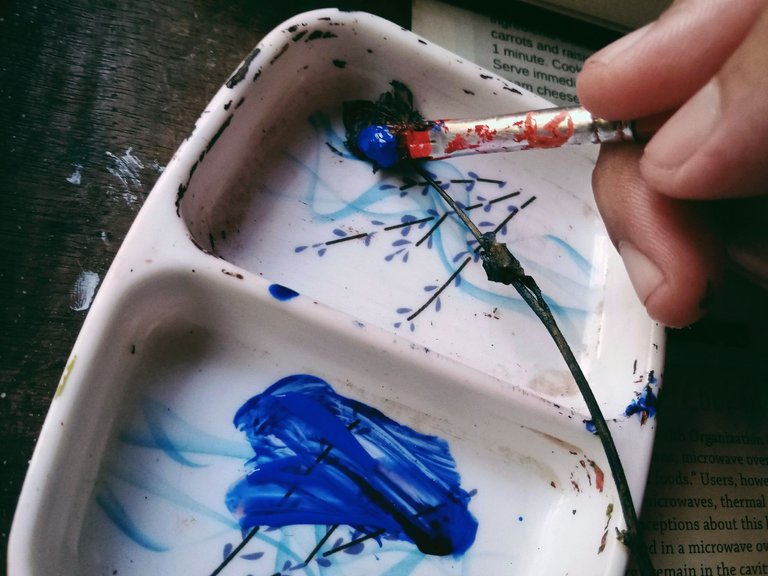
8. Later, I define the flowers more by adding other colors to them.
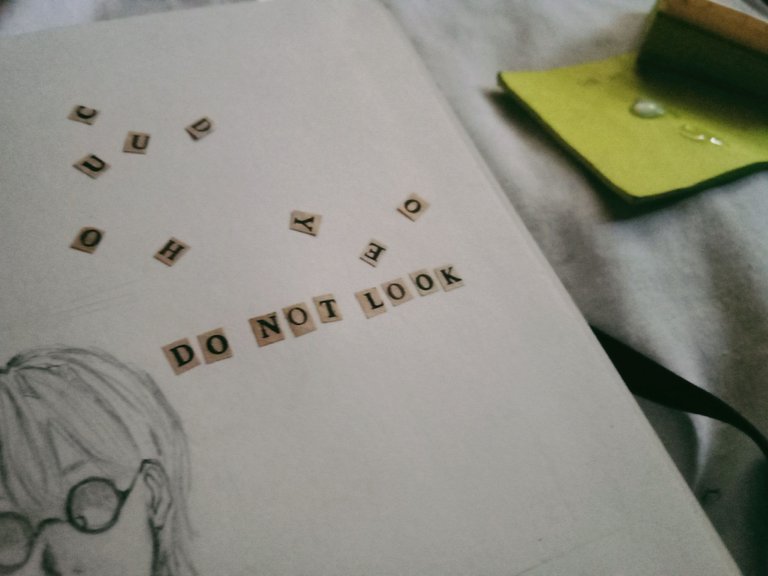
9. Now time for the small details; I cut out letters from the book to add character to the barren parts of the page.
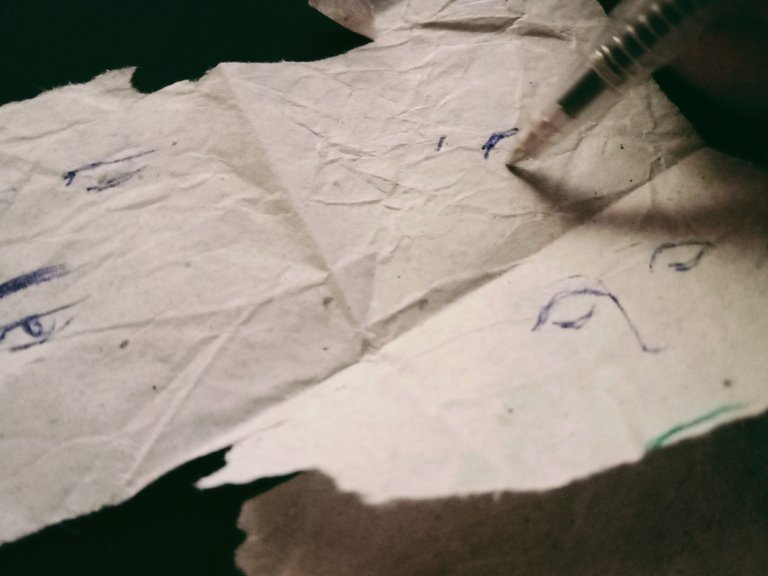
10. To cover up the spaces further, I sketch eyes on the crumpled paper.
11. Then I draw something in the remaining space.
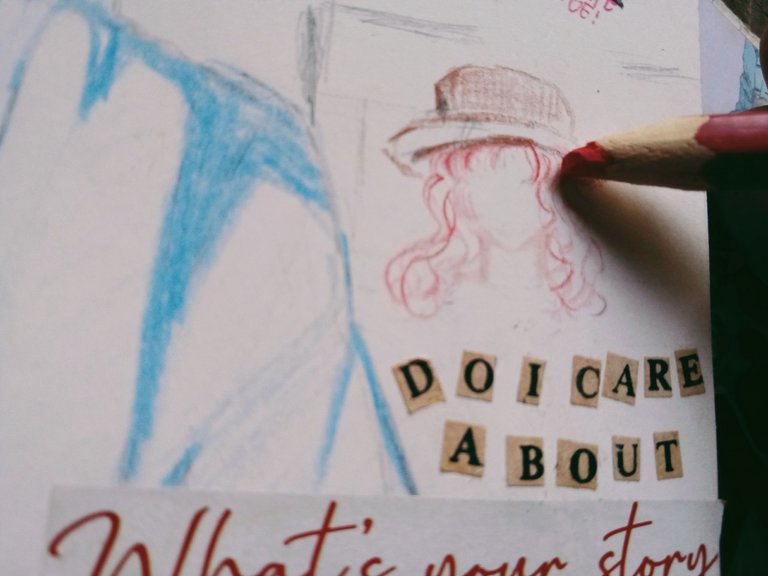
12. Lastly, I stick with glue all the cutouts that I cut from the brochures and magazines.
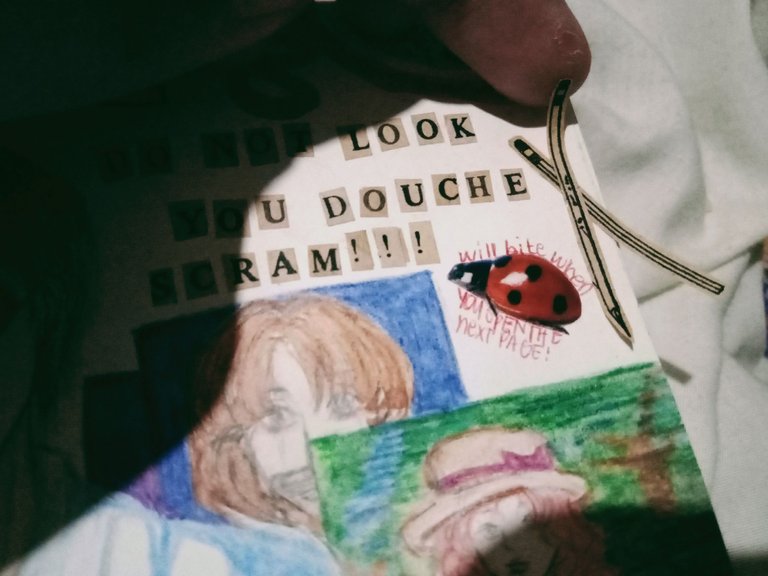
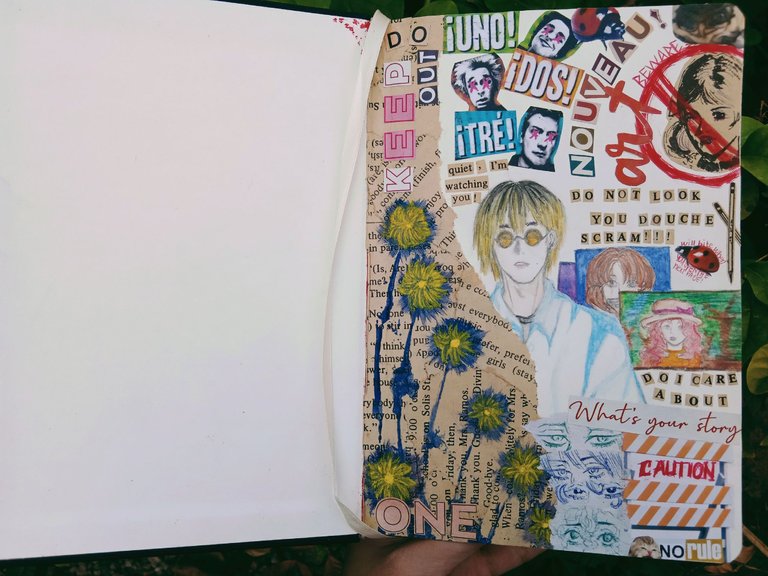
The process was tedious because I needed to look for the cutouts that I wanted to stick to the page. Supposedly, I wouldn't paint the side with red, but because I find the proportion of the man's shoulder quite unpleasant, so I decided to somehow cover it up with red paint. Later on, I found out that it didn't look good, so I tried to fix it again with ripped papers, which fortunately worked fine (at least for me). Also, I'm glad that I somehow included some of the redraws of my old drawings because it somehow reminds me of how I started.
Looking for the needed letter and pictures and cutting them afterwards was really a test of patience because you had to have a lot of patience and time to look for the certain letters or pictures you needed. It may be a tedious and patience-draining process, but I'm glad with its outcome. So now it's page one completed!
That's all for now, Hivers. See you at my next art blog. I'm hoping you'll be there when I share another art experience!
Arigatou Minna-san!
Eeyy, you're so talented mn diay😯😲
Luh thanks for the compliment @keith-allen15 • ᵕ •!
Nice sketch @ridgette, keep it up and polish this gem of yours
I will definitely try improving more my skills in sketching and drawing sir. Btw, thanks for stopping by • ᵕ •..
Very good friend, your work is very good, good work
Thanks for the compliment @nurul-uli! Btw, thanks also for stopping by ( ◜‿◝ )♡.
You are good in arts Ma'am @ridgette I like the sketchbook that you made.
Thanks @diamondinthesky, I really appreciate your compliment. Thanks also for stopping by ♡˖꒰ᵕ༚ᵕ⑅꒱.
You have one of a kind talent and skill, @ridgette.
Thanks for the compliment @agentofchange17, I really appreciate it!
Your artistic talent is incredible! My boyfriend shares a similar passion for drawing and painting. Individuals like you truly possess remarkable gifts.🤗
Luh thank you very much for the wonderful compliment @ifyouseechen! Thanks for stopping by also 。• ᵕ •。.
Wow! Amazing work. I am looking forward to seeing more awesome crafts from you. Best regards!
Thank you very much @pinkchic! See you on my next artblog!
I love how artistic and creative you are!✨
Thank you @tvlipz02 ꒰//ᵕ༚ᵕ//꒱! Also, thanks for stopping by!!