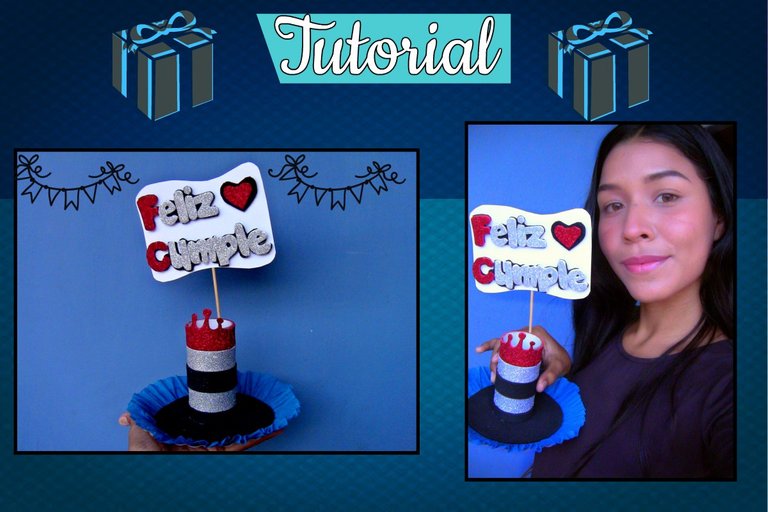
Hola bella comunidad ❤️ Hoy les traigo un paso a paso donde les mostrare como hacer un regalo de cumpleaños, es ideal para añadirle algunos dulces como caramelos, chocolates y chupetas.
Hello beautiful community ❤️ Today I bring you a step by step where I will show you how to make a birthday gift, it is ideal to add some sweets like candies, chocolates and lollipops.
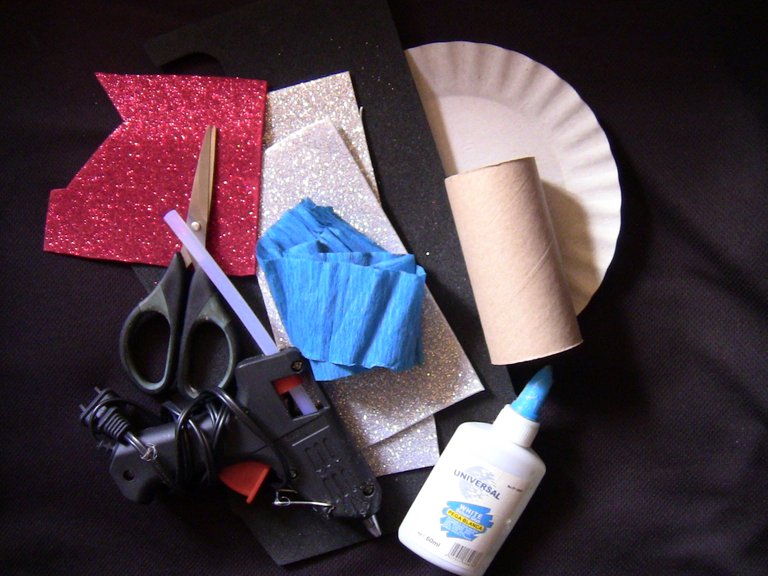
Para hacer este regalo necesitaremos:
Foami
Tijera
Silicón
Pegamento
Papel crepe
Cilindro de cartón
Plato de cartón
Palillo de altura
To make this gift we will need:
Foami
Scissors
Silicone
Glue
Crepe paper
Cardboard Cylinder
Cardboard plate
High stick
Procedimiento
Process
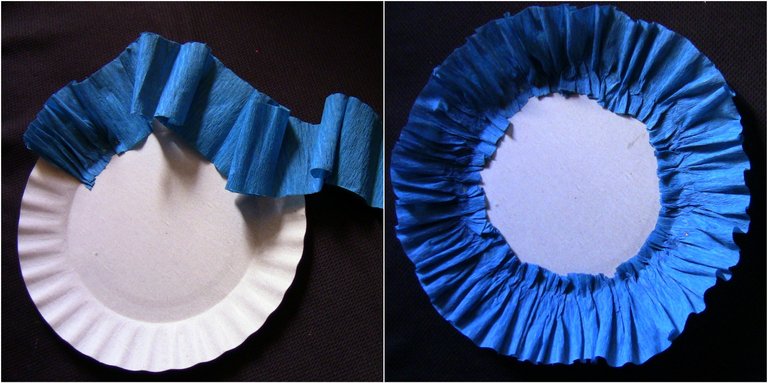
Primero decoramos el plato de cartón, para ello aplicamos un poco de pegamento y empezamos a colocar nuestro papel crepé mientras lo retorcemos para dar una bonita forma a nuestra base.
First we decorate the cardboard plate, for that we apply some glue and start to place our crepe paper while we twist it to give a nice shape to our base.
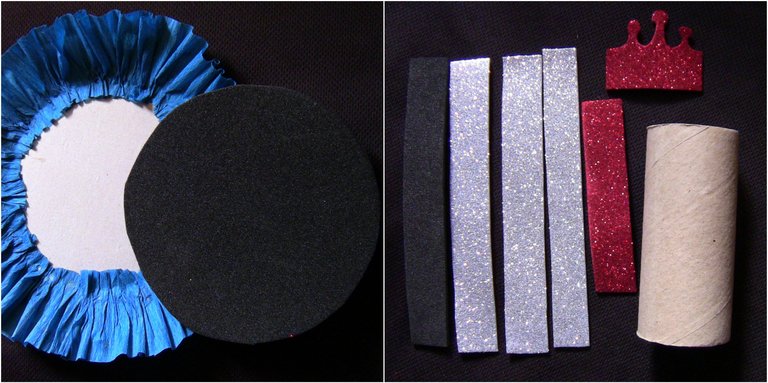
Para este paso yo elabore un circulo en el foami negro con una tapa del mismo tamaño que el centro del plato, pero previamente se debe hacer una base para que les sea más fácil. Pegue el circulo de foami negro con silicón. Después recorte unas tiras de foami.
For this step I made a circle on the black foami with a lid the same size as the center of the plate, but previously a base should be made to make it easier for them. Glue the black foami circle with silicone. Then I cut out some foami strips.
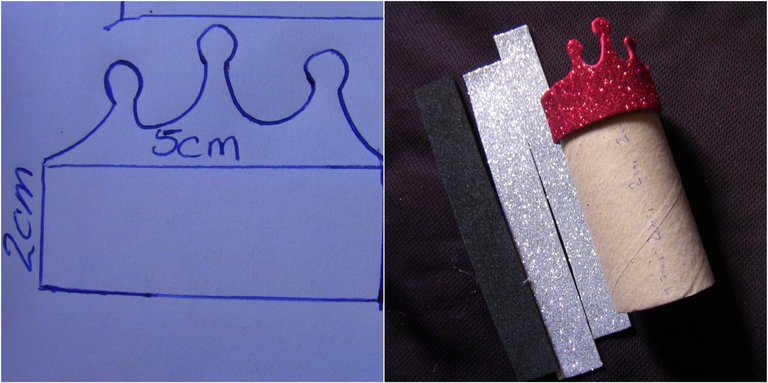
Para la parte superior del cilindro dibujamos una simple corona, empecé dibujando un rectángulo (2 cm de ancho por 5 cm de largo) y luego hice la forma de una corona en ese rectángulo, aparte de la corona saque una tira de 2cm de ancho por 10,5cm de largo y la peque con silicon por la parte de atrás.
For the top of the cylinder we drew a simple crown, I started by drawing a rectangle (2cm wide by 5cm long) and then I made the shape of a crown in that rectangle, apart from the crown I took a strip of 2cm wide by 10.5cm long and I siliconed it from the back.
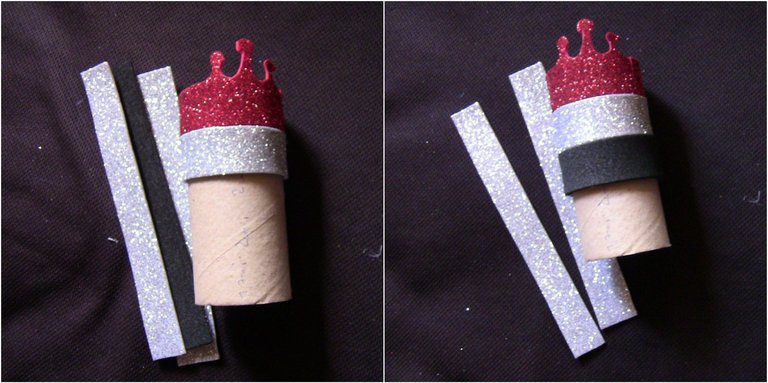
Después, empezamos a pegar nuestras tiras de foami. Esta tira que pegaremos después de la corona tiene un ancho de 2cm y un largo de 16cm y así son todas las que siguen excepto la última tira que tendrá un ancho de 1.7cm y un largo de 16cm.
Afterwards, we started gluing our foami strips together. This strip that we will glue after the crown has a width of 2cm and a length of 16cm and so are all those that follow except the last strip that will have a width of 1.7cm and a length of 16cm.
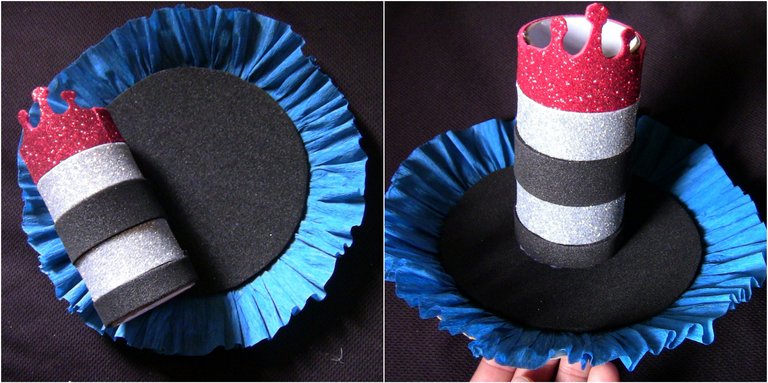
Ahora, pegaremos nuestro cilindro en nuestra base.
Now, we'll glue our cylinder to our base.
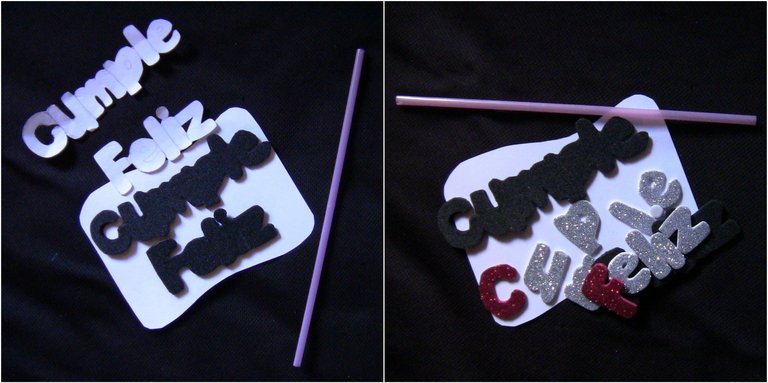
Para el cartel donde irá el "Feliz Cumpleaños" utilice un papel tipo cartulina, el cual le di la forma que se me vino a la mente en ese momento, ustedes pueden darle la que quieran. Transferí las letras al foami, primero las recorte pegadas como sale en el molde y después las recorte separadas para pegarlas sobre las letras negras para dar un aspecto de sombreado.
For the poster where the "Happy Birthday" will go, I used a cardboard type paper, which I gave the shape that came to mind at the time, you can give it the one you want. I transferred the letters to the foami, first cut them out and glued them on as they come out of the mold, and then cut them out separately and glued them over the black letters to give them a shaded look.
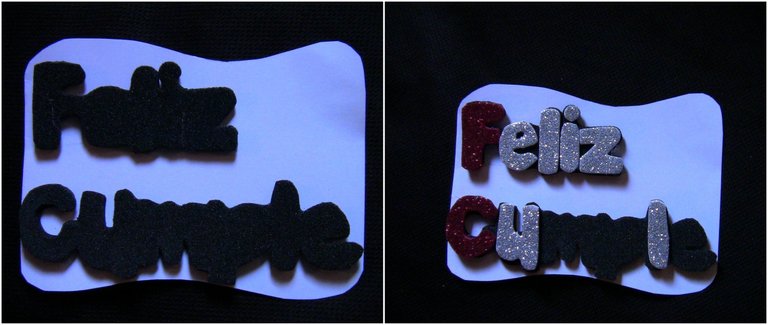
Pegamos primero las letras corridas en foami negro y después las letras separadas en foami escarchado.
We stick the letters in black foami first and then the separate letters in frosted foami.
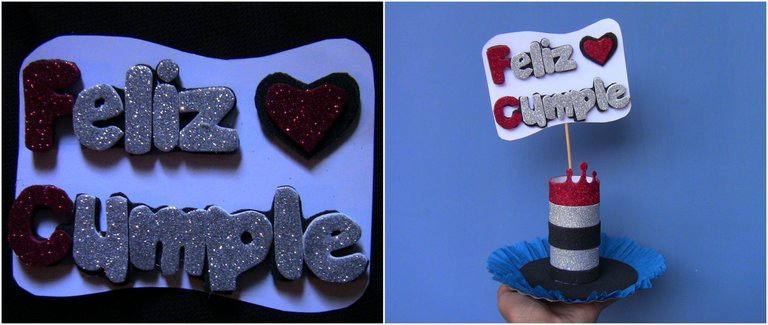
Para la base iba a utilizar un pitillo como sale en la foto pero era muy pesado el cartel así que le pegue un palillo de altura. Finalmente nuestro regalo estará listo para ser llenado con los dulces que quieras regalar.
For the base I was going to use a fag as shown in the photo but the poster was very heavy so I stuck a tall stick to it. Finally our gift will be ready to be filled with the sweets you want to give away.
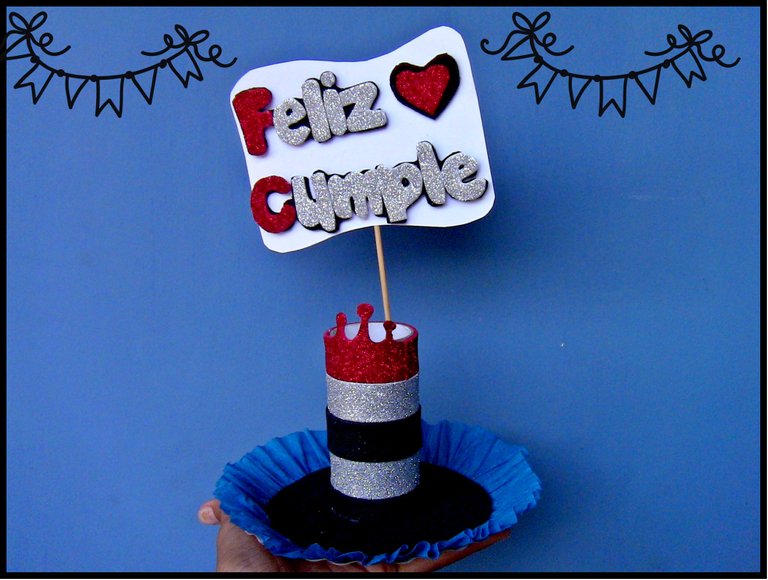
Como vieron quedo hermoso, me encanto hacer esta manualidad y compartirla con ustedes, fue algo improvisado, tenía esos materiales a mi disposición eran retazos de foami y miren lo que pude lograr hacer, todo es cuestión de dejar salir nuestra creatividad y ponerle amor a lo que hacemos.
As you saw it was beautiful, I loved to make this craft and share it with you, it was something improvised, I had those materials at my disposal were pieces of foami and look what I was able to do, it's all about letting our creativity out and putting love into what we do.
