Hi guys!
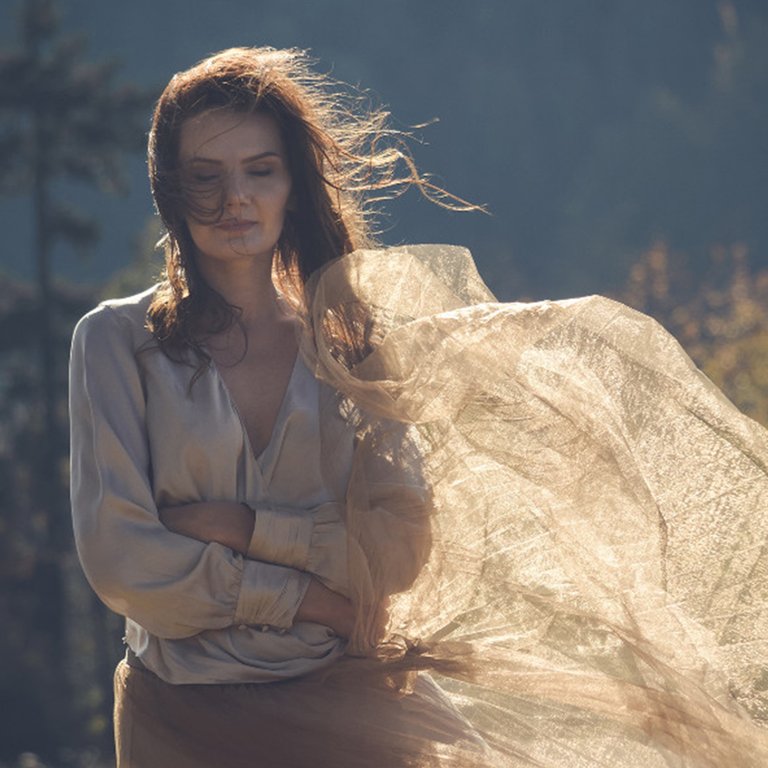
Today I'd like to show you a quick example of how I'm making paintings from the photos. During this exercise I focused mainly on the color and light of this beautiful photography taken by Marianna Peruń Filus:
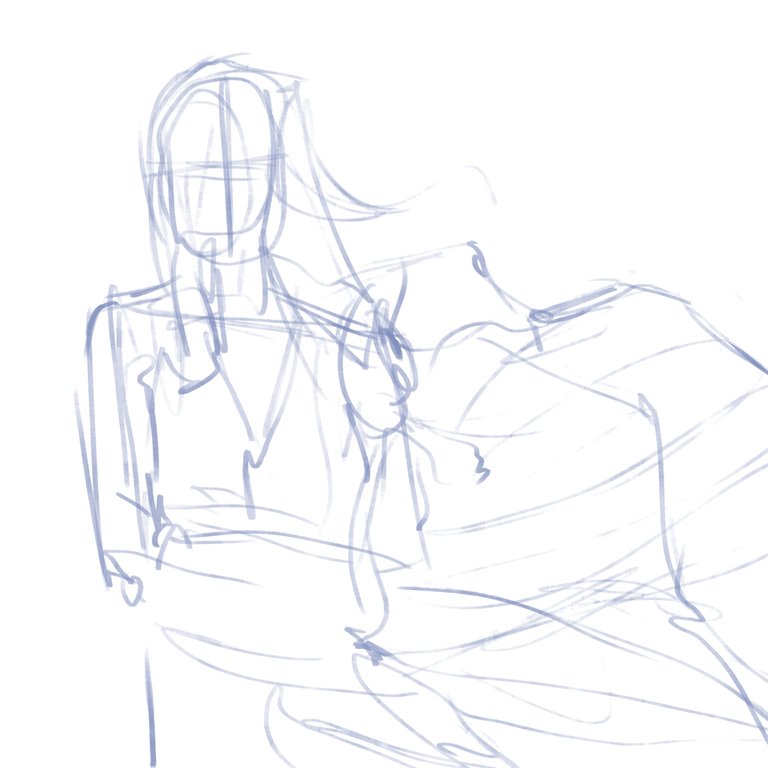
Step one:
Looks simple but I know it's the hardest part if you're new into graphic arts. The first sketch should be as quick as possible (don't be afraid to make mistakes - it's a part of a learning process!). It's all about composition here, don't try to catch any details yet, only some basic shapes and proportions.
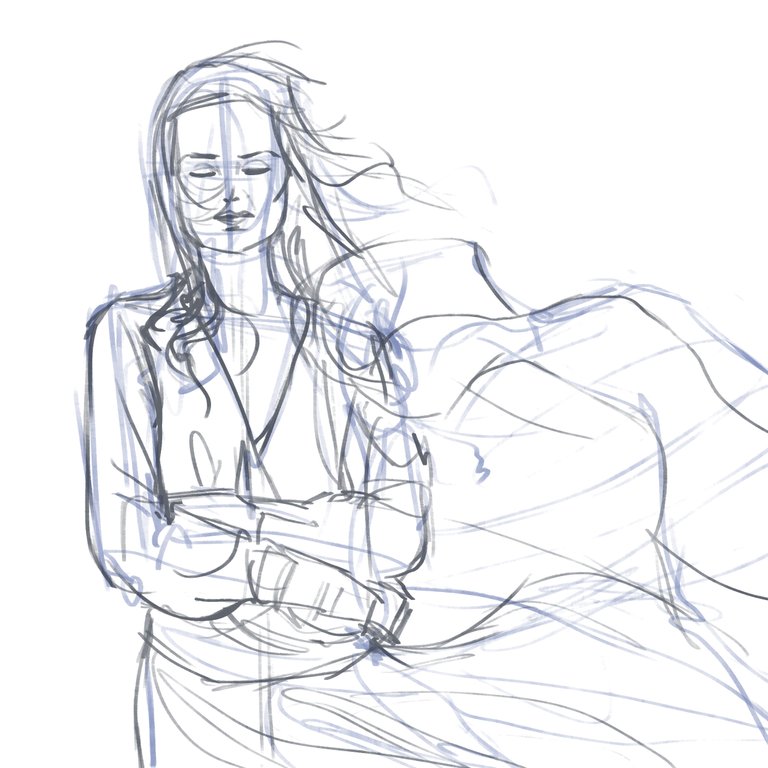
Step two:
Add another layer on top of your basic sketch and change brush color (or decrease the opacity of the layer underneath) to make your new lines visible. The point here is to redefine shapes a bit and make it more detailed. Again: do not focus too much on details - you'll cover them with a new layer anyway, it's only for your comfort of coloring.
Also if you feel that way, you can skip this step and go directly to coloring.
Step three:
Make a new layer on top. Using a color picker try to fill the whole area with colors of the photography. You can also try to guess the colors which is much harder (but also a very good exercise!). Use big sized brush and make it simple, focus on covering everything with color.
Step four:
Each step is a new layer. Use smaller brush and try to redefine edges. Here you can start focusing on details but don't get too attached - you should repaint the whole area first. It's still about shapes and general feeling of your painting.
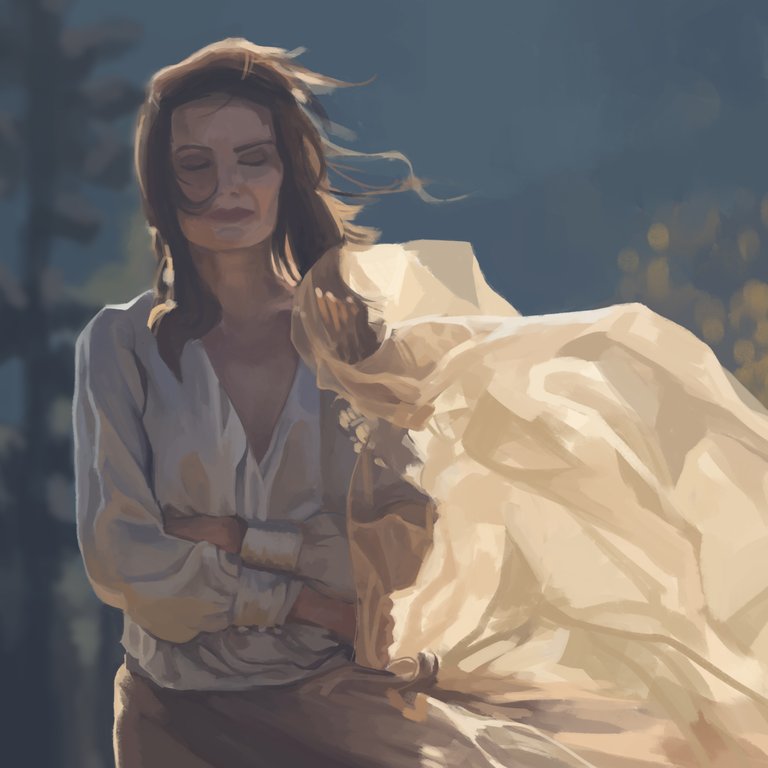
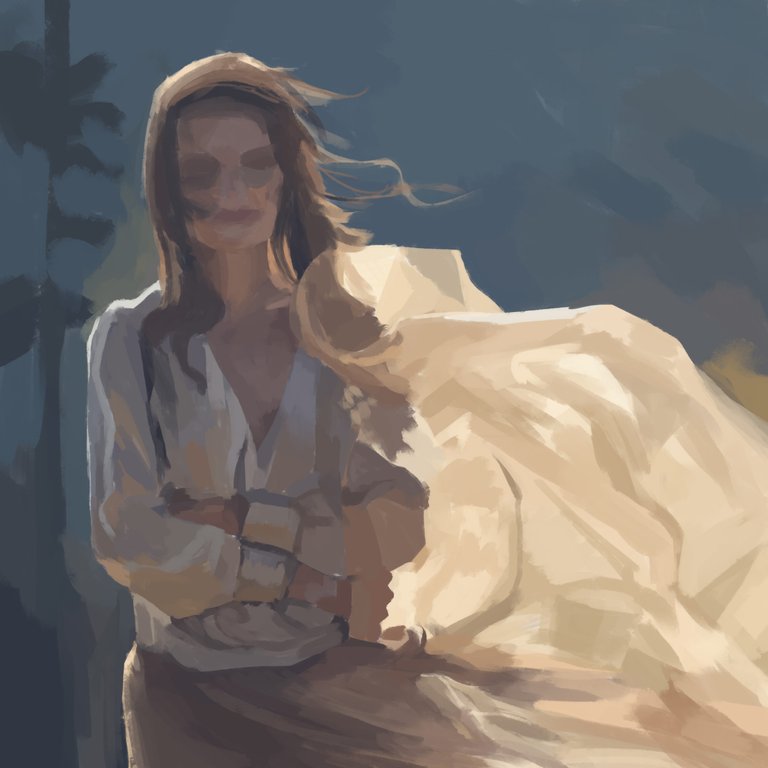
Step five:
It's time for details! I chose not to paint EVERY detail, only the face/hair area (as a focal point) but it's up to you how far you want to render your picture. Making a copy is an amazing exercise and you should be as exact as you can - it helps with eye-hand coordination and teaches you how colors interact with each other.
You can check various brushes and experiment with opacity, texture and size, or you can check how much time you need to finish a piece (each time it will be faster, regardless of amount of details on the pic). For example, I spend approx 2,5h and it still can be rendered for another 2,5h or more (only you decide how much details you copy).

If you have any questions I'm here to answer :)
Thank you for your attention and good luck with mastering art!
!discovery 20
This post was shared and voted inside the discord by the curators team of discovery-it
Join our community! hive-193212
Discovery-it is also a Witness, vote for us here
Delegate to us for passive income. Check our 80% fee-back Program
Cheers, this looks pretty amazingly done! I don't know which one I'd prefer... The awesome photo, or the awesome painting. ❤️
Cheers! Thank you, Zack! Personally, I'm not so happy with the result but the time was short and not everything I planned could have been done so fast. But I'm also in love with the photo, amazing artist, and beautiful vision 😍
It's maybe the slightly rushed nature, that spontaneity that makes it so characterful! ^_^