Here are another selection of great ideas that we have built over the years. Hopefully you can all take some kind of inspiration from this post, and something similar may end up in your garden.
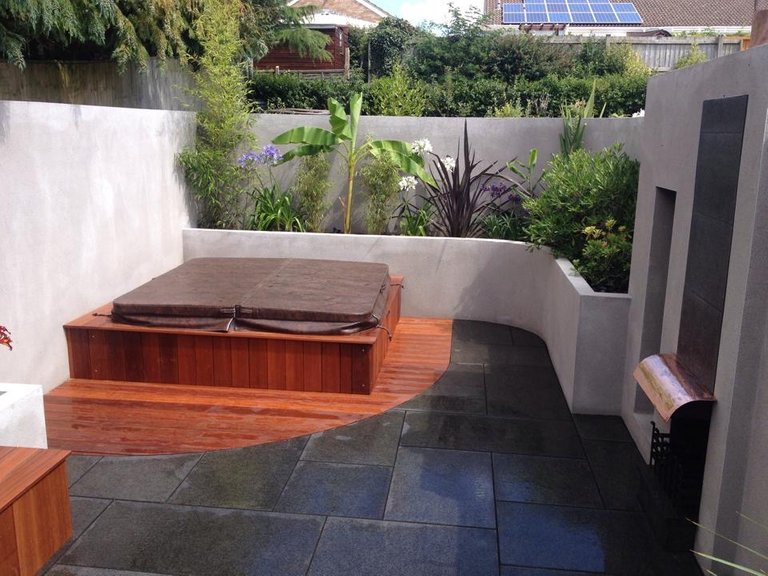
This is a garden we built in Somerset a number of years ago. There are a few things to look at here. The walls are rendered with K-rend. This is a product that is coloured when applied, so you will never need to paint it. The only maintenance needed is a jetwash if it starts to get a bit grubby. The product usually costs around £10 per square meter, plus labour.
In the wall on the right hand side is a built in chiminea. It was designed to look like an internal fireplace outdoors, and we gave it a copper hood that my farther made out of an old disused copper water tank. It was easy to form, but took a lot of polishing as it had been left outside for a while and had corroded very green as copper does.
The main aspect of this garden I wanted to share, was the transition from decking to paving. It was all built on the same level, so no step up or down onto it, and I personally like the contrast from one material to the other. Which leads me nicely onto the next section.
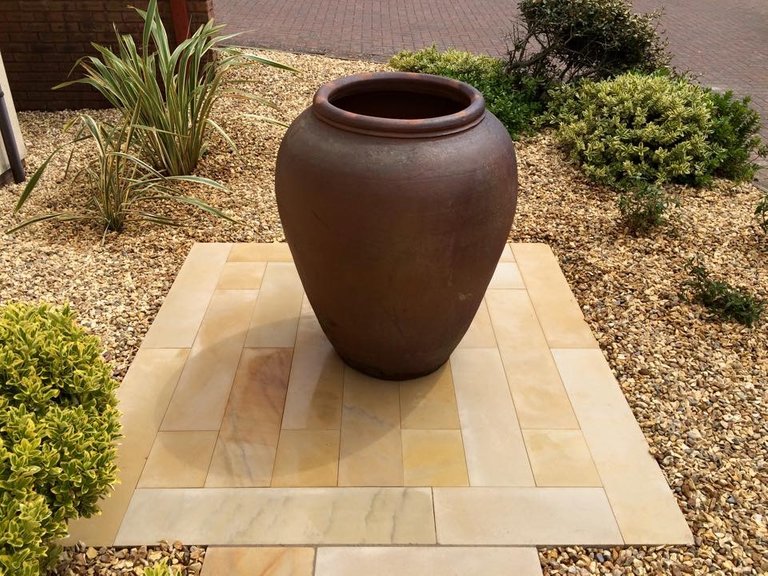
This was a nice little idea. Planted gravel beds, with weed membrane underneath, with a small matching patio tile section. Then placed onto this was a contrasting large pot. Another example of how nice contrasting materials and colours work, and a nice focal point that can fit into a small space.

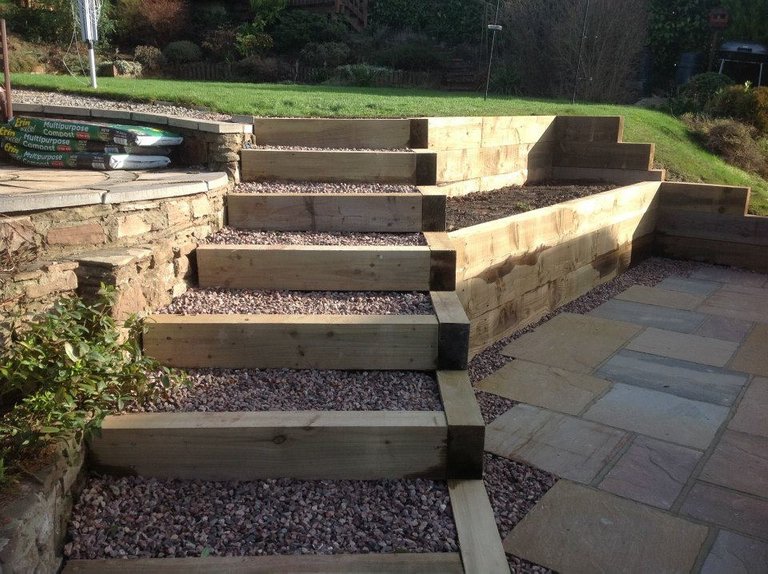
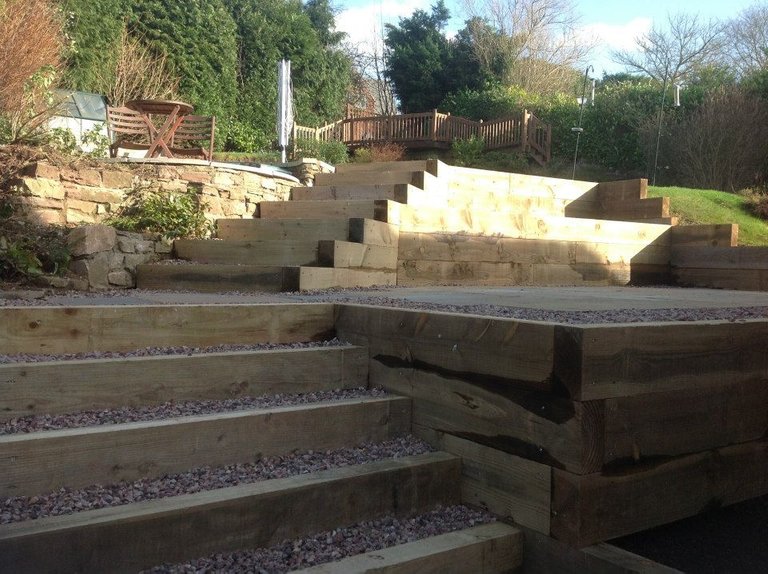

Here are a selection of pictures, showing a simple use of railway sleepers. Retaining walls, and steps can be a lot of work, expensive, and need a lot of skill full tradesmen. But with sleepers it softens all 3 of those issues. It’s a simple case of concreting some 4” fence posts into the ground, usually 1.2m apart. Then screw the sleepers to them. The sleepers are 2.4m long, so the can be stacked half bond. (Like brickwork, 1/2 of the top sleeper over lapping the one underneath). You will need 7 or 8 inch screws, as the sleepers are usually 5 inches thick. If you buy these in bulk, they don’t cost much per item. Then we usually back fill the steps with either gravel or bark mulch.
Next up lighting.
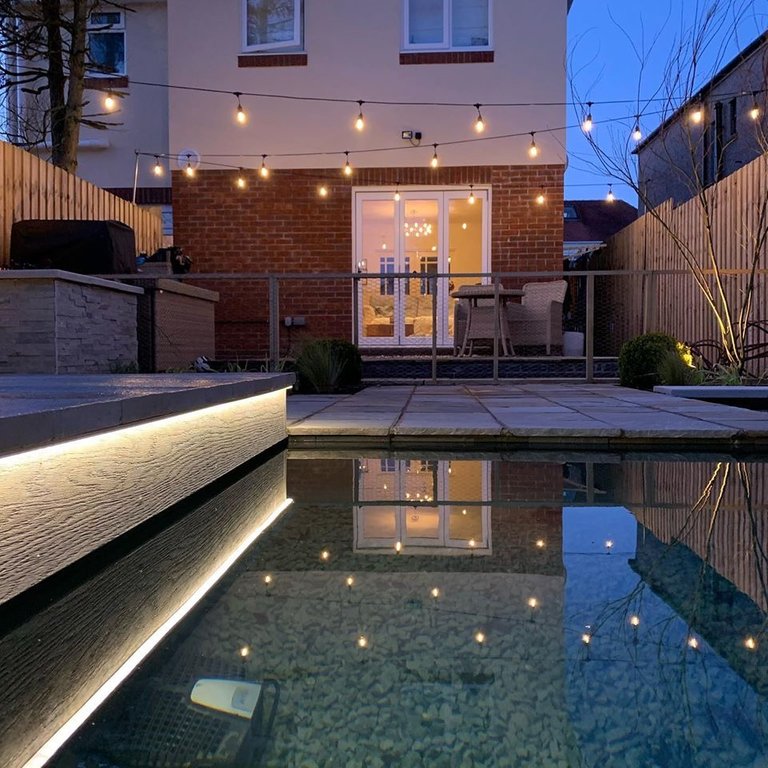
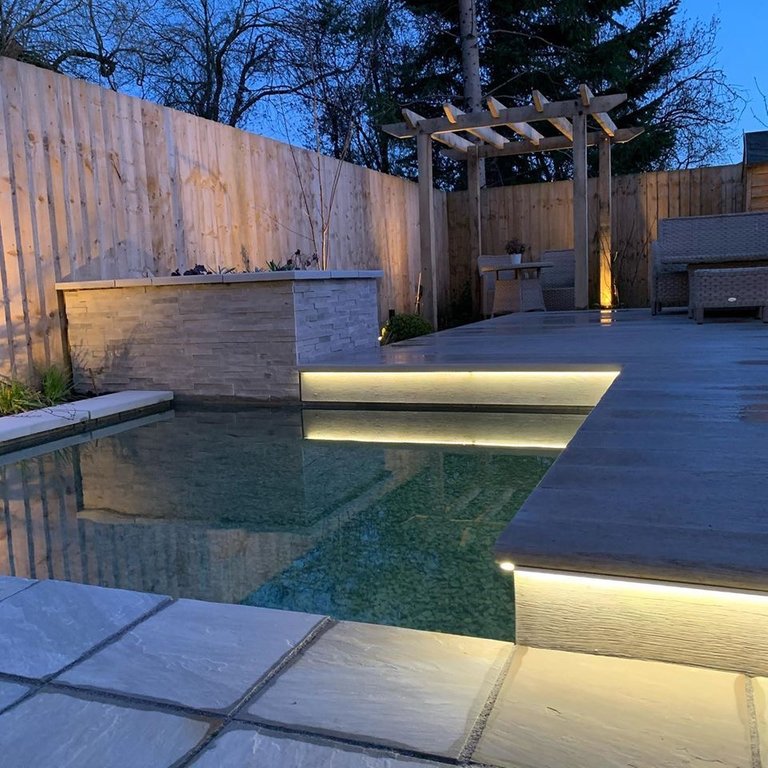
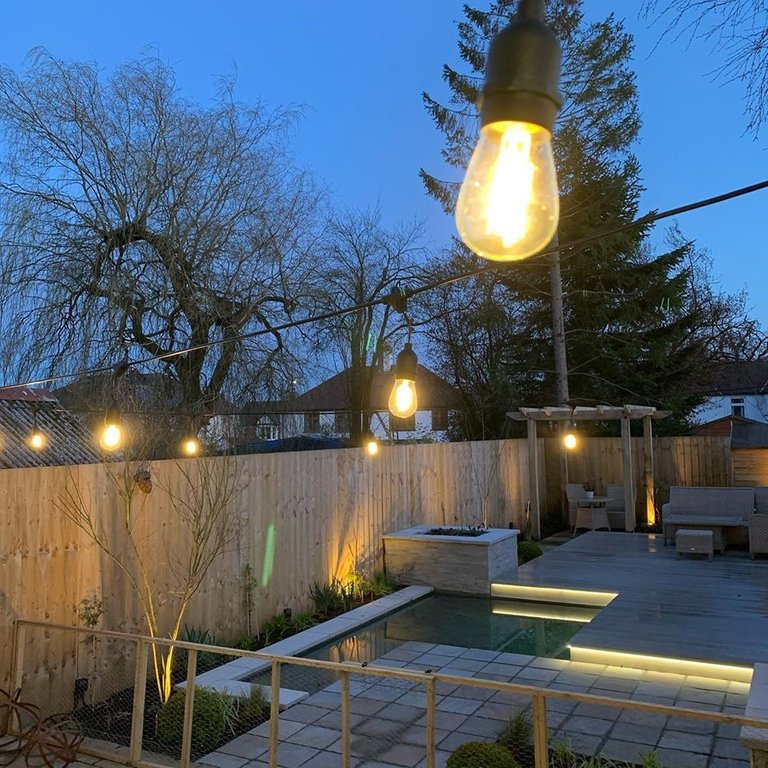
I’ve posted about this Cardiff build before. But now Eleven Electrical Ltd have finished the final touches, and what a fantastic job they did. If you are ever planning on entertaining in the evenings, a simple lighting set up works fantastic, and is often overlooked. The one peace of advice I have on this, is to have more low wattage lights, rather than less high wastage.
As I always say, if there are any questions please fire them at me.
Thanks for taking an interest.
Thanks for sharing your creative and inspirational post!
This post got curated by our fellow curator @rehan12 and you received a 100% upvote from our non-profit curation service!
Join the official DIYHub community on steem and show us more of your amazing work!
Congratulations @leighscotford! You have completed the following achievement on the Steem blockchain and have been rewarded with new badge(s) :
You can view your badges on your Steem Board and compare to others on the Steem Ranking
If you no longer want to receive notifications, reply to this comment with the word
STOPTo support your work, I also upvoted your post!
Do not miss the last post from @steemitboard: