Learning how to bake with sourdough has been one of my quarantine goals. To be honest, I thought that I would give up at the beginning as I'm usually not a very patient person and sourdough requires a lot of time, planning and patience. On the contrary, I fell in love with baking and enjoy every step of the process except of waiting for the bread to cool down so that I can finally eat it 😊
I bake small breads, and therefore I can bake more often and understand the sourdough quicker. So far, it's been an exciting learning experience. Sourdough became one of my favorite topics to talk about and I must be very passionate about it as my mom asked me today how I did my starter and which flour I used because she was in the shop and couldn't decide. Soon enough, we are going to exchange baking tips!
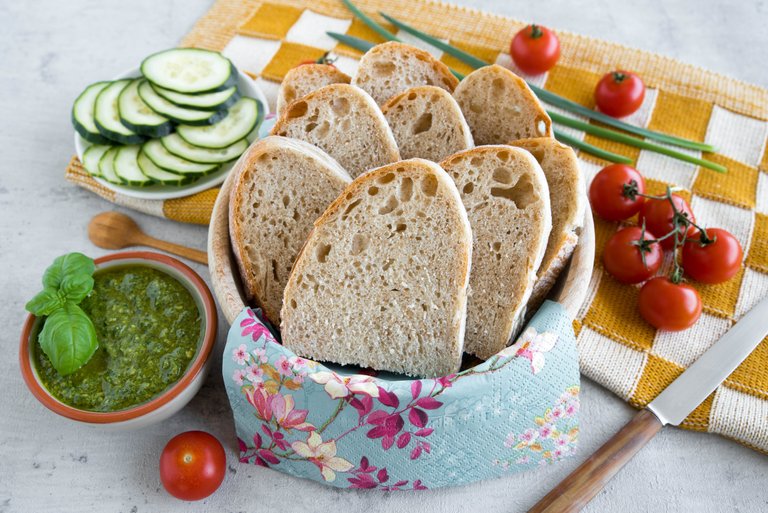
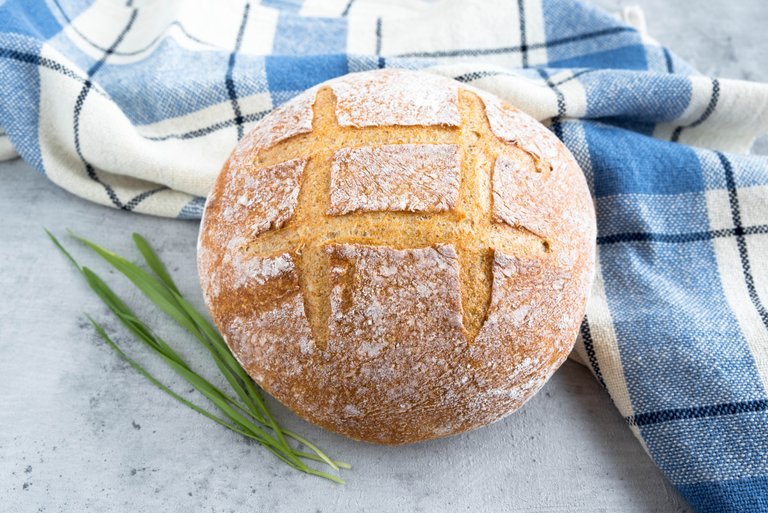
Yesterday I finished my plain wheat/wholewheat rye sourdough bread. It's only 4 ingredients - starter, flour, water and salt. and it's so much better than the one that I would buy. It also stays fresh longer (not that I would know as we finish it in 2 days).
How did I bake it?
I started with my starter at 10 PM. I used 80 g wholewheat rye flour, 100 g lukewarm water (37 degrees Celsius), and 20 g of Ignac (my sourdough starter). I stirred all the ingredients well in a mixing bowl (part of my kitchen machine) and covered it with the plastic wrap. I placed the bowl on a kitchen towel and let it rest overnight. If your kitchen is warm you don't need to use the kitchen towel.
At 8:30 AM I started to make the dough. I added 400 g plain wheat bread flour, 230 g lukewarm water and 2 tsp salt to the bowl with the starter. I placed the bowl in the kitchen machine and kneaded for 20 minutes. You can do it by hand too, but it would take much longer and I don't have that much strength in my arms. The dough should be still sticky, but it should come off your hands and bowl easily.
Once done, I covered the bowl with the plastic wrap again and let it rest for 1.5 hours.
At 10 AM I lightly kneaded the dough just for a few seconds to remove the bubbles that were created. Then I covered it with the plastic wrap and let it rest for another 1.5 hours.
At 11:30 AM I sprinkled some flour on my working plate and my hands, removed the dough from the bowl and placed it on the working plate. Then I folded it from each side (4 times) and formed a round shape. It should be smooth on top of the bread and all the connected pieces should be underneath.
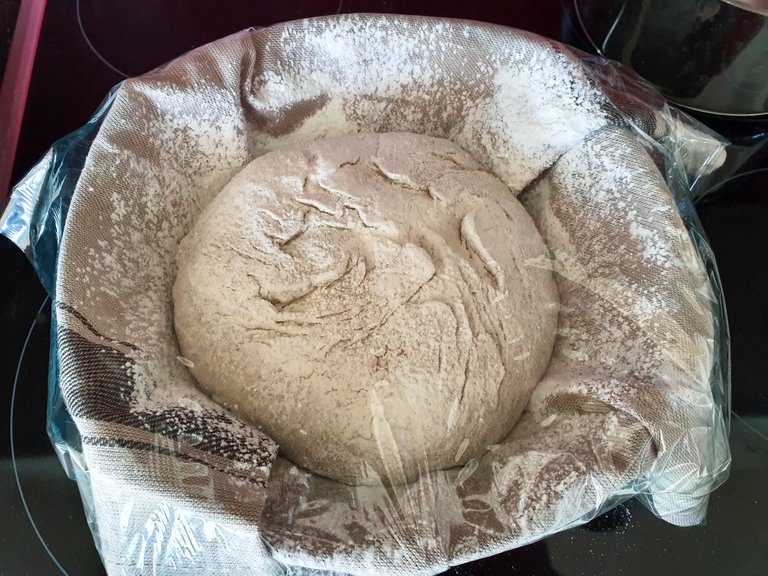
In a small bowl I put a kitchen towel that I sprinkled with cornstarch so that the bread wouldn't stick on it. It's a small bread and you don't need a big bowl for it. Then I placed the dough in a bowl for the final rise. As you can see from the photo, all the connected pieces are on top. When you place it on the baking sheet they will be underneath and you bread will be nice and smooth. I sprinkled it with some flour (accidentally a lot of flour) and covered it with the plastic wrap again.
I let the bread rest for another 2 hours. It should double in size.
At 1:30 PM, I preheated the oven to 250 degrees Celsius and placed a baking sheet in the middle of the oven. I also placed another baking sheet at the bottom of the oven. This one is for the water that I would pour there later on, so that the bread crust will be crispy and shiny.
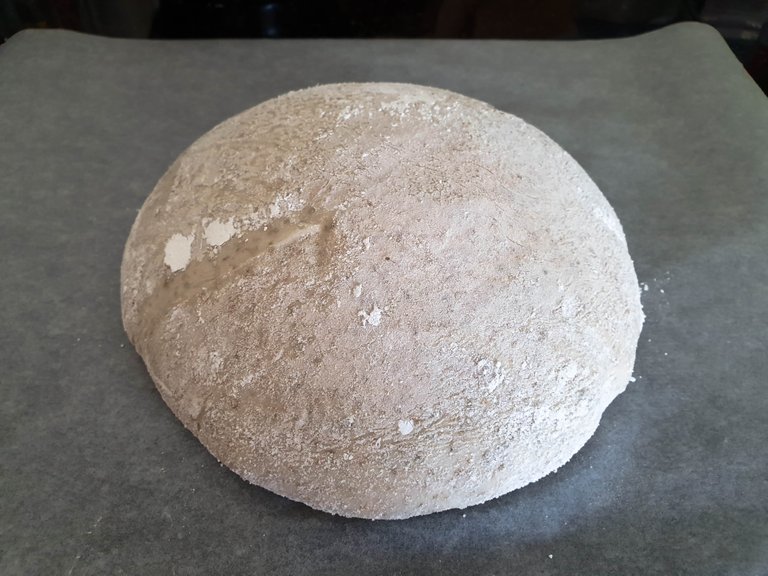
At 2 PM I placed the bread from the bowl to the baking sheet - just flip over the bowl and bread will fall down on the baking sheet - be gentle.
Then I made some very amateurish pattern with the razor blade and placed the baking paper with the bread on the baking sheet in the preheated oven. Please be careful as the oven is very hot! Once in the oven, I poured a glass of water in the baking sheet at the bottom of the oven and closed the door quickly.
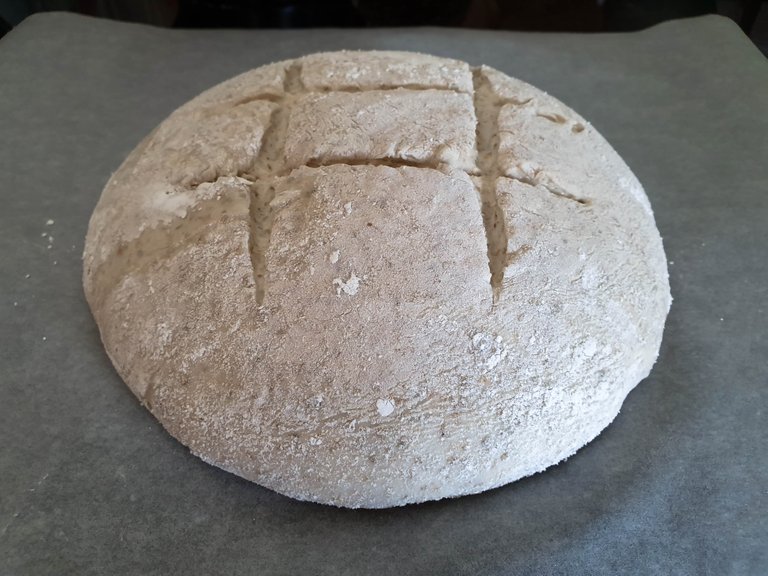
I baked it on 250 degrees Celsius for 10 minutes and then lowered the temperature to 200 degrees Celsius and baked for another 35 minutes. The bread should be golden brown and when you take it out of the oven and knock on the bottom it should sound hollow. Let the bread cool down completely on the cooling rack and enjoy! I let it on the cooling rack for about 3 hours.
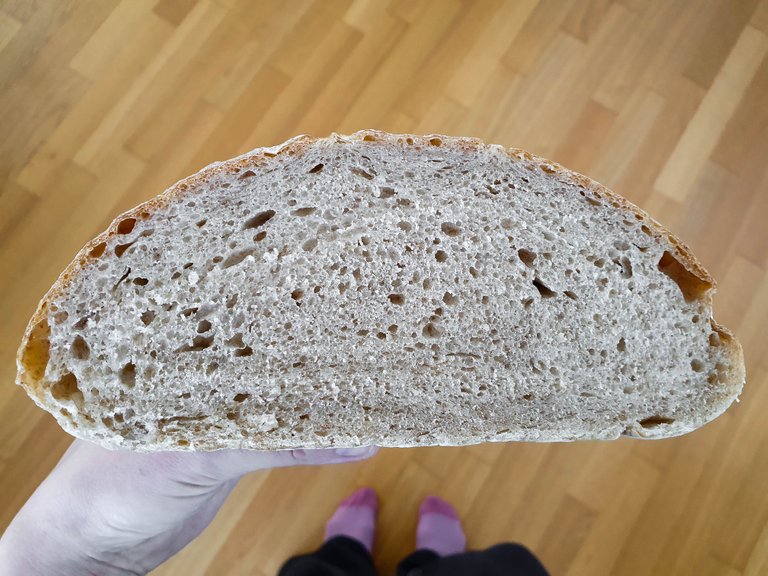
There were many small bubbles and it was chewy but still light. The crust was crunchy, and the taste was great. We enjoyed it with some homemade wild garlic pesto and veggies, but you can eat it on its own too or maybe dip it in some chili or soup. It's simply delicious.
I have a feeling that there are going to be more bread experiments on my blog from now on 😊
Thank you for visiting!
Cheers!
@porters here on behalf of @NaturalMedicine – That's a great project to have while you are sheltering in place! It looks so delicious and I appreciate you sharing your process!
, which you can read about here. There's 100 HIVE on offer & lots of LOTUS to win!
Hi @plantfuljourney, your post has been upvoted by @bdcommunity courtesy of @hafizullah!
Support us by voting as a Hive Witness and/or by delegating HIVE POWER.
JOIN US ON
POSH: https://www.facebook.com/permalink.php?story_fbid=1290408757814366&id=1003470073174904
You've been visited by @minismallholding from Natural Medicine.
Looks amazing! I’ve featured your post in The Lotus Garden newsletter.
The Lotus Garden is a newsletter supporting content relevant to Homesteaders & supported by Natural Medicine. Earn LOTUS & HIVE for your #homesteading content!
About II Discord II Community