How I made the ocean scenes for my Godzilla vs. Kong stop-motion trailer remake
This is my second post explaining some of the set pieces and scenes I made for the video. Please let me know if you want to specifically hear about any particular part of it, or anything like that. I’m new on here so I don’t really know what you guys want to see. So just let me know.
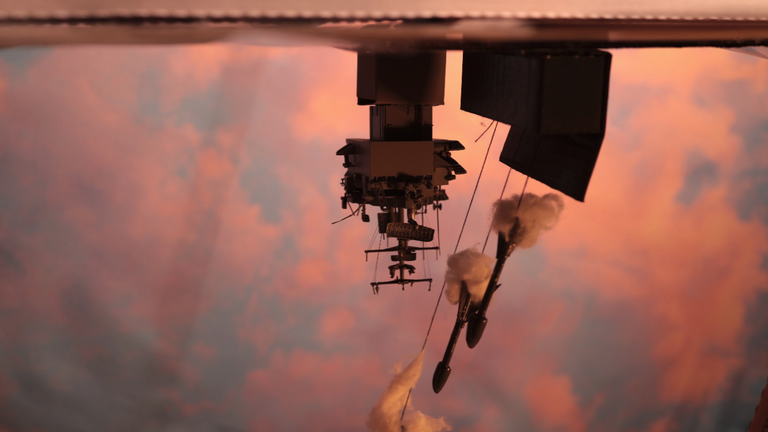
For the missiles launching, I didn’t have a ship with a missile set up, so I had to figure out a way to make something that looked like missiles launching from a ship. This set was built to be filmed upside, so I could use gravity to film the frames of the missiles rocketing into the sky using cotton balls and thread.
The entire rig sits upside down between 2 boxes fixed to a table. I took the lookout from the aircraft carrier and hot-glued it to the scene also, so help with the illusion of being a ship.
I suspended the missiles on thread and pushed the end of the thread with a needle through the cardboard box that made the missile launching box.
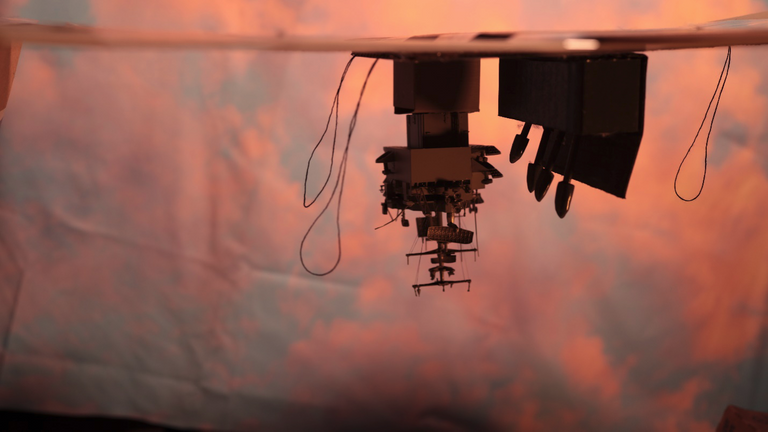
The thread was held tight with cardboard to give it enough tension to control for each frame. You can see from the angle of the thread, that I actually shot this at an angle. One side is higher than the other. I angled the camera to match, so that it would appear as if the missiles were launching at an angle. Then I flipped the frames 180 degrees and painted out the thread in Photoshop.
The above picture shows my distinctly professional rig. Ha ha.
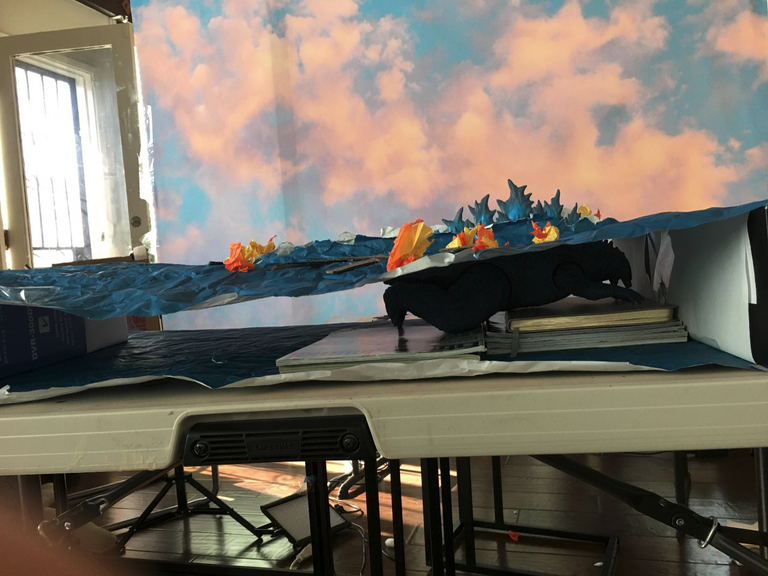
For the scenes with Godzilla swimming through the water, I had to raise the water so only the top fins would show. Here you see him propped with magazines to give him the right height as he moves through the water. I used a ship behind him in parallax to aid in the illusion of movement.
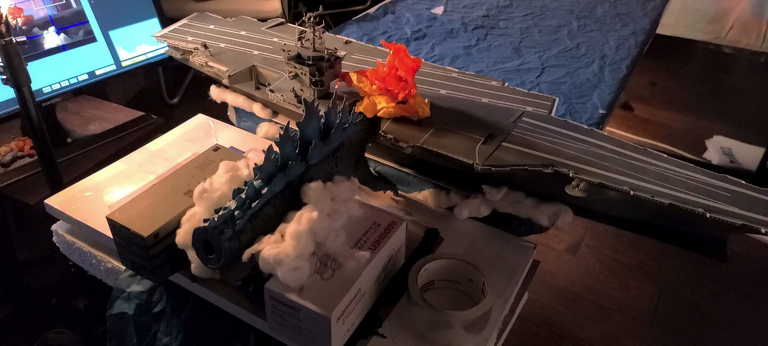
To animate Godzilla swimming into the ship, it was a lot easier for me to move the ship towards Godzilla, then move him towards the ship. Since I was animating cotton balls around him and had to wedge him sans tail between 2 boxes to get the shot, he became pretty immobile. I removed his tail to put the camera directly behind his back fins, to look like the POV in the movie, where the viewer is pretty much riding his back. Above is that set up. For each frame, I moved the aircraft carrier down the table towards Godzilla.
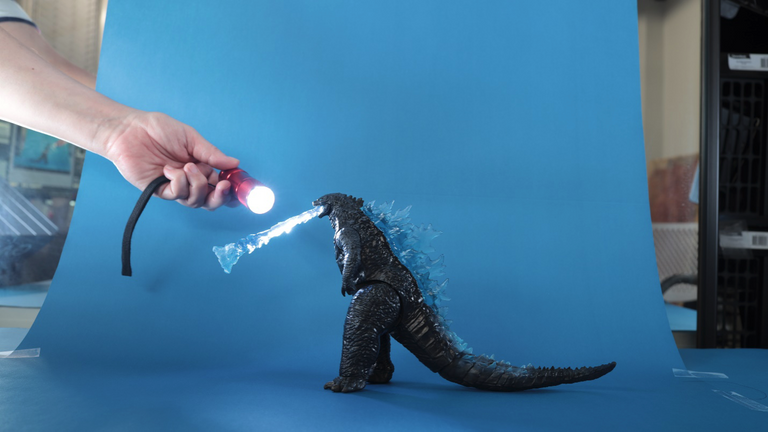
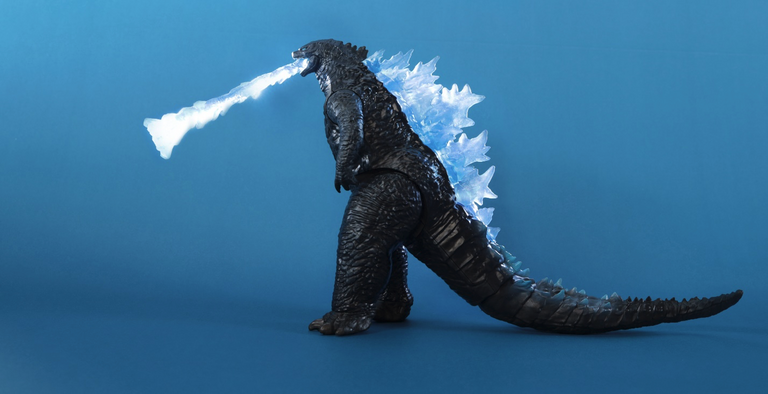
For the scenes when Godzilla’s spine lights up underwater, I used the action figure with transparent fins and ray. I shone a torch at parts of the fins and comped them together in Photoshop. The below frame is thus 7 images comped together.
This action figure I bought did not have neck articulation, so I changed the angle in Photoshop to have him shooting his ray up, like it does in the video. I then found an underwater video effect that I comped over the finished scene to give it the feel of being underwater. I’ll link to one with articulation in at the end of this post. It would have been nice to have had that one, but I spent too much on the figures that I already bought to opted for faking it.
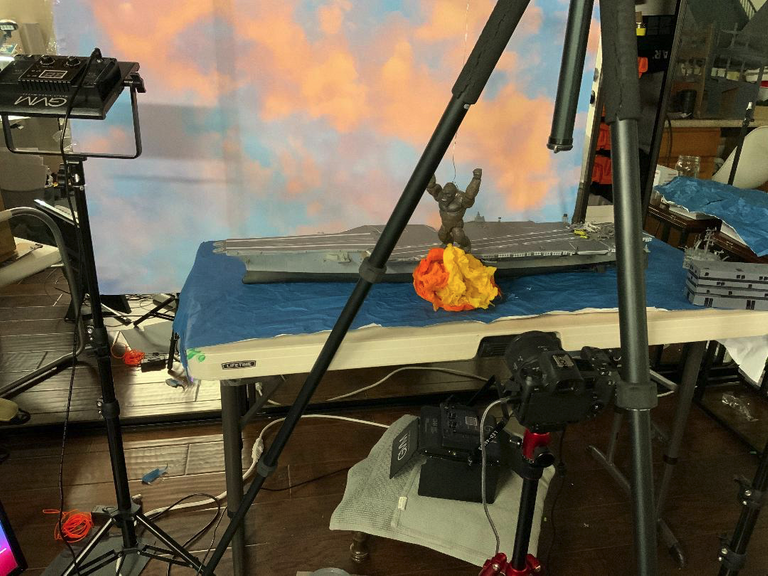
Above is the scene where Godzilla’s ray breaks through the ship that Kong is standing on and shoots up into the sky, with Kong jumping off the ship as it explodes. I tried to do as much of this with physical props as I could, but ultimately resorted to using Photoshop to paint in the ray behind the stop-motion footage.
Here you can see Kong suspended by a wire over the set, with a ball of fire (aka tissue paper) exploding in front of him.
Below are links to the Godzillas and the Kong I used for these shots. Sorry I can’t link to the aircraft carrier. It was a borrow from a friend and I think he may have made it.
This is excellent, wow you got some talent there👍 very good explanation, I nearly didn't get what was going on thanks for the explanation. You are welcome to hive community, I would love to see more stuff from you,
Stay safe, am following you up asap😃
Thanks! It's funny how much you can trick the eye. Thanks for the warm welcome! I will certainly be posting more videos soon.
🤣🤣you are welcome my dear🥰, looking forward to seeing the videos 😎
Stay safe
Congratulations @toocutetocare! You have completed the following achievement on the Hive blockchain and have been rewarded with new badge(s) :
Your next payout target is 250 HP.
The unit is Hive Power equivalent because your rewards can be split into HP and HBD
You can view your badges on your board and compare yourself to others in the Ranking
If you no longer want to receive notifications, reply to this comment with the word
STOPCheck out the last post from @hivebuzz:
Support the HiveBuzz project. Vote for our proposal!
Damn your just too talented aren't you. I love your work
Well, thank you very much @bighungrypanda, it makes it all worth it when people enjoy it.
really interesting solution to go upside down and on an angle :D
Thanks, @bil.prag! I was racking my brain trying to get it to work upright then it just came to me... I am making this way too hard on myself. Then I flipped it over, and luckily it worked out great!
Awsome work dear.
Thank you!!