Hola amigos. Hello friends.
Hola amigos. Hello friends.
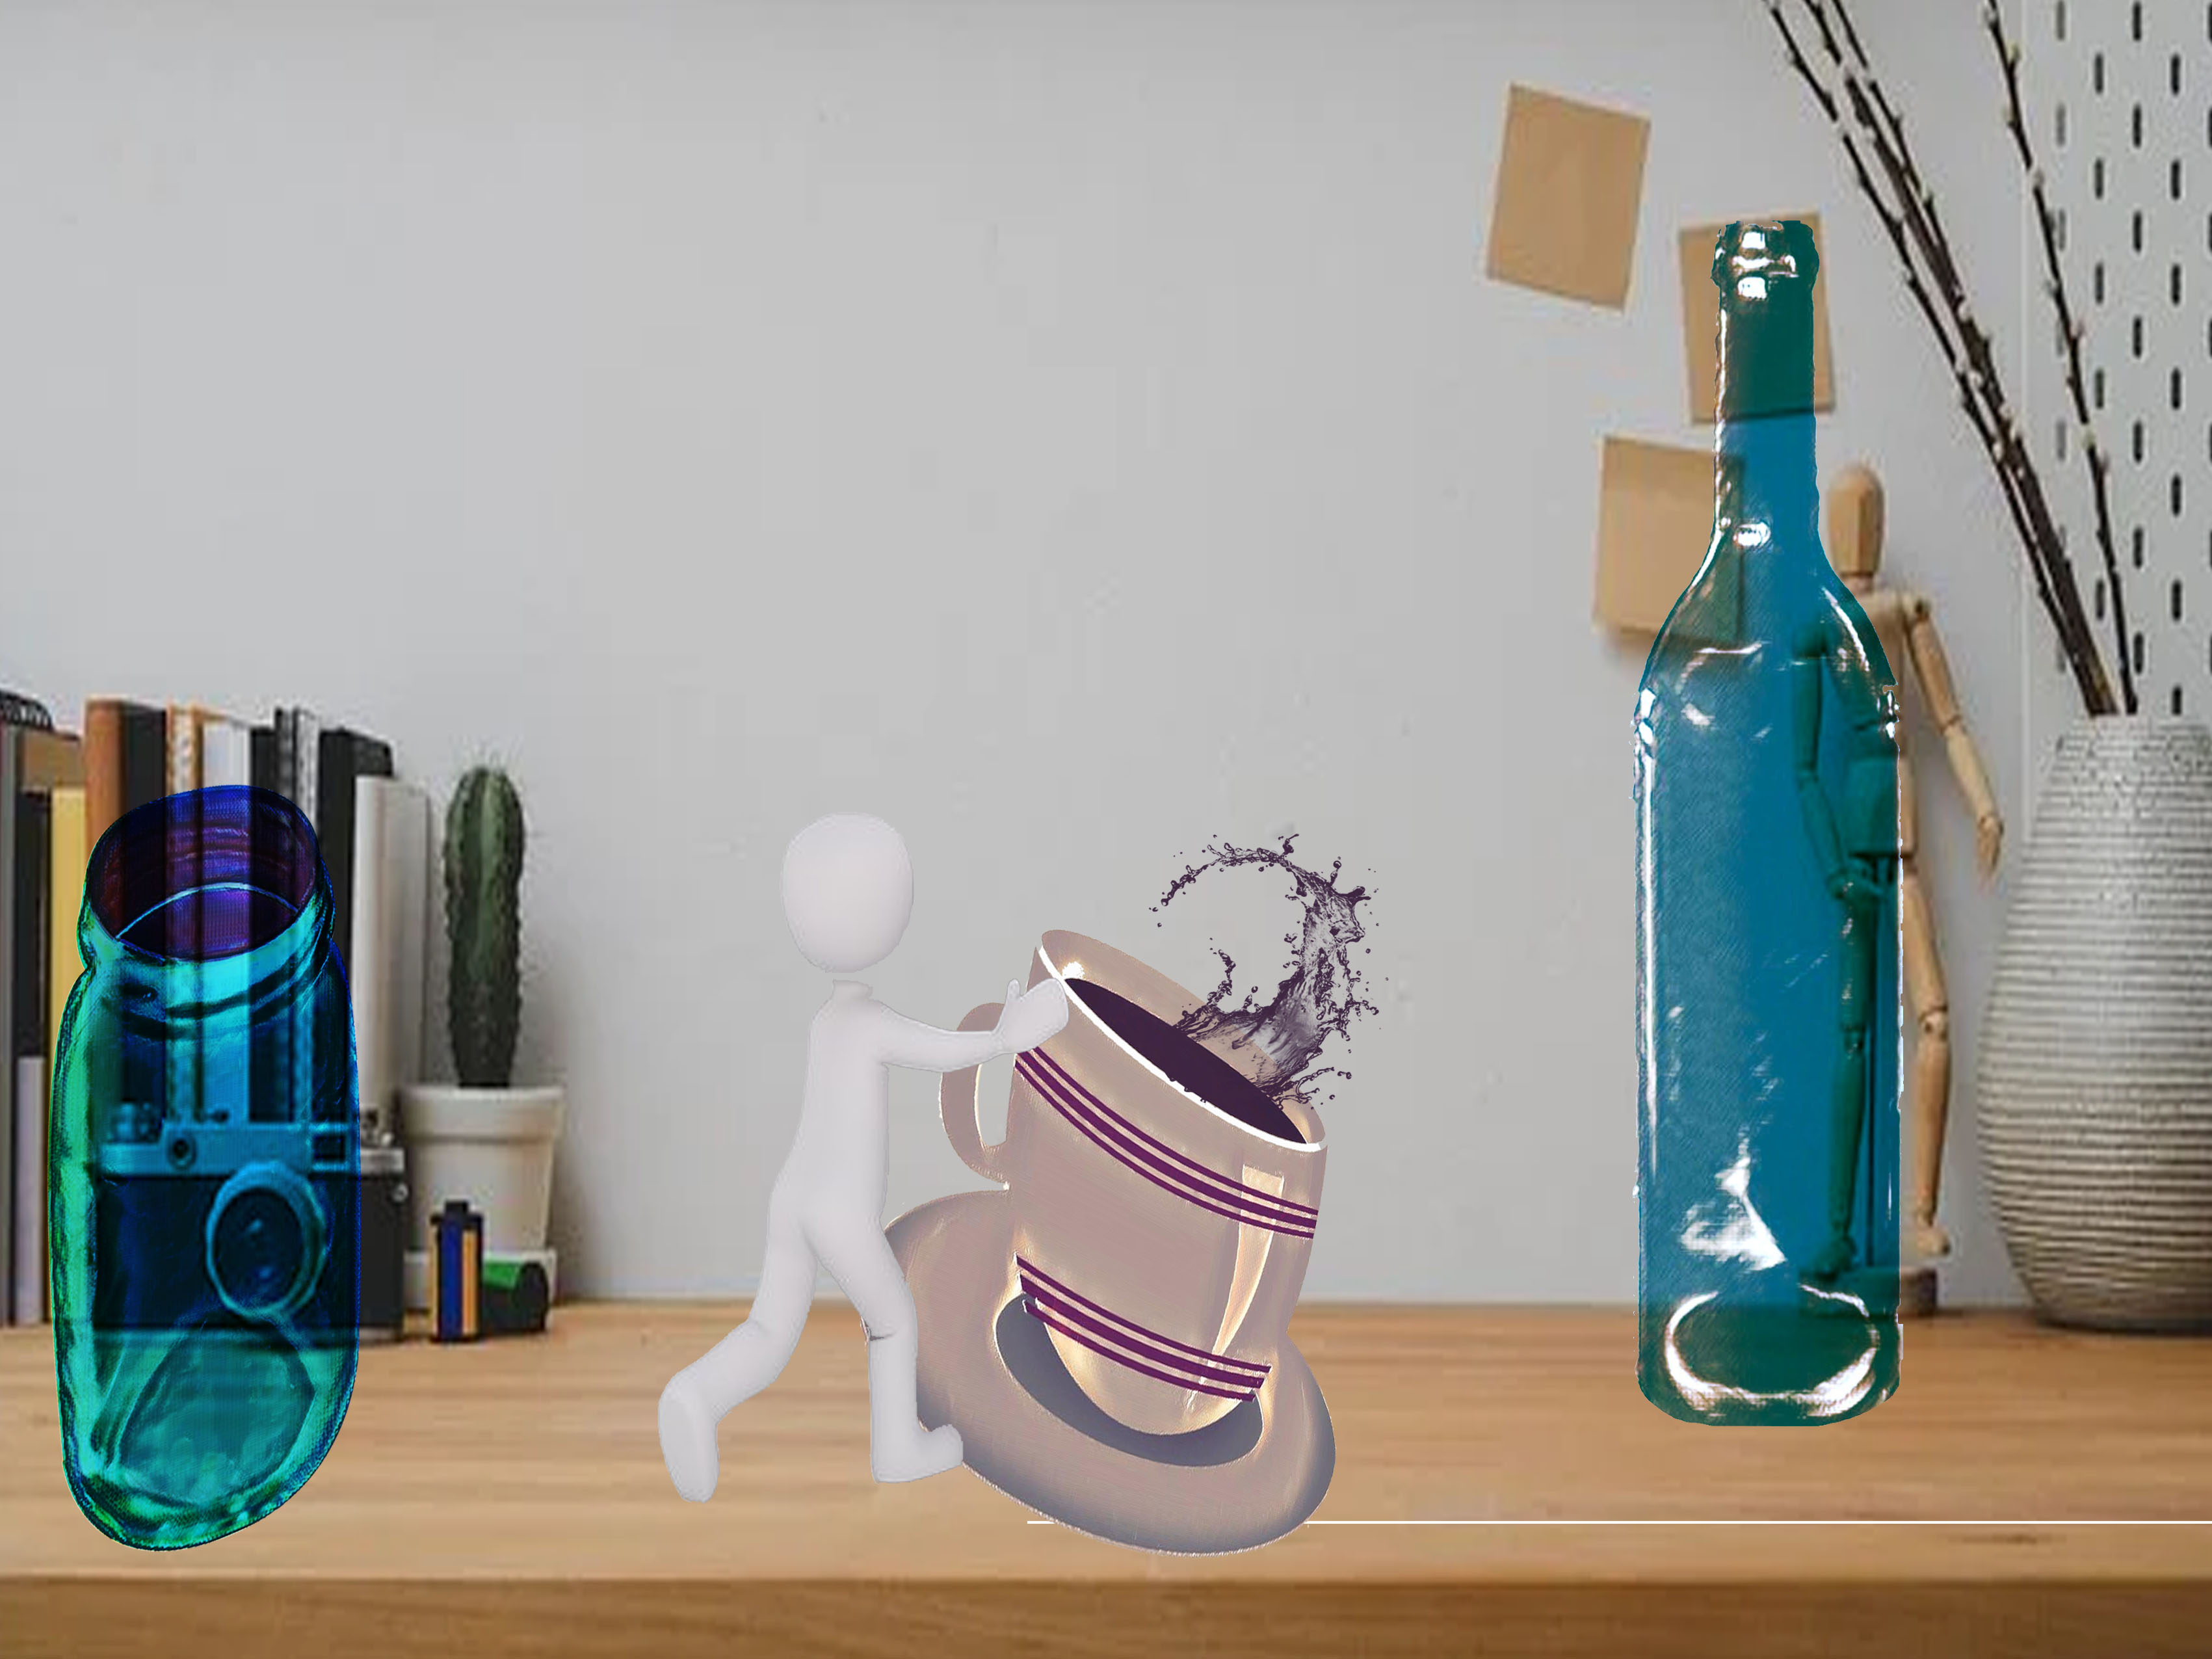
Espero estén muy bien, hoy les traje unos dibujos que realice para la biblioteca, y aquí mismo les presento un pequeño tutorial de como puedes usarlo y editarlo en photoshop y así vamos mejorando cada día mas, para la elaboración de los collage, en la creatividad no hay limites, cada quien tiene un estilo individual y se aprecia mucho cada uno de los diferentes estilos. Espero les pueda ayudar con este pequeño y fácil tutorial.
I hope you are very well, today I brought some drawings that I made for the library, and right here I present a small tutorial on how you can use and edit it in photoshop and so we are improving every day more, for the development of collages, in creativity there are no limits, everyone has an individual style and each of the different styles is much appreciated. I hope I can help you with this small and easy tutorial.
| Glass mug | Glass, cup, container, beverage. | 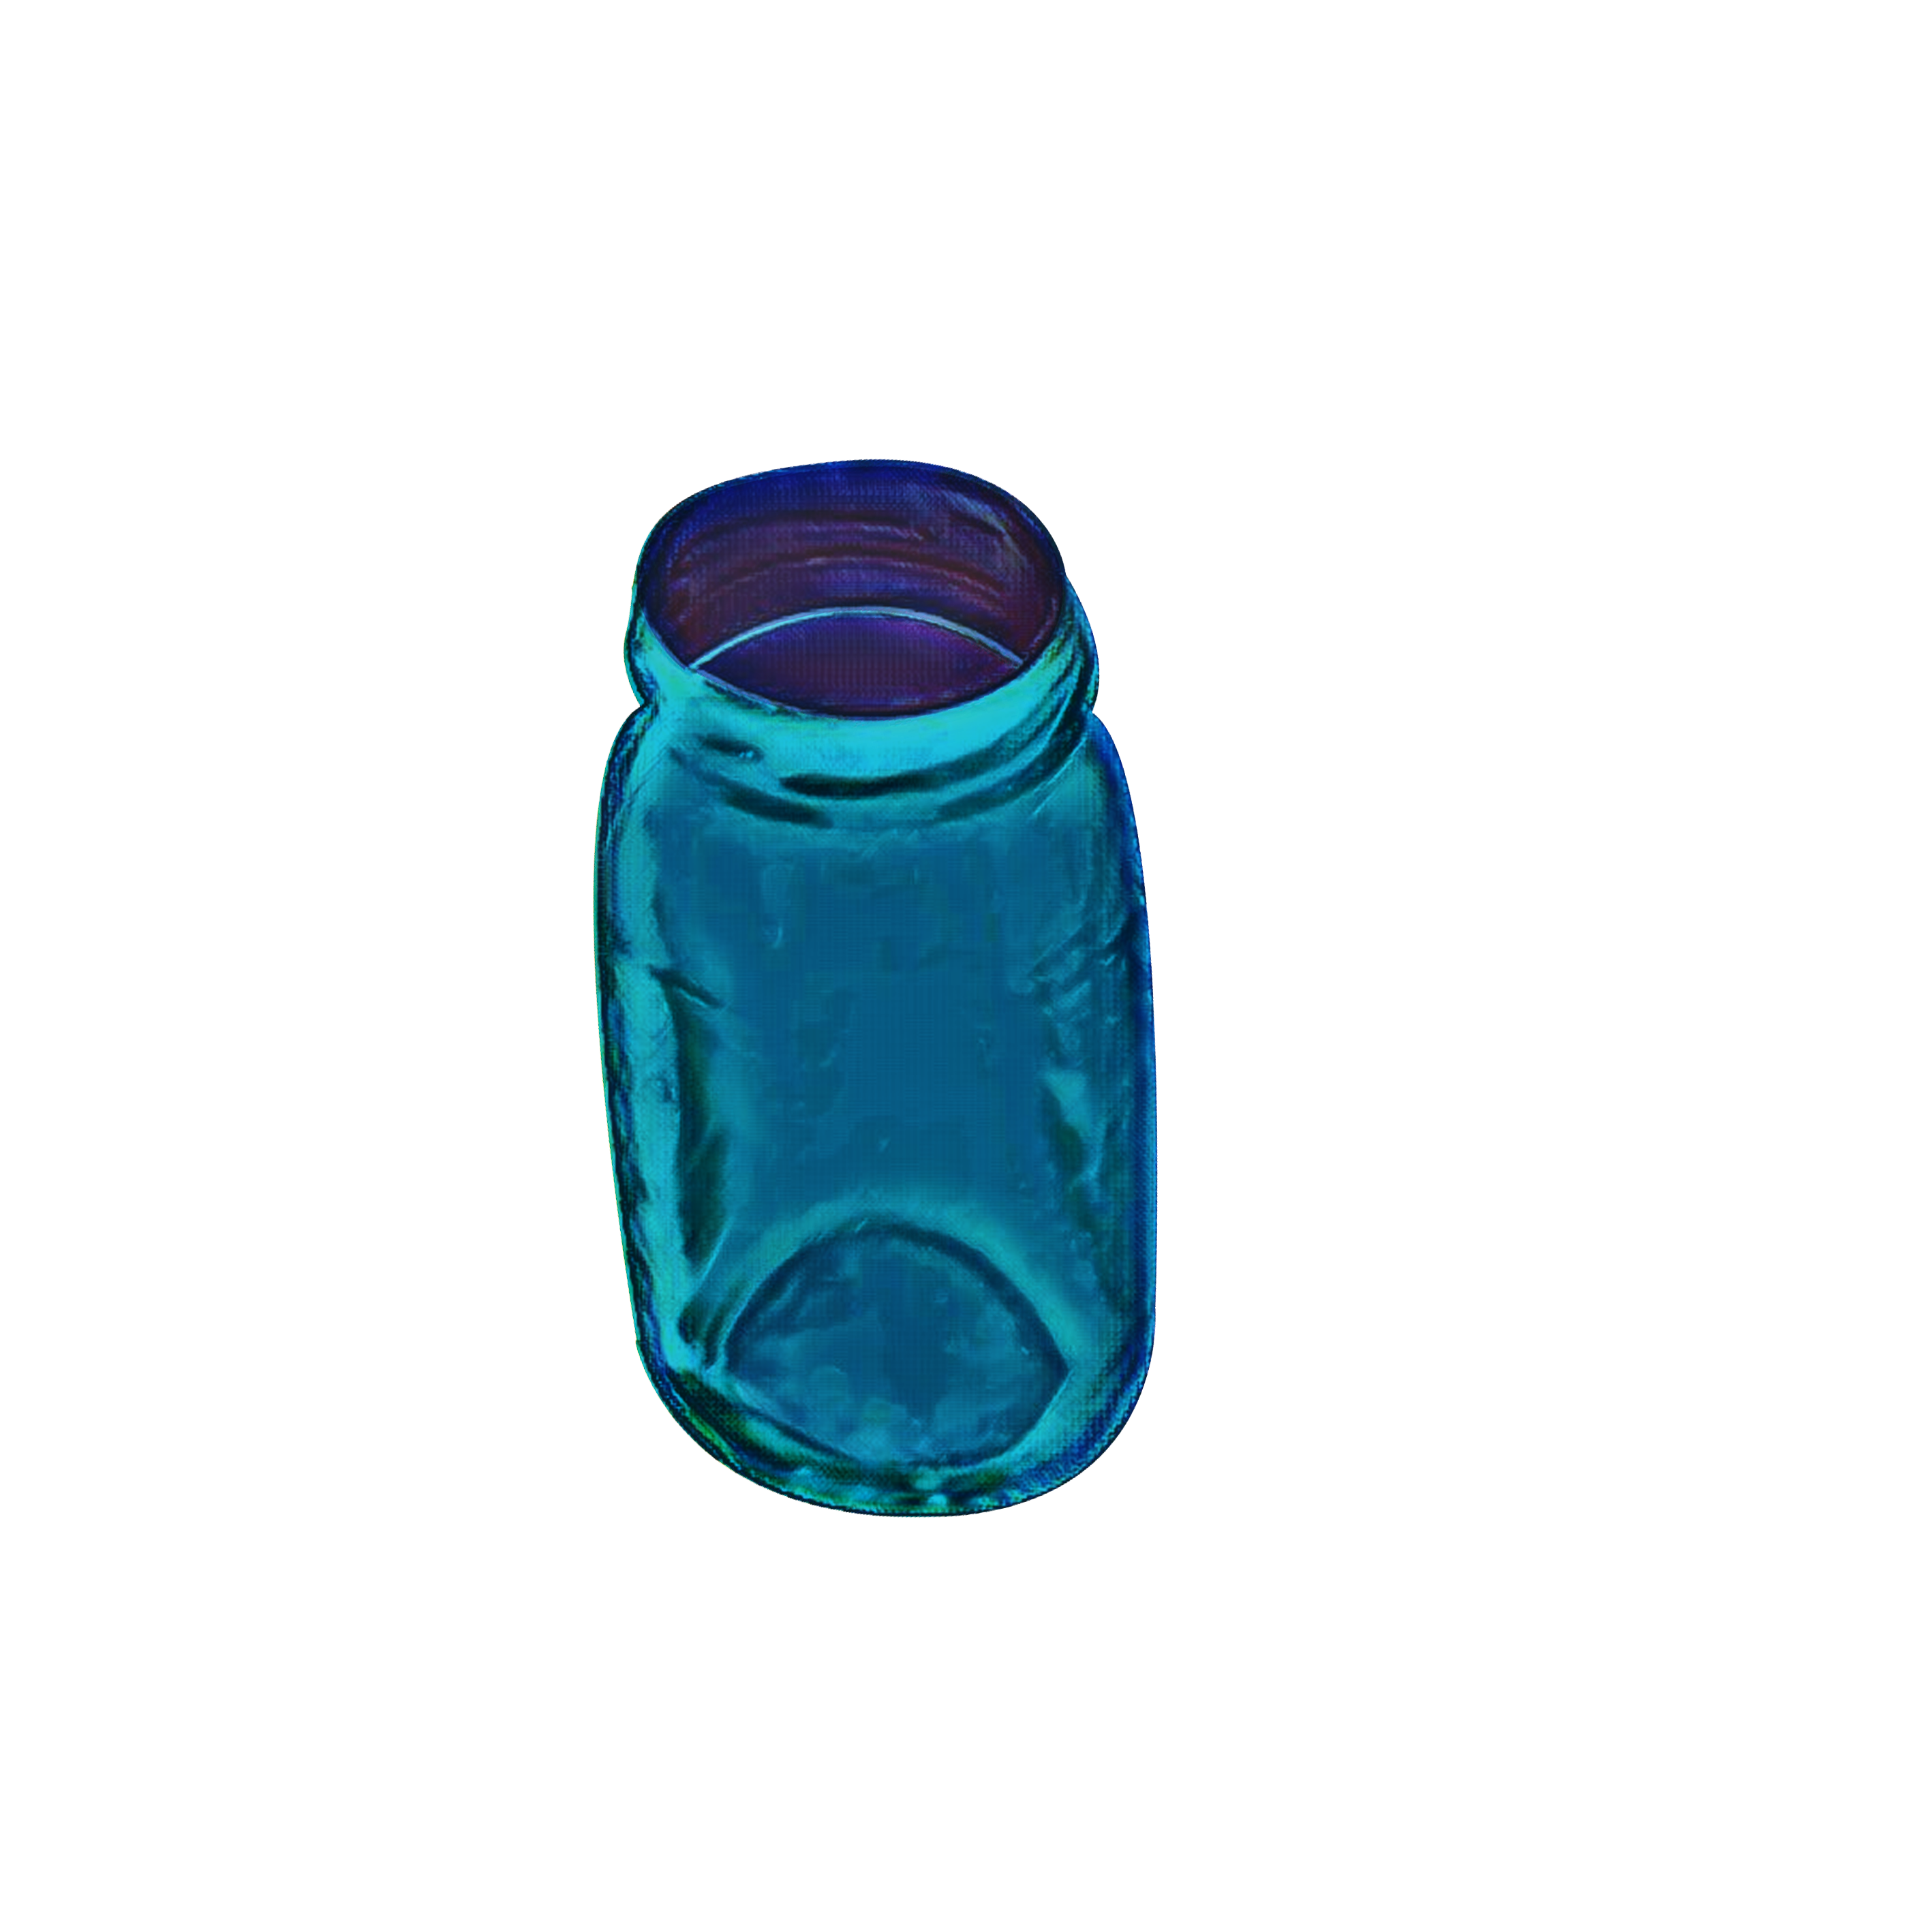 |
| Glass mug | Glass, cup, container, beverage. | 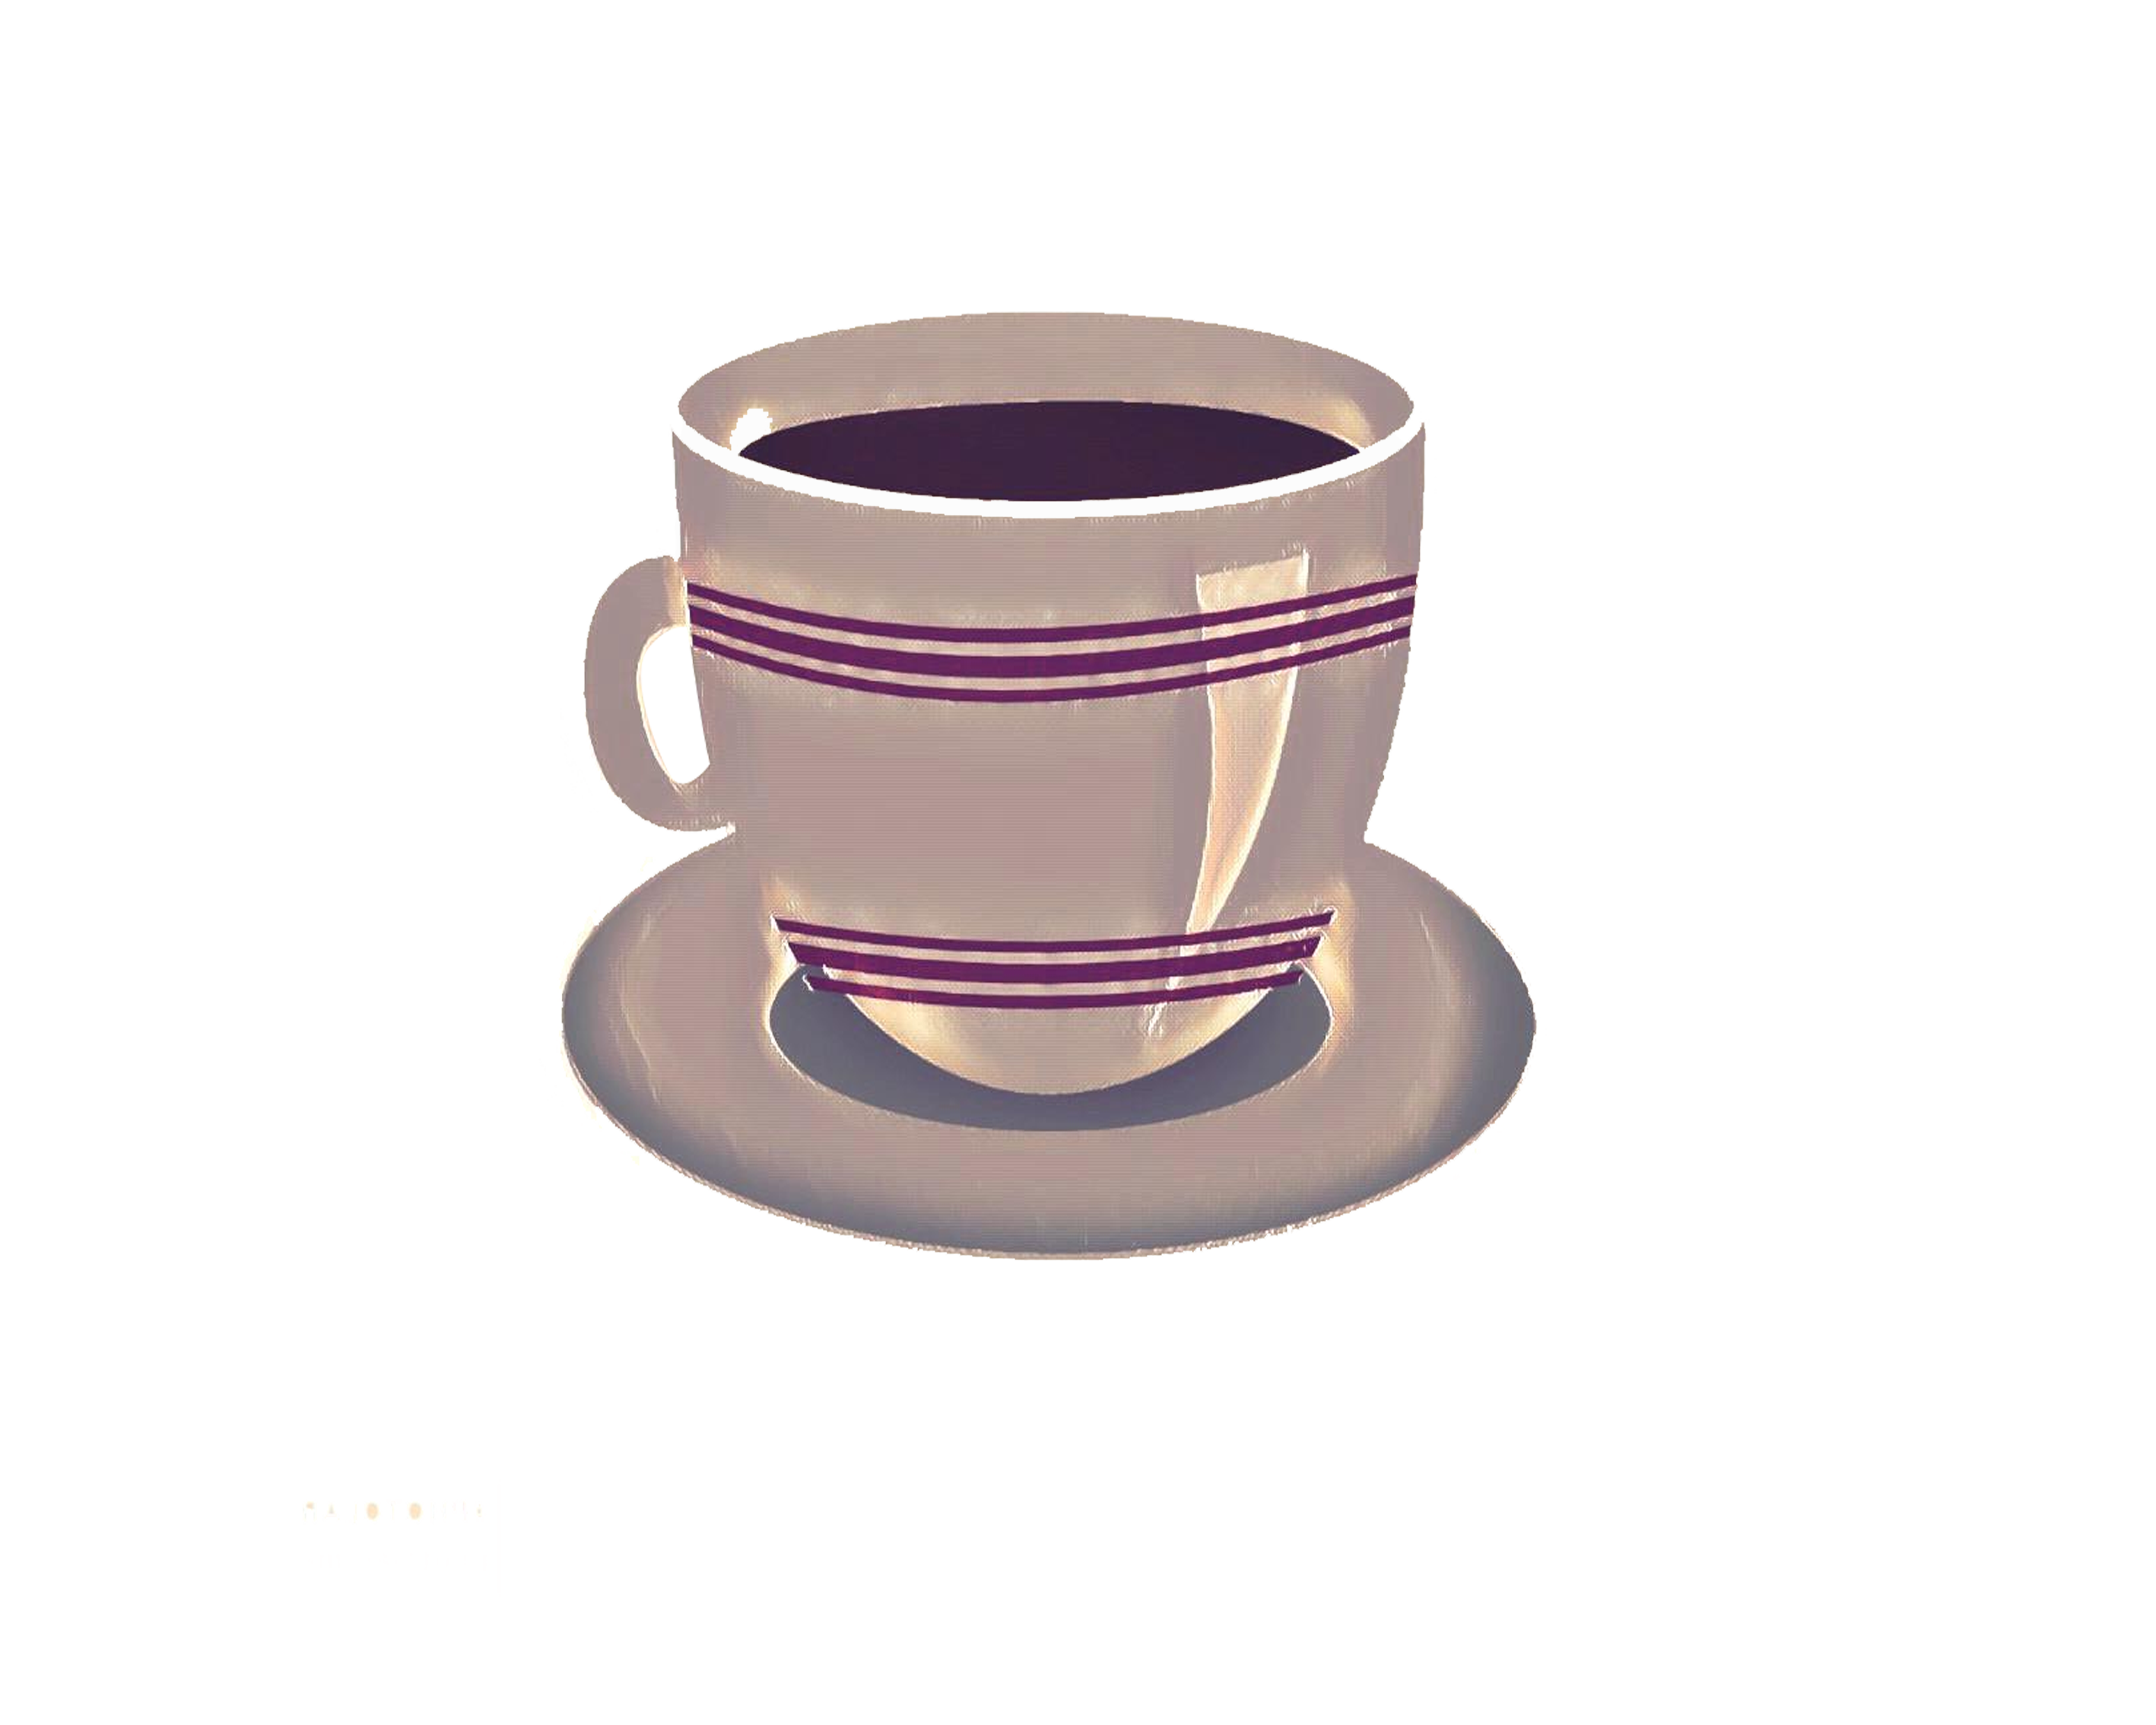 |
| Glass bottle | Glass, cup, container, beverage. |  |
Tutorial Photoshop
Tutorial Photoshop
Para lograr un efecto de vidrio y se puede visualizar la imagen que esta atrás de la botella realizamos los siguientes pasos:
- Abrimos Photoshop.
- colocamos la imagen de fondo.
- Luego colocamos la imagen de la botella. Como pueden ver no se visualiza la imagen de fondo.
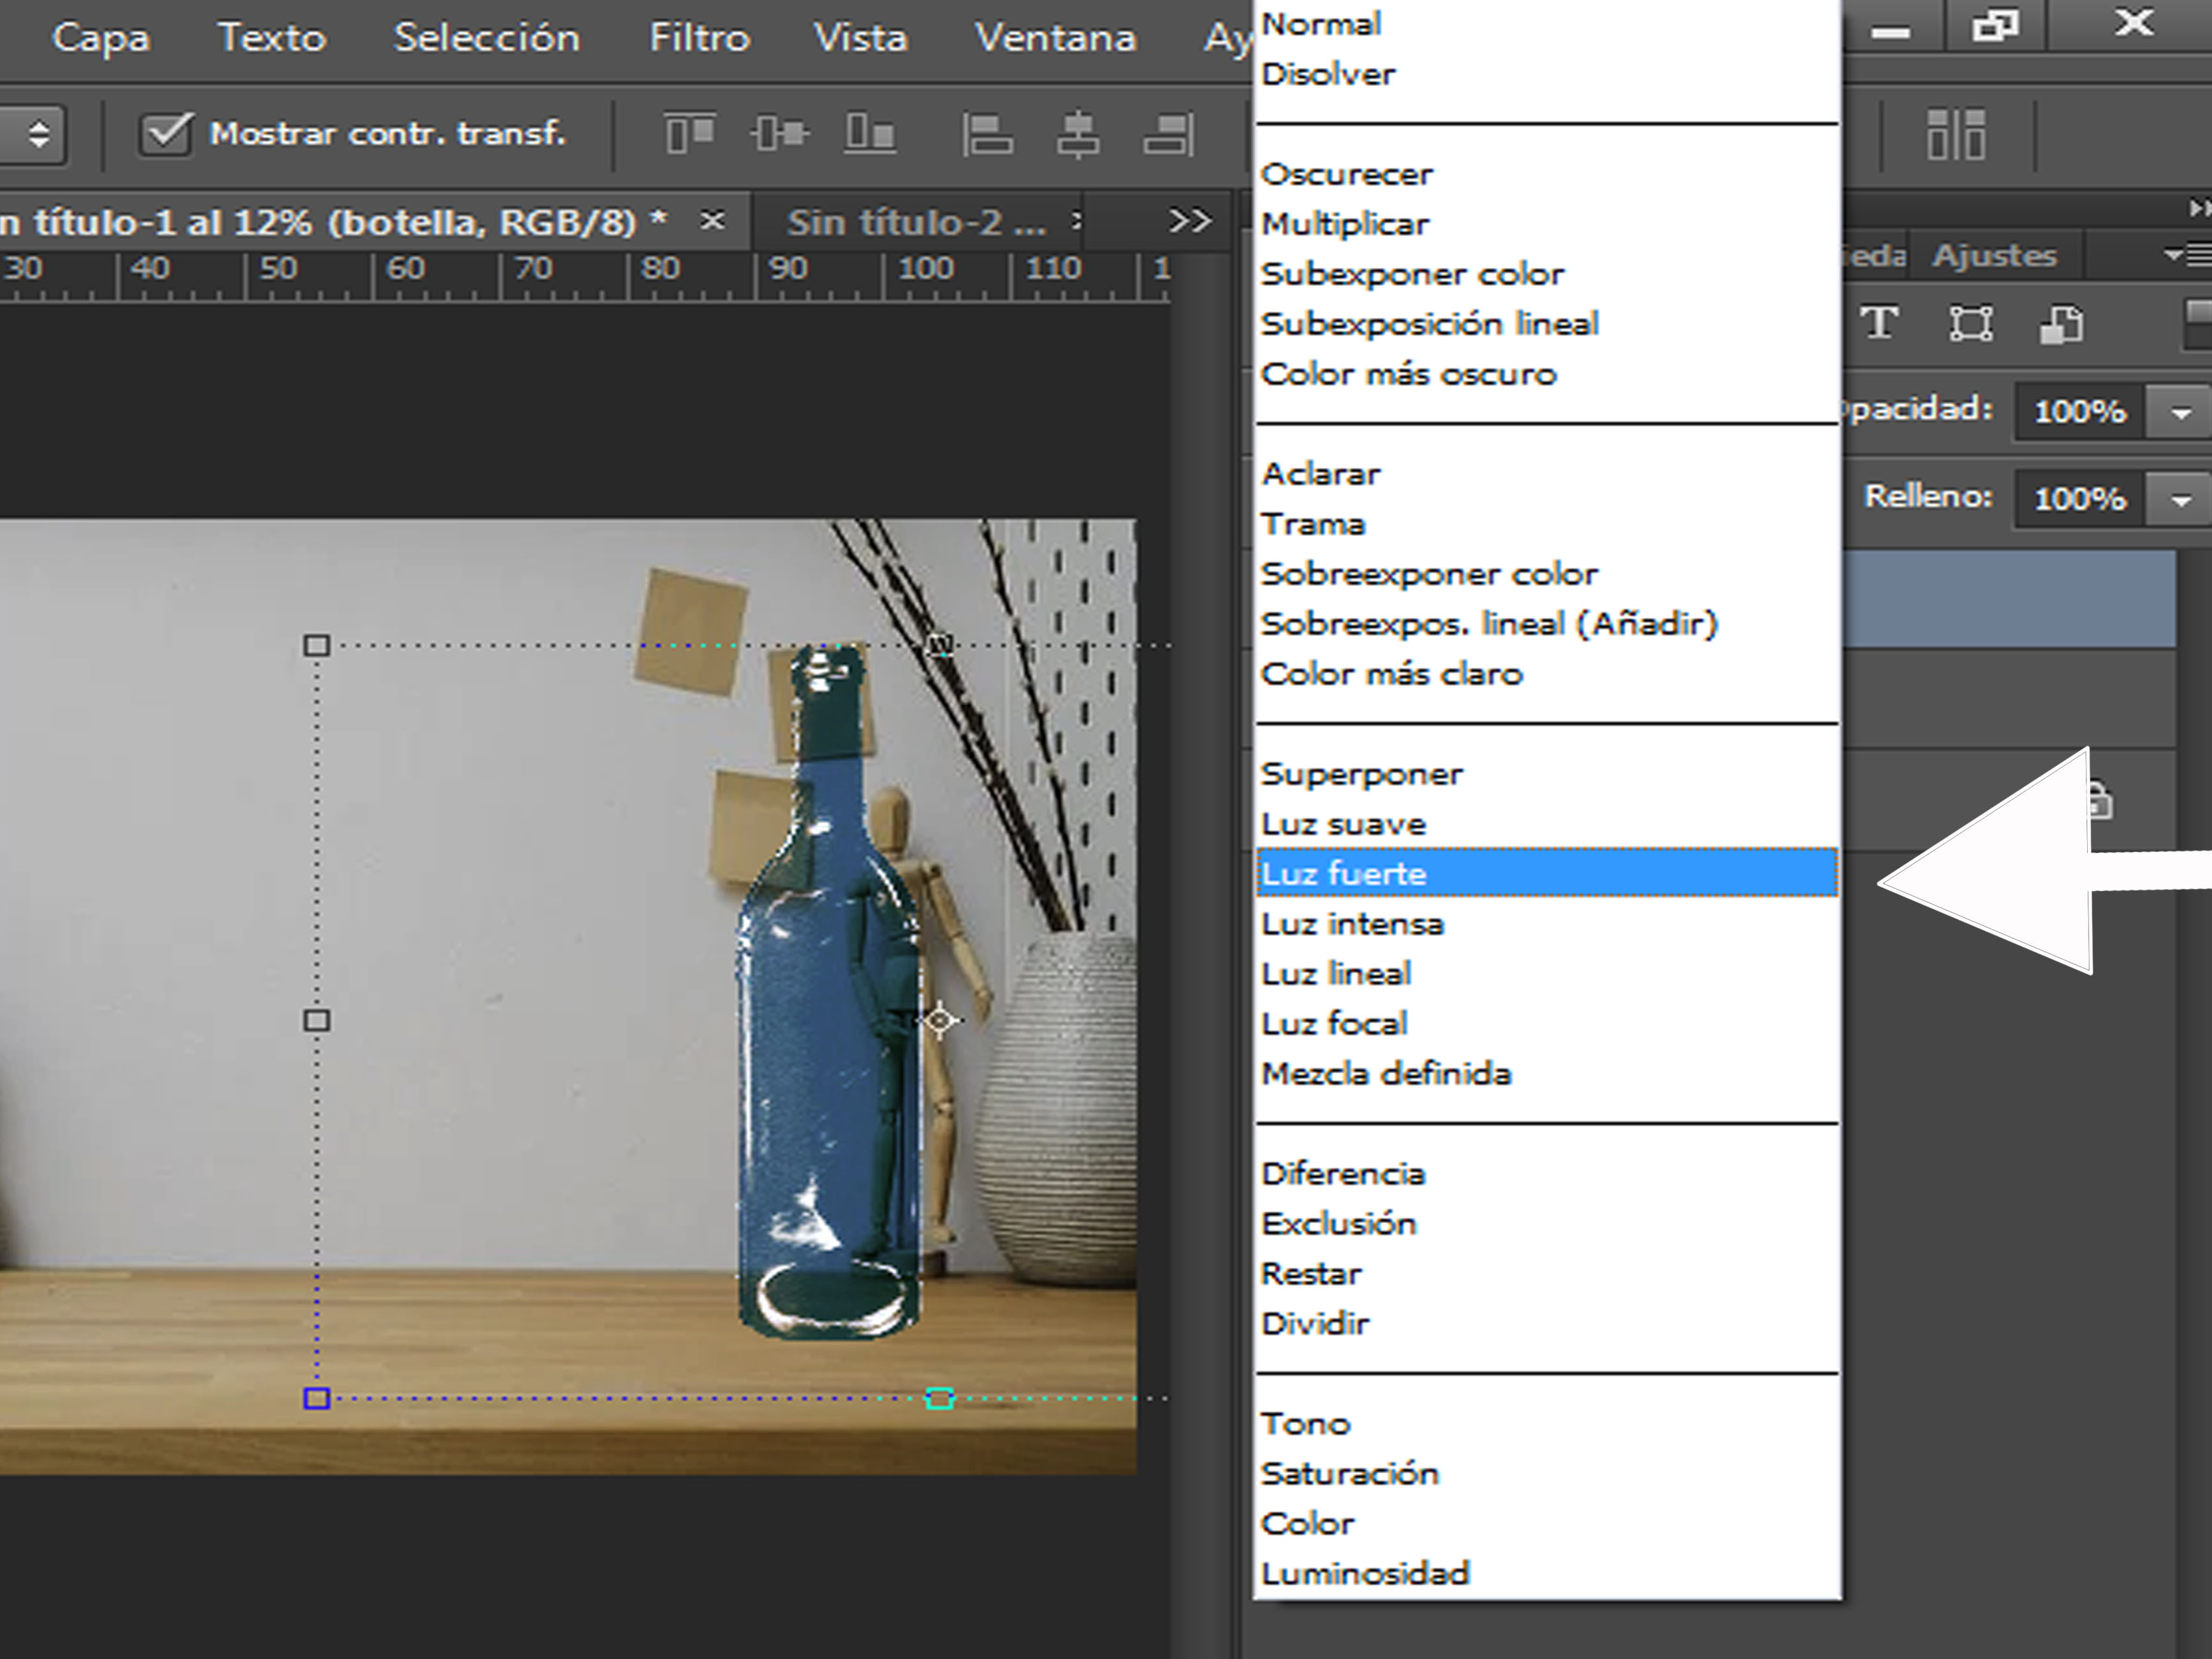
- Vamos a configurar modo de fusión, hacemos click.
- Seleccionamos luz fuerte.
To achieve a glass effect and you can see the image behind the bottle we perform the following steps:
- Open Photoshop.
- Place the background image.
- Then we place the image of the bottle. As you can see the background image is not displayed.
- We go to set blending mode, click on it.
- Select strong light.
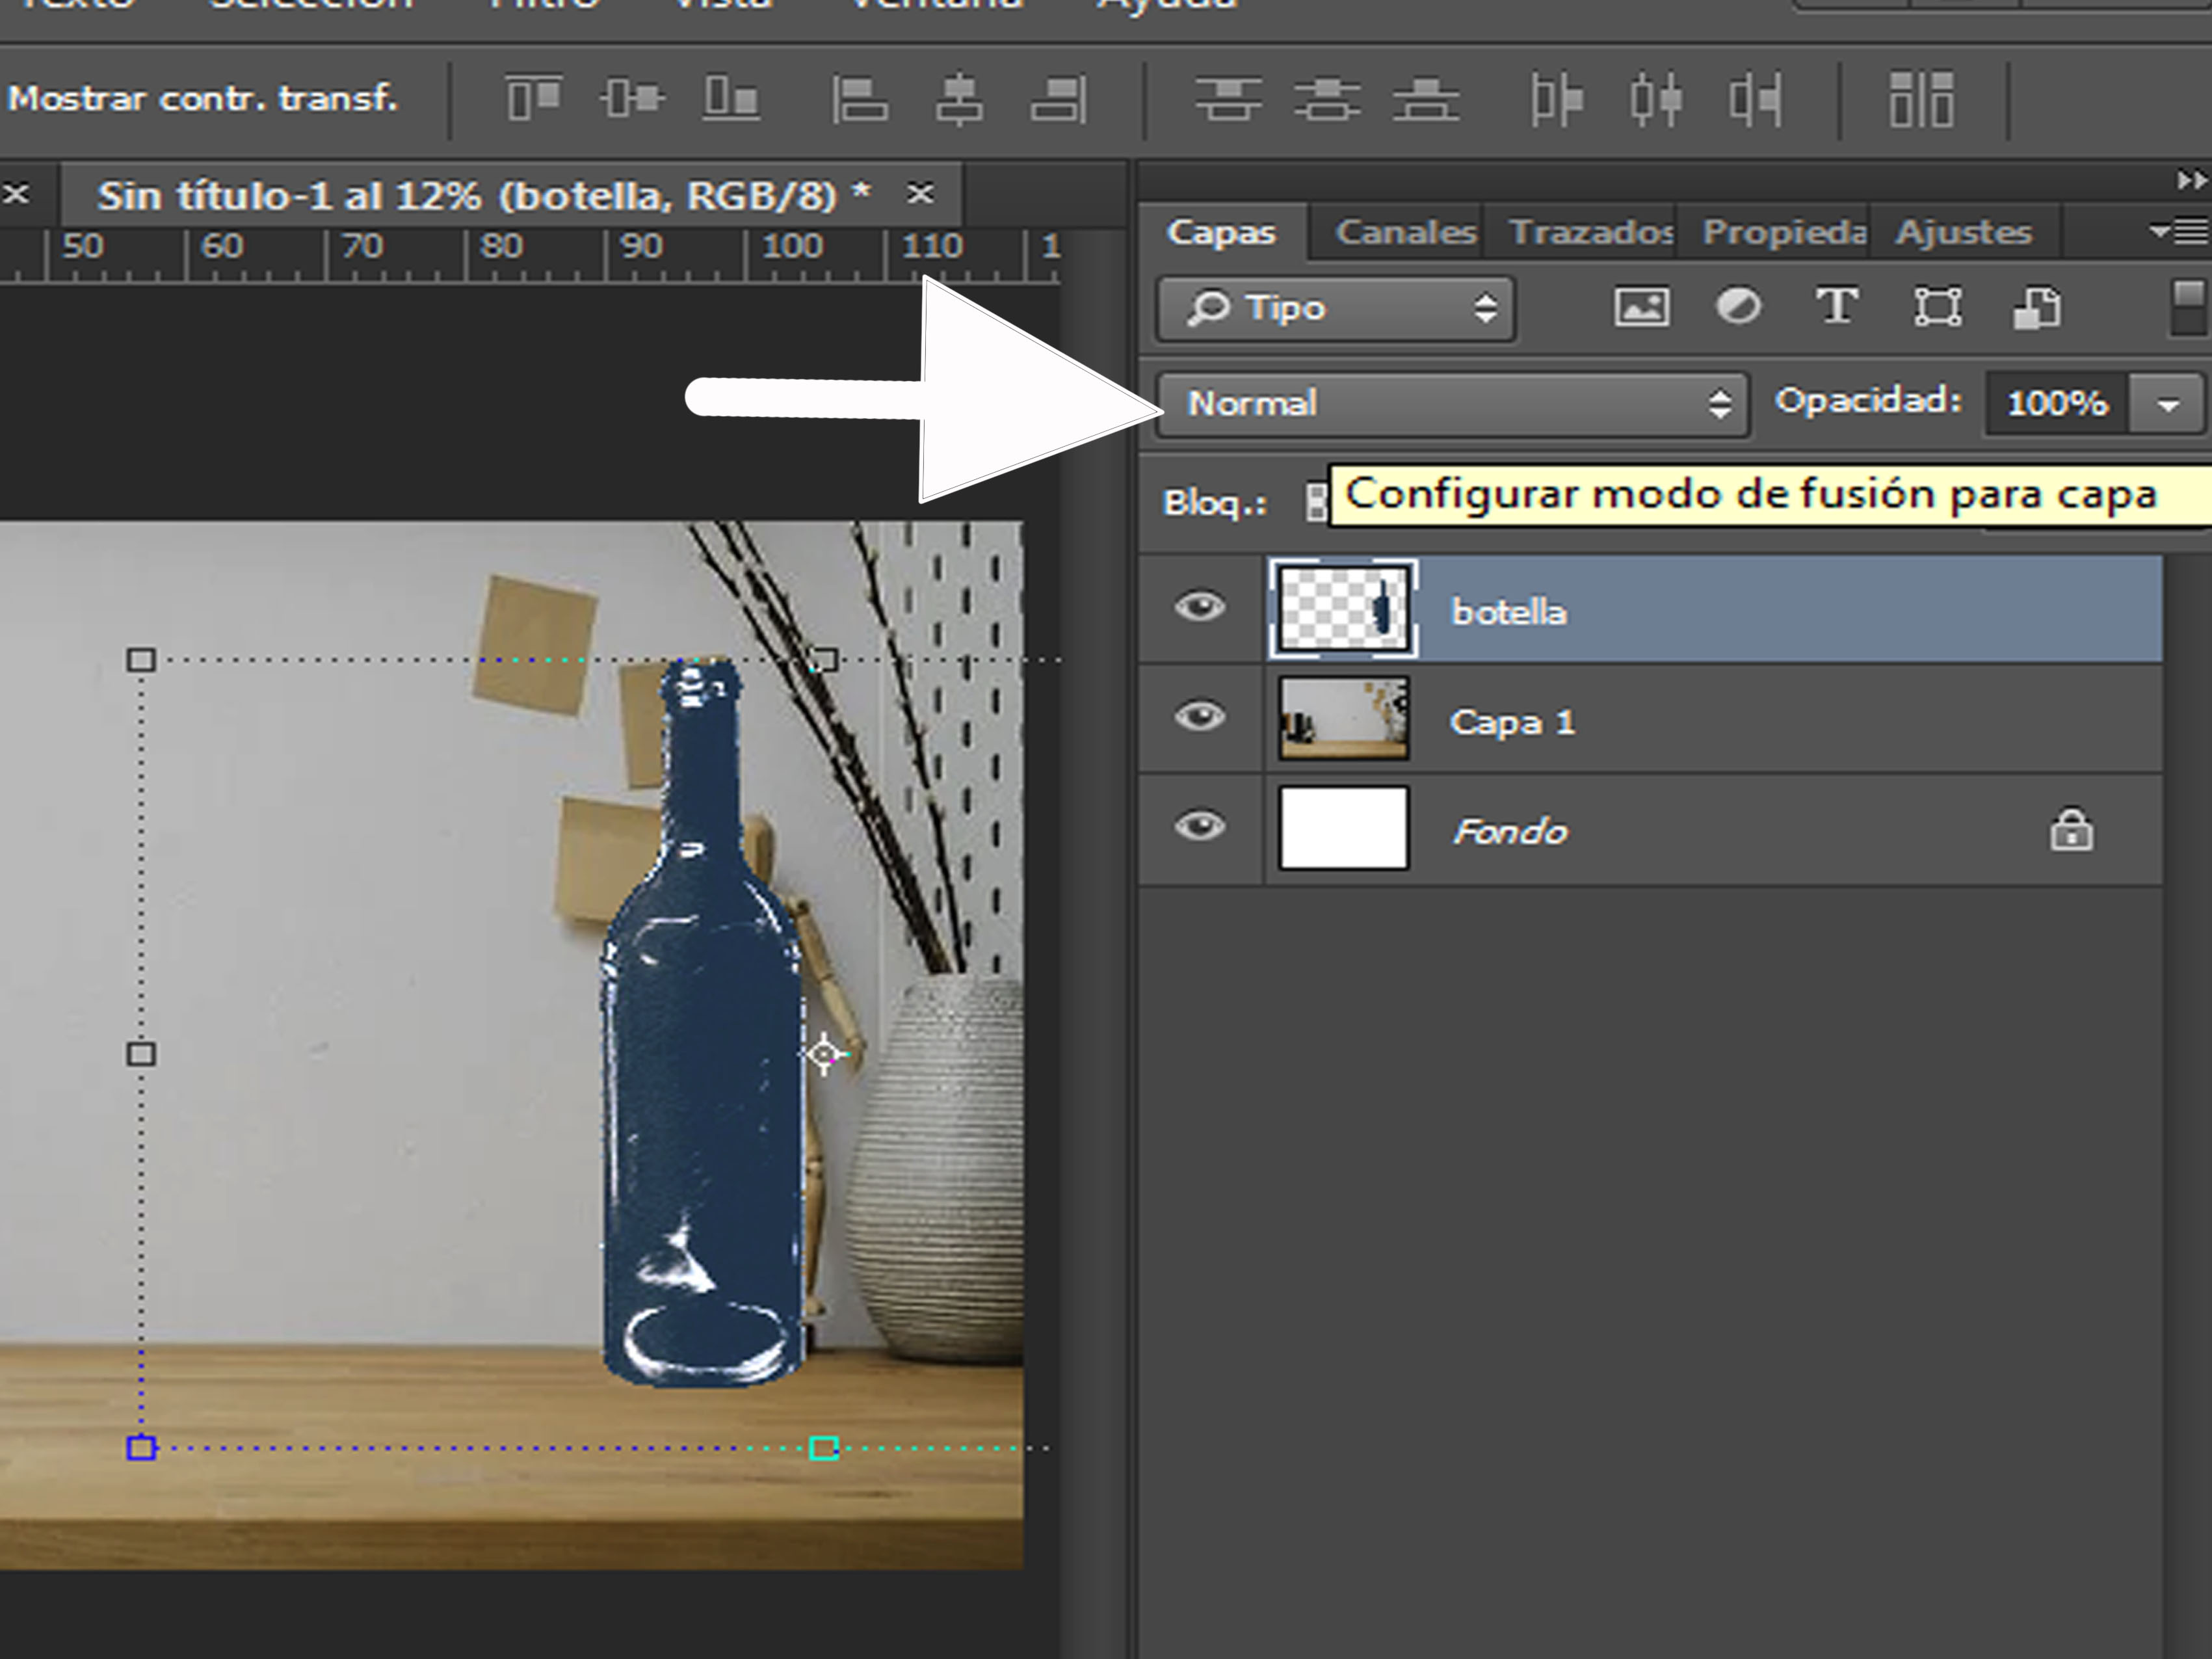
Ahora si se ve como vidrio y se visualiza la imagen de fondo.
Now it looks like glass and the background image is displayed.
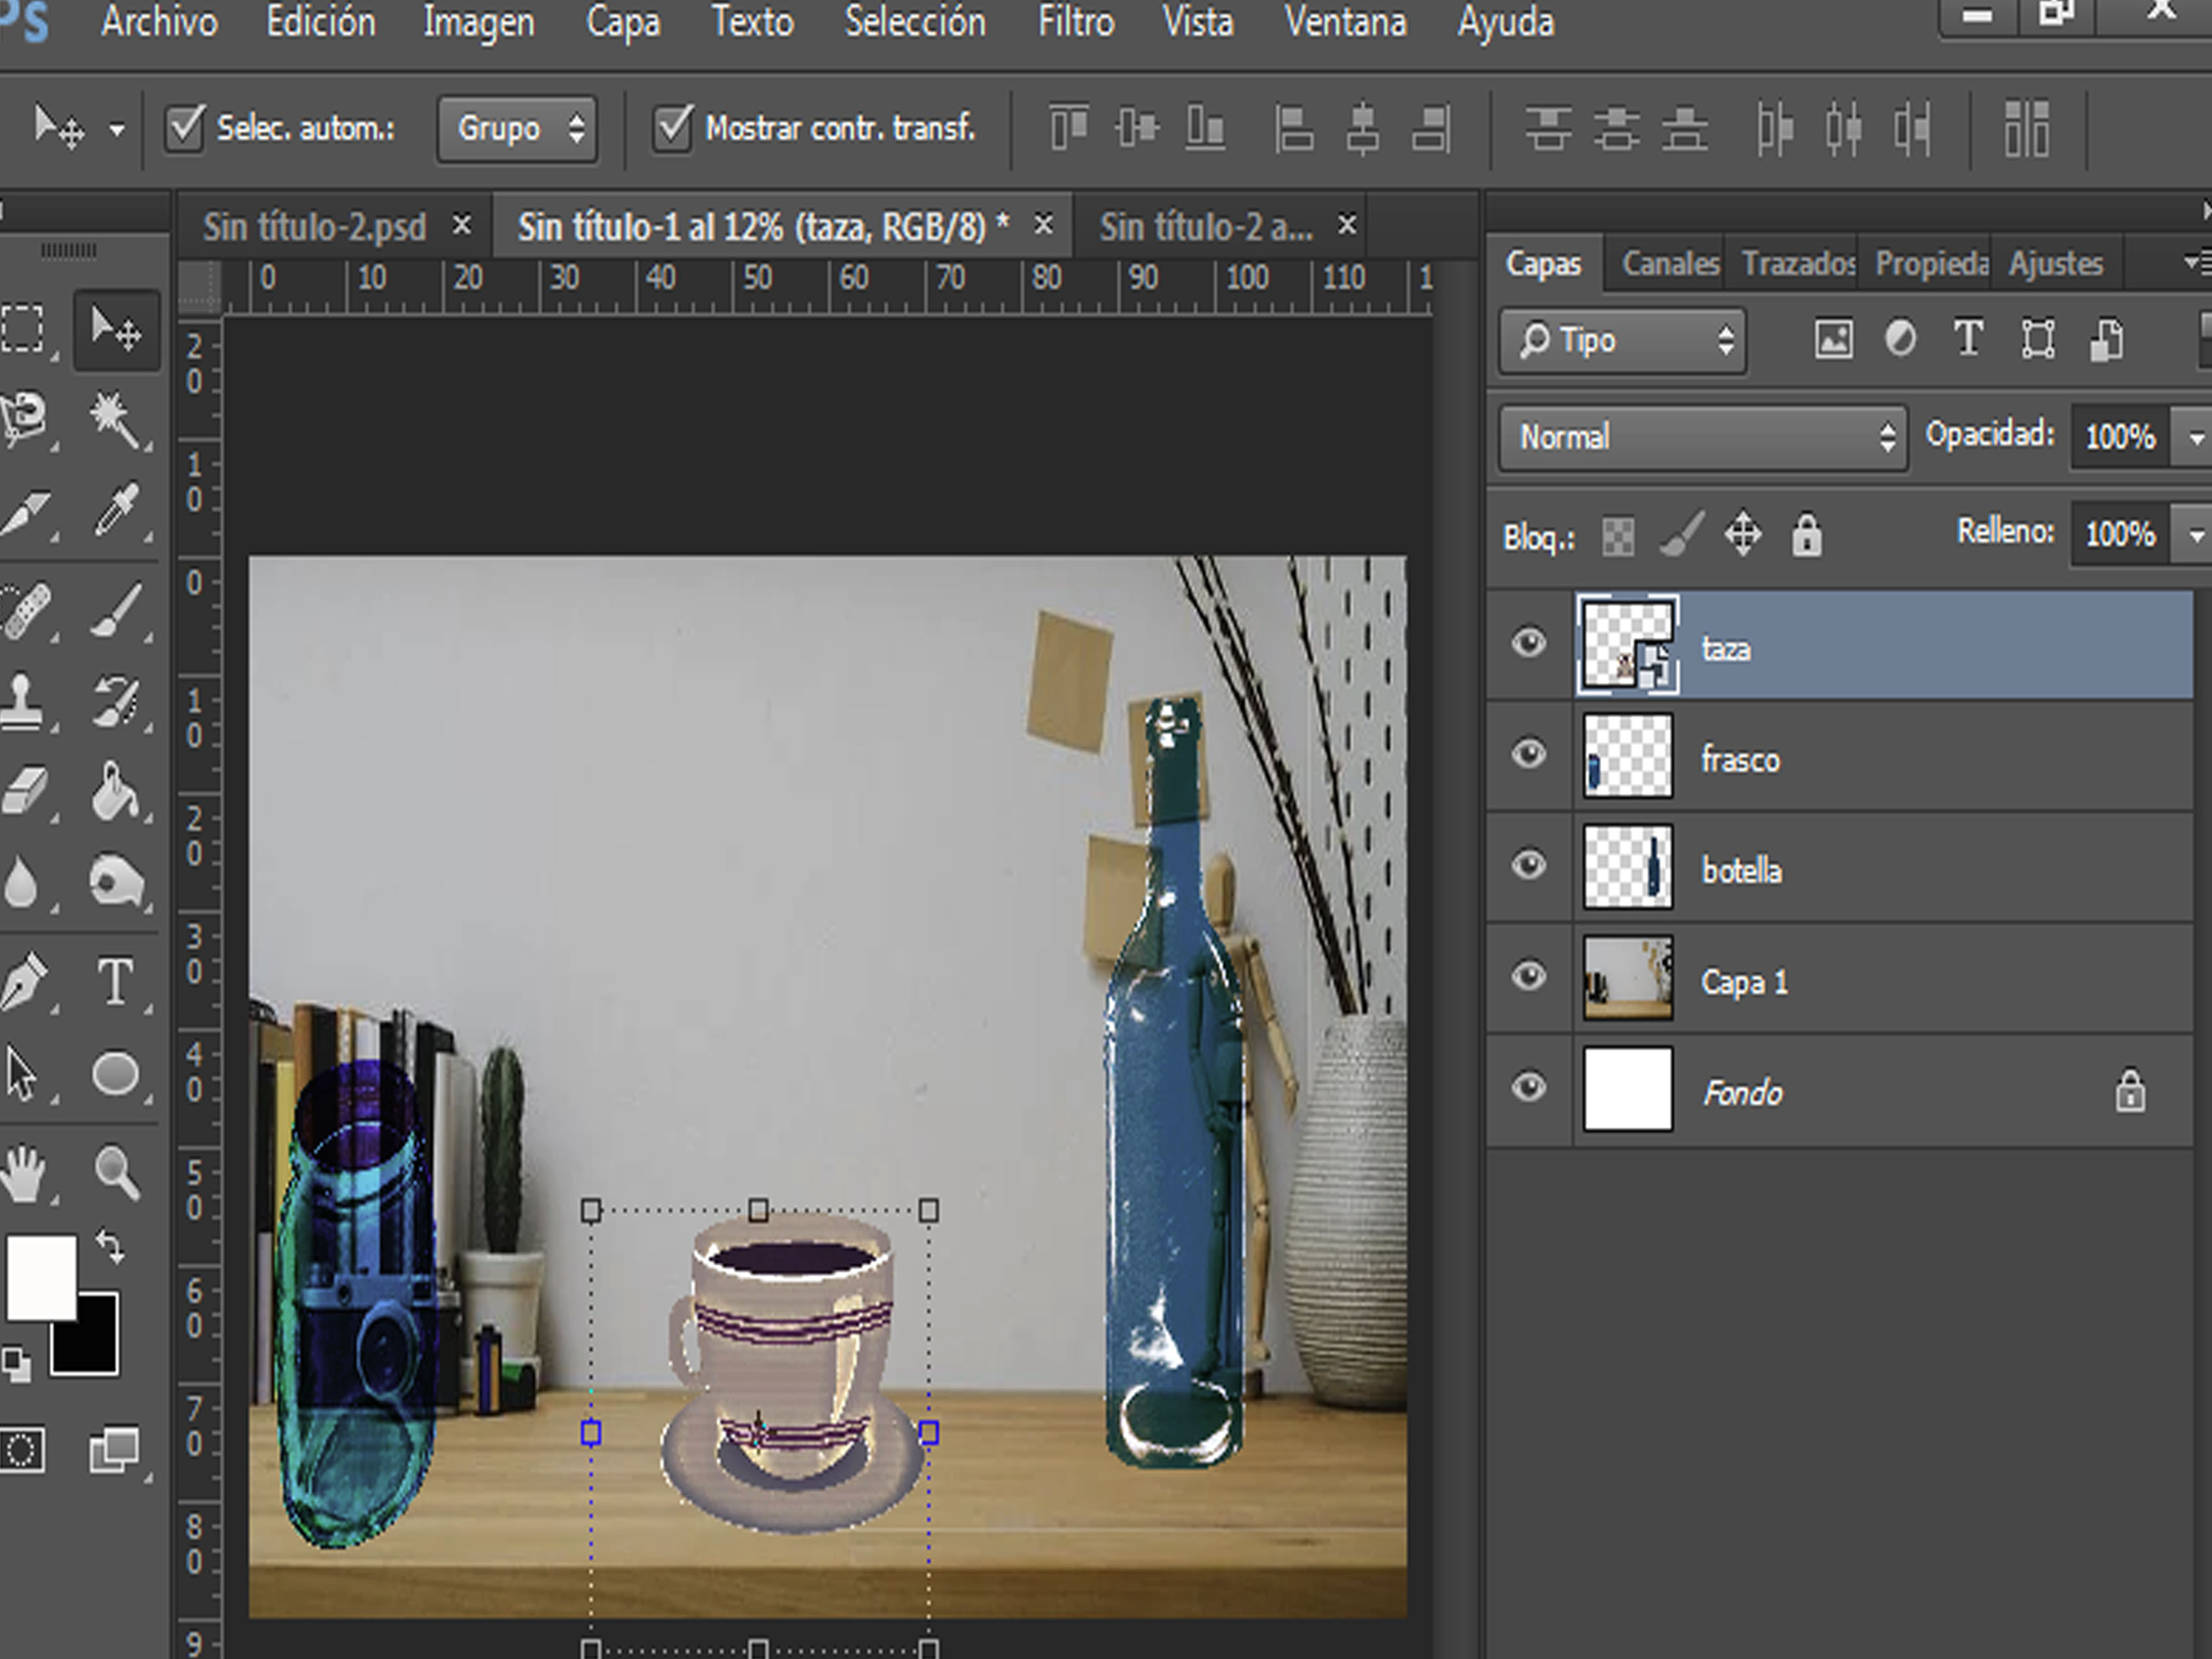
Para la taza:
- Colocamos la taza en una capa nueva.
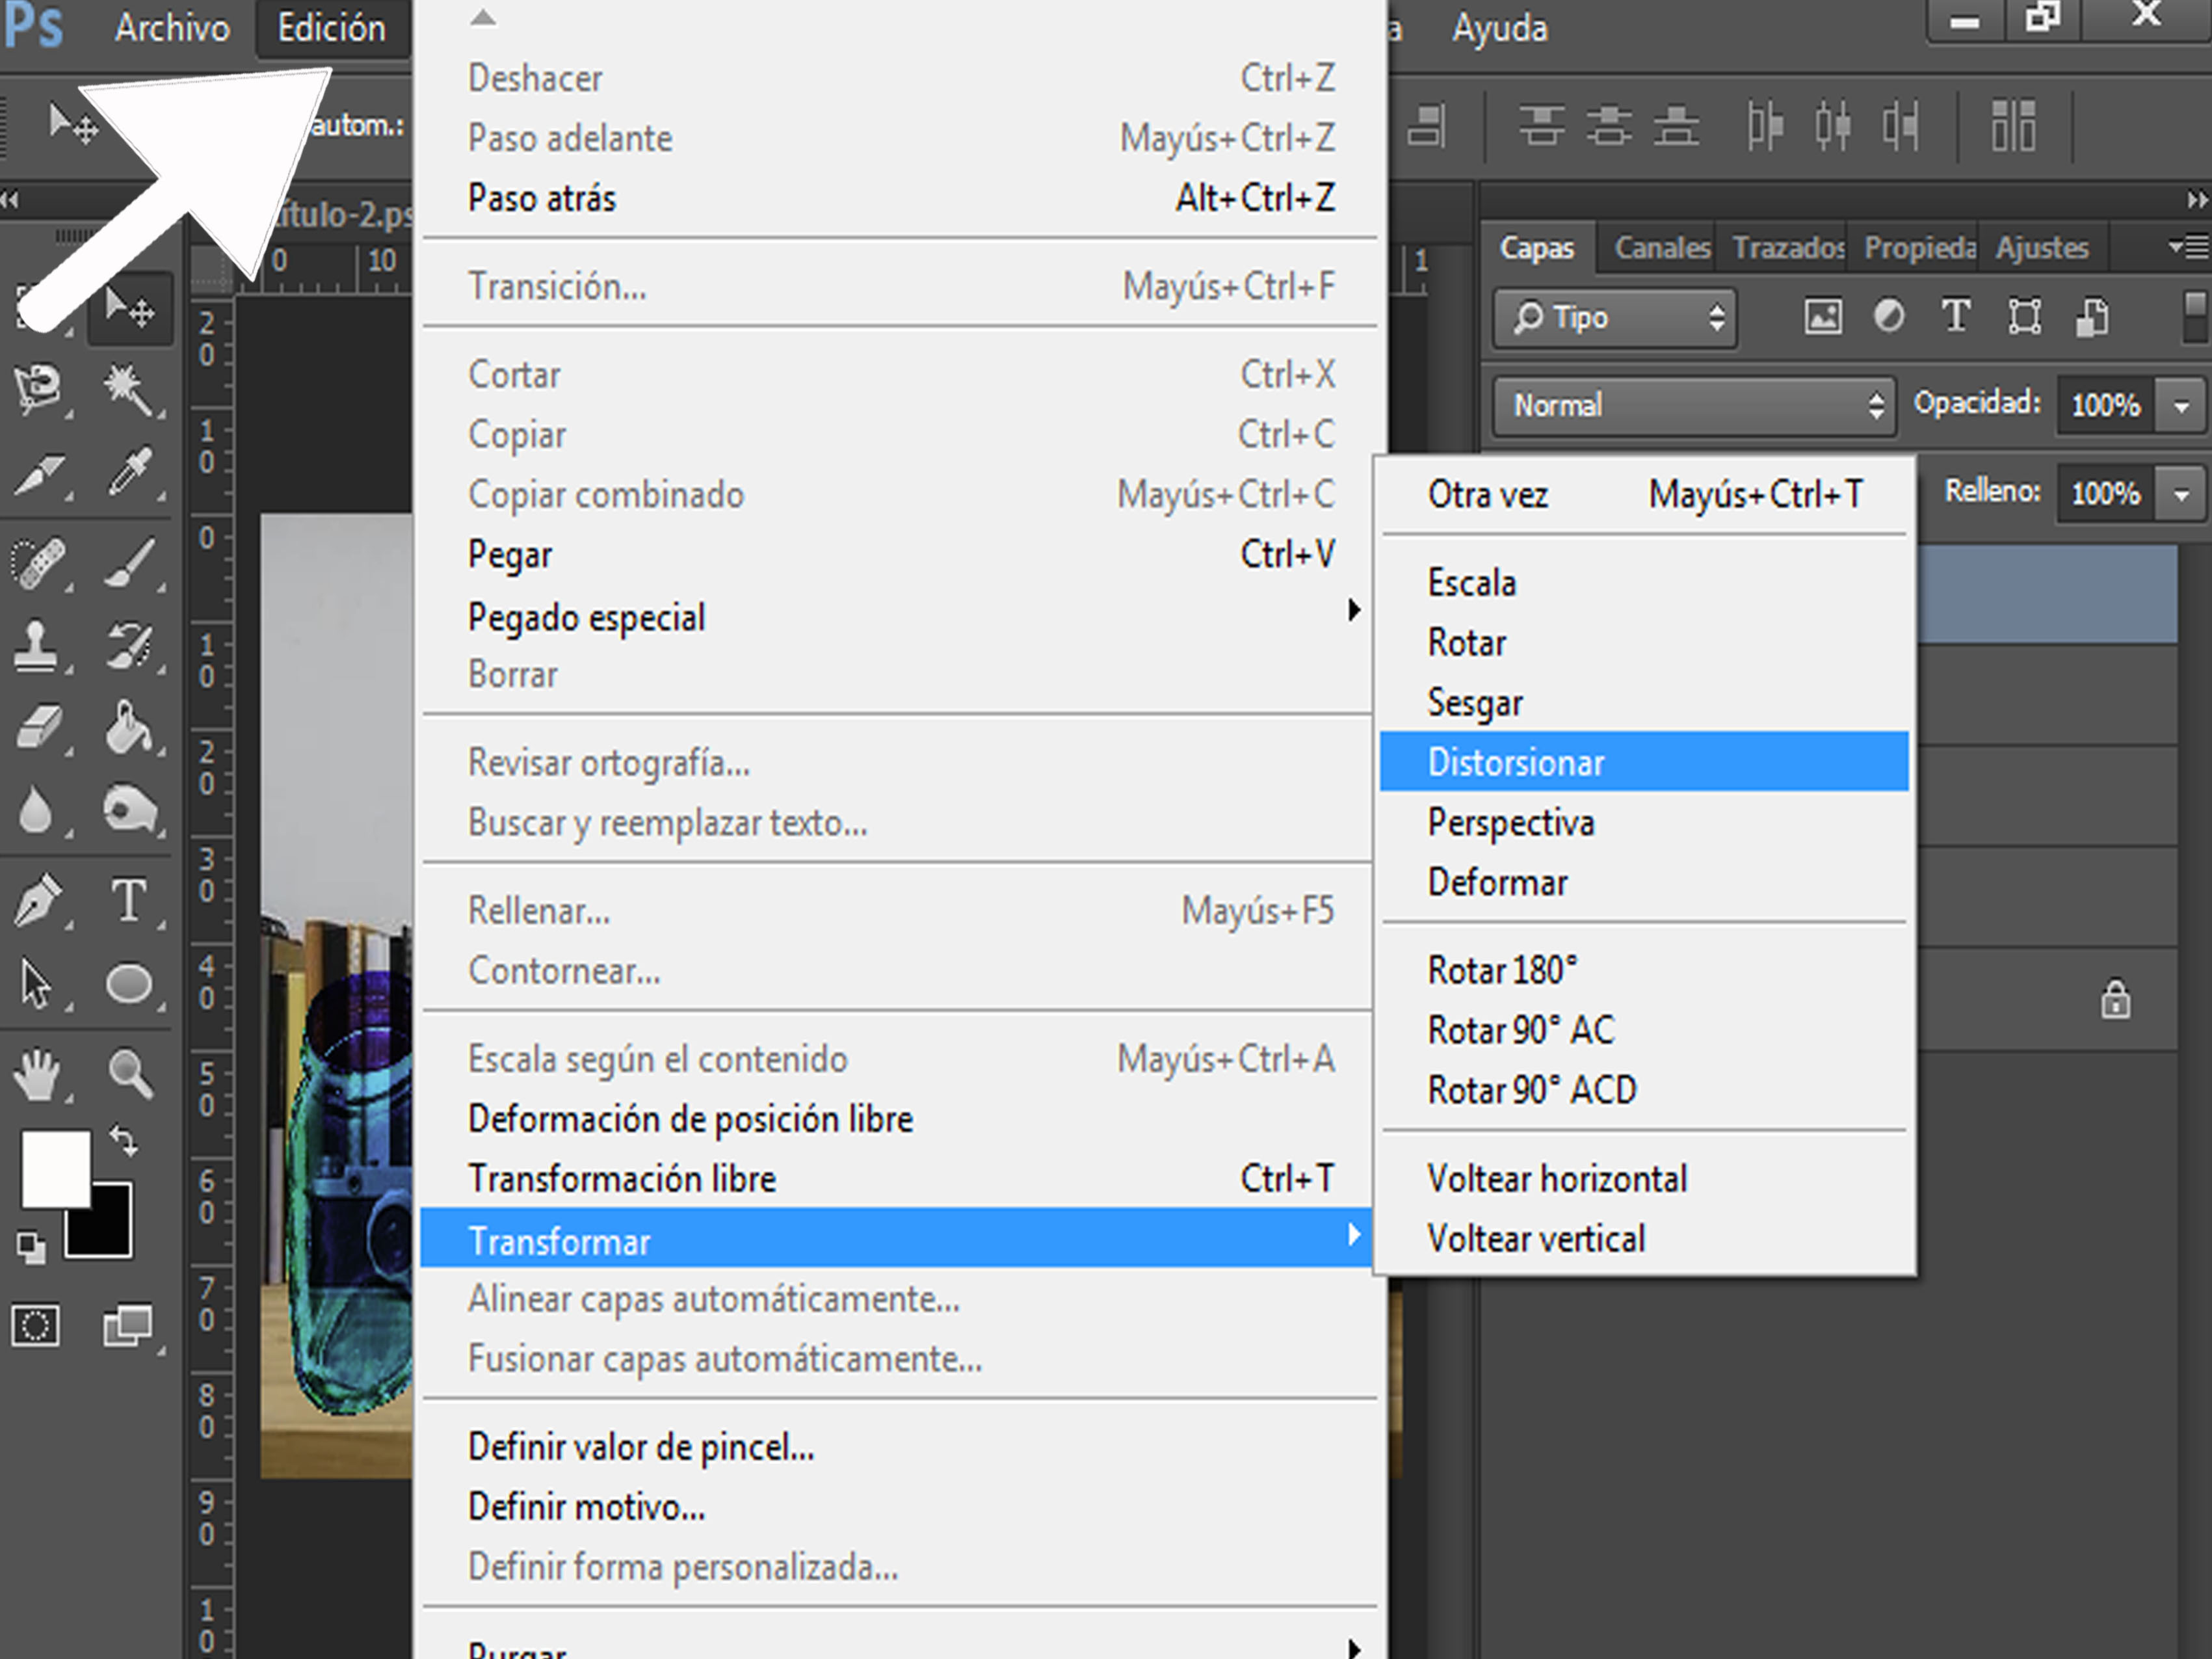
- Vamos a menú Edición.
- Seleccionamos transformar.
- Distorsionar.
Luego la vamos modificando a nuestro estilo, en mi caso la fui colocando inclinada para que diera el resultado como si se la están empujando.
For the cup:
- We place the mug on a new layer.
- Go to the Edit menu.
- Select Transform.
- Distort.
Then we modify it to our style, in my case I was placing it inclined to give the result as if it was being pushed.
Y este fue el resultado final, con los pinceles de photoshop coloque el agua saliente de la taza.
And this was the final result, with the photoshop brushes I placed the water coming out of the cup.
Image address for the tutorialPixabay
Image address for the tutorialPixabay
Your content has been voted as a part of Encouragement program. Keep up the good work!
Use Ecency daily to boost your growth on platform!
Support Ecency
Vote for new Proposal
Delegate HP and earn more