Jesus christ, that took a hell of a lot longer than I expected because of how fussy Godot is when it comes to tileset navigation. I did it though and I can reproduce some clean tiles now that do seem to all work fine. What you see here is ultra basic but should serve as a fairly reliable building block for any isometric projects you guys want to make.
First things first, credit where it's due to the creators of the videos that I'm using for reference, this write up I'm doing assumes you have a basic knowledge of Godot and have already followed along with most of what these guys have already done but are struggling with the finer details of tile navigation as I have.
Even though the tutorials are pretty good I feel as if these guys have left out quite a lot of important detail on just how to get your tiles accurate even though the person doing the tilesets frequently mentions how important it is and does mention some of the maths involved but not all of it.
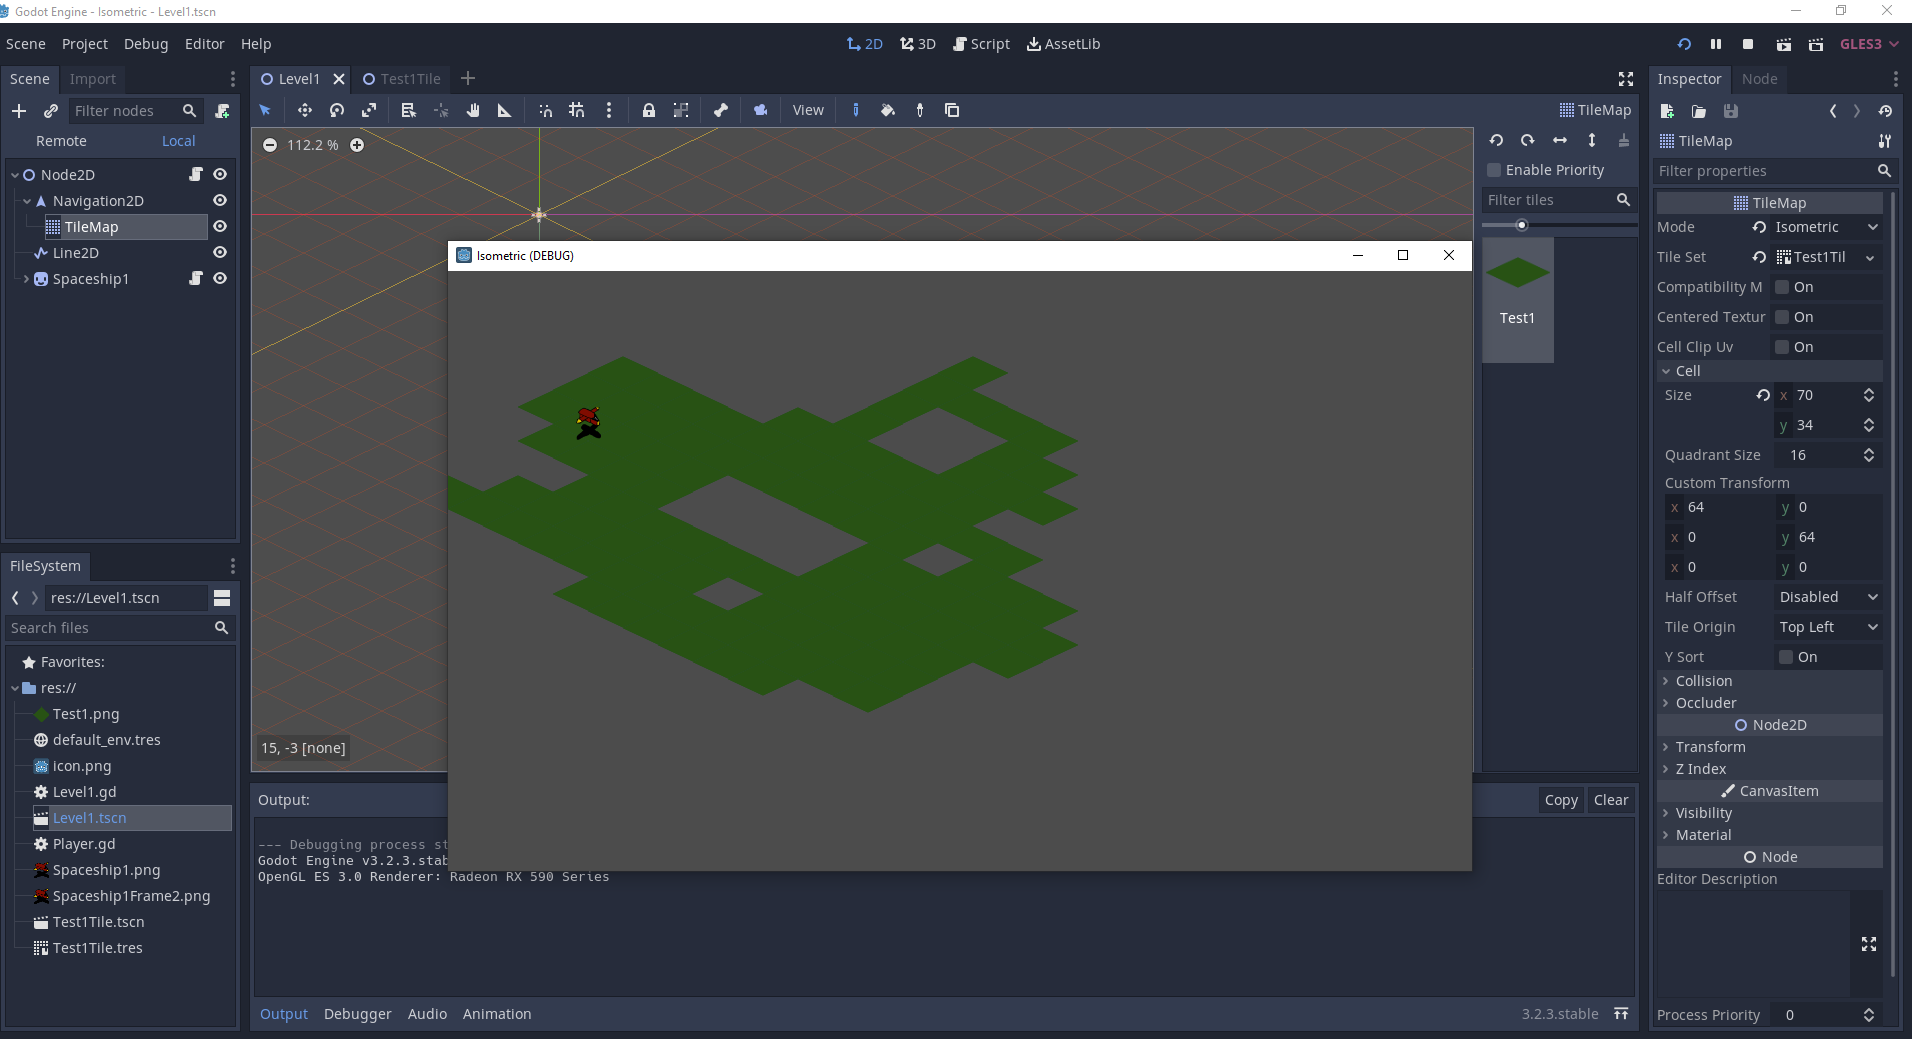
By the end of things this is how your tiles should end up looking, make good use of the visual debugger for fine adjustments.

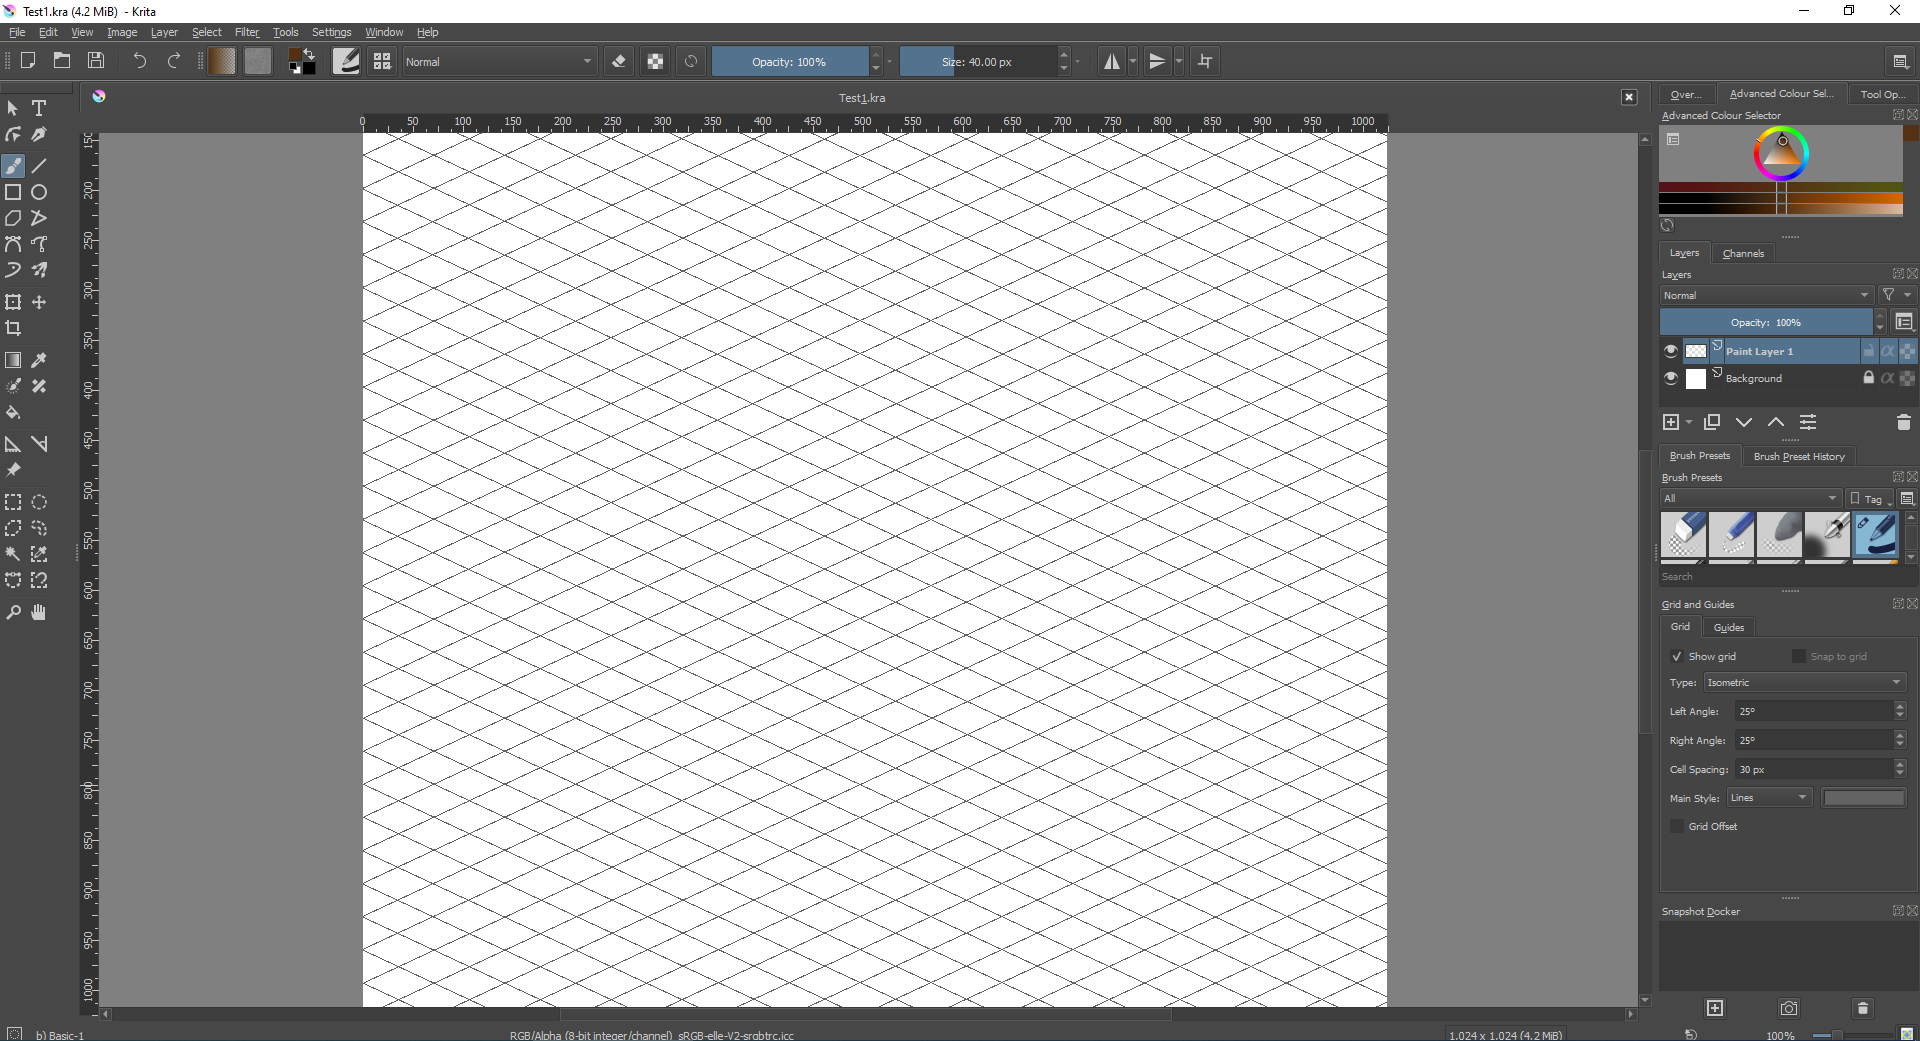
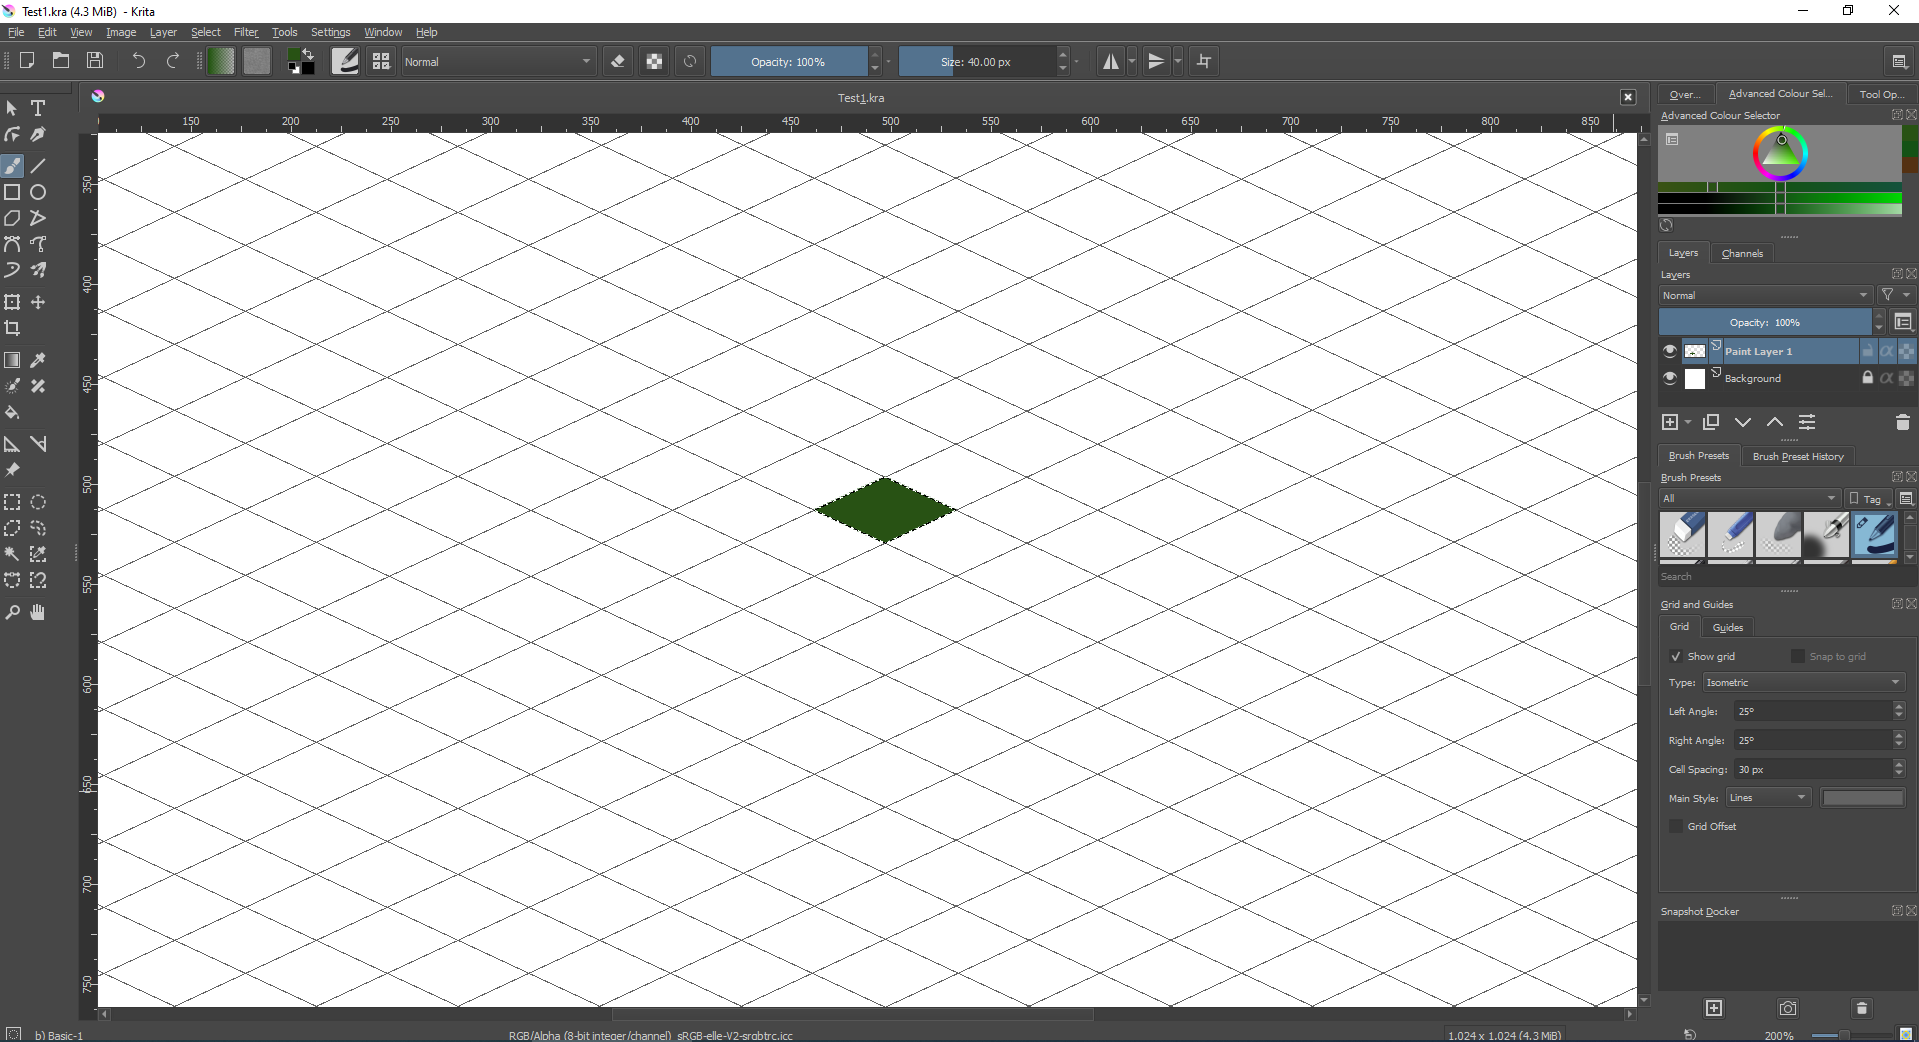
Start off by loading up Krita, I hadn't known a lot about krita when I did my write up before on various open source software but as it turns out it has an isometric grid option for you to use which is absolutely perfect for this job. Set up the grid as I've shown in the screenshot below to get started, we're only going to use one diamond to keep things extremely simple so we don't fuck up the maths.
Pick a diamond to focus on, I just went for one roughly in the centre, click the polygon select tool on the bottom left where all the dotted lines are, you will then make a diamond shaped selection that matches each corner as exact as you can.
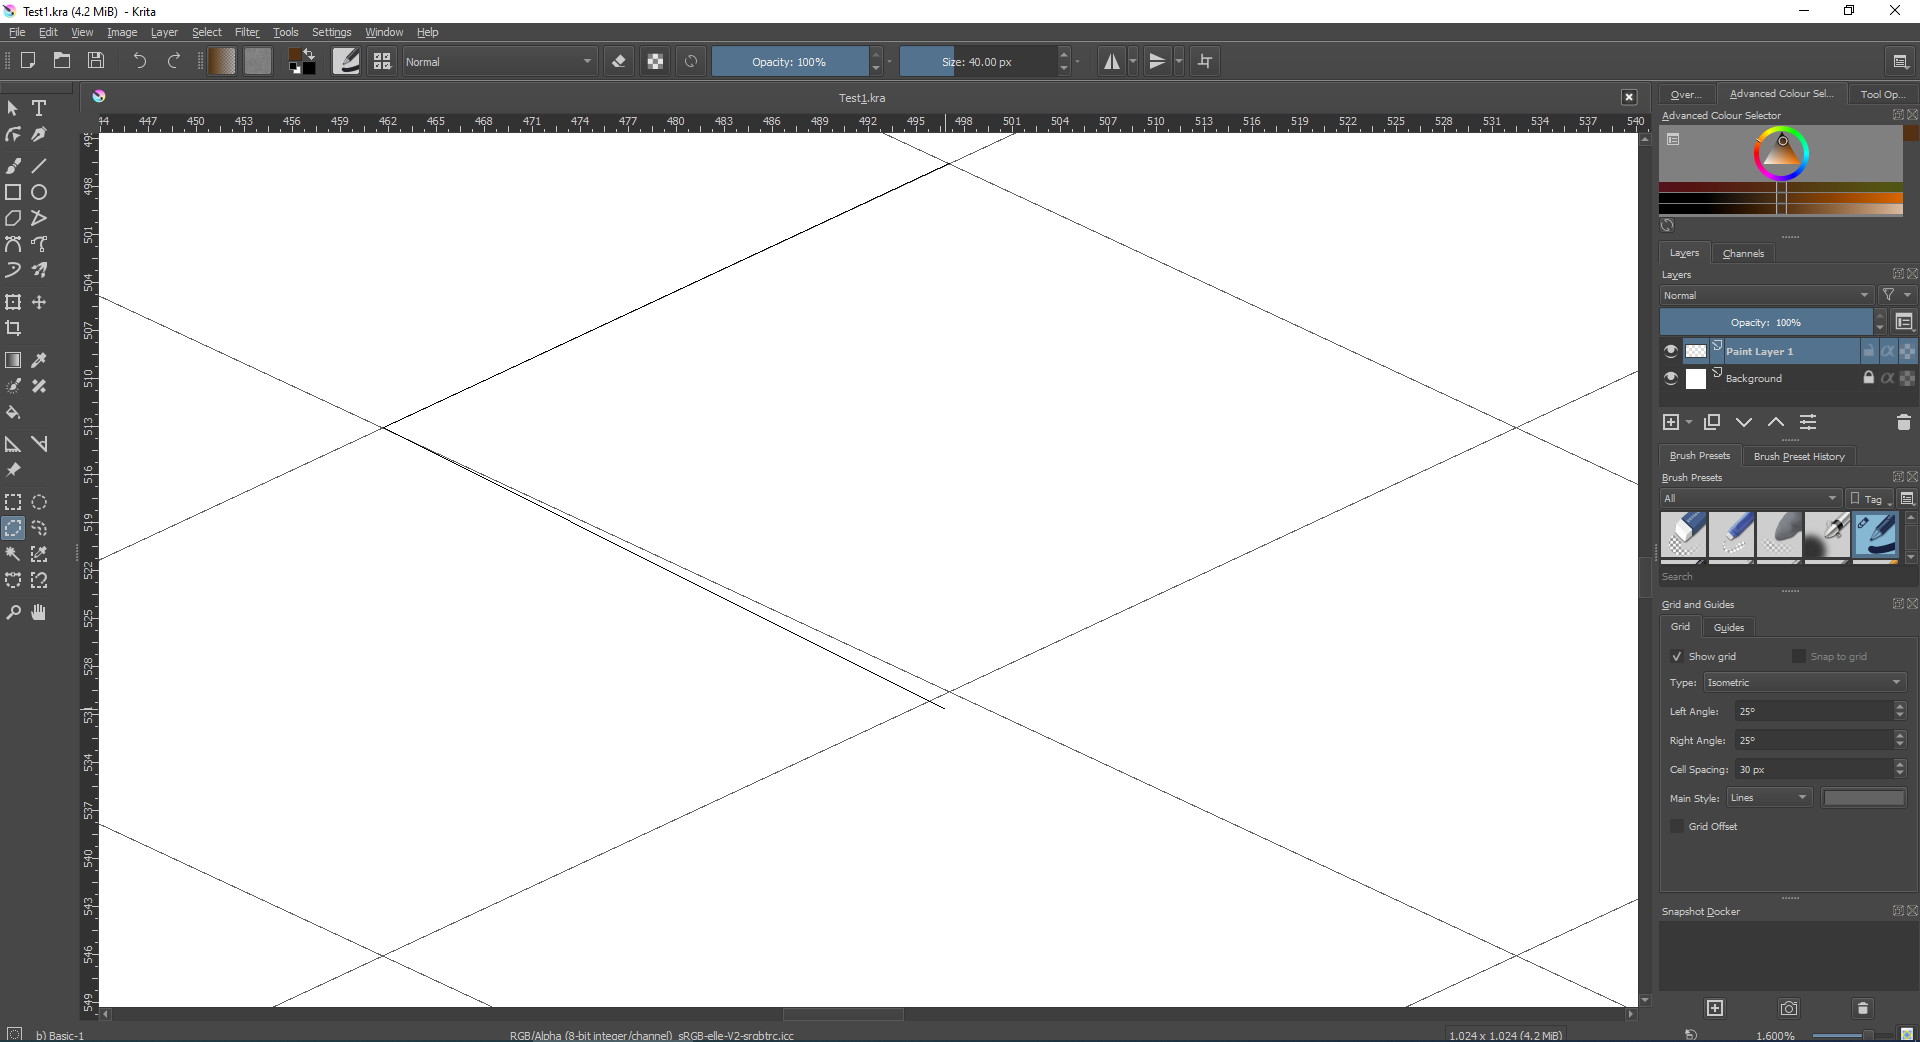
The finished polygon selection should look something like this.
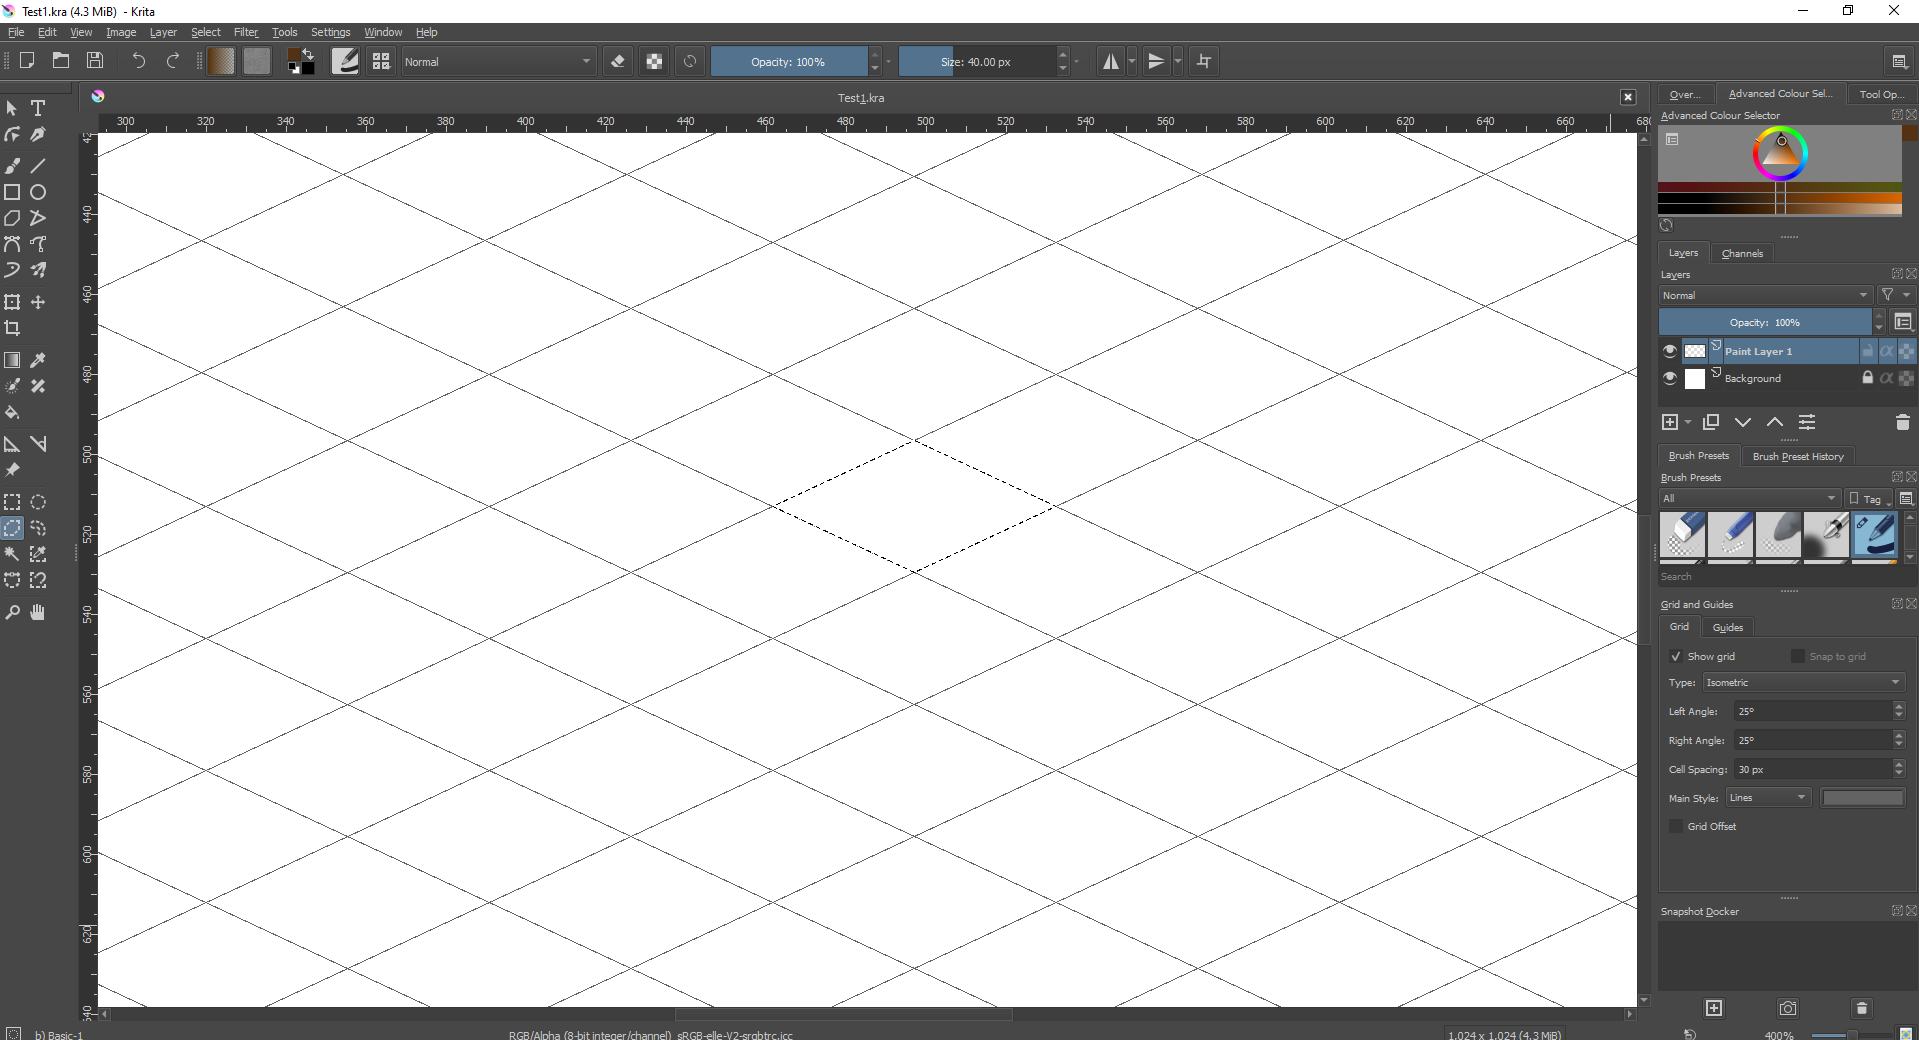
At this point do not deselect the polygon tool otherwise you will have to place the polygon tool all over again, get out a paint brush of whatever you want and paint within the polygon selection. If you have done it right even if you're colouring you should stay completely within the isometric diamond we've made using the polygon tool.
By the end of it this is how the tile should look, I've done a really basic one, but feel free to go nuts and start adding any kind of detail you want. This may even look familiar to some of you, I have based my tile set up on red alert 2 and I even scouted out various map editors from old isometric games so I could get a feel of how the maths should look for the tiles I was making.

Once you are done with your art, hide the background layer in order to make the image transparent and export the file as a .PNG if you export the file as something like a .JPEG then you will get a solid white background on your tile when you import the image into Godot and we don't want that.
After exporting your .PNG file which you've hopefully remembered to make transparent use whatever you like to crop the image to each visible corner of the tile, you could just use krita again but oddly enough I like using Paint 3D for cropping because it's fast and easy. We're cropping this image to make it the appropriate size for Godot because otherwise the game engine will read the empty space around the tile as a full image and we don't want that to interfere with the TileMap.

Once you're done cropping the image it should end up looking something like this.

Now we're coming to the fussy maths part and I really mean that Godot is extremely fussy when it comes to this so it's important to make a note of the exact height and width of the tile you've created in order for this to even work. If you forget though, simply right click on your .PNG file in wherever you saved the .PNG on your computer and then left click on properties. After that a window will pop up with tabs on the top of it, click the details tab and you will see this information there which includes the height and width of the image you've created.

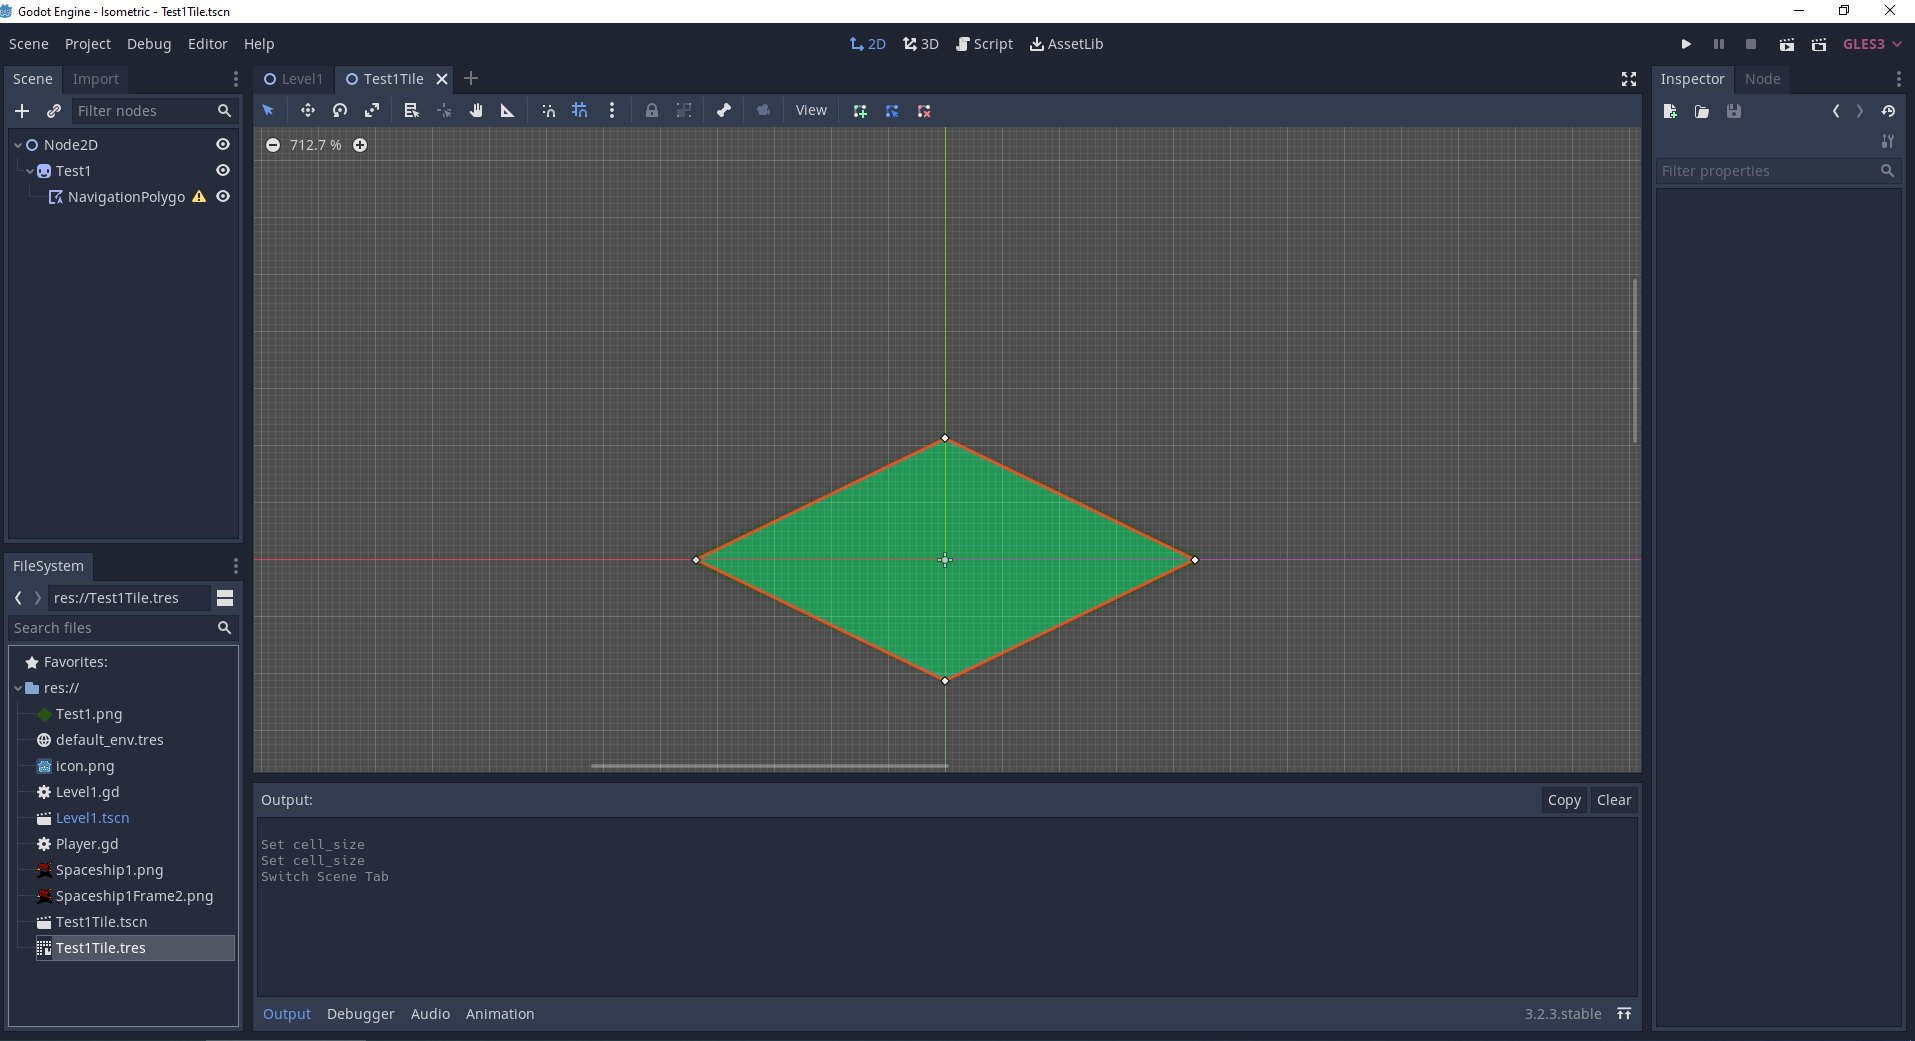
Now to load up Godot, import the image and set up your polygon instance as shown in the other tutorials, be sure to set up your magnetic grid settings as shown pixel by pixel because as the tutorial creator correctly points out if you are even off by one pixel in Godot with your navigation mesh Godot simply won't work.
Your tile should look something like this by the end.

To check the accuracy of your tile use the ruler tool in Godot to measure how many pixels wide and how many pixels tall your navigation mesh is. Do you remember the pixel height and width I wanted you to remember? That's right, this is where the maths comes in. My particular image is 70 pixels wide and 34 pixels tall, I have made the navigation mesh match that exactly, measure corner to corner and it should give you the accurate maths.


Once you're all done setting everything up be sure to remember to convert the scene to a tileset as instructed in the other creators' tutorial. He's completely correct about this method being far more accurate from what I've seen the weird new tileset library has been pretty annoying for me to use, maybe I just need to get used to it but this method worked fine for me.

Now for some more maths, but don't worry we're almost done and it's exactly the same maths that we were dealing with before, the pixel width and the height. Set your Tilemap up according to how the tutorials have shown, we then need to set the cell size width, that's on the X axis and height which is on the Y axis to match the exact width and height of the tile image which in my case is 70 x 34 but will vary if you've done different art to me.
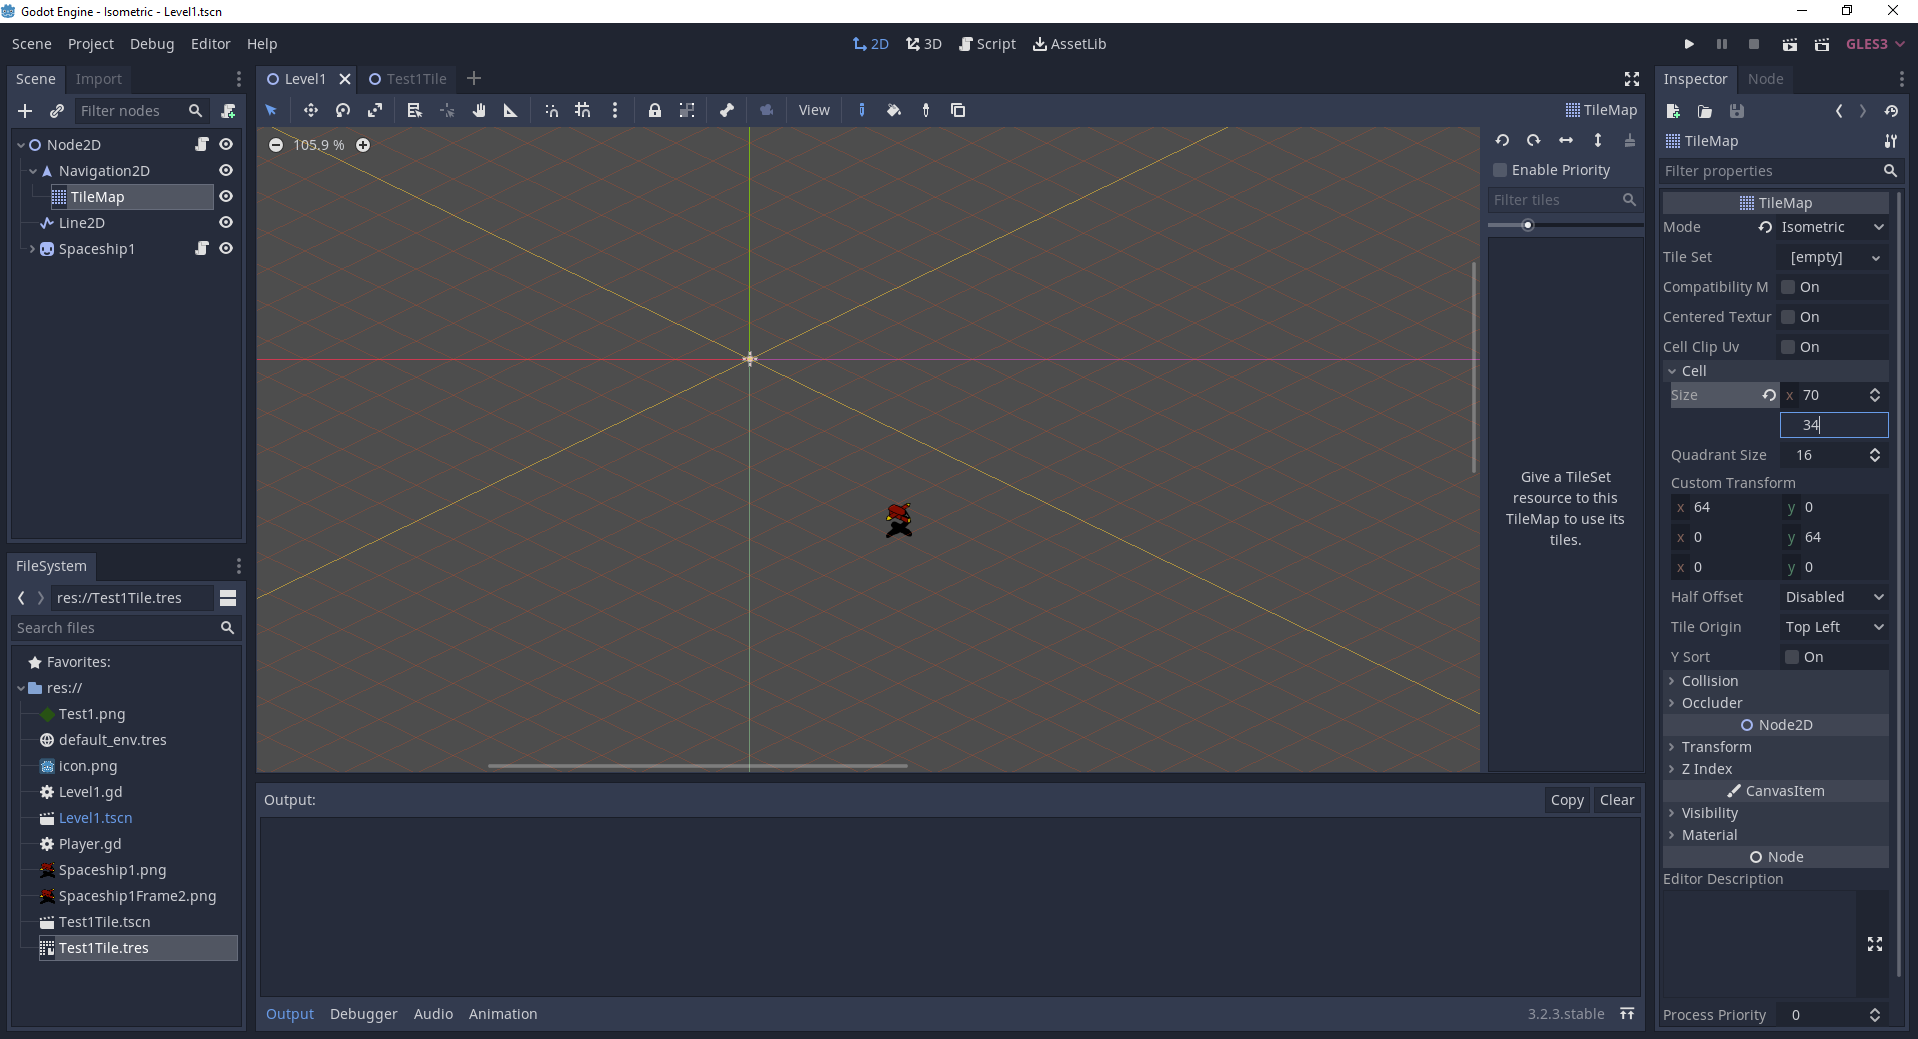
Drag the .tres file you converted your scene to into the appropriate tile set slot.

This then should be about finished, by now you should have a very accurate looking tile.

Play around with your level design now and try and make something with multiple gaps to properly test Godot's navigation pathfinding. In the top left there is a drop down menu called Debug, click it and then click visible navigation to enable it.
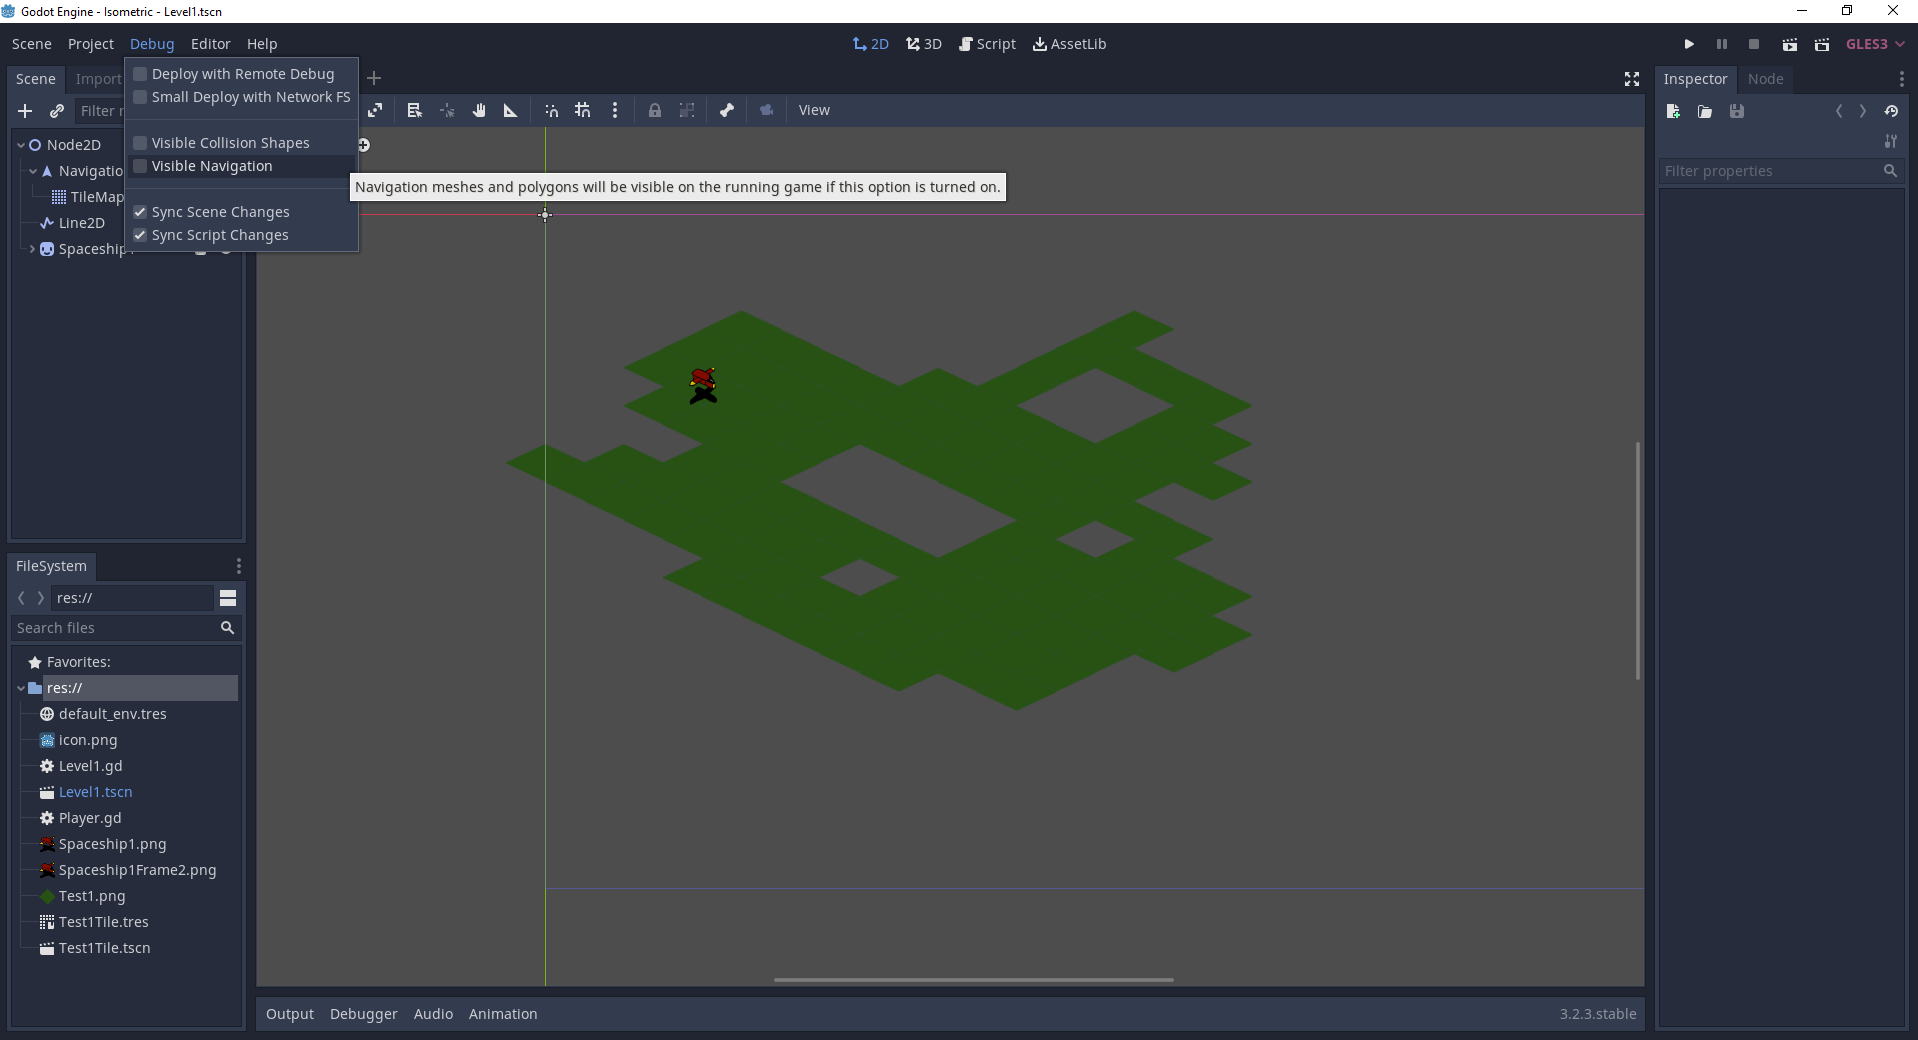
When you press play if all goes well your scene should hopefully look something like this with the debug enabled.
With the debug disabled.
If you run into problems it is highly likely that the navigation polygon instance is overlapping or has gaps in them, in which case the pathfinding will refuse to work. When the tiles overlap they will look like bright white lines as the diamonds kind of blend into each other and Godot is just very unforgiving with the maths around it's navigation mesh. To fix any issues, re-adjust your navigation mesh in your scene, convert it to a TileMap again then drag the newly created TileMap into the TileSet slot and it should refresh everything and fix it if you've done it right.
I hope you guys found this tutorial helpful because I was extremely frustrated at the lack of complete information available on tiles in Godot so I did this write up partially just to remind myself of the steps and help out anyone else that might be struggling. It should also maybe encourage newbies to Godot to try out the tile system and not be intimidated by it.
As an extra note with regards to overlapping I had asked around and supposedly the issue with overlapping tiles has been fixed for Godot 4.0 so these extremely anal steps may not be necessary later in the year which is supposedly when the new version gets released.