Click on the images to view at higher resolution
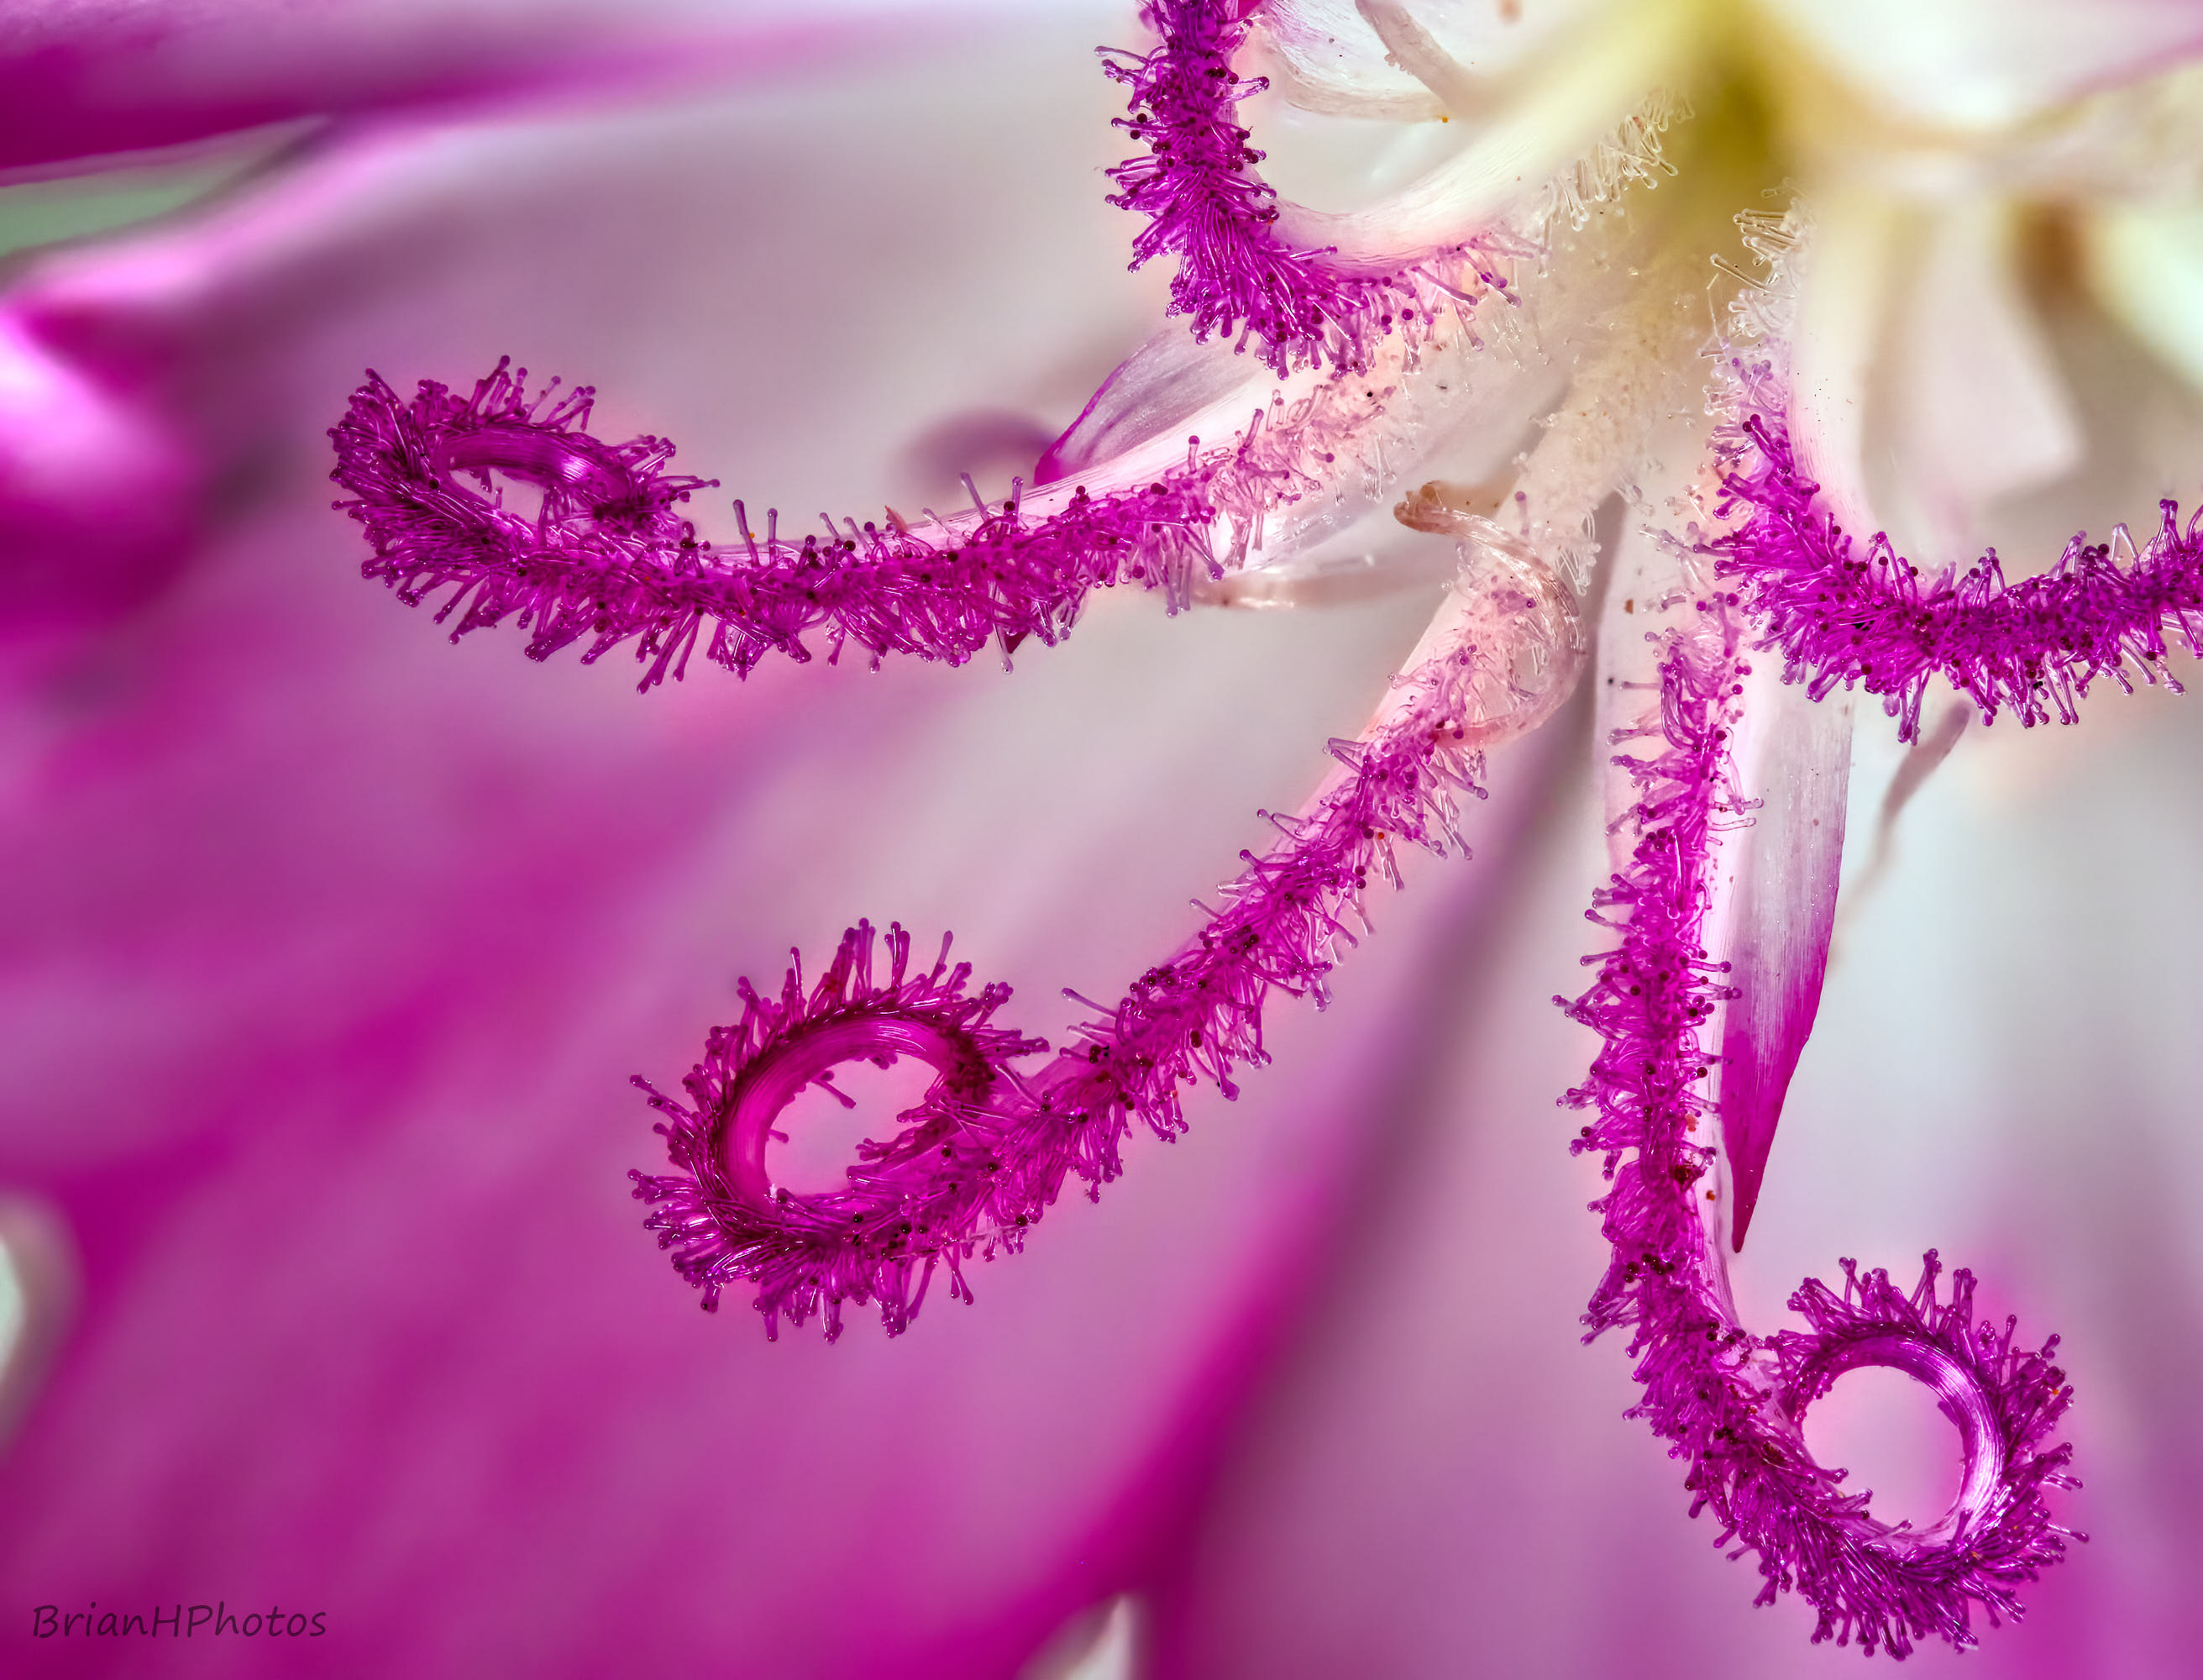
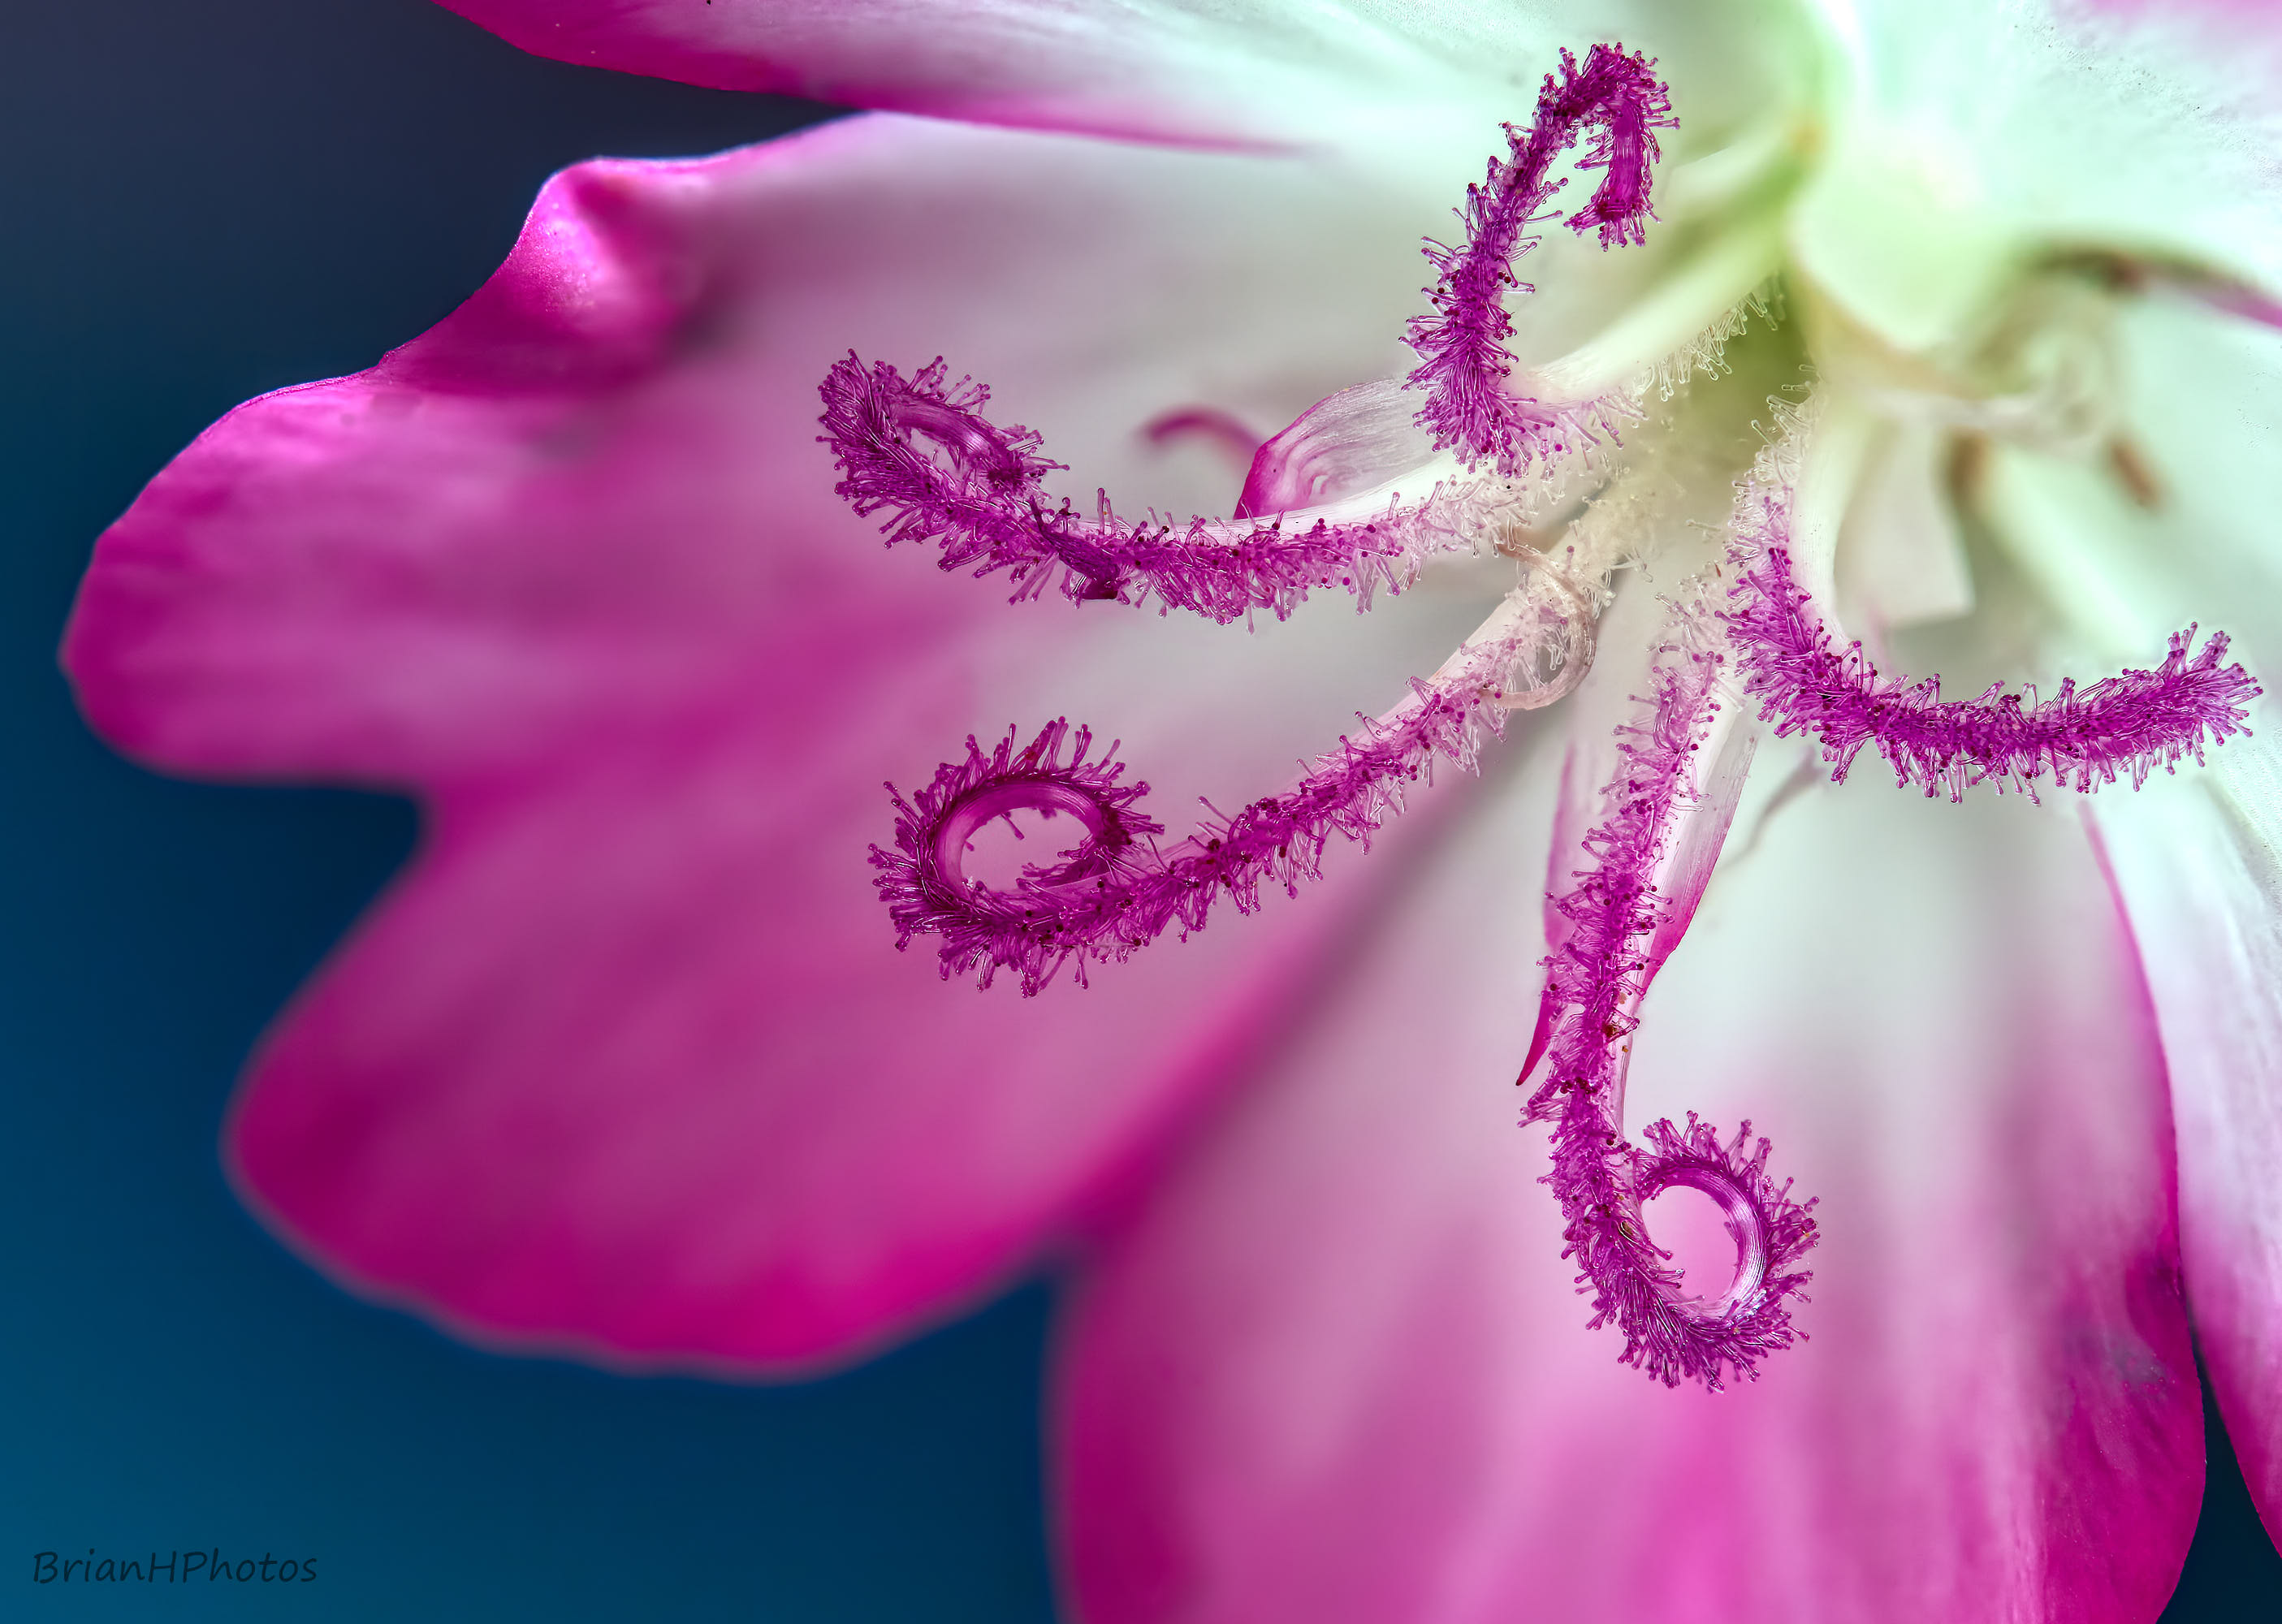
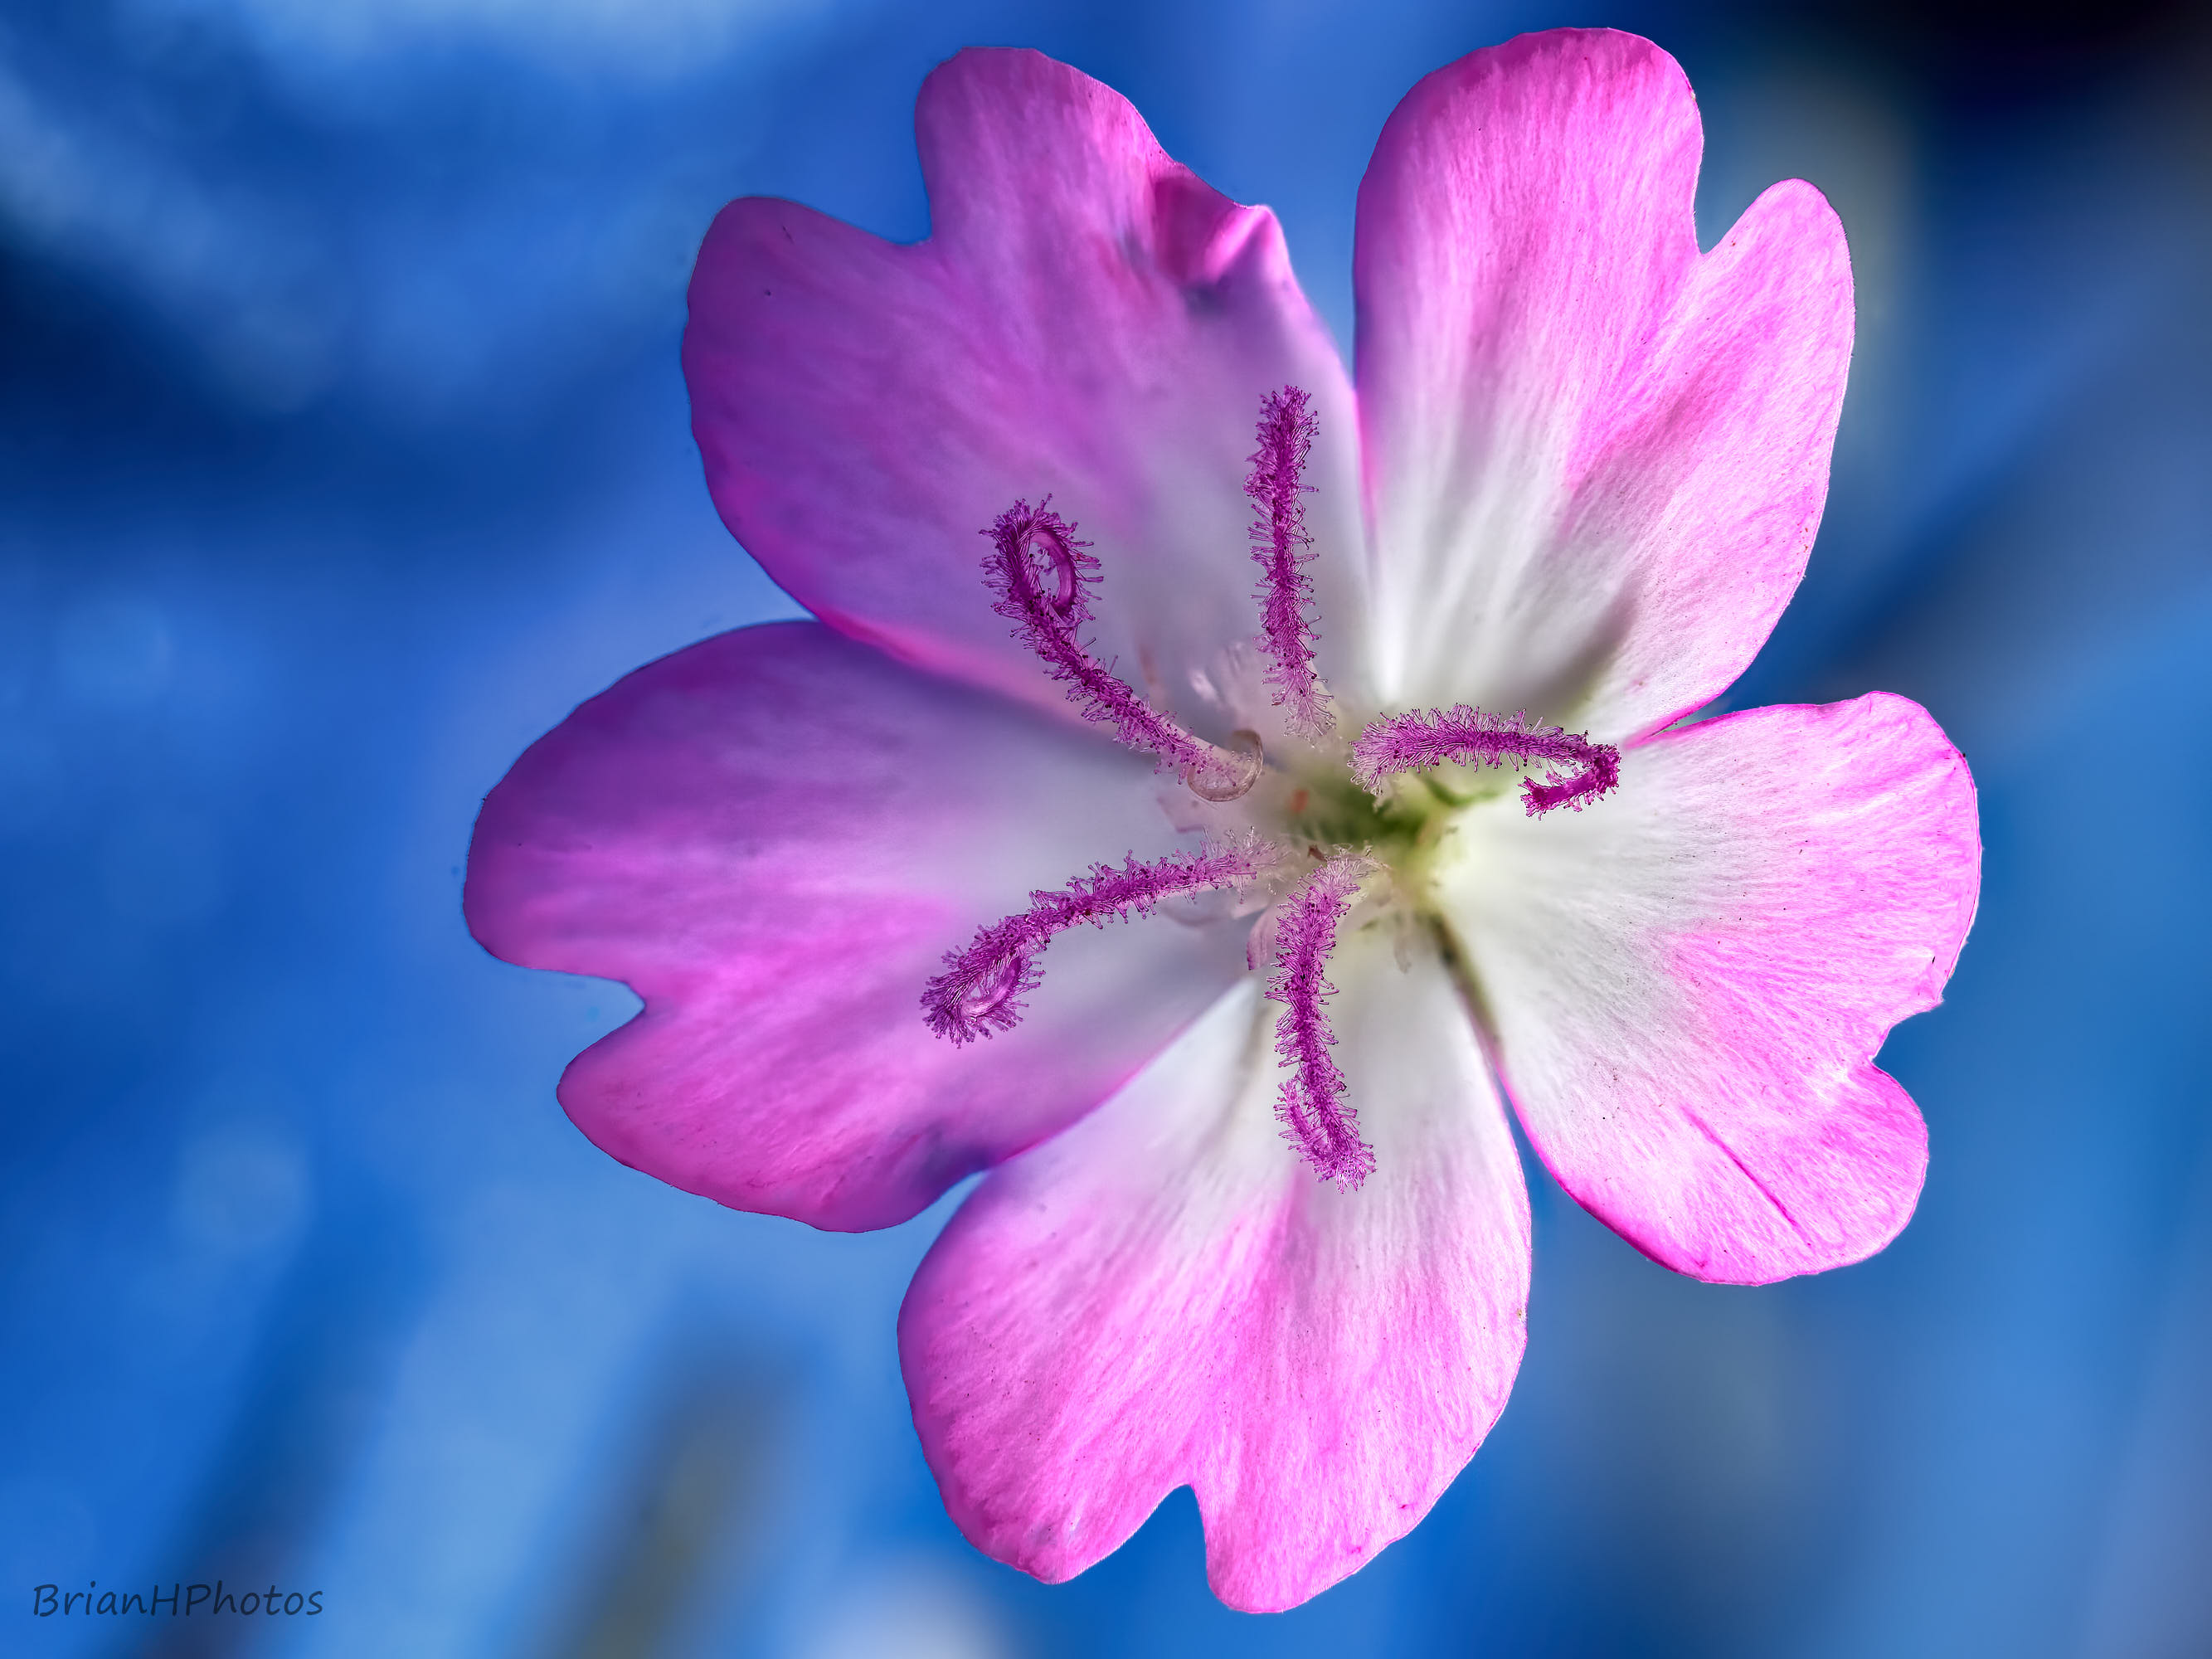
- Main image taken with the Olympus E-M1 III and 60mm macro lens + extension tubes and 2x converter
- Shot at F8, 1/3Sec, ISO400
- Stacked with Zerene Stacker
- Edited with Capture One and Aurora HDR
The purpose of this post is to show you how I select and prepare my flowers, ready for photographing.
I generally pick my flowers from either my garden, my Mom’s garden or locally in the woods and by the canal side, near where I live.
I look for flowers with an interesting center with variation of colors, where focus stacking will bring out all the detail.
If the flower is over 20mm wide I will be looking to compose the shots concentrating on the flower center, otherwise if less than 20mm I may also compose to include the whole flower. Larger flowers composed with all the flower in the frame don't really look much different to a single shot image, so you are probably wasting your time focus stacking,
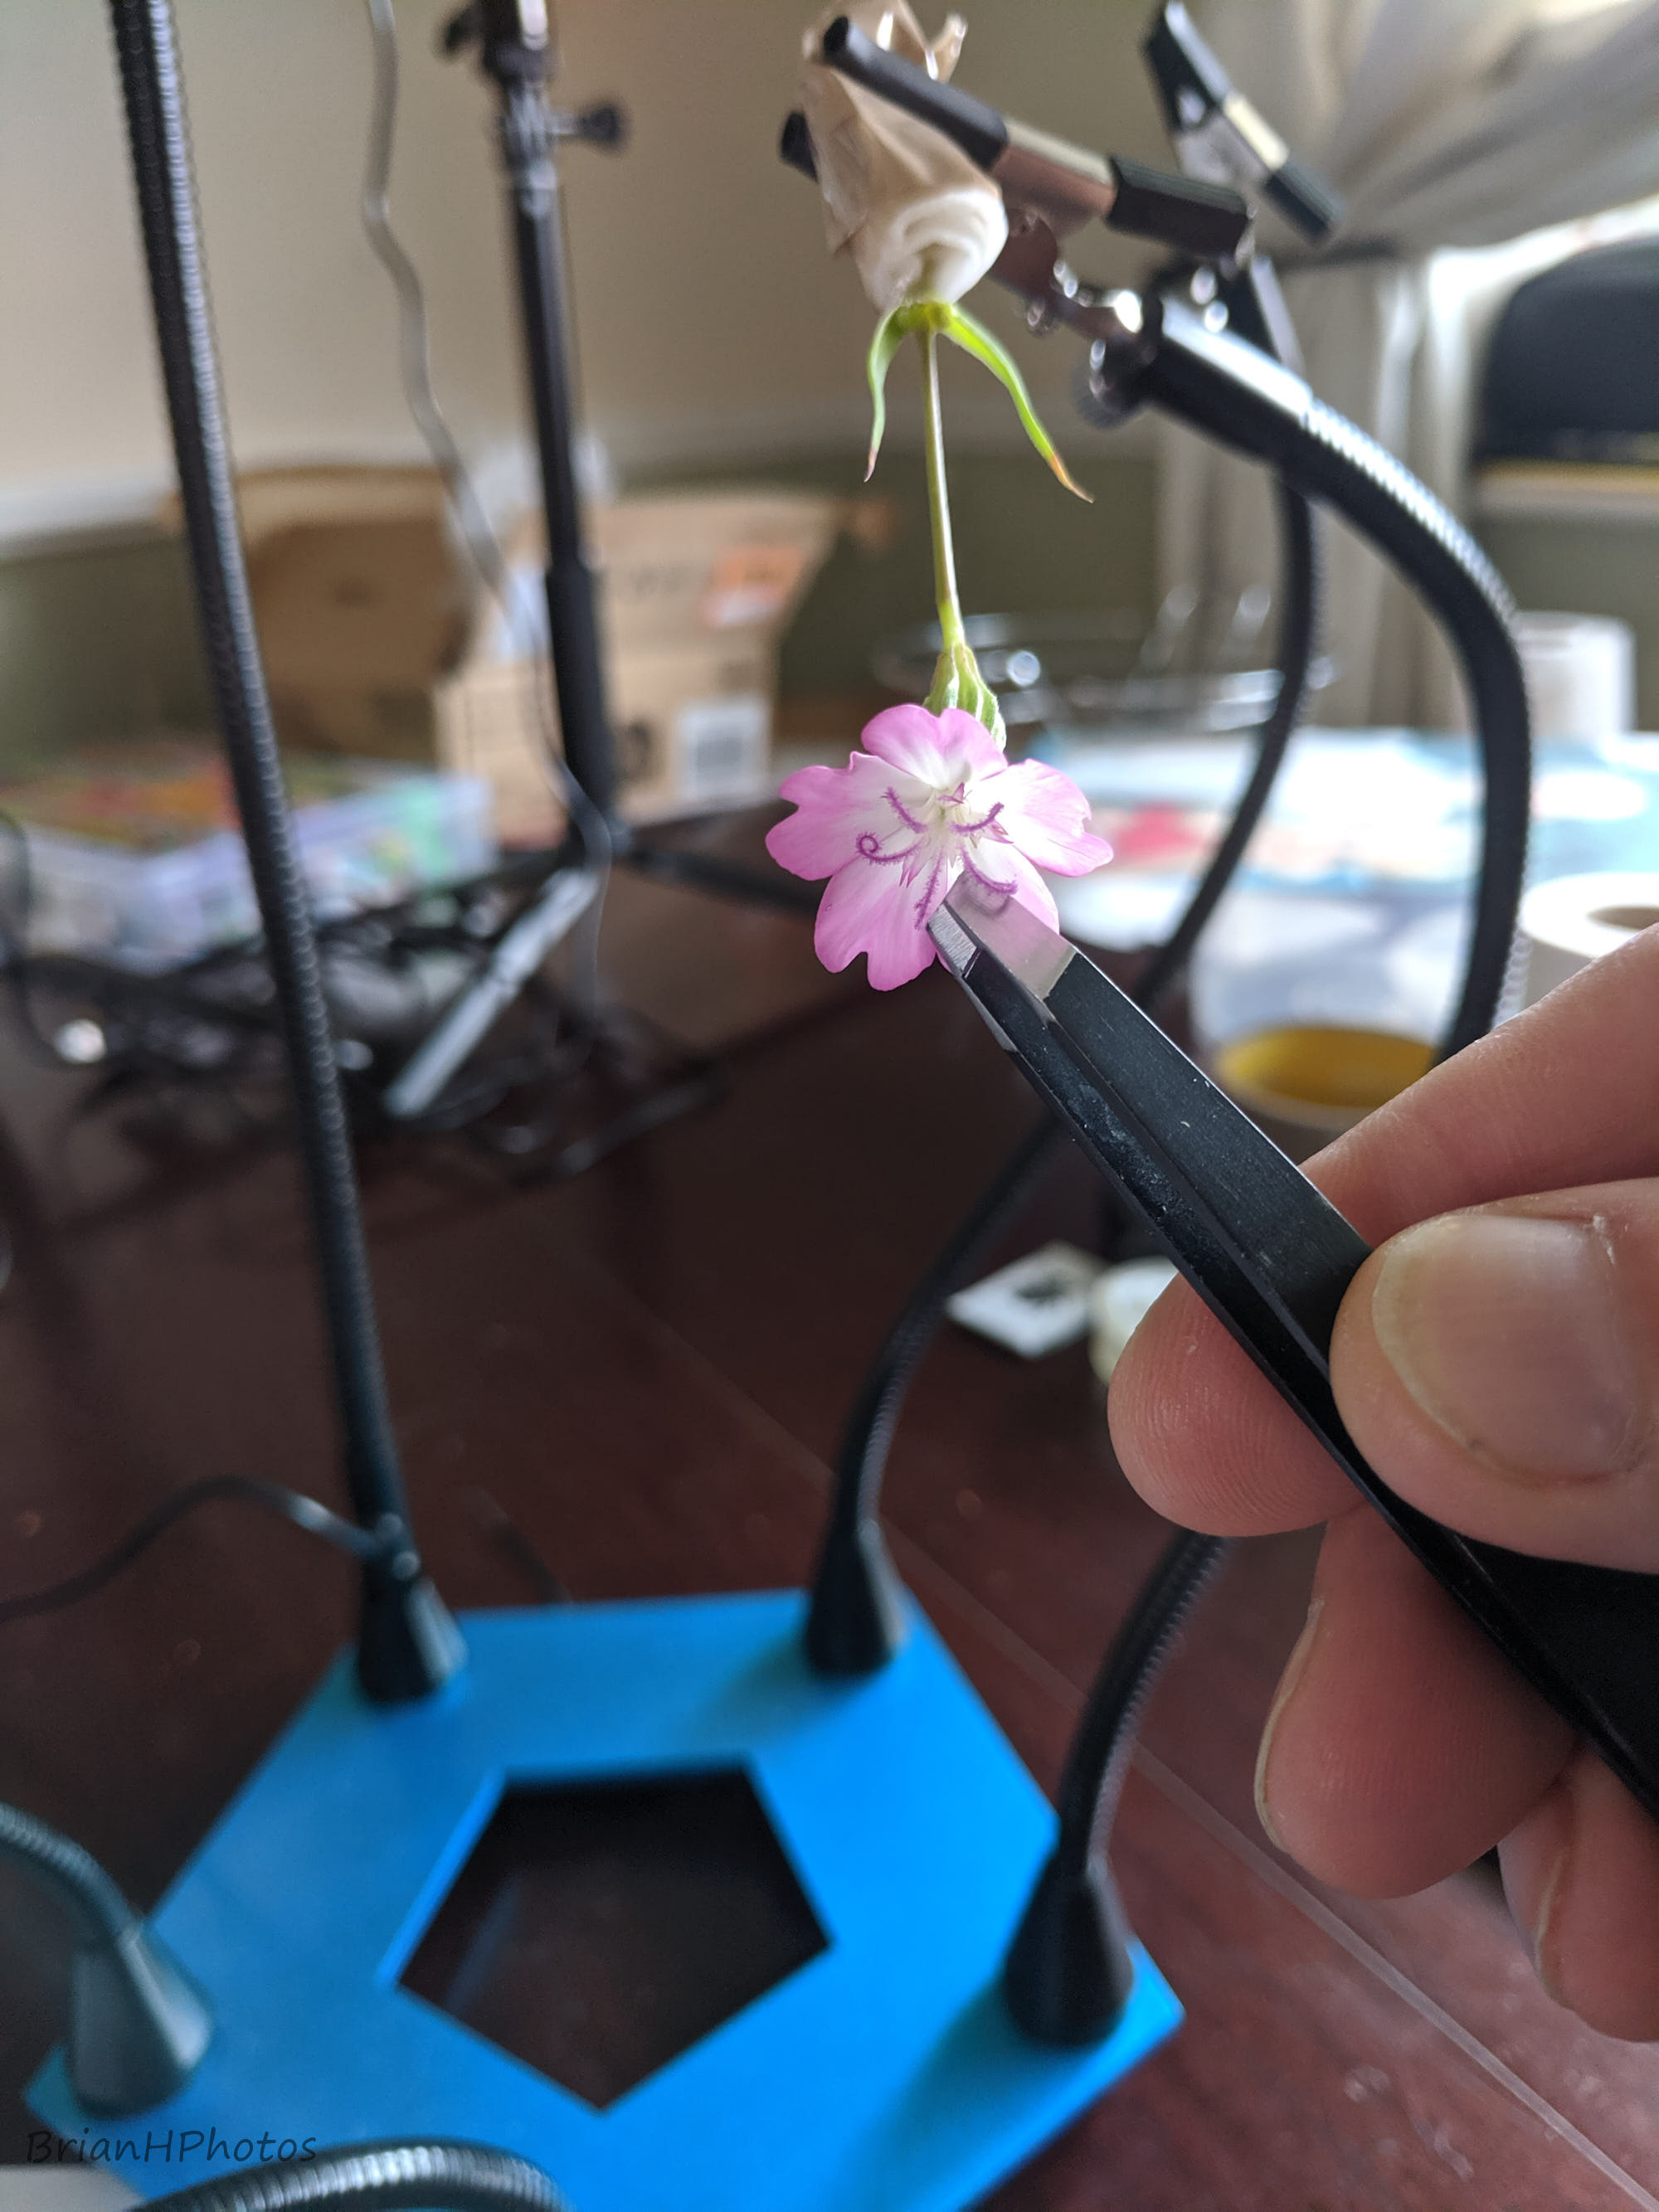
Flowers are becoming more difficult to find now, as we are heading into autumn and this is one I picked this morning that was growing near the canal side. It measures about 15 to 20mm across and I thought it had an attractive center, although with not much color variation, but it will have to do.
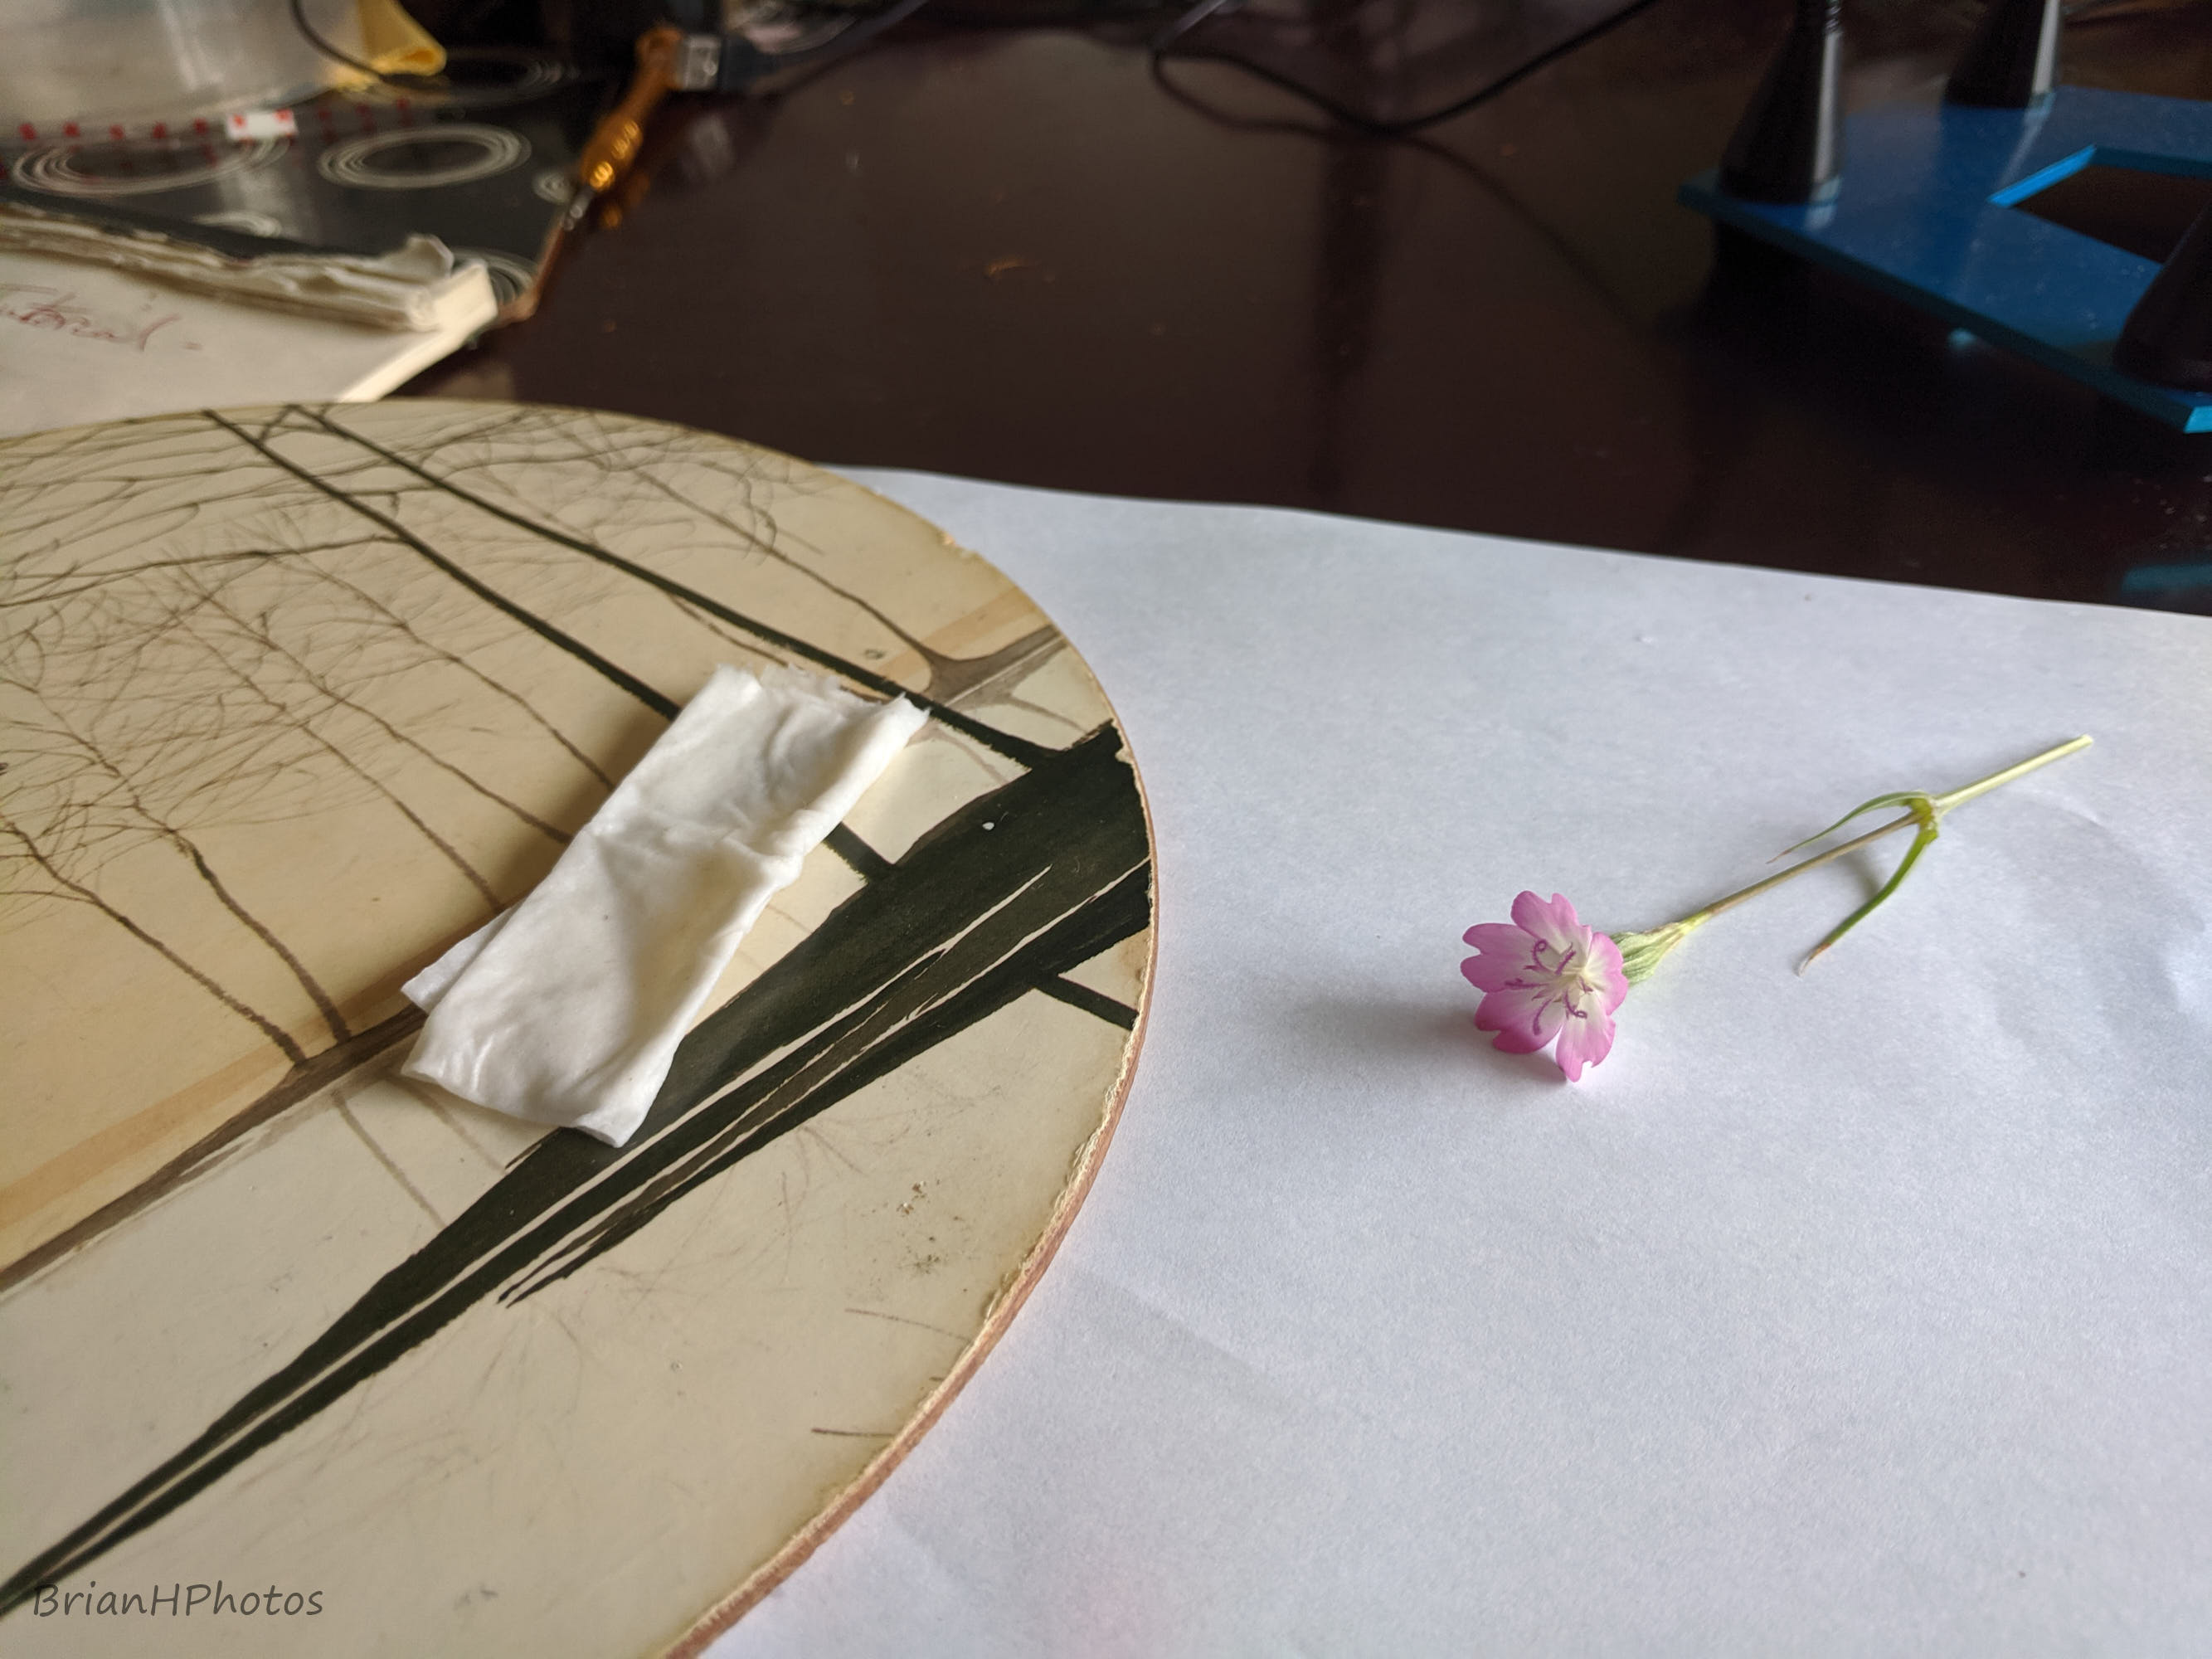
When I get the flower home I will wet some tissue and wrap it around the stem of the flower and secure it with some tape. This will keep the flower hydrated for a while so that it won’t immediately start wilting.
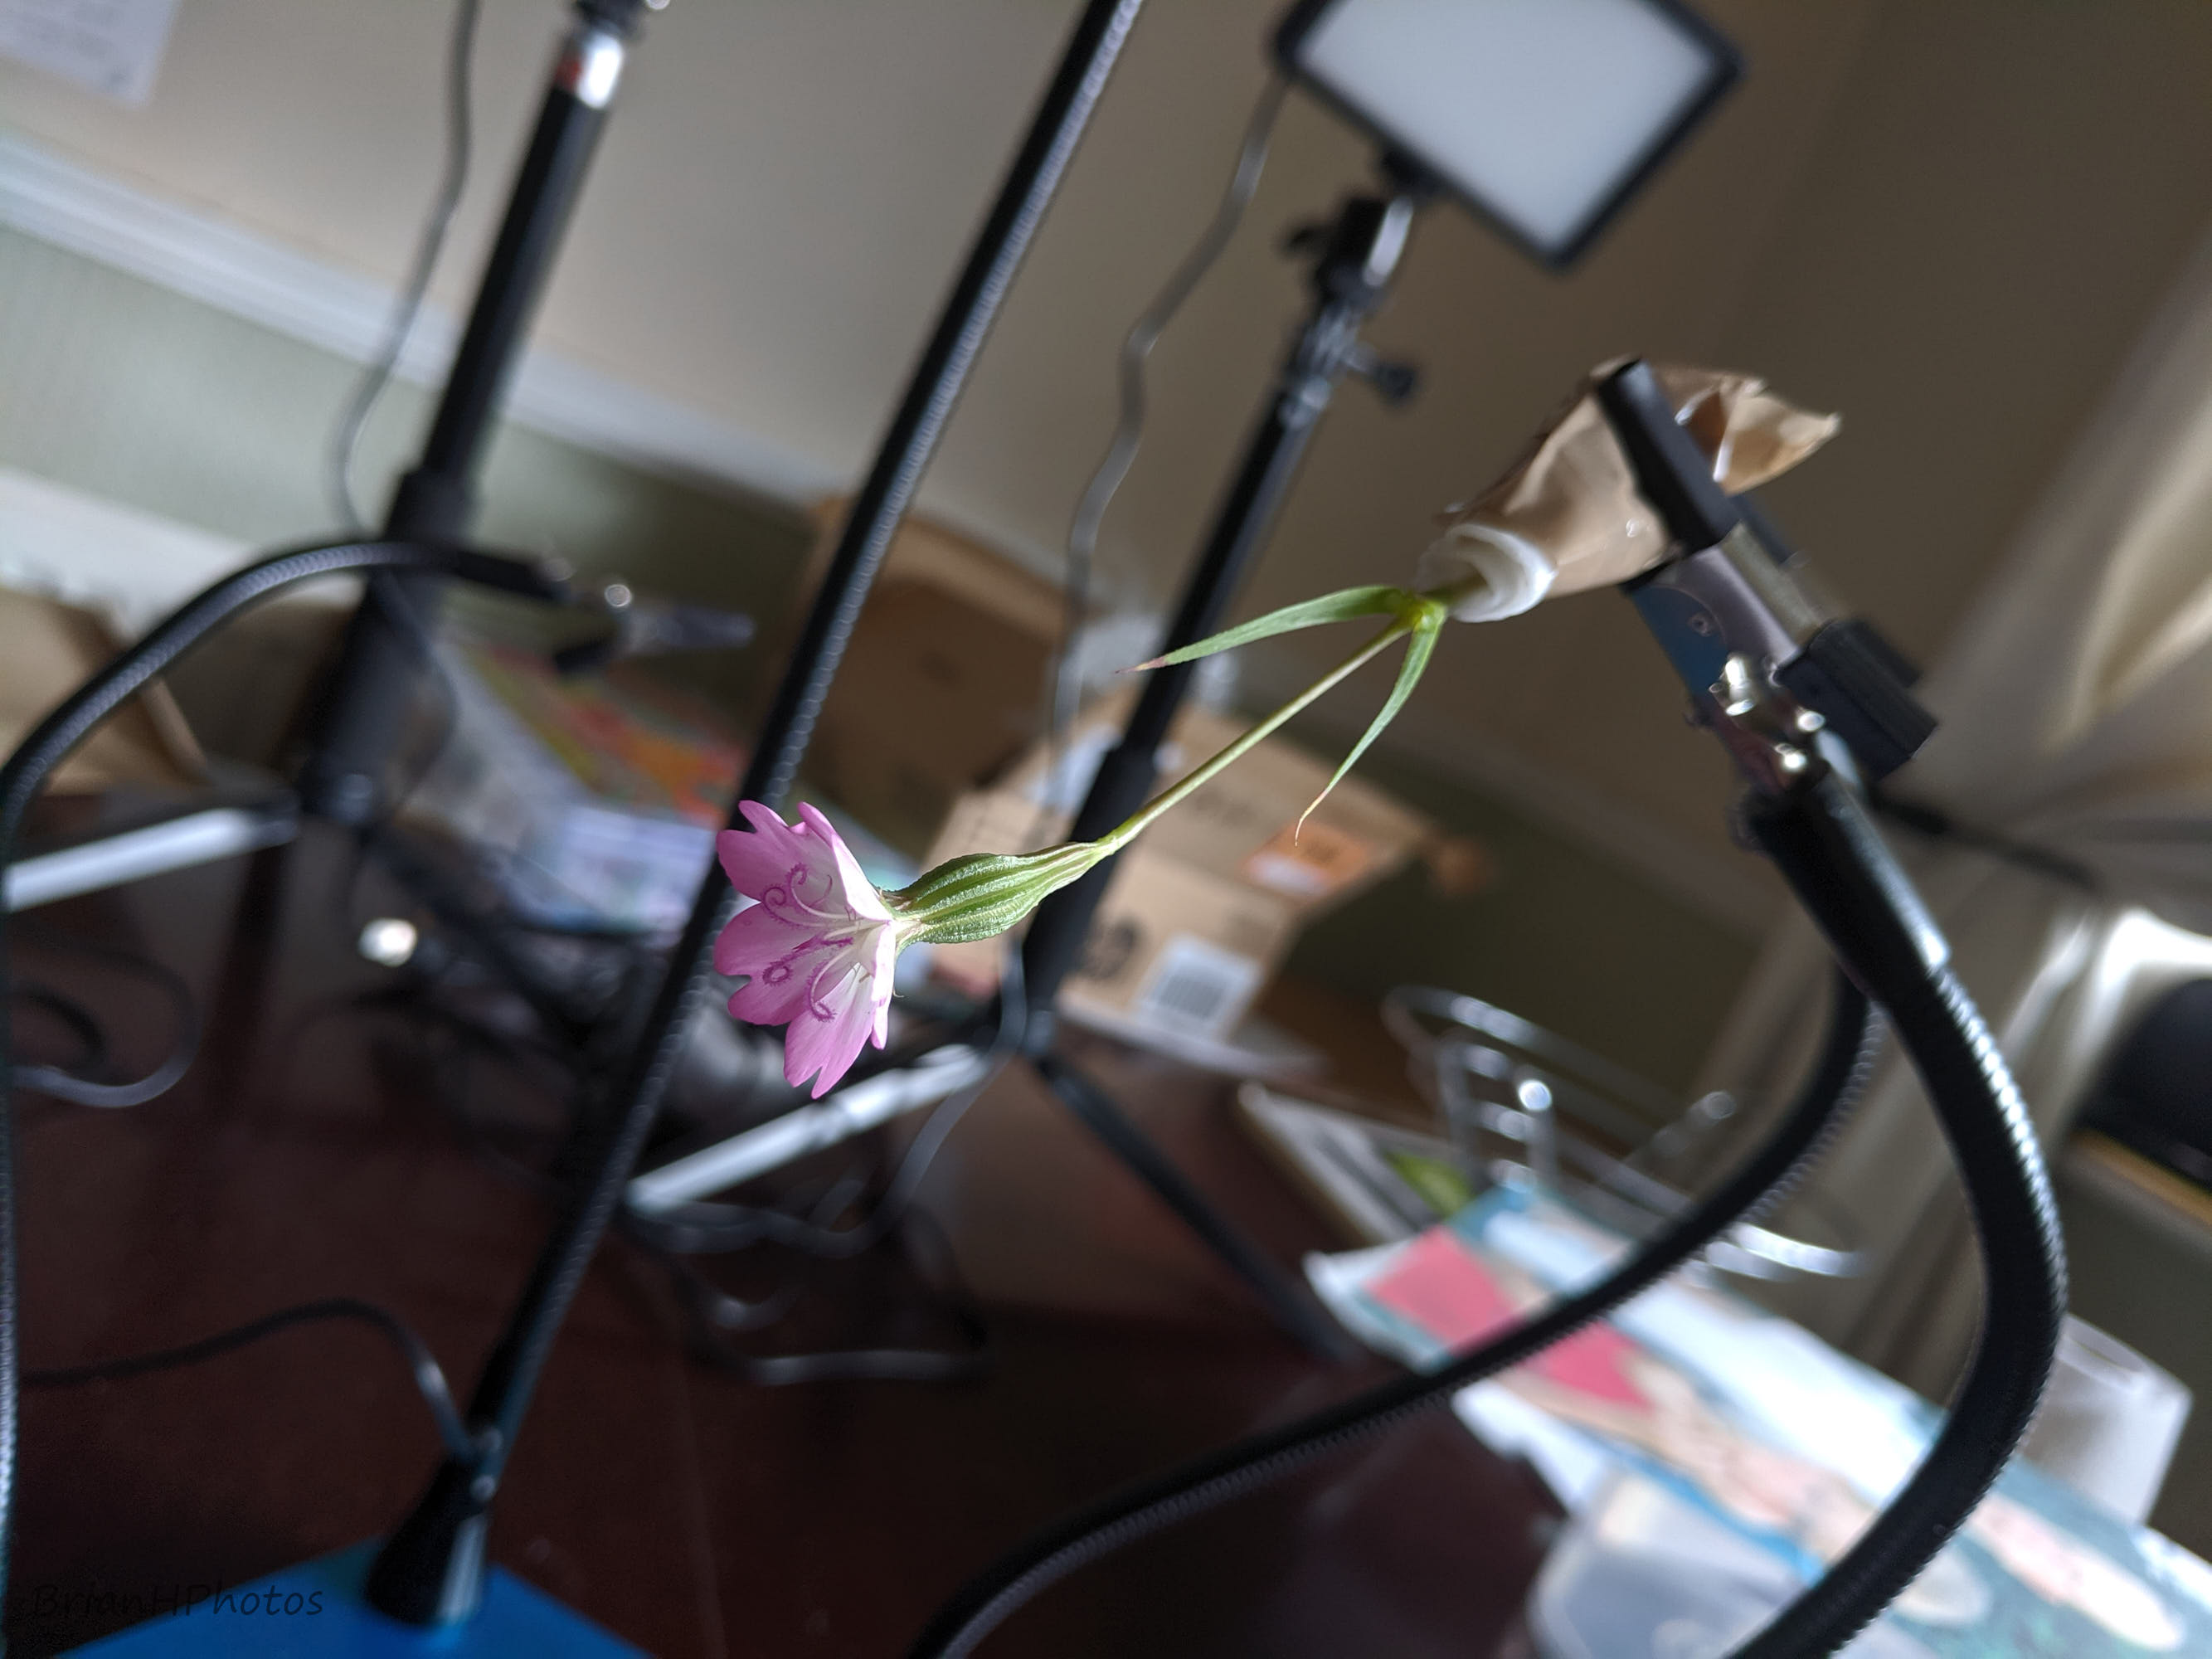
Now clamp the flower stem wrapped in wet tissue and secure it in the desired position.
A point to note is that if the flower is small, with a fine stem, and you secure it in an upright position it may start dropping while you are taking your stack of shots. This will ruin the stack because the flower needs to be absolutely still. To remedy this, just hang the flower upside down from the clamp.
When I set the camera up to view the flower in the camera screen, I will scan my composition of the flower through the full range of intended focus. Manually turn the focus ring of the lens back and forth, looking for any tiny bugs. You may want to remove these before you start shooting. I’ve found that a lens blower is best for this task.
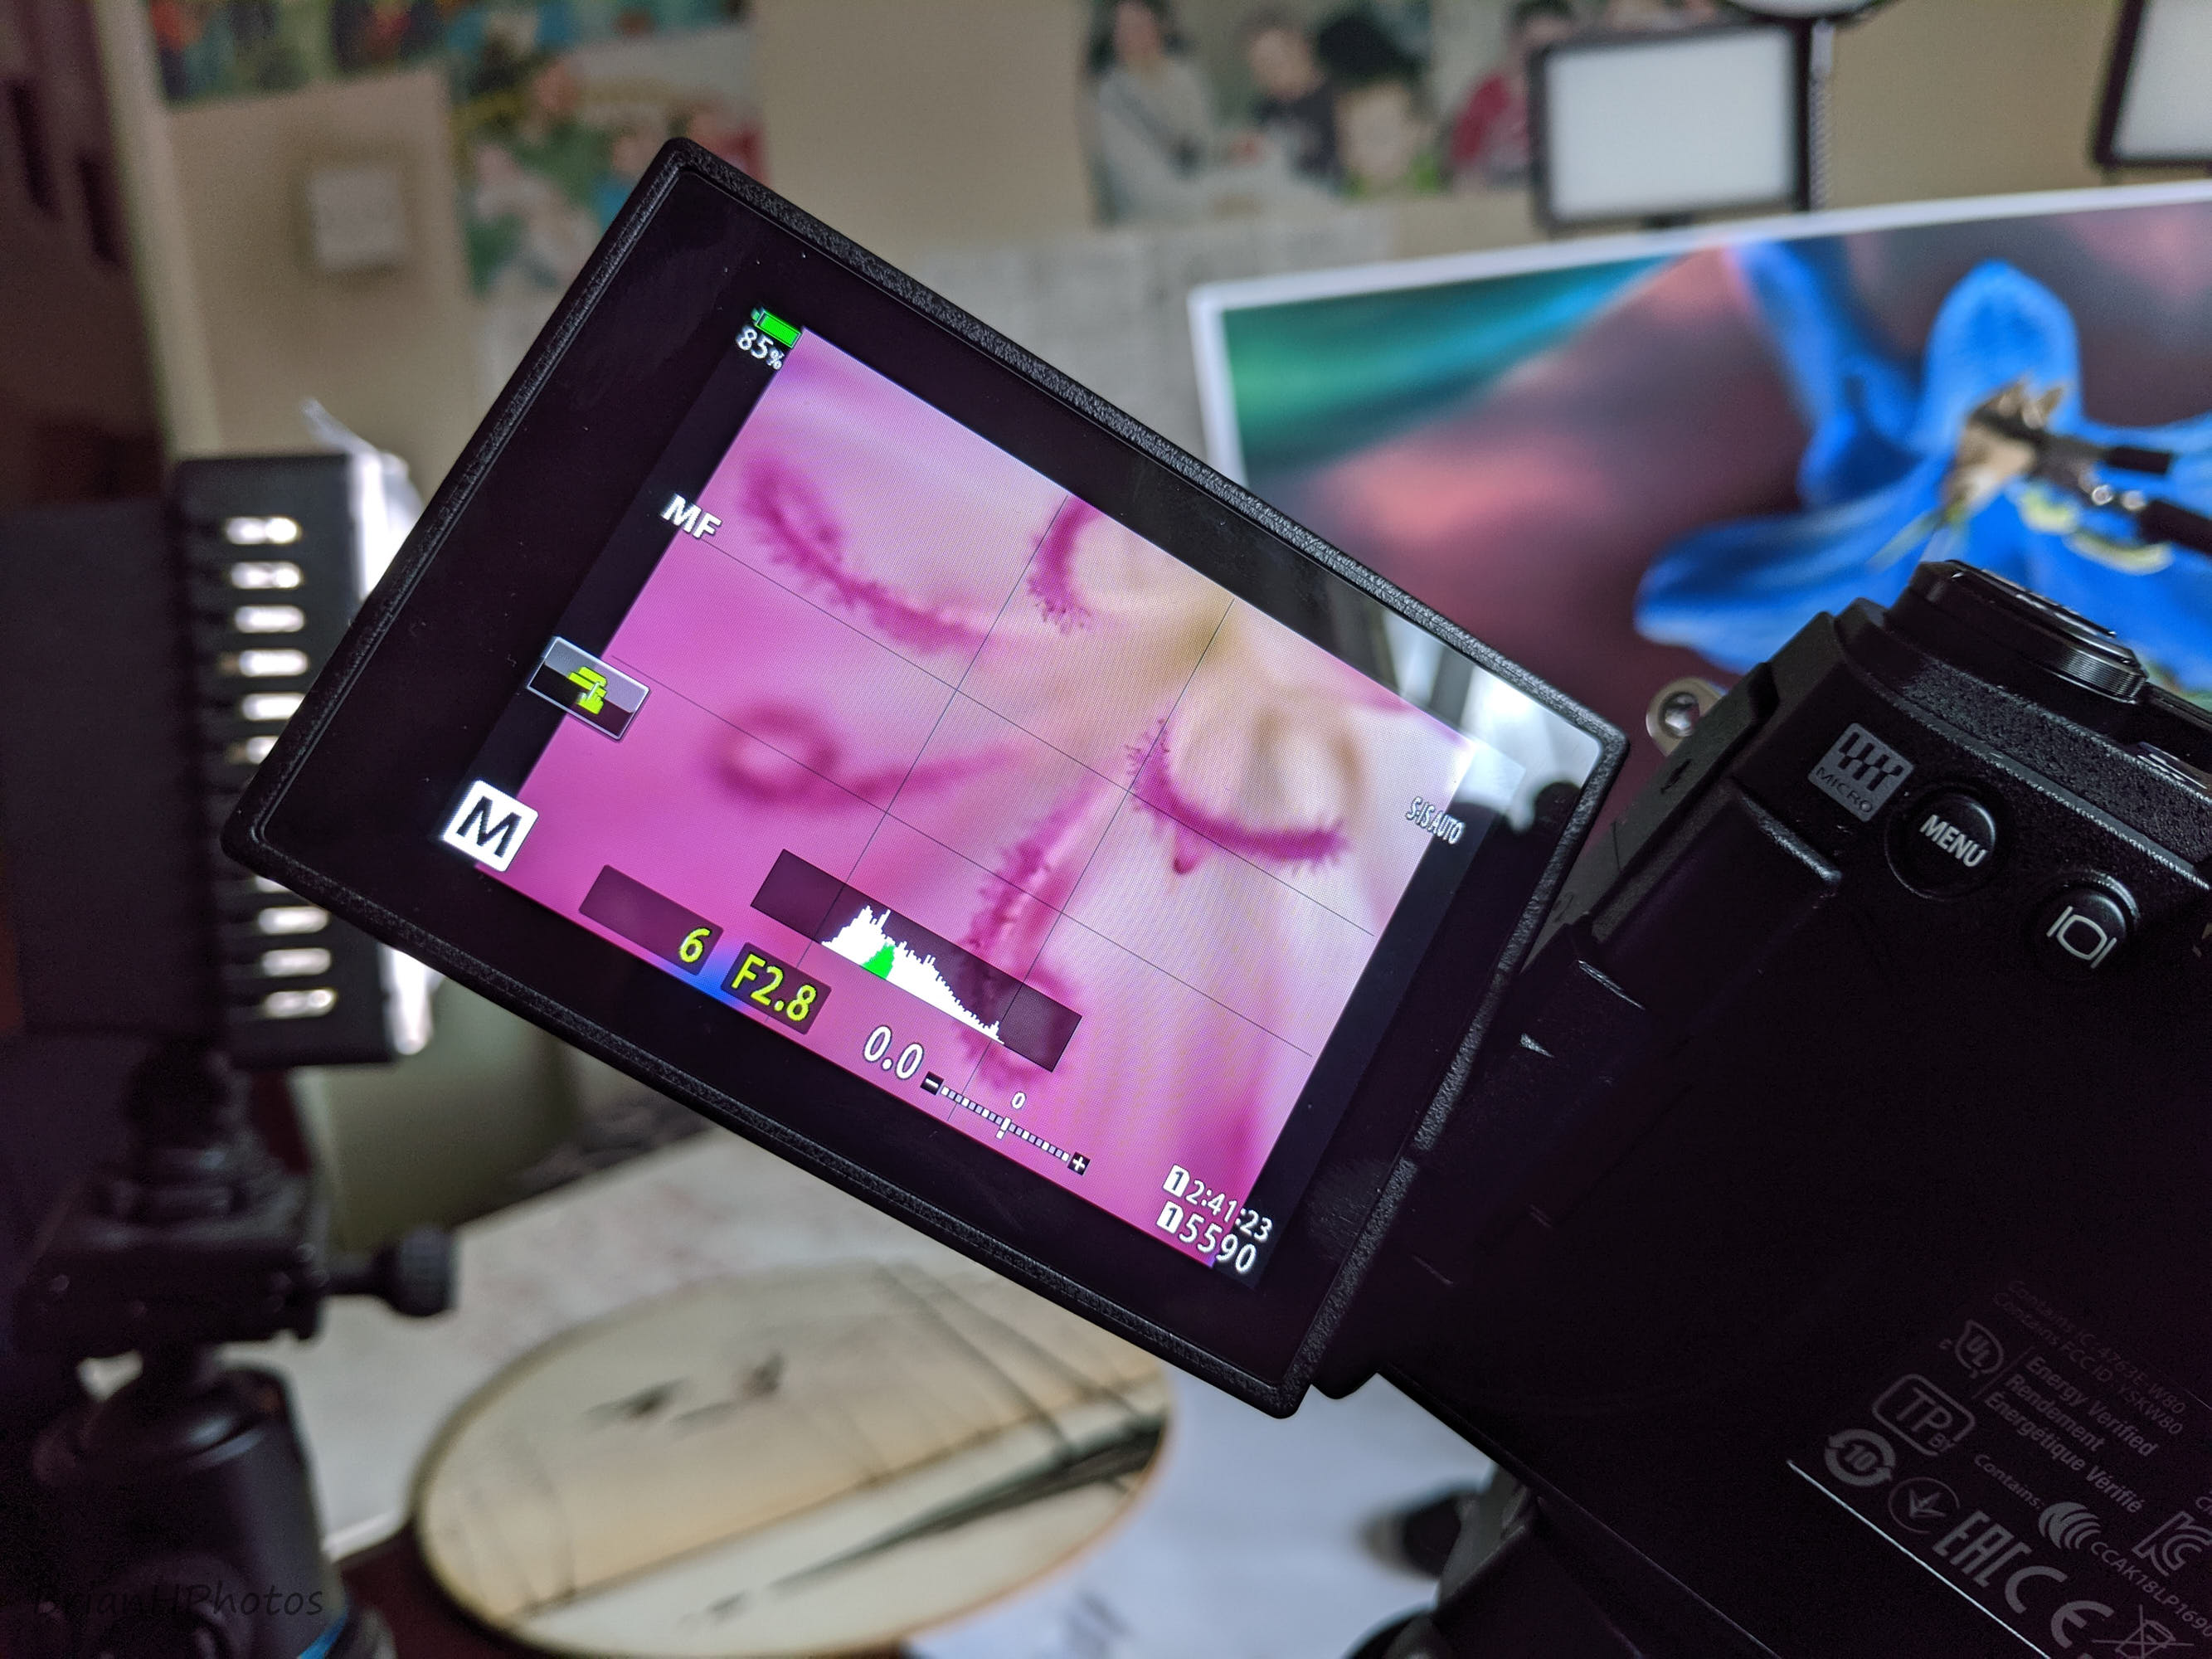
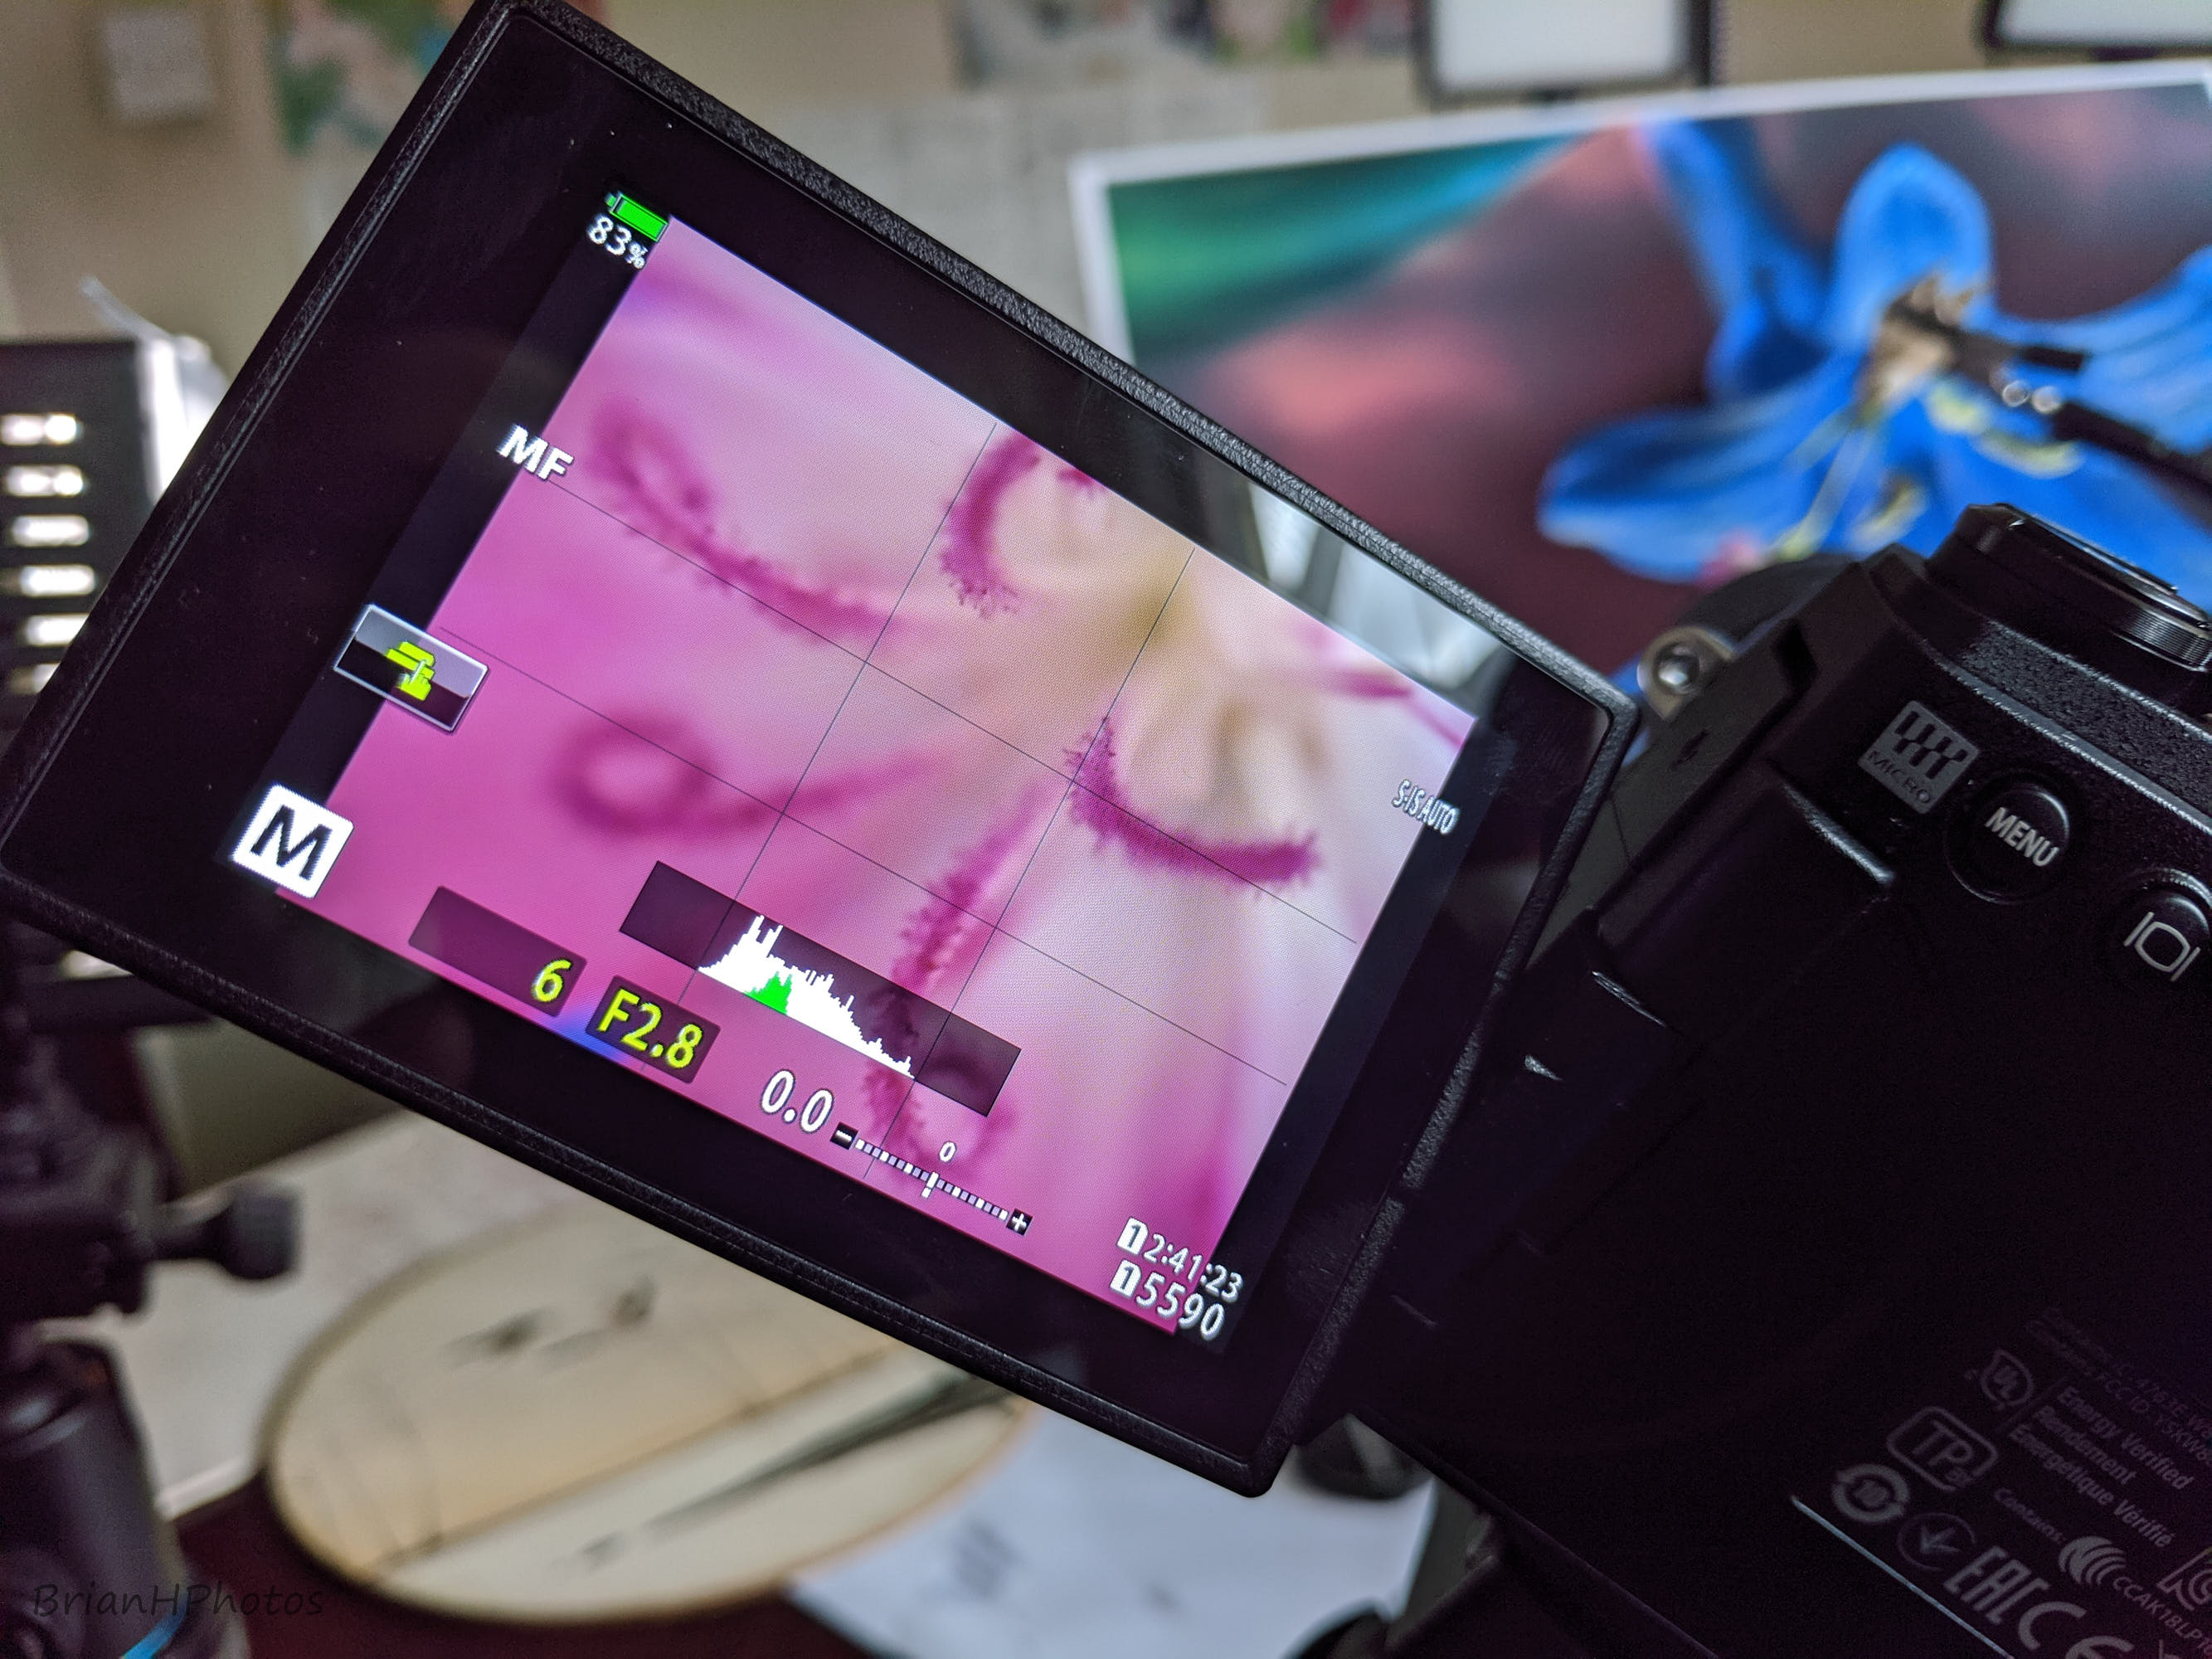
Also when scanning the flower through the full range of focus, look for any overlapping or intersecting parts of the flower, which you may not notice on any single shot, but when they are stacked and merged together and everything is in focus, may be an issue. Hopefully you can see this by comparing the two images above.
To resolve this you may want to carefully pluck some parts of the flower away, or recompose the shot or choose to have less in focus when you come to stack the shots.
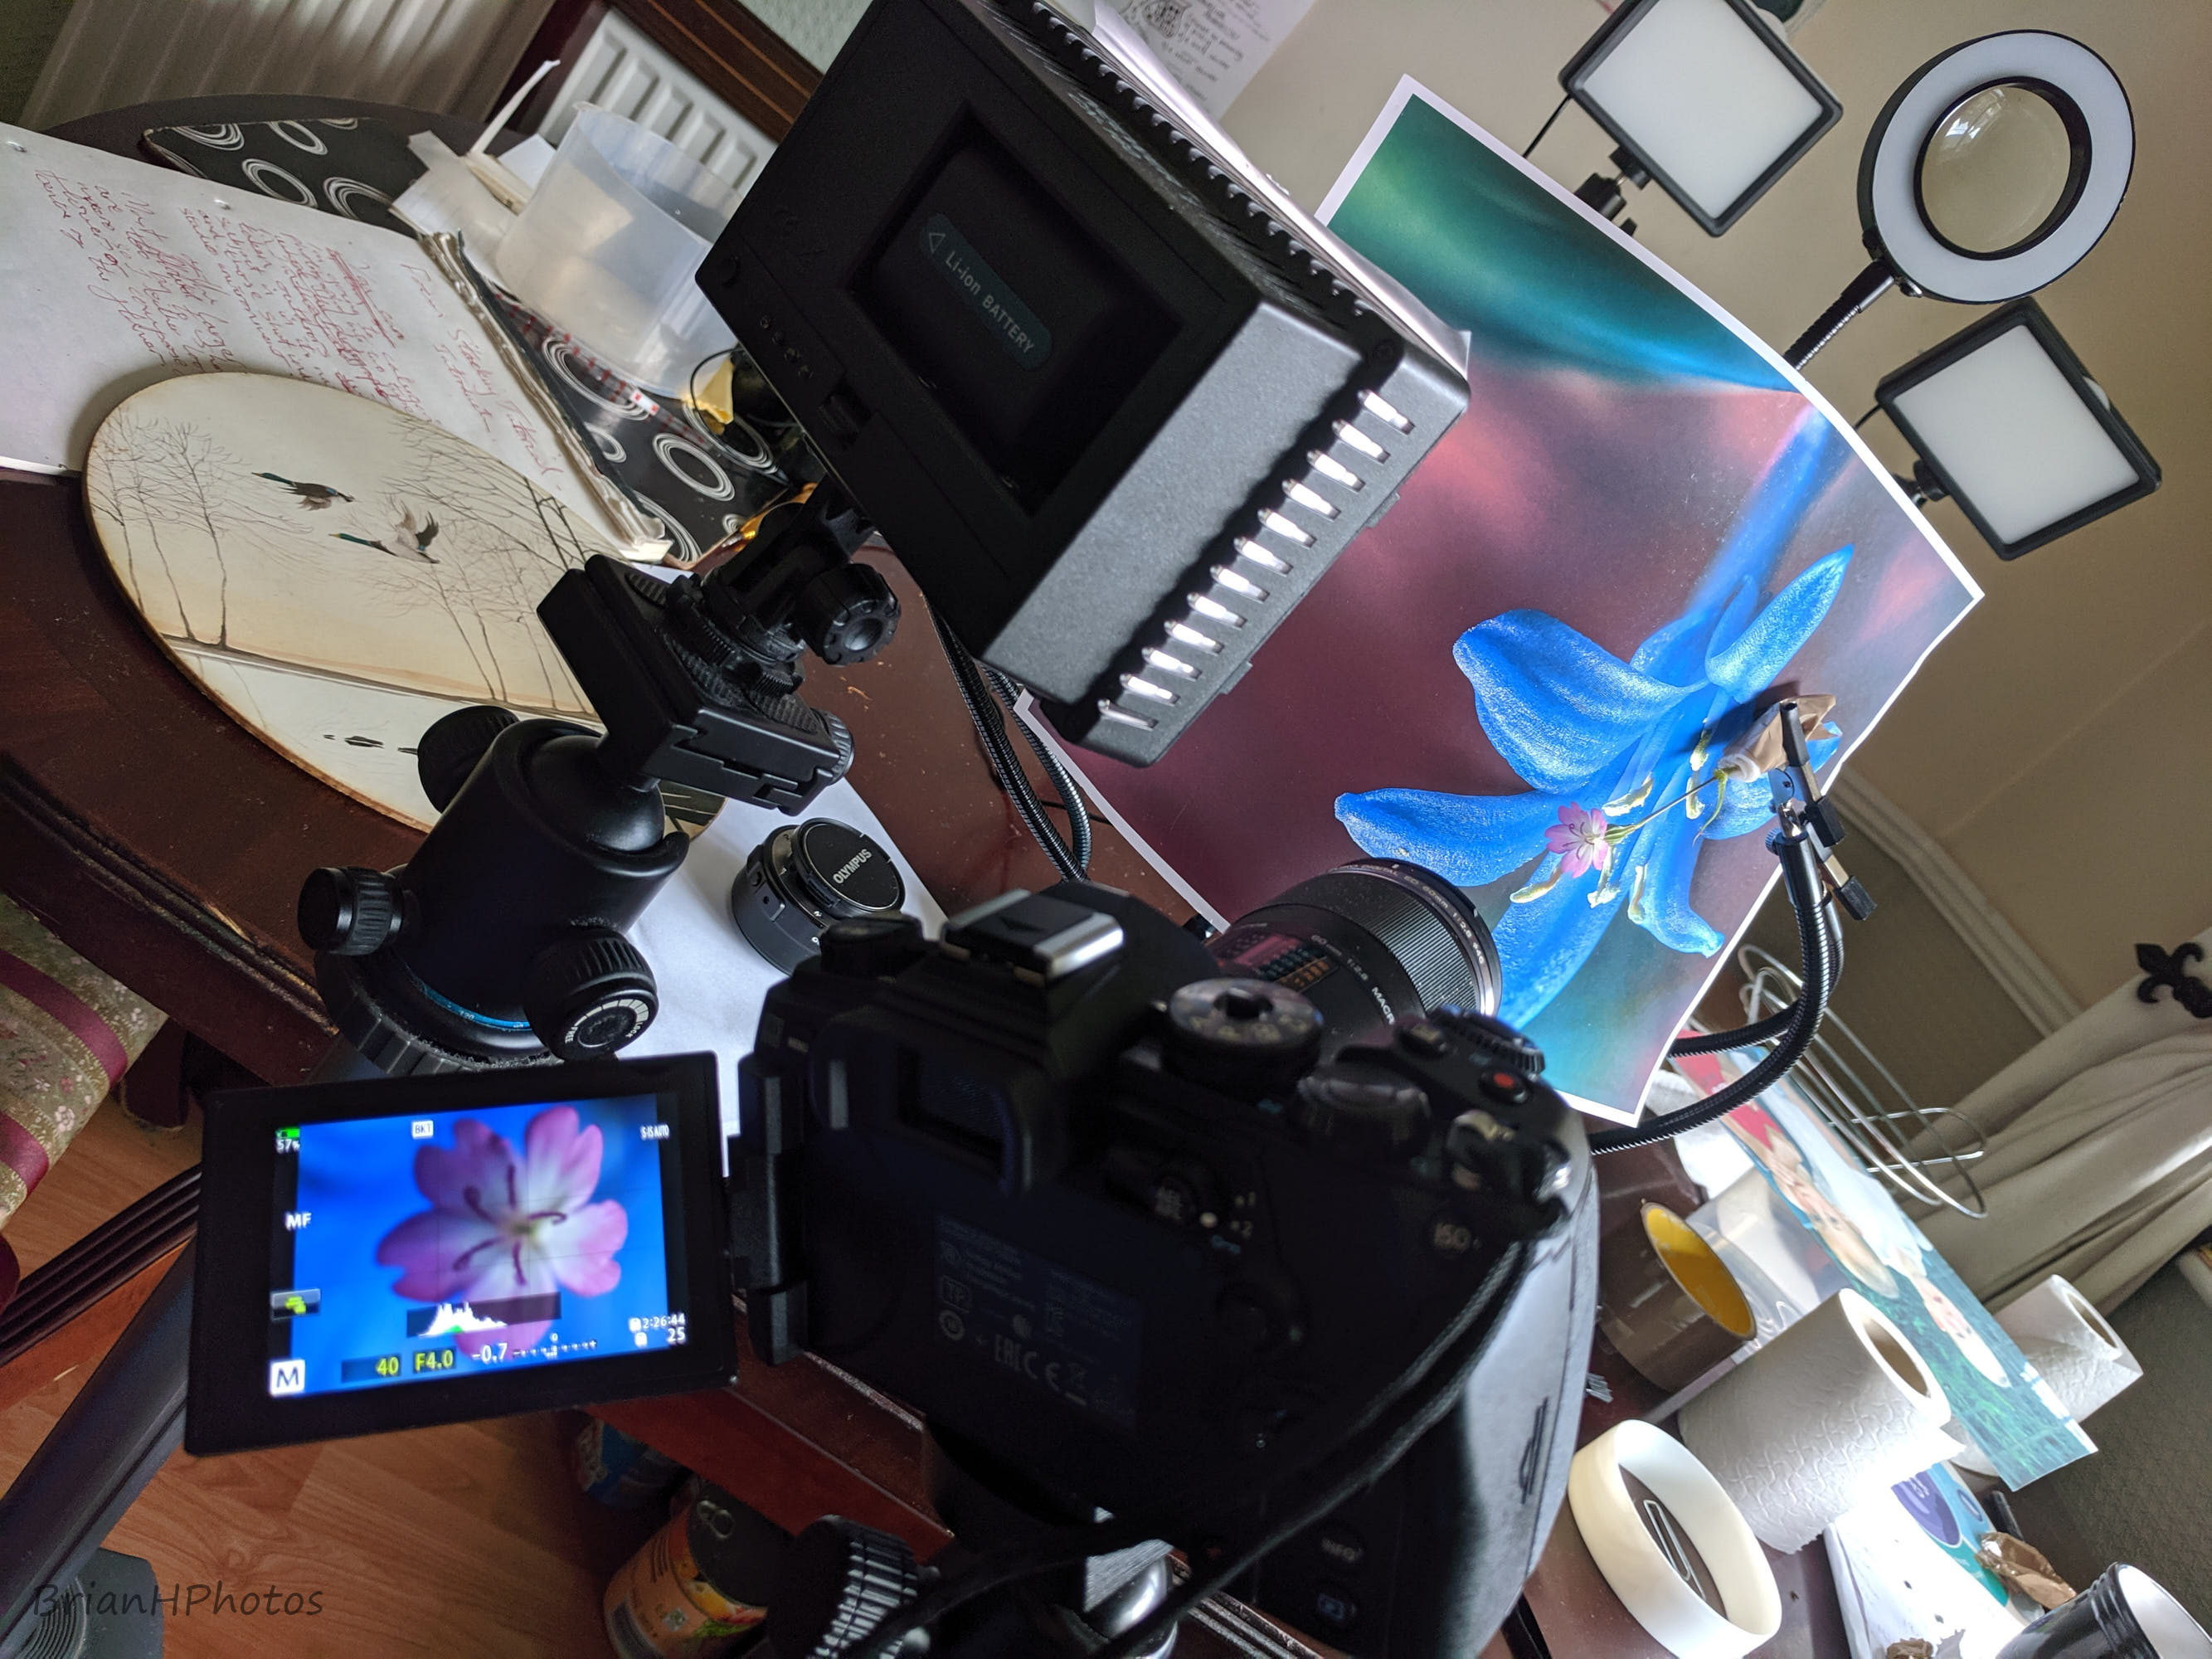
I sometimes also place a backdrop behind the flower to enhance the color and texture of the completely out of focus bokeh area behind the flower.
Below are some other images of the same flower that I have created today.
Here are links to previous part to series:-
Part 1 Introduction https://peakd.com/hive-101587/@brianhphotos/focus-stacking-tutorial-part-1-introduction
Part 2 Preparing Insects https://peakd.com/hive-101587/@brianhphotos/focus-stacking-tutorial-part-2-preparing-insects
Thanks for taking a look at my photography
@brianhphotos.
Huzzah!!!!
Thank You
!BEER for you :P
Thank You.
View or trade
BEER.Hey @brianhphotos, here is a little bit of
BEERfrom @qwerrie for you. Enjoy it!Learn how to earn FREE BEER each day by staking your
BEER.Thank You Qwerrie
So beautiful!! 😲
Thank You