Hi all lovers of architectural design! How are you today I hope you are always healthy and can continue to do activities as you should.
Back again with me @lancang a woodworking who will always display various kinds of posts related to furniture design, in this post I want to show a piece of my work last week and this is an order from a consumer who is about to open his business a mini market and he orders a table.
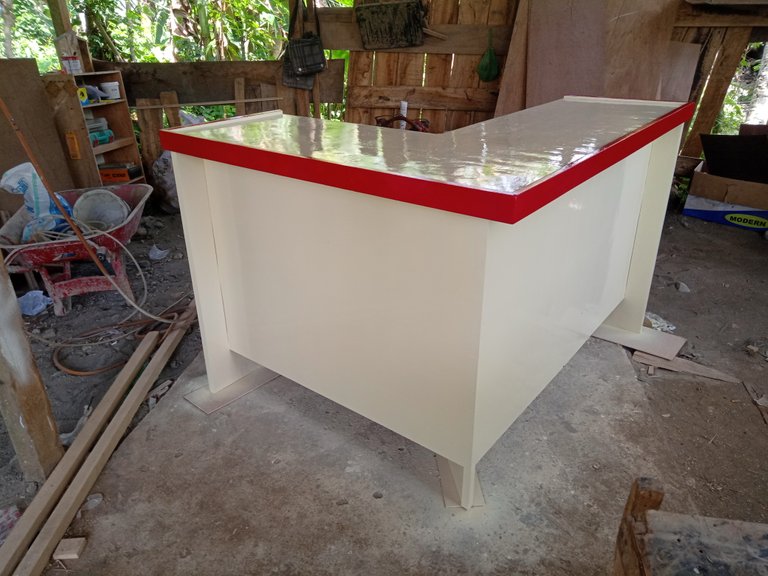
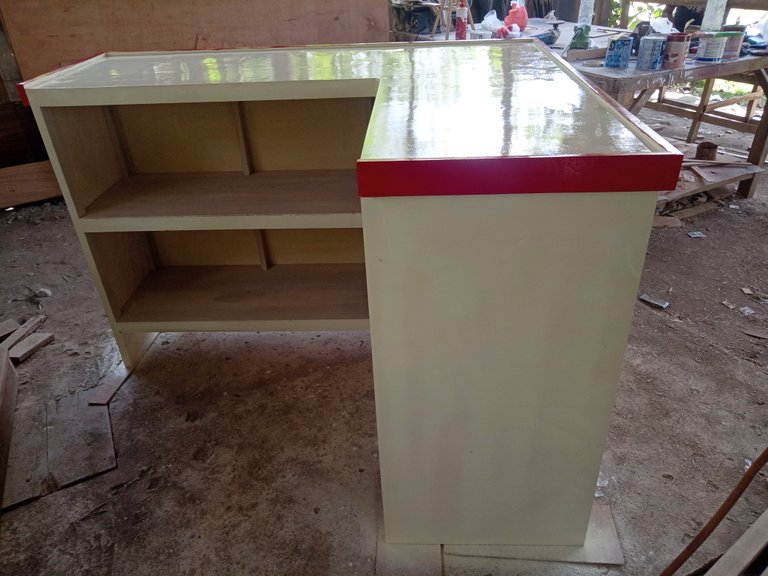

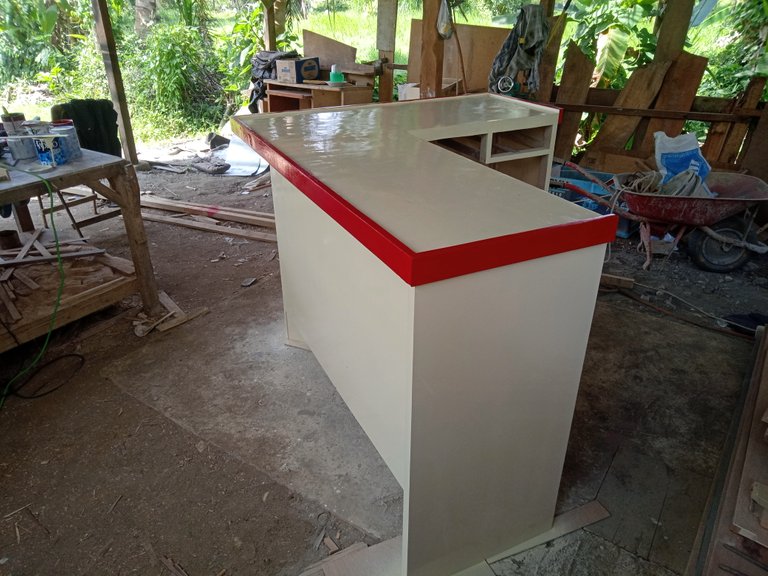
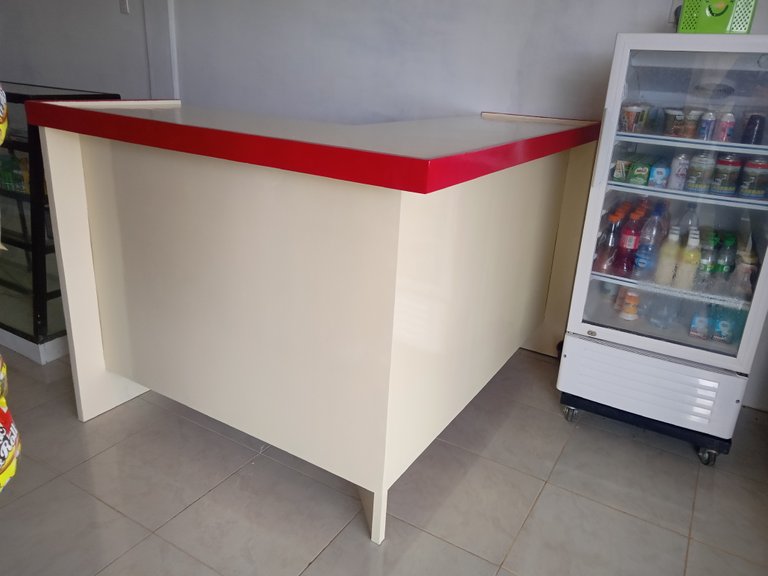
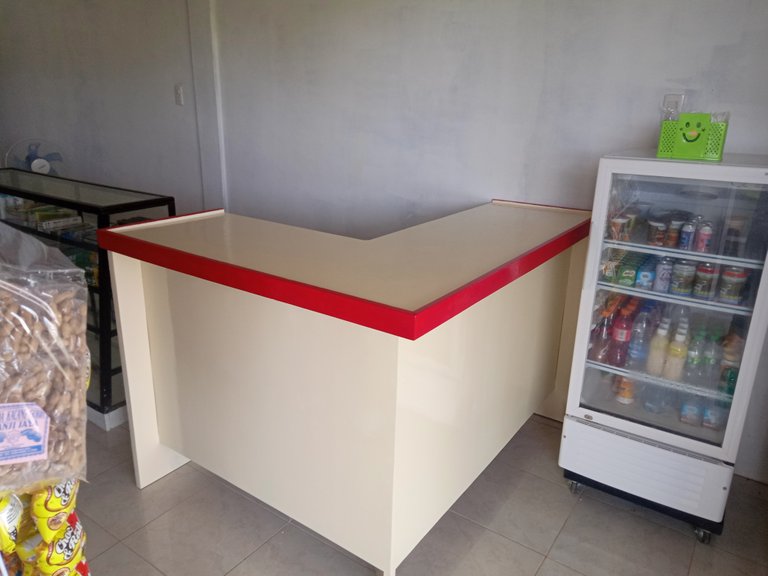
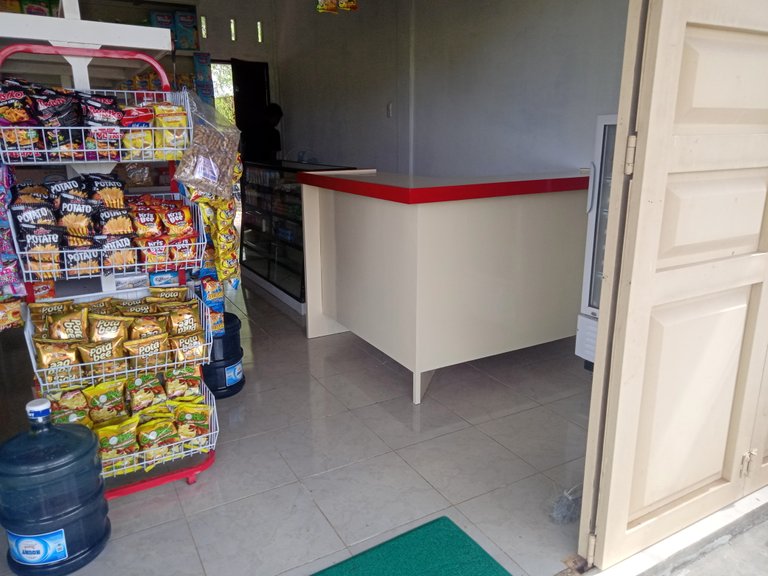
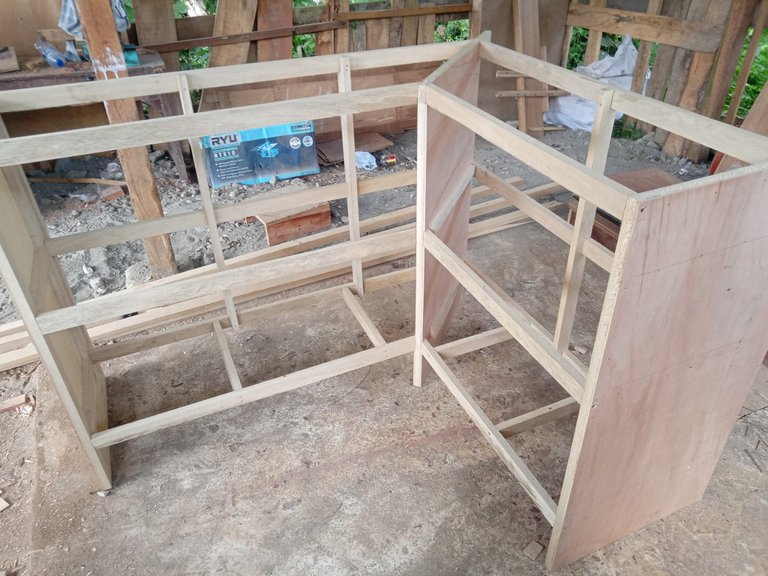
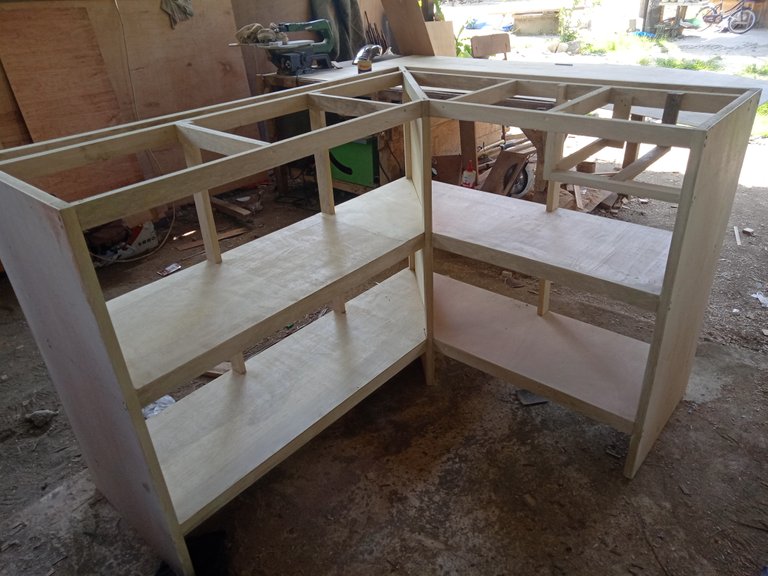
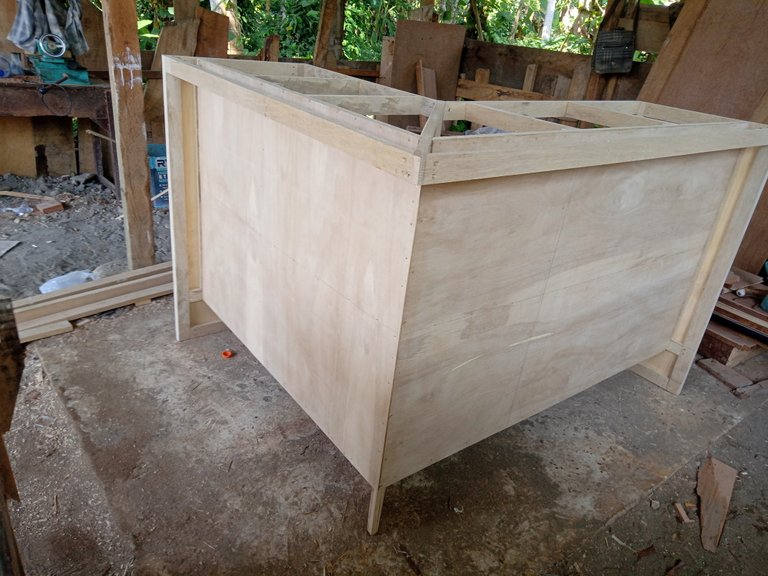
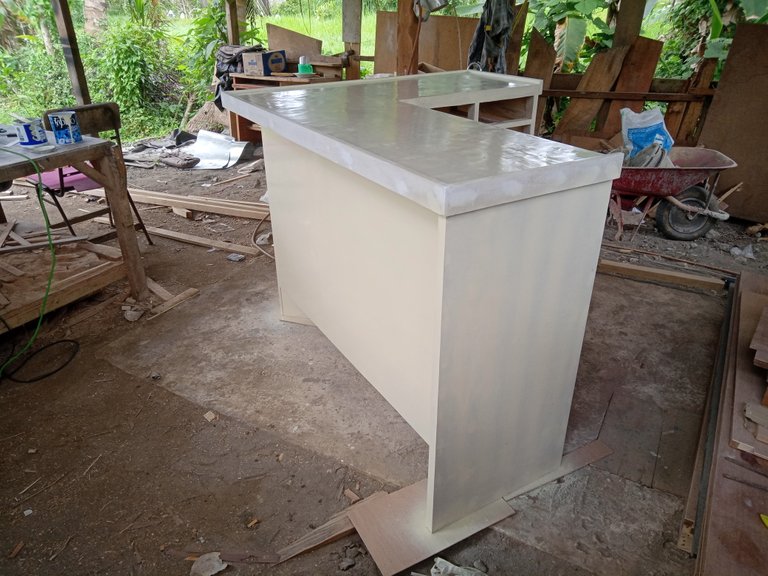
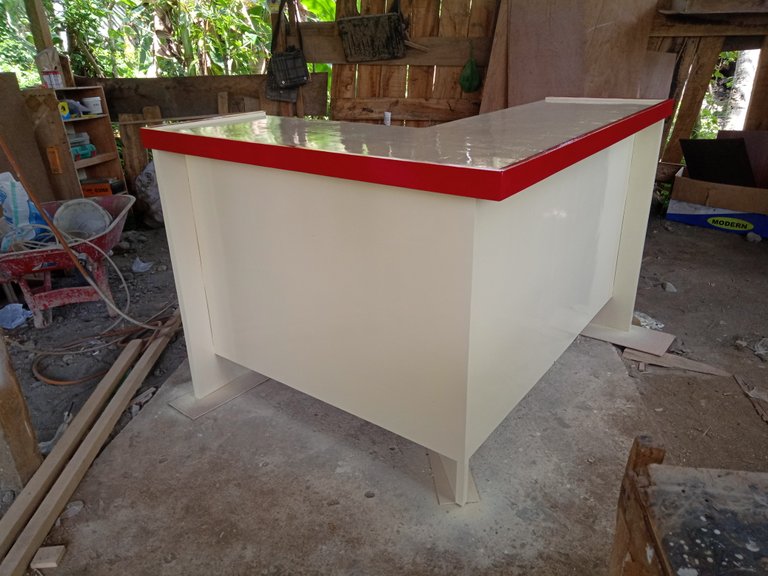
There are lots of models and styles of a cashier's desk, some are in the shape of a straight elongated, letter L and even letter U, it's all according to someone's wishes and also in accordance with the place where it will be placed, for the letter L shape like the one I made, put it attached to the wall so that the shape will fit and fit perfectly, while the letter U-shaped table is usually placed in the middle of the room behind the wall, for example, such as the reception desk in hotels or in office lobbies.


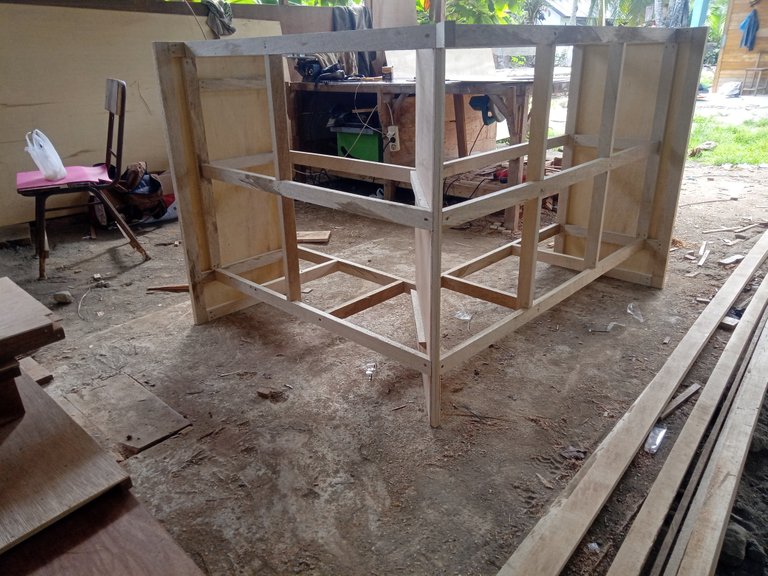
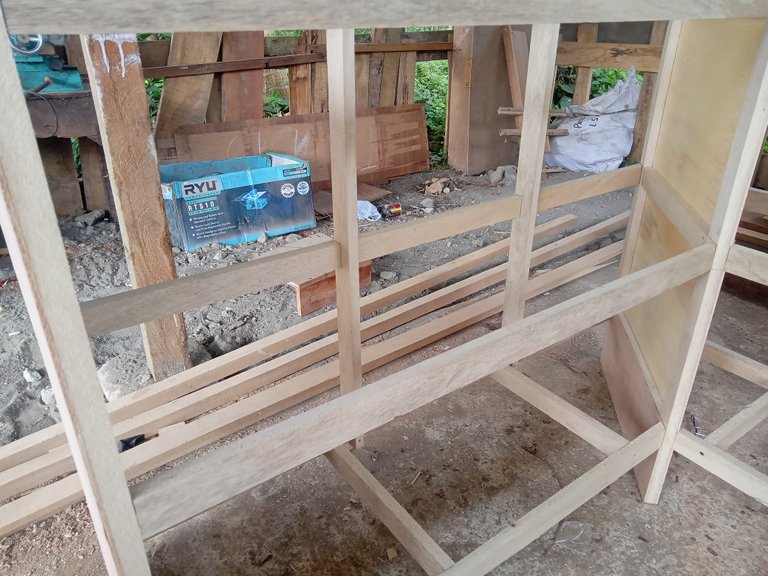
For this ordered table I made it by assembling the framework first because according to my customer's request, he asked for a table at a slightly lower price and of course I made the materials I used according to the agreed costs and that's the buying and selling system but the results and quality will not disappoint even though the price is relatively low and even though the profit I get is not too big as long as it is enough to cover the work costs and electricity costs and costs for machine maintenance.
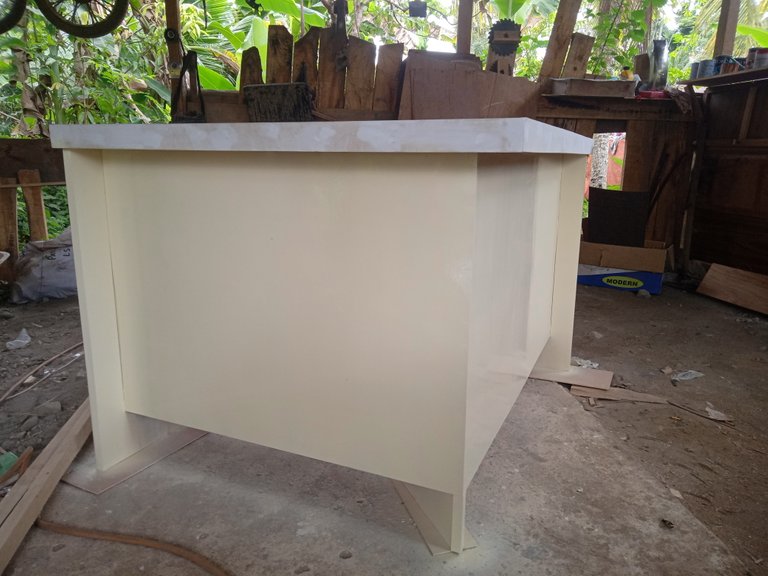
This table has a height of 100 cm and a width of 50 cm and a length of 150 cm on the left and 120 cm on the right so that when it is placed close to the wall it will have a room of 100 cm x 70 cm and it is comfortable to move in and not cramped.
For the material I used a board that I split 5 cm for the frame and 4 mm plywood to cover the entire surface of the table, so let's see how the process works.
Working process
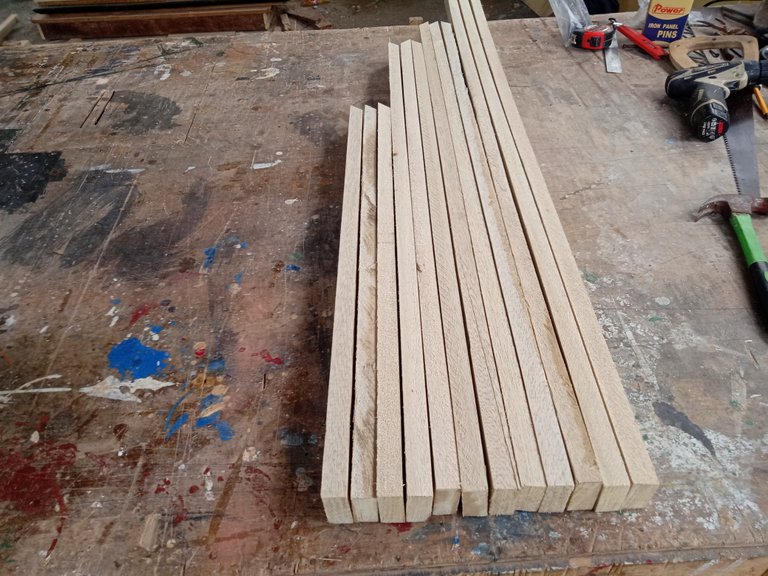
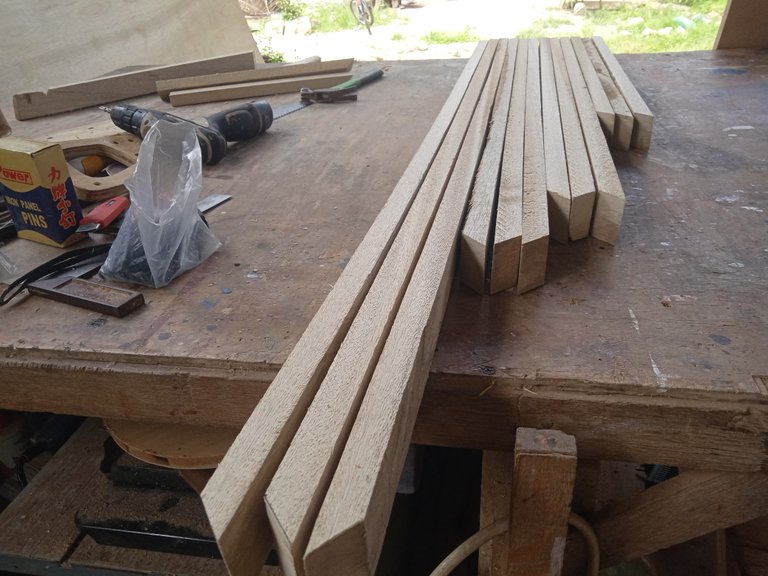
cuts and splits ingredients
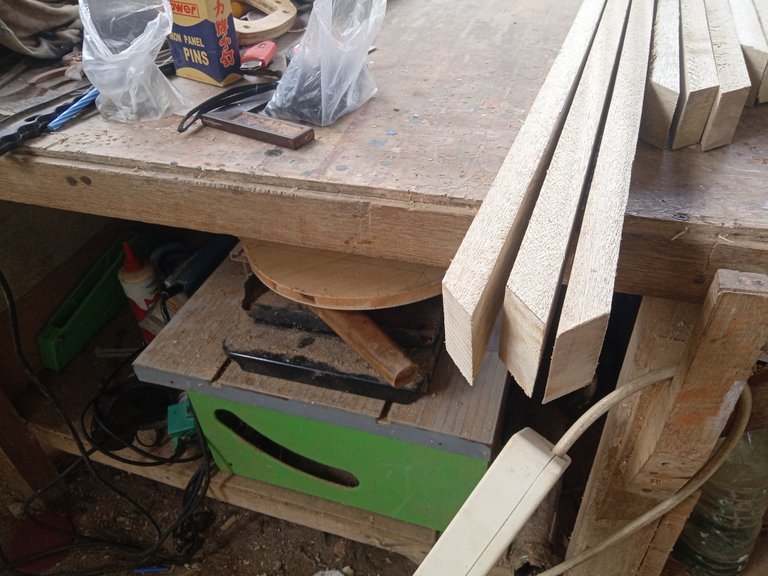
The first step I did was to shave the board until it was completely flat with a thickness of 2 cm and then I split it with a size of 5 cm as much as 2 pieces of board and each board can be split in 4 so there are 8 pieces in total.
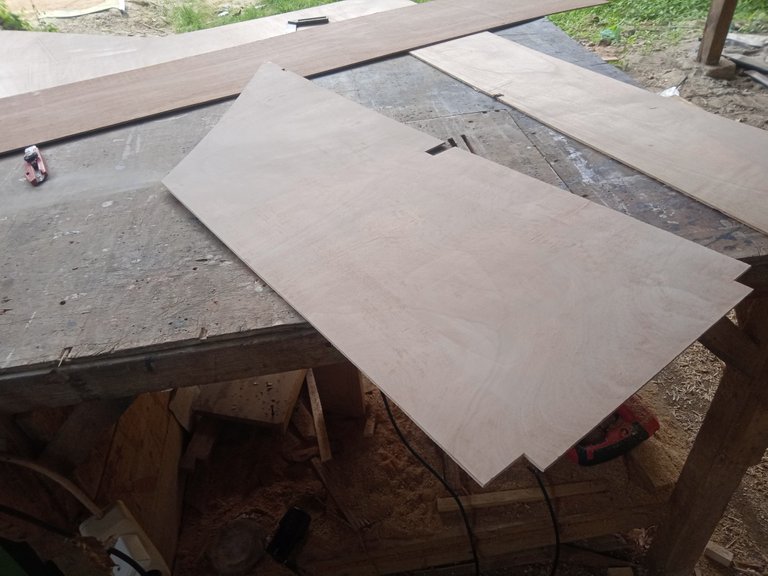
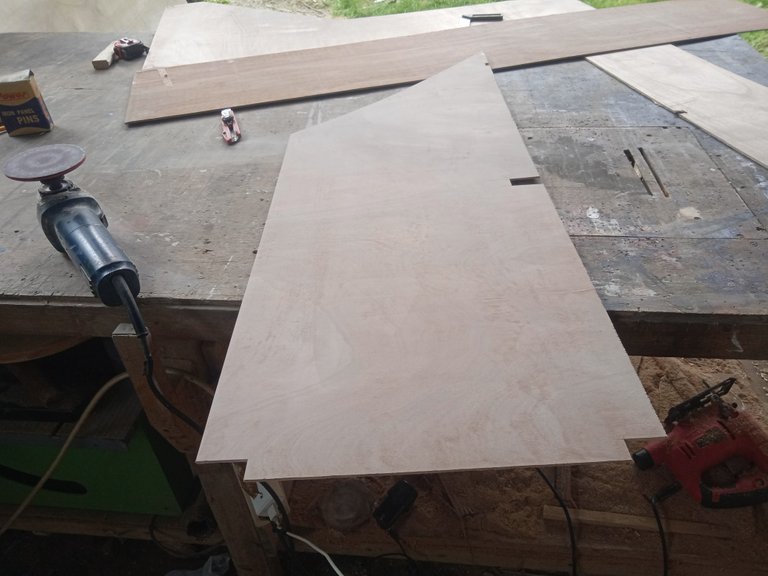
Then I cut and split the plywood with a size of 50 cm x 100 cm in 2 pieces for the left and right table legs and then 60 cm x 100 cm one sheet for the table legs in the middle of this part is wider than the left and right legs because the position is slanted 90 degrees.
Then I cut the boards that I had split and put them together with the plywood that I had cut according to size.

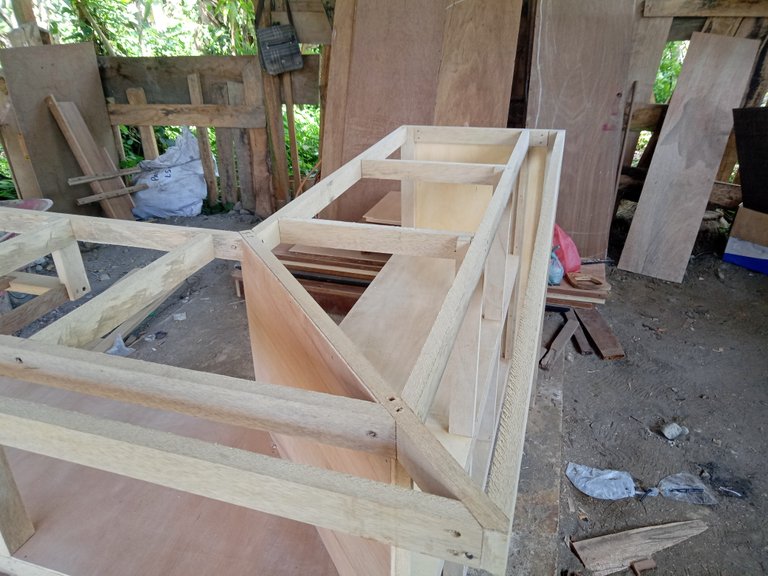
Screws piece by piece
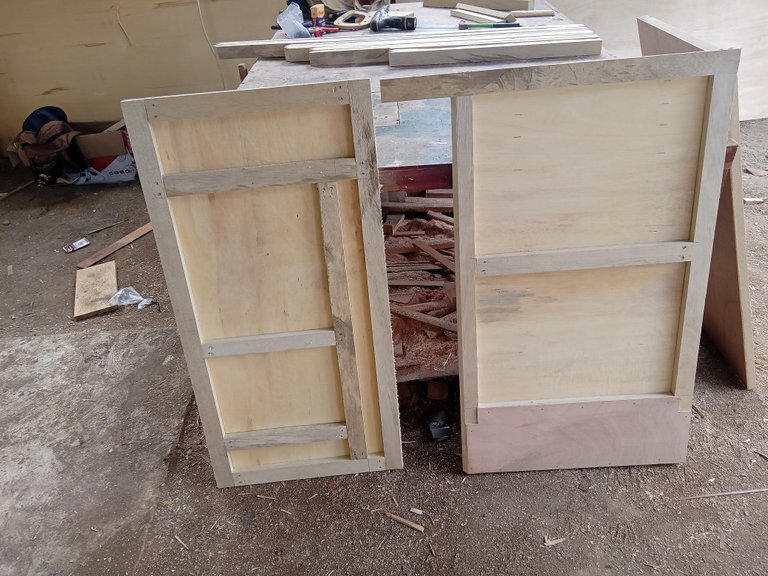
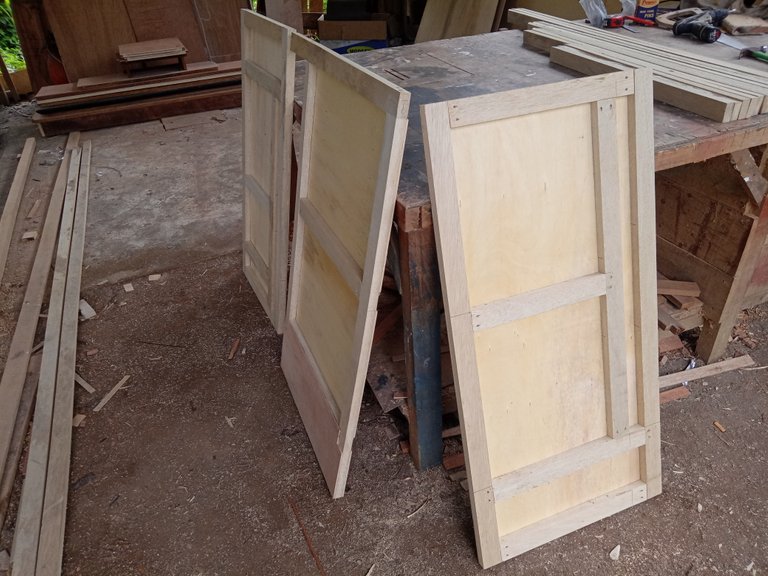
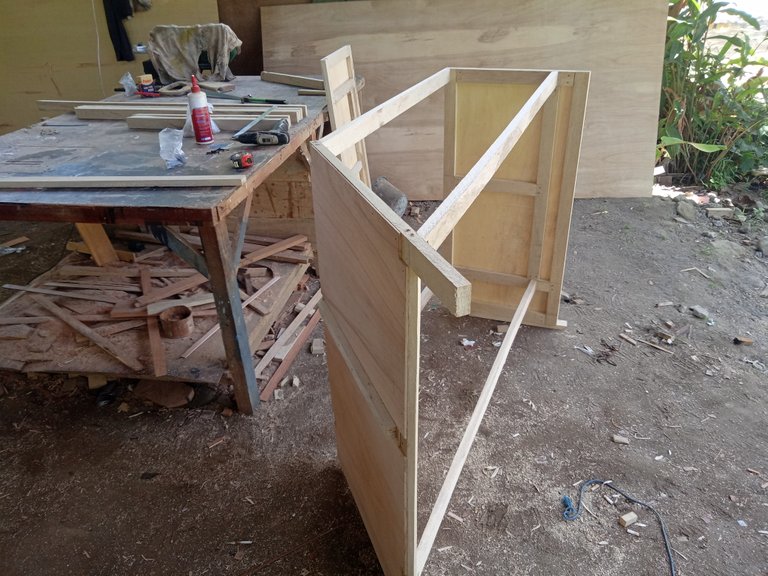
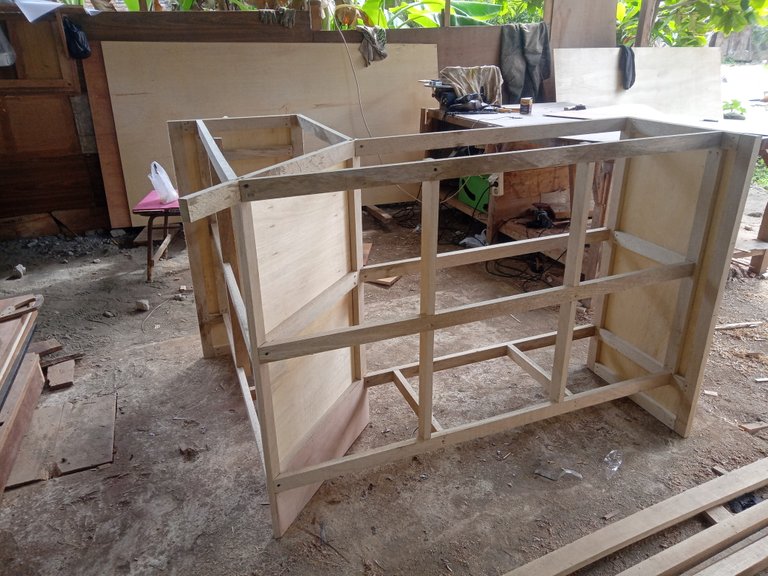
The next step is assembling the legs of the table, first I assemble the left first using wood that I cut 135 cm 3 pieces (for the front) and 95 cm 3 pieces (for the back) and every one side of the wood I cut obliquely 90 degrees.
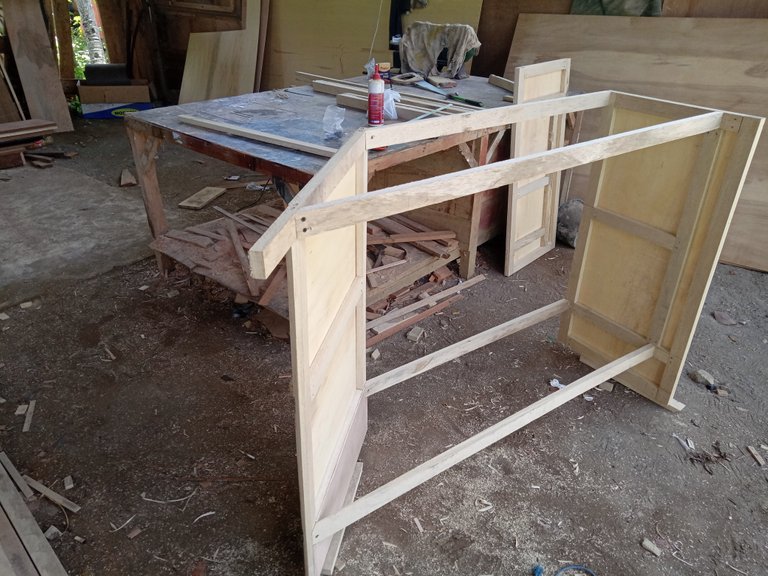
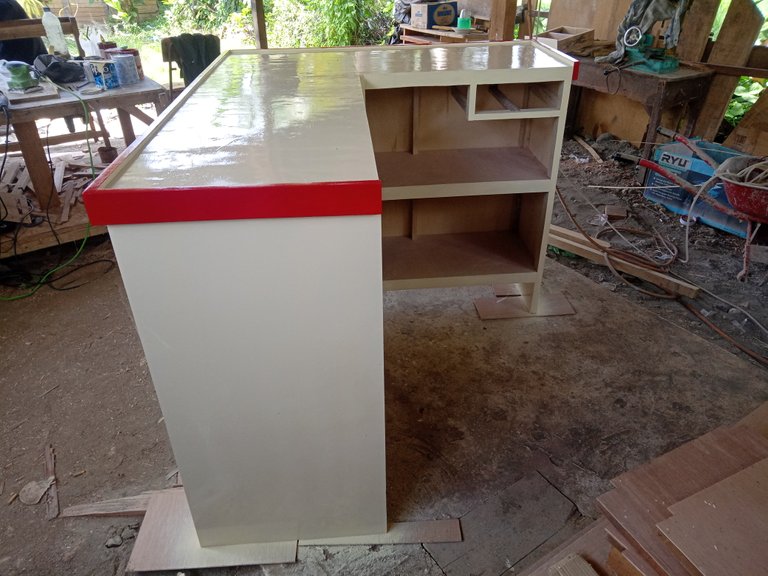
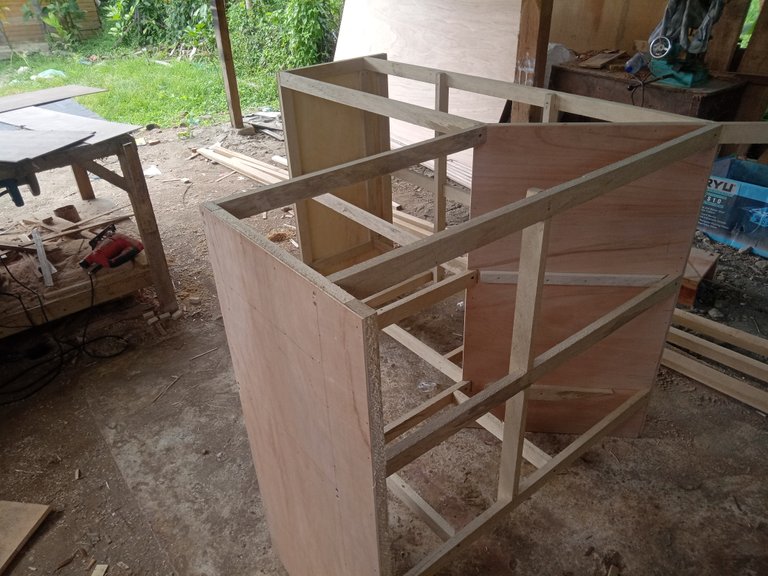
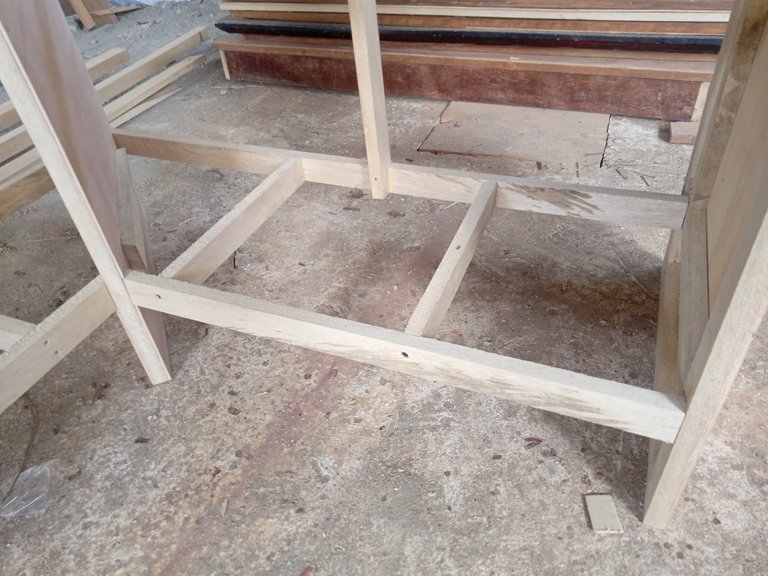
Then I continued assembling the right side of the table with 105 cm 3 piece wood (for the front) and 65 cm 3 piece (for the back), then I added wood on each floor of the table to make it stronger and stronger and also on the front to strengthen between one floor and the other so it does not bend.

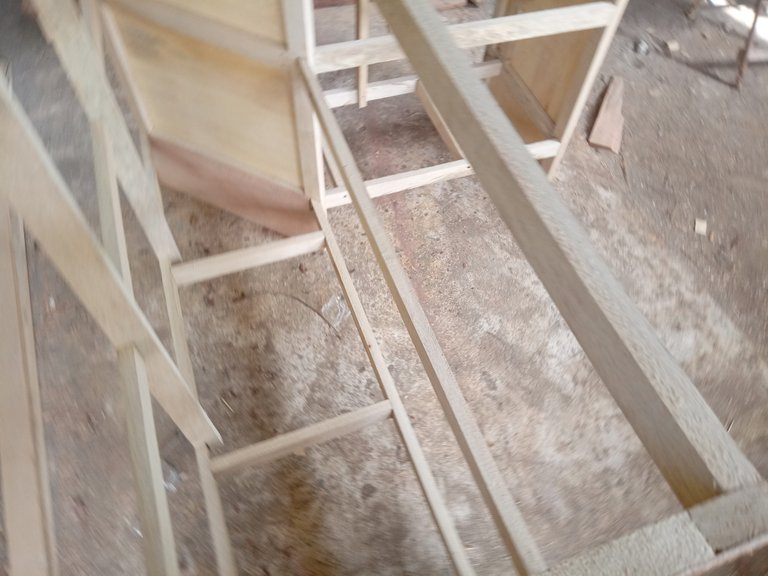

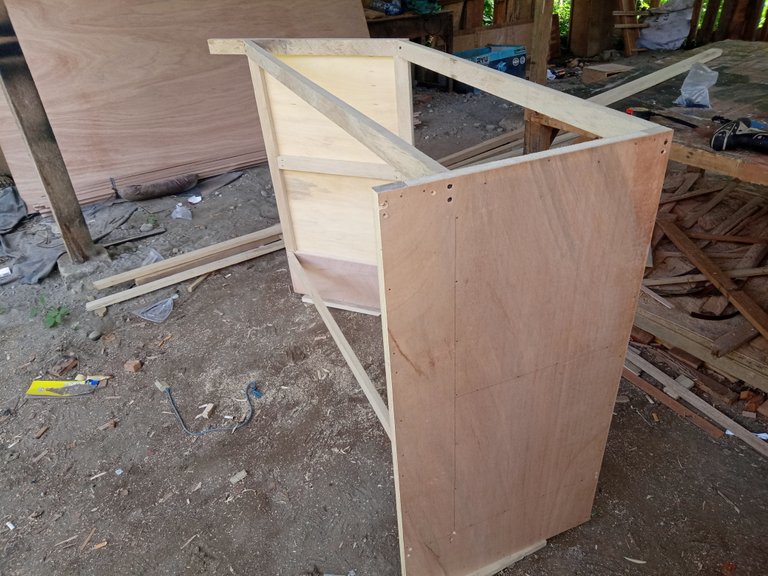
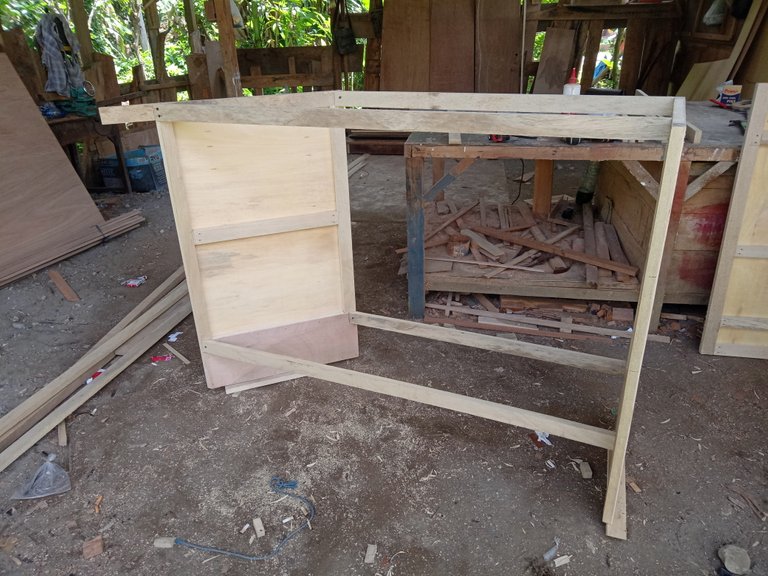
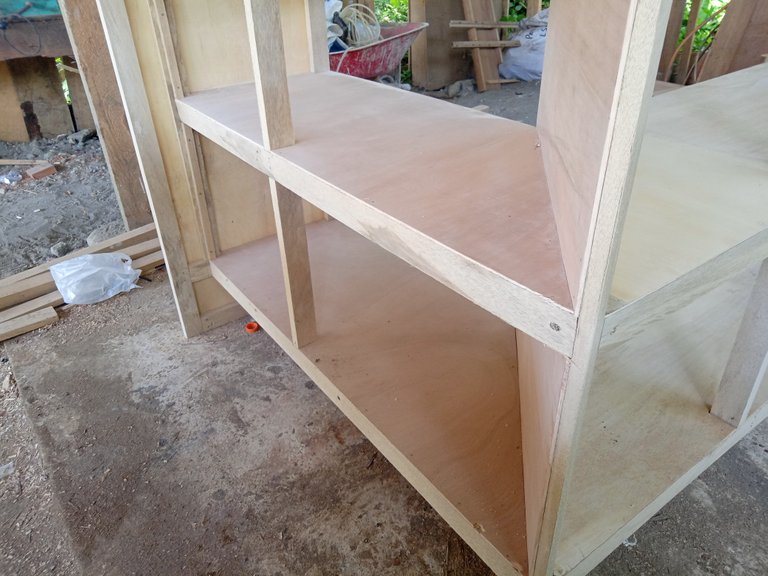
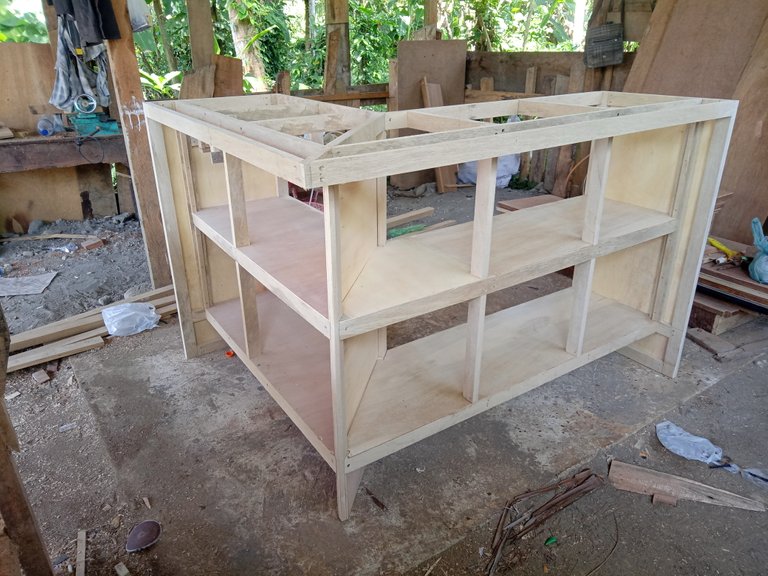
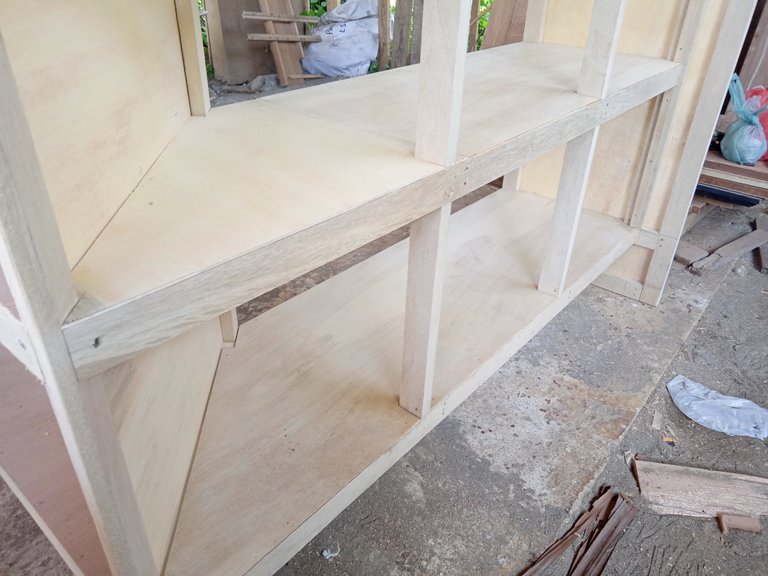
Then I cut the plywood for each of these floors and I cut each side with a slope of 90 degrees for the left side 40 cm x 135 cm 2 pieces and for the right side 40 cm x 105 cm, the front of the table left and right enter 10 cm from the size of the leg and so the table top is 40 cm wide.
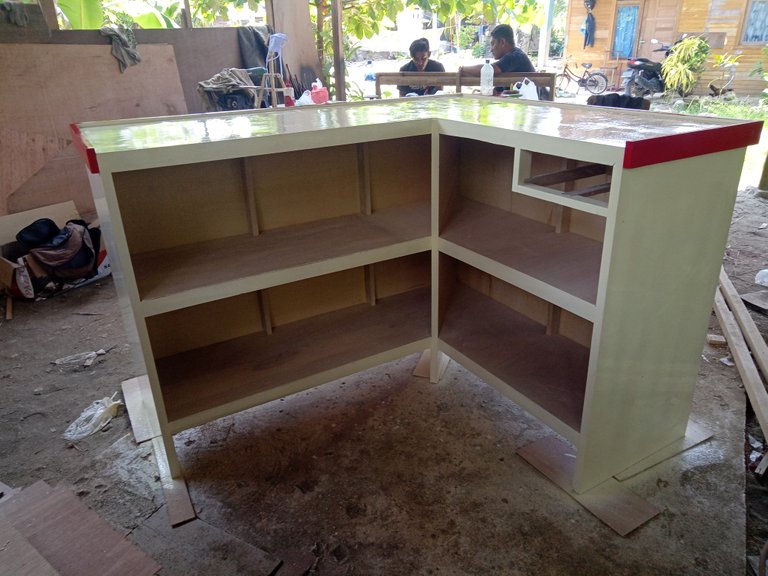
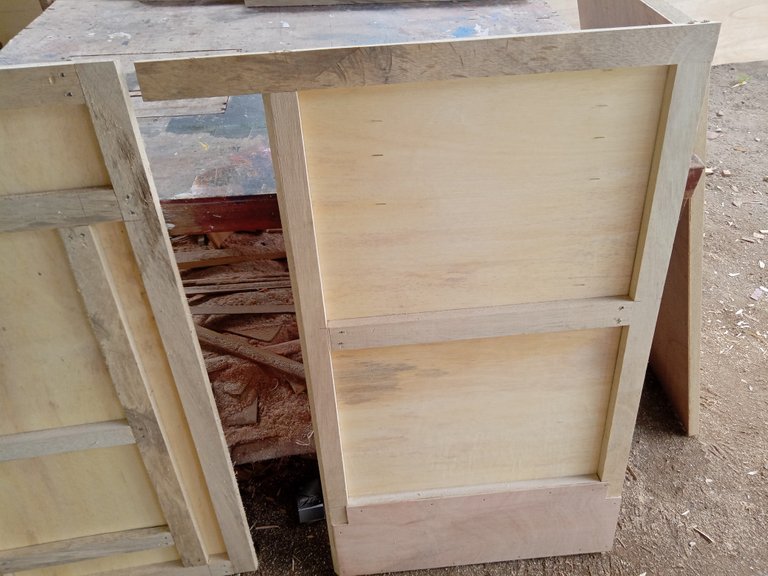
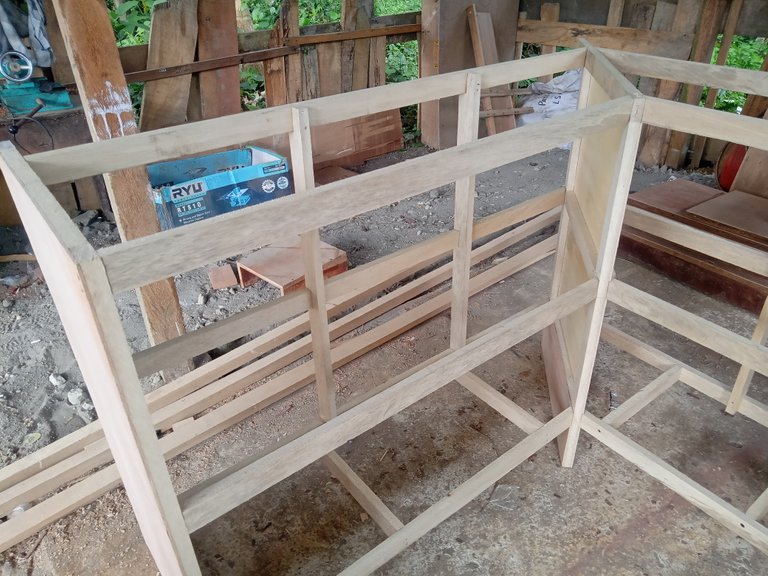
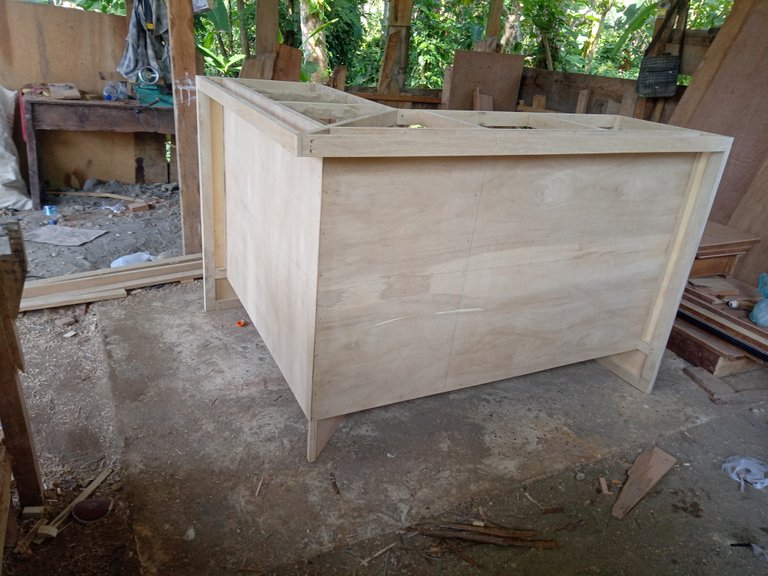
After the inner floor is finished, then one sheet of plywood 85 cm x 137.5 cm (for the left front) and 85 cm x 107.5 cm (for the right front) for the lowest floor is higher than the surface of the table leg 15 cm, so the height of the front is 85 cm and then I installed the table top with plywood which I cut according to the shape and size of the table.


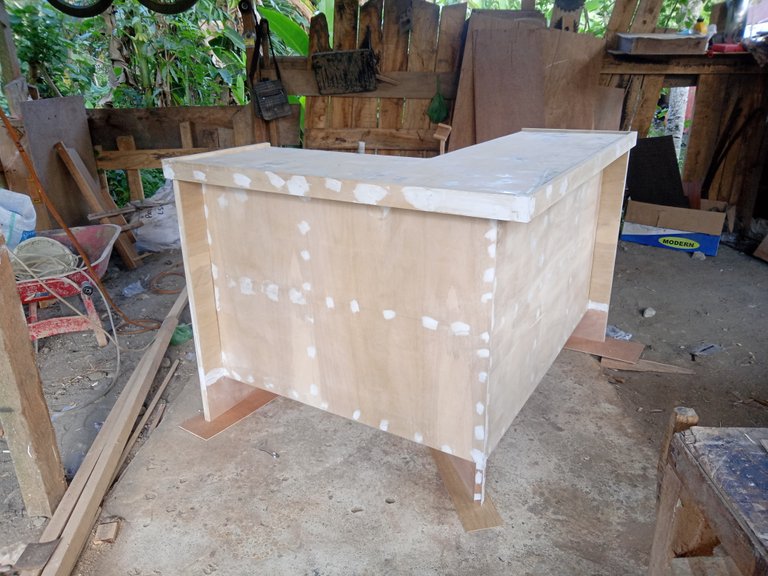
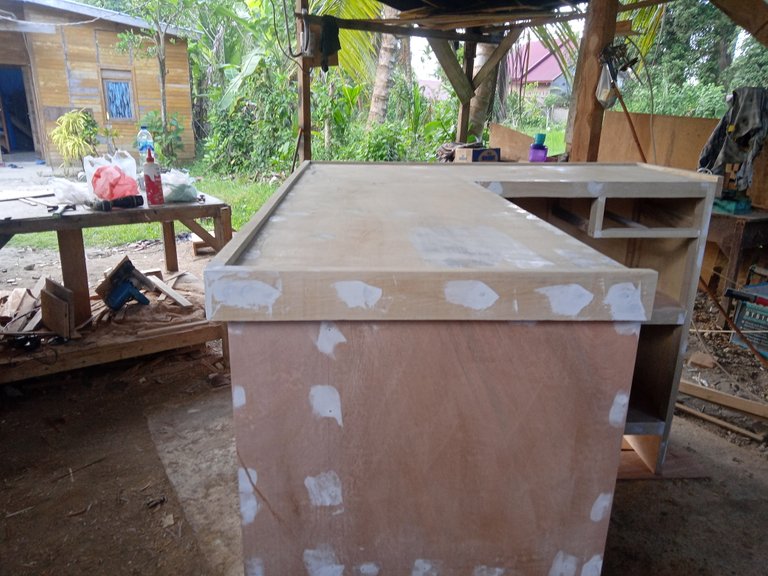
finishing
This process is the last process in making furniture and there are several stages in it.
the first stage is putty this stage is the process of covering all the marks from screwing and nailing so that all the marks are no longer visible (using a thick putty) then also covering all parts of the table with putty which has been mixed with a solvent (slightly more liquid) its use to cover all the pores of the plywood so that the results are better.
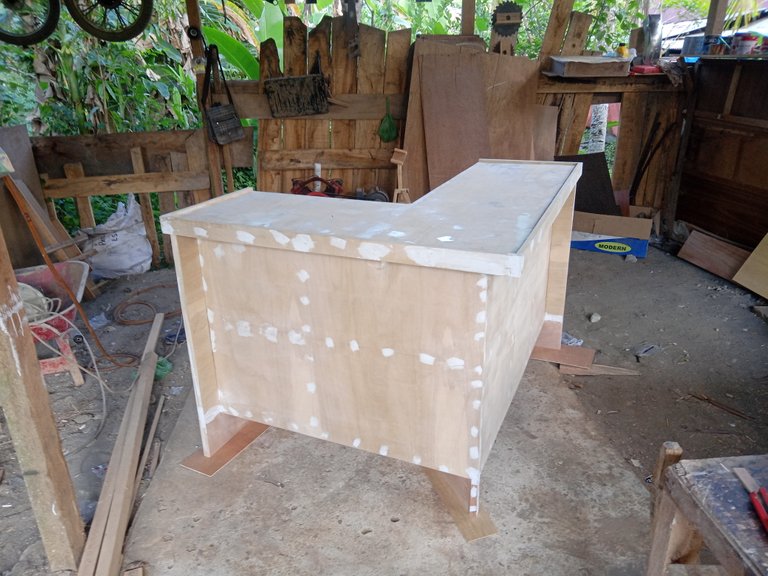
The next step is sanding all the parts that after the putty dries evenly using fine sandpaper until all the table surfaces are smooth and the remaining putty is even.
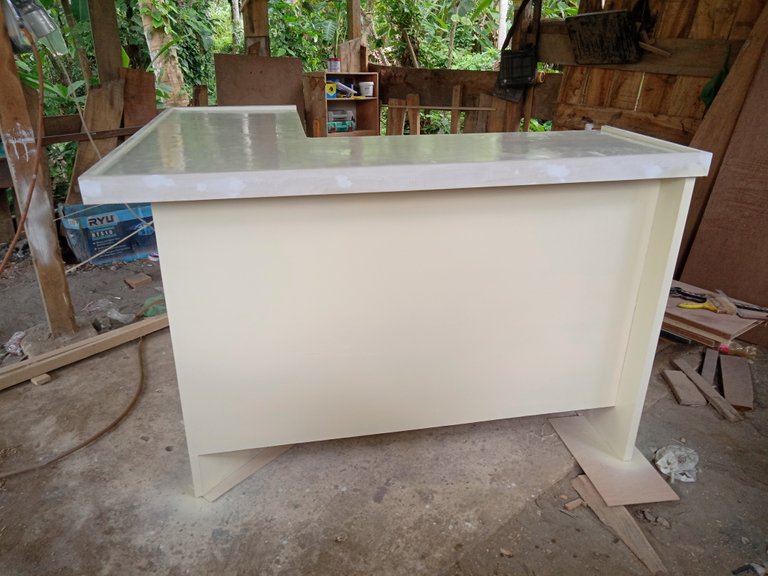
And the next stage is the last stage of finishing, namely painting this stage is coating all parts of the table with paint. This stage can be done manually (using a paint brush) or not manually, namely using an air compressor (spray gun), this stage can be done several times to produce the desired color and shine for this table, I did three paintings and each time I had to wait 3 hours for the paint to dry completely.


That is an explanation of the process of working on a liter l-shaped cash register, I hope you can understand it and if my writing is not understood then I hope you can understand it through the pictures that I display and thank you very much for reading my post I hope you like it and see you in the next furniture post.
Greetings @lancang. Amazing workmanship for a cashier's counter! Though it looks minimalistic on the outside, the assembly of its structural shell and inner elements was definitely meticulous. 👍
What was your most challenging aspect for this entire furniture project?
for the project this time, I think it's quite challenging, especially in the process of making the framework for the mid-leg structure because the measurements have to be really accurate and precise so that a 90 degree angle is really created from this table, because this middle leg is the main element in this project where both parts the left and right tables will be put together here so the size and slope must be exactly right.
sorry a little late to reply to your comment,,🙏🙏
thank you for the support.
Okay, you're right. That process seems to be quite challenging. Regardless, your furniture project came out successfully with no errors. More power! 😊👍
The design is simple but still elegant with the right color combination @lancang
Yes, the color combination is in accordance with consumer demand, thank you for seeing my post.😊
You are welcome @lancang
Awesome post and great workmanship. You got a wonderful gloss on the paintwork!
Best wishes, thanks for a great read and have a lovely weekend :-)
the perfect attitude will be obtained after several coats of paint and it will take some time, thanks for reading my post, have a nice day 😊
Can I ask which brand of putty you used to fill your screw holes please? I always have problems with mine sinking when it dries! I'm in Thailand by the way so not far.
Did you use brush or sprayer for the paint please, sand it a little between coats and did you water the paint down a little? Its so smooth but the colour is so deep! I'm very impressed. My painting always lets me down, especially painting plywood because its so smooth to start with.
thanks in advance :-)
for the putty, I usually use this
Impra wood filler
so that the putty results from the screw marks are the maximum, I usually do the putty process up to 3 times with a thick putty until the screw marks are completely flush with the wood surface, then I continue by caulking the entire surface the project to be painted using putty which I mixed with a solution (oil or thinner), then sanded it using fine sandpaper (240,400) for maximum results.
And for the paint, I stirred a little liquid in the first layer, and then I sanded it with fine used sandpaper and sanding it shouldn't be pressed too hard it just floats and I do that step again after the second layer and so on until I feel the paint results are maximized, I hope my explanation can help and thank you for asking...
Congratulations @lancang! You have completed the following achievement on the Hive blockchain And have been rewarded with New badge(s)
Your next target is to reach 9000 upvotes.
You can view your badges on your board and compare yourself to others in the Ranking
If you no longer want to receive notifications, reply to this comment with the word
STOPCheck out our last posts:
Thanks so much for the support.
You're a true champion @lancang! Keep striving for greatness and you'll reach your Hive goals in no time.
Thank you for showing us your work. It’s great seeing how it was made from scratch. I love the L-shape and the finish. Quite impressive.
thank you for your support, I'm glad you like it, have a nice day..,😊
😃You’re welcome. Hace a nice day too.
Congratulations @lancang! We are delighted to inform you that your outstanding publication was specially selected to be part of our Curated Content Catalog and was awarded RUNNER-UP in Architecture Anthology™ 18. More power!
Thank you for subscribing to Architecture+Design, an OCD incubated community on the Hive Blockchain.
Thank for the support,i appreciate that.
You are most welcome dear @lancang. Cheers! 😀