Mi Primer FotoMontaje // My First Photo Montage
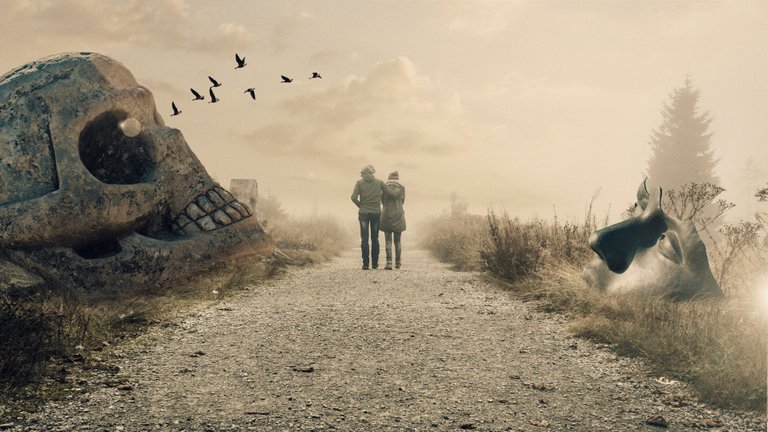
Hola como estan chicos, espero que bien, hoy me siento muy emocionado pues hice mi primer foto montaje 🤣 aunque creo que es obvio por el titulo 🤣 en fin , quiero explicarle el proceso sobre como logre crear una imagen algo sombria al unificar varios elementos y integrarlo en una sola escena.
Hello, how are you guys? I hope so good, today I feel very excited because I made my first photo montage although I think it is obvious from the title 🤣 anyway, I want to explain the process on how to create a somewhat gloomy image by unifying several elements and integrating it in a single scene.
espero que sea de su agrado en verdad me esfuerzo mucho para hacer este post, vota y sigueme si te gusta este tipo de contenido.
I hope you like it, I really try hard to make this post, vote and follow me if you like this type of content.
Para empezar necesite varios elementos, en primer lugar y mas importante el programa que utilize para hacerlo, este fue el mas conocido programa de edicion de imagen.... si exacto el que piensan el magnifico photoshop cc en este caso al version 2020.
To start I need several elements, first and foremost the program I used to do it, this was the best known image editing program ... if exactly what they think the magnificent photoshop cc in this case to the 2020 version.
en segundo lugar pero no menos importante las imagenes que utilizaremos para mezclar:
second but not least the images that we will use to mix:
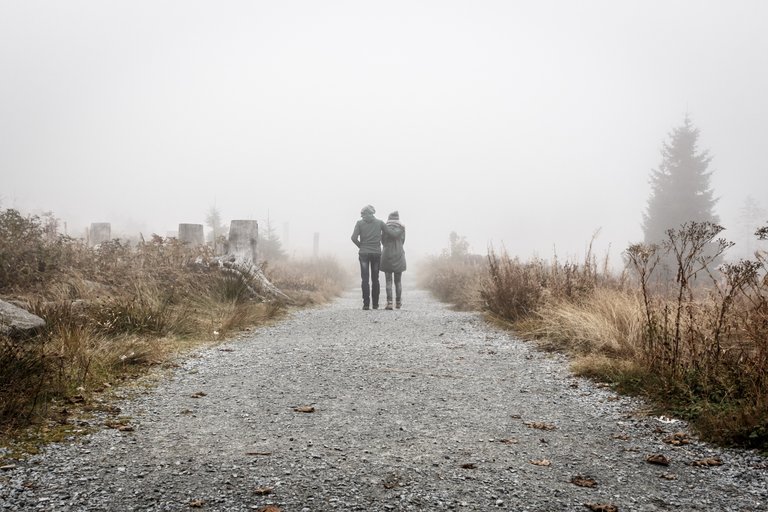
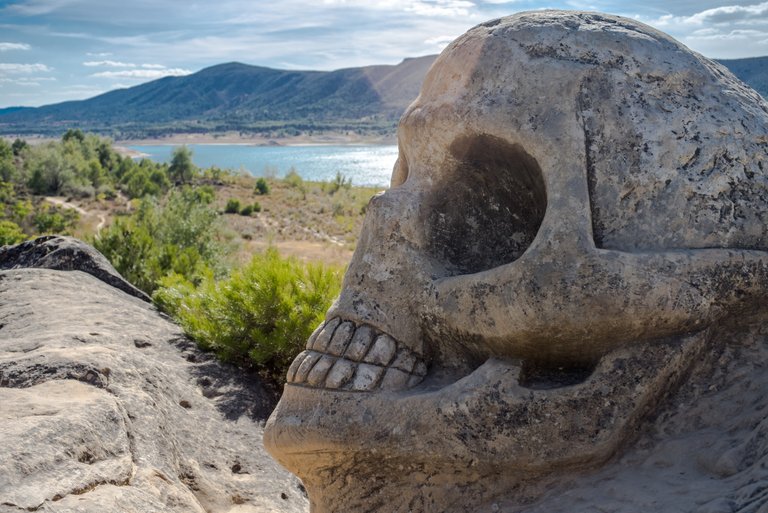
un paisaje // a landscape
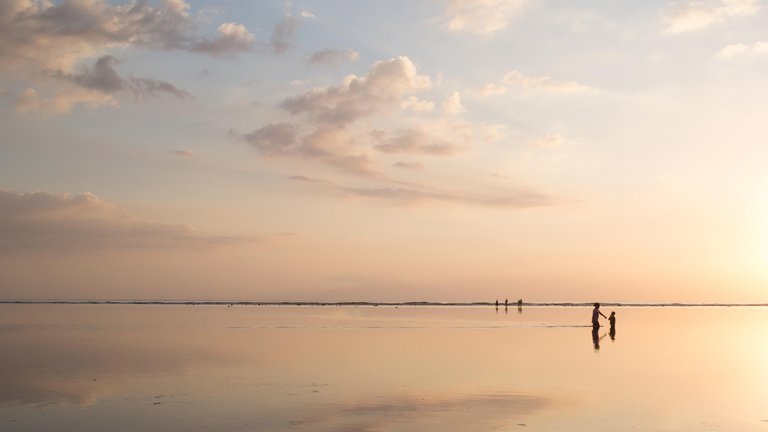
el cielo // heaven
calavera de piedra // stone skull
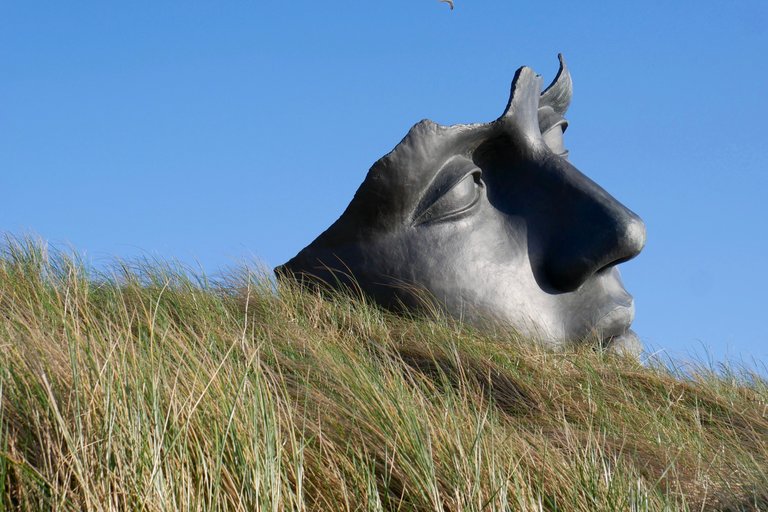
mascara rota // broken mask
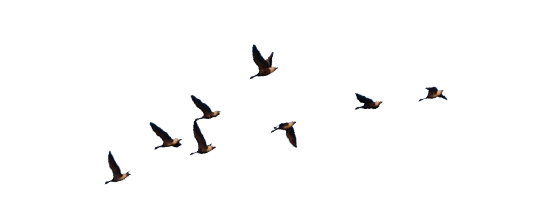
aves volando // birds flying
lo primero que hice fue crear un nuevo elemento con las siguente caracteristicas.
The first thing I did was create a new element with the following characteristics.
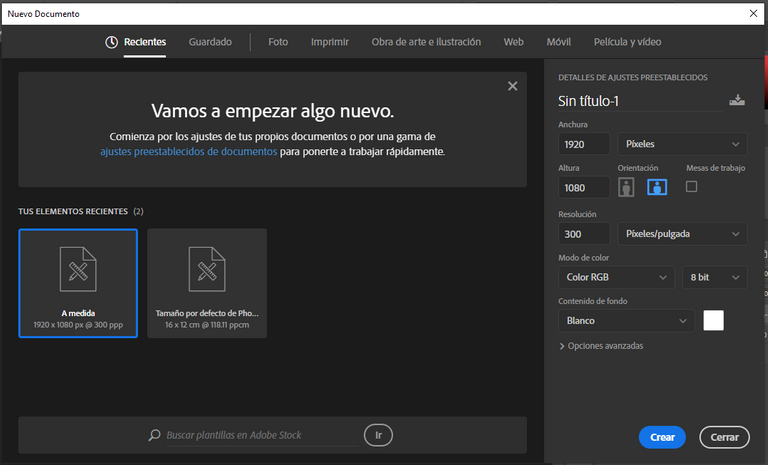
1920 x 1080 pixeles
resolucion de 300 pixeles/pulgada
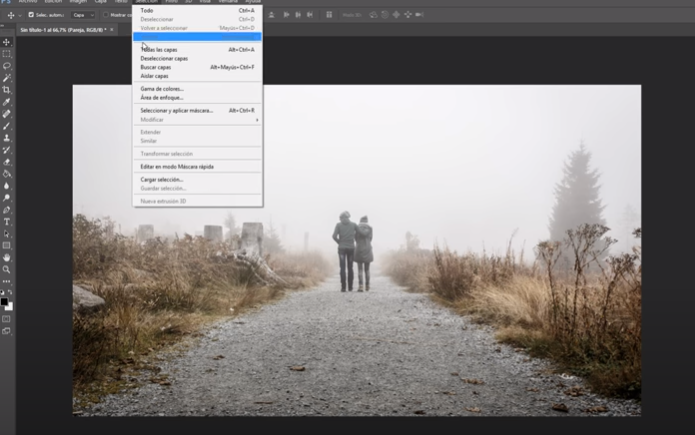
luego hice click en la opcion de archivos luego en colocar elemento incrustado selecione la imagen principal ''el paisaje'', la ajuste al proyecto y la rasterize.
then I clicked on the files option then on placing embedded element select the main image '' the landscape '', adjust it to the project and rasterize it.
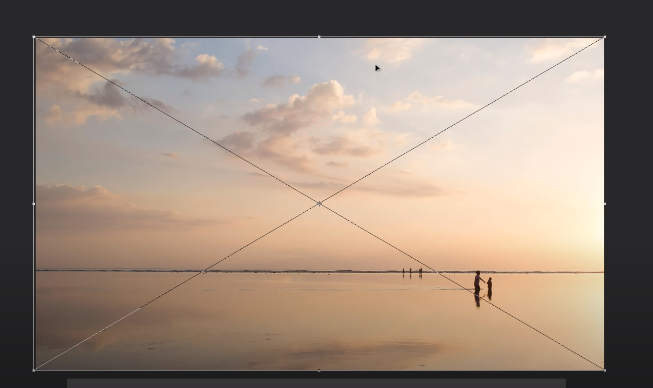
hice lo mismo con la segundo imagen"el cielo'' excepto que esta a juste encima de la primera imagen, luego cree una mascara de capa en ella, borre y difumine unificando las dos imagenes con la herramienta pincel, 85px con una opacacidad del 20%
I did the same with the second image "the sky" except that it is just above the first image, then create a layer mask on it, erase and blur unifying the two images with the brush tool, 85px with an opacity of 20 %
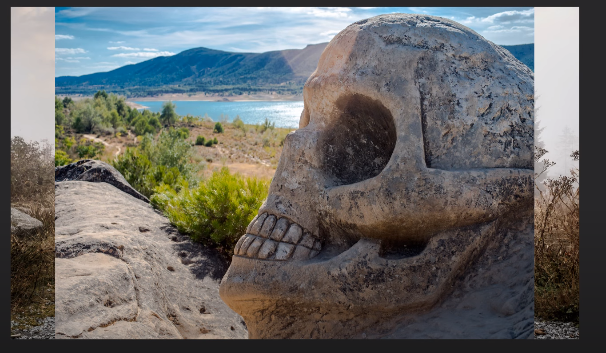
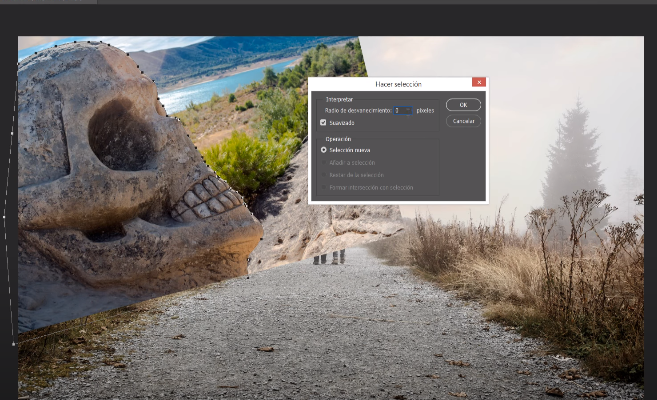
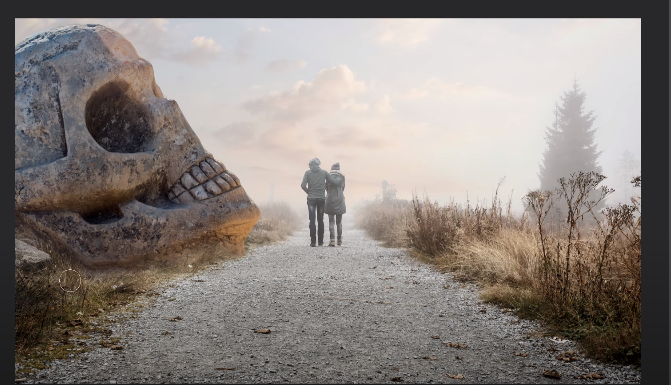
añadi la imagen de la calavera la ajuste al lugar donde creo correspondiente y luego con la herramienta de pluma hice el trazado de la misma recortandola de su antiguo fondo, le hice una mascara de capa y termine uniendo la imagen con la herramienta de pincel.
I added the image of the skull, I adjusted it to the place where I think it would correspond and then with the pen tool I traced it by cutting it from its old background, I made it a layer mask and finished joining the image with the brush tool.
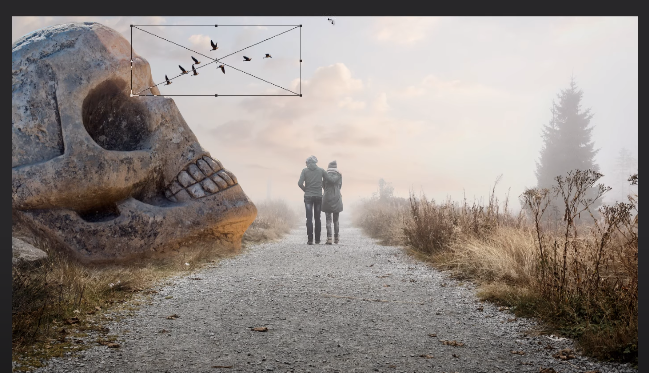
añadir los pajaros fue lo mas facil pues ellos ya estaban en formato png transparente, solo los tuve que ajustar y reducir su tamaño para que encaje con la imagen.
Adding the birds was the easiest because they were already in transparent png format, I just had to adjust them and reduce their size to fit the image.
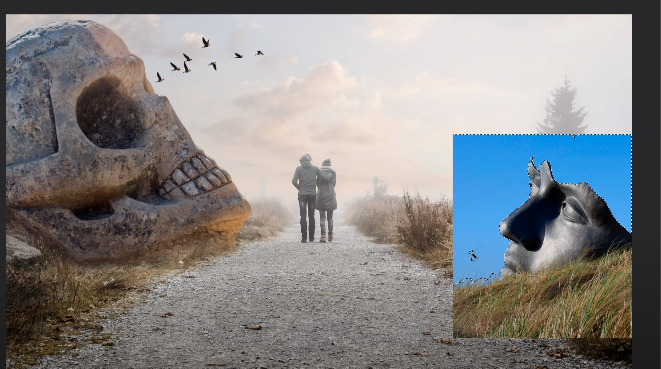
luego añadi la imagen de la mascara rota , la ajuste en el lugar con el tamano correspondiente y luego utilizando la herramienta de varita magica, elimine el fondo de la misma, segui con la uniendo de las dos imagenes con la herramienta de pincel, esta tambien llevo una macara de capa que inverti con la pulsion de la teclas ctrl + i
Then I added the image of the broken mask, I adjusted it in place with the corresponding size and then using the magic wand tool, I eliminated the background of it, I continued with the joining of the two images with the brush tool, this too I wear a layer mask that I inverted with the press of the ctrl + i keys
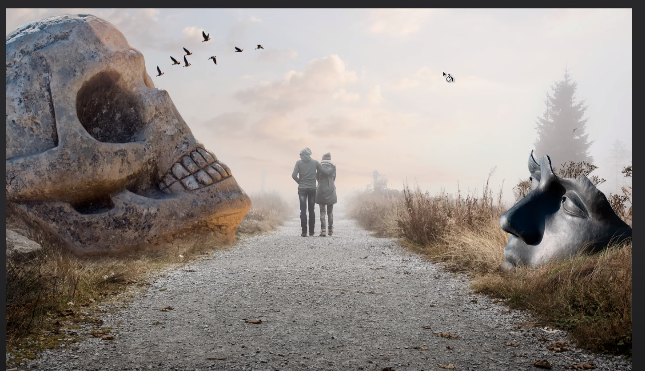
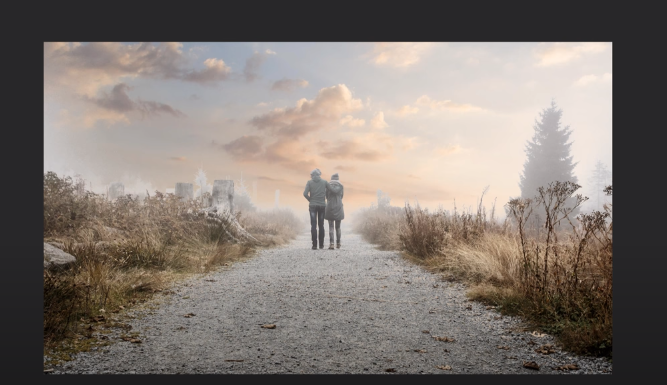
ya el mayor trabajo estaba hecho, para finalizar hice una correcion de colores sobre la imagen dandole ese toque oscuro y naranja opaco.
The biggest work was already done, to finish I made a color correction on the image giving it that dark and opaque orange touch.

bueno chicos aqui finaliza mi segundo post oficial, espero que les guste vota y sigueme para mas contenido de este tipo, gracias por leer.
Well guys here my second official post ends, I hope you like, vote and follow me for more content of this type, thanks for reading.