Quiero comenzar este año con buen pie, hacer más publicaciones e interactuar más, ya que estuve ausente gran parte del año pasado, este que comienza me propuse a sacar mas tiempo y enfocarme en compartir y crear post para todos ustedes.
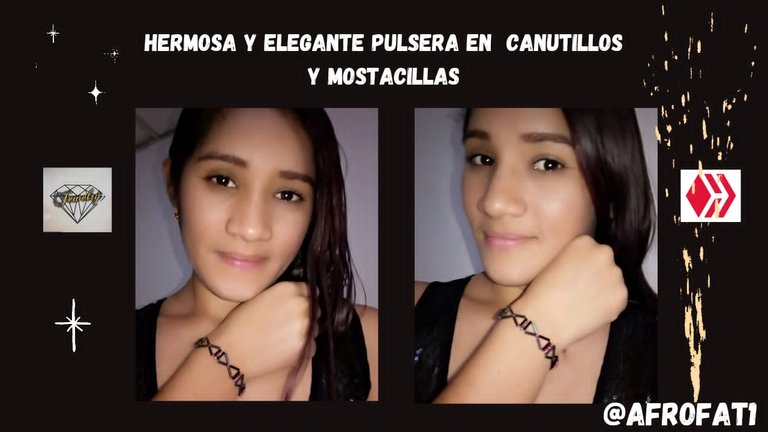
Hoy quiero mostrarles un bonito tutorial, una hermosa pulsera de canutillos con mostacillas, muy elegante y facil de hacer.
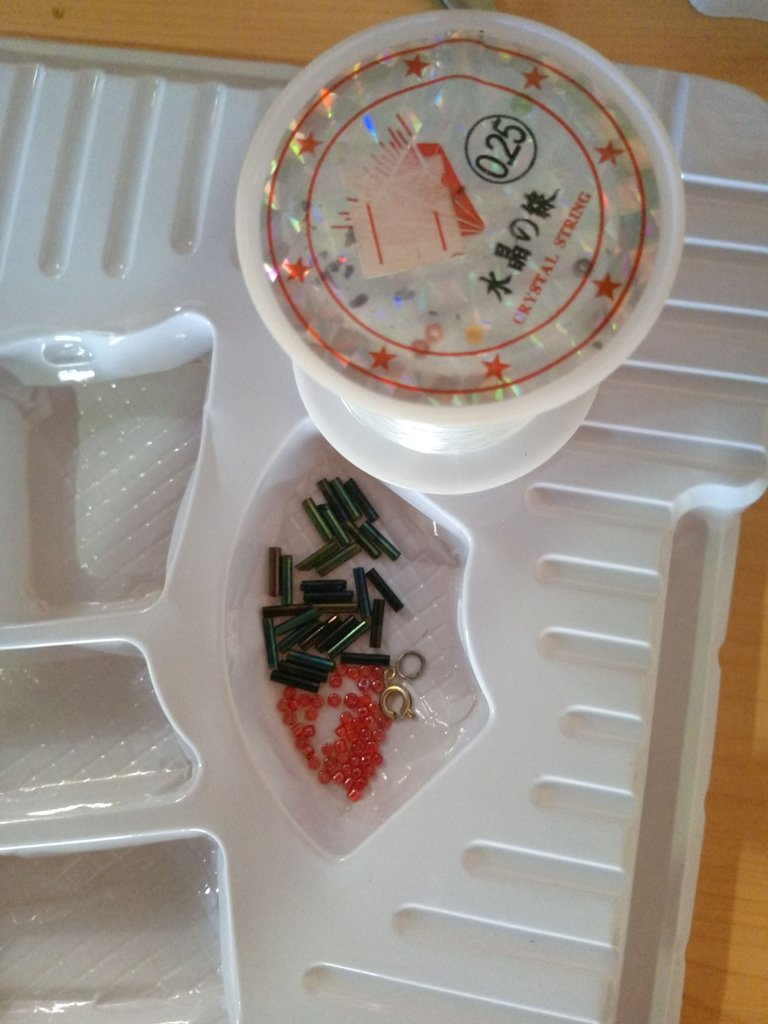
A continuación les estare presentando los materiales utilizados para la elaboración de esta hermosa pulsera:
HILO NYLON O HILO DE PESCAR #0.25
MOSTACILLAS DE COLOR ROJO
CANUTILLOS DE COLOR NEGO VERDOSO
SEGURO O TRANCADERO
ARGOLLAS
PIQUETA
AGUJA
PASO A PASO
Los siguientes son los pasos a seguir, muy sencillo y comodos para realizar este bonito diseño.
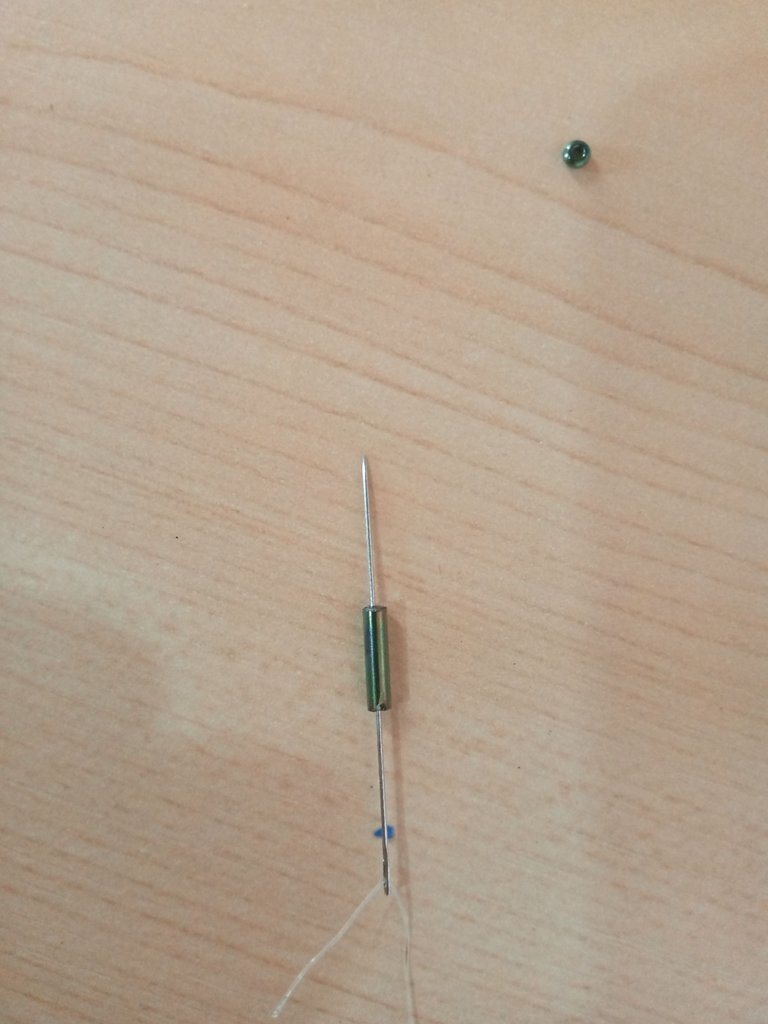
Paso 1
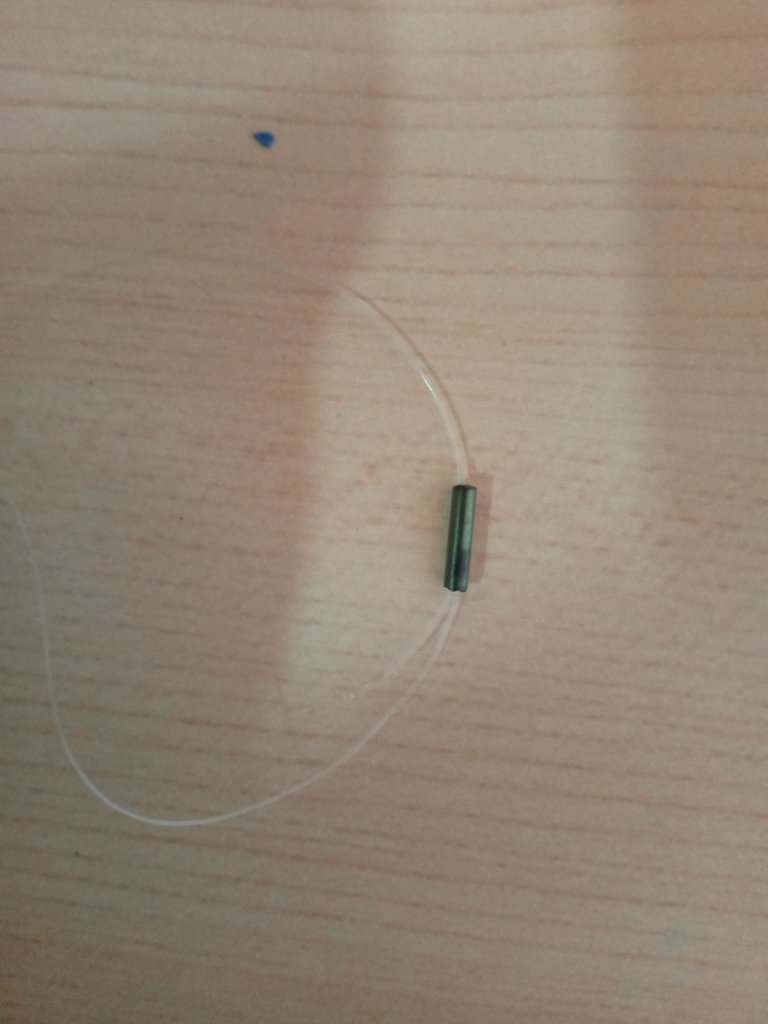
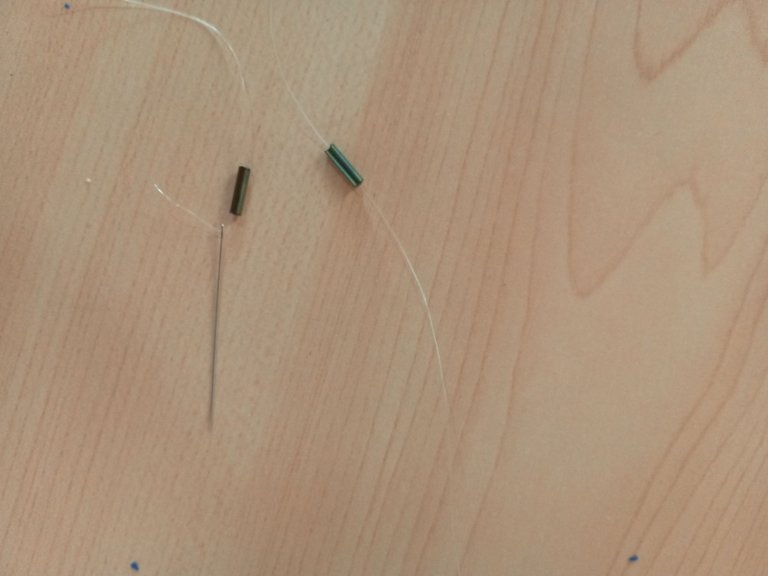
Primero que todo tomaremos un aproximado de 70cm de hilo nylon o hilo de pescar, luego tomaremos 2 canutillos de color negro verdoso, no sabia en realidad cual era este color, en al tienda que lo compre me dijeron que en nombre era negro verdoso, me disculpan si no es el color correcto
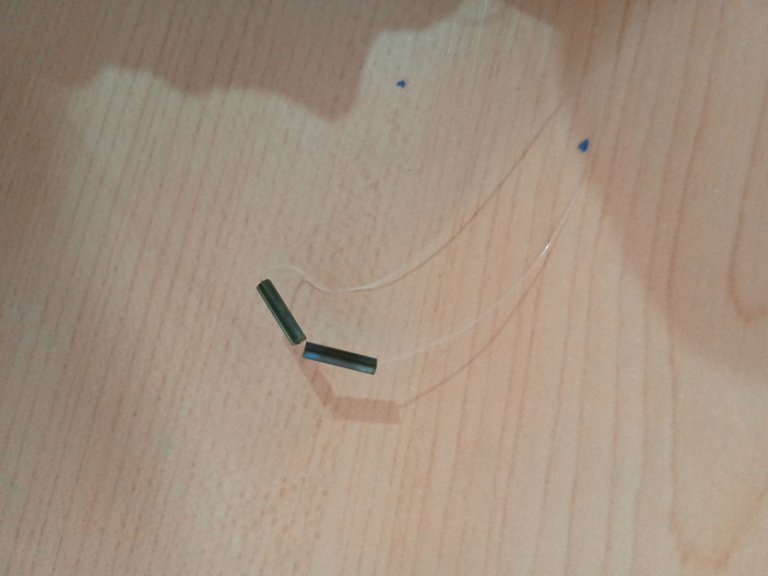
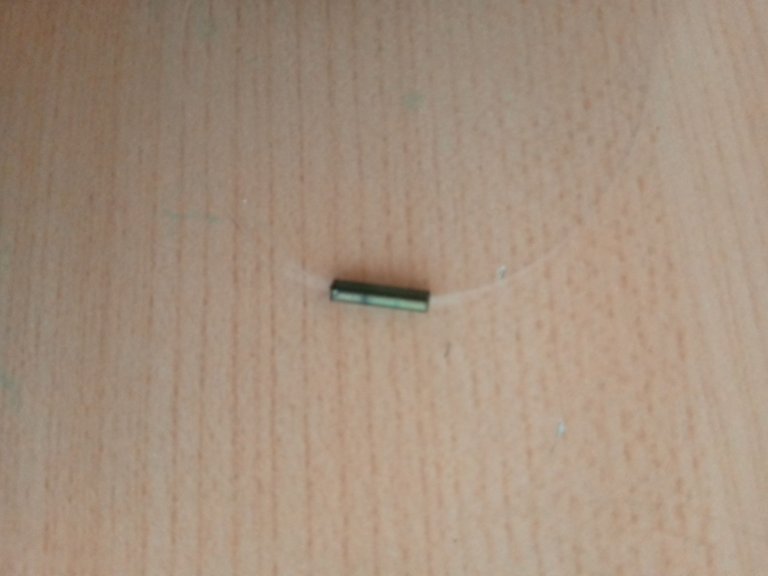
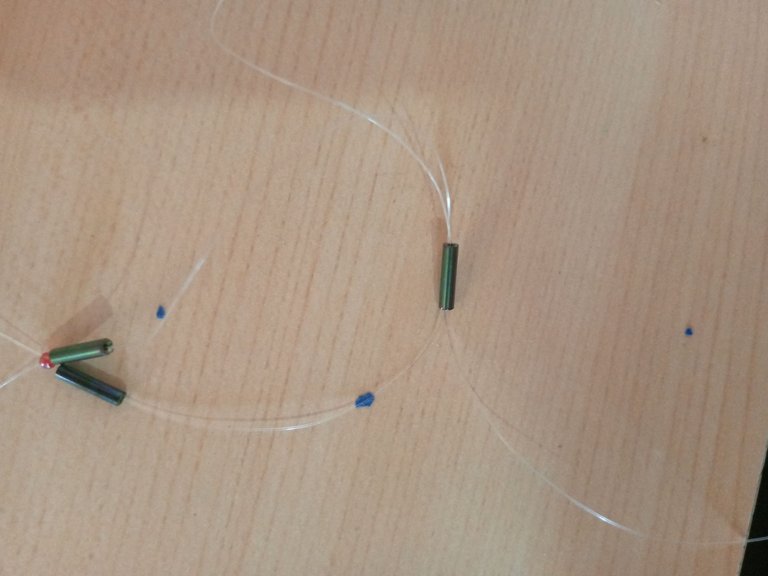
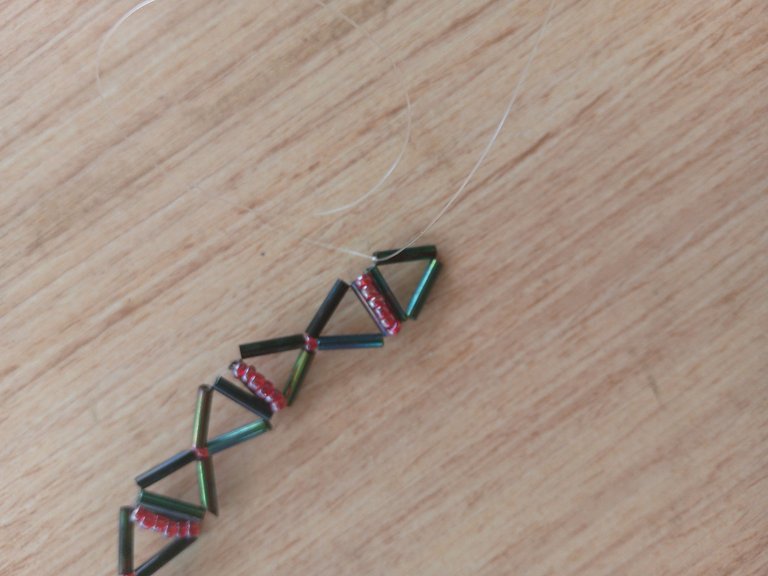
Continuando con el paso a paso, despues de haber tomado los 2 canutillos los llevaremos al medio del hilo, para que nos queden 2 puntas de nylon, para tomar un tercer canutillo, vamos a introducir una punta del Nylon y luego la otra punta la vamos a pasar por dentro del canutillo para que nos quede una forma de triángulo, este se vera de la siguiente manera.
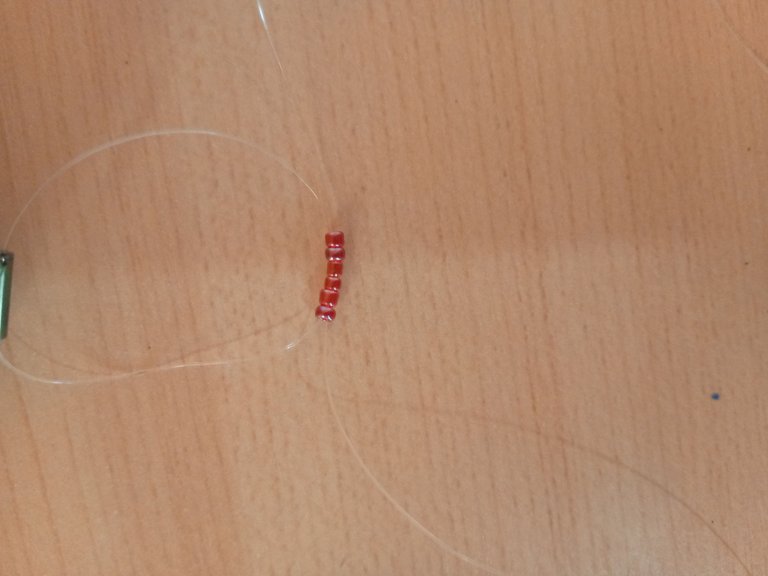
paso 2
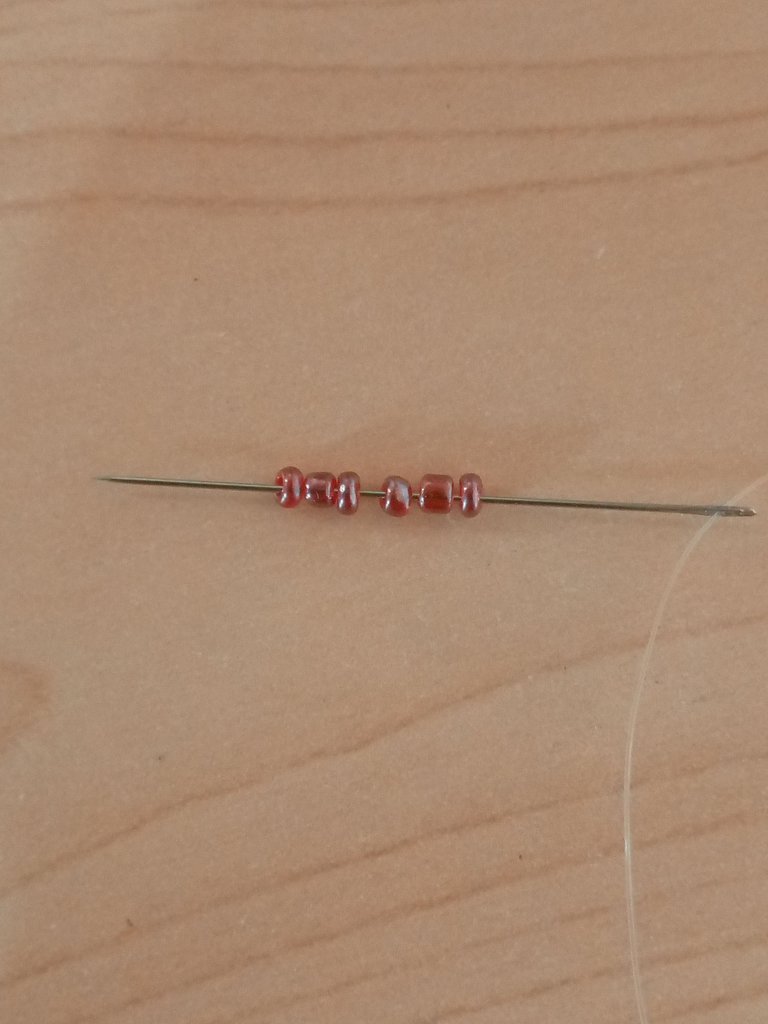
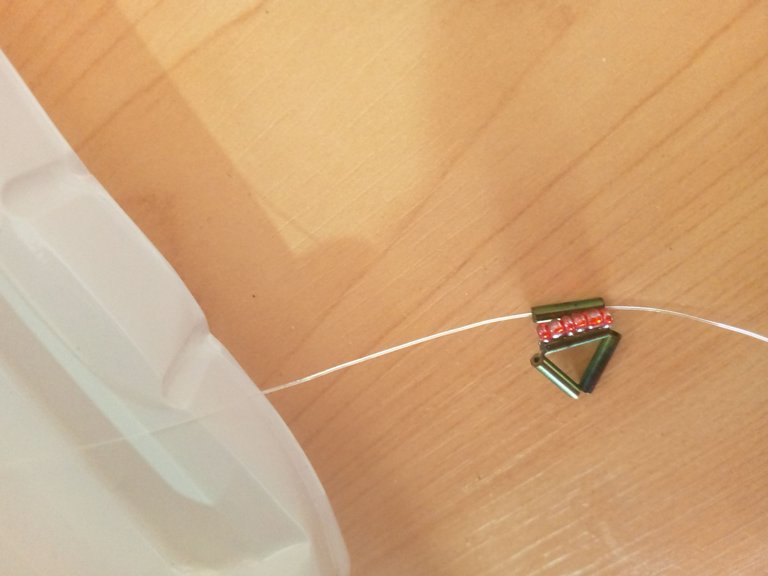
Para este paso utilicé una aguja #12, esto porque se hace mas fácil trabajar con el nylon ya que es muy delgado y se dobla a la hora de introducirlo en las mostacillas o en los canutillos, vamos a tomar la aguja con el nylon por 6 mostacillas de color rojo, luego pasaremos la otra punta del hilo por el lado contrario de las mostacillas, seguidamente tomaremos un canutillo, introducimos la aguja por el canutillo y luego la otra punta del nylon al contrario de donde este la aguja, se ira viendo de la siguiente manera.
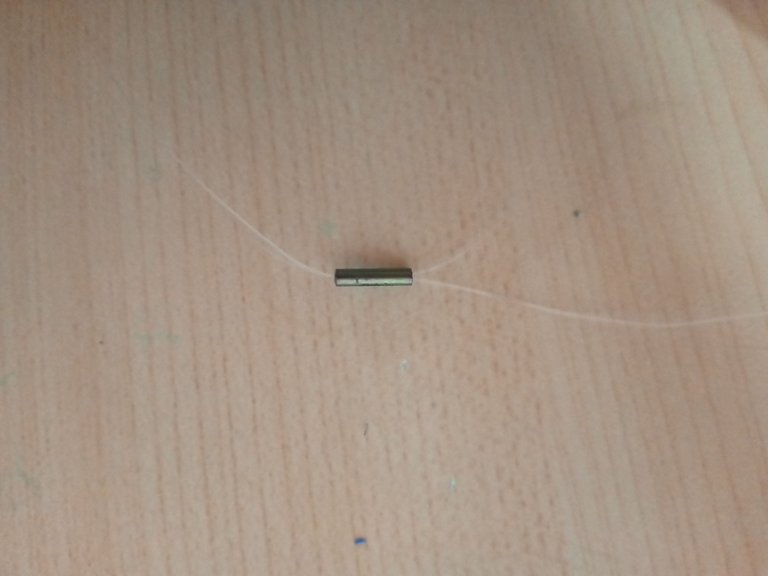
Paso 3
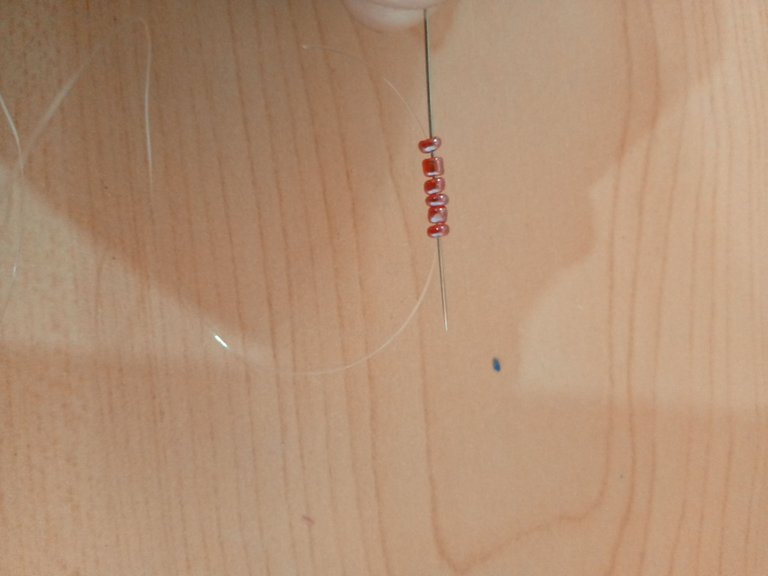
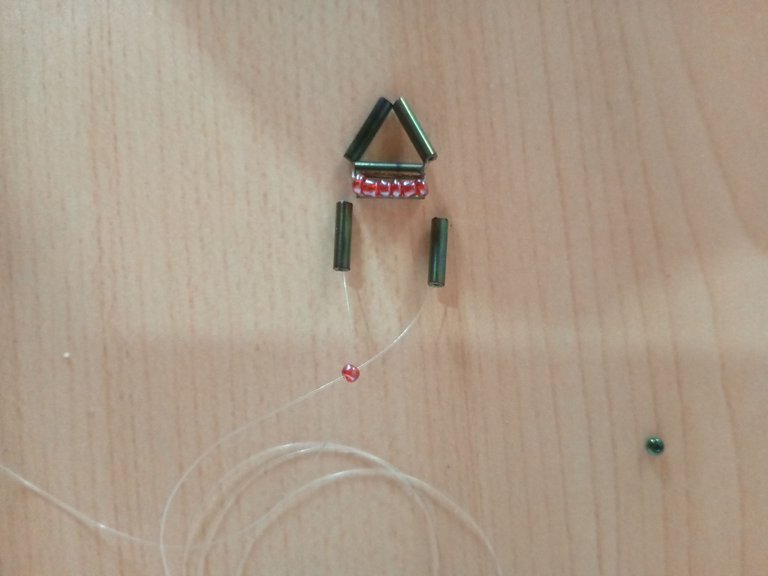
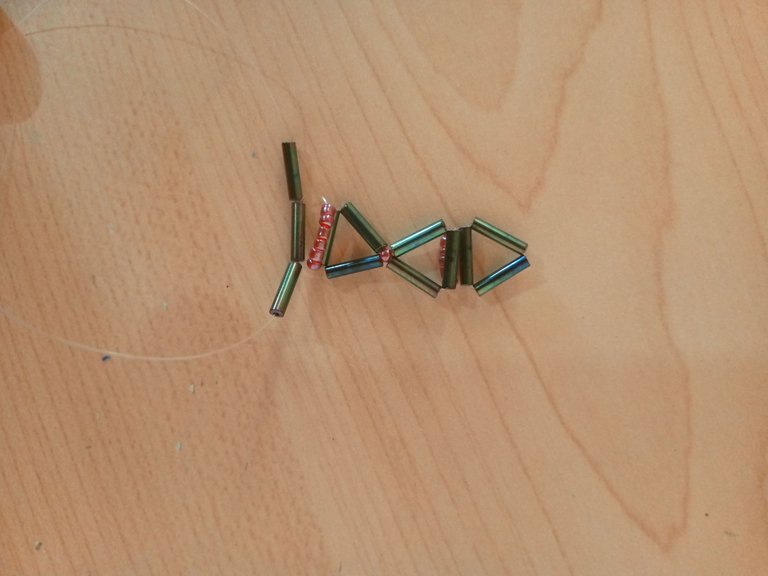
Vamos a tomar 2 canutillos, y vamos a introducir una por cada nylon, luego tomaremos 1 mostacilla y vamos a introducir nuestra aguja con el nylon y luego la otra punta del naylon de la misma manera, la idea es introducir las 2 puntas del nylon por la mostacilla roja la cual se vera de esta manera.
Paso 4
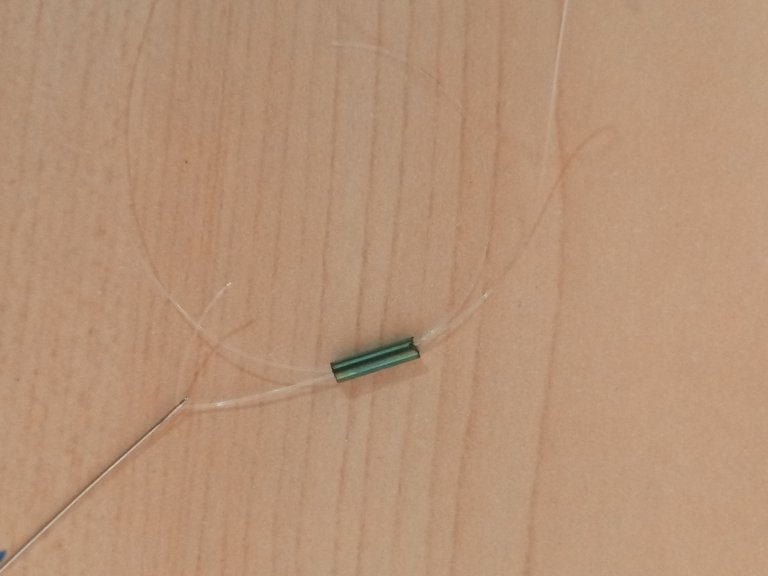
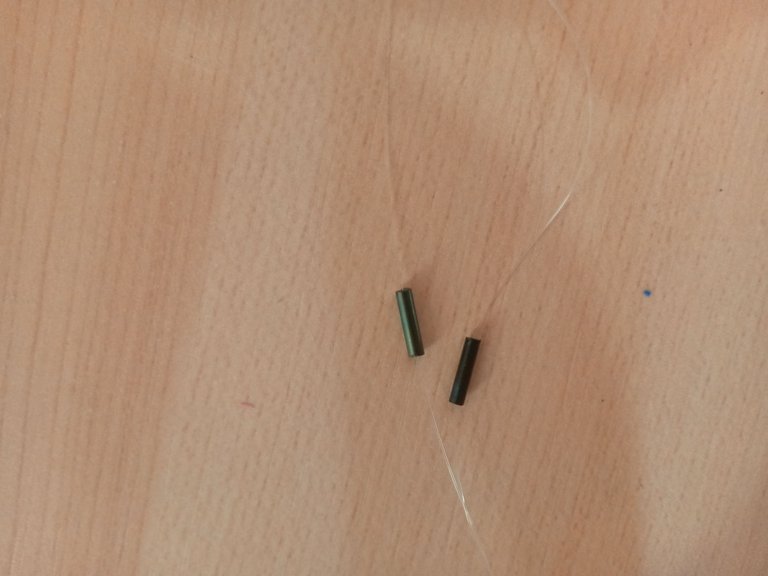
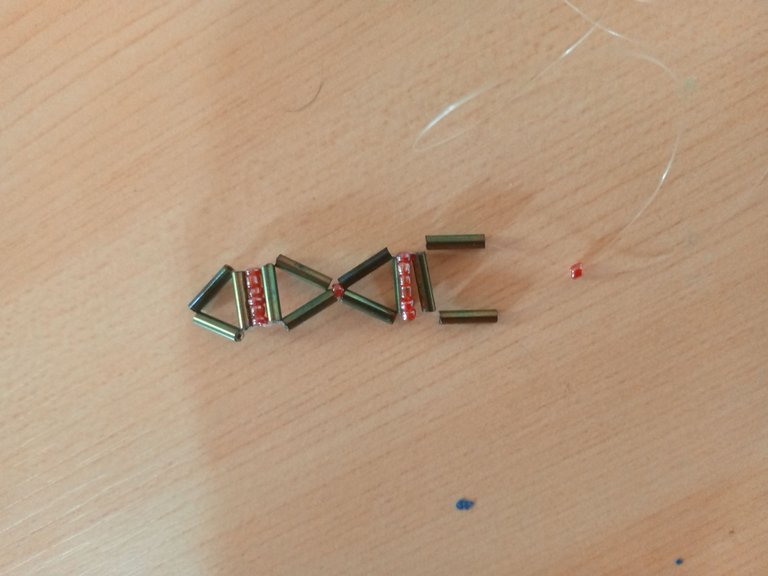
Vamos a repetir el primer paso, tomaremos 2 canutillos y vamos a introducir uno por cada punta de los nylon, luego tomaremos otro canutillo, primero introducimos la aguja con el nylon y luego la otra punta del hilo vamos a pasarlo por el canutillo para que nos quede de el triángulo que comenzamos al principio
Seguidamente tomaremos 6 mostacillas de color rojo, pasamos la otra punta del nylon por las mostacillas para luego tomar un canutillo y introducir la aguja con el hilo y luego la otra punta del nylon, tiramos del hilo y asi nos hira quedando nuestra elegante pulsera
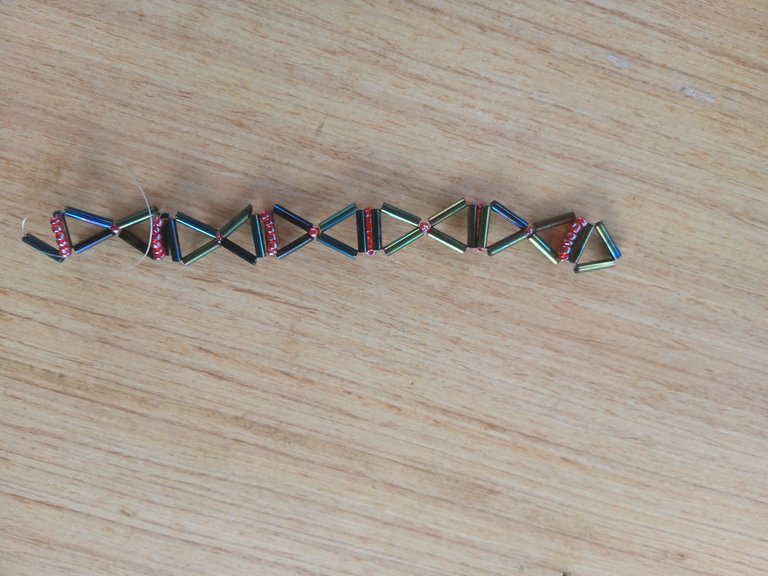
Lo que nos queda es darle el largo a nuestra elegante pulsera, para ello, cuidadosamente repetiremos los pasos anteriores, todo dependerá del tamaño de la muñeca de la persona.
Paso 5
Para cerrar la pulsera, luego de haber colocado la 6 mostacillas rojas y el canutillo, vamos a introducir nuestra aguja con el nylon por 2 canutillos y con dos nudos simples cerramos nuestra elegante pulsera,con la ayuda de una tijera cortaremos el excedente del nylon

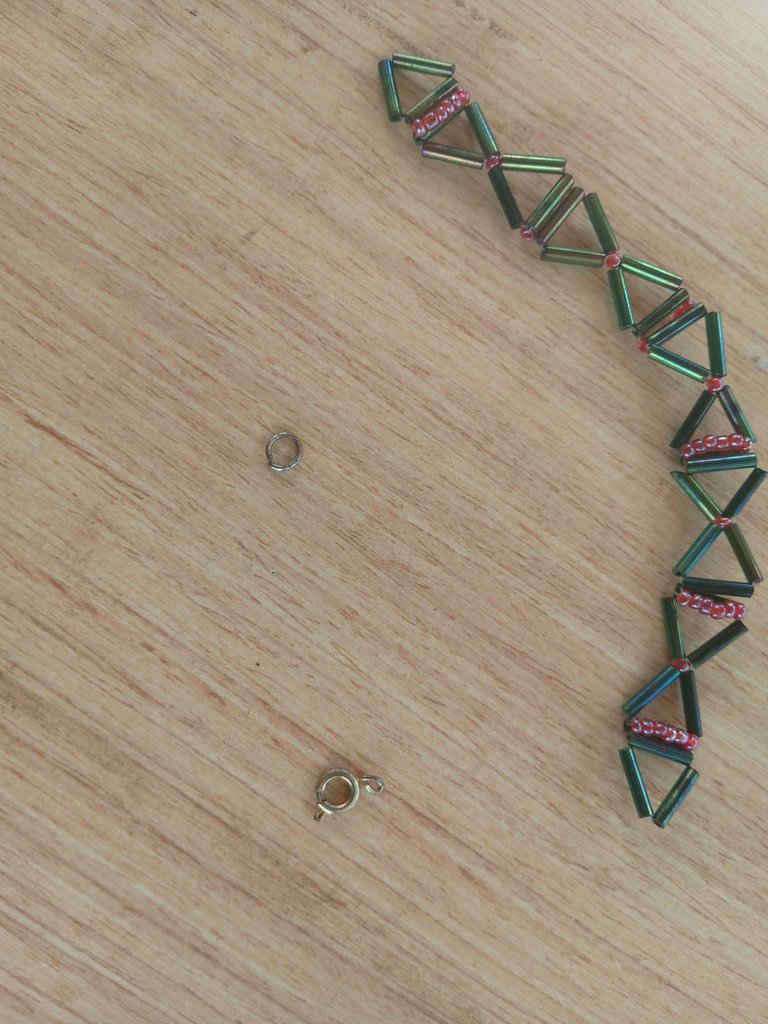
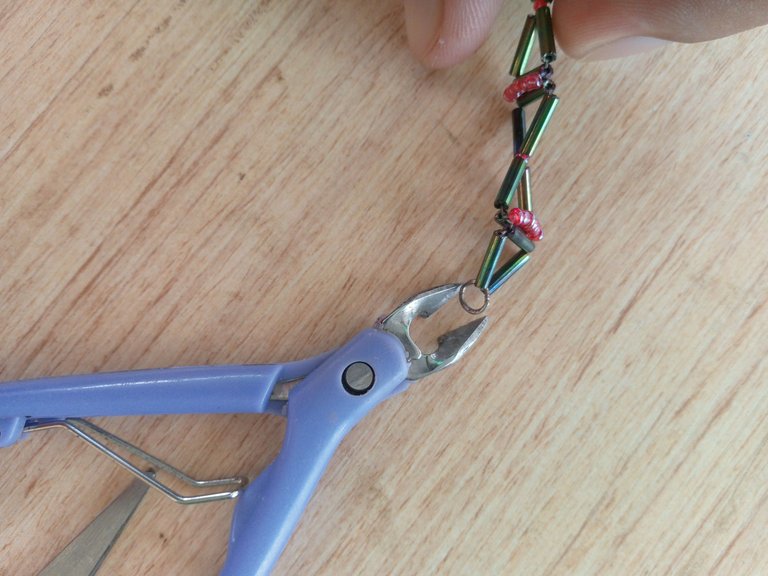
Luego tomaremos la argolla y el trancadero, introducimos por las esquinas de los triángulos hechos con los canutillos y con la ayuda de una piqueta apretamos y nos quedaría lista nuestra hermosa pulsera.
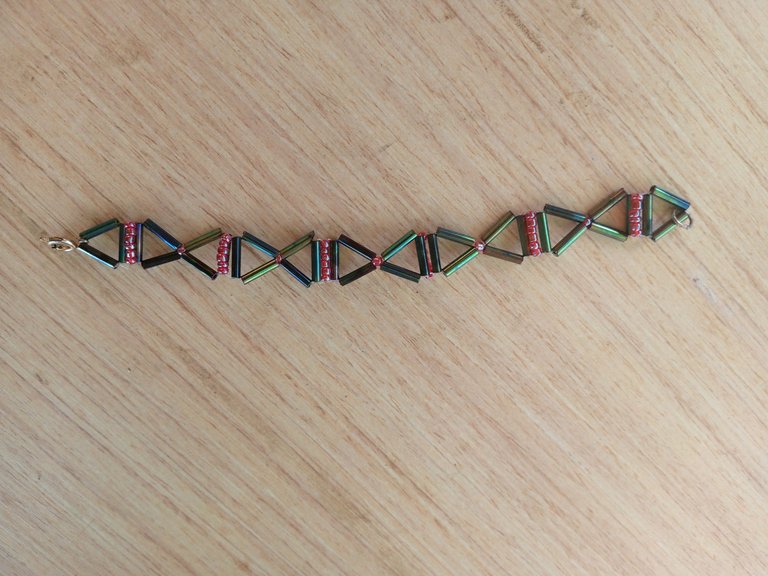
Espero sea de ayuda y agrado este bonito tutorial que he realizado con mucho cariño para todos ustedes, es muy sencillo realizar esta hermosa y elegante pulsera, ya que solo hay que ir repitiendo los pasos y con un poco de dedicación tendremos un bonito resultado, gracias por la atención prestada, que Dios me los bendiga y me los cuide siempre.
EXITOS
Las imágenes son de mi propiedad y fueron tomadas por mi teléfono tecno spark go 2023.
Traductor Utilizado: Deepl Traslater
la imagen la edite mediante la aplicación de canva.
agradecido con @yanetzi1 por ser mi modelo
I want to start this year on the right foot, make more publications and interact more, since I was absent much of last year, this year I decided to take more time and focus on sharing and creating posts for all of you.
Today I want to show you a nice tutorial, a beautiful bead bracelet with beads, very elegant and easy to make.
Next I will be presenting the materials used to make this beautiful bracelet:
NYLON THREAD OR FISHING LINE #0.25
RED BEADS
GREENISH BLACK BEADS
LOCK OR LOCKING CLASP
RINGS
PIQUETTE
NEEDLE
STEP BY STEP
The following are the steps to follow, very simple and comfortable to make this beautiful design.
Step 1
First of all we will take an approximate of 70cm of nylon thread or fishing line, then we will take 2 canutillos of greenish black color, I did not know in fact which was this color, in the store that I bought it they told me that in name it was greenish black, they excuse me if it is not the correct color.
Continuing with the step by step, after having taken the 2 canutillos we will take them to the middle of the thread, so that we have 2 nylon tips, to take a third canutillo, we will introduce a tip of the Nylon and then the other tip we will pass it inside the canutillo so that we have a triangle shape, this will look like this.
step 2
For this step I used a #12 needle, this is because it is easier to work with nylon because it is very thin and bends when introducing it in the beads or in the beads, we will take the needle with the nylon by 6 red beads, then we will pass the other end of the thread on the opposite side of the beads, then we will take a bead, introduce the needle through the bead and then the other end of the nylon to the opposite of where the needle is, it will be seen in the following way.
Step 3
We are going to take 2 beads, and we are going to introduce one through each nylon, then we are going to take 1 bead and we are going to introduce our needle with the nylon and then the other end of the naylon in the same way, the idea is to introduce the 2 ends of the nylon through the red bead which will look like this.
Step 4
We are going to repeat the first step, we will take 2 bobbins and we are going to introduce one by each end of the nylon, then we will take another bobbin, first we introduce the needle with the nylon and then the other end of the thread we are going to pass it by the bobbin so that we have the triangle that we started at the beginning.
Next we will take 6 red beads, we pass the other end of the nylon through the beads and then take a bead and introduce the needle with the thread and then the other end of the nylon, we pull the thread and so we will be leaving our elegant bracelet.
What remains is to give the length to our elegant bracelet, for this, carefully repeat the previous steps, everything will depend on the size of the wrist of the person.
Step 5
To close the bracelet, after having placed the 6 red beads and the bead, we are going to introduce our needle with the nylon through 2 beads and with two simple knots we close our elegant bracelet, with the help of a scissors we will cut the excess of the nylon.
Then we will take the ring and the locking ring, we introduce it through the corners of the triangles made with the canutillos and with the help of a pick we tighten and we would be ready our beautiful bracelet.
***I hope to be of help and pleasure this nice tutorial that I have made with much affection for all of you, it is very simple to make this beautiful and elegant bracelet, because you just have to go repeating the steps and with a little dedication we will have a nice result, thank you for your attention, may God bless me and take care of me always ***.
SUCCESS
The images are my property and were taken by my phone tecno spark go 2023.
Translator Used: Deepl Traslater
the image i edited it using canva application.
grateful to @yanetzi1 for being my model.
Hey Gracias por compartir realmente agradecida de ser tu modelo 🤠 sinceramente haces un trabajo increíble la paciencia y la habilidad que tienes es demasiado.
Excelente trabajo tu pulsera fue una de mis favoritas.❣️😊❤️
Muchas gracias por tan bonitas palabras, eres una de mis mejores modelos🥰
Ayyy que linda. Me encanta es muy elegante y práctica. 2 para llevar por favor. ❤️💫👌
Pedido aceptado, esta en Proceso, muchas gracias bendiciones