Así comenzamos nuestro bonito tutorial, hoy le he dedicado esta creación a mi pequeña y hermosa hija Joheisy, ya que cuando estaba realizando la pulsera anterior me dijo que ella quería que le hiciera una para ella, Joheisy es una niña muy extrovertida,carismática y muy coqueta, le gusta que le coloquen muchos accesorios para lucir.
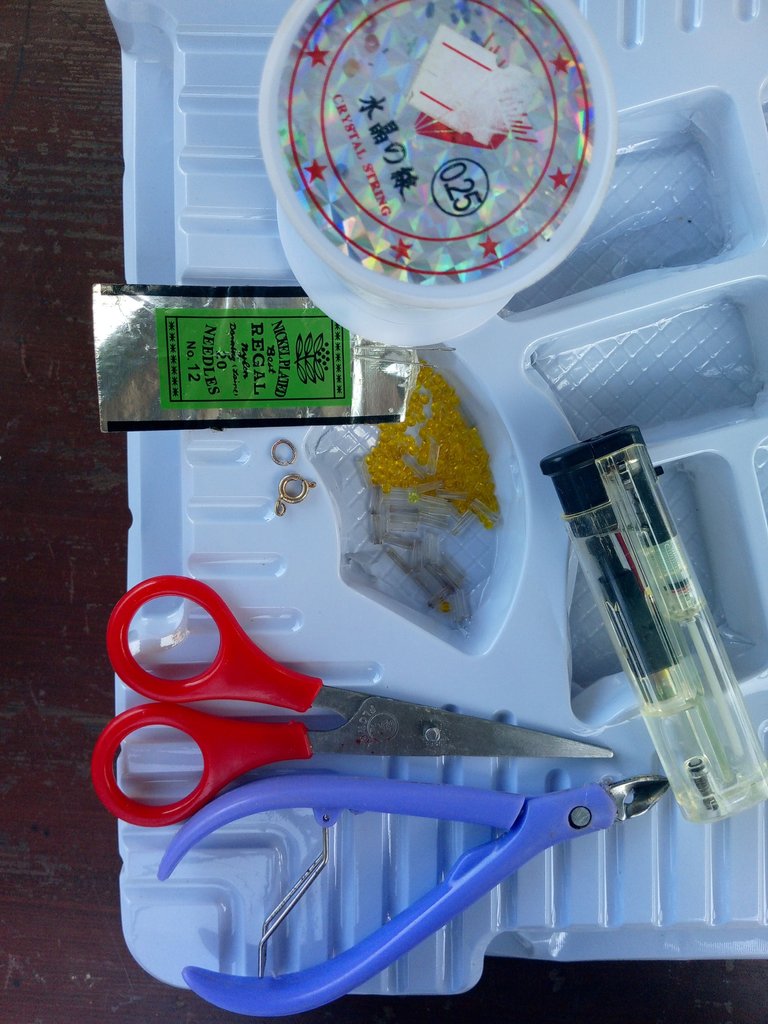
Esta pulsera es muy fácil y consta de pocos pasos para realizarla, comenzaremos este tutorial mostrándoles los materiales utilizados para la elaboración se está bonita y delicada pulsera infantil.
Materiales
- Mostacillas Amarillas
- Canutillos Transparentes
- Hilo Nylon 0.25
- Agujas #12
- Argolla
- Seguro o Trancadero
- Tijeras
- Yesquero o Encendedor
- Piqueta
Comencemos a Elaborar!
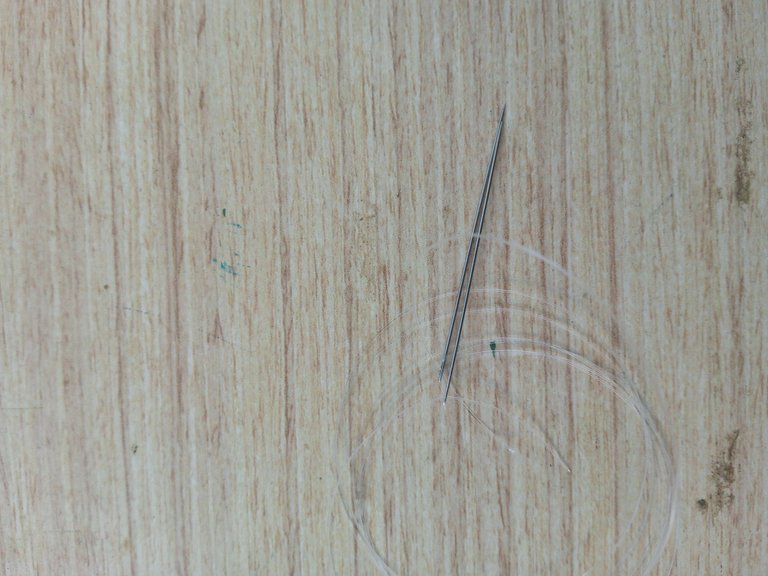
Paso 1
Lo primero que haremos será tomar 50 cm de nylon, tomaremos las 2 agujas y vamos a introducir las 2 puntas de nylon por cada aguja
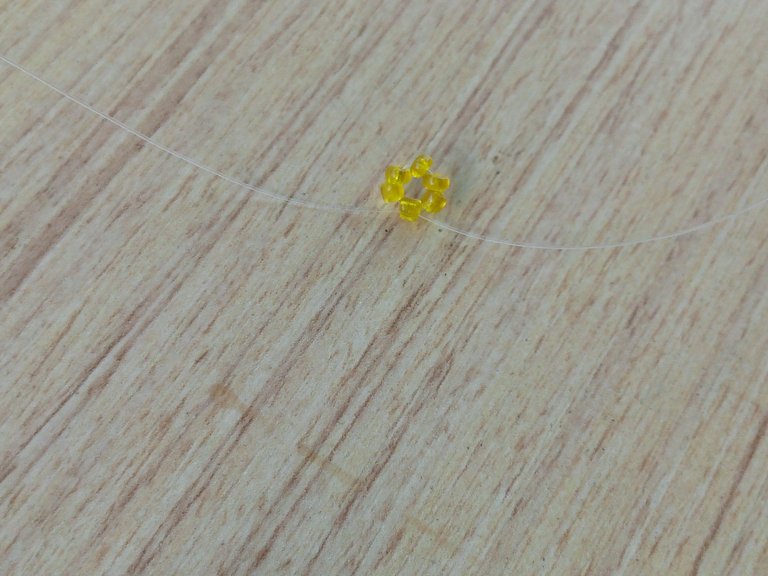
Luego tomaremos 6 mostacillas amarillas, vamos a introducir una aguja con nylon por ellas

con la ayuda del dedo, daremos una vuelta y volvemos a pasar nuestra aguja por la ultima mostacilla
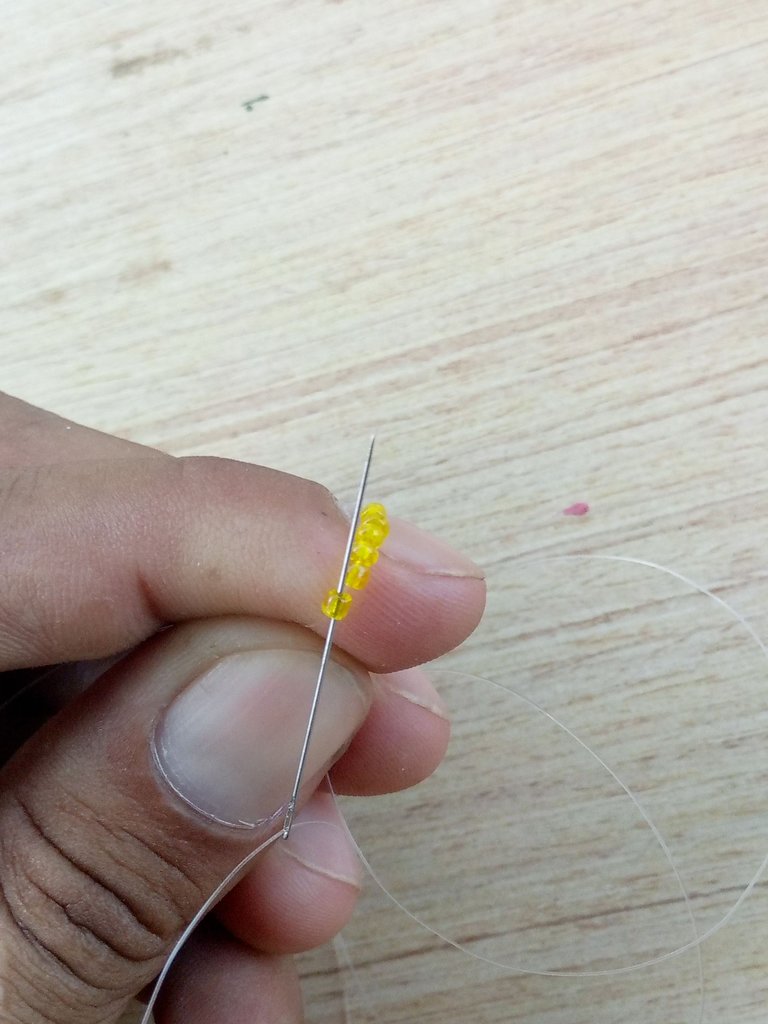
El resultado seria este pequeño círculo.
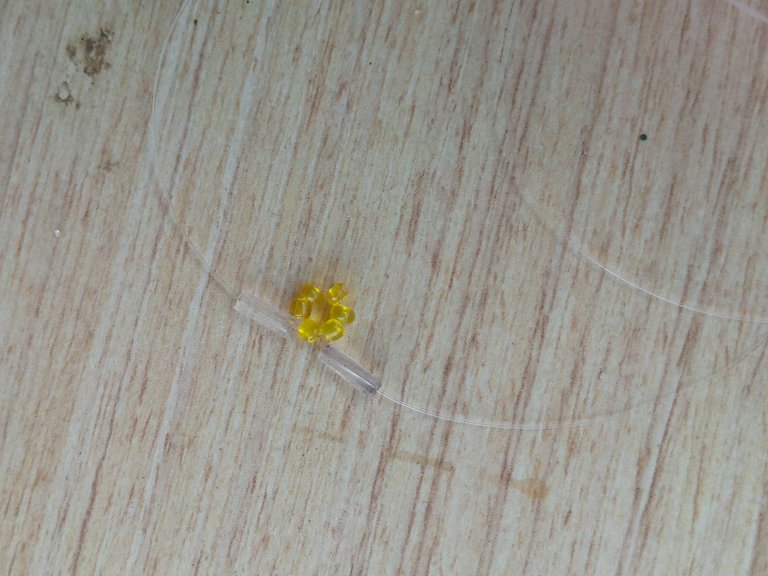
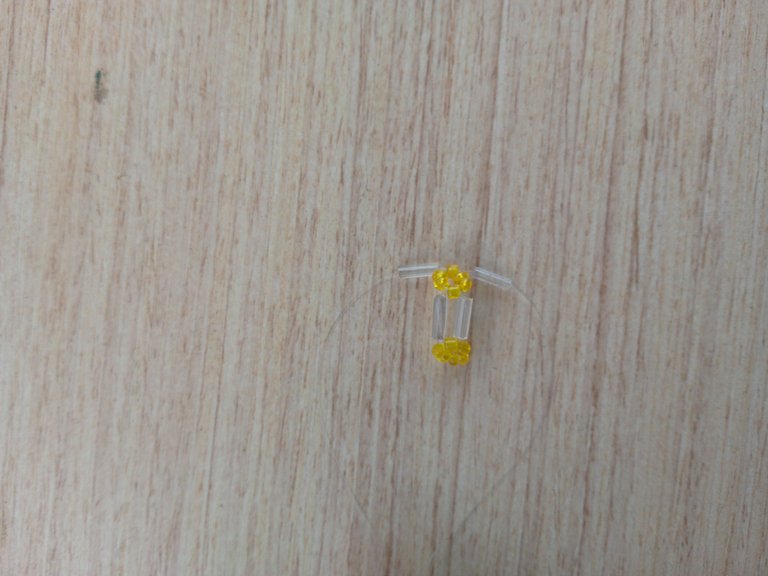
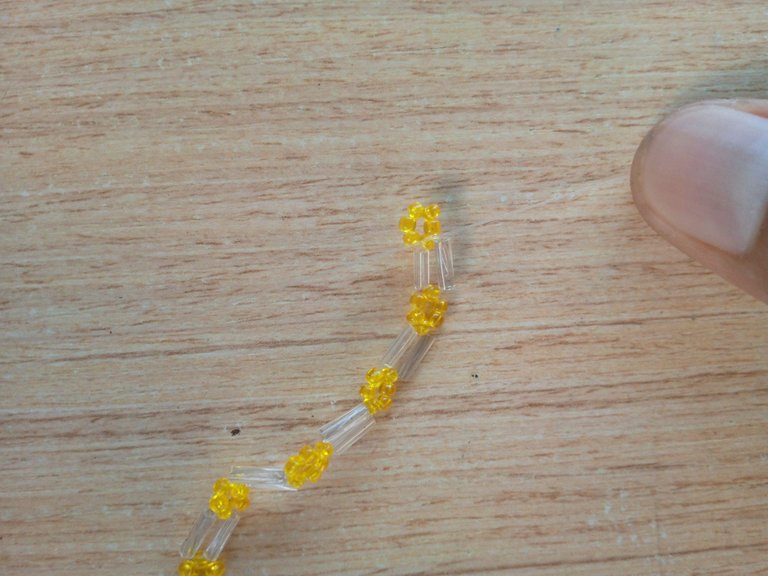
Paso 2
Luego de tener nuestro círculo de mostacillas vamos a tomar 2 Canutillos y vamos a colar 1 en cada nylon y los llevaremos al final
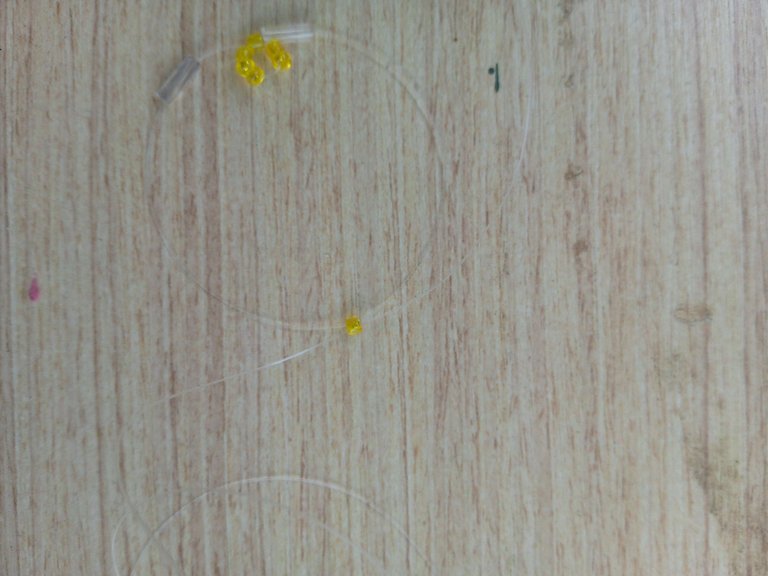
Después de esto vamos a tomar 1 mostacilla y vamos a introducir una de las dos puntas del nylon por la misma, luego vamos a introducir hacia el lado contrario la otra aguja, es decir si se introdujo de derecha a izquierda la vamos a introducir de izquierda a derecha, o viceversa.
Seguidamente vamos a introducir 2 mostacillas en cada aguja, las llevaremos al final del naylon.
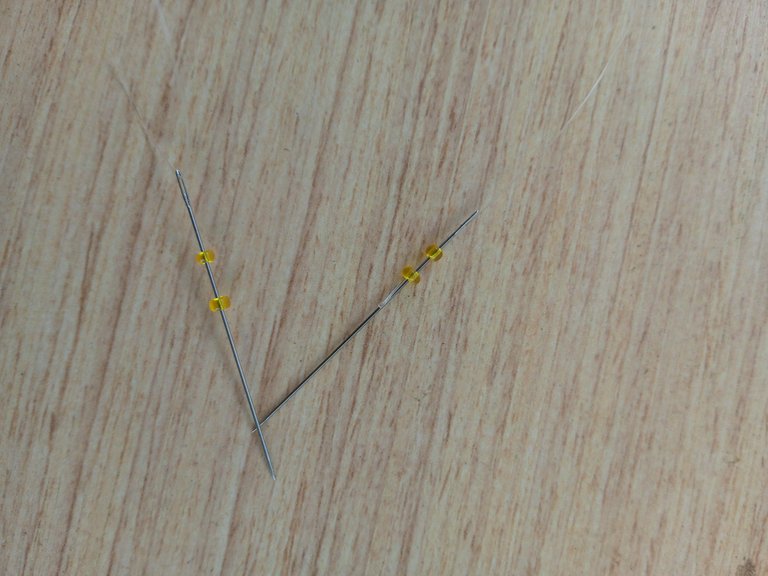
Después de esto tomaremos una mostacilla y de la misma manera que la anterior, introducimos el nylon de izquierda a derecha y posteriormente de derecha a izquierda.
Luego tomamos una mostacilla y cruzaremos los hilos
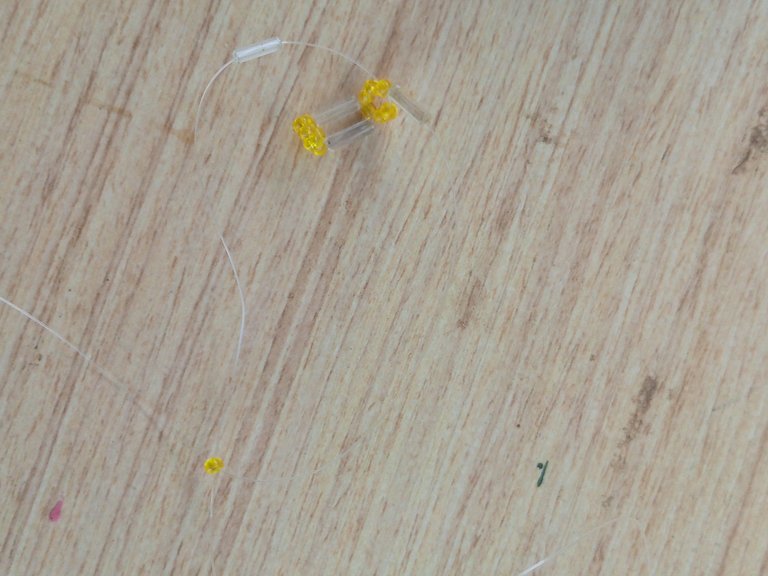
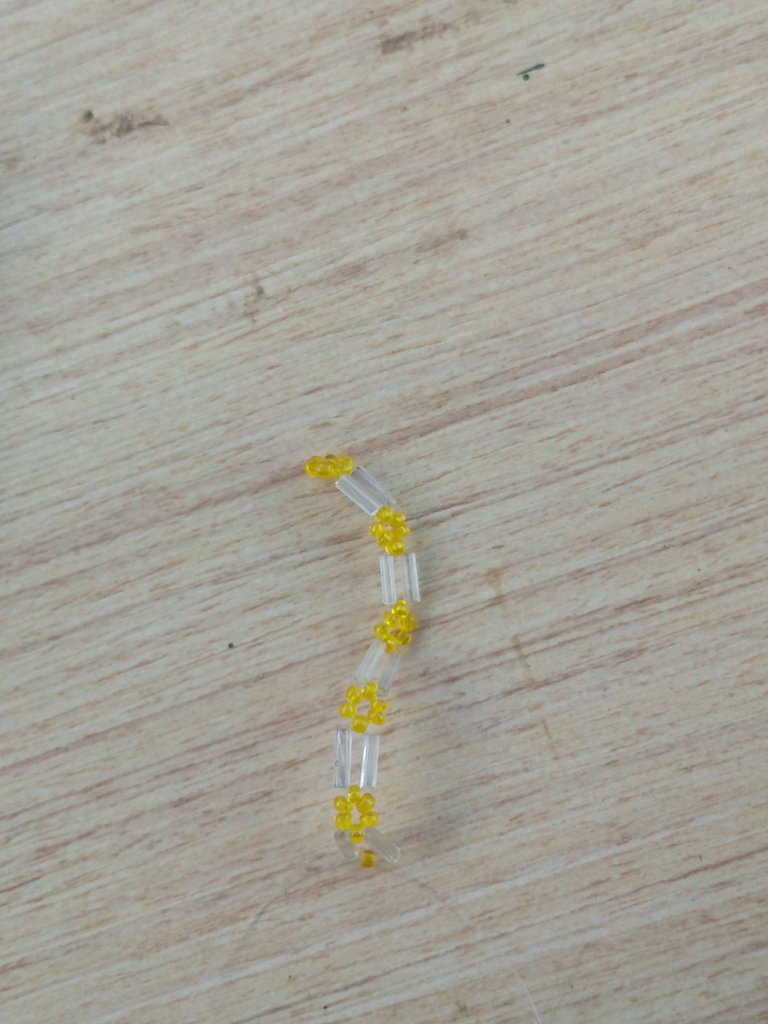
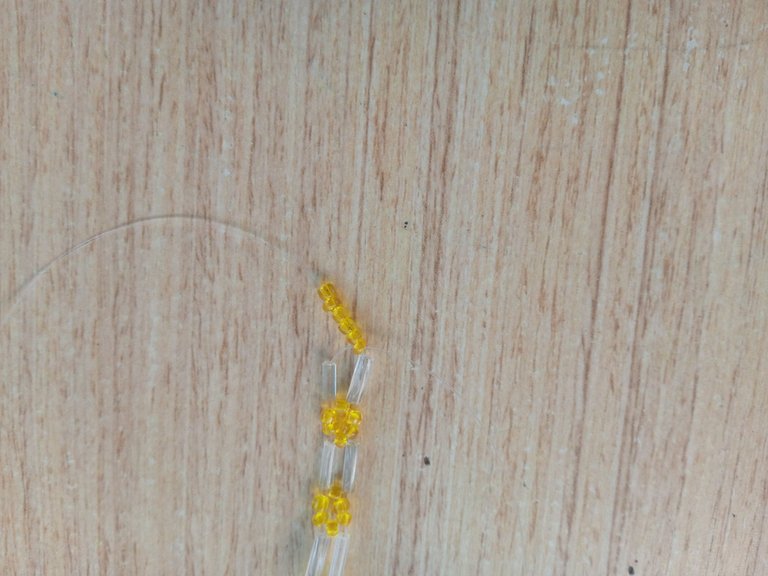
Vamos a realizar este mismo procedimiento hasta lograr tener el largo que deseamos.
Paso 3
Para cerrar nuestra pequeña y delicada pulsera, lo que haremos será introducir 6 Mostacillas por un extremo de los Nylon, llevamos al final y luego con 2 o tres nudos simples cerramos.
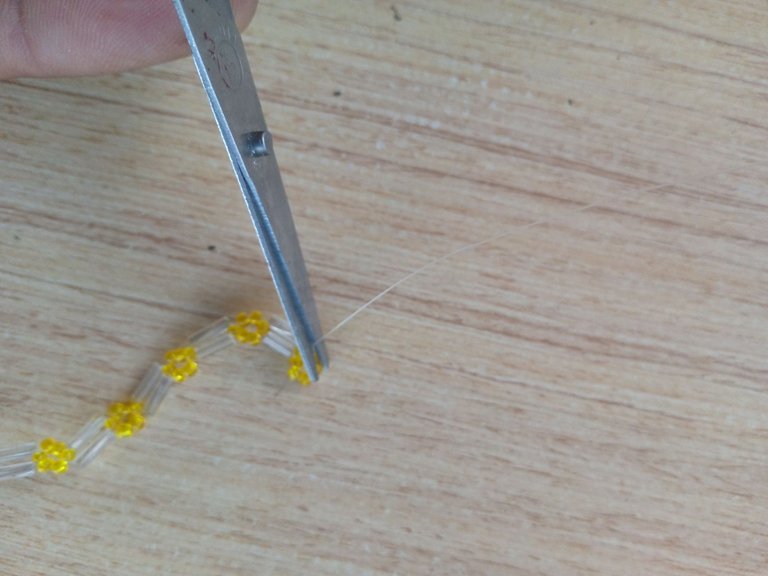
Con la ayuda de una tijeras cortaremos el excedente de los Nylon
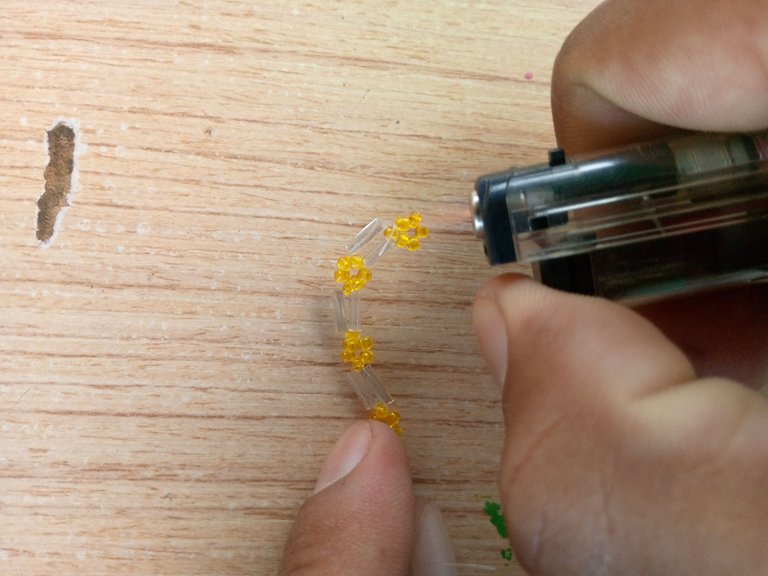
Luego tomaremos el encendedor y con mucho cuidado quemaremos los extremos de los hilos para sellar nuestra hermosa pulsera.
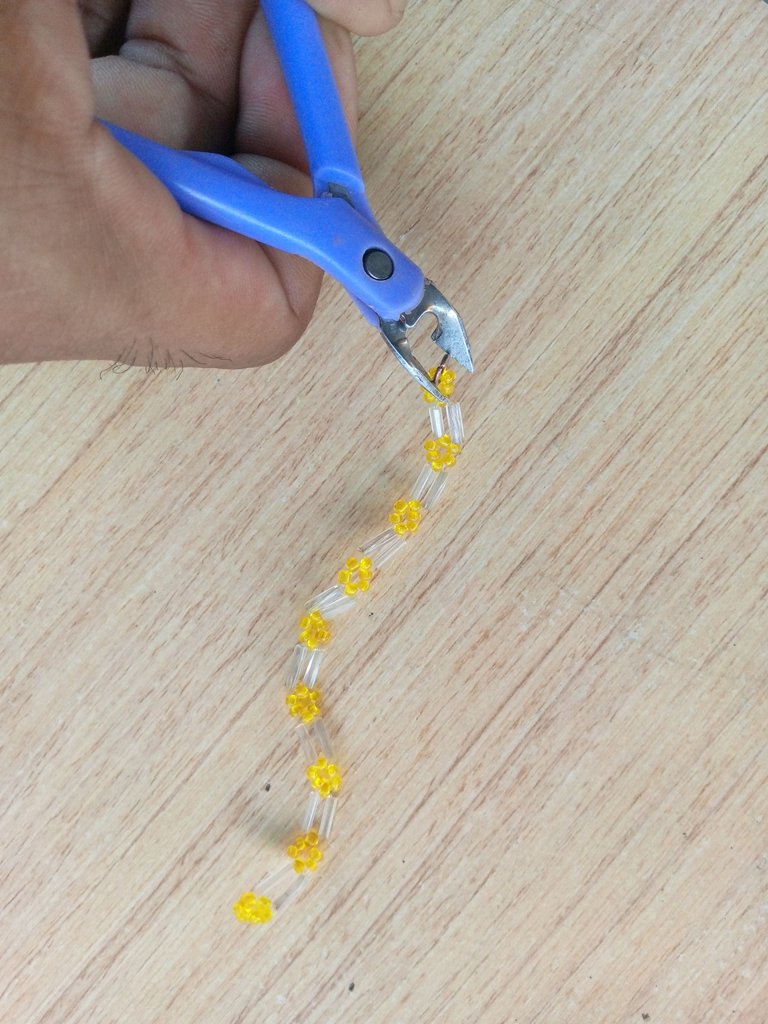
Paso 4
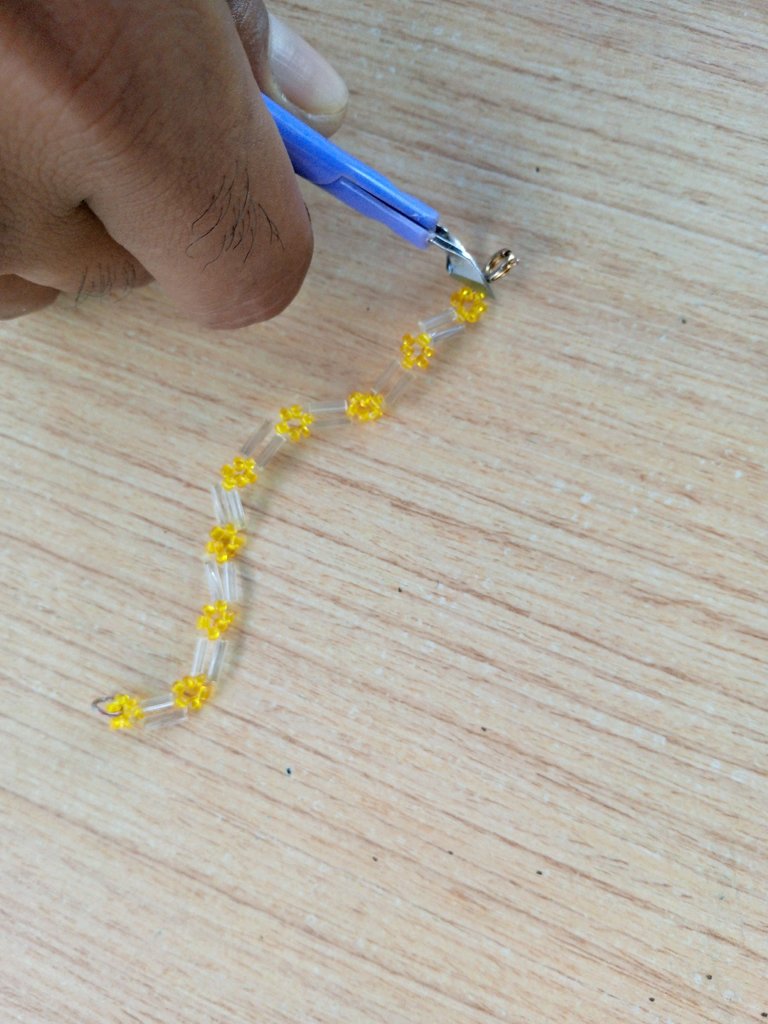
Para este último paso con la ayuda de una piqueta tomaremos la argolla y el trancadero, los colocaremos en los extremos de los círculos de mostacillas y apretamos para así culminar con nuestra Hermosa pulsera infantil
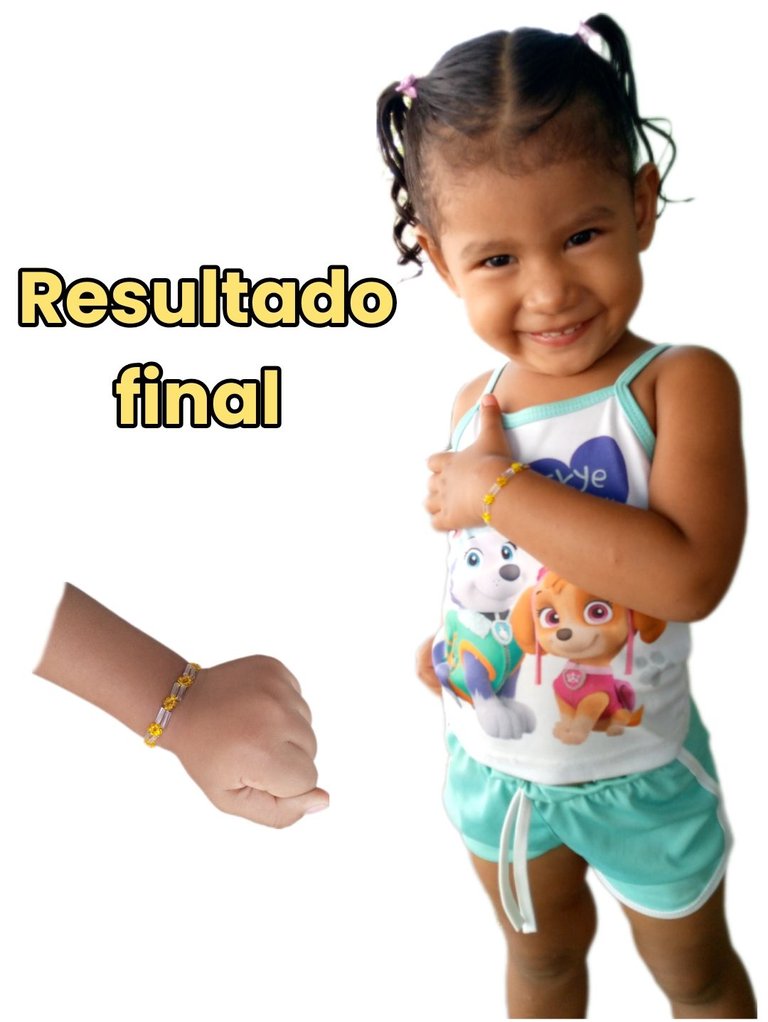
Esto es lo divertido de hacer estas creaciones para niños, las hacemos pensando en ellos y se nos hace muy fácil realizarlas, en mi caso pensé en lo contenta que se pondria mi pequeña Joheisy cuando le entregara la pulsera, y así fue está sonrisa me enamoro.
Gracias por la atención prestada espero sea de su agrado, feliz fin de semana muchas bendiciones para todos los integrantes de esta hermosa plataforma.
Bendiciones
Las imágenes son de mi propiedad y fueron tomadas por mi teléfono tecno spark go 2023.
Traductor Utilizado: Deepl traslater.
la imagen la edite mediante la aplicación de canva.
So we begin our beautiful tutorial, today I have dedicated this creation to my beautiful little daughter Joheisy, because when I was making the previous bracelet she told me that she wanted me to make one for her, Joheisy is a very extroverted, charismatic and very flirtatious girl, she likes to put many accessories to show off.
This bracelet is very easy and consists of few steps to make it, we will begin this tutorial by showing you the materials used to make this beautiful and delicate children's bracelet.
Materials
- Yellow Beads
- Transparent beads
- Nylon thread 0.25
- Needles #12
- Hoop
- Insurance or Trancadero
- Scissors
- Tinder or Lighter
- Pickaxe
Let's Start Making!
Step 1
The first thing we will do is to take 50 cm of nylon, we will take the 2 needles and we will introduce the 2 ends of nylon for each needle.
Then we will take 6 yellow beads, we are going to introduce a needle with nylon for them
with the help of the finger, we will give a turn and we will return to pass our needle by the last bead.
The result would be this small circle.
Step 2
After we have our circle of beads we are going to take 2 beads and we are going to strain 1 in each nylon and we will take them to the end.
After this we are going to take 1 mustard and we are going to introduce one of the two ends of the nylon by the same one, then we are going to introduce towards the opposite side the other needle, that is to say if it was introduced from right to left we are going to introduce it from left to right, or vice versa.
Next we are going to introduce 2 beads in each needle, we will take them to the end of the naylon.
After this we will take a bead and in the same way as the previous one, we introduce the nylon from left to right and then from right to left.
Then we take a mustard and cross the threads.
We are going to make this same procedure until we get the length we want.
Step 3
To close our small and delicate bracelet, what we will do is to introduce 6 beads through one end of the Nylon, we take to the end and then with 2 or three simple knots we close.
With the help of a scissors we will cut the surplus of Nylon
Then we will take the lighter and very carefully burn the ends of the threads to seal our beautiful bracelet.
Step 4
For this last step with the help of a pickaxe we will take the ring and the locking ring, we will place them at the ends of the beads circles and tighten them to finish our beautiful children's bracelet.
This is the fun of making these creations for children, we make them thinking of them and it is very easy to make them, in my case I thought about how happy my little Joheisy would be when I gave her the bracelet, and so it was, this smile made me fall in love.
Thank you for your attention, I hope you like it, happy weekend, many blessings to all the members of this beautiful platform
Blessings
Images are my property and were taken by my tecno spark go 2023 phone.
Translator Used: Deepl traslater.
I edited the image using the canva application.
Que hermosa la pulsera y la modelo ni se diga todo una mini top model.. bendiciones 🤗
Amen amen muchas gracias, es muy coqueta mi bebé😍😍 bendiciones
Que bonita ha quedado. Y la modelo es tan linda.
Muchas gracias, Joheisy es muy coqueta le encanta posar para las fotos🥰
Congratulations @afrofat1! You have completed the following achievement on the Hive blockchain And have been rewarded with New badge(s)
Your next target is to reach 4250 upvotes.
You can view your badges on your board and compare yourself to others in the Ranking
If you no longer want to receive notifications, reply to this comment with the word
STOPCheck out our last posts:
Hermosa se le ve esa pulsera a la princesa.
Has compartido un lindo trabajo en mostacilla y canutillo. Me gustó el resultado final.
Muchas gracias amiga, saludos