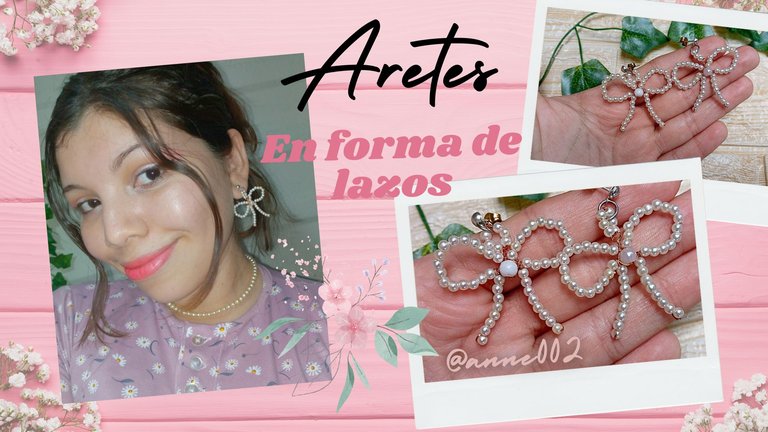
✨Hola..Un gusto saludarte ,aún sigo con mis trabajos de hacer lindos y elegantes aretes para salir ,yo soy amante de las cosas vintages y siento este estilo me va muy bien con mis vestidos de día de reunión de domingos.❤️🌸
✨Hi.. Nice to meet you, I'm still working on making pretty and elegant earrings to go out with, I'm a lover of vintage things and I feel this style goes very well with my Sunday get-together dresses.❤️🌸
.png)
As I was telling you, I really love this style of earrings or jewelry and the good thing is that I can make it myself and wear it whenever I want. I know that you all also really like this type of very pretty jewelry, and since I know that you all like it a lot too, well, I bring you this easy and simple tutorial on how to make earrings with pearls. We will use a little copper wire that I had at home and I took advantage of it to make it with recycled materials that I had from jobs here.
Unlike the simple earrings, I wanted to put the wire double because I saw that it was a bit thin and the best thing would be to put double wire and it would be much easier to work with the wire a bit thick, I also used somewhat small pearls for these earrings, I wanted to put a ribbon bow on them but the truth is I felt that it was going to look too loaded and well I left it like that, simply simple earrings that go well with any outfit you wear, I know you will look incredible with them, if you would like to learn how to make them, come, I will show you in these simple steps how easy it is, you will love the final result🌸🥰.
Materiales:// Materials:
| Español | English |
|---|---|
| Alambre | Wire |
| Pinzas | Clamps |
| Perlas | Pearls |
| Clavitos de bisutería | Jewelry brads |
Pasos a seguir://Steps to follow:
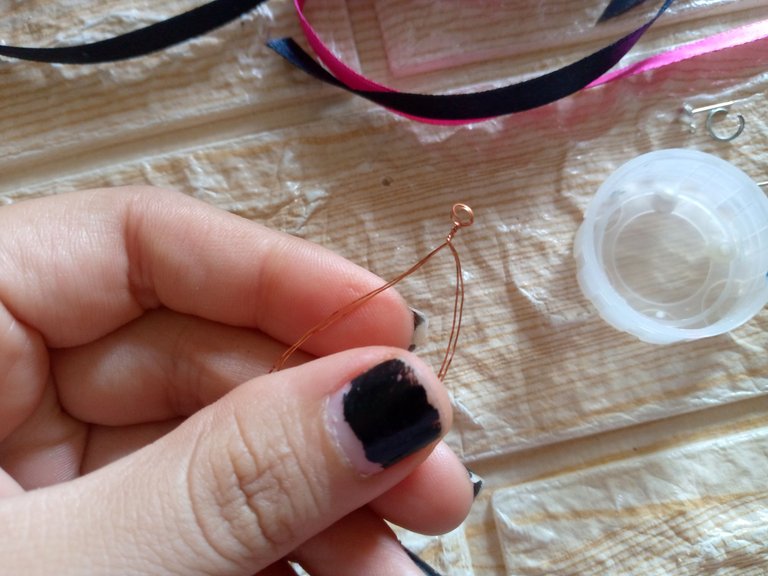
Paso 01
Step 01
The first thing I did was cut a double wire, of course we will do this if our wire is thin we will double it, then I will cut about 30 cm long and I will be marking the middle of my wire and I will make a small ring in that part by bending it with the jewelry pliers. Then we will be inserting 16 pearls in the wire on the left side and I will form a drop with my finger by bending the part of the wire that has the pearls and I will pass it underneath to secure the wire right in that part.

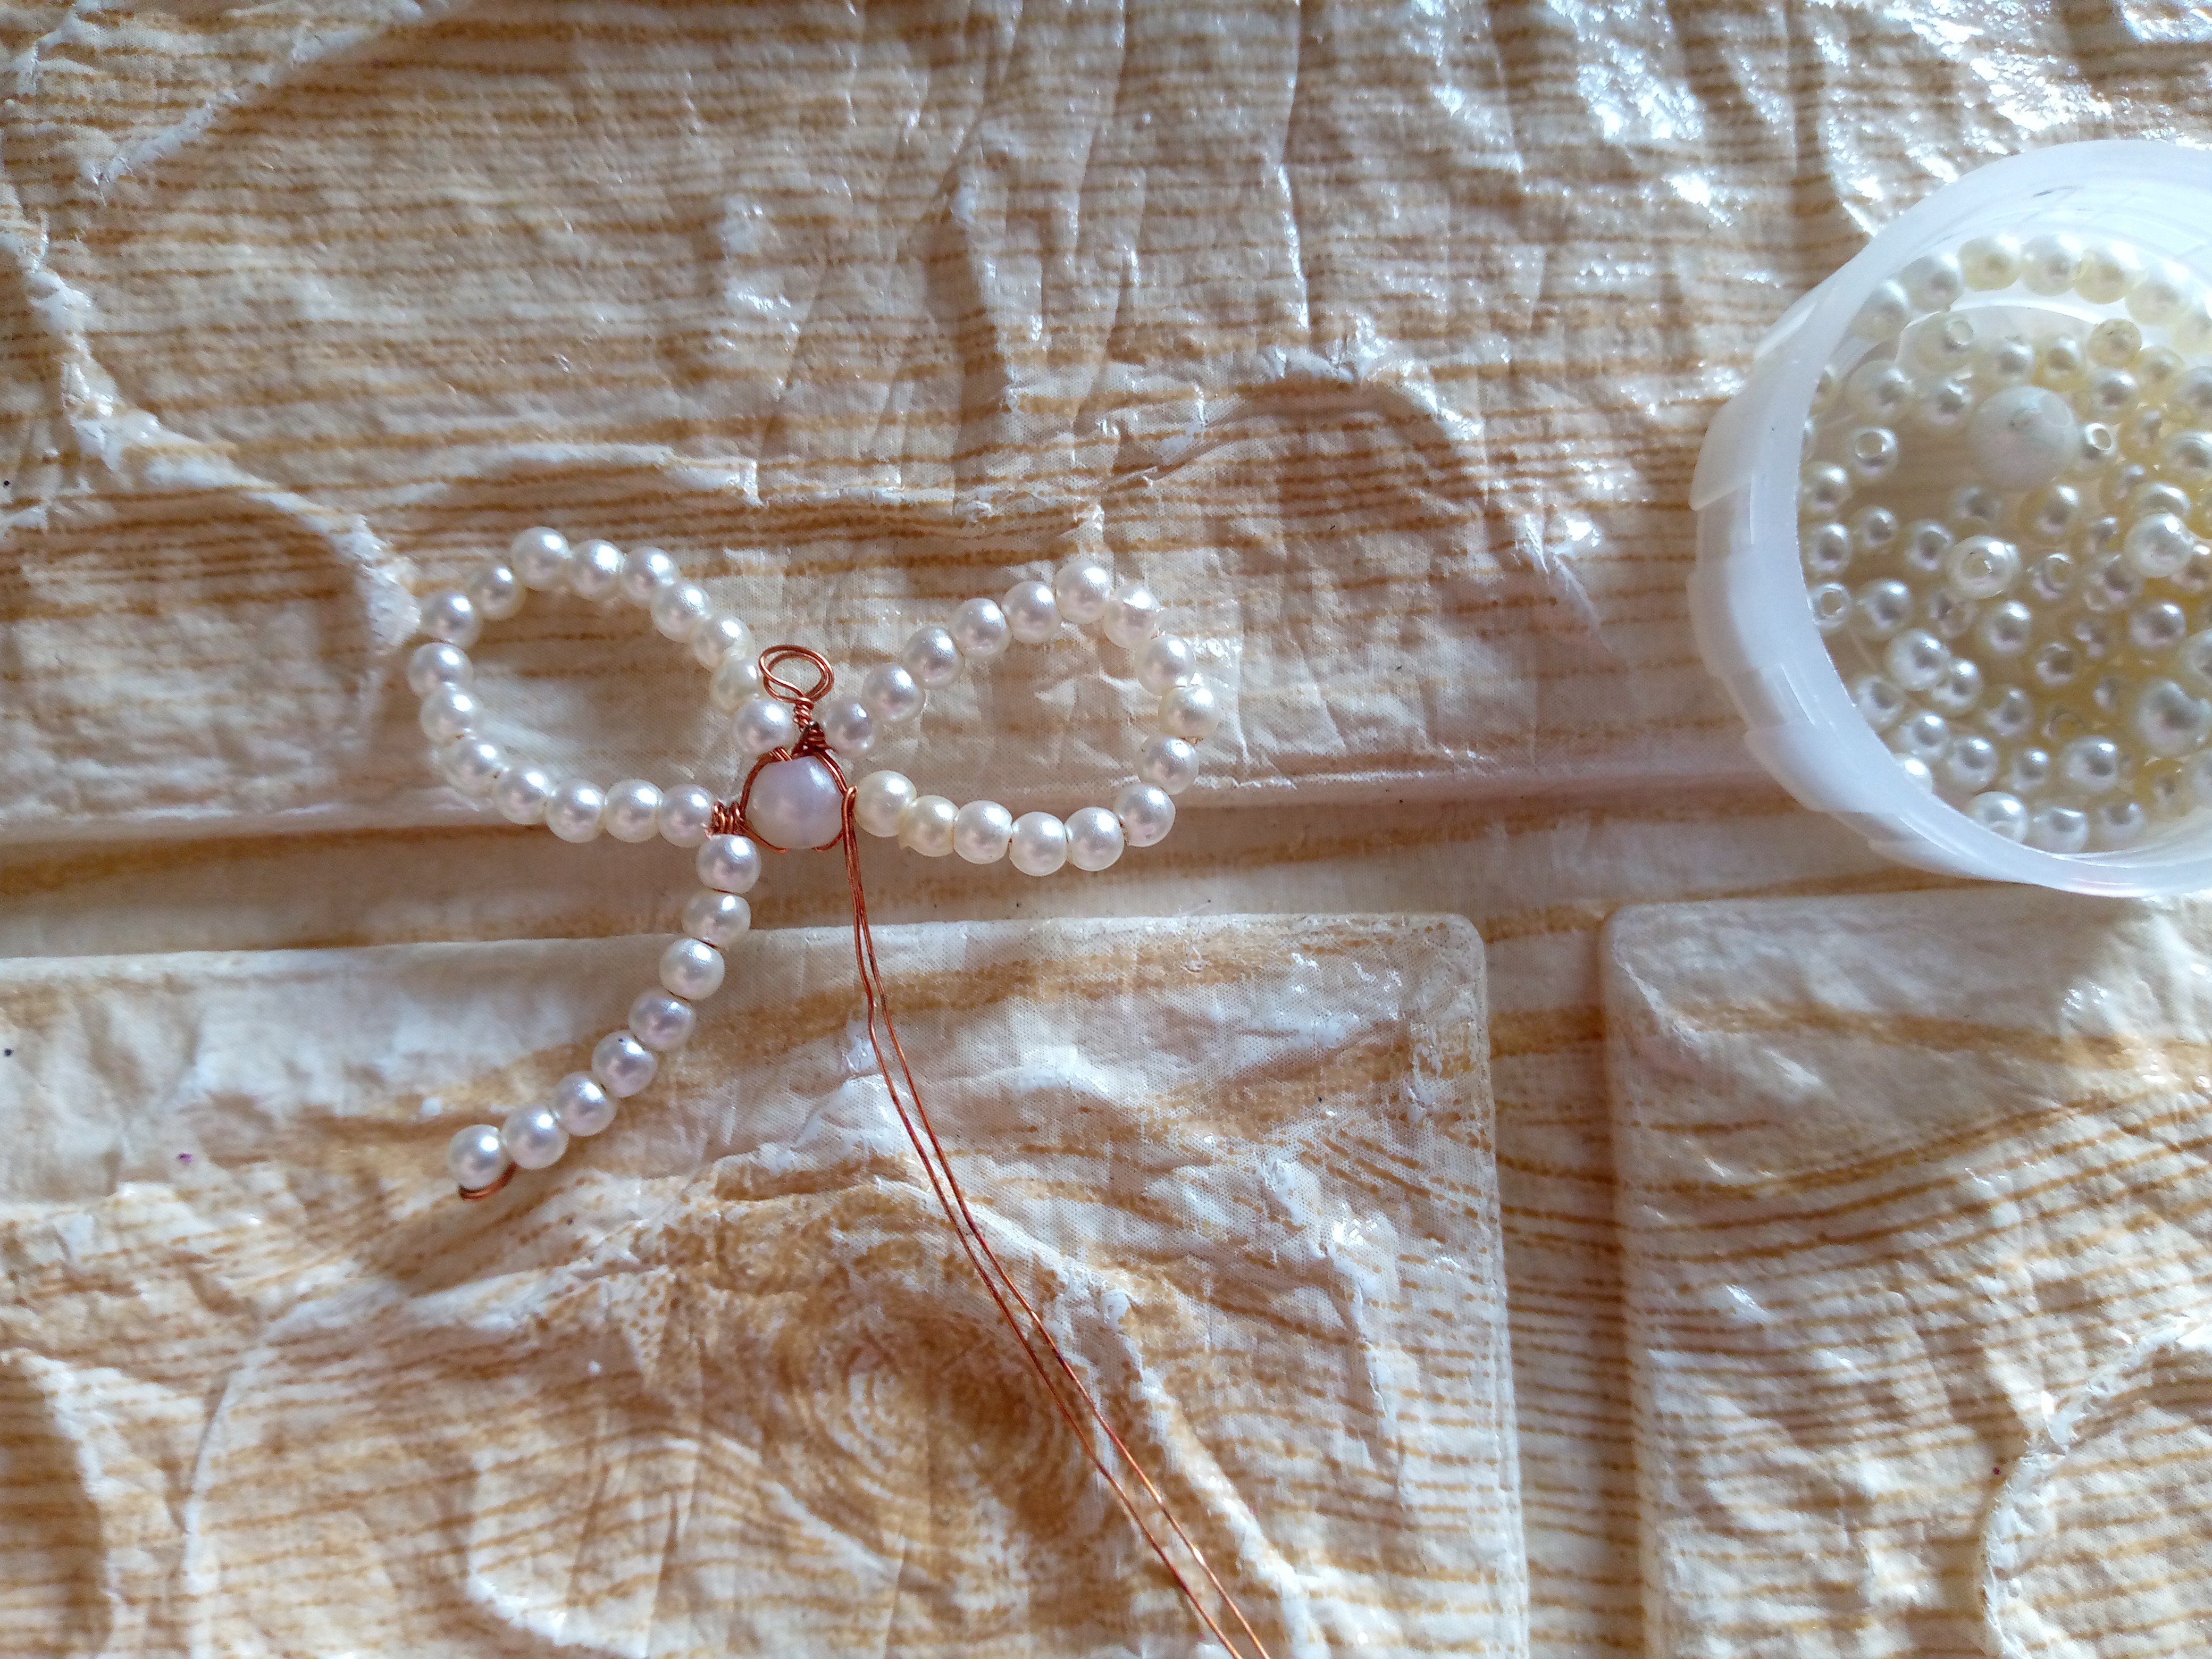
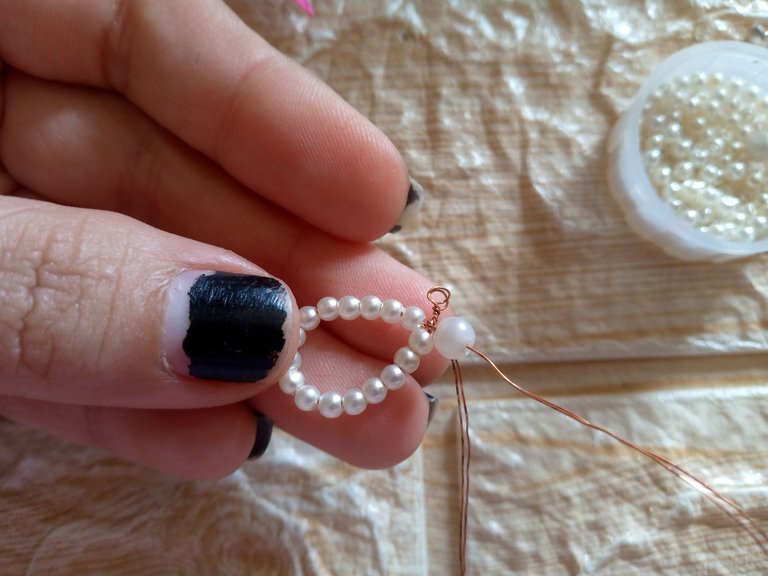
Paso 02
Step 02
I will then insert a medium-sized pearl right in the center and I will be repeating the same step that I did at the beginning with the drop of wire pearls to form the other piece of the bow-shaped area, then I will continue making the bottom part of my bow this time I will place the wire down and I will be inserting 8 pearls and the last one I will pass the wire returning it and passing it again through the other 7 pearls above and we will adjust it in the corner of the center pearl just on one side and we cut the wire.
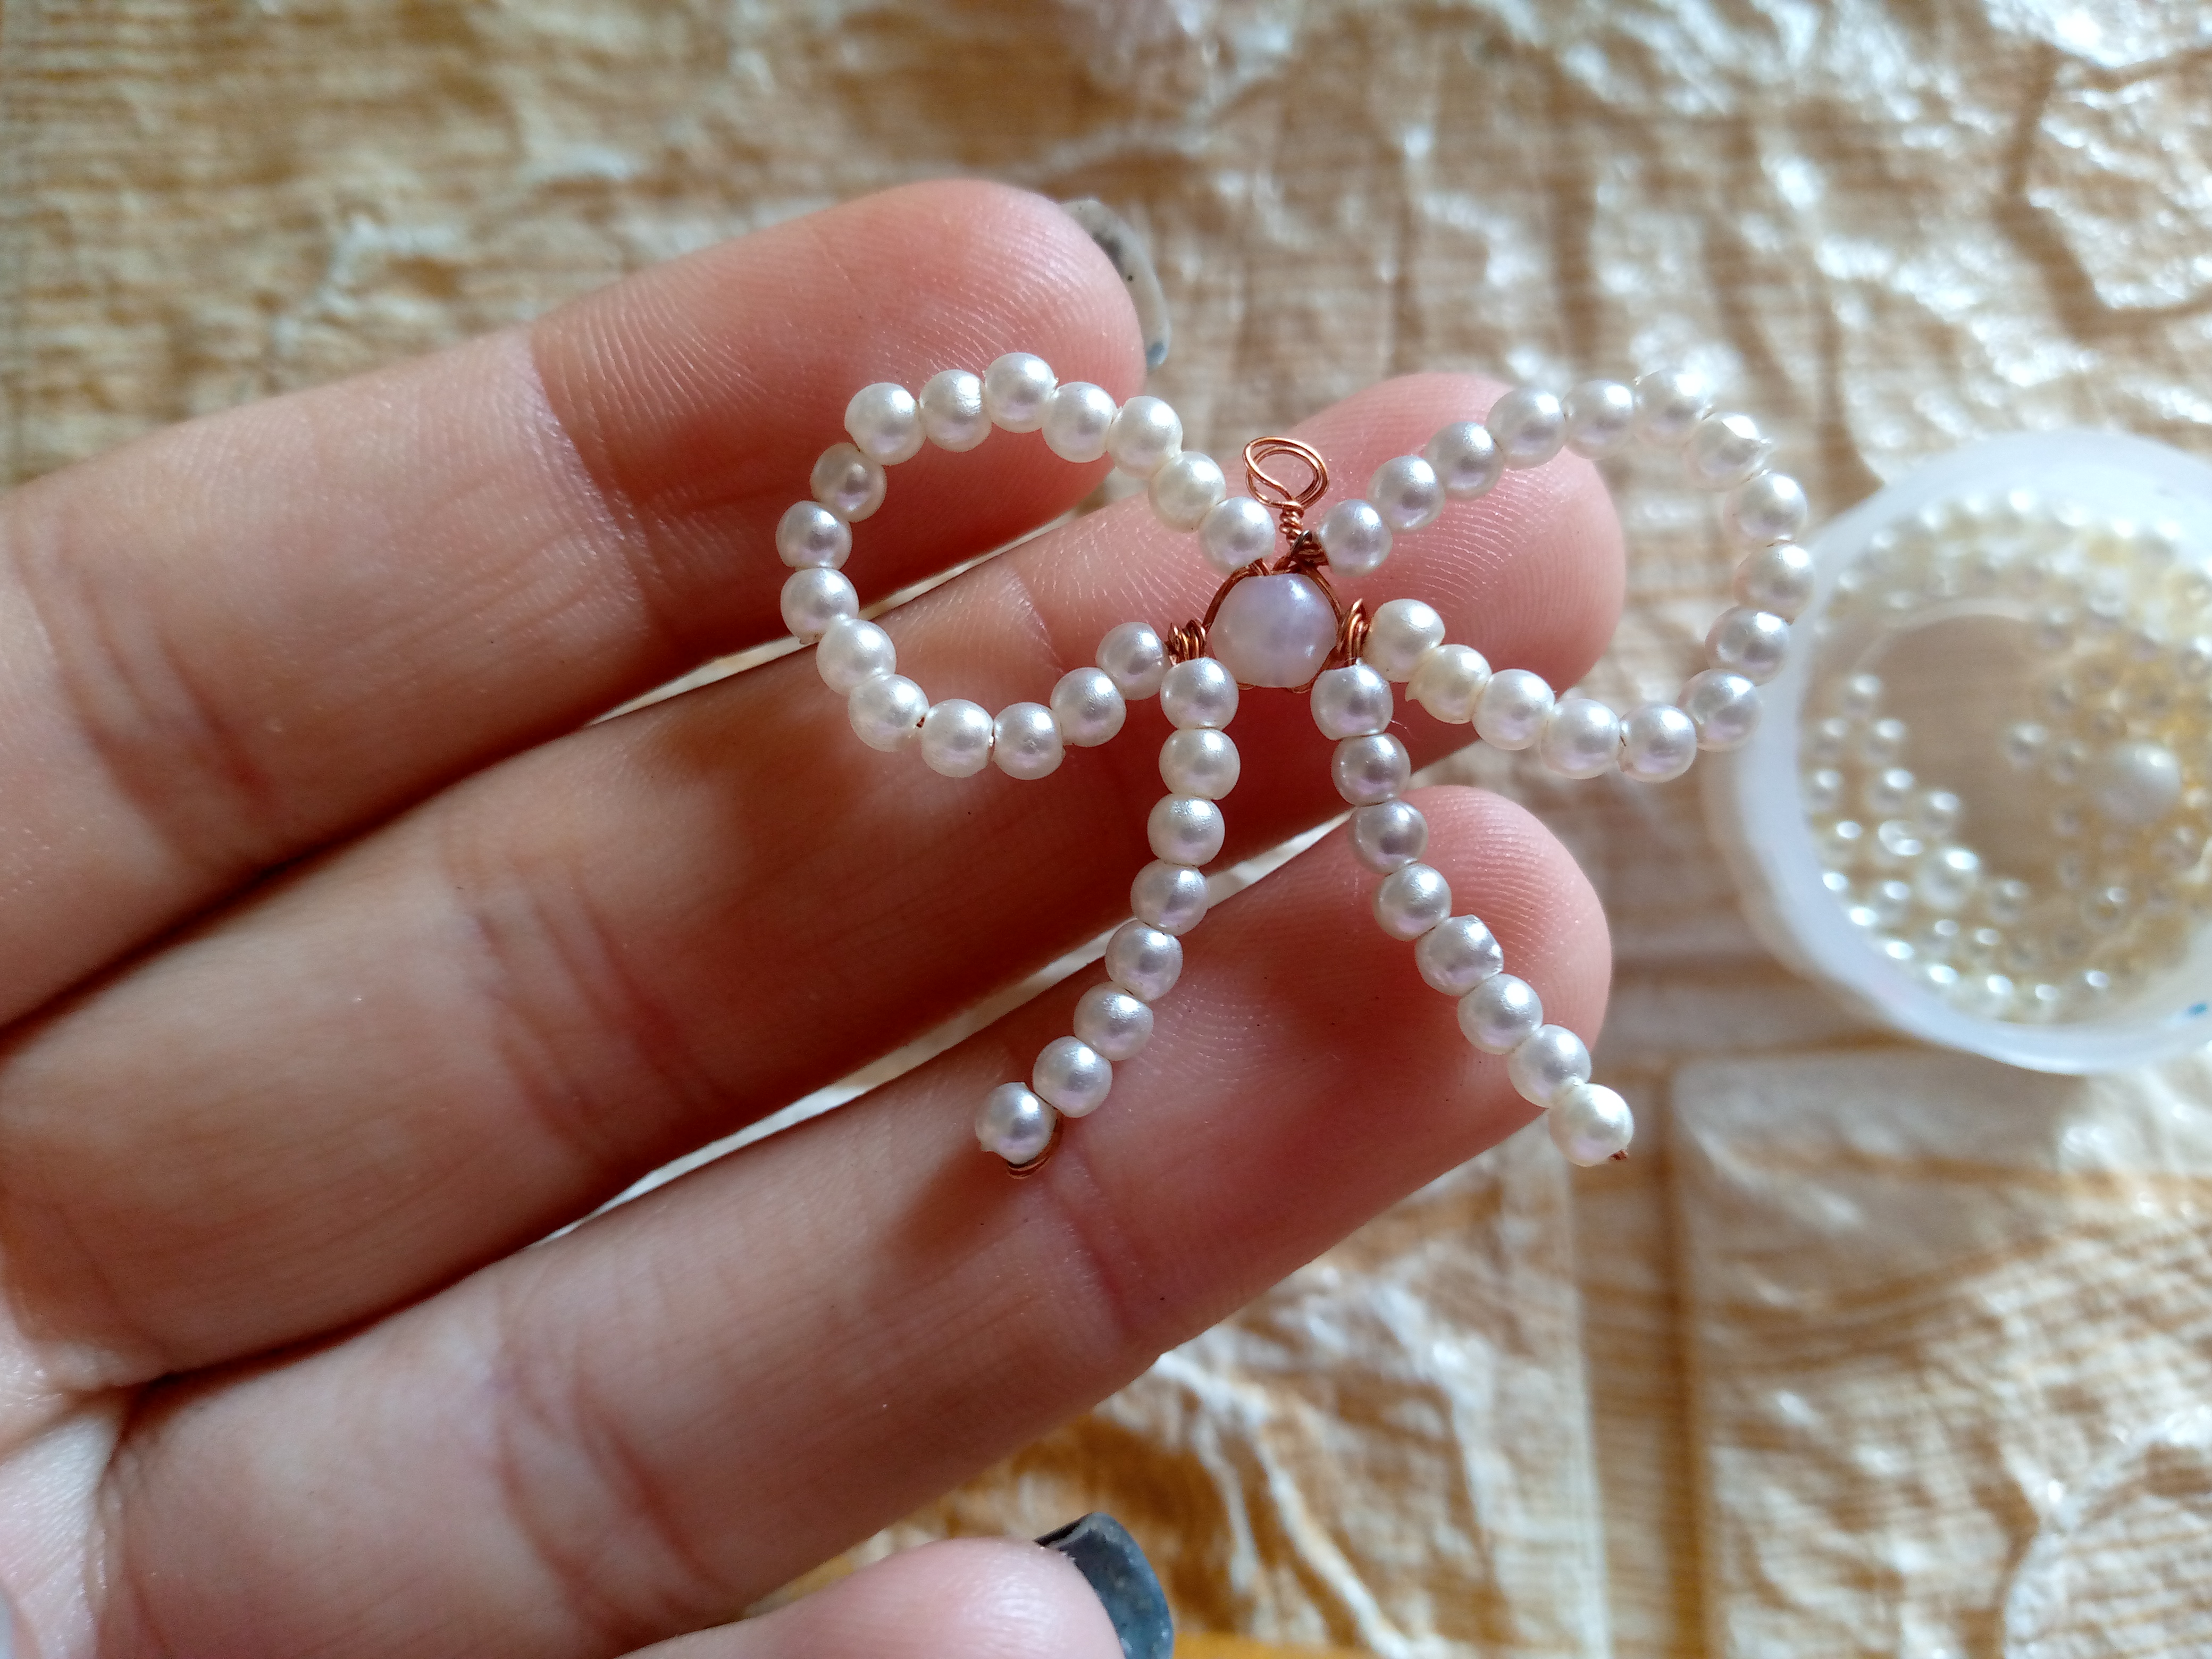

Paso 03
Step 03
With the leftover wire I will be making the other bottom part of my bow by inserting the 8 small pearls again and repeating the last step to secure the wire well and prevent it from coming loose. To finish the earring I will cut 6 cm of wire, double it and pass it over the ring. There I will insert 3 pearls from one side after the other to make a ring of small pearls that we secure at the top of the wire. We repeat these steps to make the other earring.
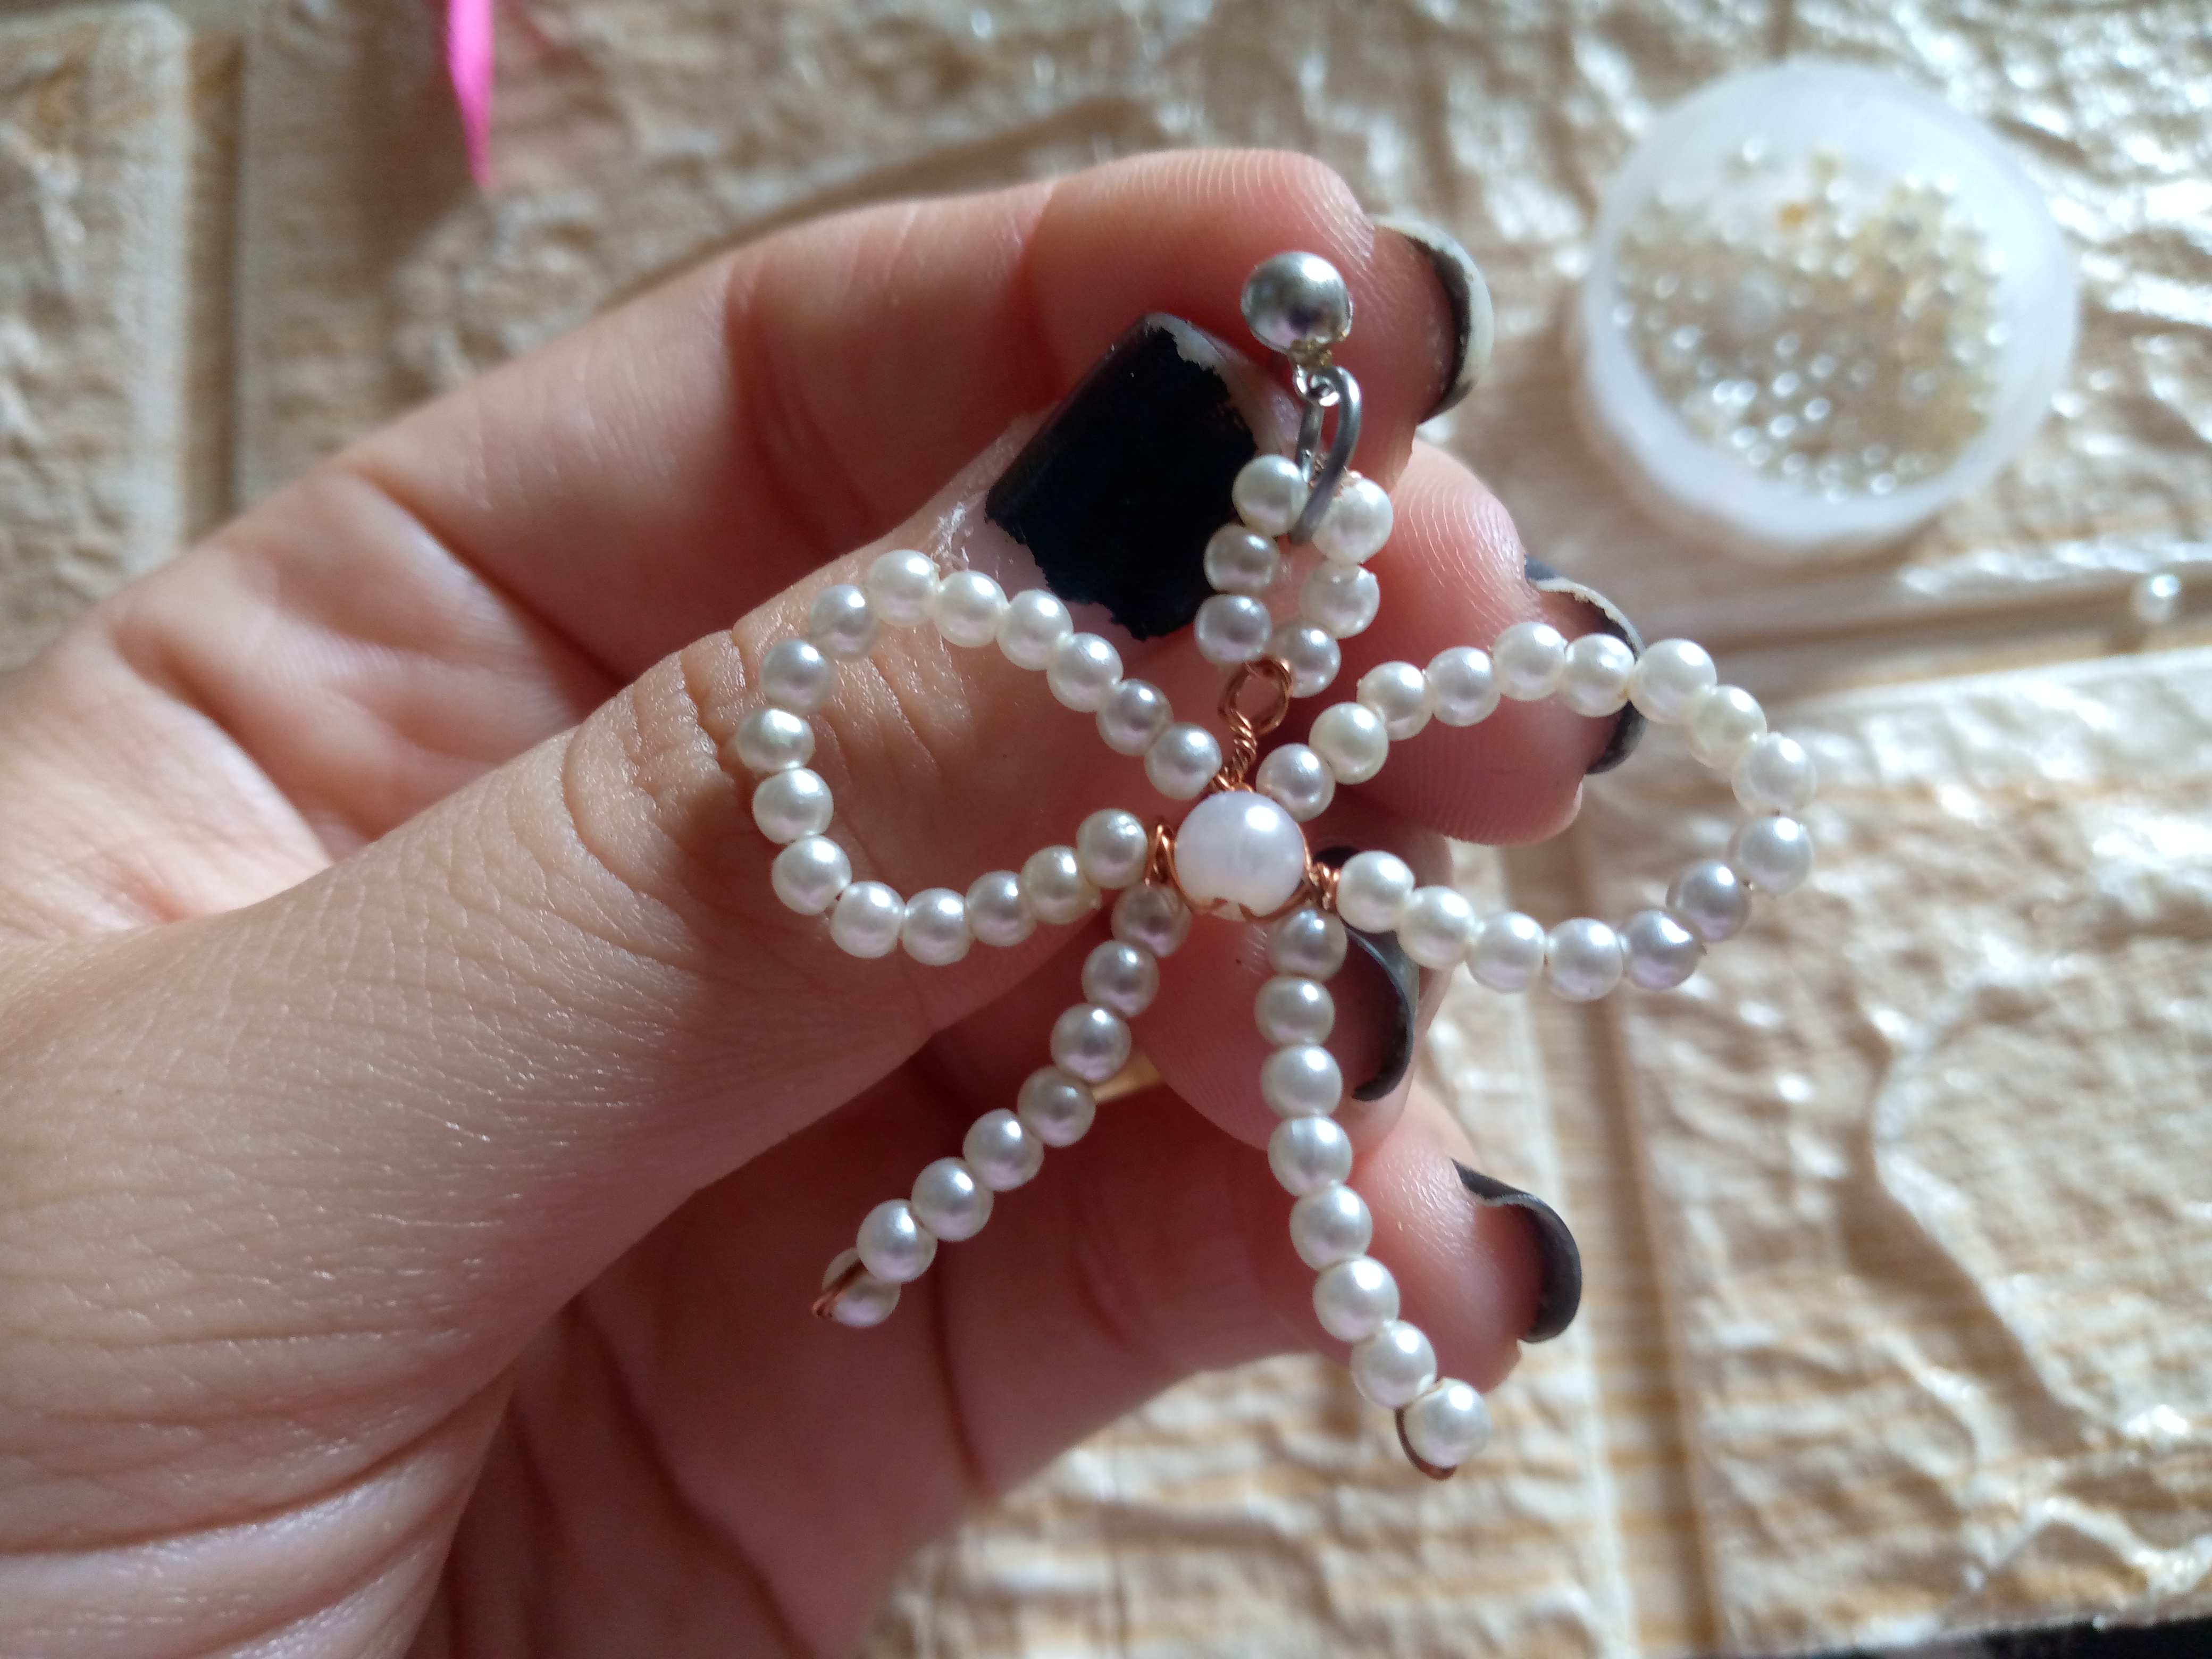
Paso 04
Step 04
Finally, we will be placing the metal ring between the Perlitas ring we will use the tweezers so that the work is much easier and only the jewelry clavite was inserted by the Argollita and thus we finished these beautiful chat of earrings .✨🎀
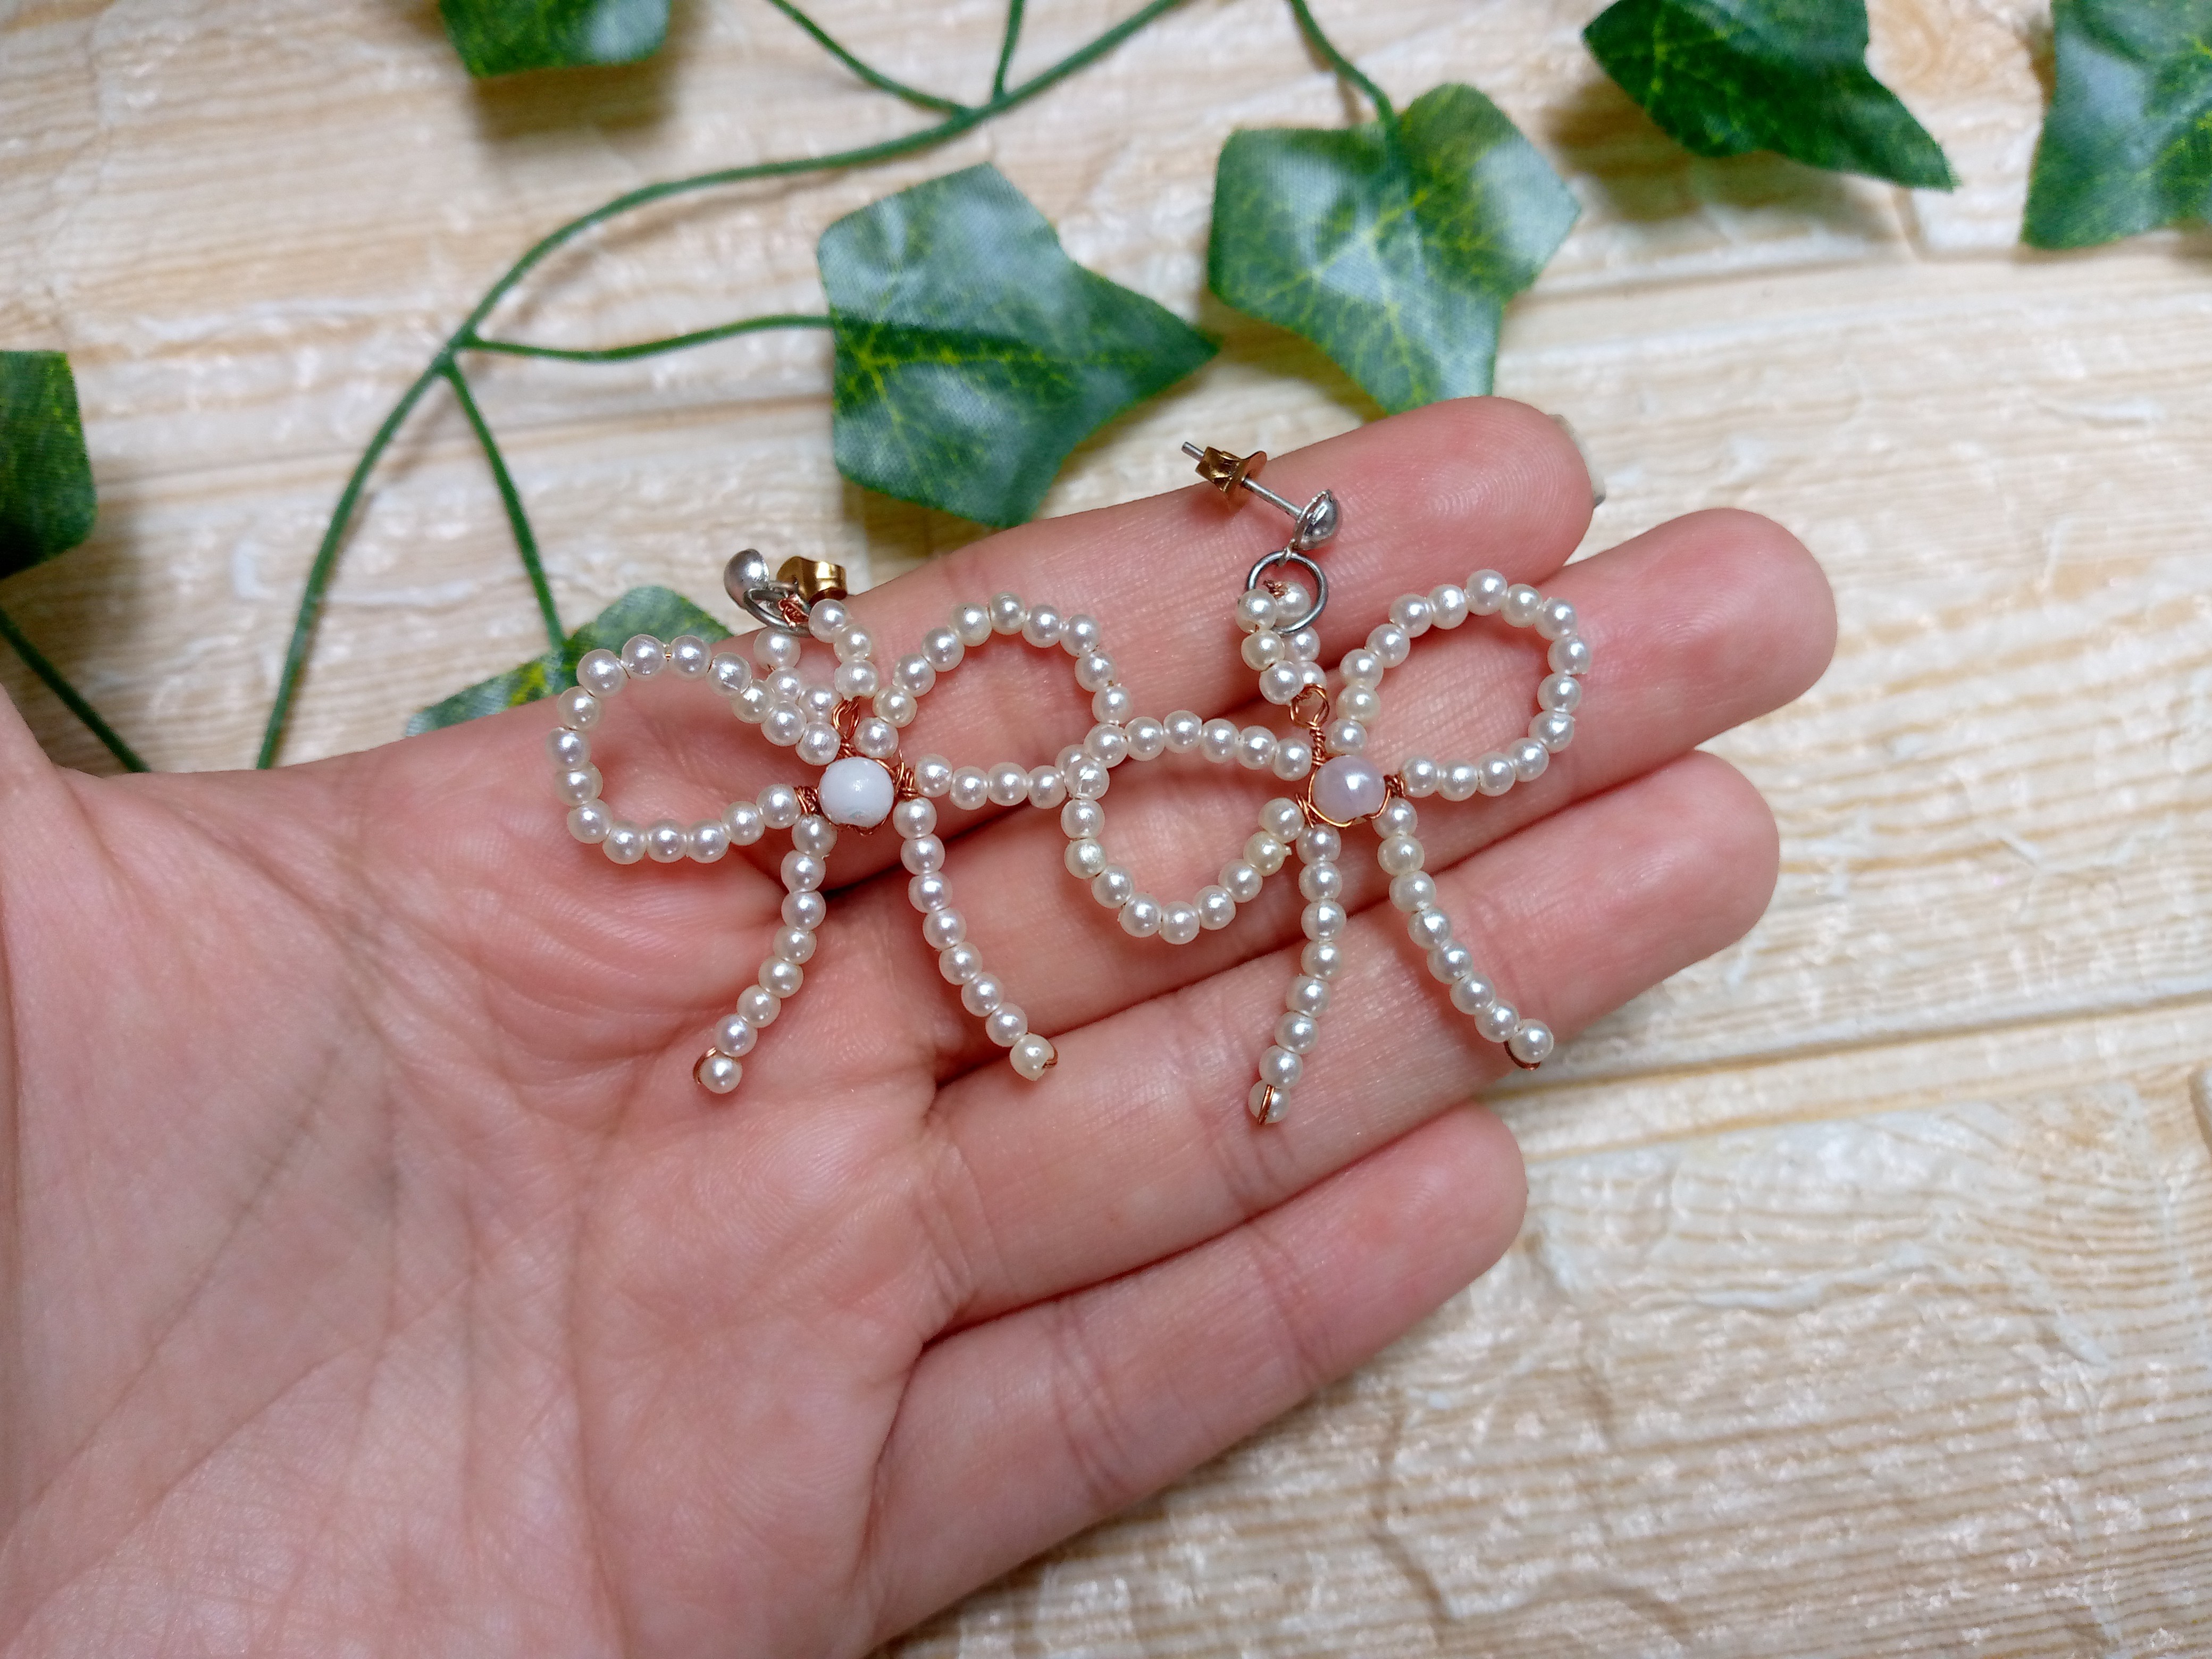
Resultado:// Result:
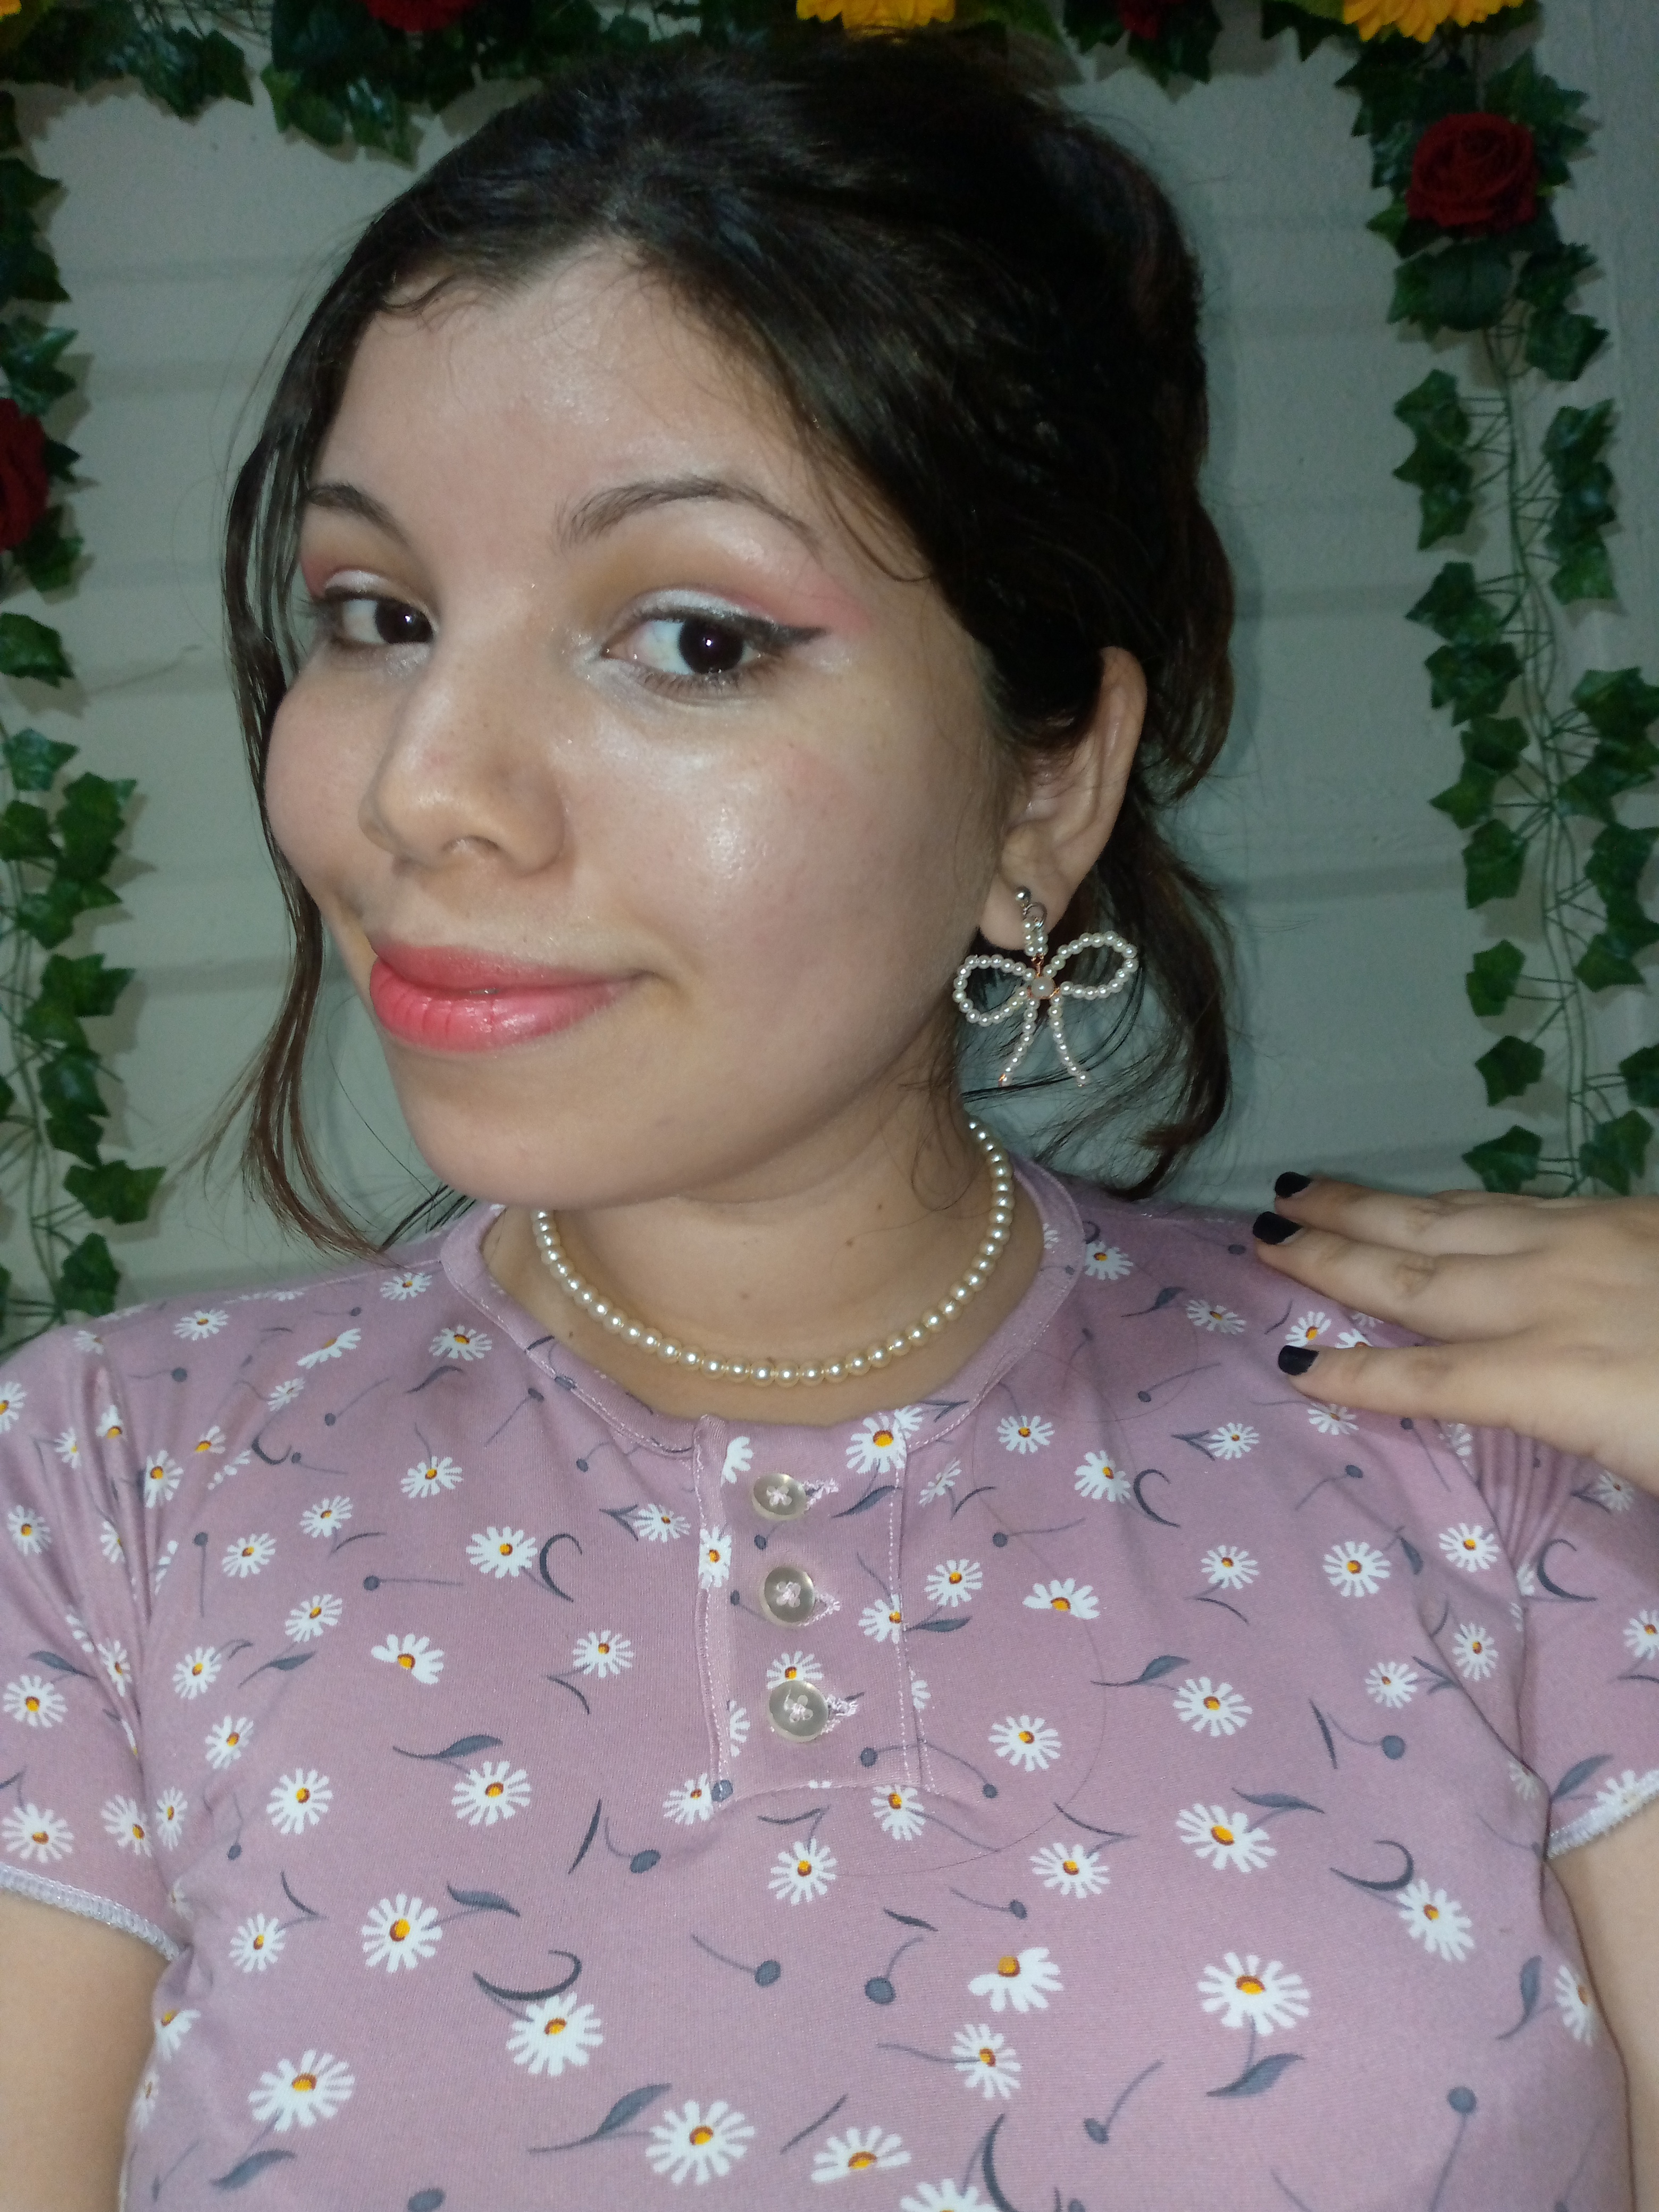
This is how this beautiful piece of work looks like, a pair of pretty earrings 🎀their shape looks great with elegant dresses and very versatile outfits. You can wear them this summer season when we're coming to wear cooler, looser clothes. They're jewels that can't be missing from that little corner of elegant and sophisticated clothing.
A mi me ha encantado compartir contigo esta idea de hacer aretes personalizados en casa y que podrías usar cuando desees ,es una manera de resaltar el look un tanto coqueto y si te ha gustado no olvides compartirlo,les deseo una feliz tarde y gracias por leerme✨🎀.
I loved sharing with you this idea of making personalized earrings at home that you could use whenever you want. It's a way to highlight a flirtatious look, and if you liked it, don't forget to share it. I wish you a happy afternoon and thank you for reading. 🎀
Creating things with love 🌷❤️
🦋✨ All the images in this publication are my author ,📱taken with my TecnoSpark8C cell phone |📸Photos edited in PicsArt and Canva. Text translated in Google Translate.
Amazing!
This looks beautiful on you and the design is also outclassed ✨
It is beautiful, stylish, and charming. Love its design. It looks amazing. Well done!
selected by @rezoanulvibes
Thanks 🎀🥰
Son de lo más romántico. Este estilo vintage me fascina y tu los luces muy bien.
Buen trabajo
Muchas gracias amiga 🥰😇
!discovery 30
This post was shared and voted inside the discord by the curators team of discovery-it
Join our Community and follow our Curation Trail
Discovery-it is also a Witness, vote for us here
Delegate to us for passive income. Check our 80% fee-back Program
Oh wow. It is looking really really fabulous on you. The bows are looking really really cute. I will also try this soon.
That's really Cute and elegent. It is looking like the one you have bought from the shop. It's really really beautiful. I appreciate your hardwork.