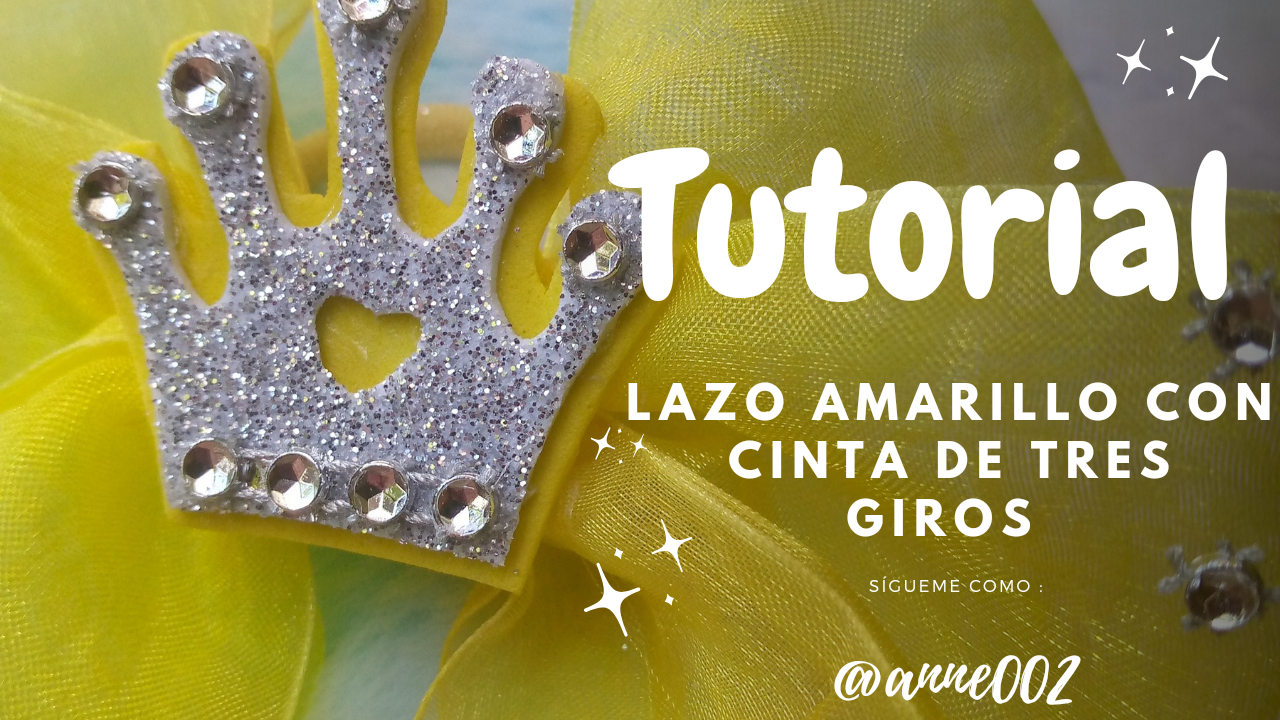
How about you, appreciated and beautiful community, it is a pleasure for me to greet each of you, it is a pleasure to be here in this community sharing with you the process of this pretty little yellow organza ribbon bow for the girls of the house, the ribbons in that type of fabric give A touch of delicacy to the bows is why I decided to choose this yellow color to highlight the beauty of the fabric, I hope you like the result.
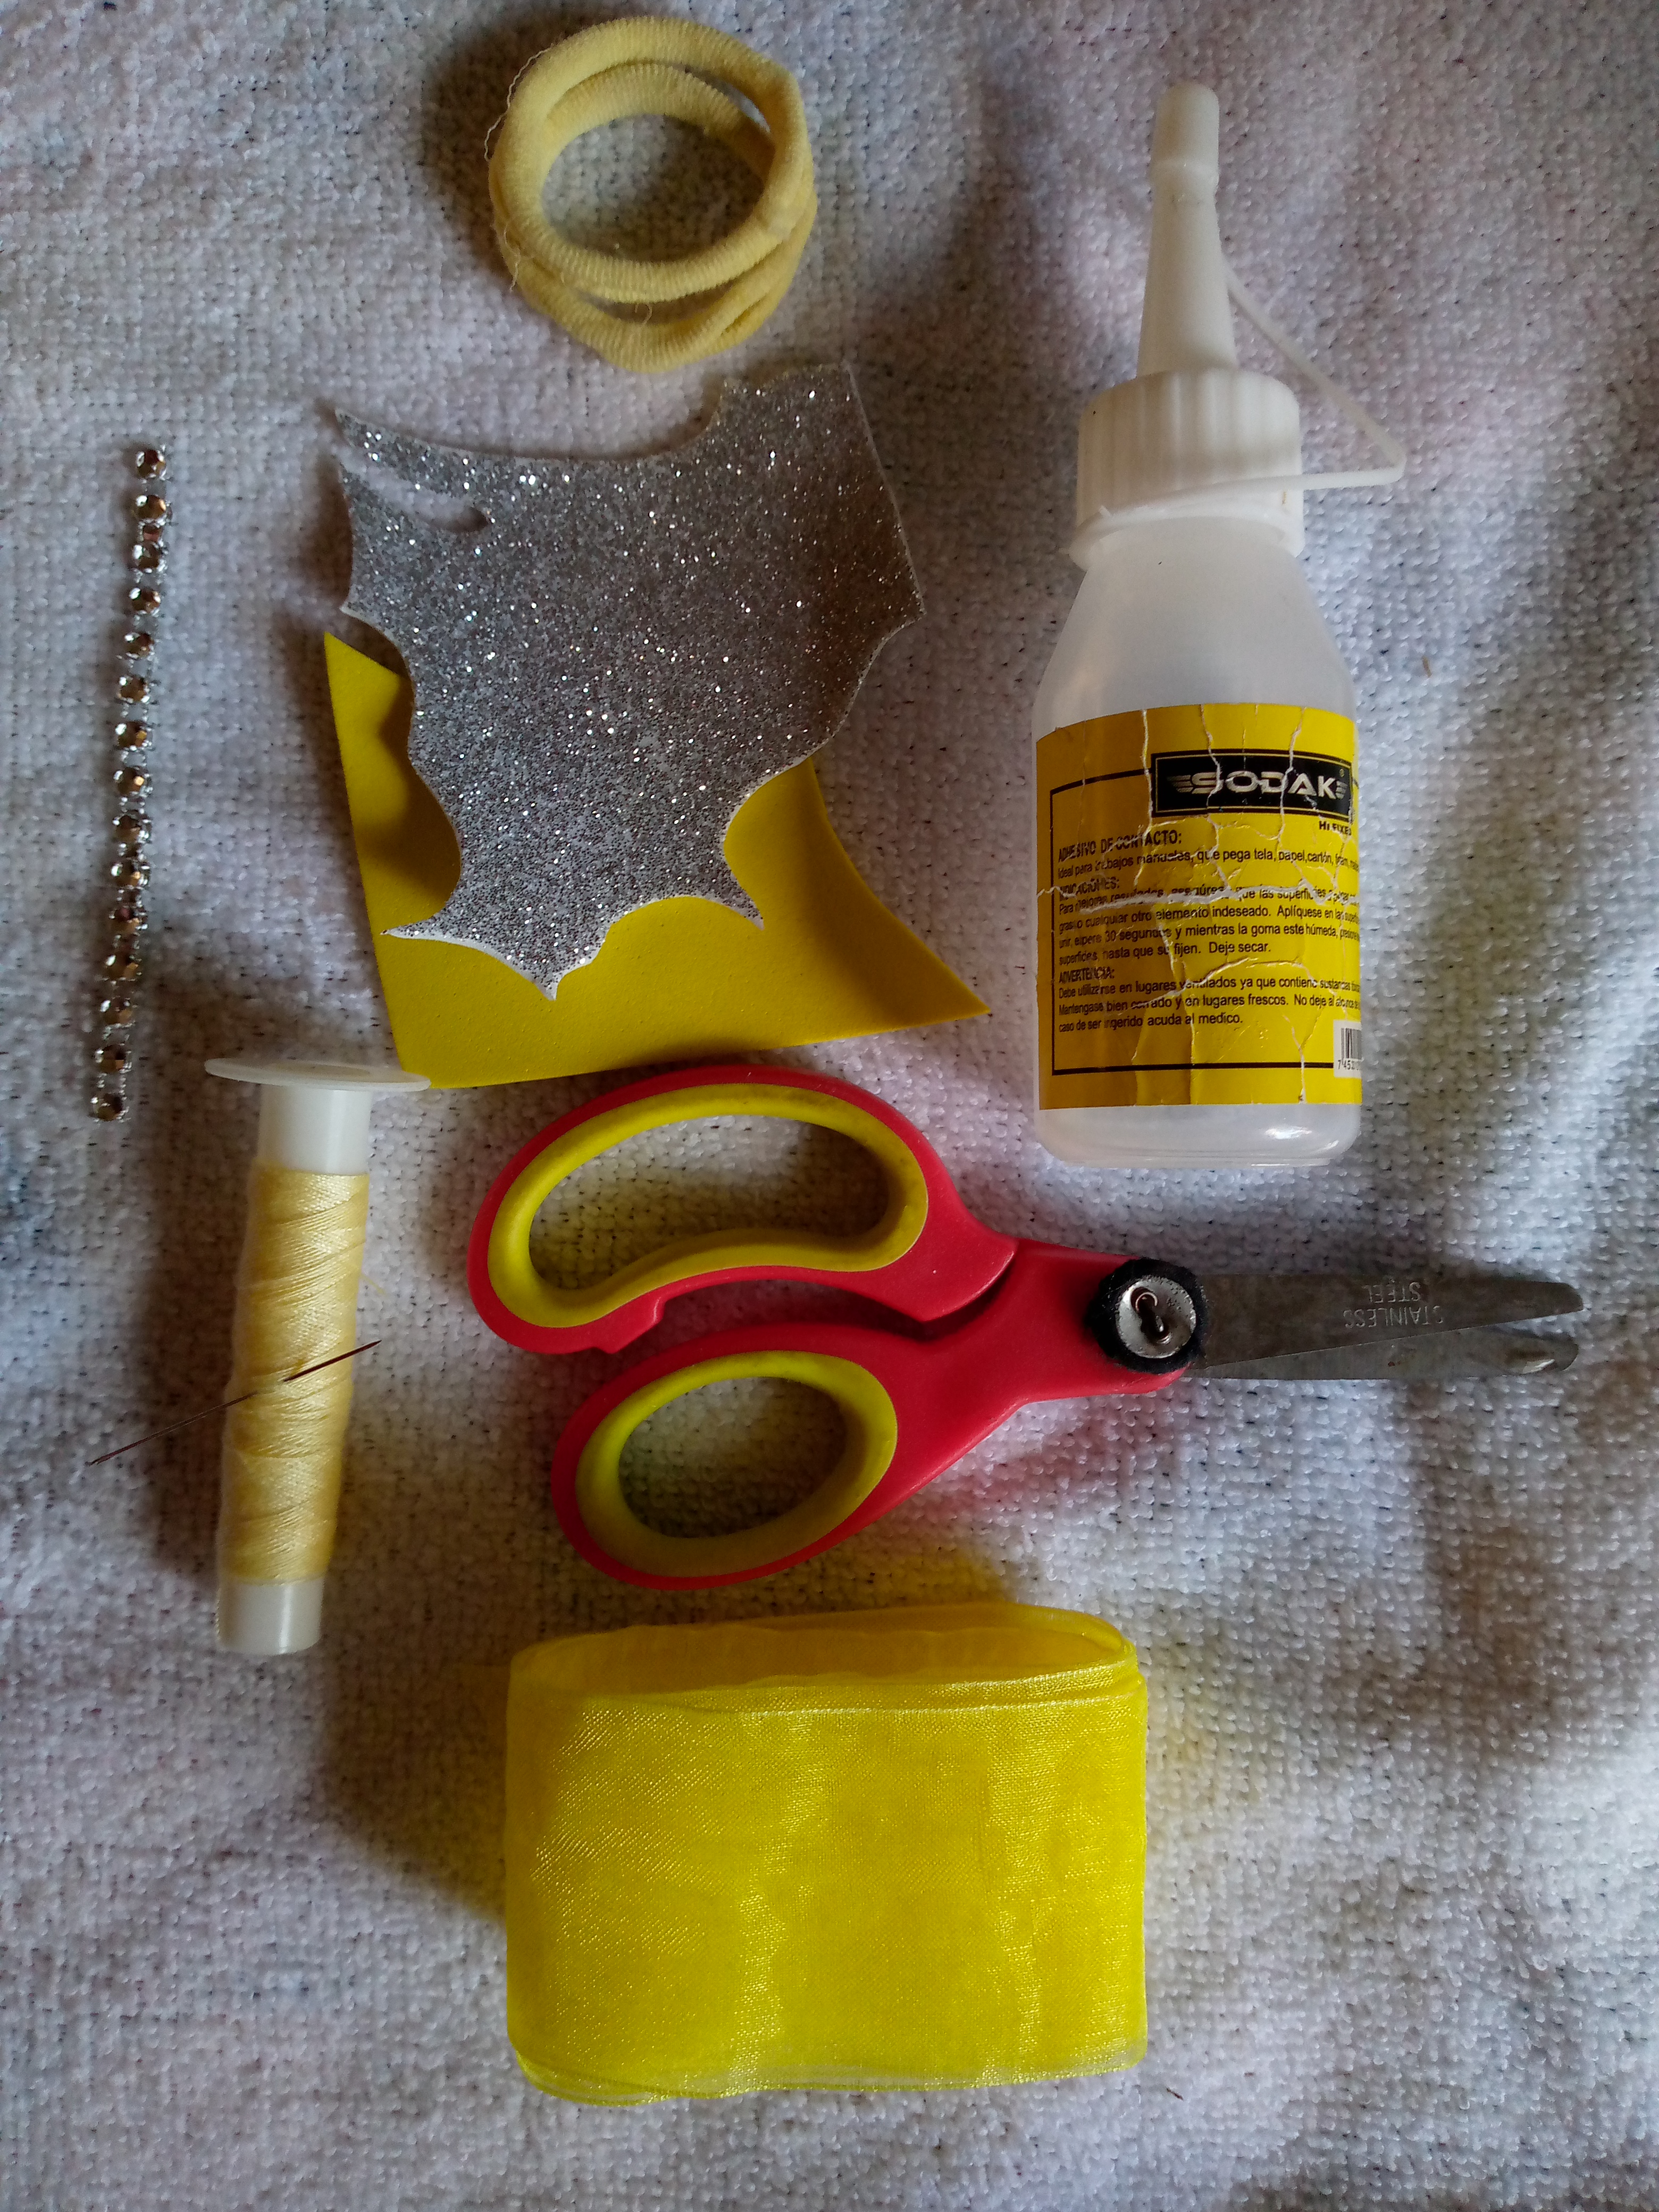
Materiales que usé :
Materials i used :
- Cinta de Organza
- Decoración brillante
- Hilo y aguja
- Pequeños trozos de fomi brillante plateado y amarillo
- Silicón
- Gomitas del cabello
- Tijeras
- Organza Ribbon
- Bright decoration
- Thread and needle
- Small pieces of silver and yellow shiny fomi
- Silicone
- Hair gummies
- Scissors
(Pasos a seguir.)
(Steps to follow)
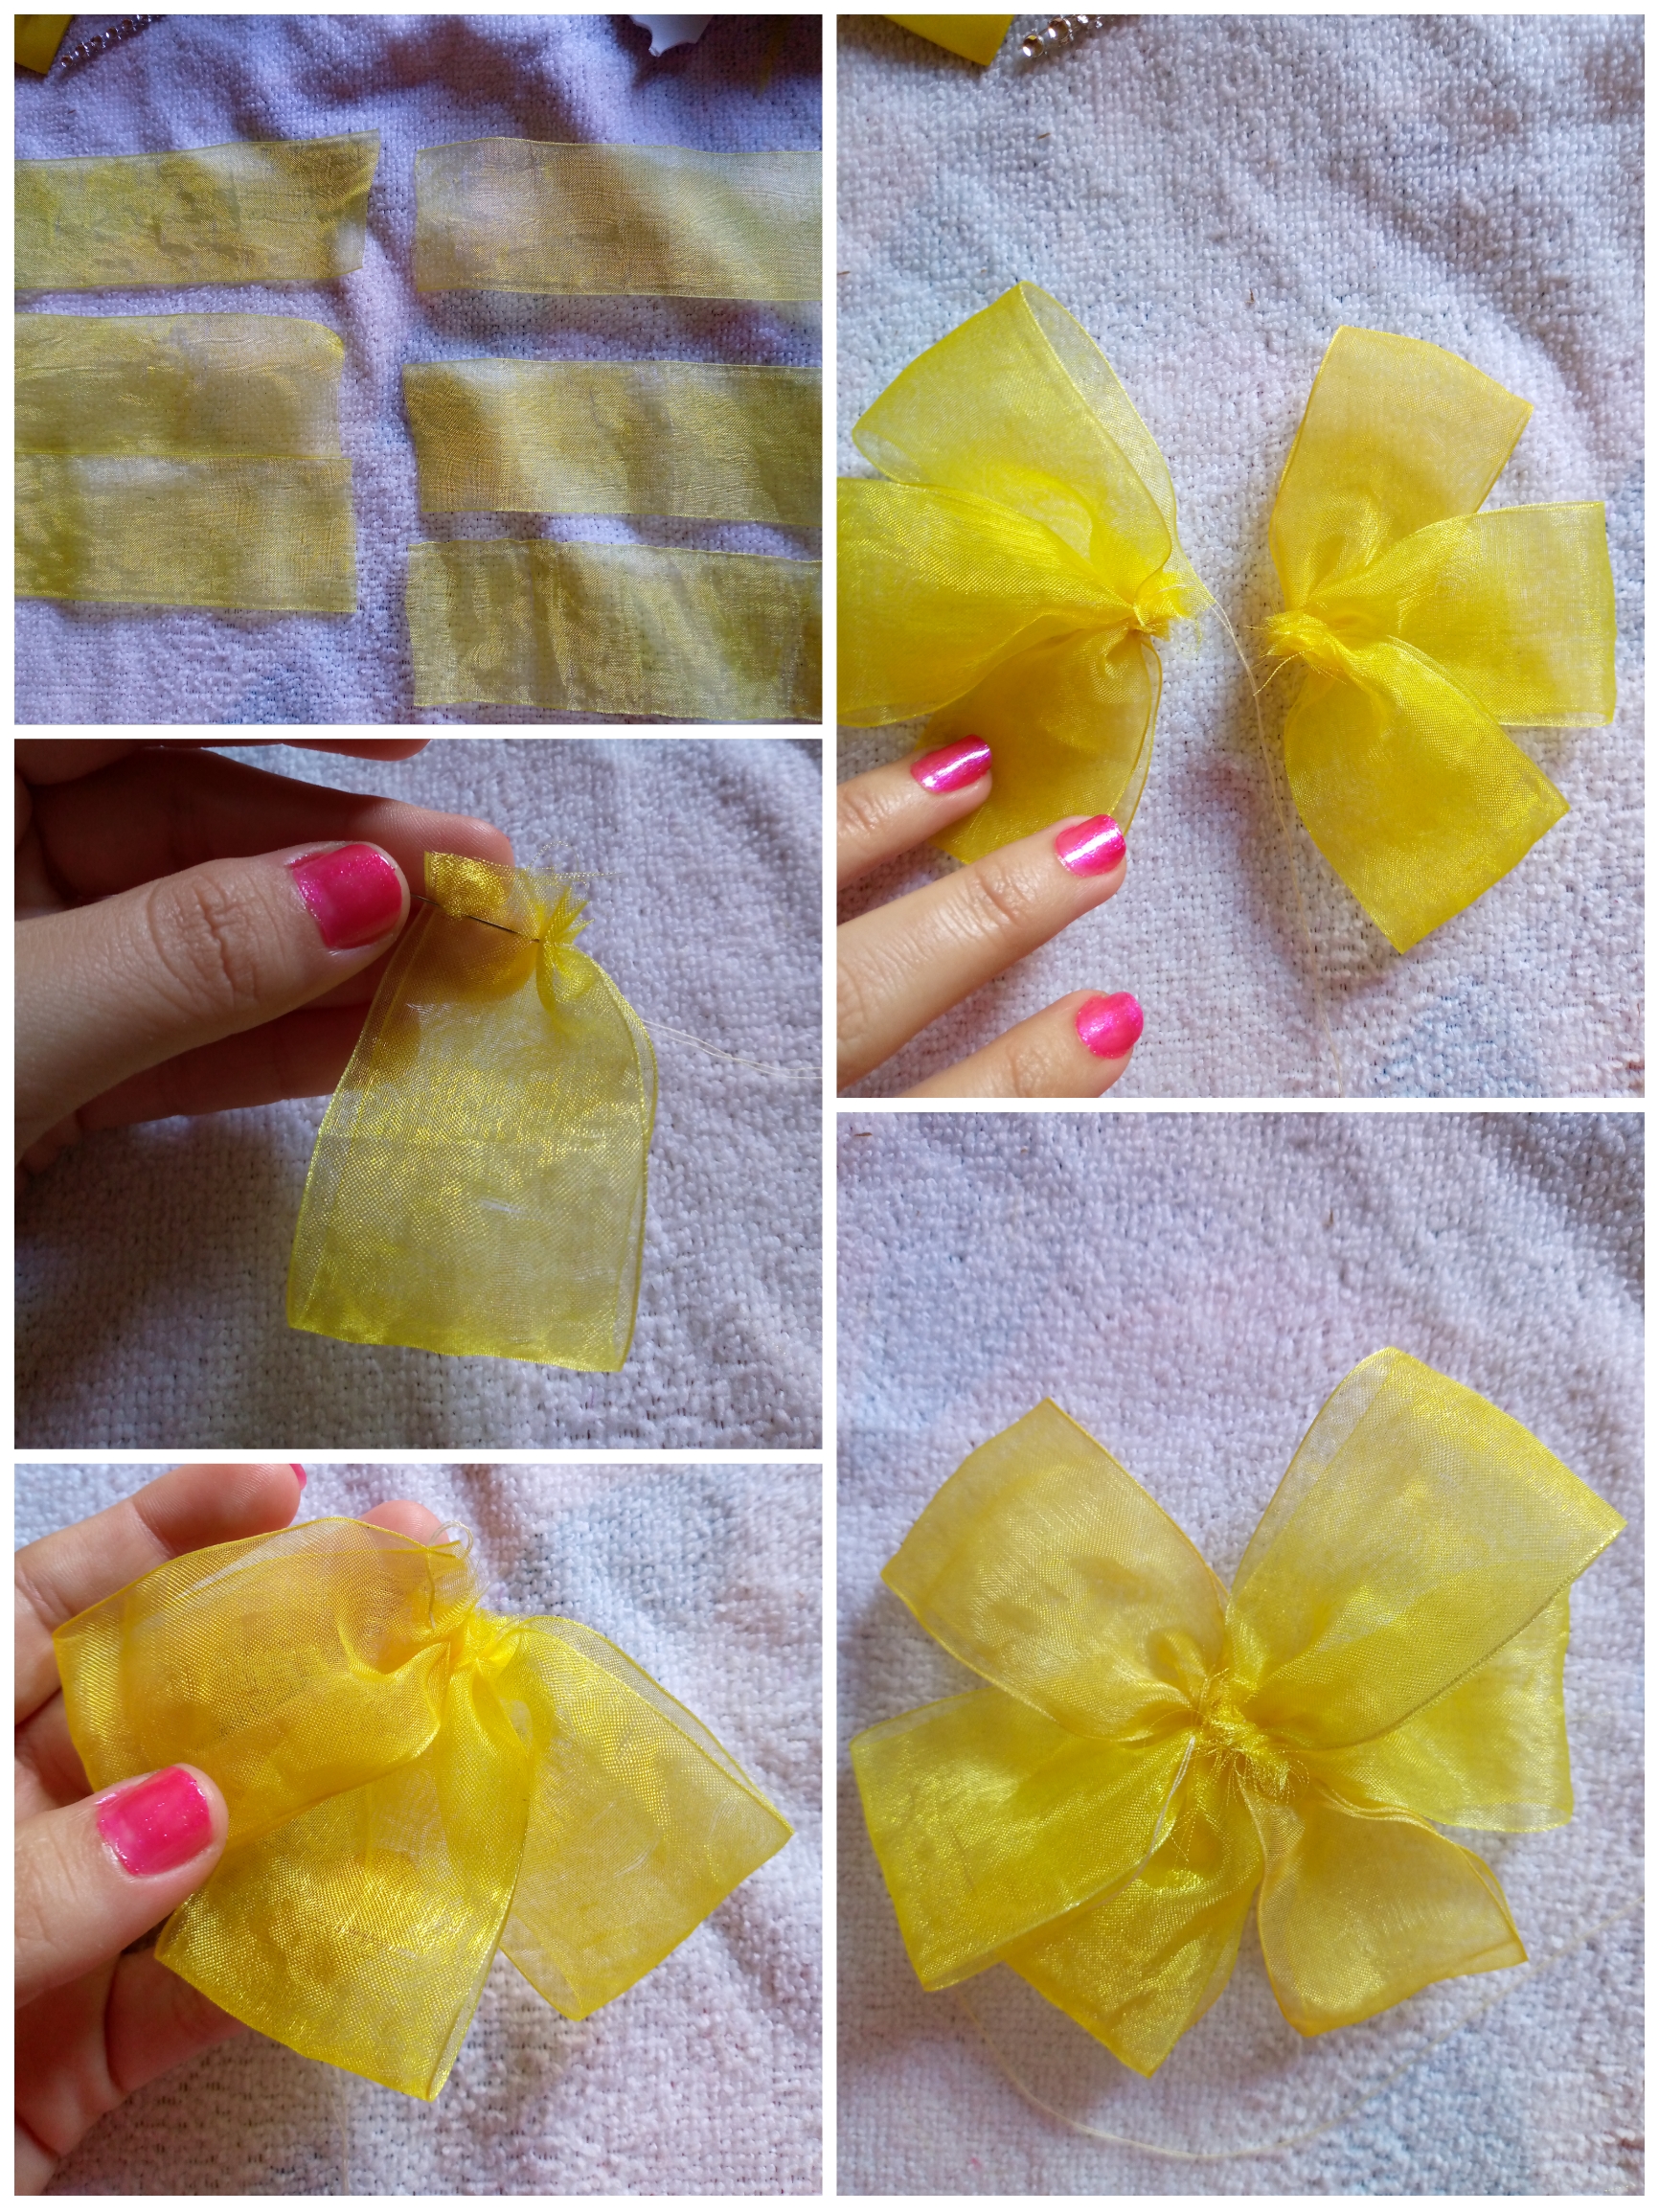
Paso 01
Step 01
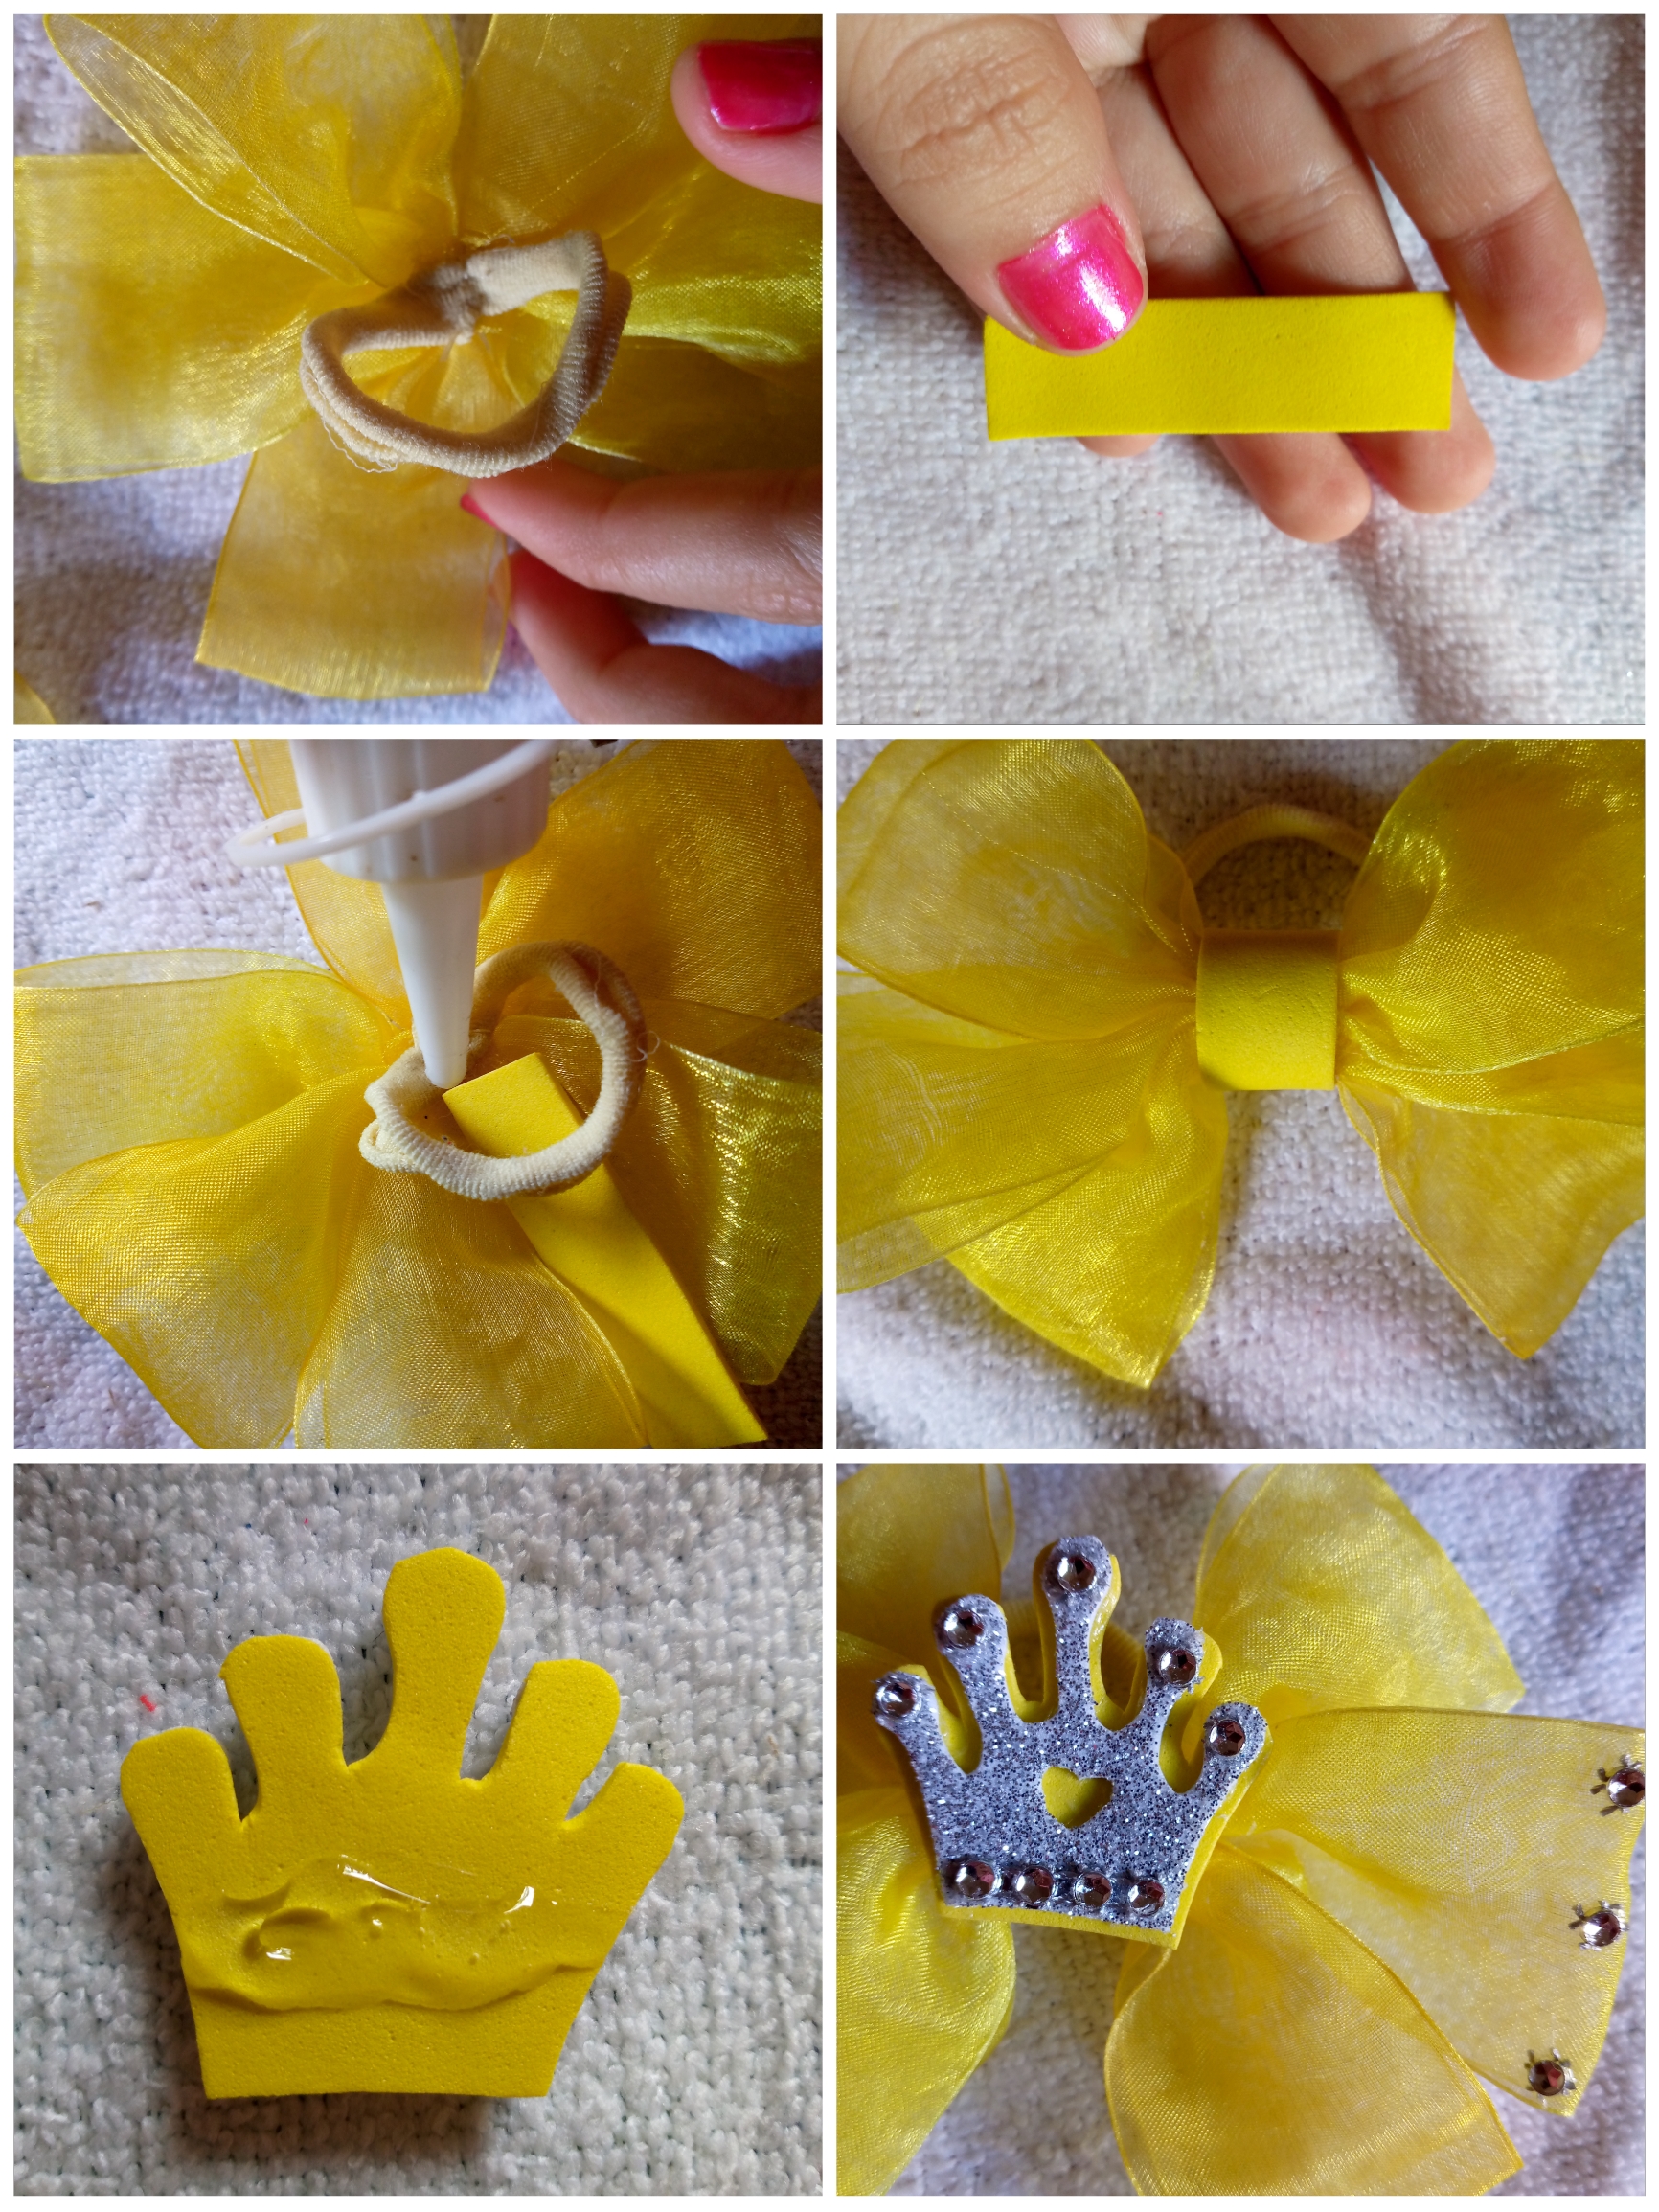
Mainly we start by cutting our pieces of the bow we will use rectangles of ribbon about 15 cm long we will use 6 for each bow we make we are going to start folding them in half and sew almost on the edge of the bow and then gather we do this step for each piece until we have them all ready, once they are like this we proceed to join both pieces of three and this is how our assembled bow will look.
Paso 02
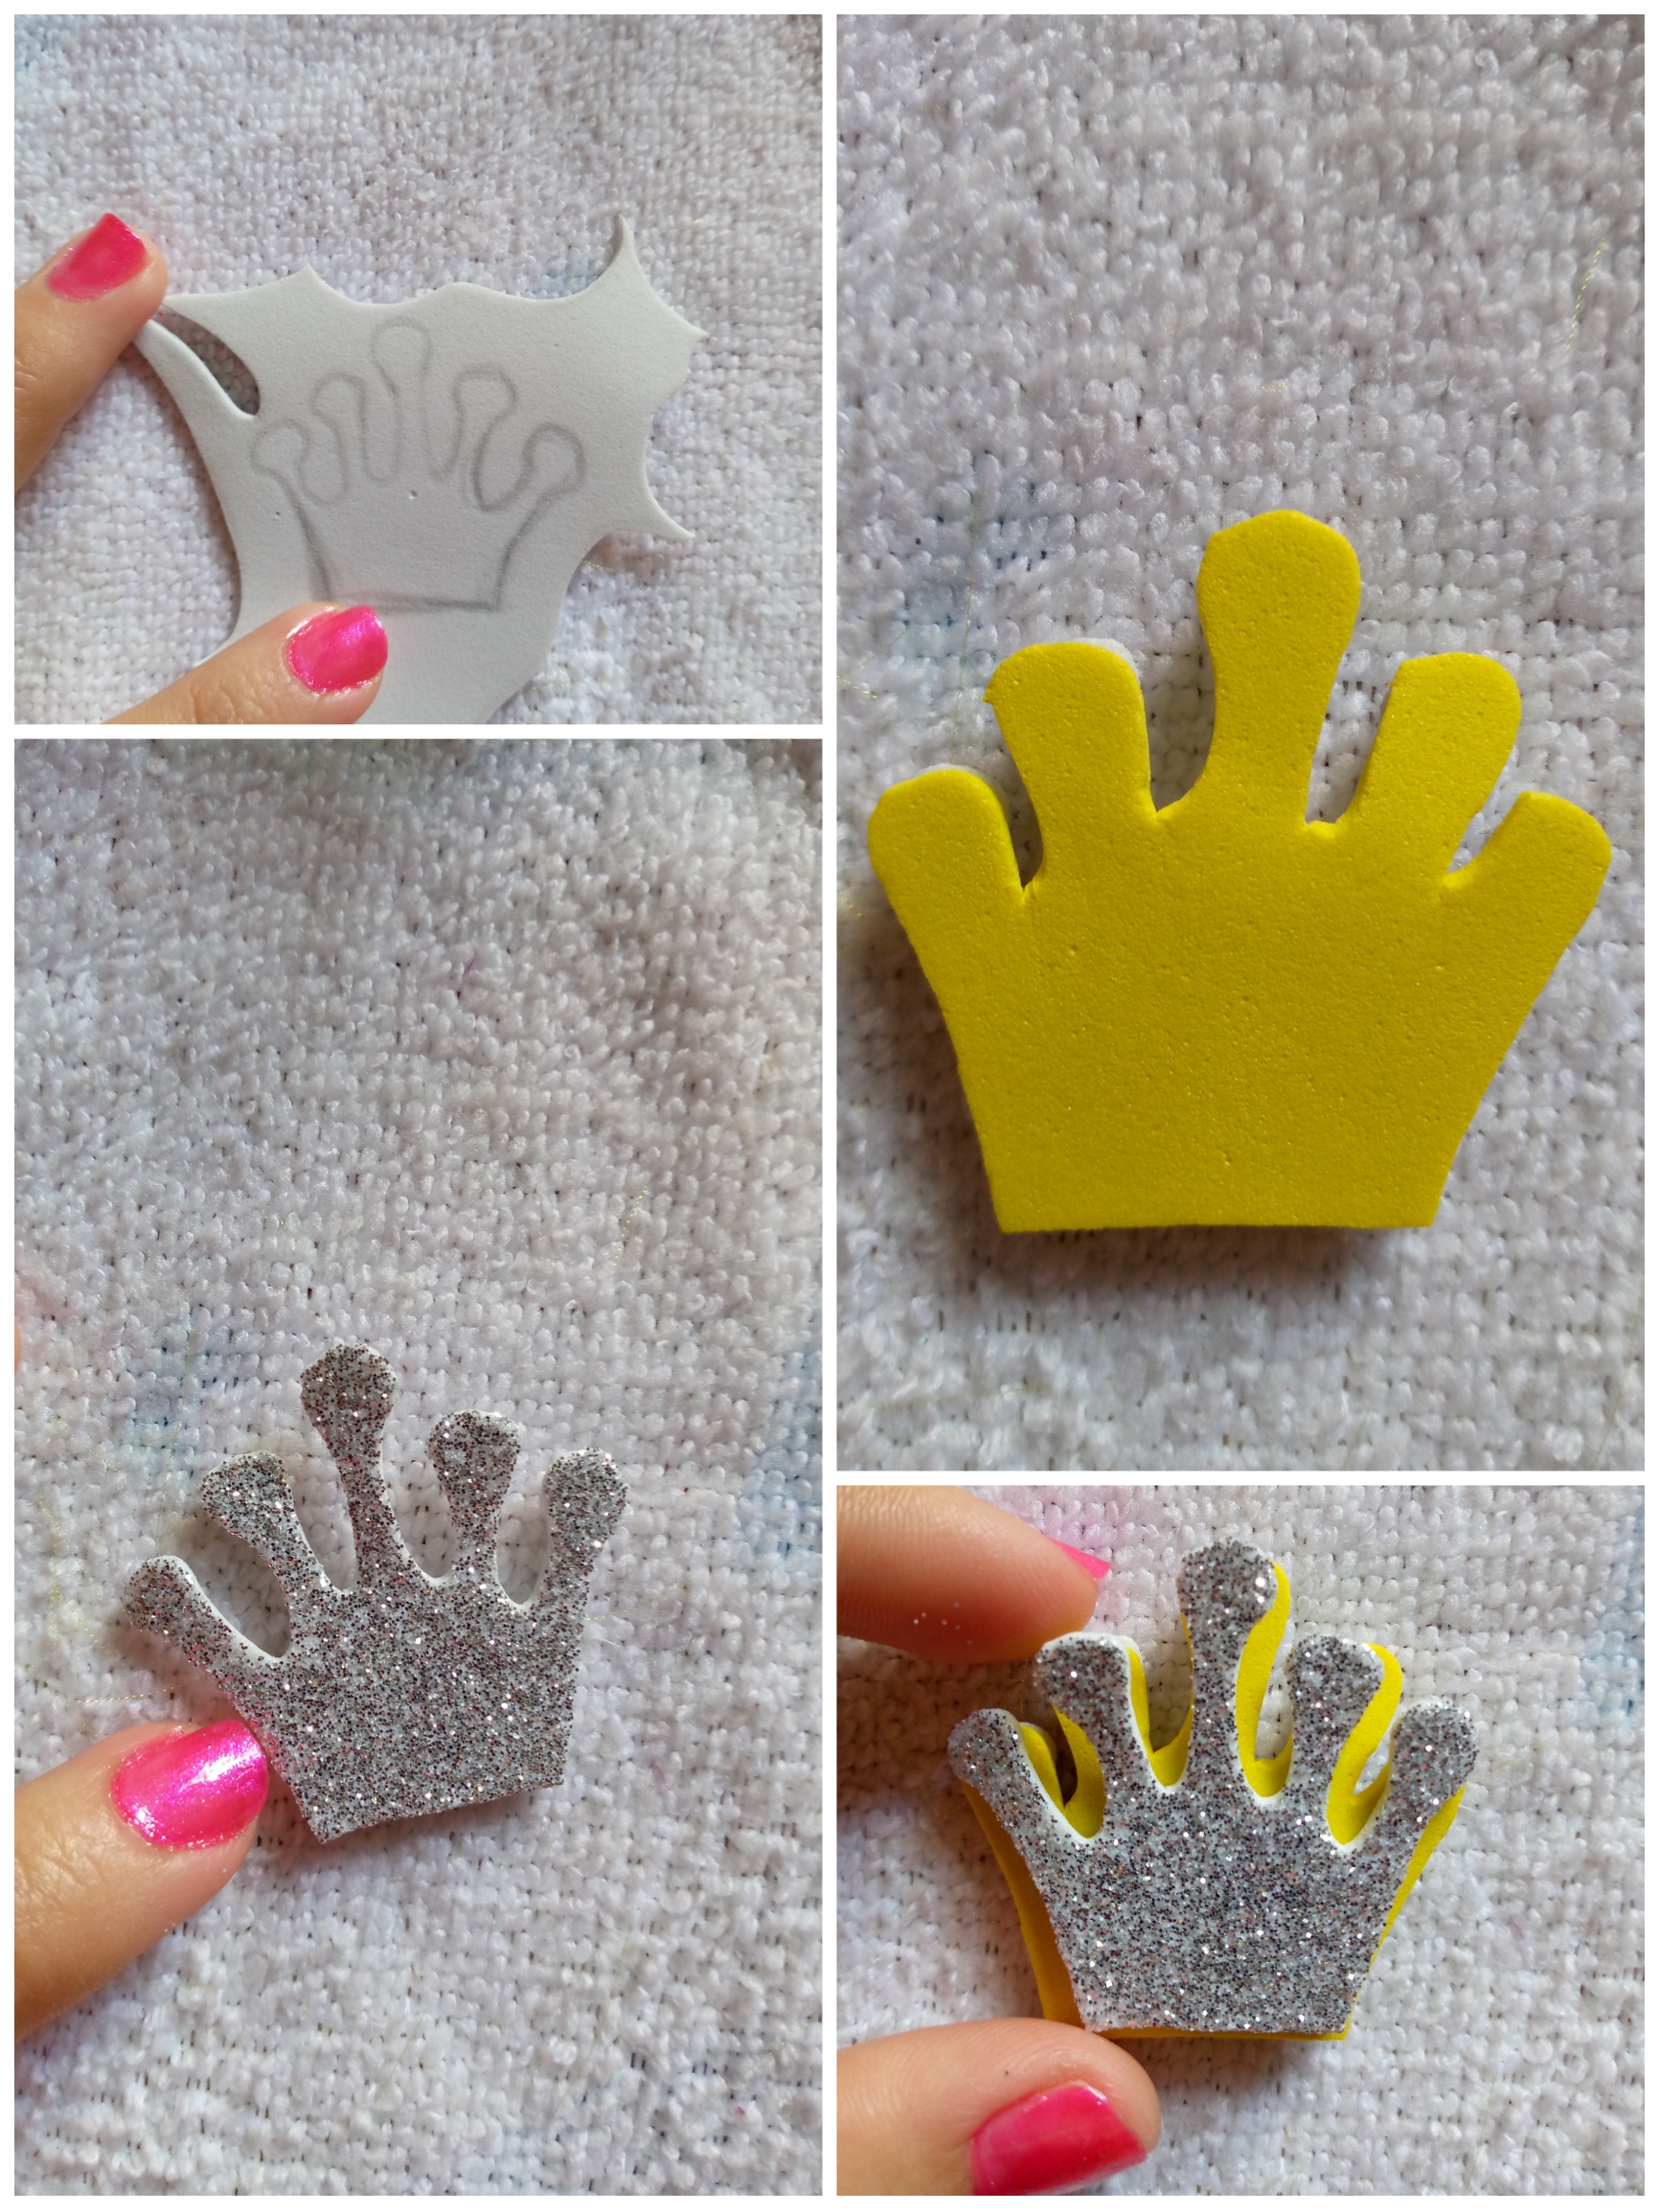
Step 02
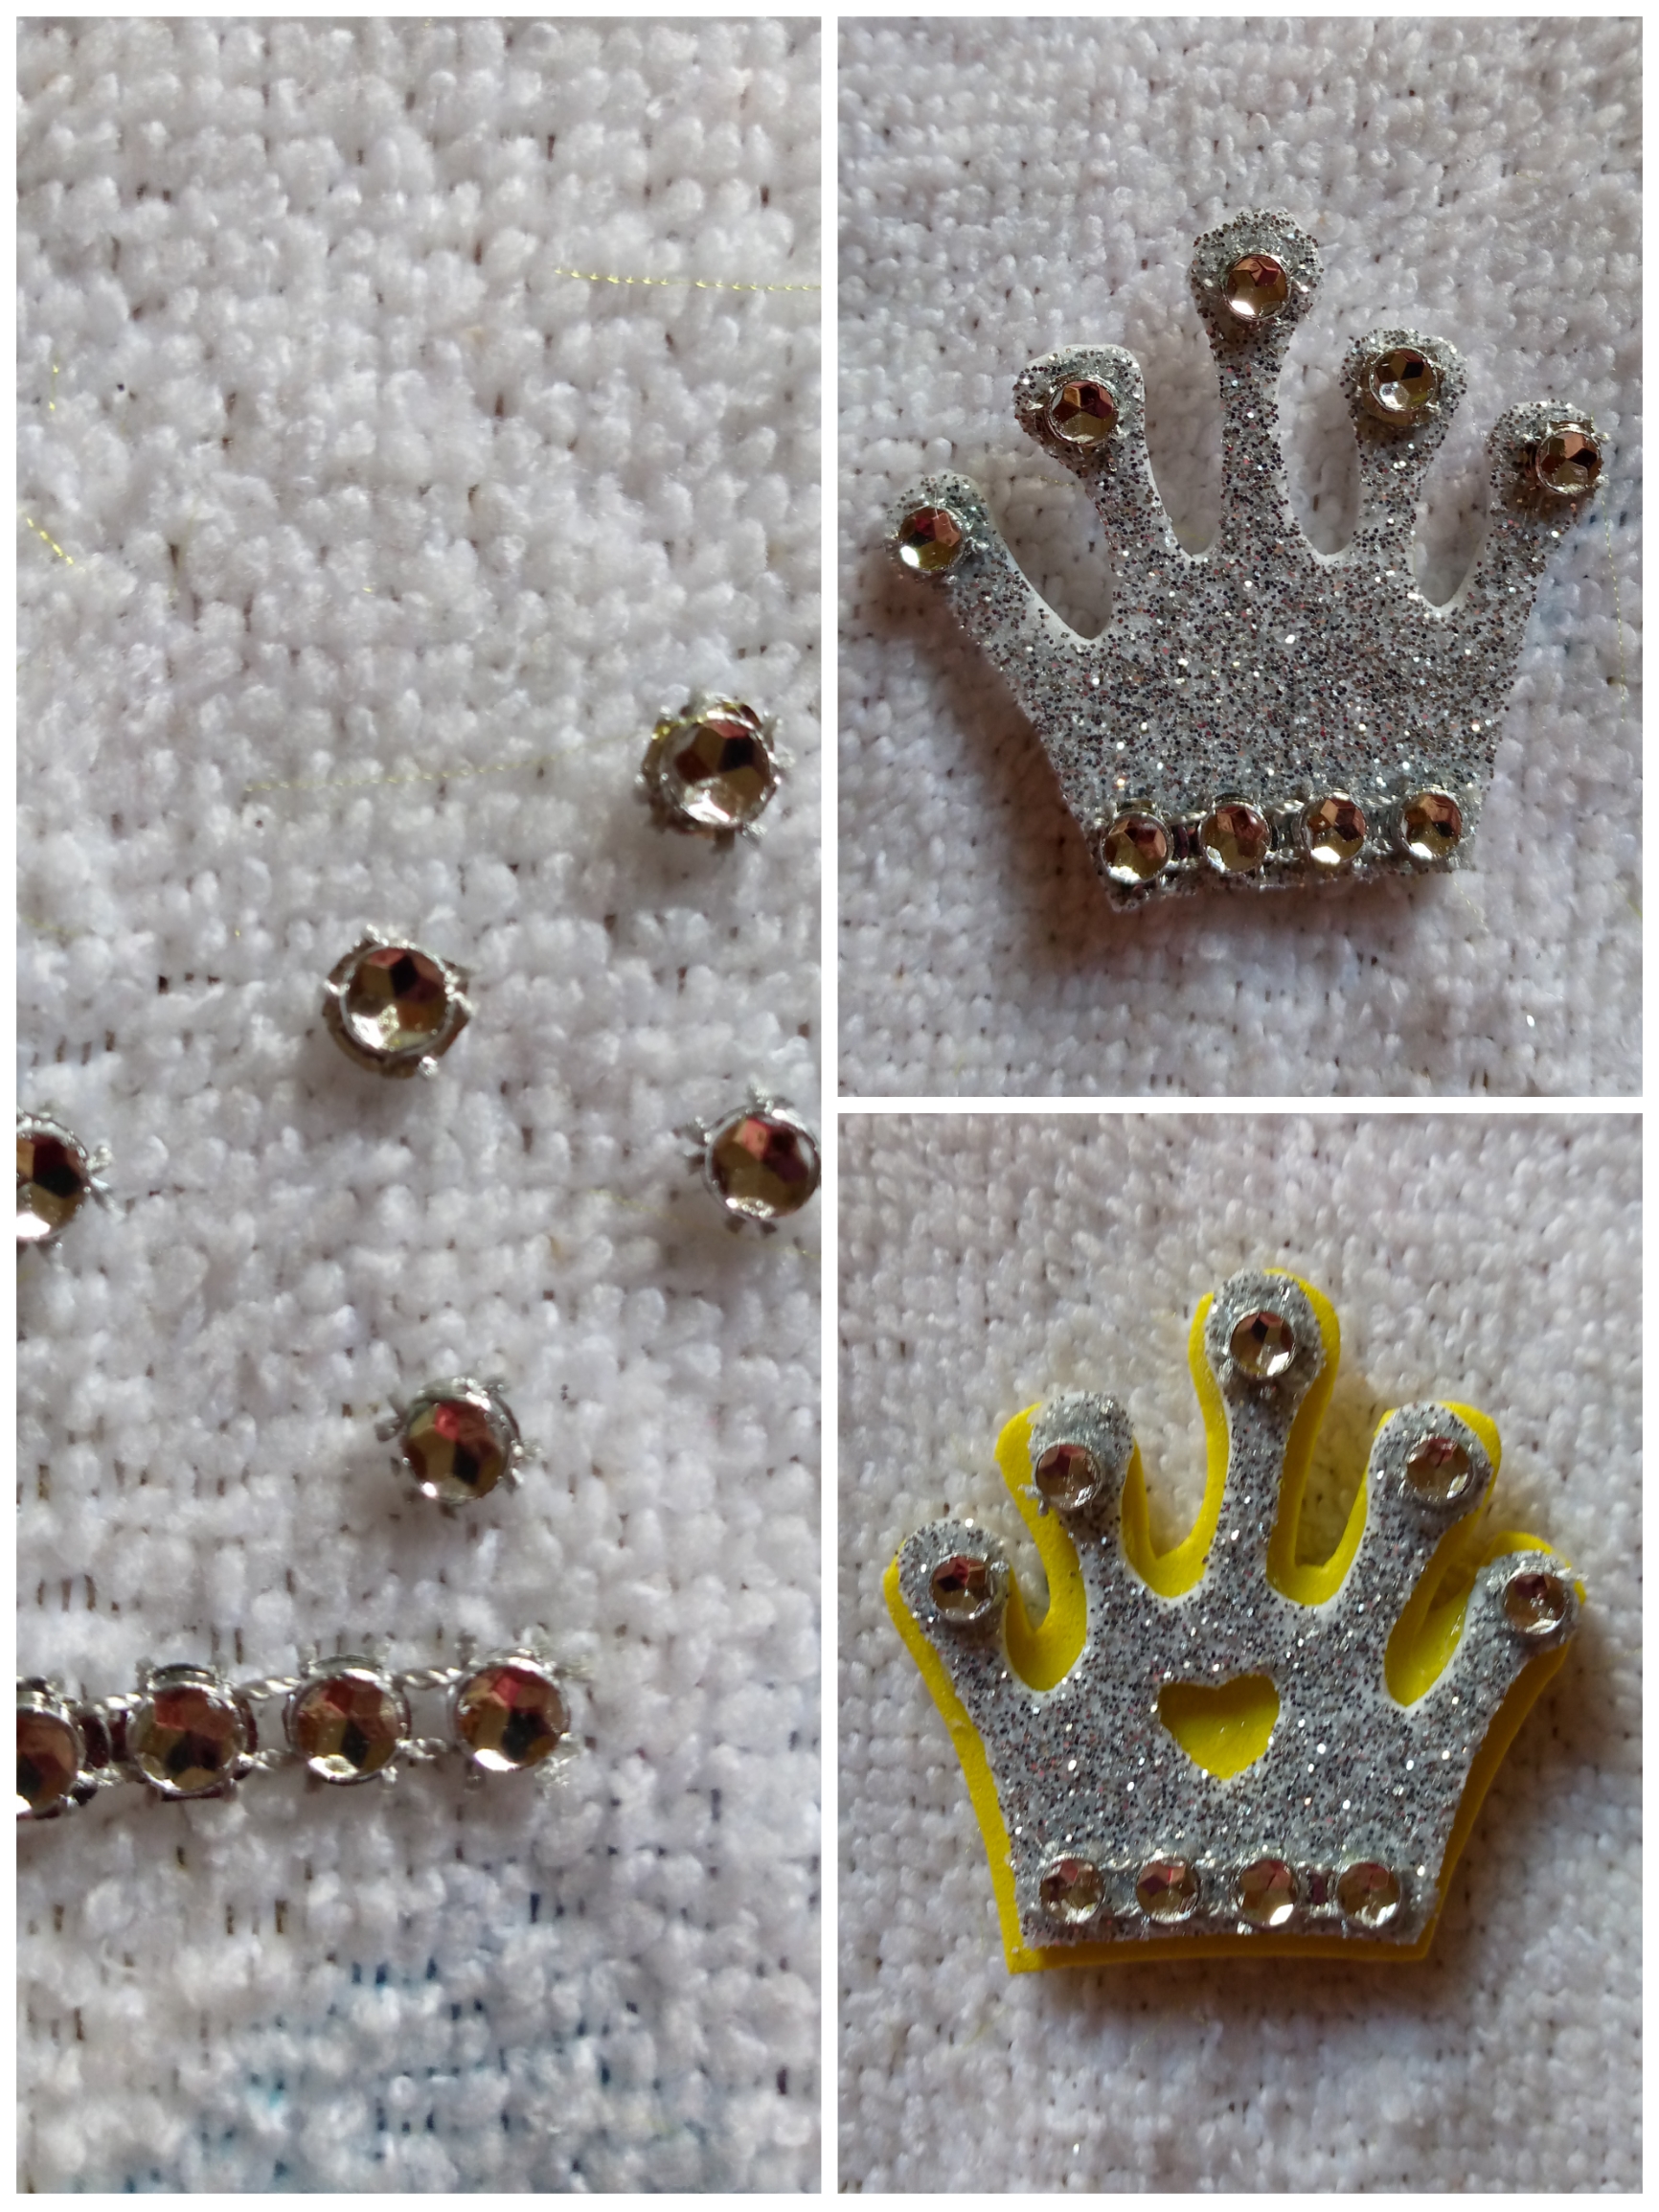
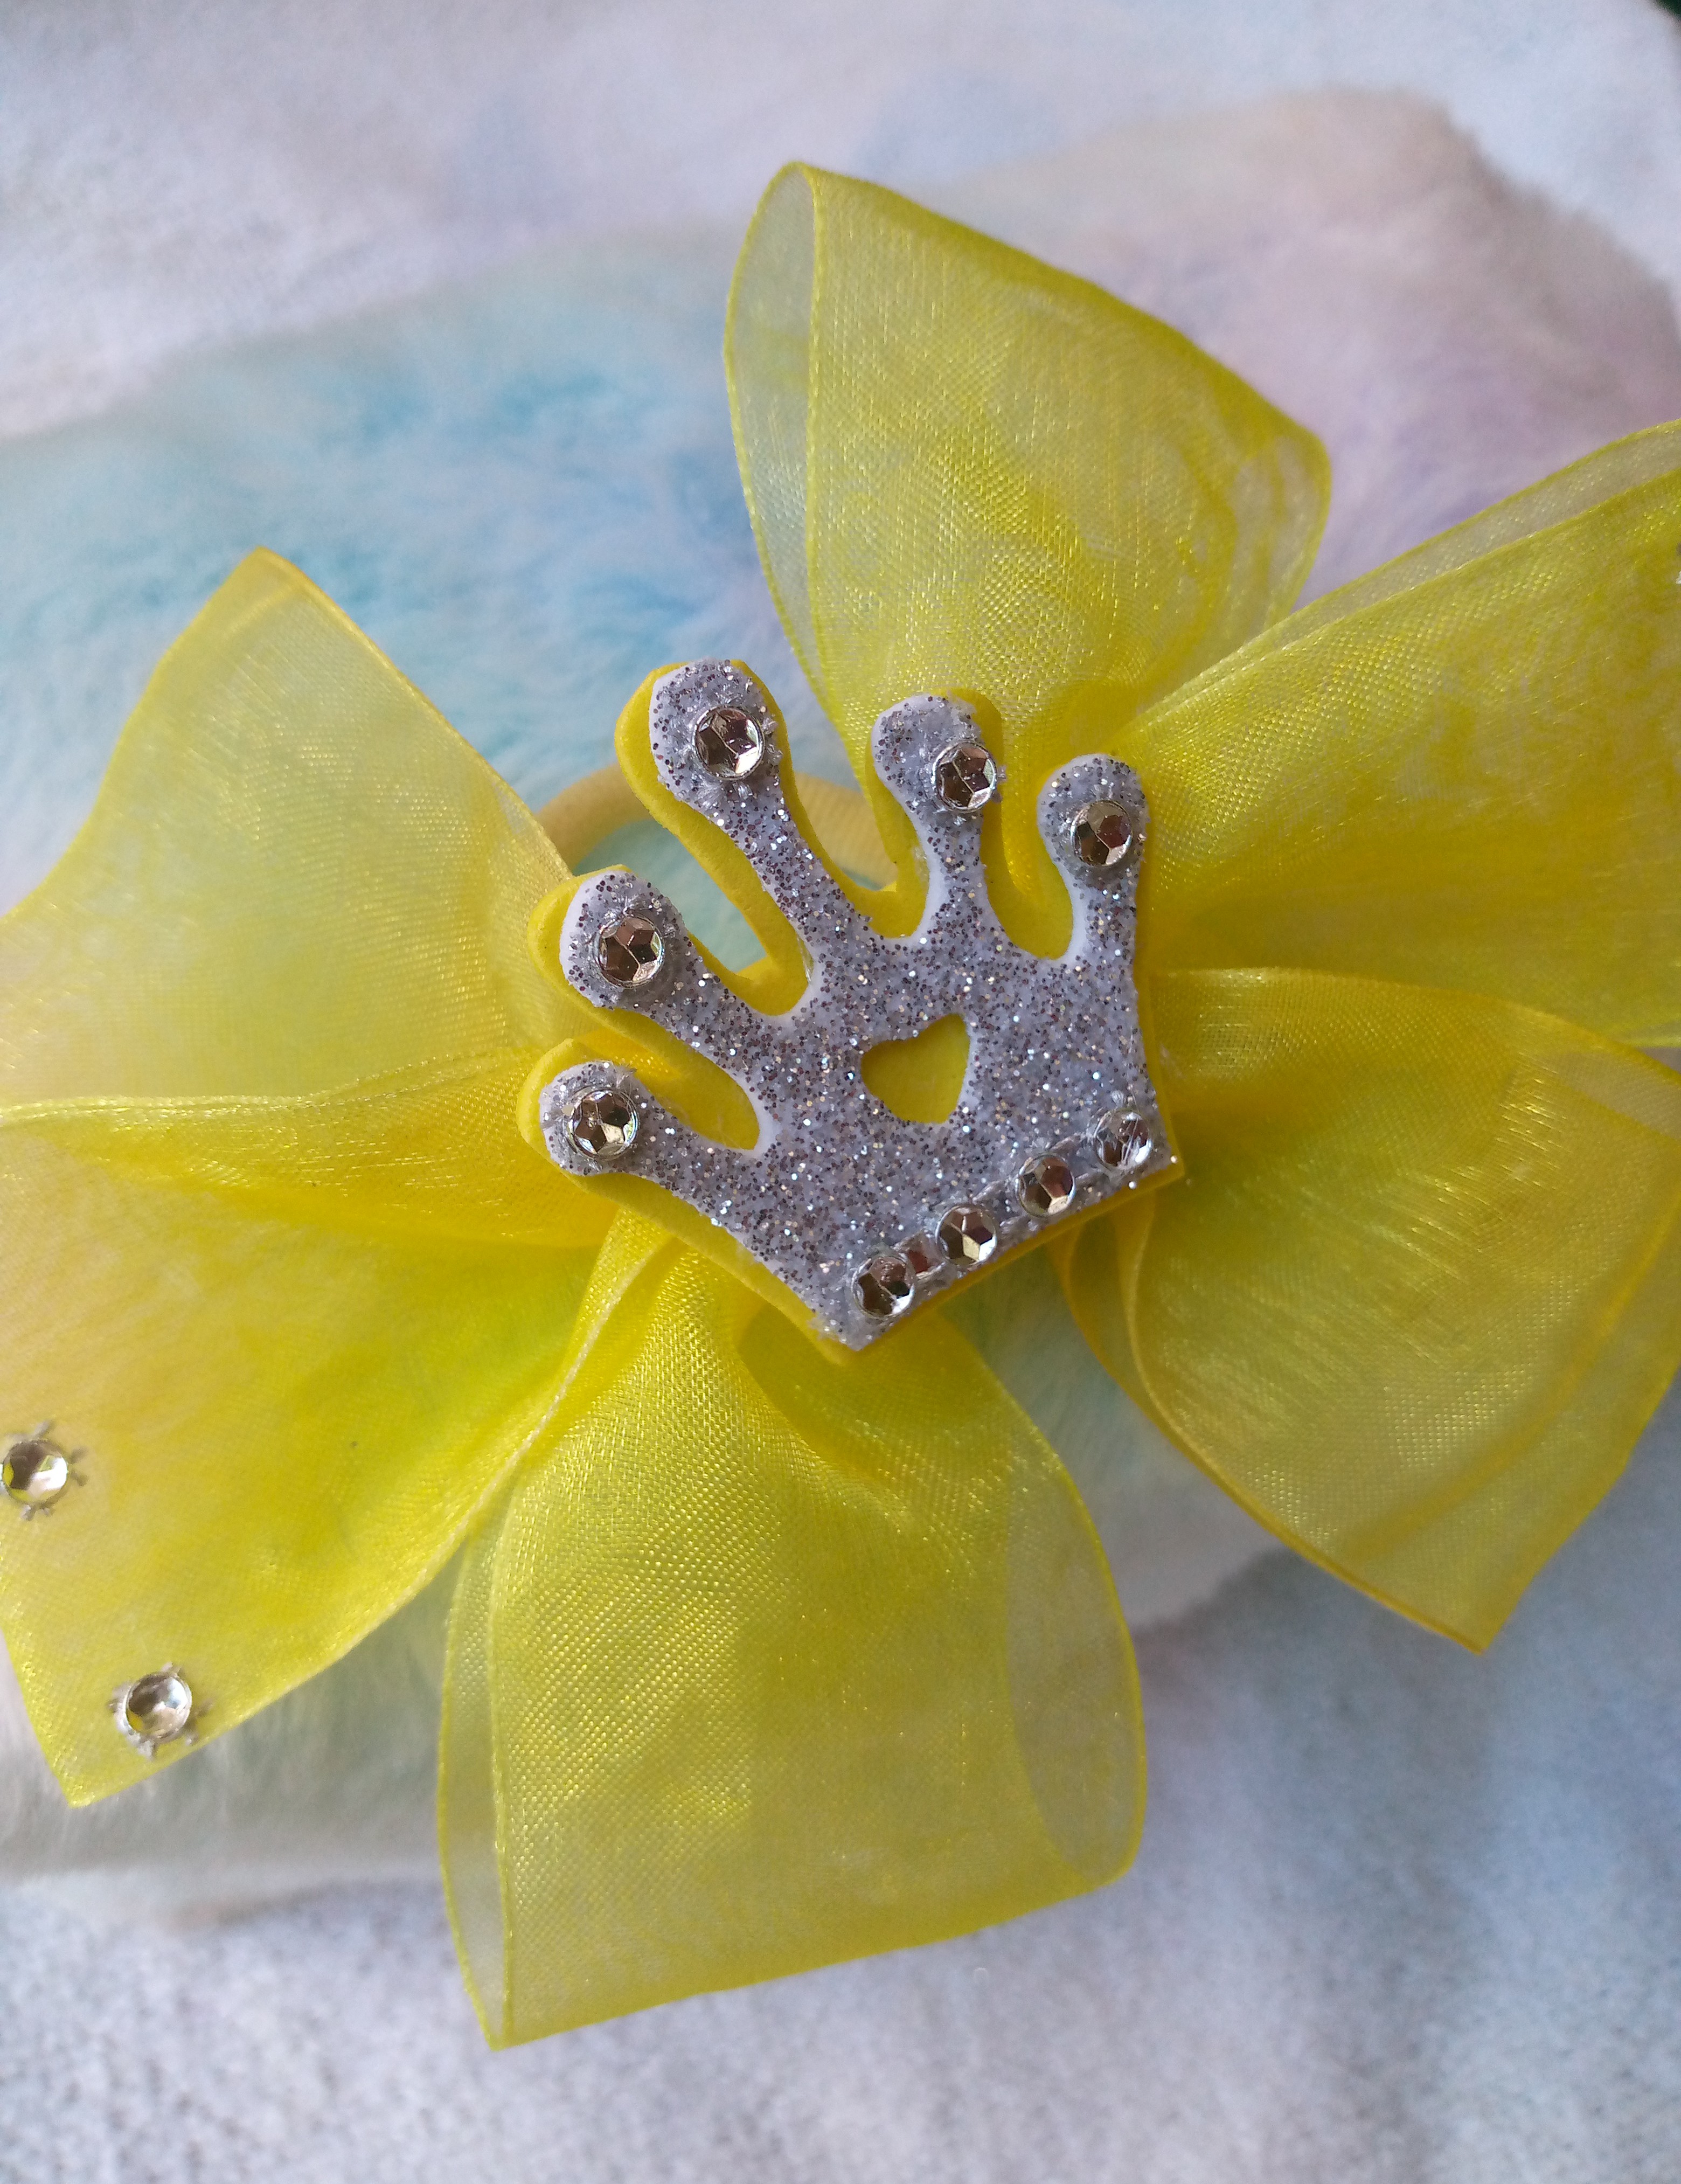
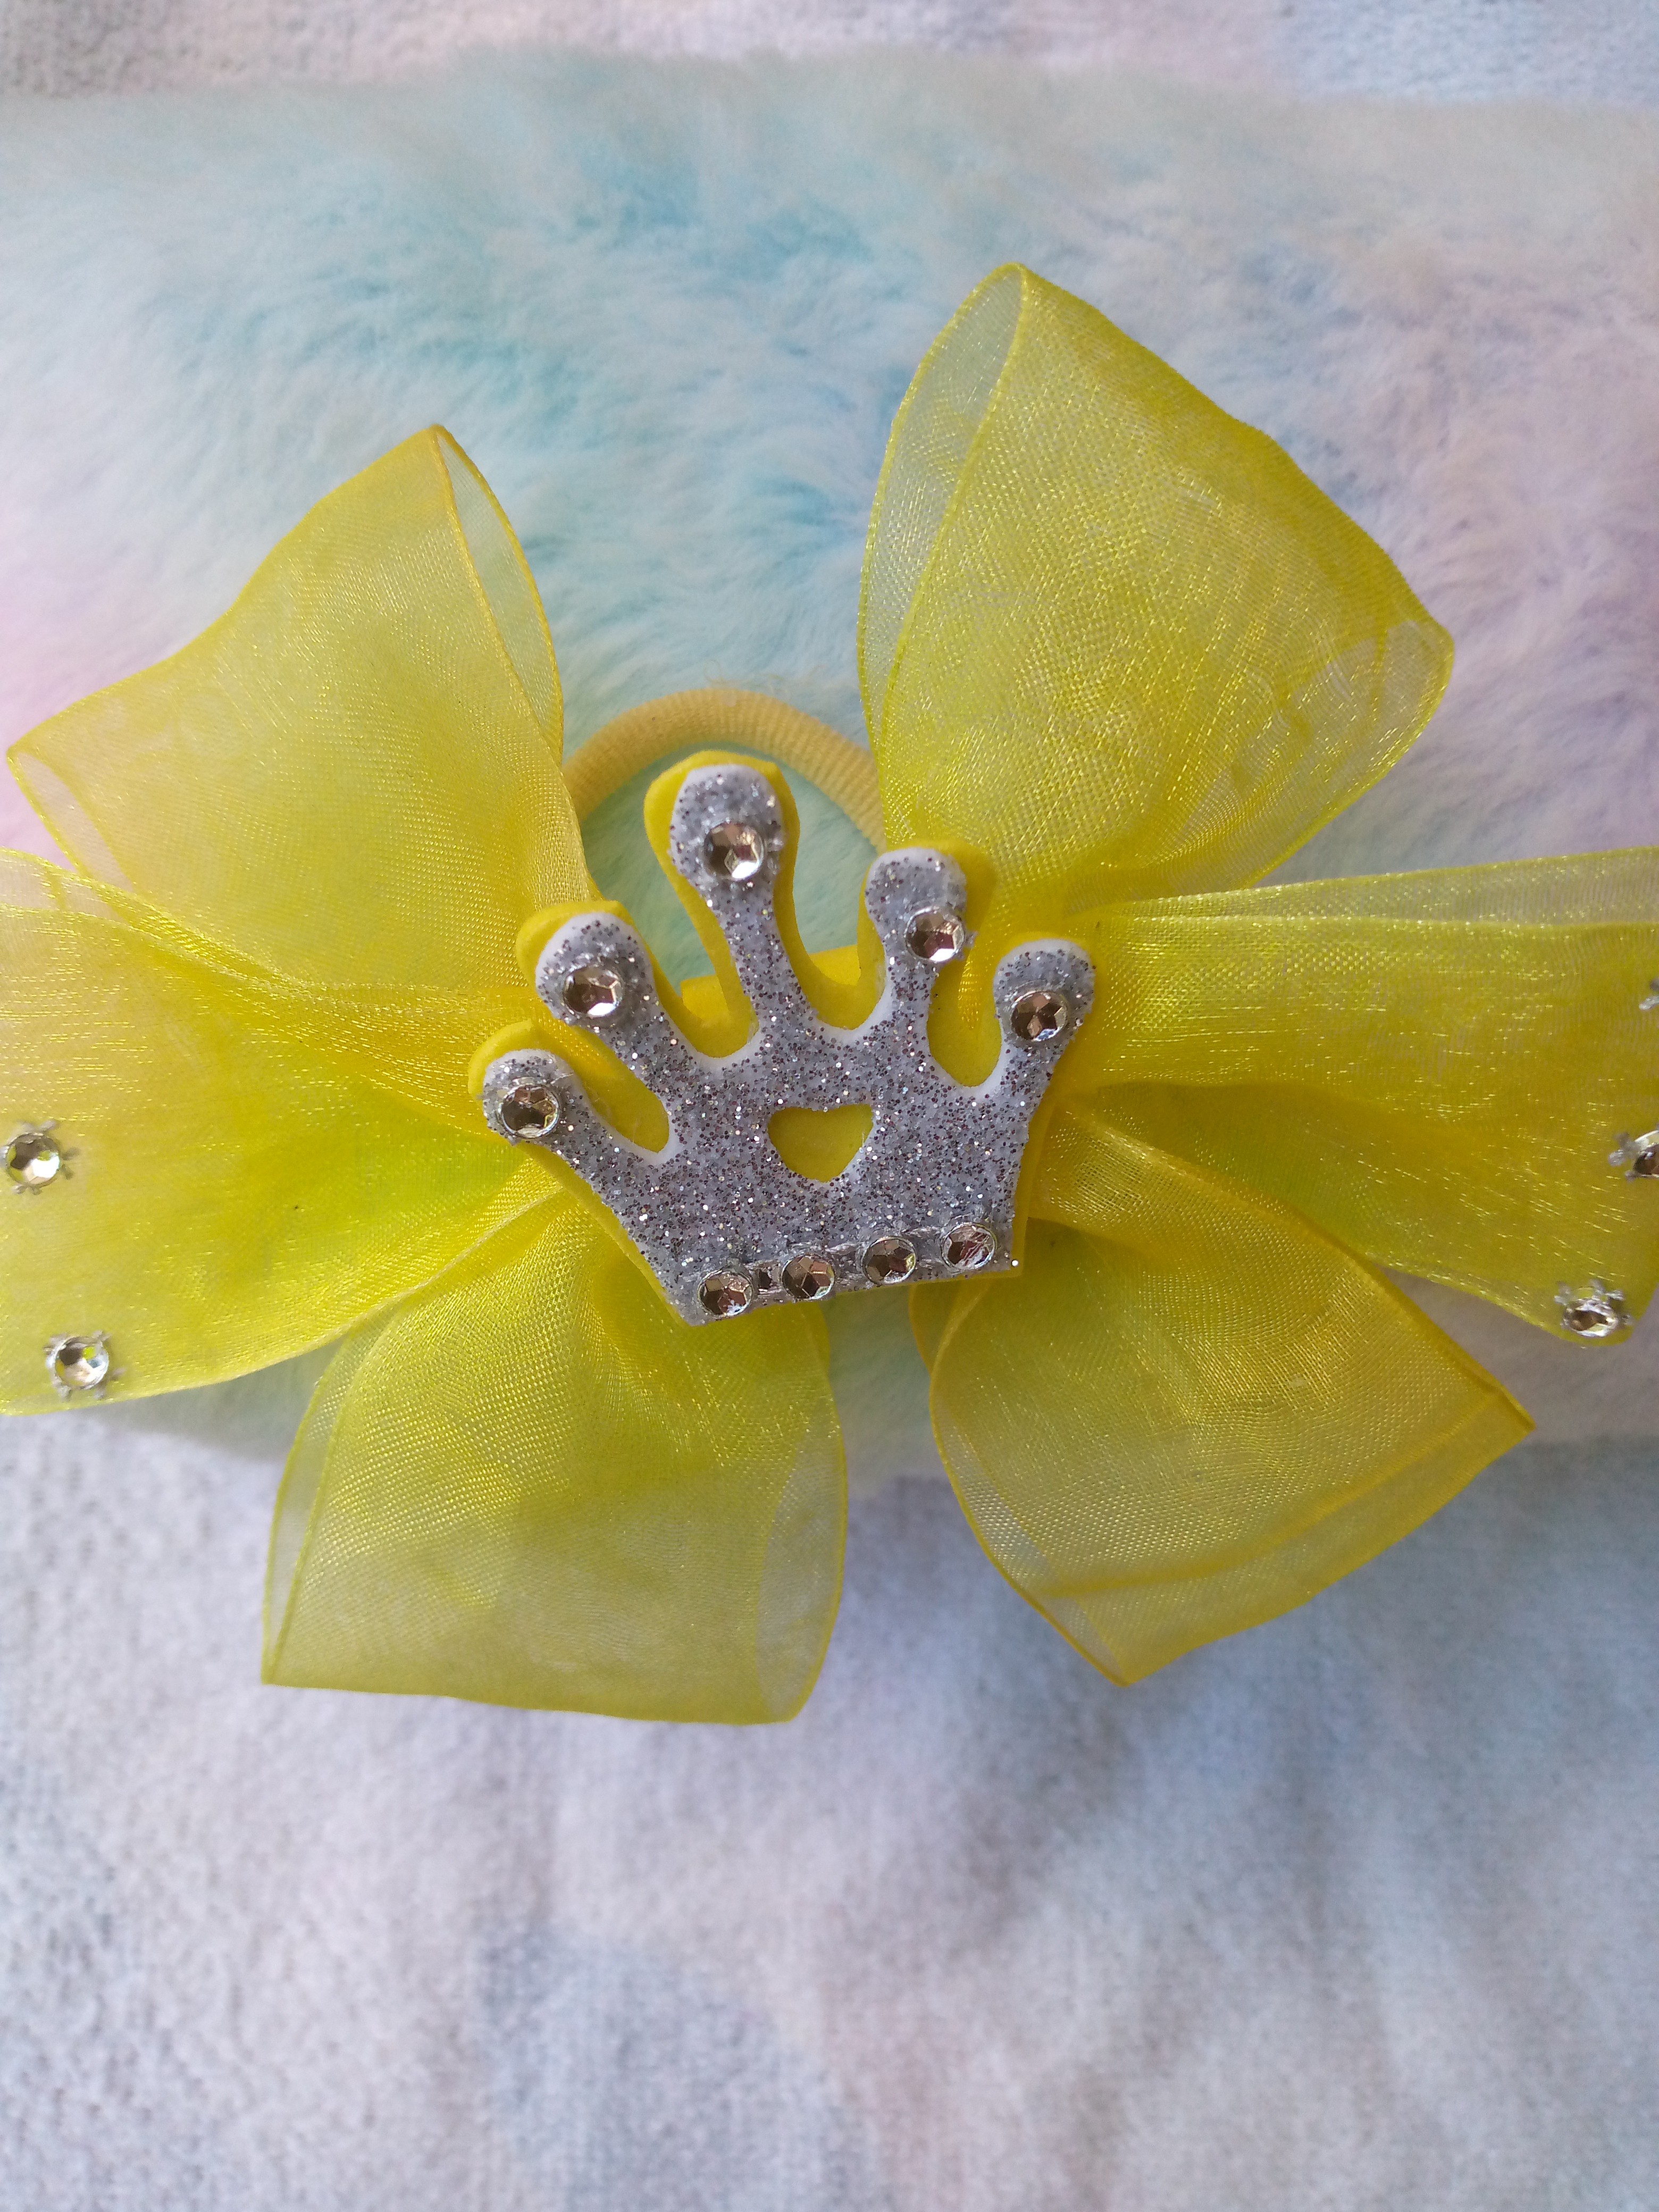
As a second step we will assemble our crown detail with the pieces of foam, at the bottom of the silver foam we make a small crown pattern then on the yellow foam we make a larger one. This way the yellow foam base will be seen below and it will highlight the shiny a lot.
Paso 03
Step 03
We proceed to cut small rhinestones and glue them to our crown, then we make a heart in the center and we are going to glue them with our silicone.
Paso 04
Step 04
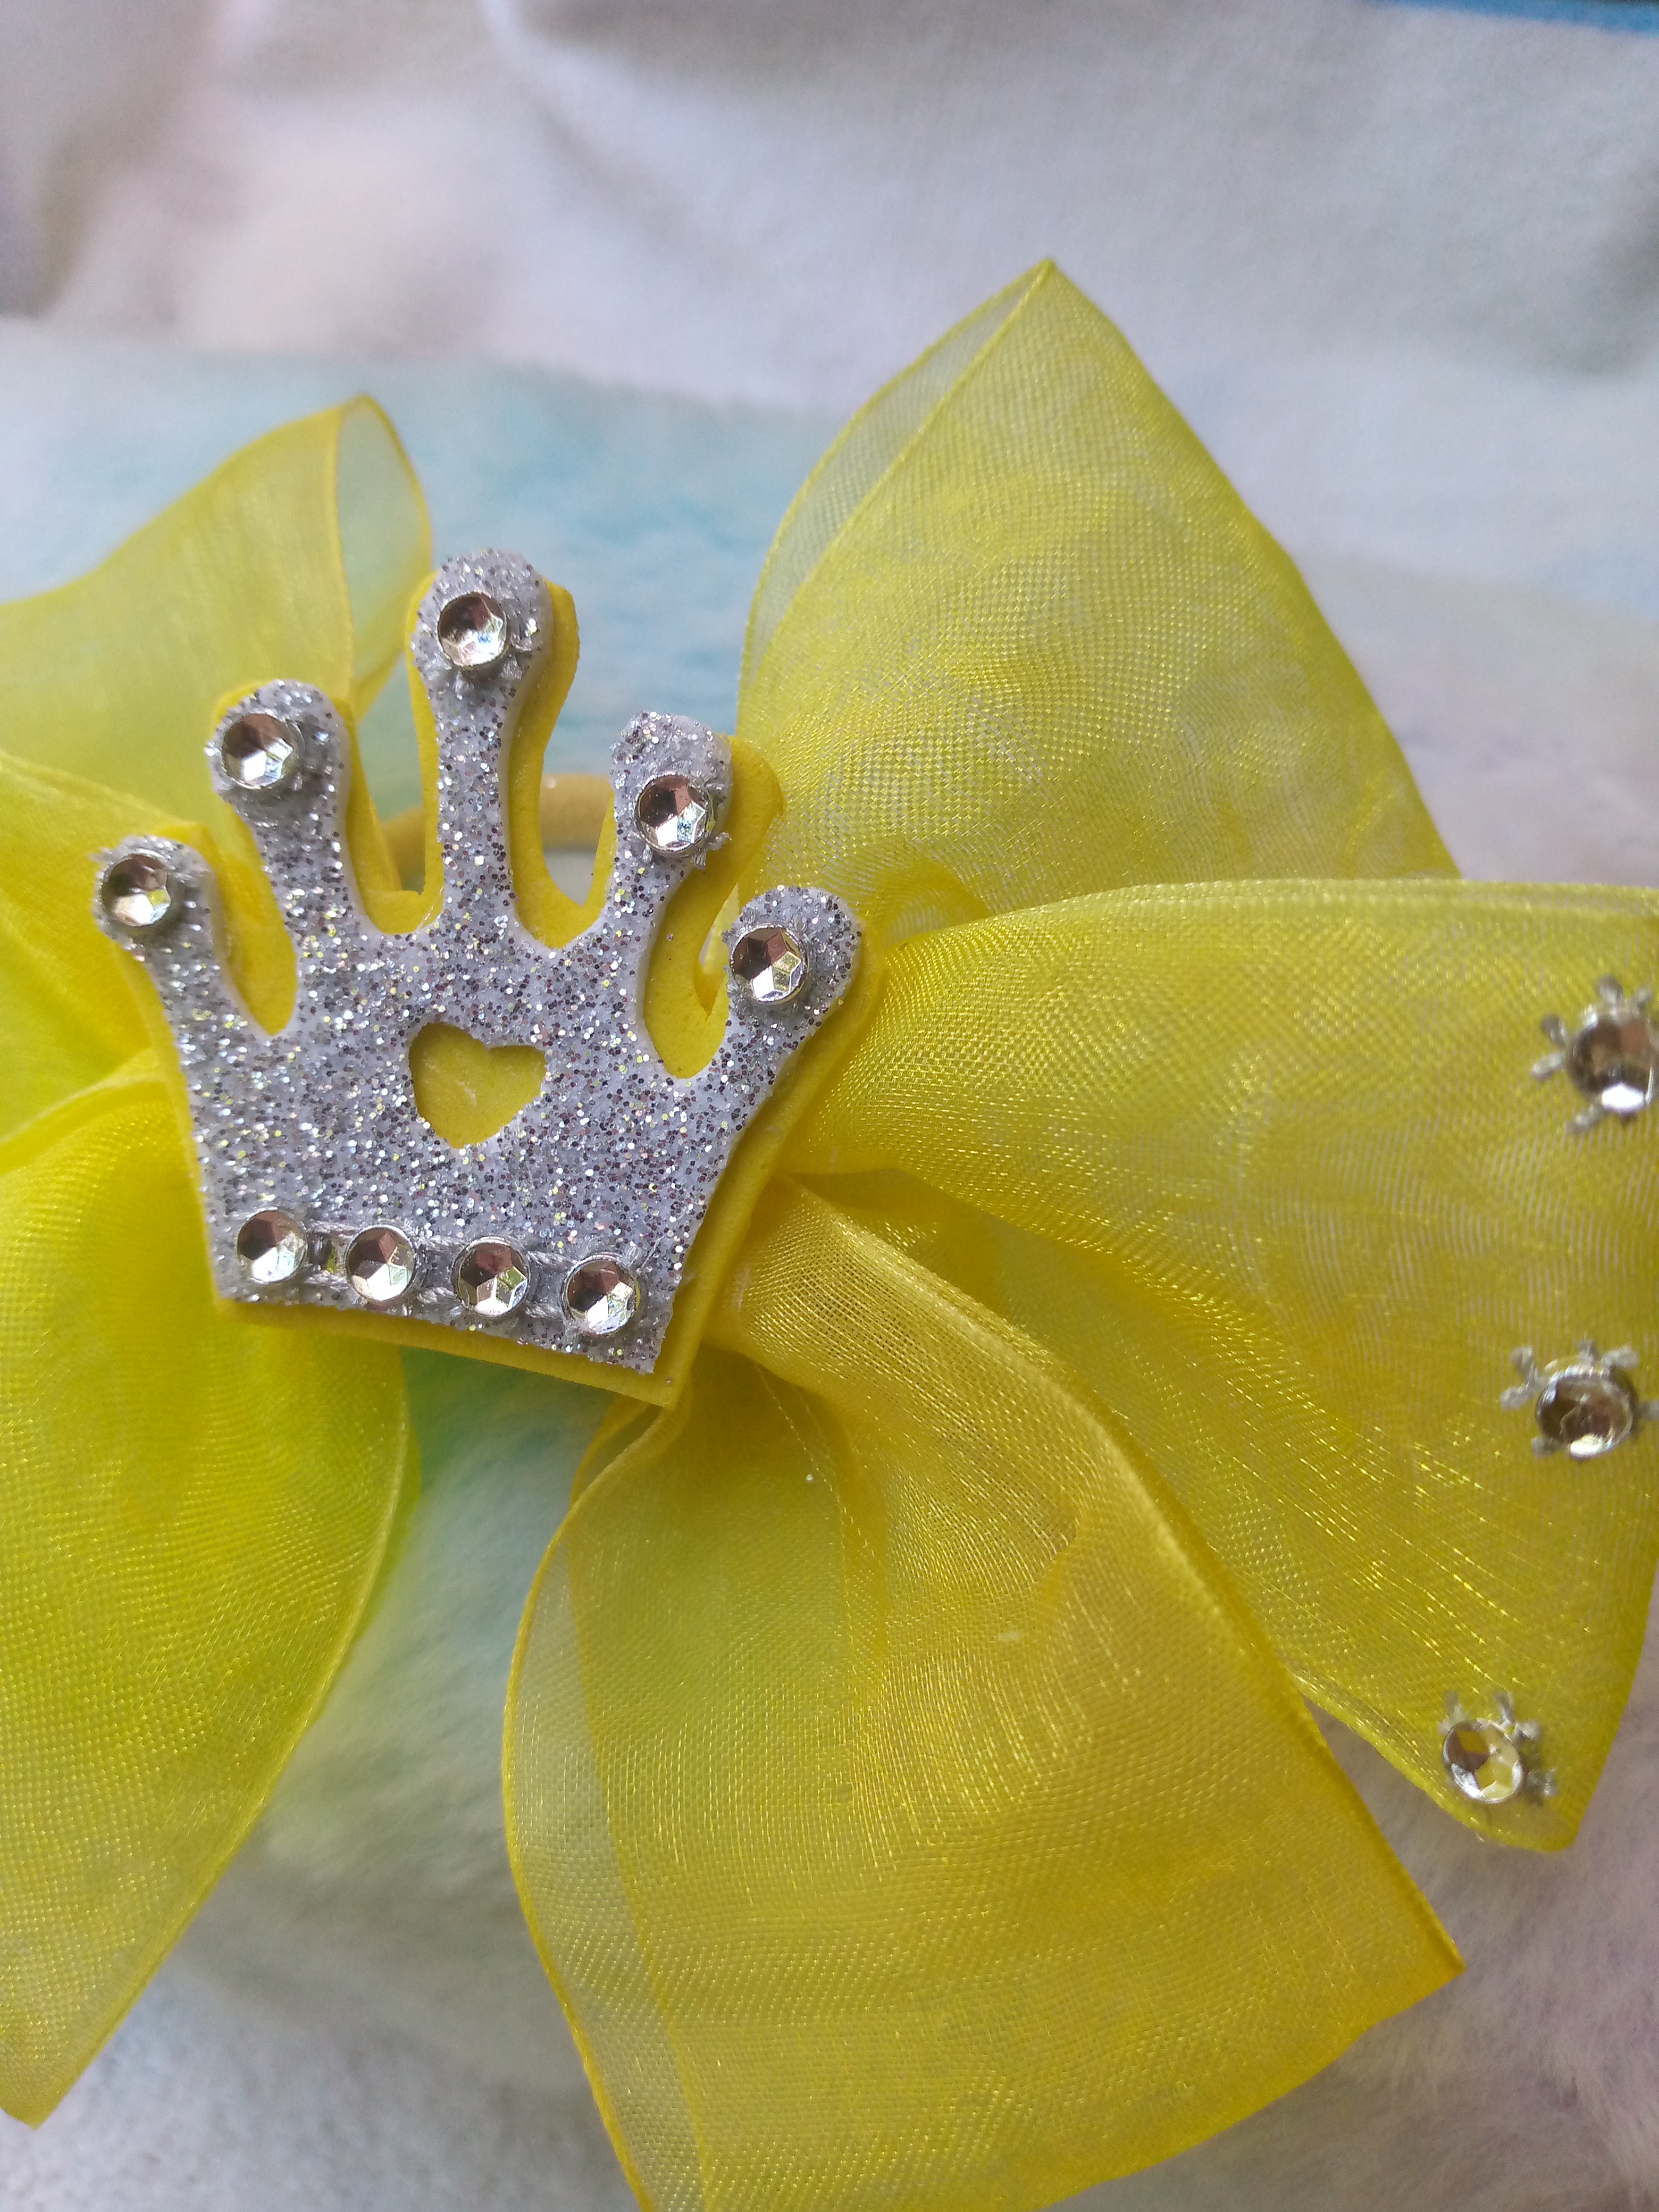
We sew our hair tie on the reverse side, we cut a small rectangle of yellow foam that will be a detail in the center of the bow and we glue it to our ponytail, we twist and seal the tip with silicone, we glue our crown detail that we previously made and that's it, it's finished our little bow
Resultado
Resultado
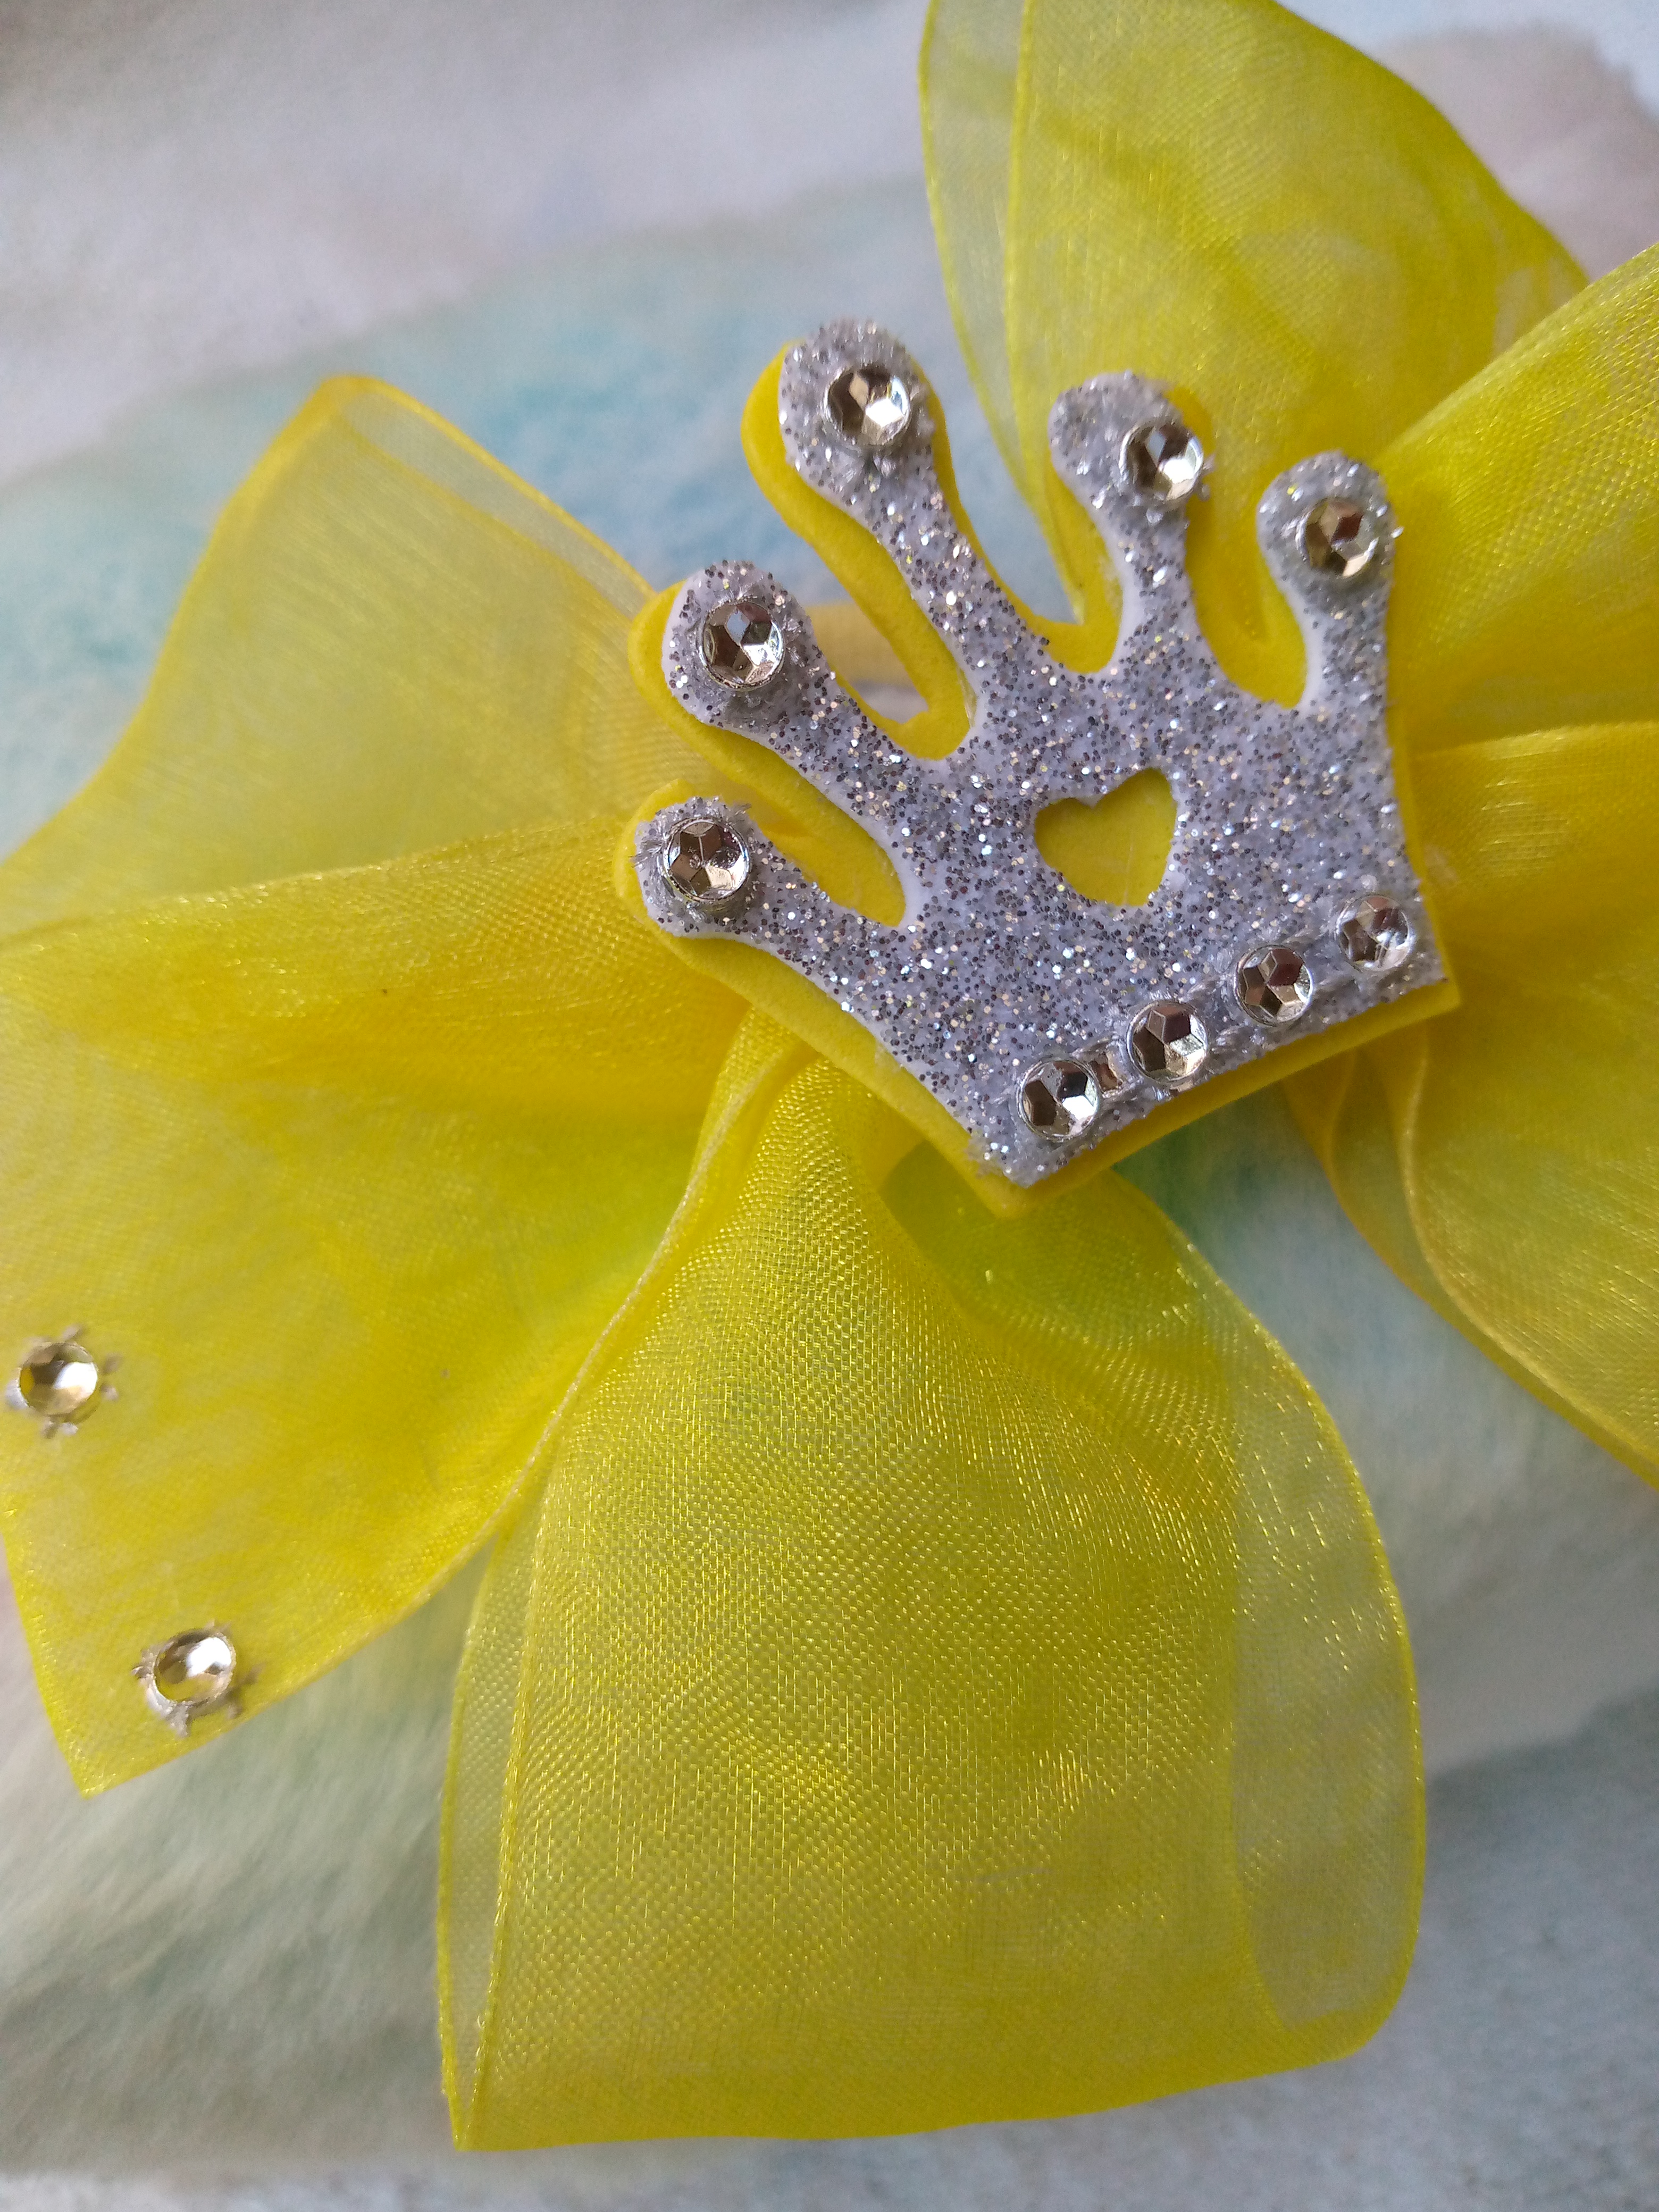
I hope you liked it friends, I'm sure that the princesses of the house will like this little bow because of that detail of the crown that she loves so much with the theme of wanting to be princesses i'm sure that this is a good detail for them who dream of it like this They can have fun imagining that they are, it is special to give and give to a girl who will gladly love it, they can vary the color so it will also look striking in colors like fuchsia purple and blue.
Que hermoso lazo, se ve muy cuchi 😍
!DIY
Bendiciones!! Que hermoso te quedó tu accesorio y el color que usaste está genial. Saludos
Gracias gracias me alegra te haya gustado, bendiciones 😍😍
You can query your personal balance by
@marile21 just sent you a DIY token as a little appreciation for your post dear @anne002! Feel free to multiply it by sending someone else !DIY in a comment :) You can do that x times a day depending on your balance so:!DIYSTATSQue lindo lazo de verdad! tienes mucho talento para esto, admito que no conocía esa manera de hacer lazos y me gustó bastante, gracias por compartir el tutorial y esta maravillosa idea creativa, un saludo <3
Gracias me alegra te haya gustado mucho siempre aprendemos muchas técnicas nuevas en cada tutorial de la comunidad que bueno que en tu caso haya sido así con este tutorial, bendiciones aprecio tu comentario :)
Un lazo muy hermoso y el color resalta bastante, y lo mejor es el detalle de corona lindo trabajo 👍
Gracias por el apoyo 🥰aprecio muchísimo le haya gustado mi trabajo,buenos dias
Congratulations @anne002! You have completed the following achievement on the Hive blockchain And have been rewarded with New badge(s)
Your next target is to reach 5000 upvotes.
You can view your badges on your board and compare yourself to others in the Ranking
If you no longer want to receive notifications, reply to this comment with the word
STOP¡Felicitaciones!
Estás participando para optar a la mención especial que se efectuará el domingo 26 de mayo del 2024 a las 8:00 pm (hora de Venezuela), gracias a la cual el autor del artículo seleccionado recibirá la cantidad de 1 HIVE transferida a su cuenta.
¡También has recibido 1 ENTROKEN! El token del PROYECTO ENTROPÍA impulsado por la plataforma Steem-Engine.
1. Invierte en el PROYECTO ENTROPÍA y recibe ganancias semanalmente. Entra aquí para más información.
2. Contáctanos en Discord: https://discord.gg/hkCjFeb
3. Suscríbete a nuestra COMUNIDADEntra aquí para más información sobre nuestro trail. y apoya al trail de @Entropia y así podrás ganar recompensas de curación de forma automática.
4. Visita nuestro canal de Youtube.
Atentamente
El equipo de curación del PROYECTO ENTROPÍA