
.png)
Hello, beautiful day! It's a pleasure to greet you🙋🏻♀️. I hope you are all doing very well, dear and appreciated friends. I warmly welcome you to a new blog where I will be sharing with you the creative process of what we will do here step by step. Feel comfortable and thank you for being here reading this blog.✨💎
The scrunchies that I always make I try to keep them simple but these days I have been trying to find new models of scrunchies to make for my cousins because I found out that they were running out of their hair bands and since these scrunchies do not mistreat your hair but rather help a lot to hold it well without damaging it, they are very good to use, I highly recommend them if you have straightened your hair or have dried it because you can ensure that your hair will not look marked like normal hair bands.
I am quite resourceful when it comes to adding details to the things I make and I think these jobs require a lot of it because they are mainly for girls and they really love things that have details. To tell the truth, sometimes there are days when I wake up without any idea in mind but after I get up I start doing things fully and it's like my memory starts to ground and ideas start coming to me 🤭 It probably hasn't happened to me, I know that you too sometimes have blocks of ideas in your mind but it's that we always come up with something to make these accessories for girls look really beautiful and flirty, if you like to make these types of accessories for girls it's time for you to know how to make them and if you have already made them I also invite you to support this undertaking and this art, I hope you enjoy the process 😻.
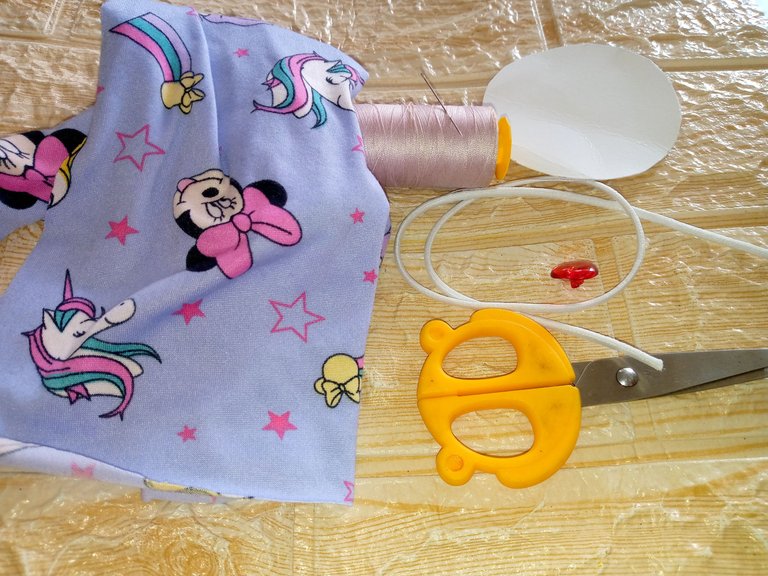
Materiales:// Materials:
- Hilo
- Recortes de tela suave
- Gomita para el cabello
- Herramienta pasacinta
- Tijera
- Aguja
- Thread
- Soft fabric scraps
- Hair tie
- Ribbon tool
- Scissors
- Needle
Pasos a seguir://Steps to follow:
Paso 01
Step 01
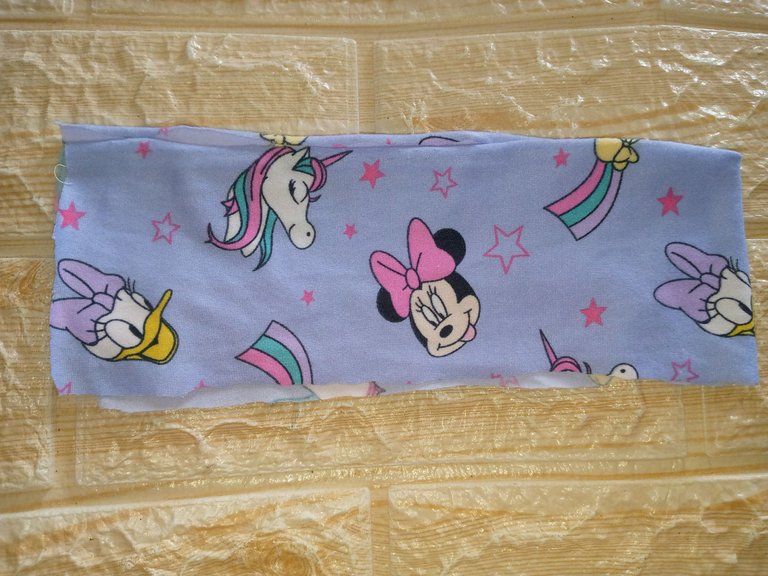
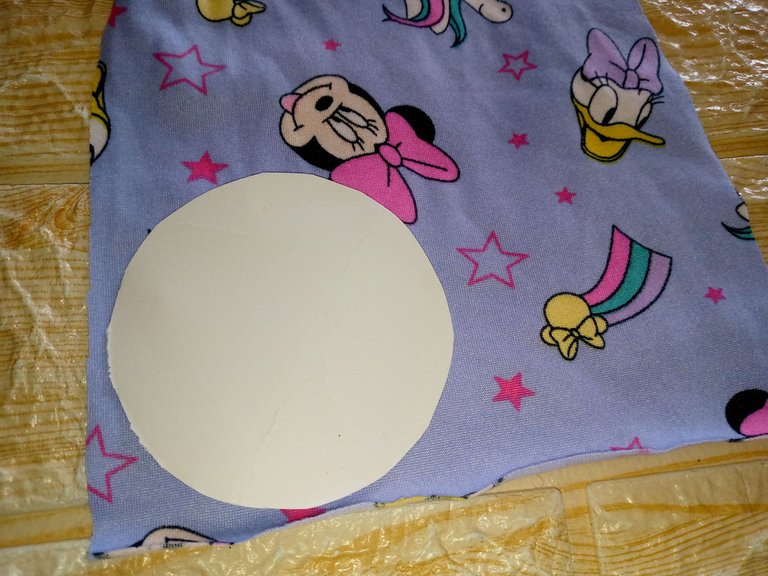
I will start by cutting a rectangle 35 cm long x 10 cm wide, that is, downwards, and we will be taking a cardboard circle because we will use this to make the flower petals on the fabric. To make the pattern, just take a plastic cup and make the circumference on the cardboard or on a sheet of paper and this way it will be easier for you to cut the petals on the fabric. Then I cut only six of these circles that I will use for the flower. If you want a bigger flower you can add more petals.
Paso 02
Step 02
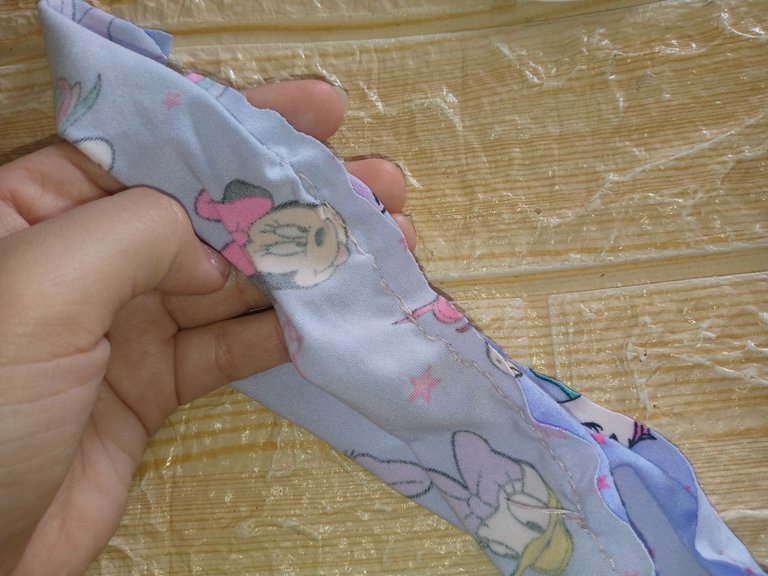
As a second step I will be sewing by hand because this fabric is very sensitive and the machine did not want to sew it, I imagine it is because the type of needle must be finer and the truth is that I managed to sew it by hand and see how it turned out, then I will fold the rectangle in half and sew it along the entire edge, and now all that remains is to turn it over and sew between the ends inside both points of the rectangle to join and make a donut, which is the shape that the scrunchie will have.
Paso 03
Step 03
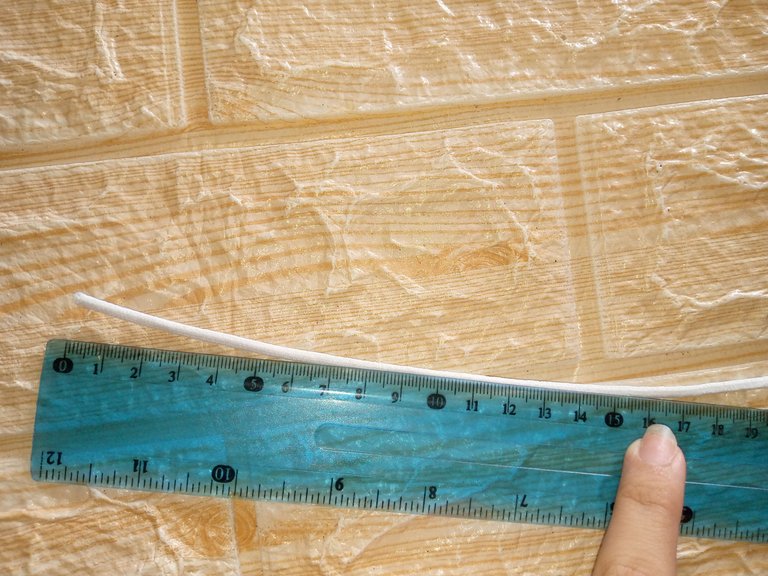
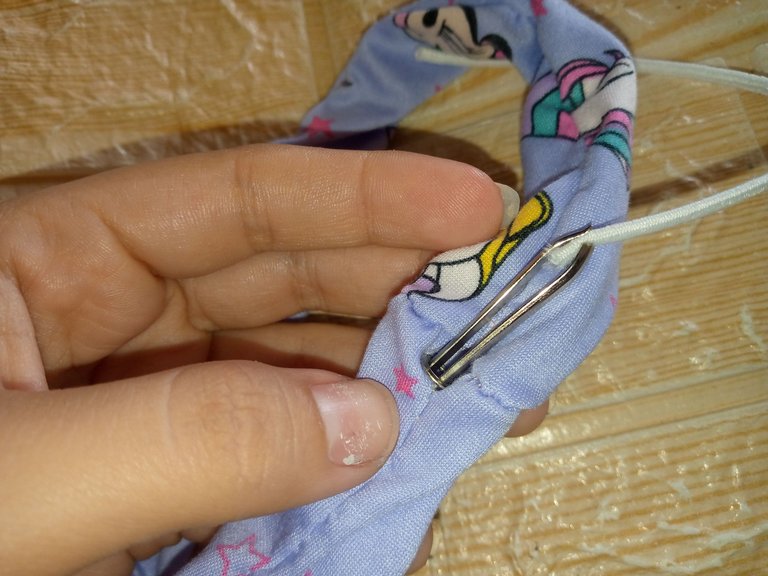
We will cut the elastic about 18 cm long and with the ribbon loop we will insert it through the hole we left in our scrunchie.
Paso 04
Step 04
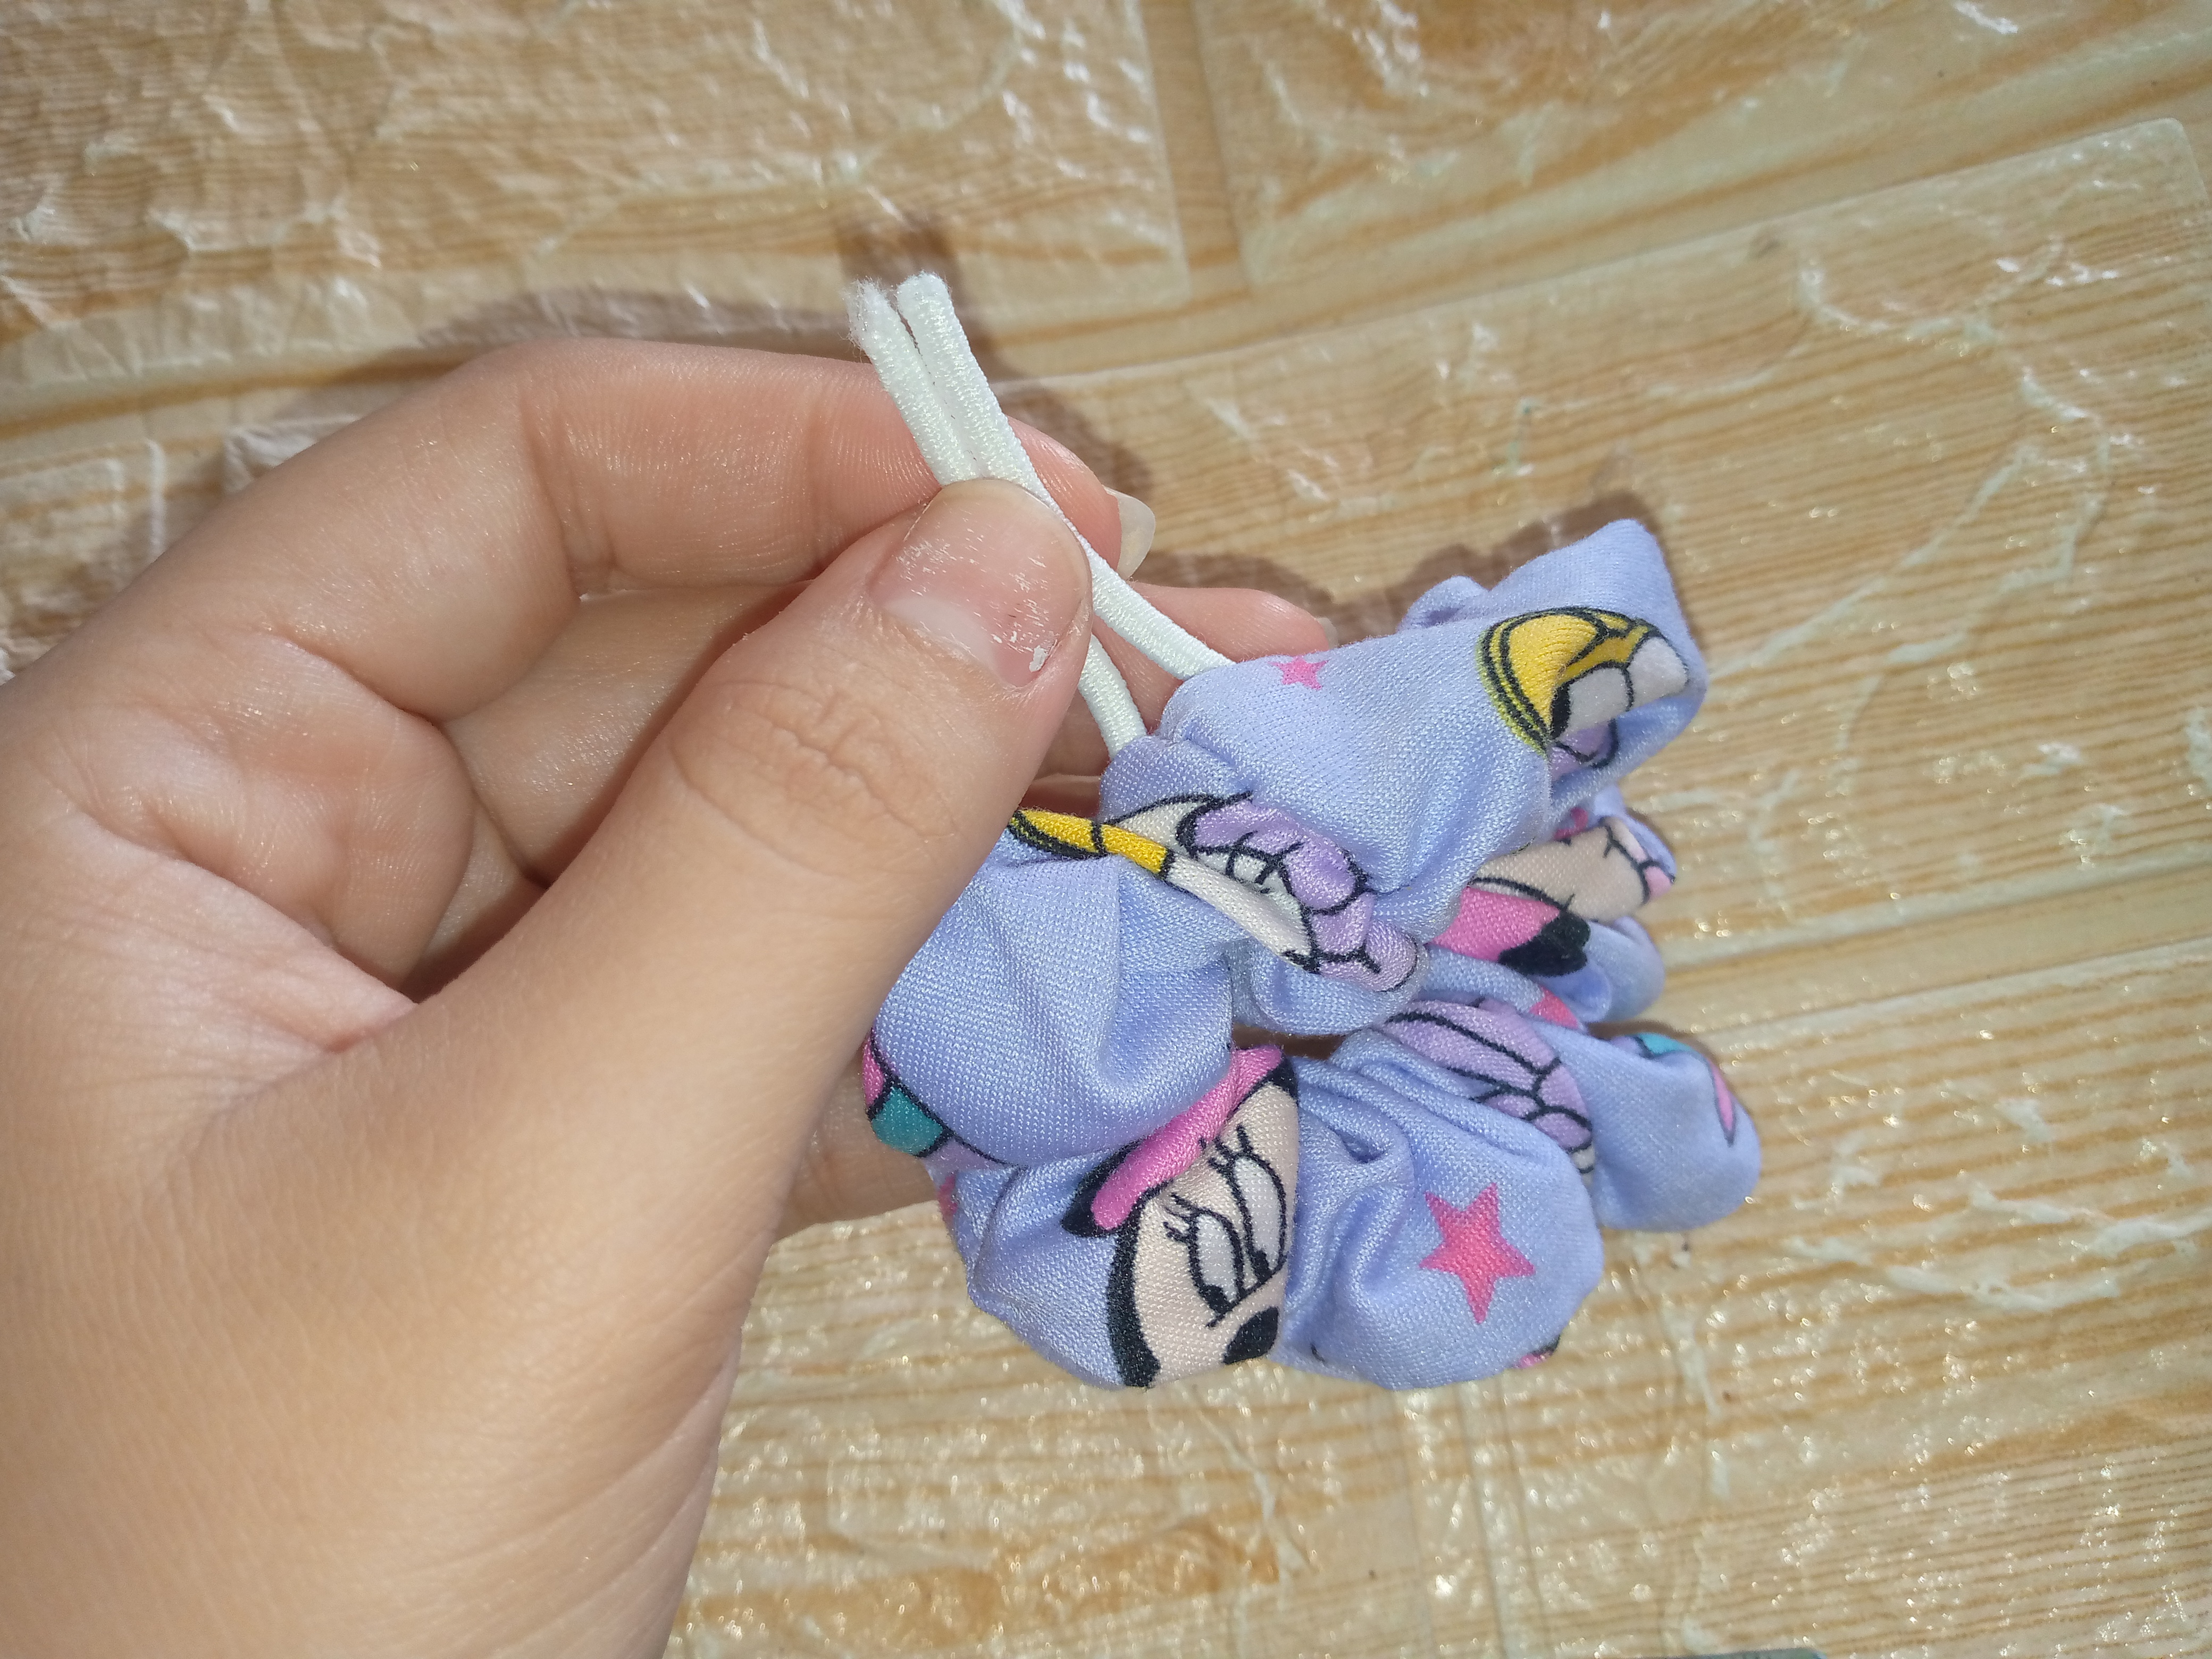
Once we have inserted our elastic, it is time to have both ends in our hands and to prevent our elastic from coming loose, we will tie a very strong knot so that you can see that it will not come loose when stretching the scrunchie.
Paso 05
Step 05
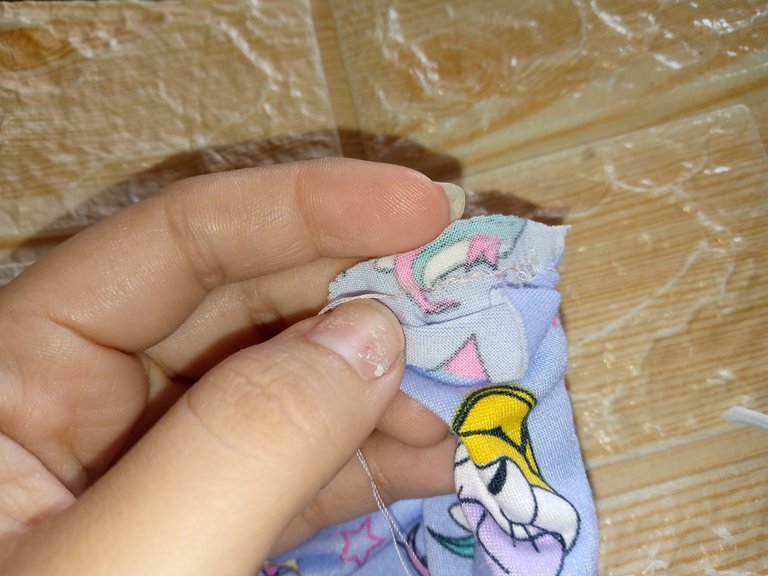
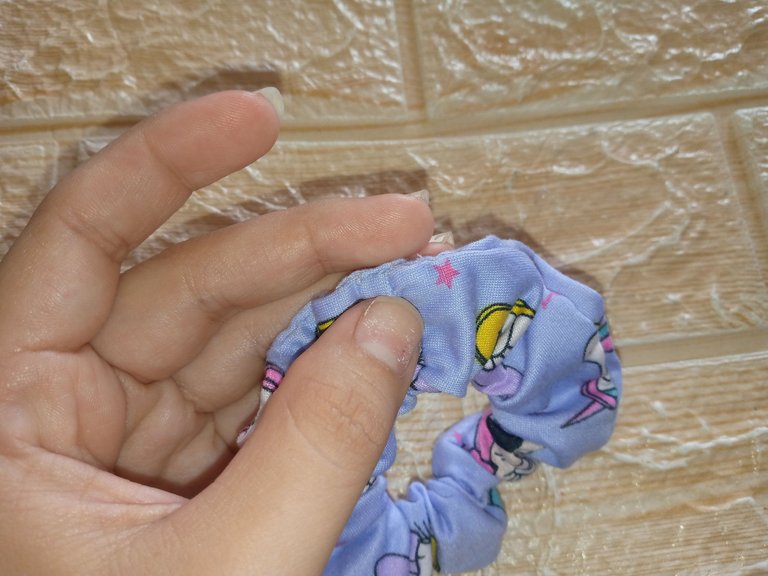
I will seal the scrunchie in the part where I inserted the elastic and I will sew it with invisible stitching with my needle and thread as well and thus we will have the scrunchie ready now I will move on to sewing and making the flower.
Paso 06
Step 06
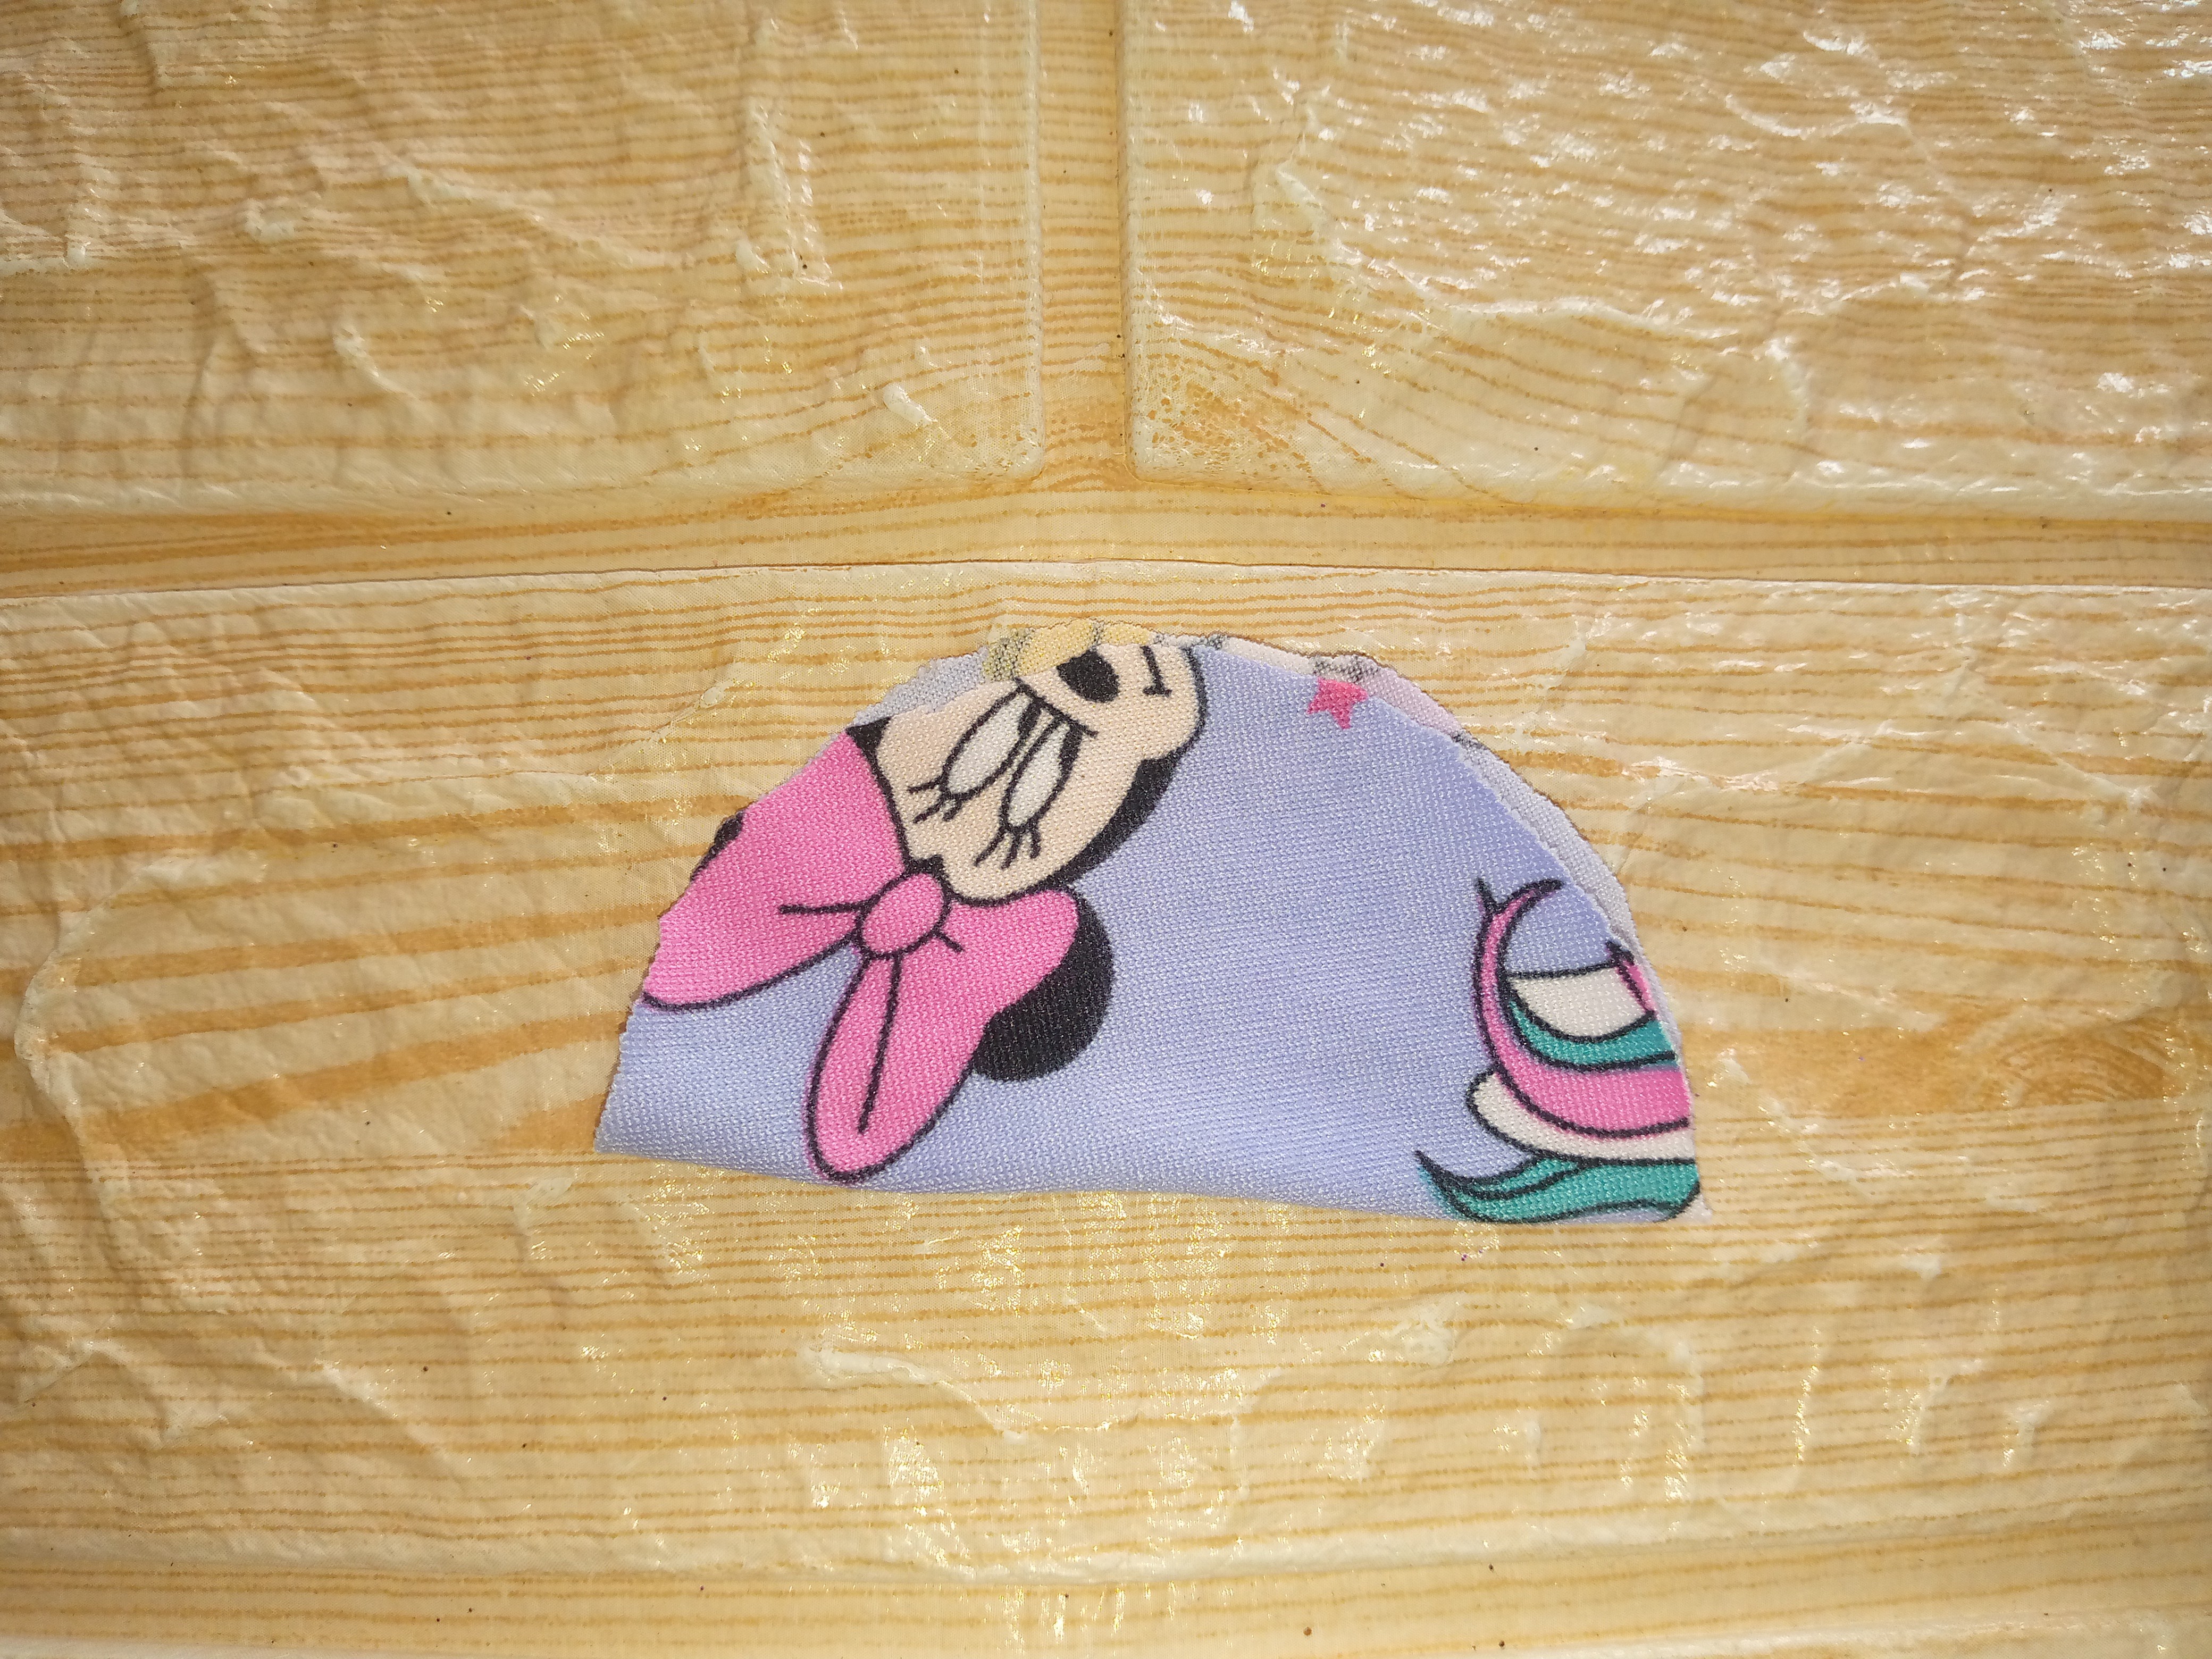
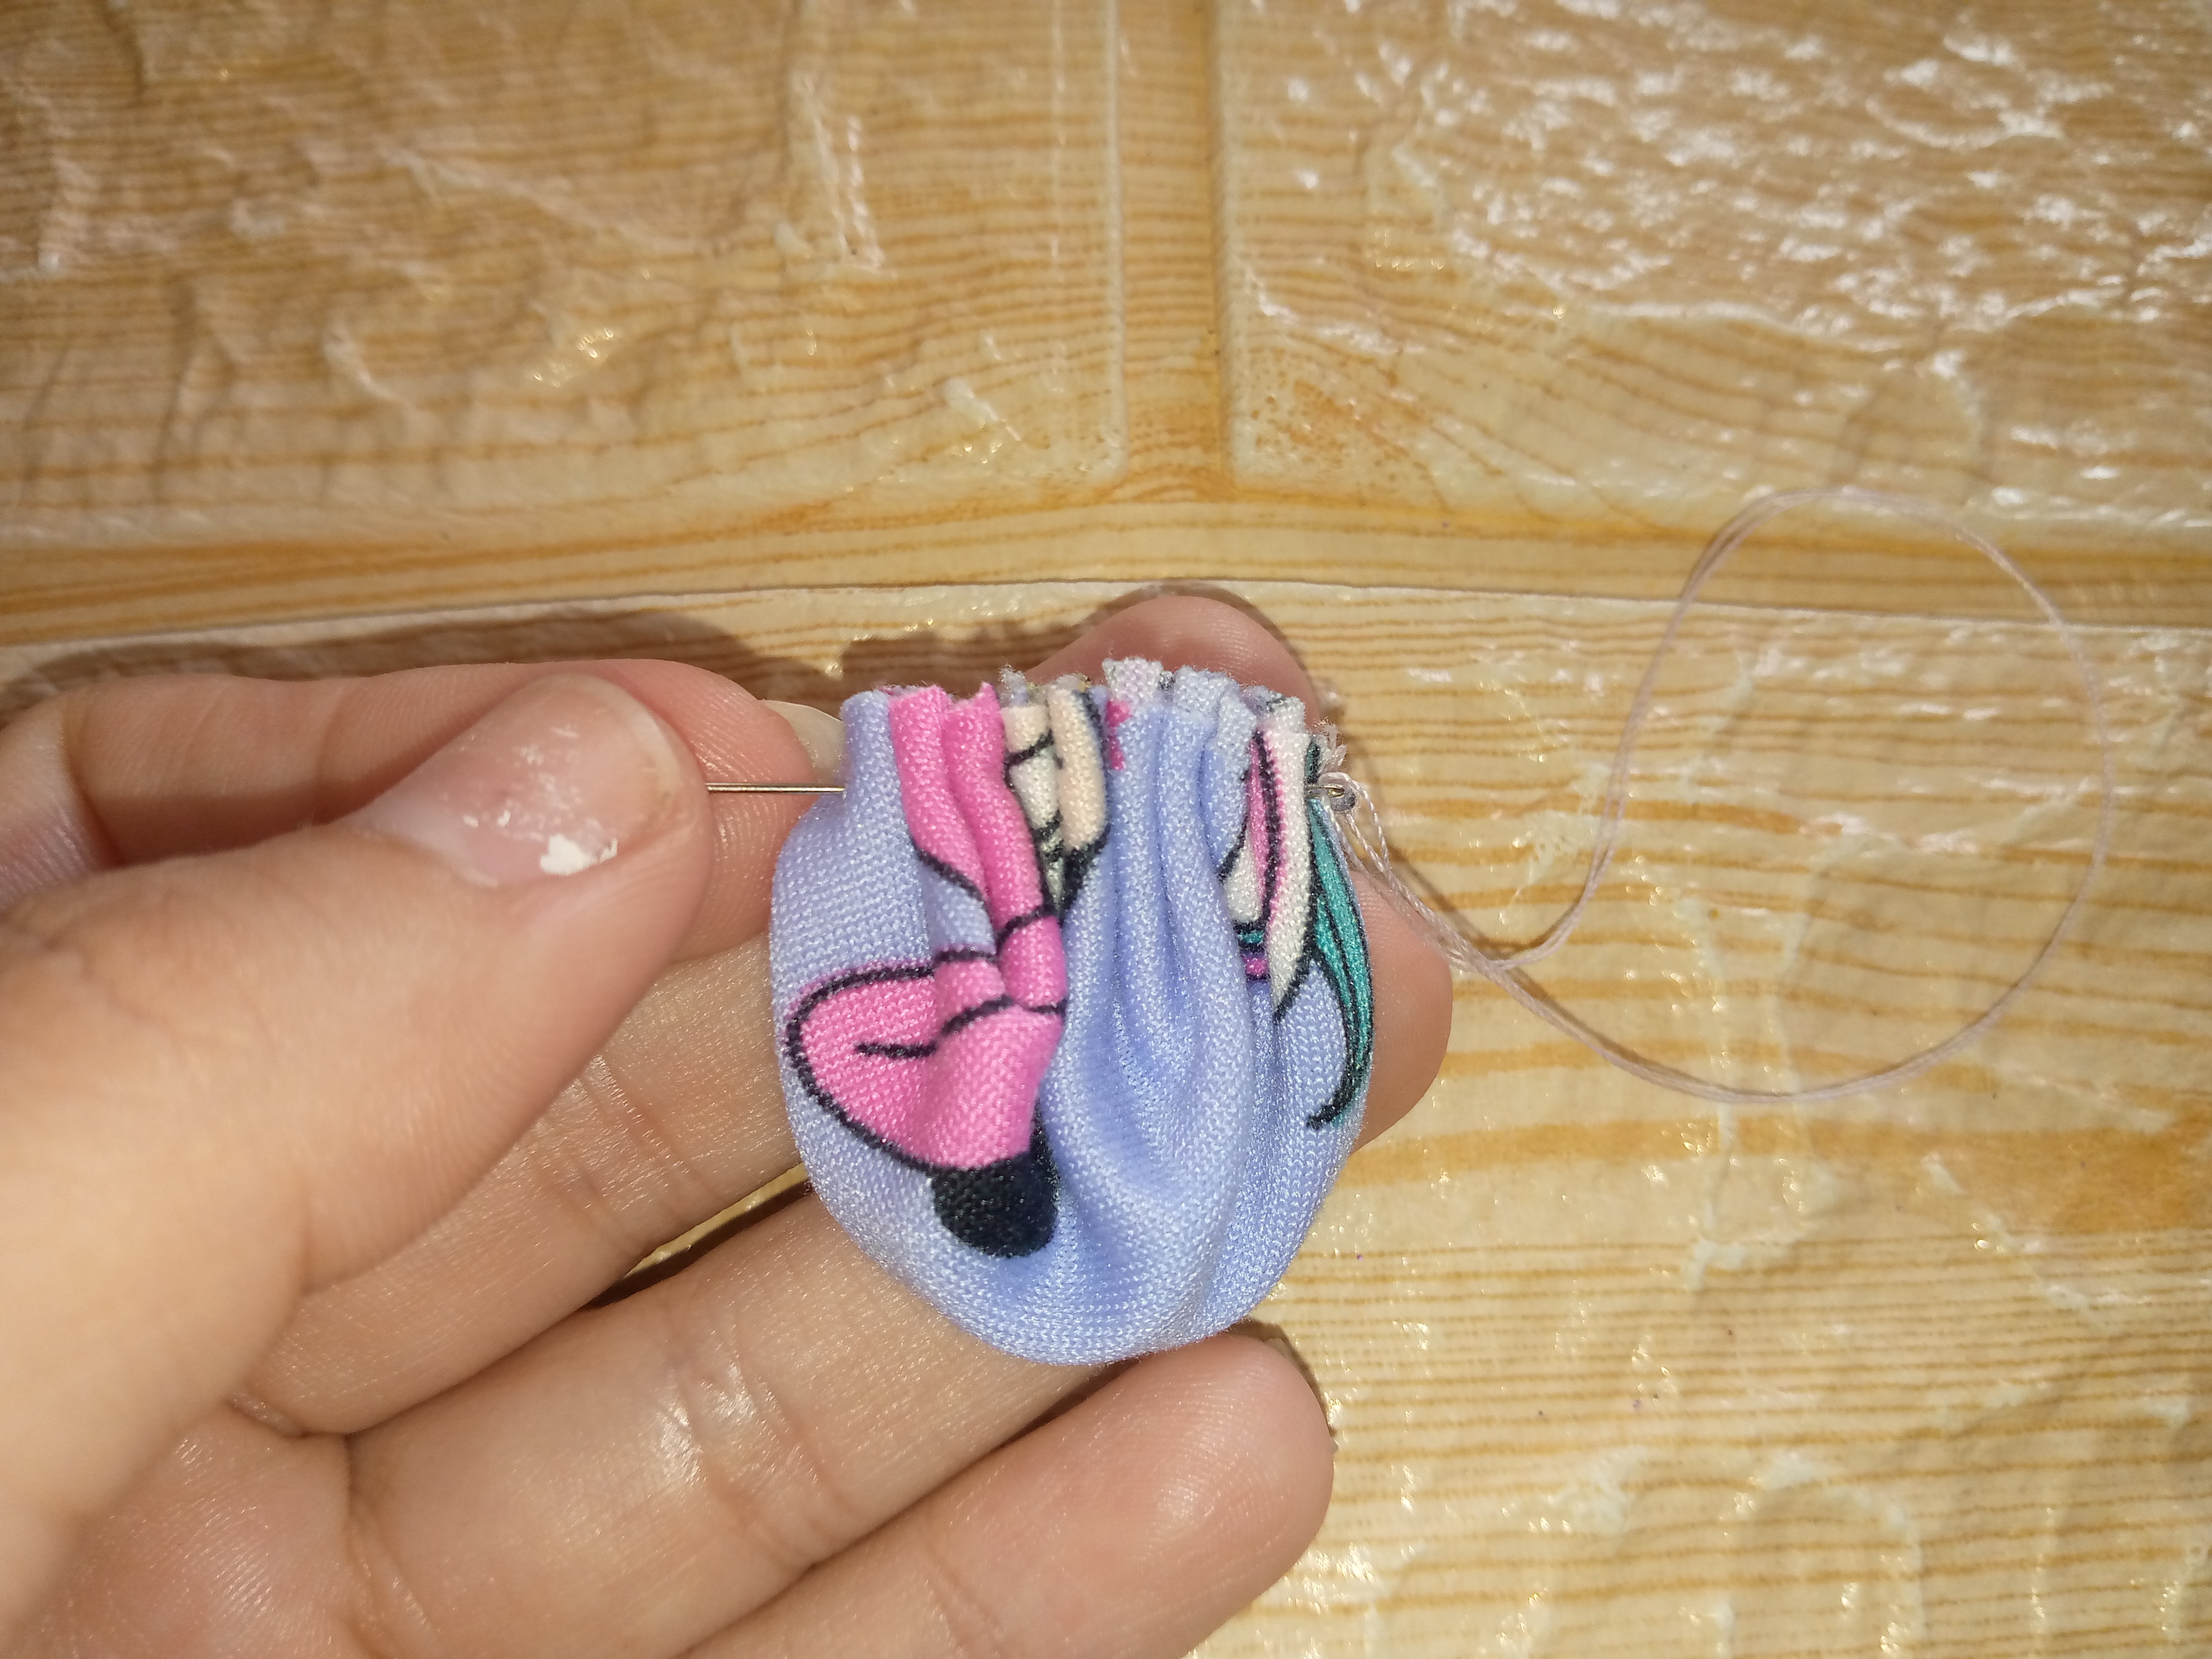
To make the flower it is very easy, you just have to take your circle, fold it in half and sew it along the circular part, the double circle and we will sew and you will see how it gathers with the thread and we are left with the petal that we will use to make the flower, of this we will make six like this following this same sequence.
Paso 07
Step 07
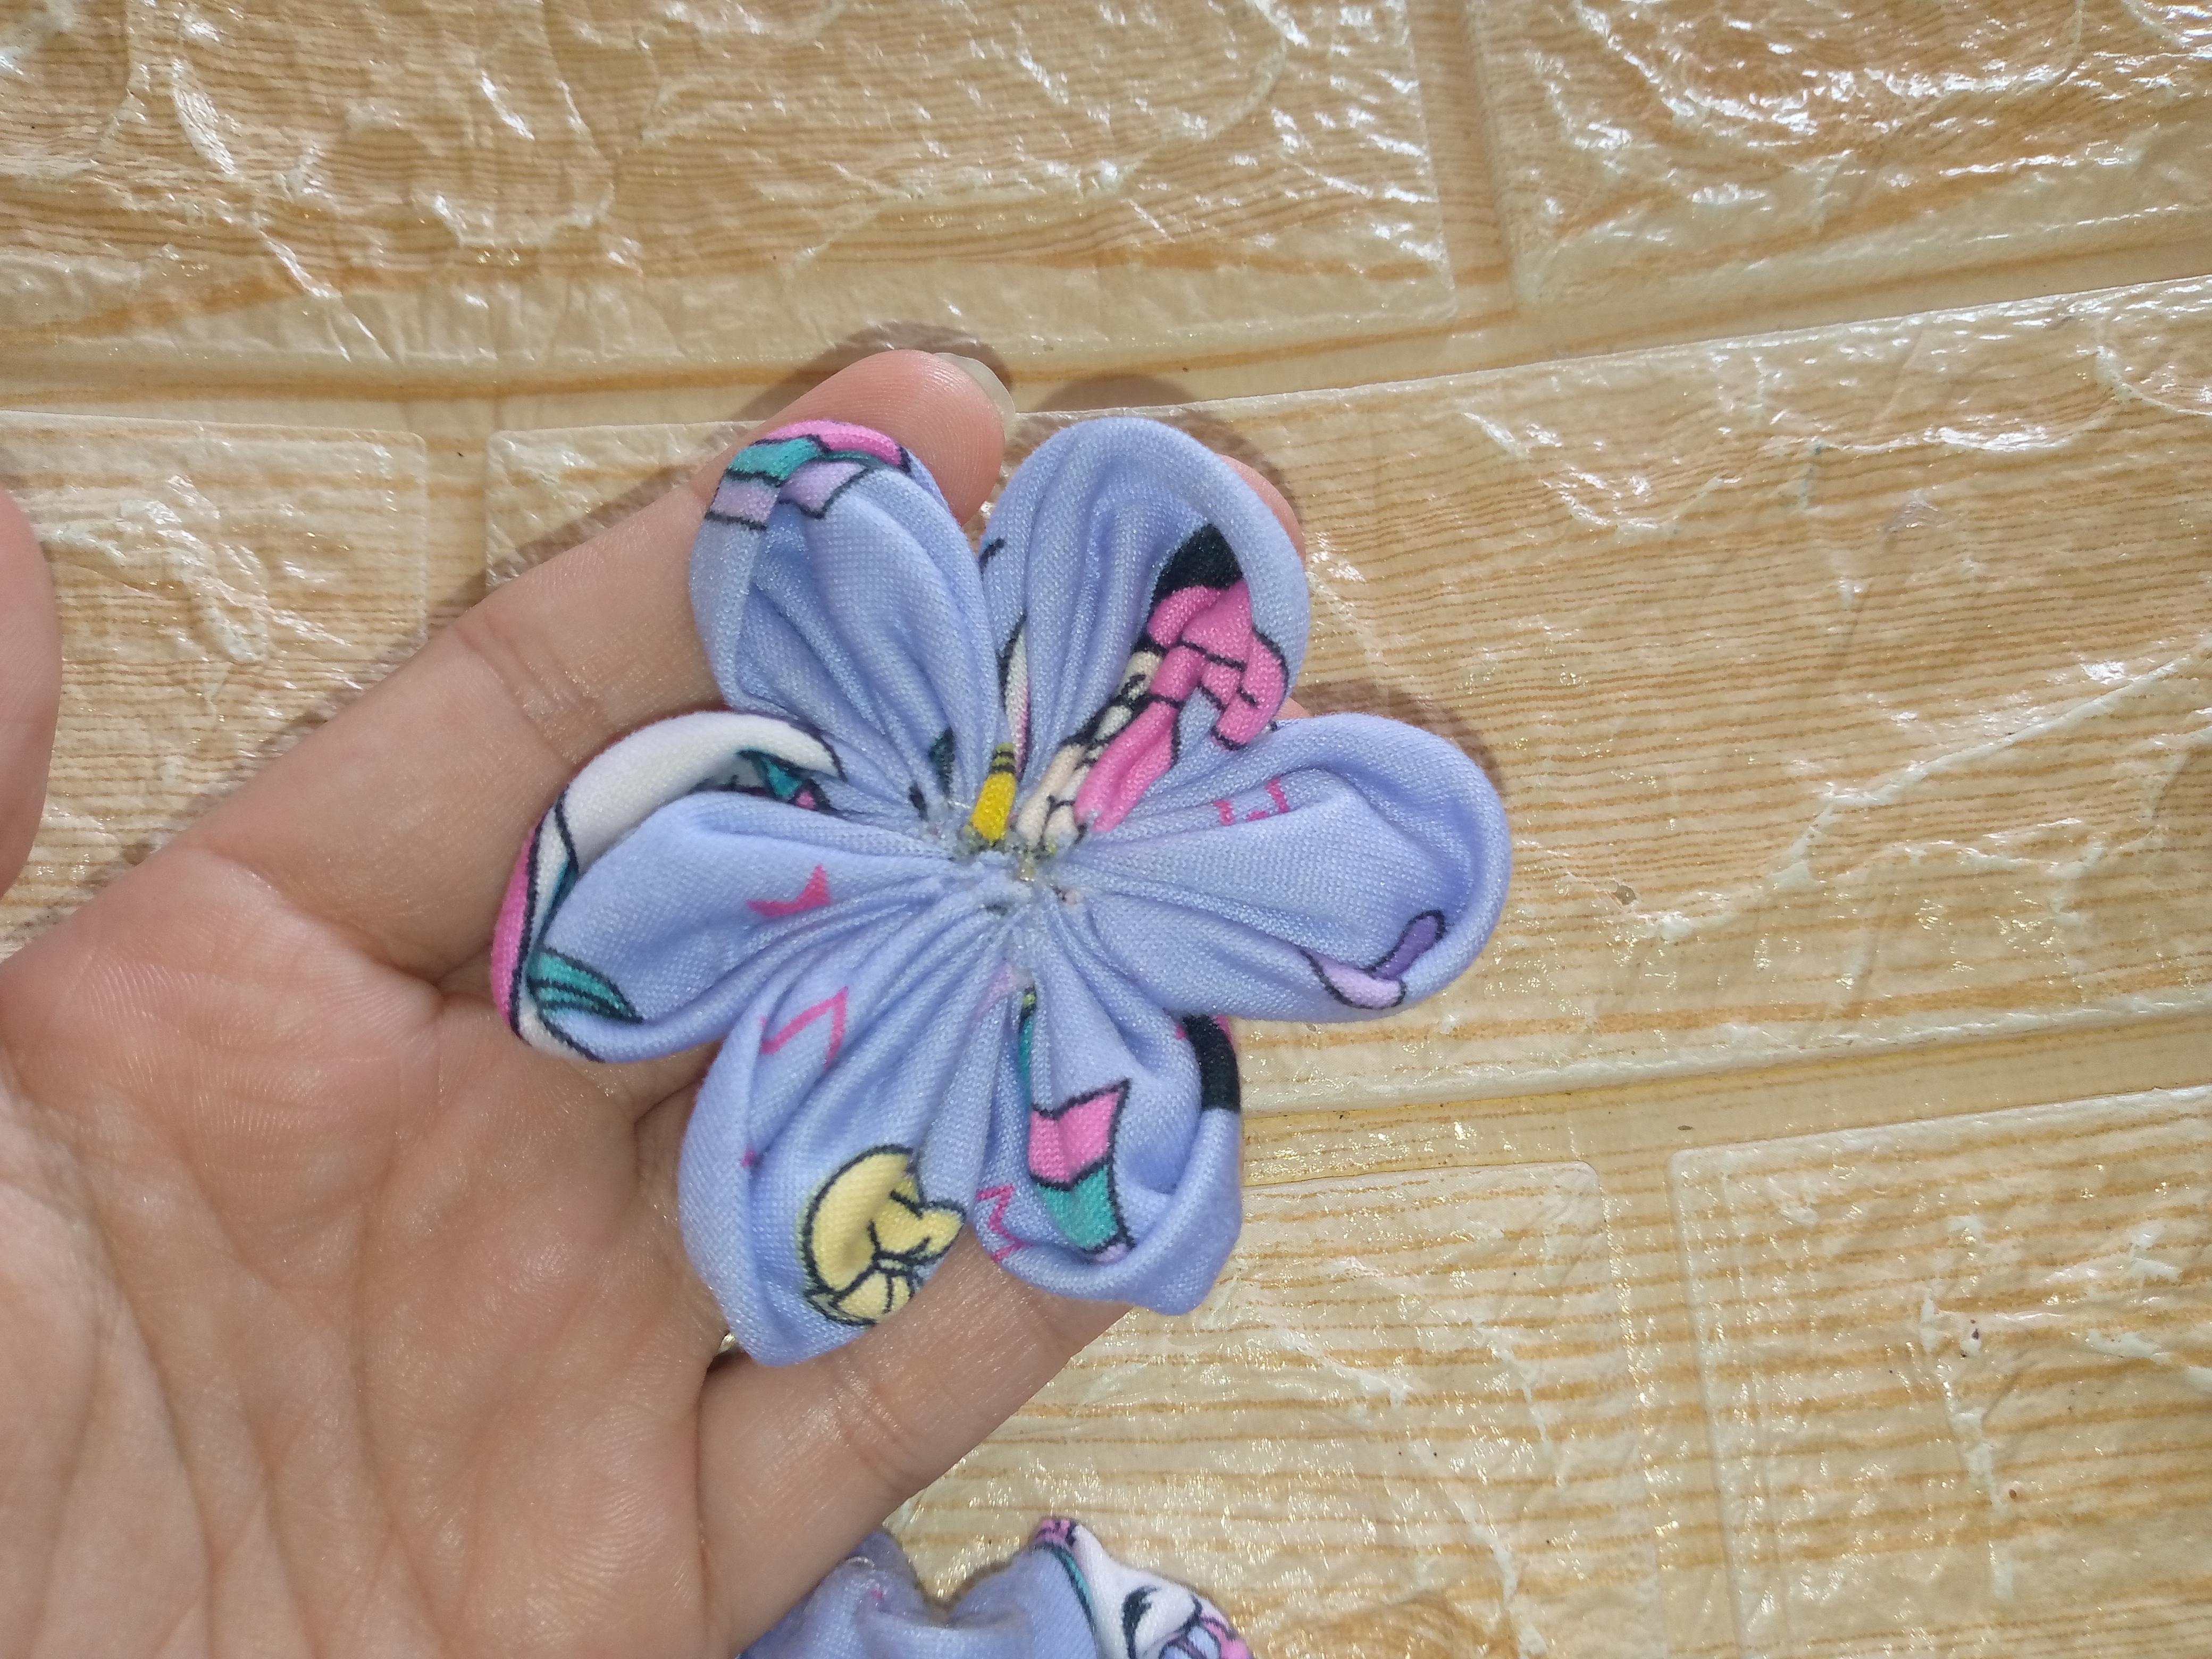
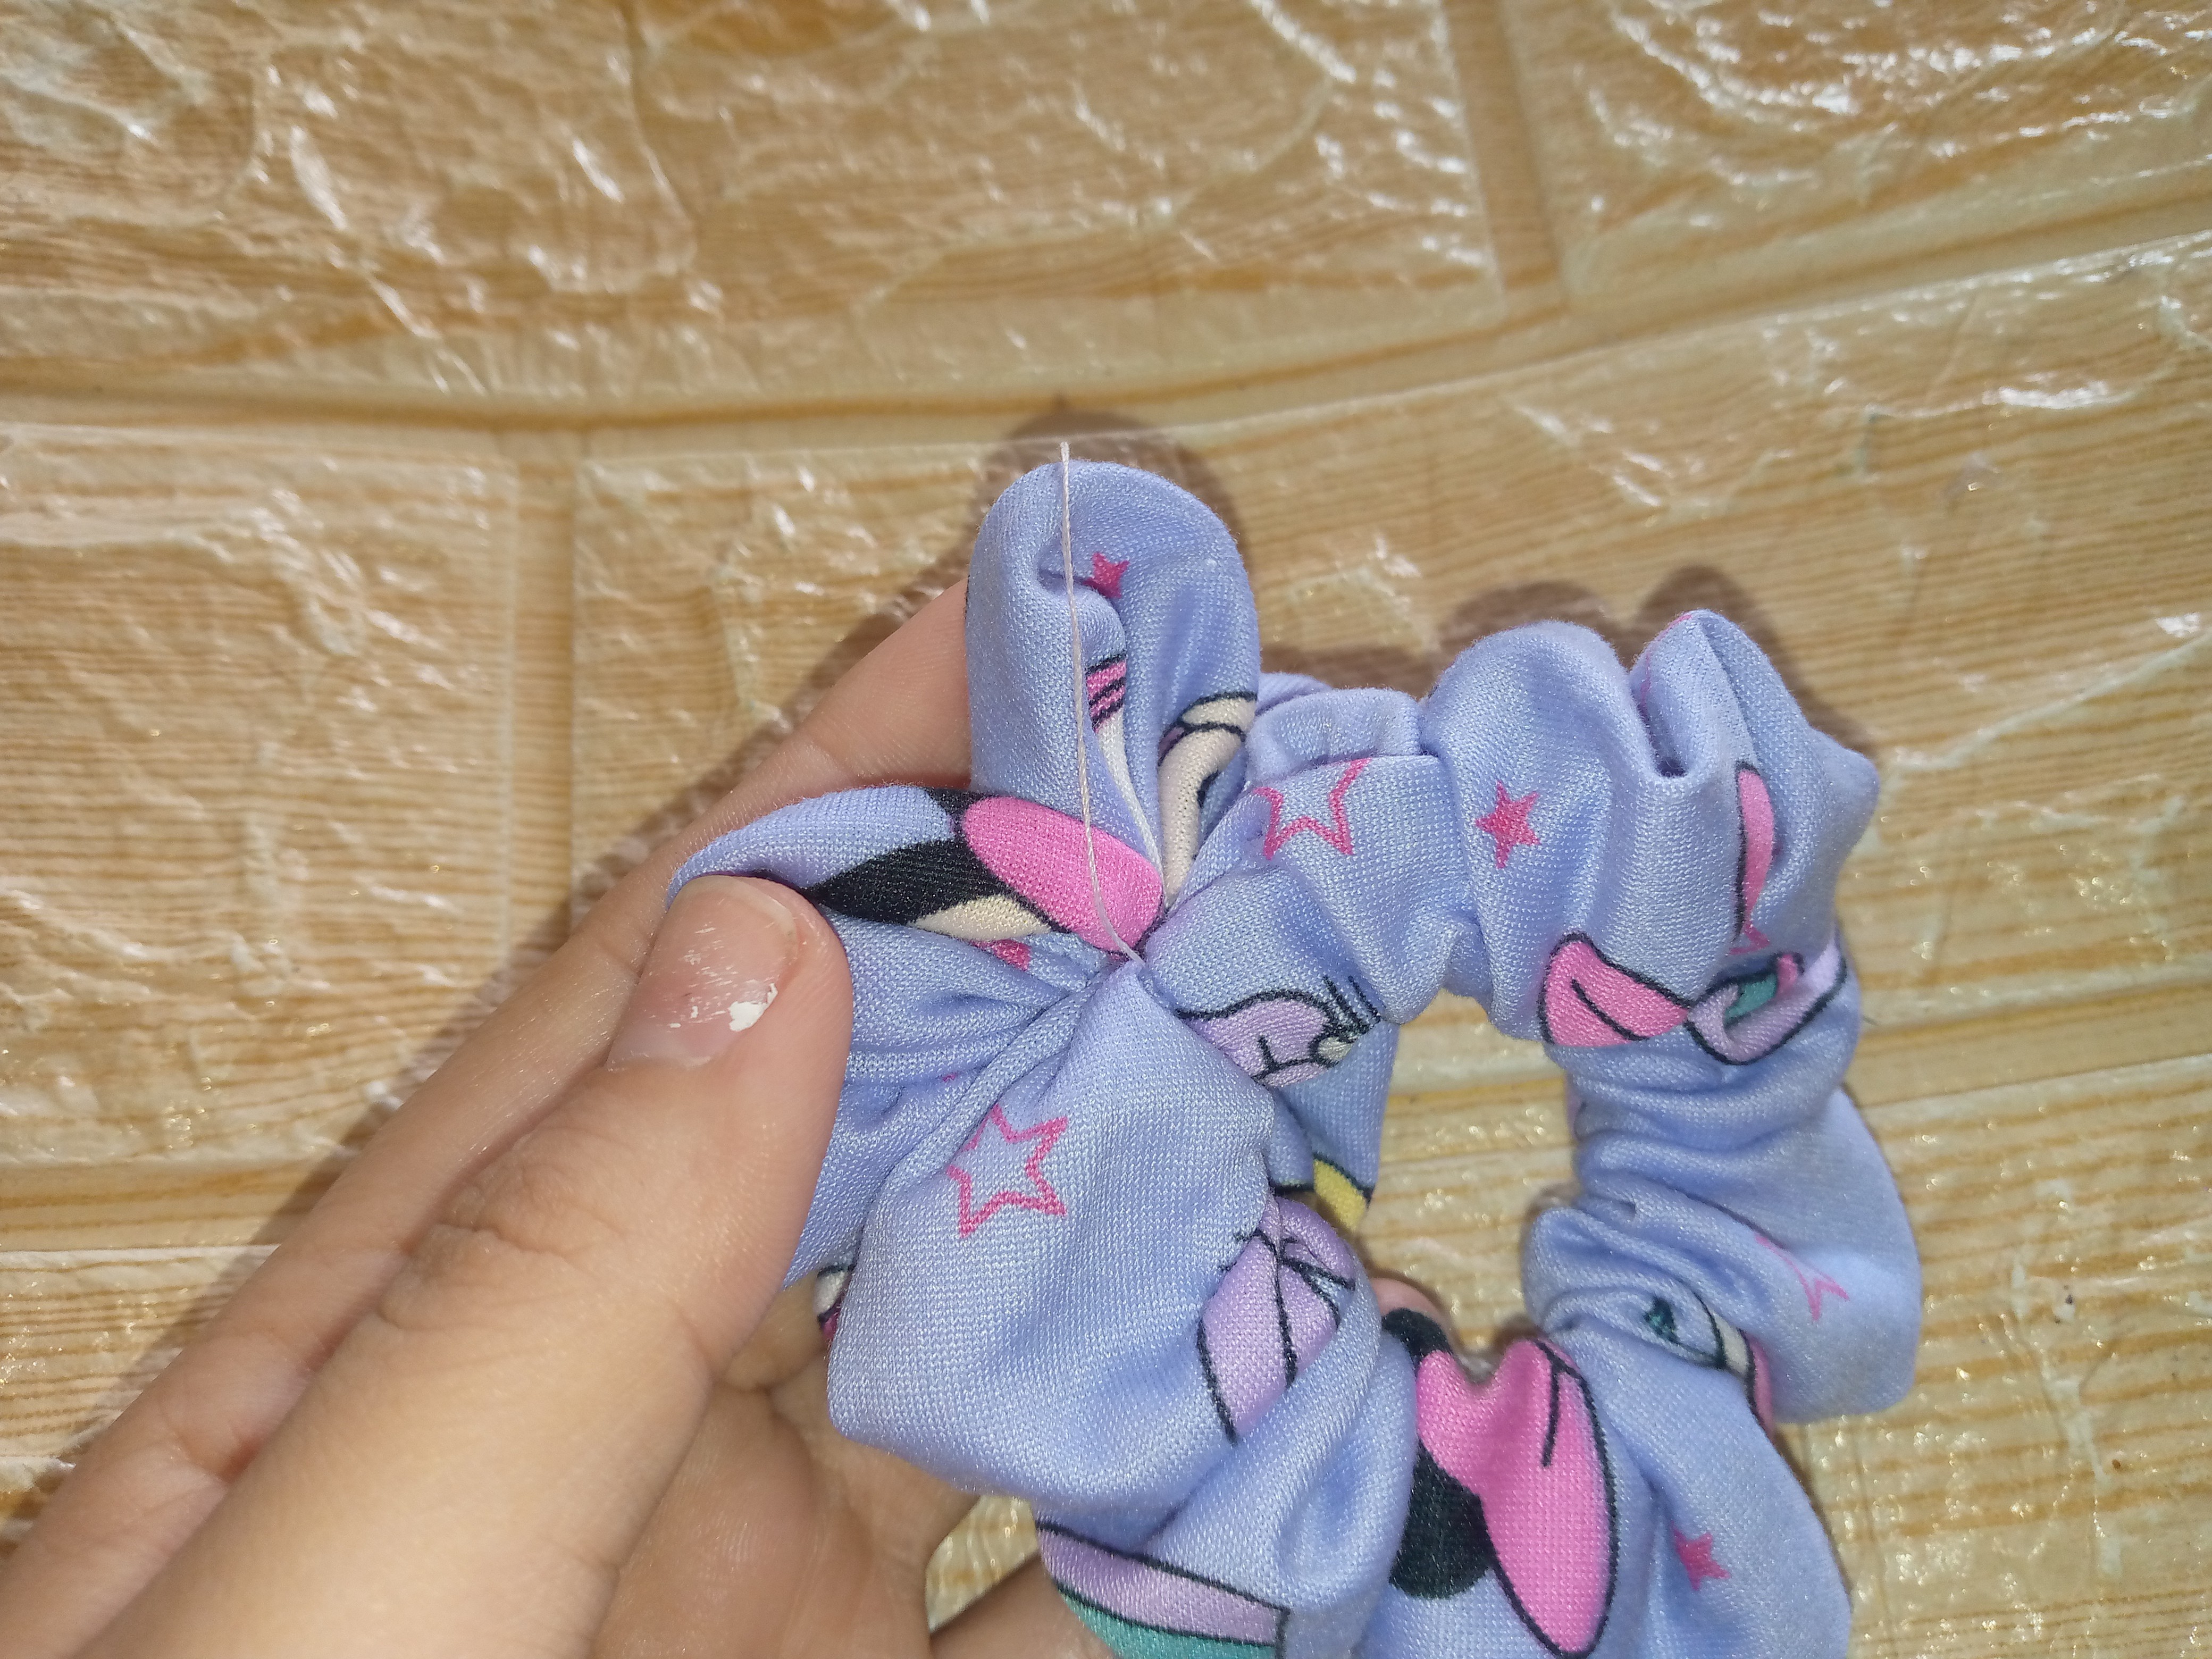
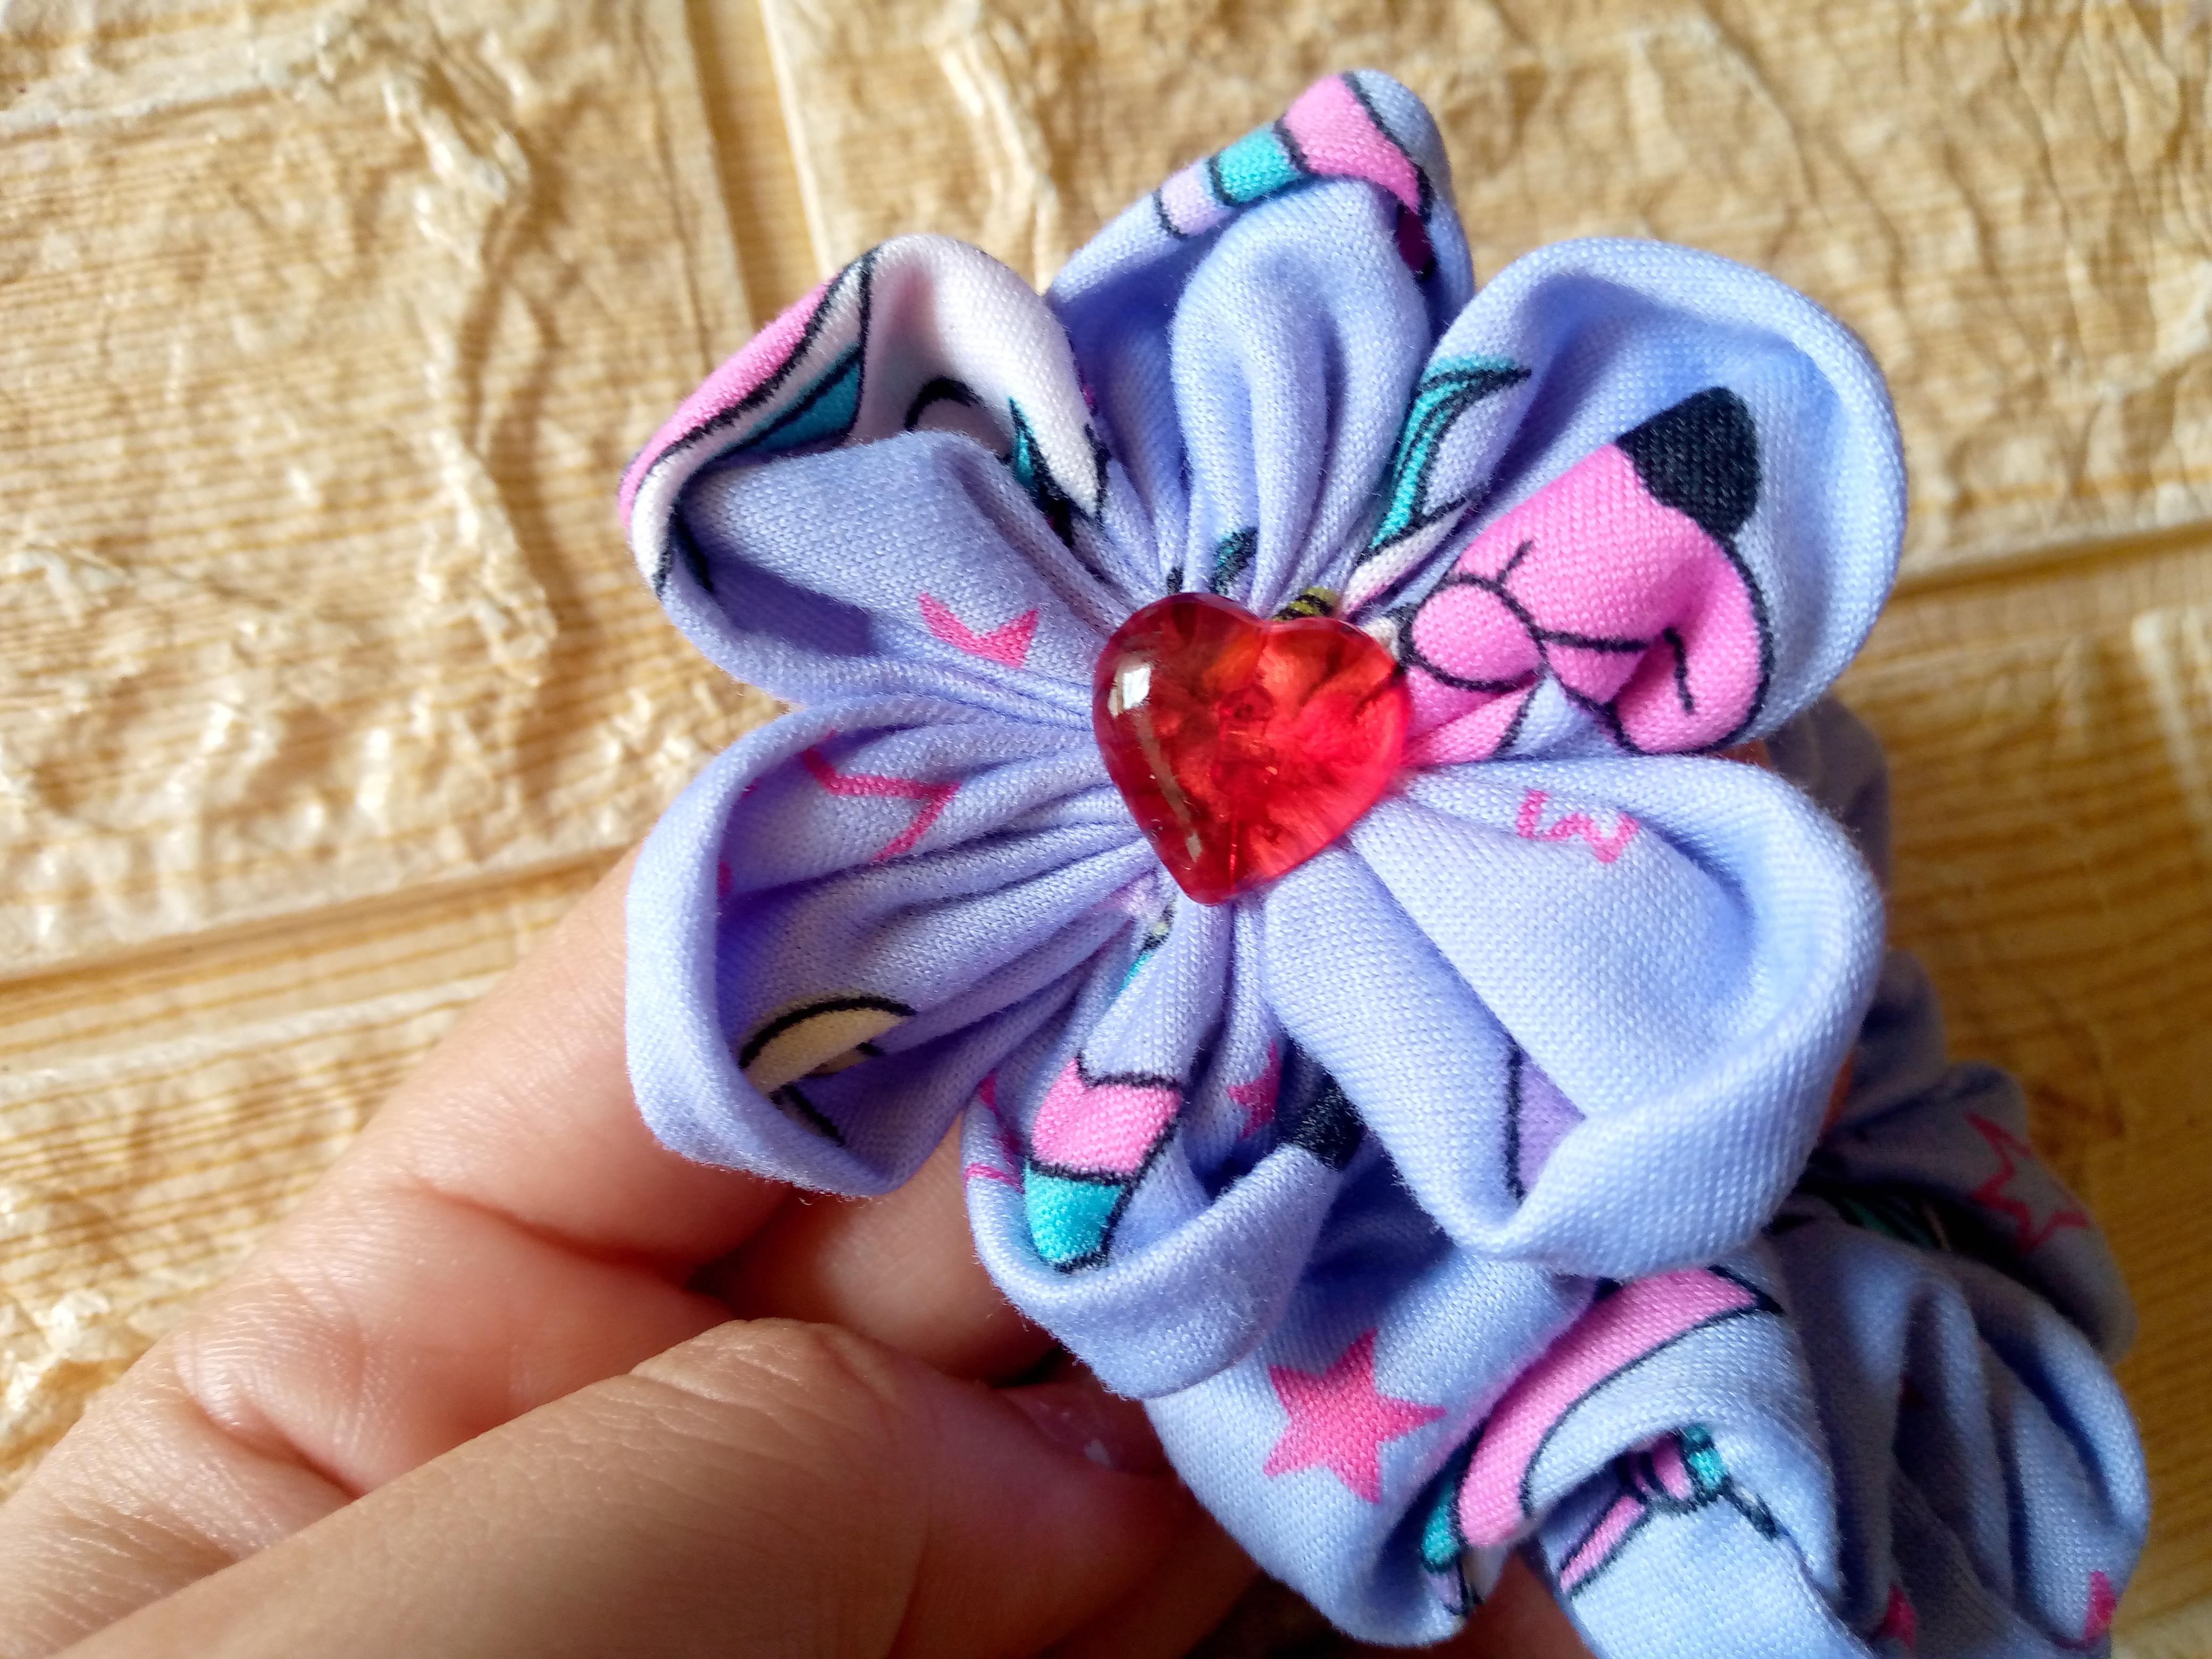
To finish making this pretty flower, what I will do is join both petals together and thus assemble it, with this list we are going to sew it to the scrunchie right in the part where the rubber band is joined and where I sewed to join both ends so the union of the fabrics will not be seen there, we adjust the thread well with several knots, to finish I placed a heart-shaped button and it is ready 🥰.
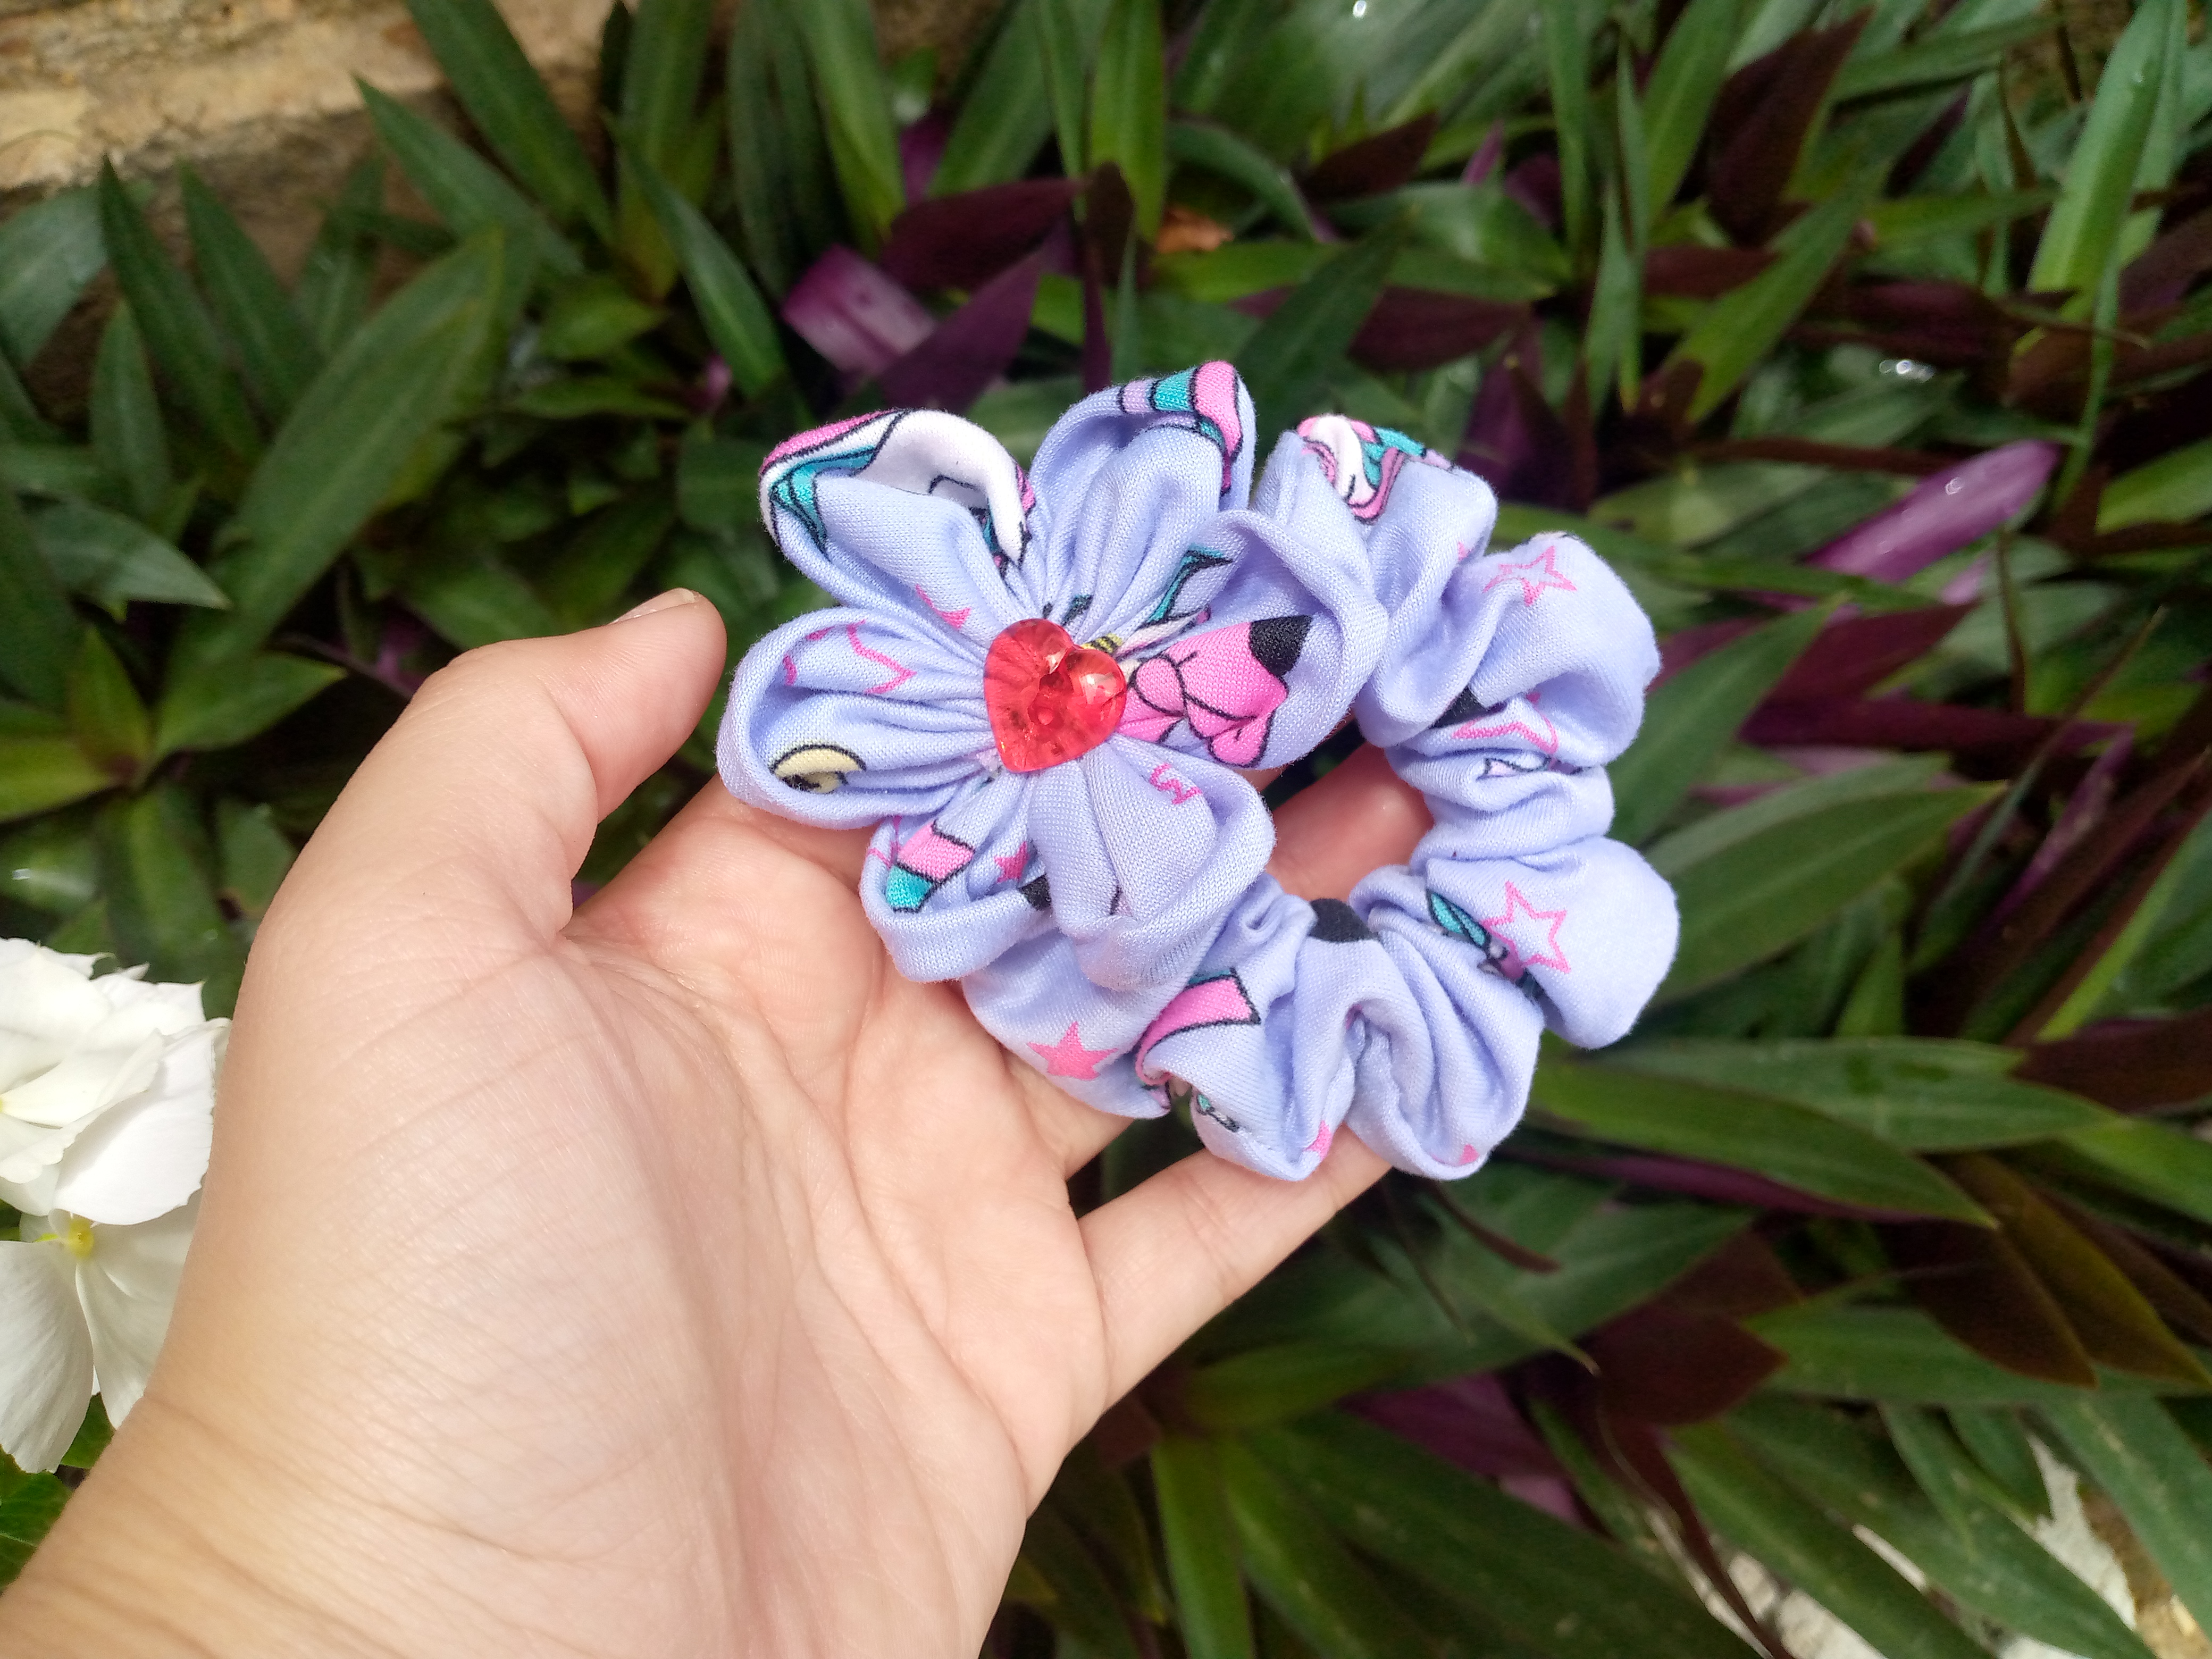
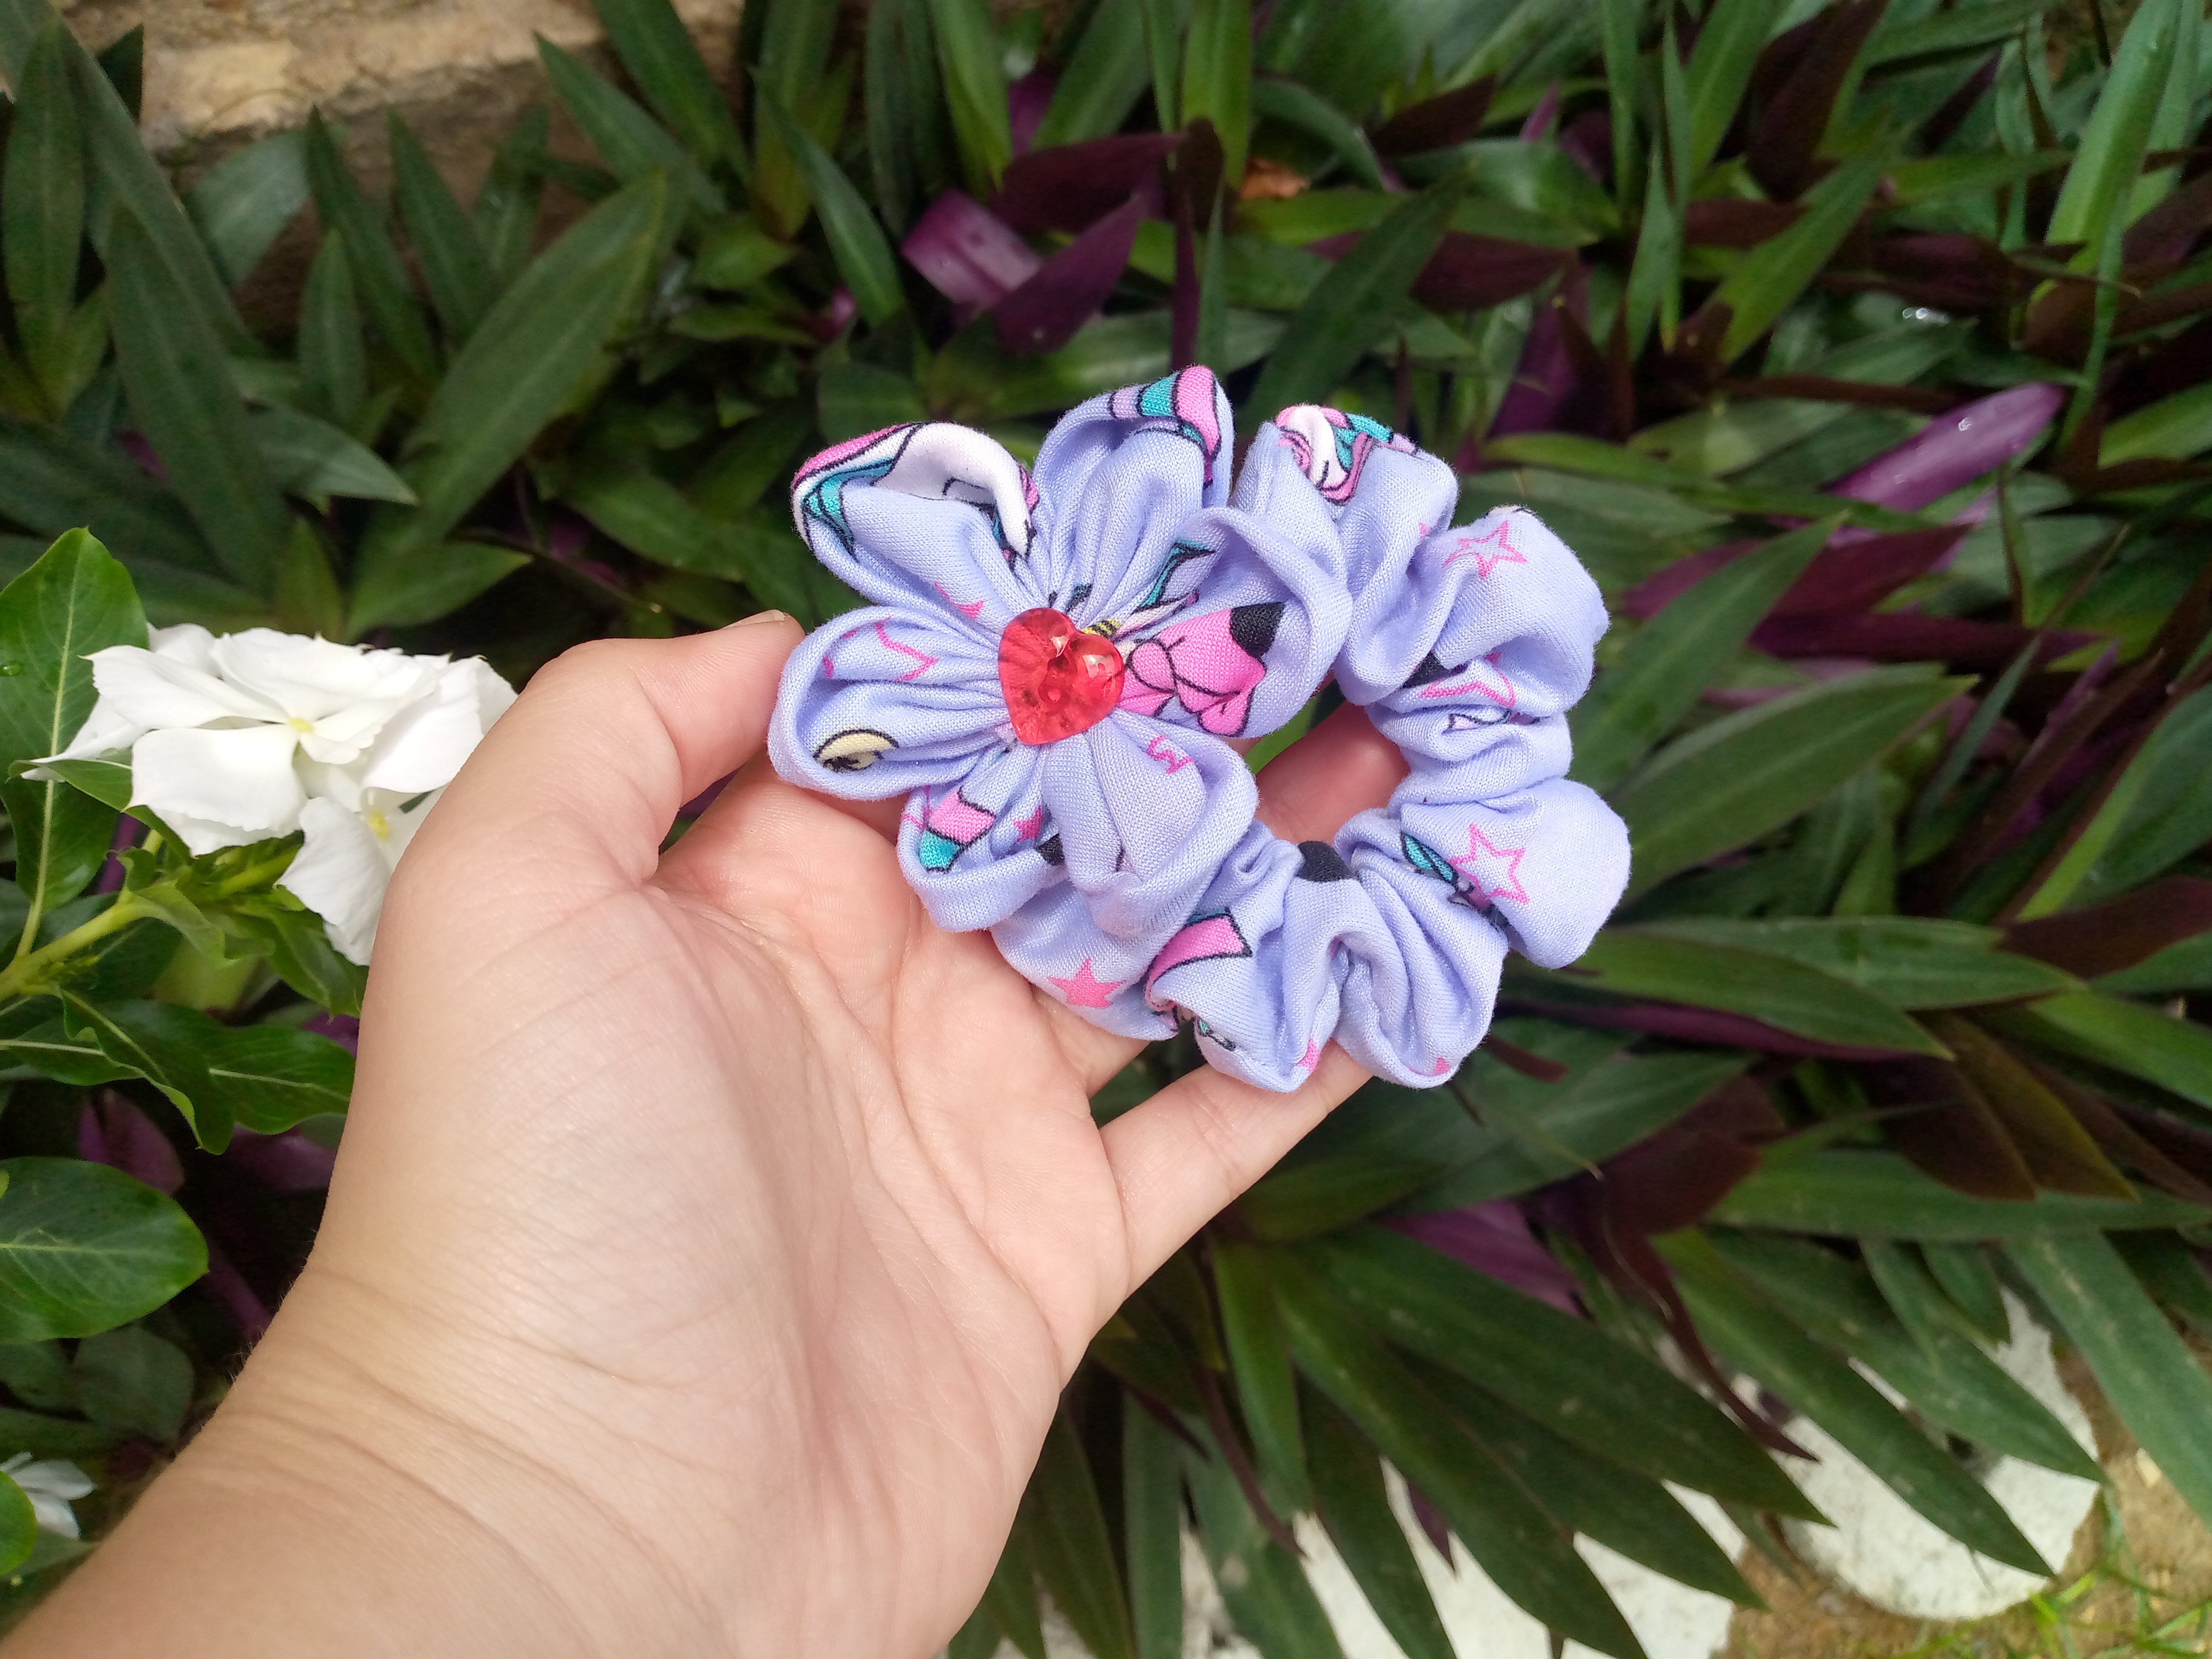
Resultado:// Result:
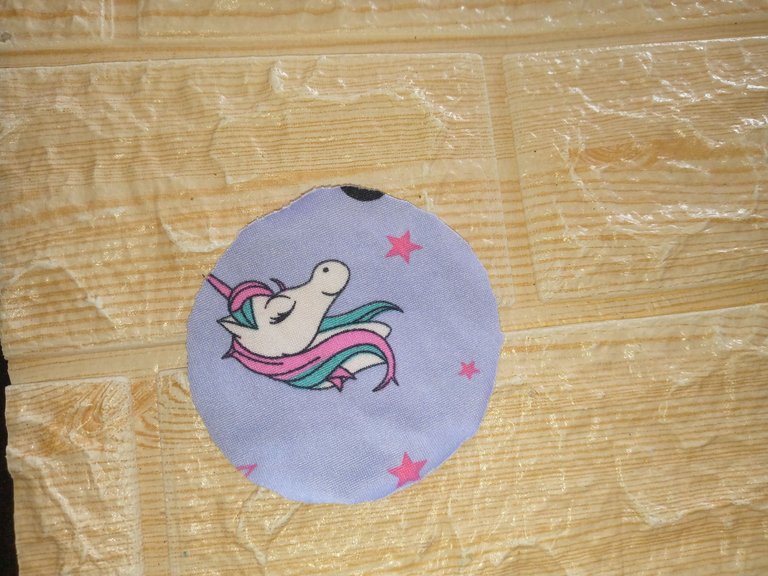
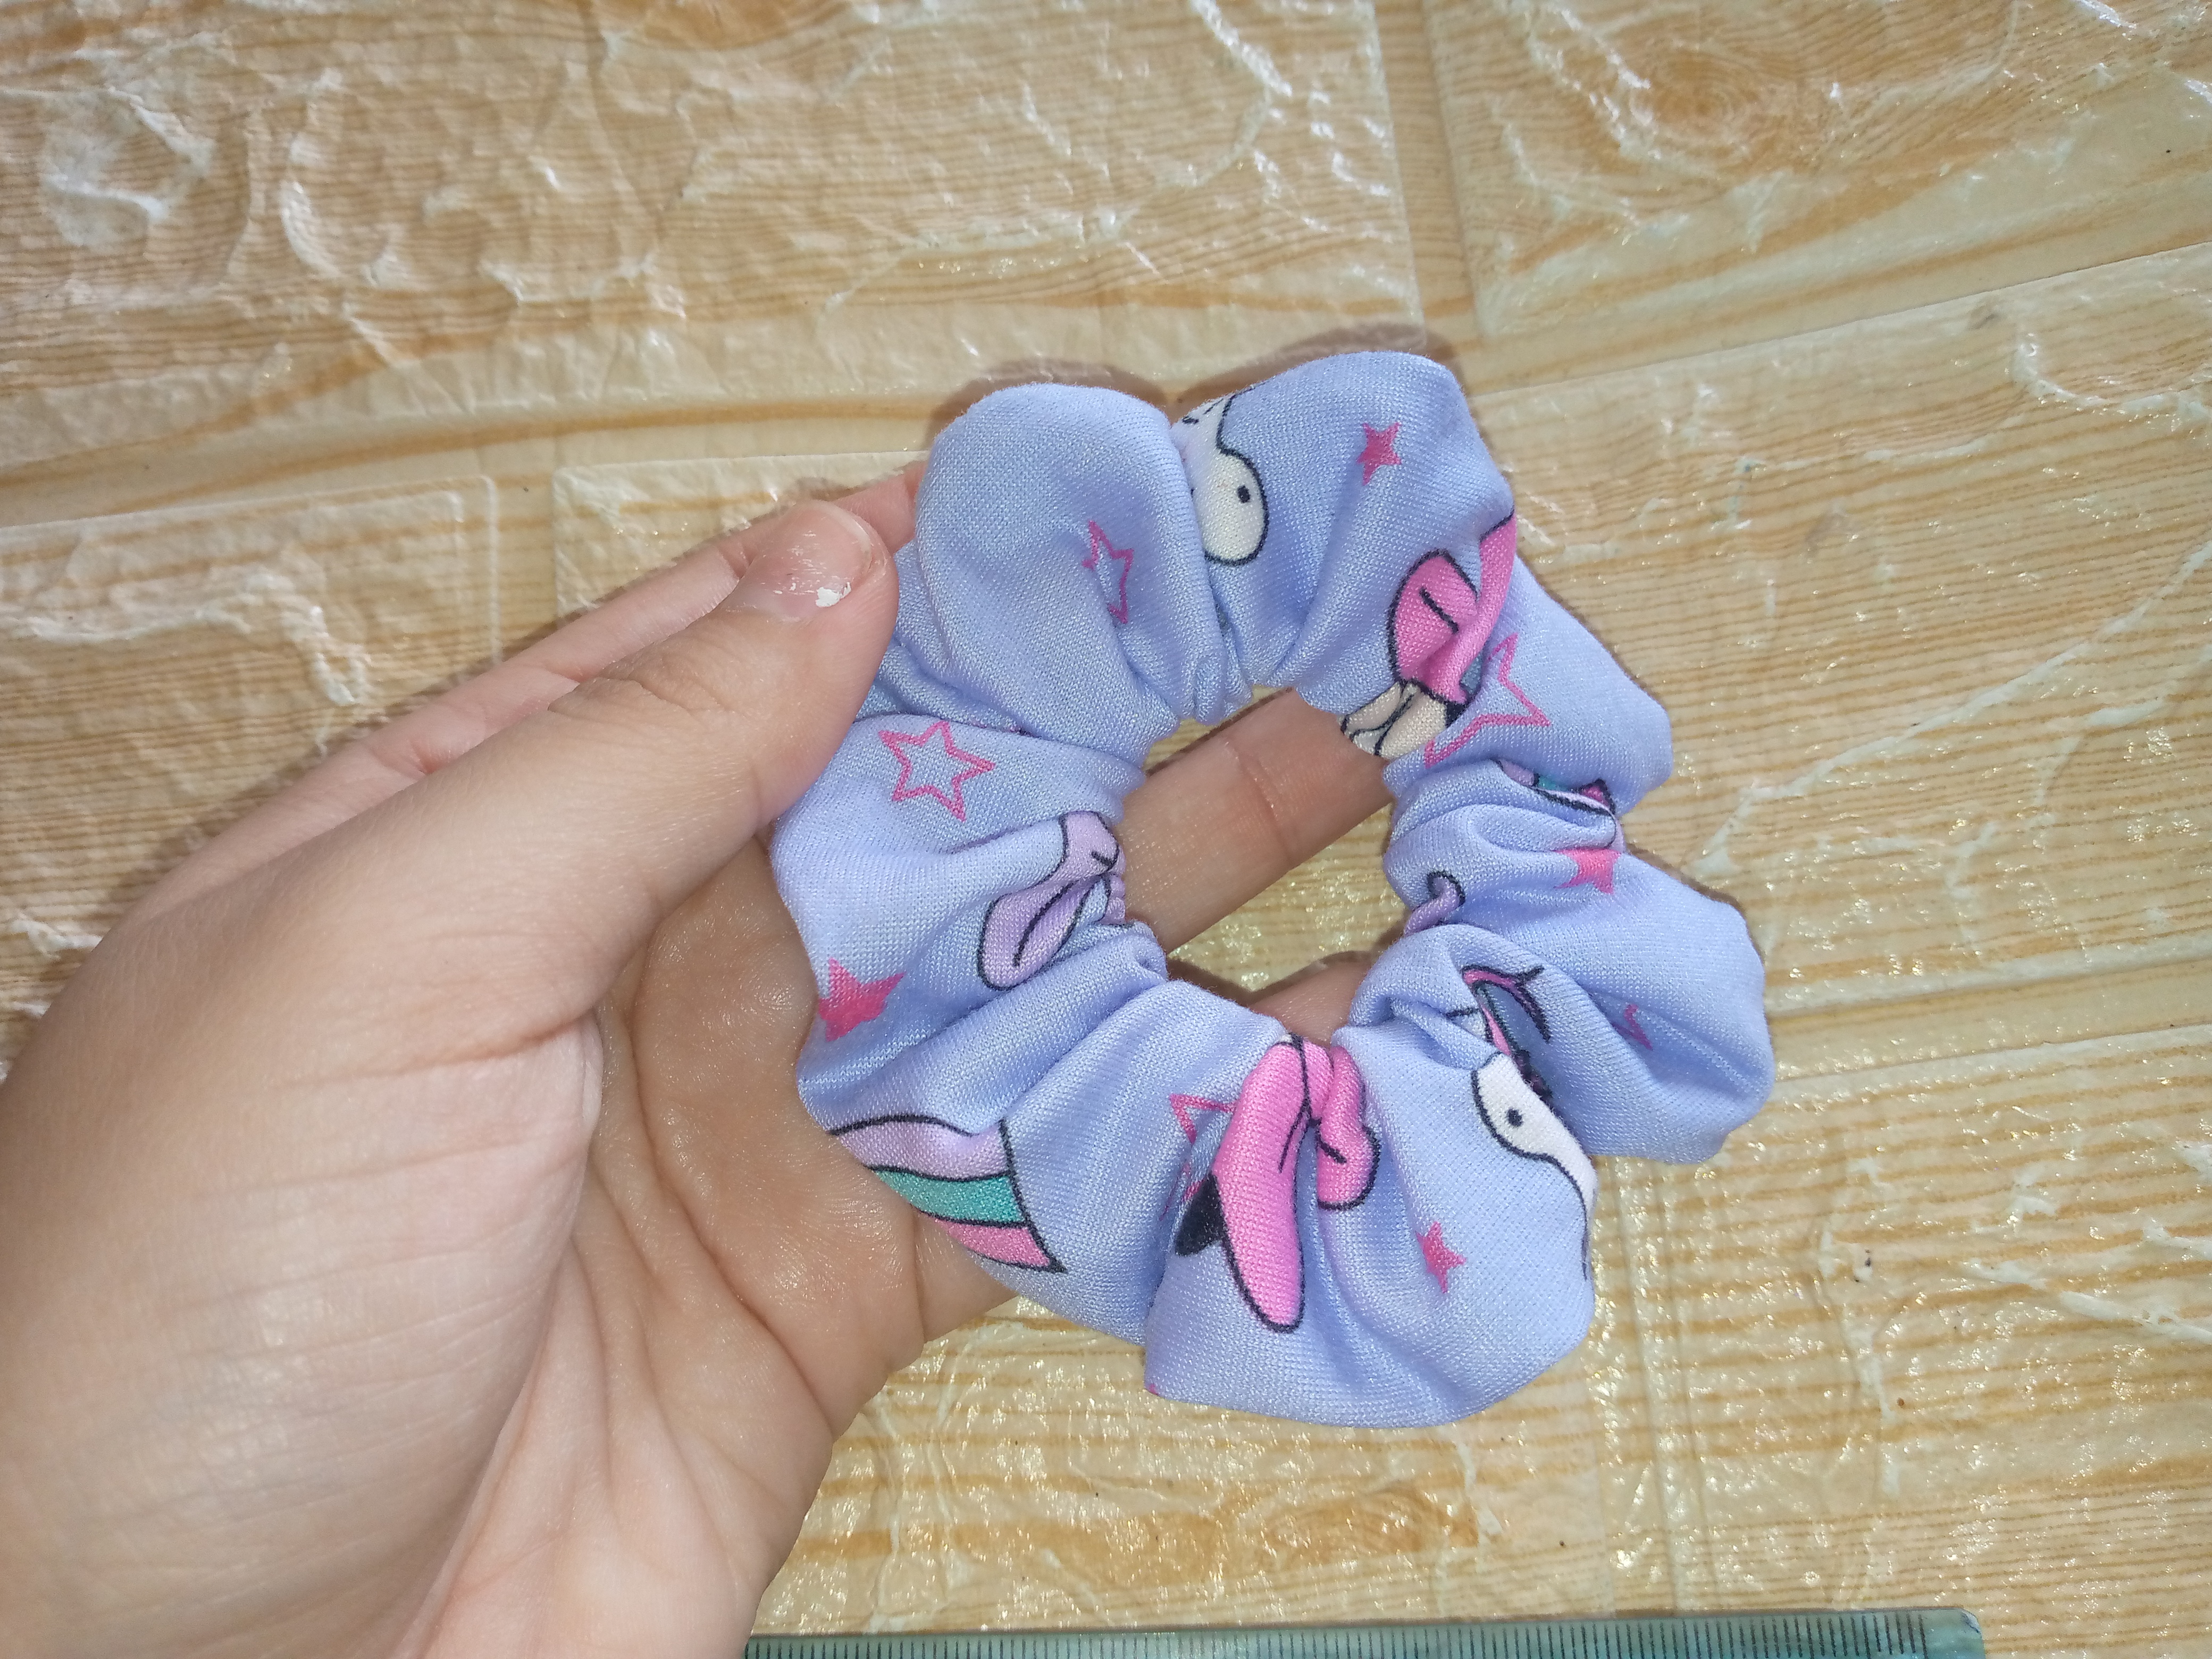
This way you can see how my scrunchie looks finished and if you want to make it not only for girls but for yourself you can add more flowers and of course more details, I know you are going to love how these scrunchies look on you because they are comfortable and you won't feel them when you wear them in your hair. ✨🌸

If you liked this idea, don't forget to share the process. Thank you for supporting me and we'll see you another time. Thank you for your time. Best regards 🥰❤️.
Creating things with love 🌷❤️
🦋✨ All the images in this publication are my author ,📱taken with my TecnoSpark8C cell phone |📸Photos edited in PicsArt and Canva. Text translated in Google Translate.
Este scrunchies es muy lindo y femenino, con la flor luce aun mas bello.
Feliz tarde amiga me alegra te haya gustado 🙋🏻♀️
Muy bonitas, fáciles de hacer, y muy prácticas. Como dices así protegemos nuestro cabello.
!LADY
Your LOH token balance is not sufficient to send tips. Please hold a minimum of 25 LOH tokens to send tips.
Gracias amiga así es 😊🤗
WOW! The final result is impressive. It looks great. Good to see each step of making this. Great job! Keep it up!
selected by @rezoanulvibes
Thank you friend ✨❤️
This scrunchies looks very elegant and descent. I love it.