

| Funny pendant with porcelanicron and tassel. | Colgante divertido con porcelanicron y borla. |
|---|---|
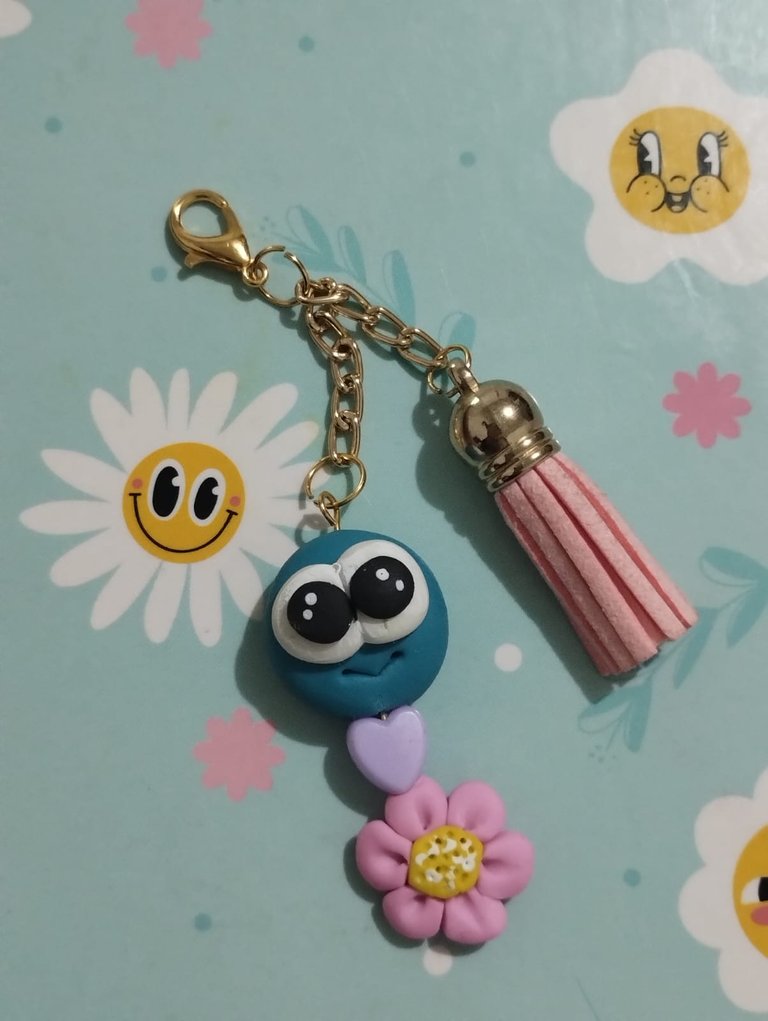
What a pleasure to be able to greet you and share through #jewelry our creations. Being able to contribute creative ideas to this community is a valuable privilege. So today I bring you this tutorial to make a fun porcelanicron pendant. I attached a tassel that I had from a purse that I no longer use and it added the touch that was missing, because it looked a little lonely without the tassel. | Que gusto poder saludarles y compartir a través de #jewelry nuestras creaciones. El poder aportar ideas creativas a esta comunidad, es un valioso privilegio. Por eso hoy les traigo este tutorial para elaborar un divertido colgante con porcelanicron. Le coloque una borla que tenía de una cartera que ya no uso y le añadió el toque que le faltaba, pues se veía un poco solitario sin la borla. |
This pendant can be used as a keychain. It can be added to the one we already have or we can also use it as an accessory for the cell phone, since it does not have a conventional key ring, but a parrot beak hook that allows us to add it as a complement to other accessories. Let's see how to make it. | Este colgante puede servir como llavero. Pues se puede agregar al que ya tenemos o bien también podemos usarlo como accesorio para el celular, ya que no tiene un aro de llavero convencional, sino un gancho pico de loro que permite adicionarlo como complemento de otros accesorios. Veamos cómo elaborarlo. |
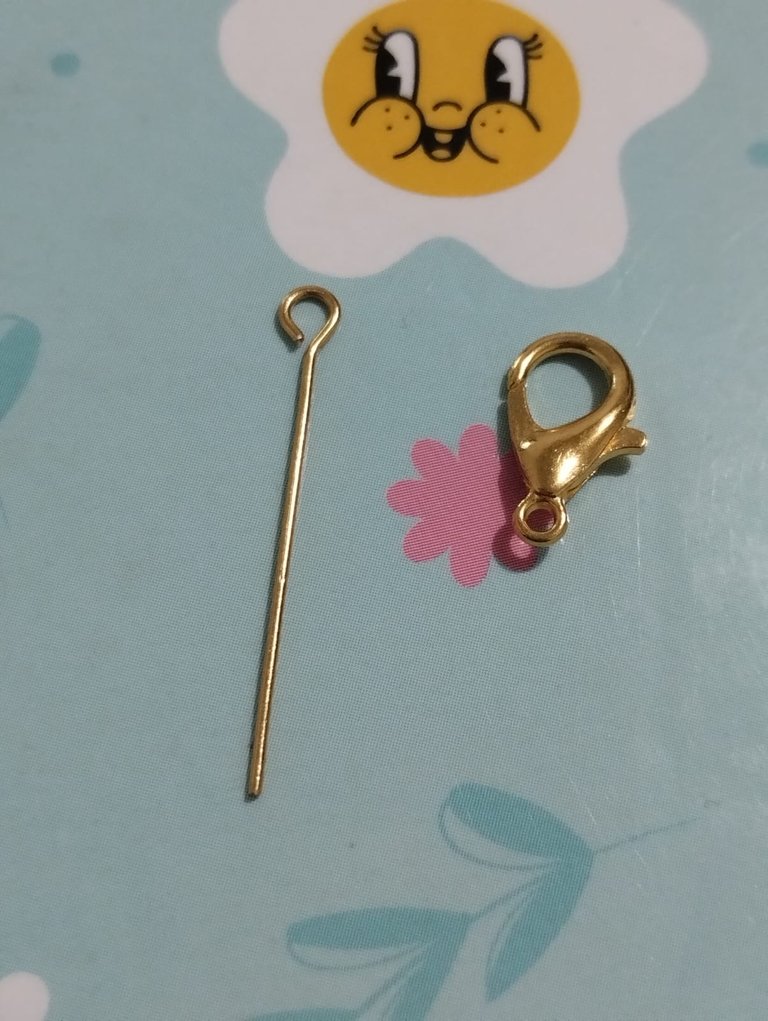
In porcelanicron works, we will always dye the porcelain first. Once we have pigmented everything, starting with the lighter colors and moving towards the darker ones. Now we make a 1.5 centimeter ball, when flattened we will have a circumference of about 2 centimeters approximately. We go through the piece with a pin that has a ring. | En los trabajos de porcelanicron, siempre vamos a teñir primero la porcelana. Una vez que hemos pigmentado todo, empezando por los colores más claros y avanzando hacia los más oscuros. Ahora hacemos una bola de 1.5 centímetros, al aplanarse tendremos una circunferencia de unas 2 centímetros aproximadamente. Atravesamos la pieza con un alfiler que tenga argolla |


Now with a portion of 0.5 centimeters, we divide it into two parts, round them with the palm of the hand and place them from the middle upwards. These will be the eyes of our character. With the help of stecas or any flat tool, we make two marks that are forming a vertex and will be the mouth. | Ahora con una porción de 0.5 centímetros, la dividimos en dos partes, redondeamos con la palma de la mano y las ubicamos de la mitad hacia arriba. Estos serán los ojos de nuestro personaje. Con la ayuda de estecas o cualquier herramienta plana, hacemos dos marcas que se encuentren formando un vértice y será la boca. |

We take another pin and we insert it from the bottom upwards but before, we insert a heart of dough, then at the tip of the pin we place a small yellow porcelain ball to be the center of the flower. | Tomamos otro alfiler y lo introducimos de abajo hacia arriba pero antes, introducimos un corazón de pasta, luego en la punta del alfiler colocamos una pequeña bola de porcelana amarilla para que sea el centro de la flor. |


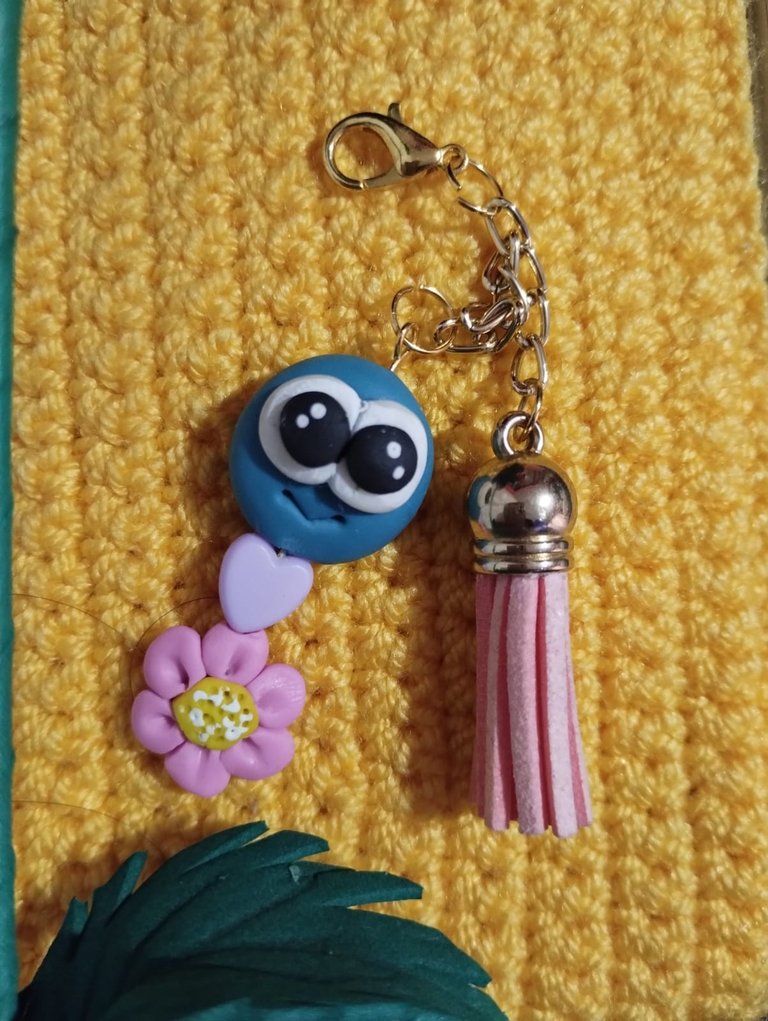
On the back of this yellow portion, we place a pink disk of dough. This will be the support for the six petals of the flower that we will assemble one by one on the front. I added two small black circles to make the pupils and a few dots of white paint gave life to our figure. | En la parte de atrás de esta porción amarilla, colocamos un disco de masa en color rosa. Este será el soporte de los seis pétalos de la flor que vamos armando uno por uno en la parte frontal. Agregué dos pequeñas circunferencias de color negro para hacer las pupilas y unos puntitos de pintura blanca le dieron vida a nuestra figura. |

Now it is time to place the chain and the rings necessary to place the rest. In this case I used three rings. At one end, in the center and in the figure. In the ring at the end place the tassel. This tassel is all pink leather and its base is golden, I thought it was the perfect complement for this design. At the other end I had already placed the main figure and in the center I added the parrot beak hook. | Corresponde ahora colocar la cadena y las argollas necesarias para colocar lo demás. En este caso utilicé tres argollas. En un extremo, al centro y en la figura. En la argolla del extremo coloque la borla. Está borla toda es toda de cuerina rosa y su base es dorada, me pareció el complemento perfecto para este diseño. En el otro extremo ya había colocado la figura principal y al centro agregué el gancho pico de loro. |


It is very nice to see how everything is taking shape. At first it was just a cold porcelain ball with no color. After dyeing and working some geometric shapes. Not to say that they are just circles, a beautiful figure is born. That is why I will always encourage you that if you have the opportunity to work with this noble and fun material, do not stop doing it. It will become a good addiction or rather one of the favorite materials and hobbies. That I can assure you. For now I say goodbye | Es muy agradable ver cómo todo va tomando forma. Al principio era solo una bola de porcelana fría sin color. Después de teñir y trabajar algunas formas geométricas. Por no decir que son solo círculos, nace una hermosa figura. Es por ello que siempre voy a animarles que si tienen la oportunidad de trabajar con este noble y divertido material, no dejen de hacerlo. Se volverá una adicción de las buenas o mejor dicho uno de los materiales y pasatiempos favoritos. Eso te lo puedo asegurar. Por ahora me despido |
Imágenes editadas en: inshot
Fotos tomadas con Redmi 10
Images edited in: inshot
Photos taken with Redmi 10
You can query your personal balance by
!DIYSTATSQue bonito trabajo, es tierno ☺️
Gracias querida. Me hace feliz que te haya gustado.
Saludos
Una ternurita amiga @artsugar, un idea genial y una temática muy delicada. Gracias por compartir
Gracias bella. Tu comentario es muy alentador.
Saludos
Me encanta, te quedó hermoso. Felicidades.
Muchas gracias amiga.
Saludos
Ains pero que colgante tan precioso, un trabajo verdaderamente hermoso y muy prolijo amiga como todas las bellezas que nos regalas.
Saludos bella...
!DIY
!PIZZA
Que bonitas palabras, amiga. Muchas gracias.
Bendiciones.
$PIZZA slices delivered:
@dayadam(4/5) tipped @artsugar
Bendiciones amiga, muy creativo, es toda una obra de arte
Gracias hermano. Tu tiempo, valoración y comentario son de gran estima.
Bendiciones
Es muy lindo y coqueto la imagen elaborado genial para colgarlo al llavero o cartera....gracias
Que linda. Gracias, amiga.
Aprecio cada palabra de tu comentario.
Saludos
Congratulations @artsugar! You have completed the following achievement on the Hive blockchain And have been rewarded with New badge(s)
Your next target is to reach 5500 replies.
You can view your badges on your board and compare yourself to others in the Ranking
If you no longer want to receive notifications, reply to this comment with the word
STOPTo support your work, I also upvoted your post!