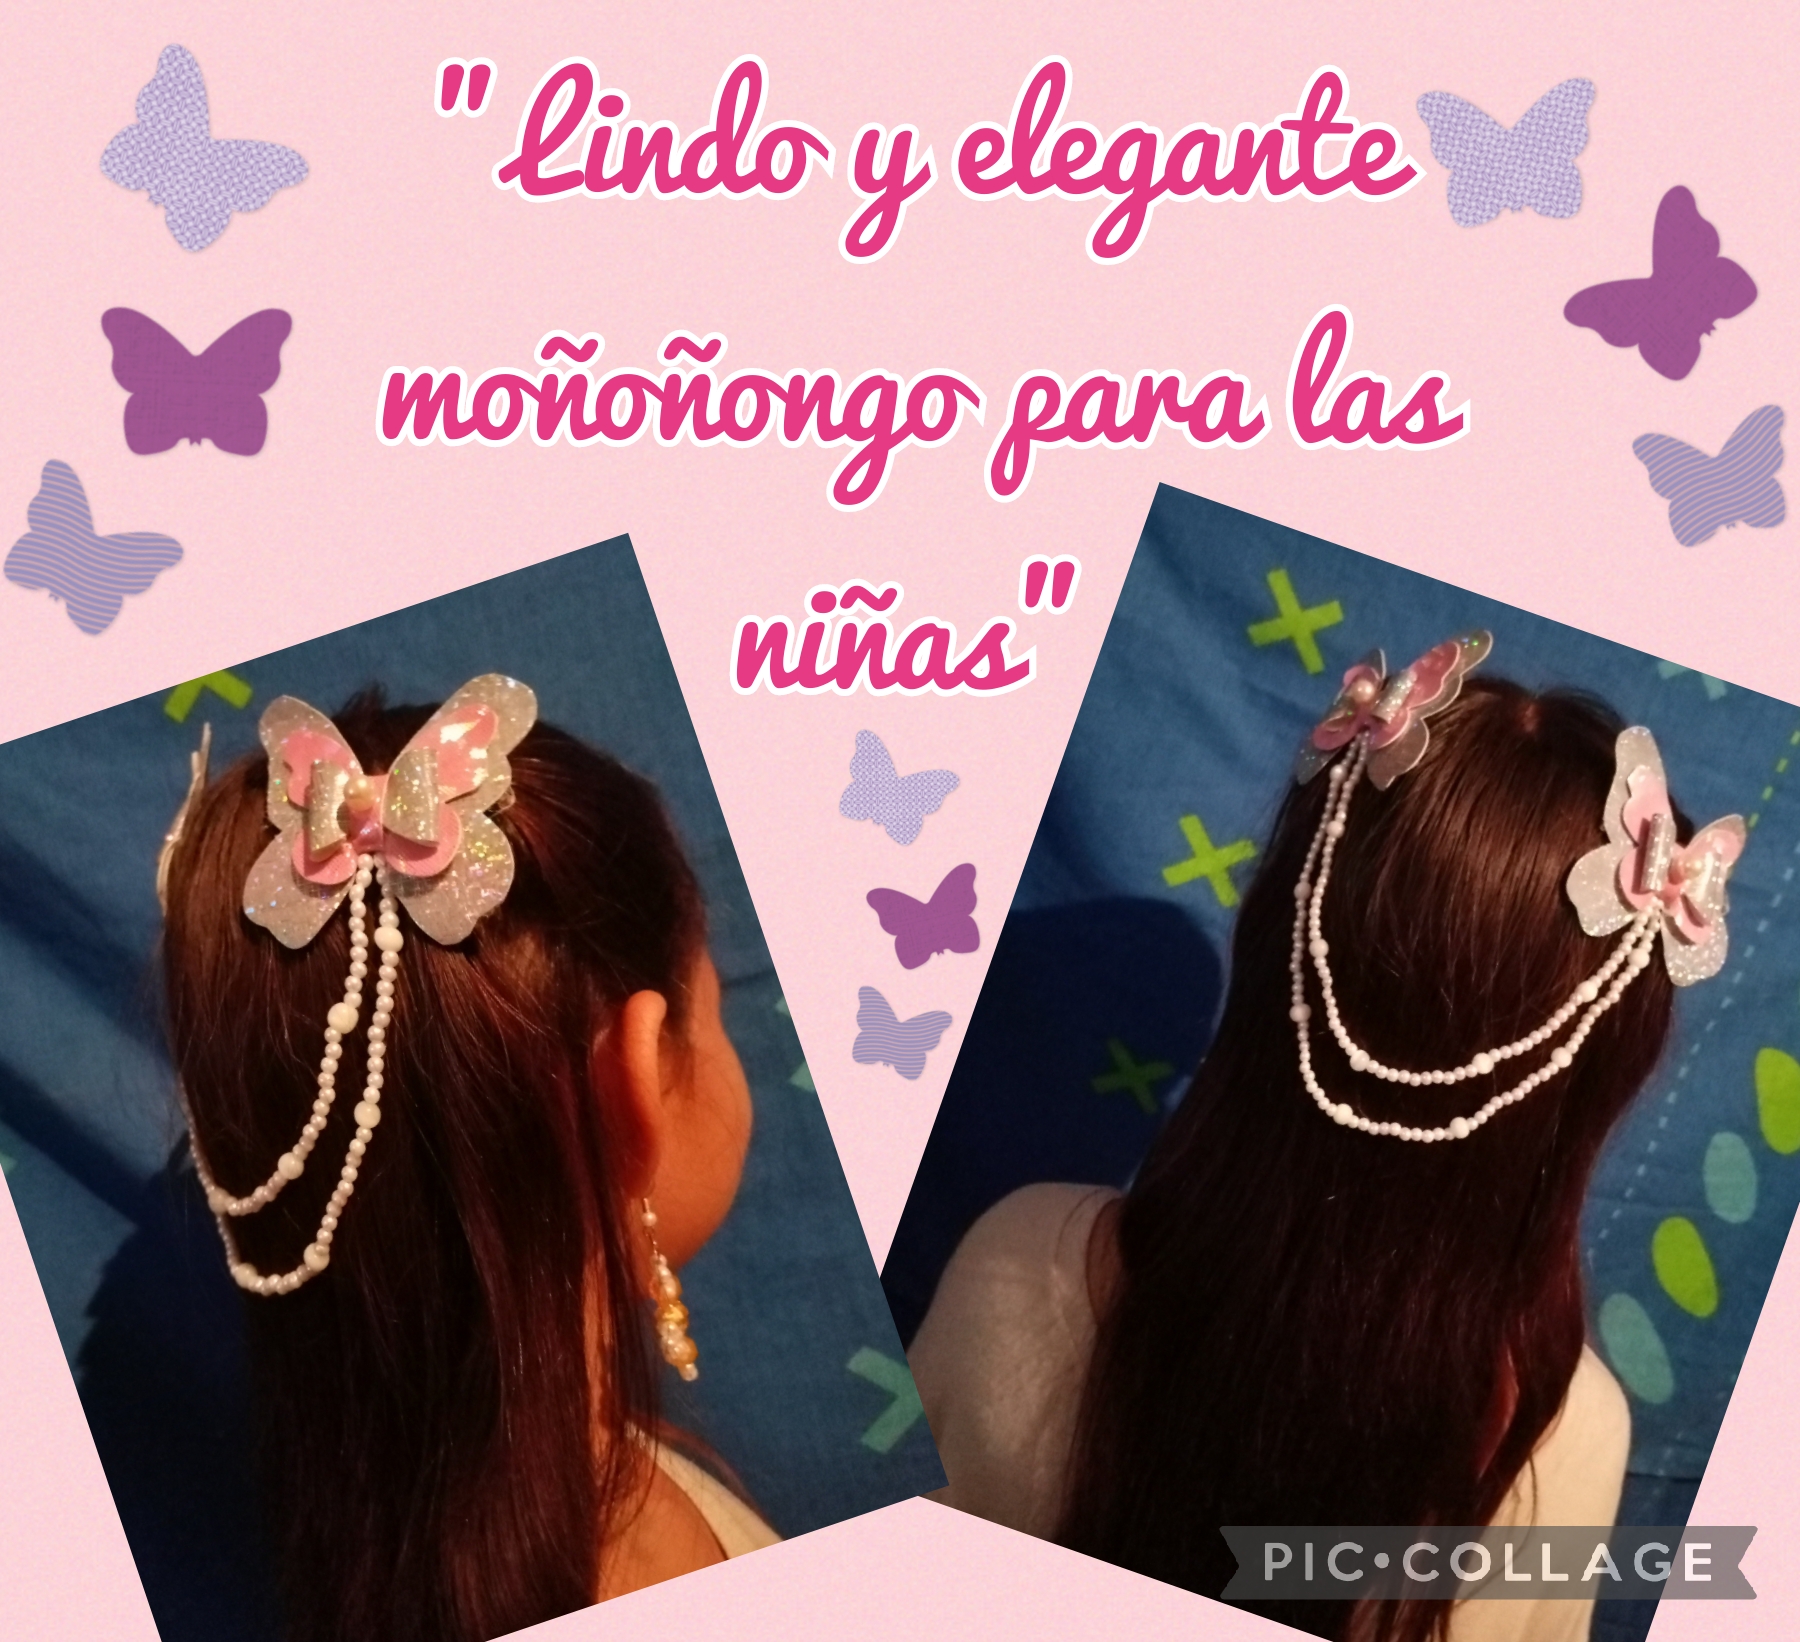
Buenas tardes, mi gente hermosa de esta comunidad Jewelry, reciban de mi parte un fuerte abrazo virtual, espero que se encuentren muy bien, y este pasando este fin de semana feliz en familia, Dios los bendiga a todos. Hoy les doy la bienvenida a mi blog, les traigo un tutorial que quiero compartir con ustedes, se trata de realizar un lindo moñoñongo para el pelo, es ideal para las niñas, y además lo realizaremos con materiales muy fáciles de conseguir y son muy económicos que es lo mas importante, manos a la obra que vamos a comenzar con el paso a paso, seguro les va a gustar.
Good afternoon, my beautiful people of this Jewelry community, receive a big virtual hug from me, I hope you are doing well, and you are spending this weekend happy with your family, God bless you all. Today I welcome you to my blog, I bring you a tutorial that I want to share with you, it is about making a cute bow for the hair, it is ideal for girls, and we will also do it with very easy-to-find materials and they are very cheap which is the most important thing, let's get to work that we are going to start with step by step, you will surely like it.
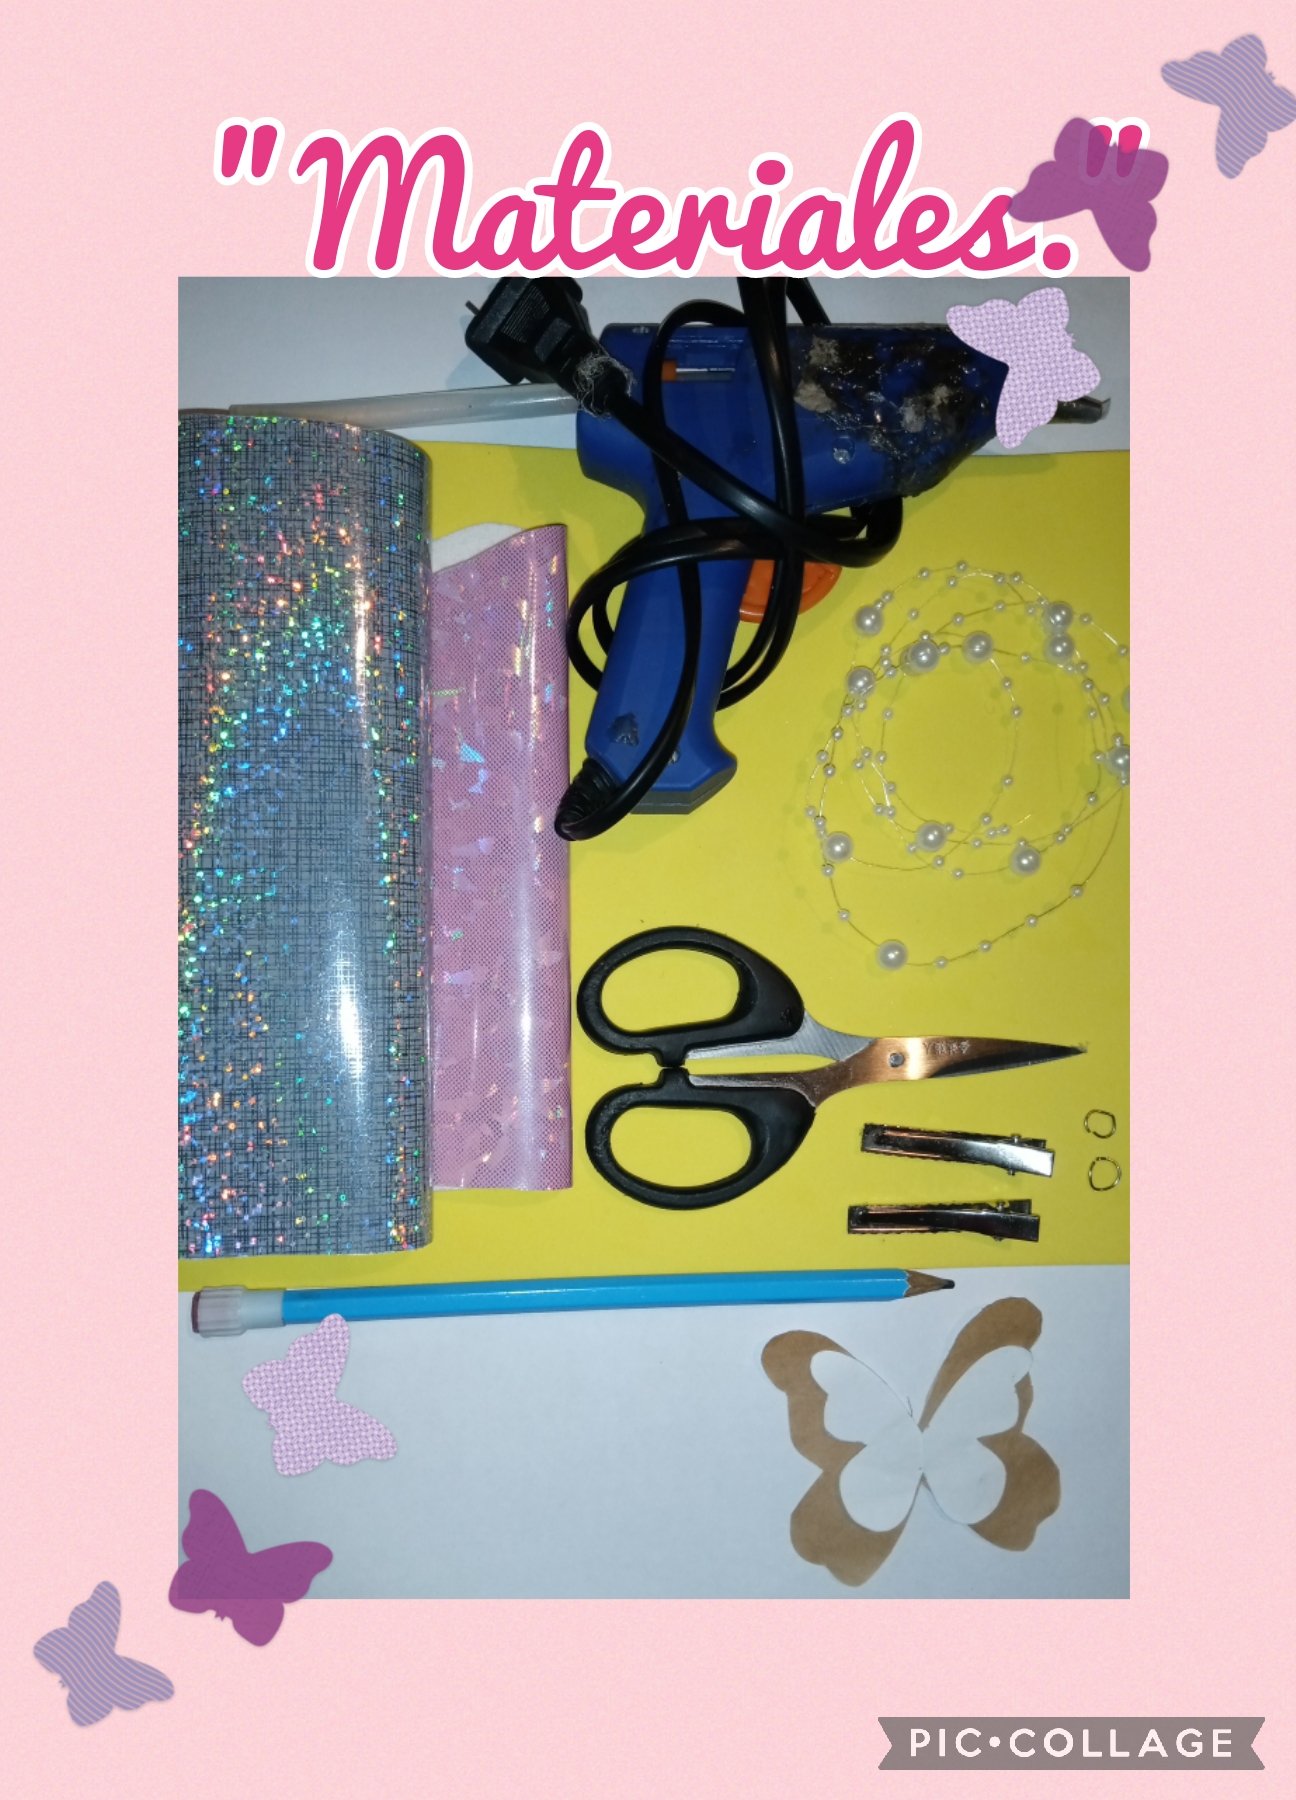
*Los materiales y herramientas que vamos a utilizar son los siguientes:
*Vinil o cuerina, de diferentes colores.
*Perlas pequeñas y cristales ojos de gato, color blancas.
*1 tijera.
*Hilo de nailon.
*2 ganchos de metal, para el pelo.
*1 lápiz.
*Patrones con la figura de unas mariposa.
*1 tijera.
*Pistola de silicona y barra de silicona.
*The materials and tools that we are going to use are the following:
*Vinyl or leather, in different colors.
*Small pearls and cat's eye crystals, white.
*1 scissors.
*Nylon thread.
*2 metallic hooks, for hair.
*1 pencil.
*Patterns with the figure of some butterflies.
*1 scissors.
*Silicone gun and silicone bar.
Let's start with the step by step of this fun tutorial.
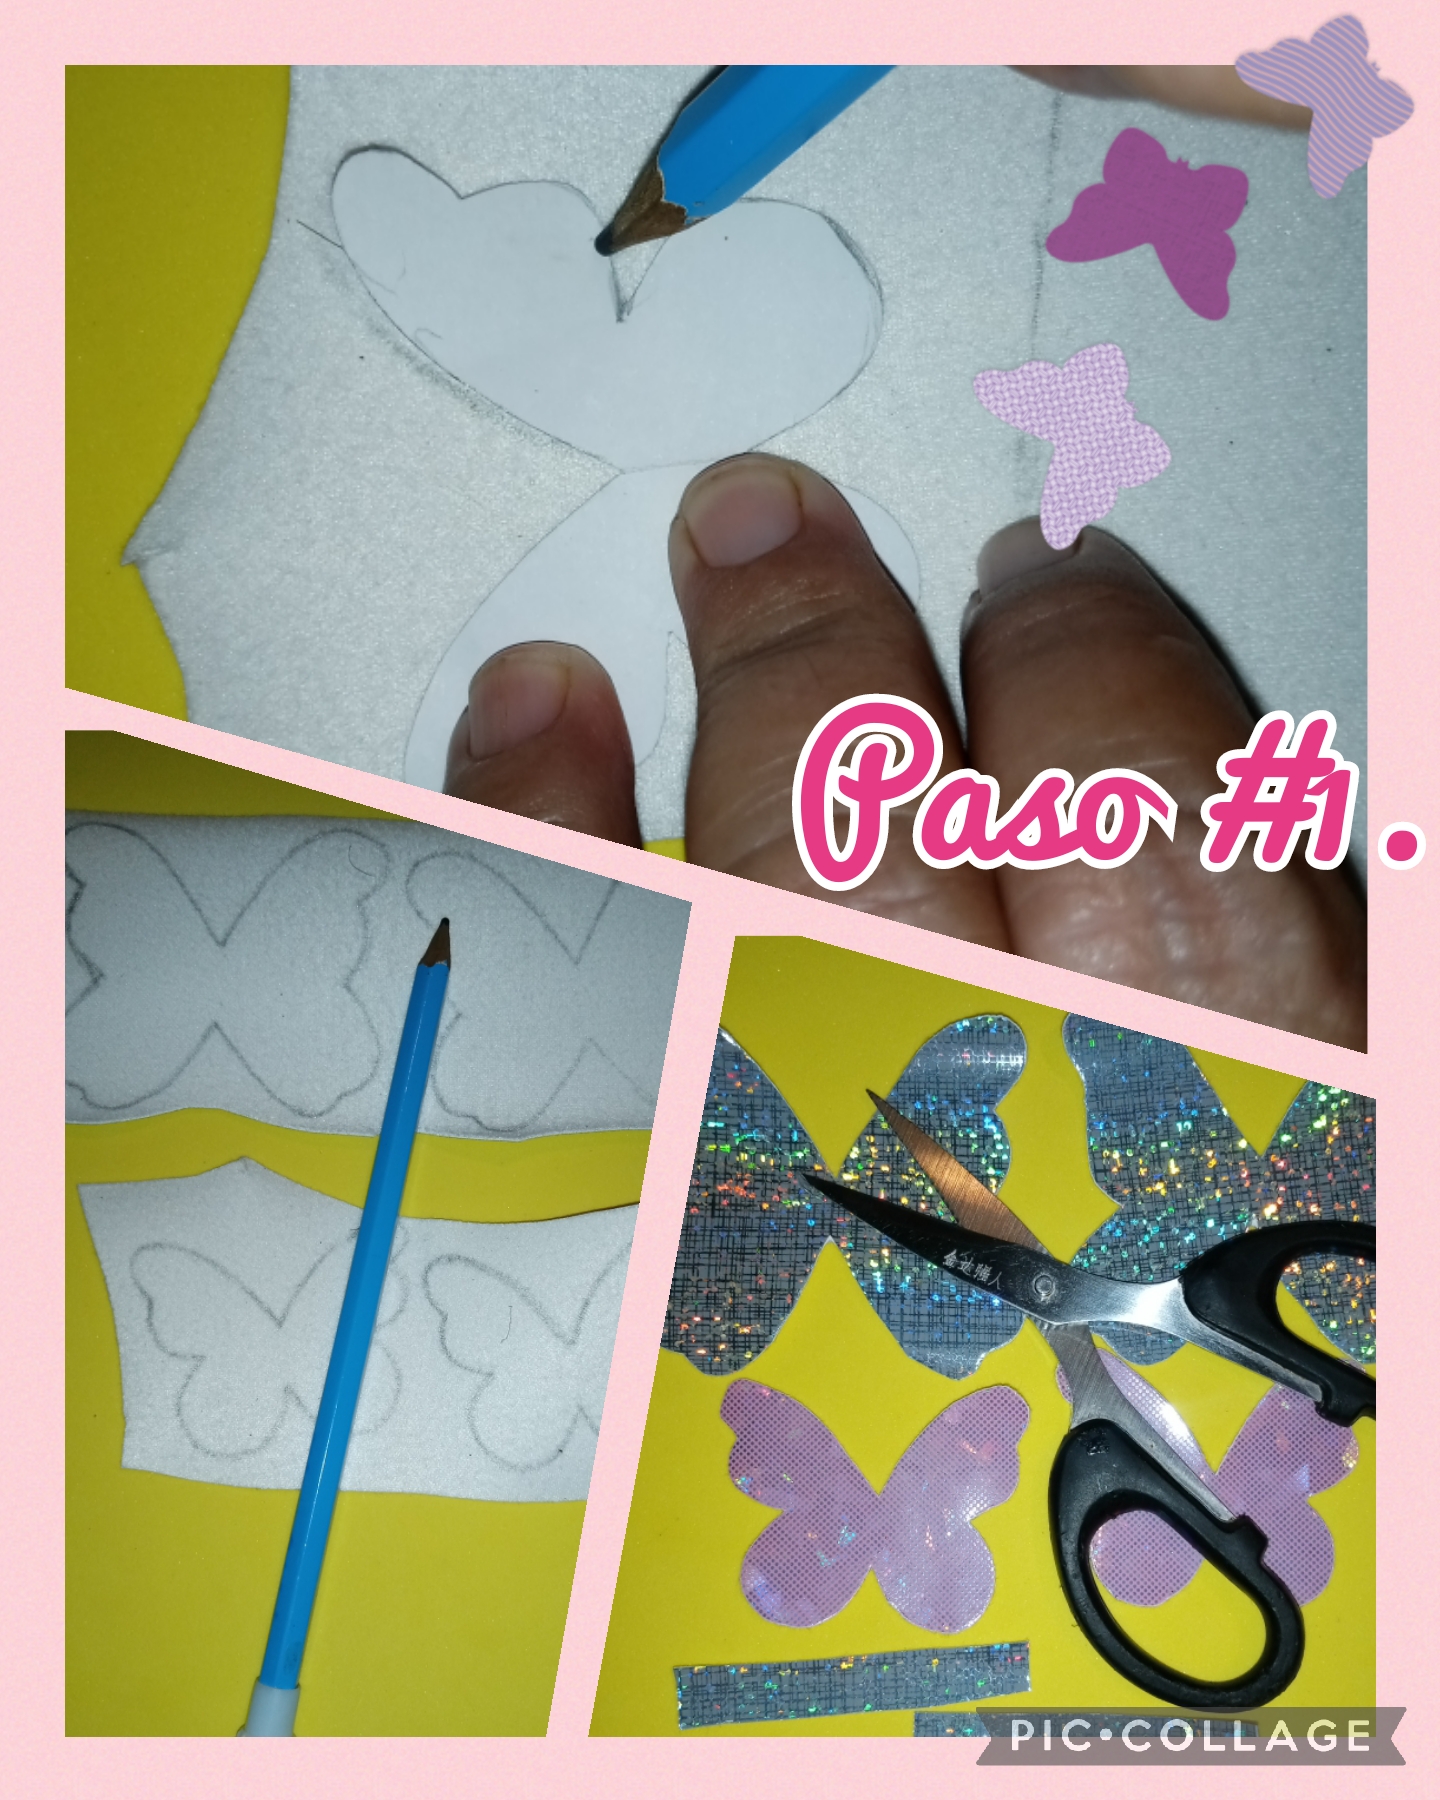
Step #1. We are going to start with the step by step to make a cute bow tie for girls, the first thing we are going to do is, we take the vinyl or leatherette, a pencil and the butterfly patterns and we are going to start marking the figures of the Butterflies, but before marking them we are going to place the vinyl or leatherette on the reverse side, and then we take the already marked figures and cut them out with the help of scissors, let's see the images.
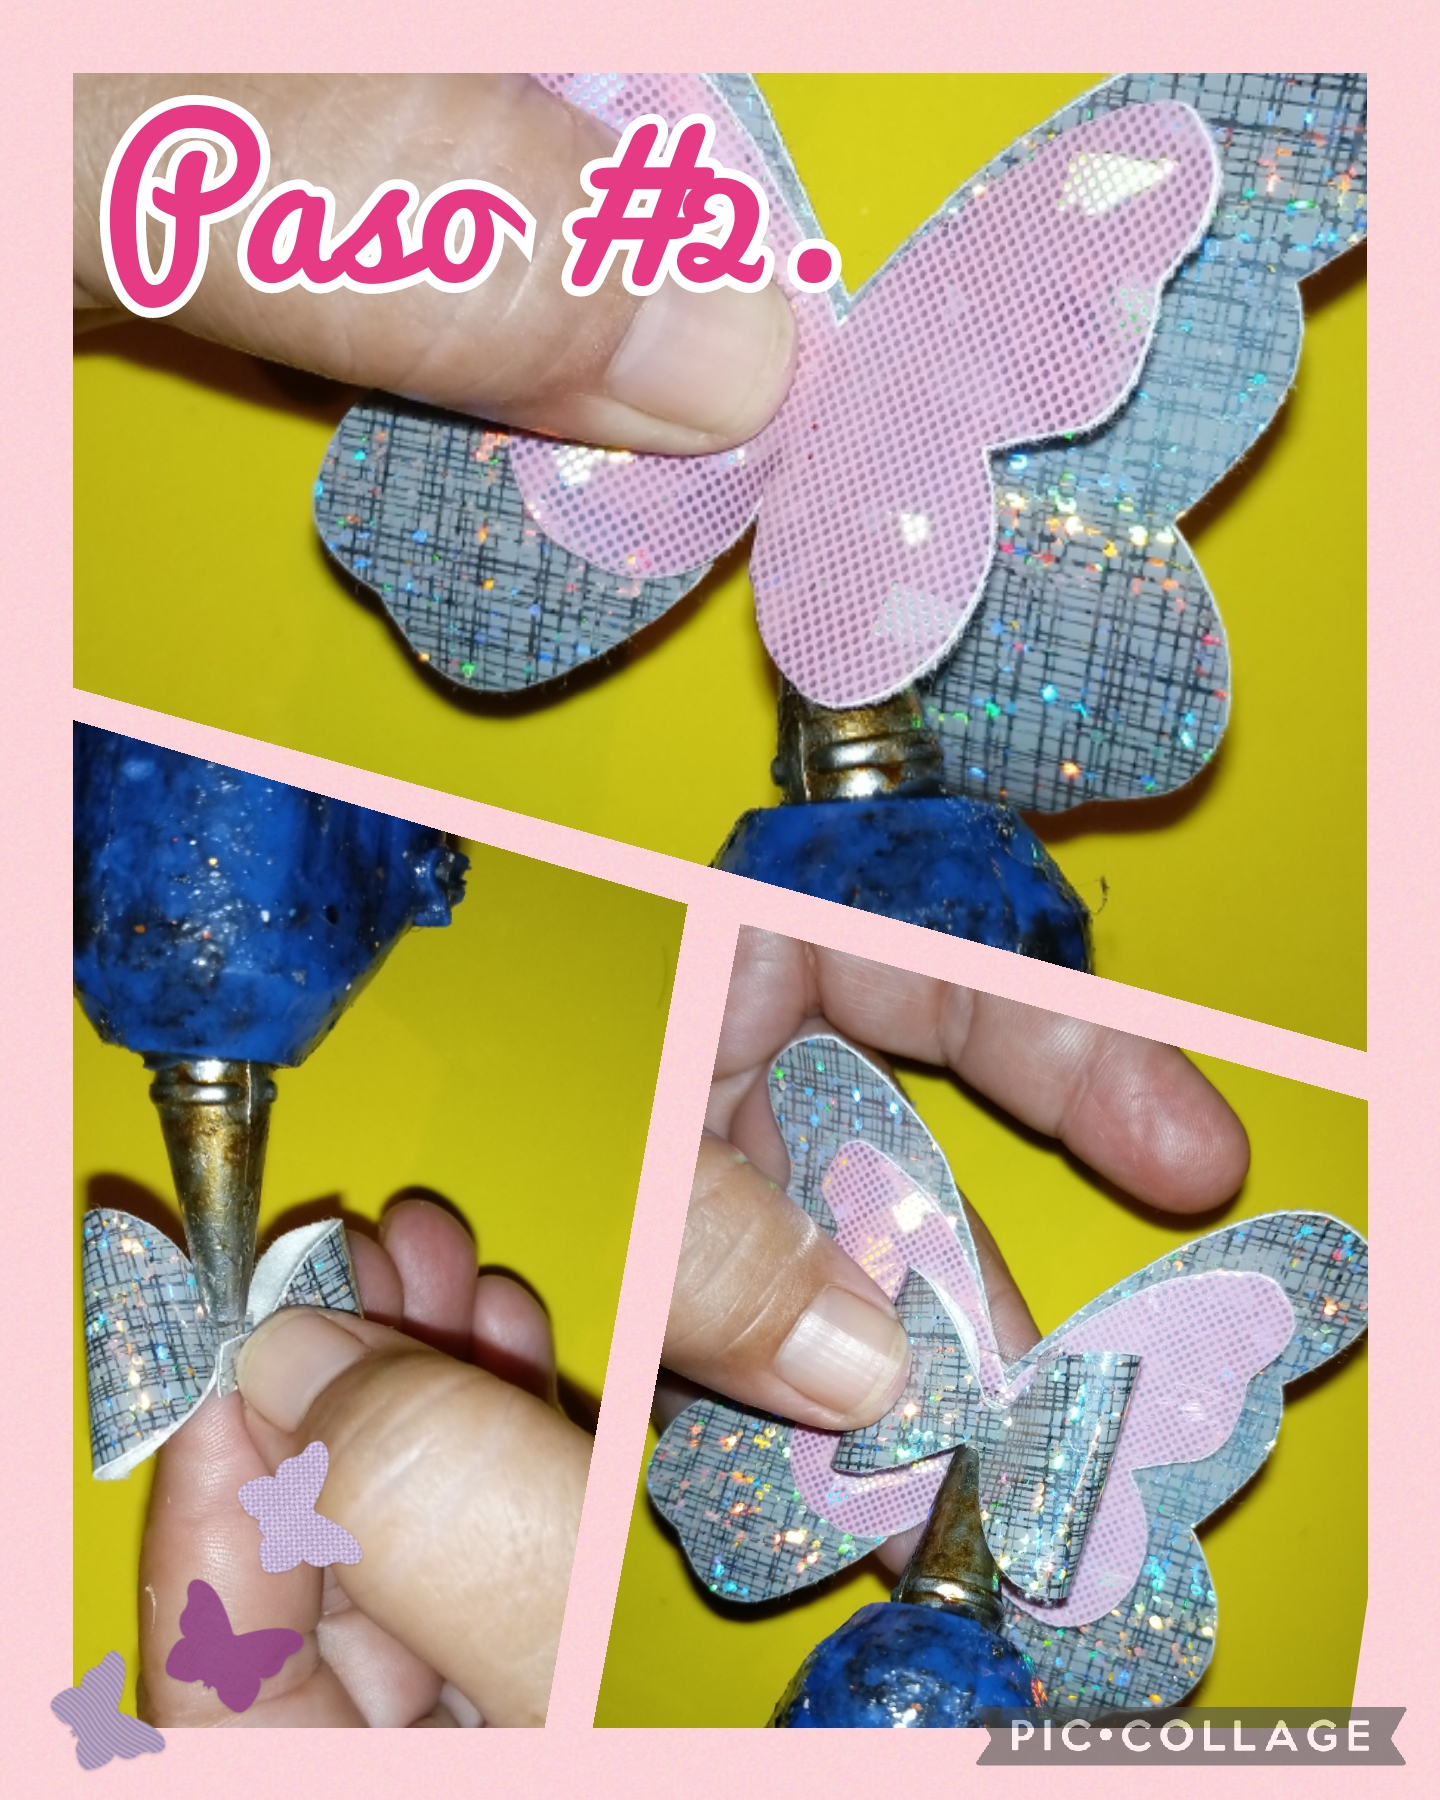
Step #2. All the butterfly-shaped silhouettes have been cut out, now we are going to join all the pieces, to form the butterflies, I say butterflies because we are going to form 2, and we do it as follows, with hot silicone we are going to glue the silhouette first bigger, then the smaller silhouette and in the center we are going to glue, the other piece that is a small bow, see the images.
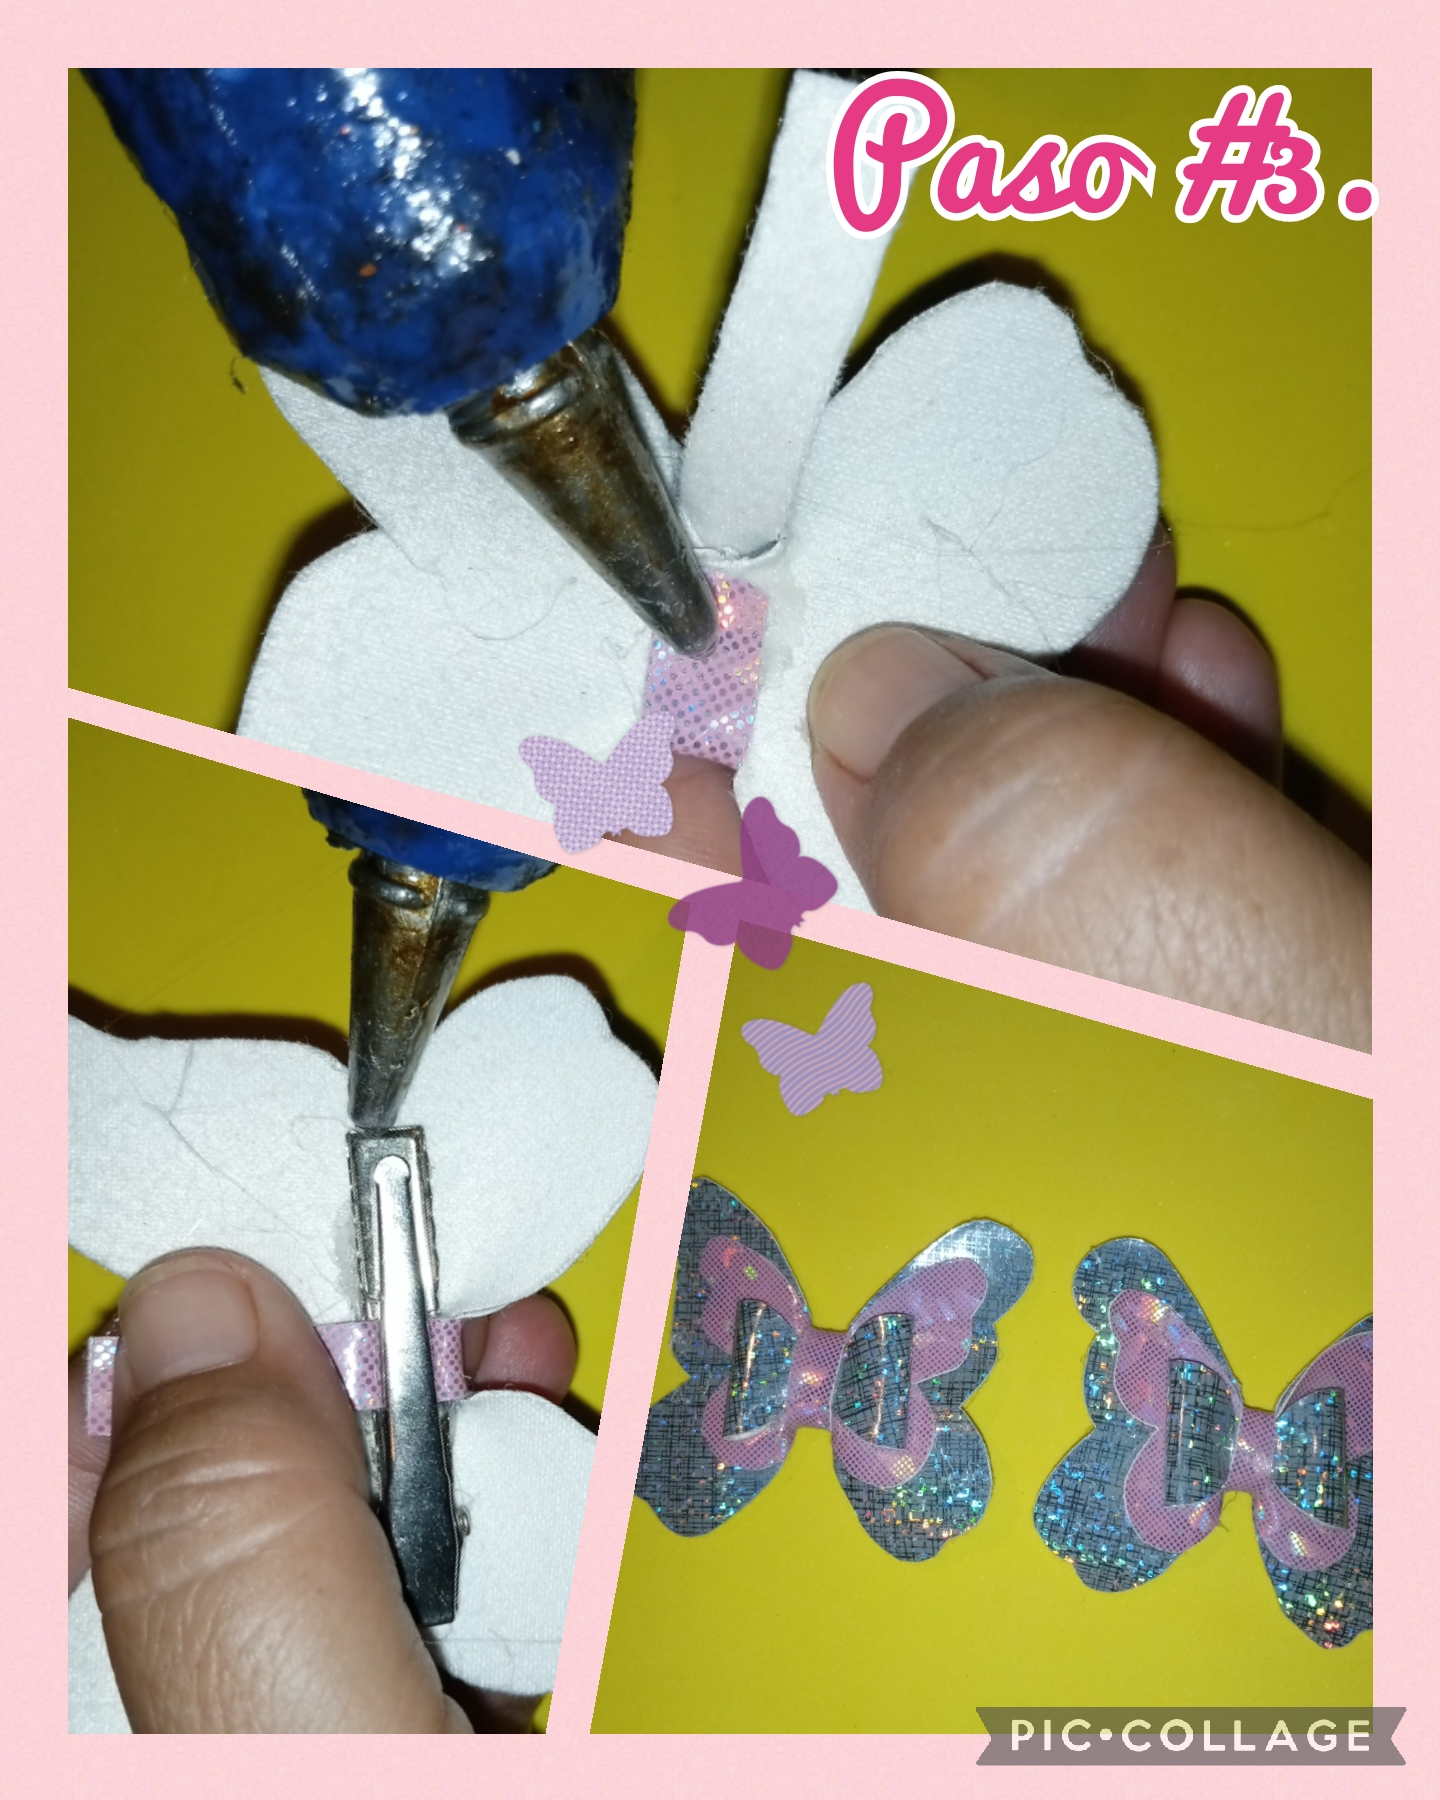
Step #3. Now in this step we are going to cut a 1 centimeter wide strip, as long as you want, with hot silicone we are going to paste it in the central part of the piece and in the back part we paste the hook, then we press the pull to join the whole piece, and see how the butterflies turned out, see the images.
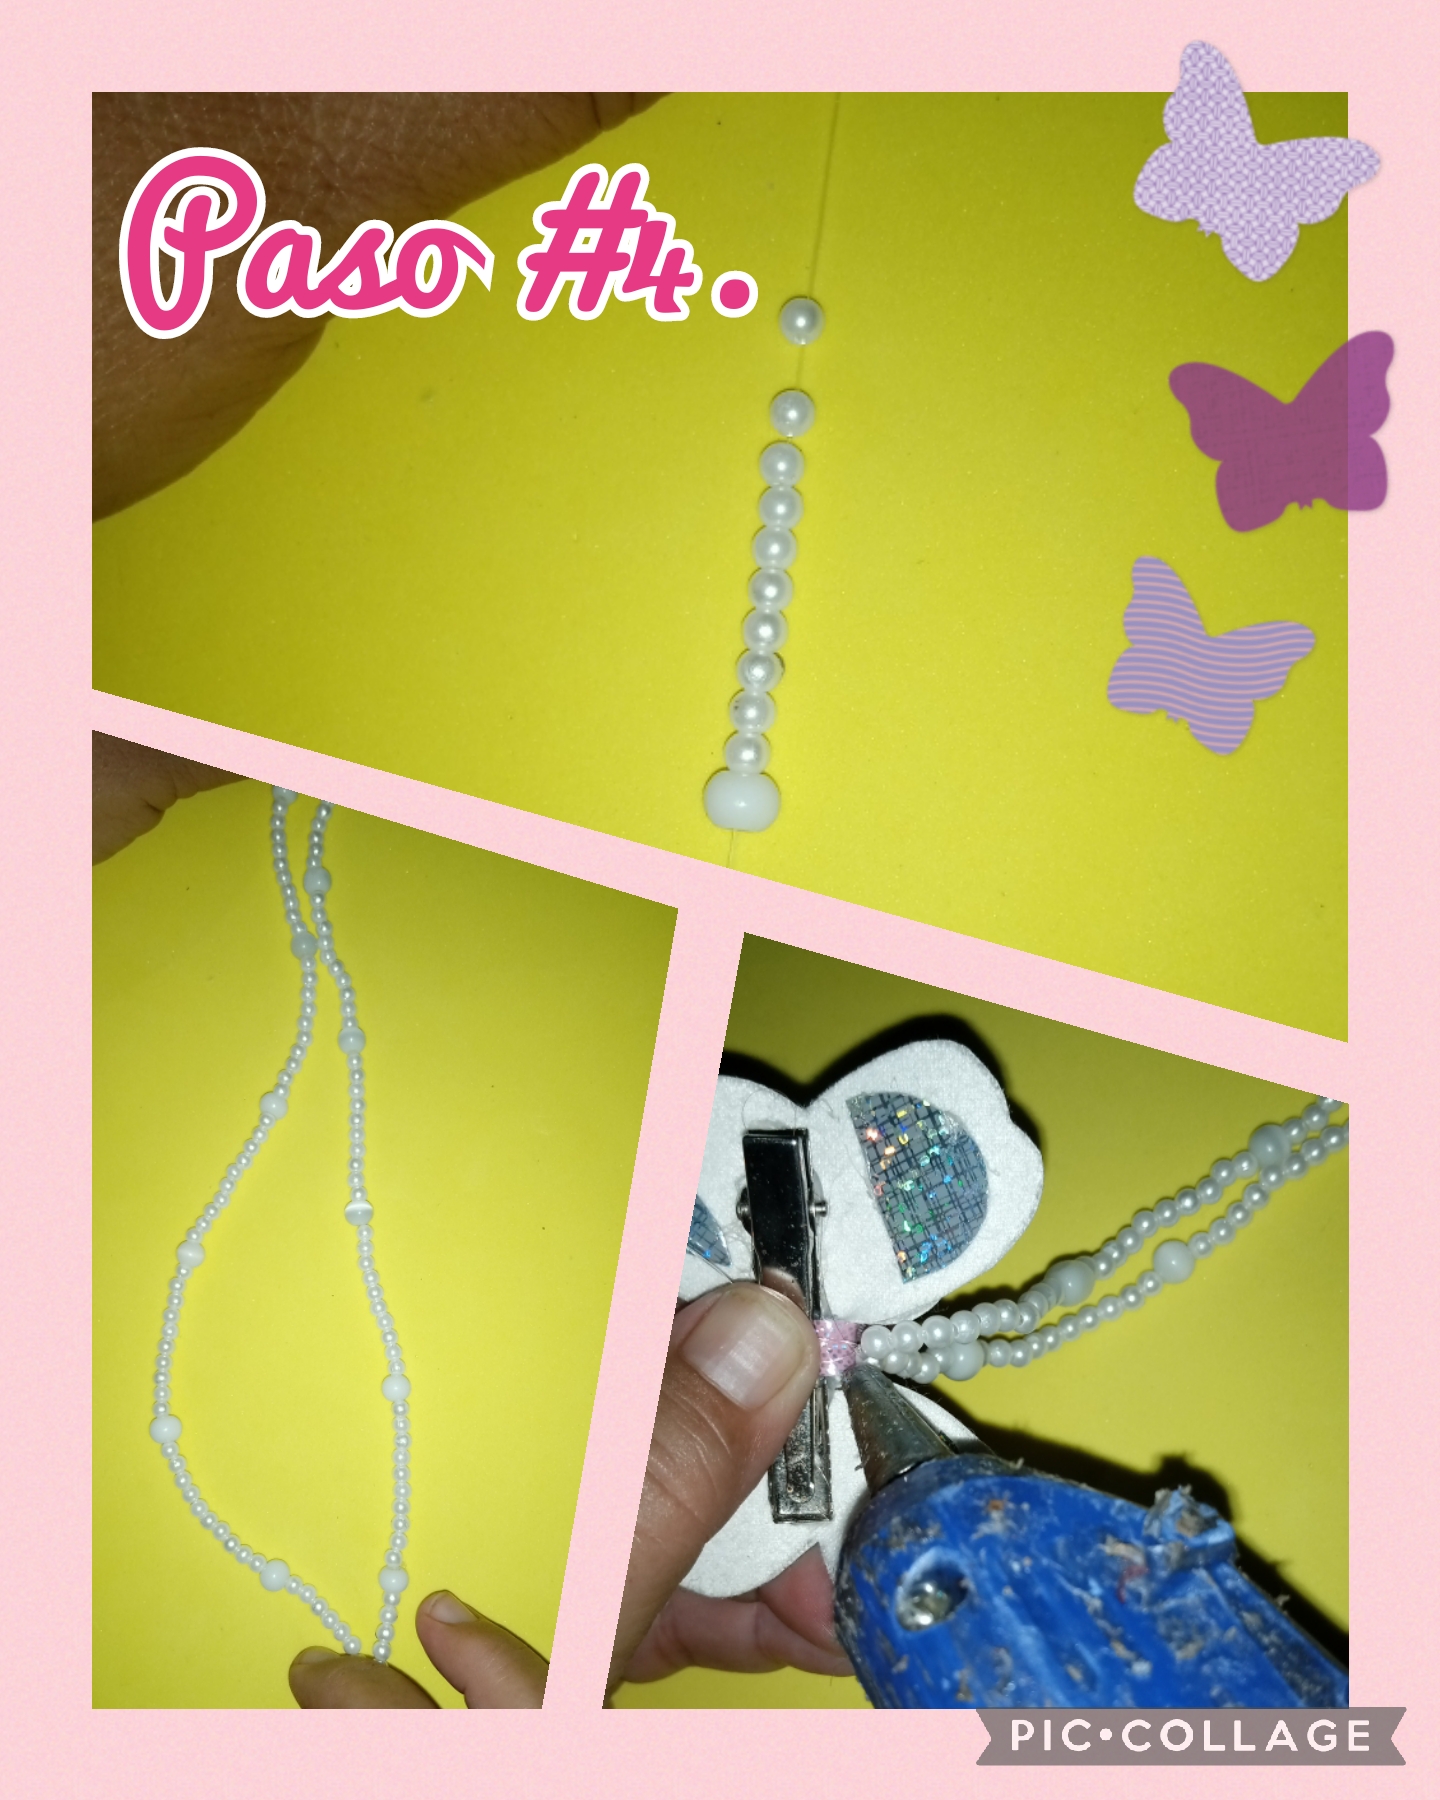
Step #4. Now in this step we are going to take 2 nylon threads, with the measurements of 15 centimeters and 10 centimeters and we are going to insert first 10 pearls and then 1 white cat's eye crystal, and so on until we reach the other end of the nylon thread, we are going to carry out this procedure on the 2 nylon threads, then we join the 2 ends of each nylon thread, making 2 knots at each end, so that it does not come loose, and to finish we glue it with hot silicone on the back of the butterflies , see the photos.
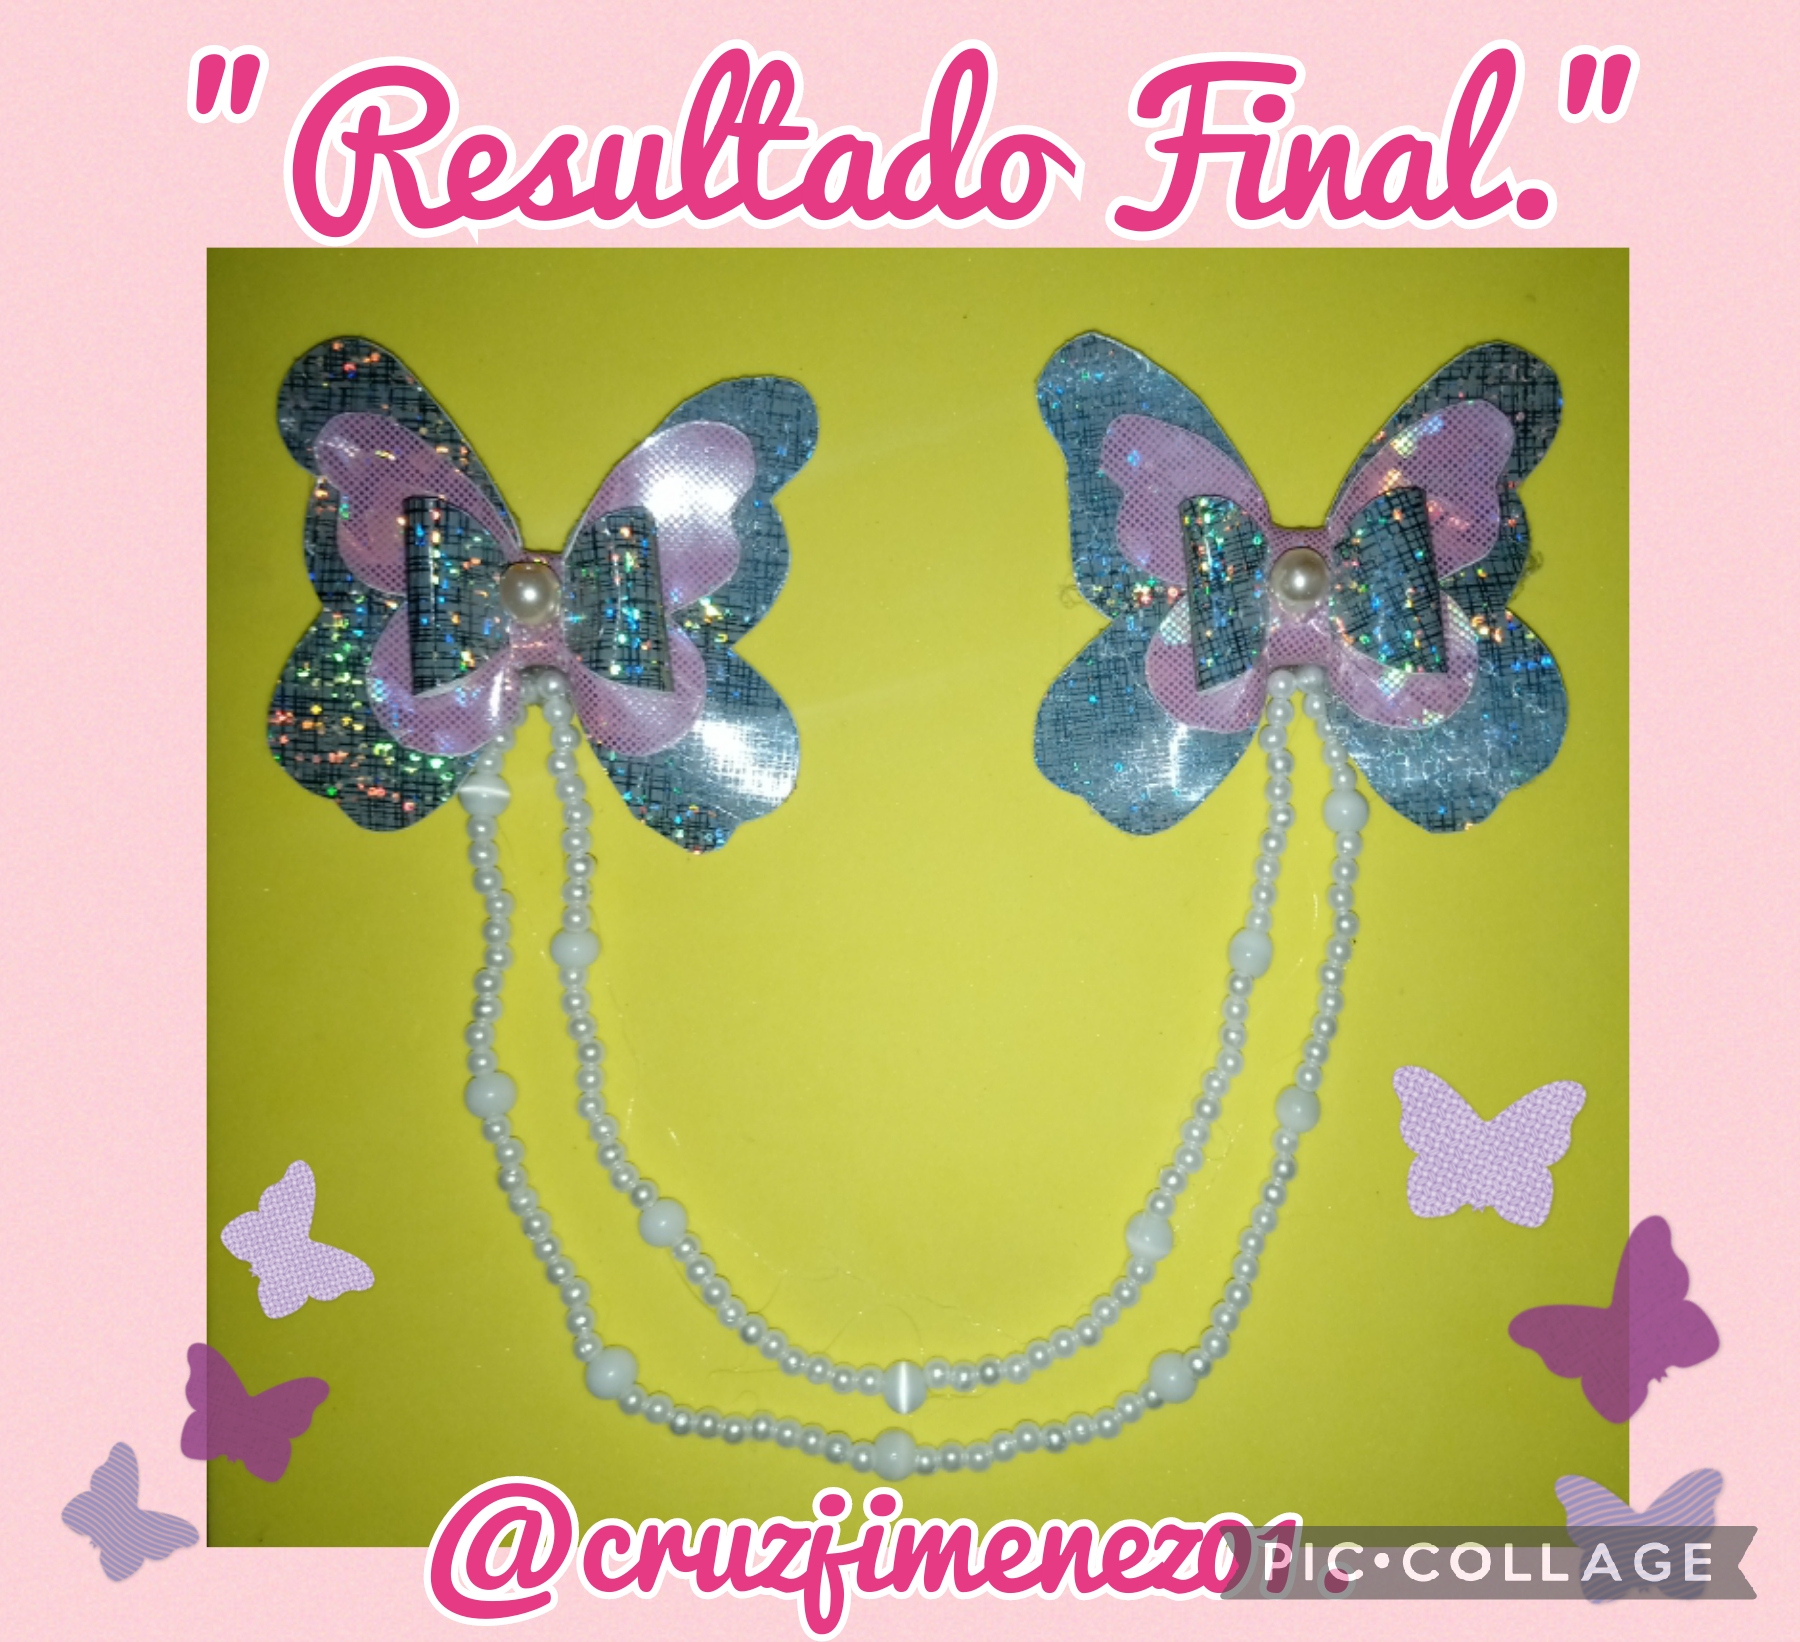
Once all the steps have been completed, this is the final result, a cute and elegant bow, ideal for girls, my girl loved it and it also looks pretty on her, thank you very much for visiting my blog, see you very soon with another idea creative, have a nice day, God bless you all.
Las fotos fueron capturadas con mi teléfono androide TECNO SPARK 6GO, editadas con la aplicación PIC-COLLAGE y el contenido fue traducido con el traductor de GOOGLE ESP-ING.
The photos were captured with my TECNO SPARK 6GO android phone, edited with the PIC-COLLAGE application and the content was translated with the GOOGLE ESP-ING translator.
~~~ embed:1650153460736872448 twitter metadata:MTY0NzI5MzE1NDMyMjc3NjA2Nnx8aHR0cHM6Ly90d2l0dGVyLmNvbS8xNjQ3MjkzMTU0MzIyNzc2MDY2L3N0YXR1cy8xNjUwMTUzNDYwNzM2ODcyNDQ4fA== ~~~
The rewards earned on this comment will go directly to the people( @dayadam, @zeshan120 ) sharing the post on Twitter as long as they are registered with @poshtoken. Sign up at https://hiveposh.com.
https://leofinance.io/threads/@dayadam/re-leothreads-agzbjfyt
The rewards earned on this comment will go directly to the people ( dayadam ) sharing the post on LeoThreads,LikeTu,dBuzz.
Hermoso moño amiga @cruzjimenez01 nos encanta las mariposas son muy hermosas, nos encanta además de las mariposas las perlas que les colocaste lo hace ver diferente y único, gran trabajo amiga un tutorial muy lindo.
Hola, si le coloque las perlas porque me gusta como quedan los trabajos, me alegra mucho que le haya gustado, muchas gracias. Saludos.
Que trabajo tan bonito,resalta bastante, las mariposas están muy lindas y aunada a las perlas se ve espectacular.
Gracias por compartir tan lindo trabajo @cruzjimenez01, Saluditos... ✨
Hola, gracias de verdad me alegra mucho que te haya gustado. Saludos y bendiciones...
Hermoso accesorio para niña amigas ...genial trabajo
Hola, cariño muchas gracias... Me siento muy contenta porque le gustó mi trabajo...
Hermoso trabajo amiga @cruzjimenez01 y se le ve muy bonito a la modelo .
Hola, muchas gracias me siento bastante contenta porque le gustó mi trabajo y la modelo está muy contenta con su accesorios. Saludos y bendiciones...
Está bellísimo. Gracias por compartir el paso a paso 👍