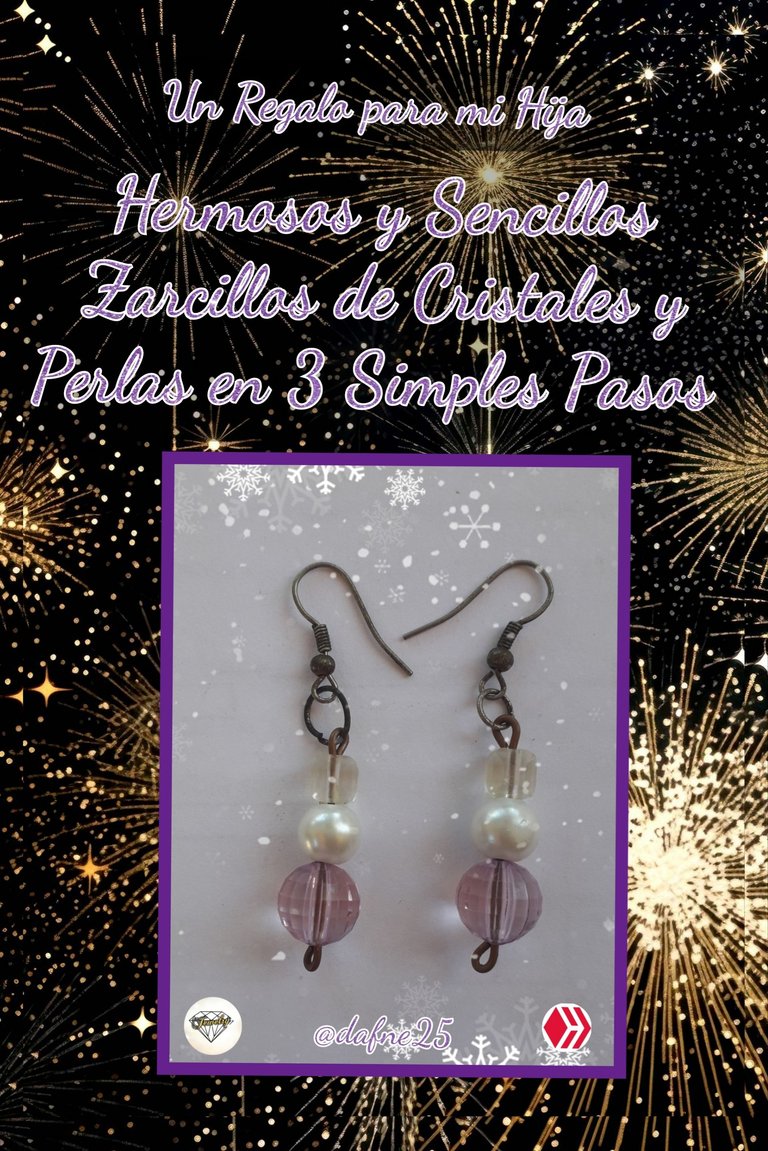

Buenas tardes queridos amigos de Hive y Jewelry, cómo están?, espero les haya ido muy bien en este hermoso día y que estén teniendo un hermoso inicio en este año 2024. Hoy les quiero compartir como hice unos hermosos zarcillos para mi hija, a ella siempre le ha gustado mucho el morado y en la cena de fin de año se estrenó un suéter de color morado que le regalé y por eso le quería hacer un hermoso par de zarcillos que combinaran bien con el suéter, el suéter tiene dos colores morado y blanco por lo que utilicé estos sencillos materiales, un cristal de color morado y una perla de color blanco para estos bellos zarcillos que le encantaron. Son muy fáciles de hacer, solo se hacen en 3 simples pasos y lucen hermosos así que espero les gusten tanto como a mí.
Los Materiales que vamos a necesitar son:
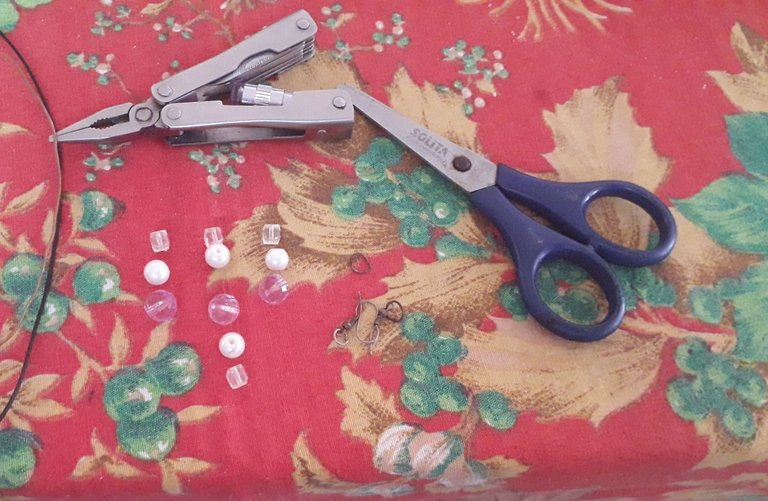
2 Cristales Redondos de color morado y tamaño mediano
2 Cristales en forma de cubo trasparentes y de tamaño mediano
Alambre de joyería
2 Argollas
2 Anzuelos para zarcillos
Pinza de Joyería
Procedimiento
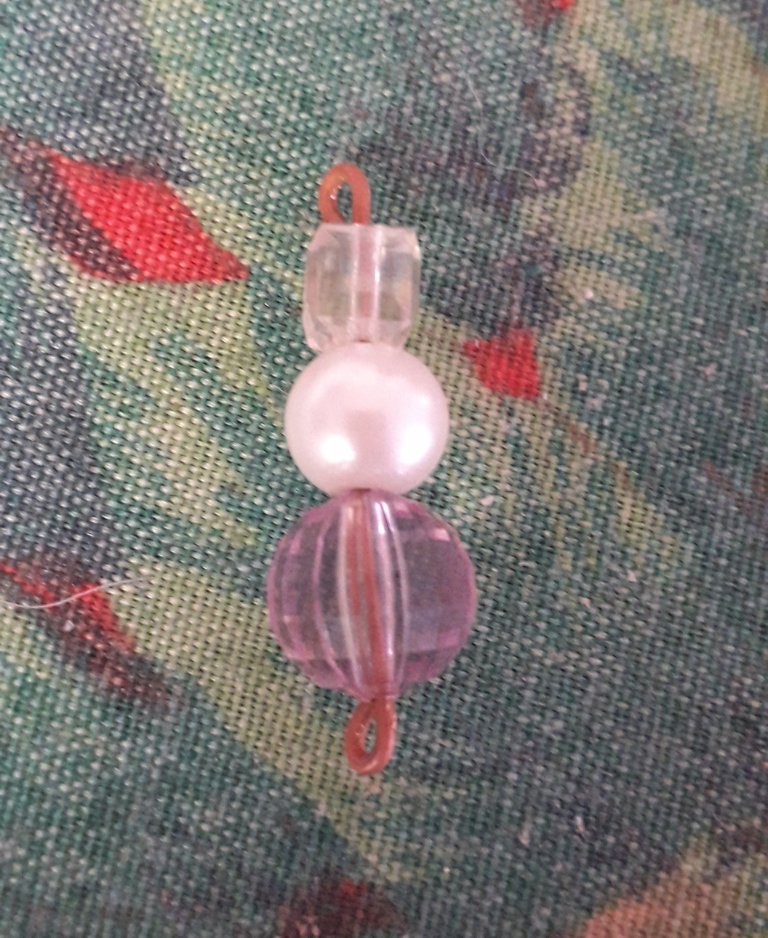
Para empezar vamos a cortar 6cm de alambre de joyería, en uno de los extremos vamos a hacer con ayuda de la pinza de joyería un aro pequeño para que lo que introduzcamos en el alambre no se salga. En el otro extremo del alambre vamos a insertar primero uno de los cristales redondos de color morado y tamaño mediano, luego una perla de color blanco y tamaño mediano, un cristal en forma de cubo trasparente y de tamaño mediano y volvemos a hacer un aro en el extremo del alambre con ayuda de la pinza de joyería para que no se desarme el zarcillo, en este aro debe caber una argolla por lo que se debe hacer pequeño pero suficientemente grande para que quepa una argolla.
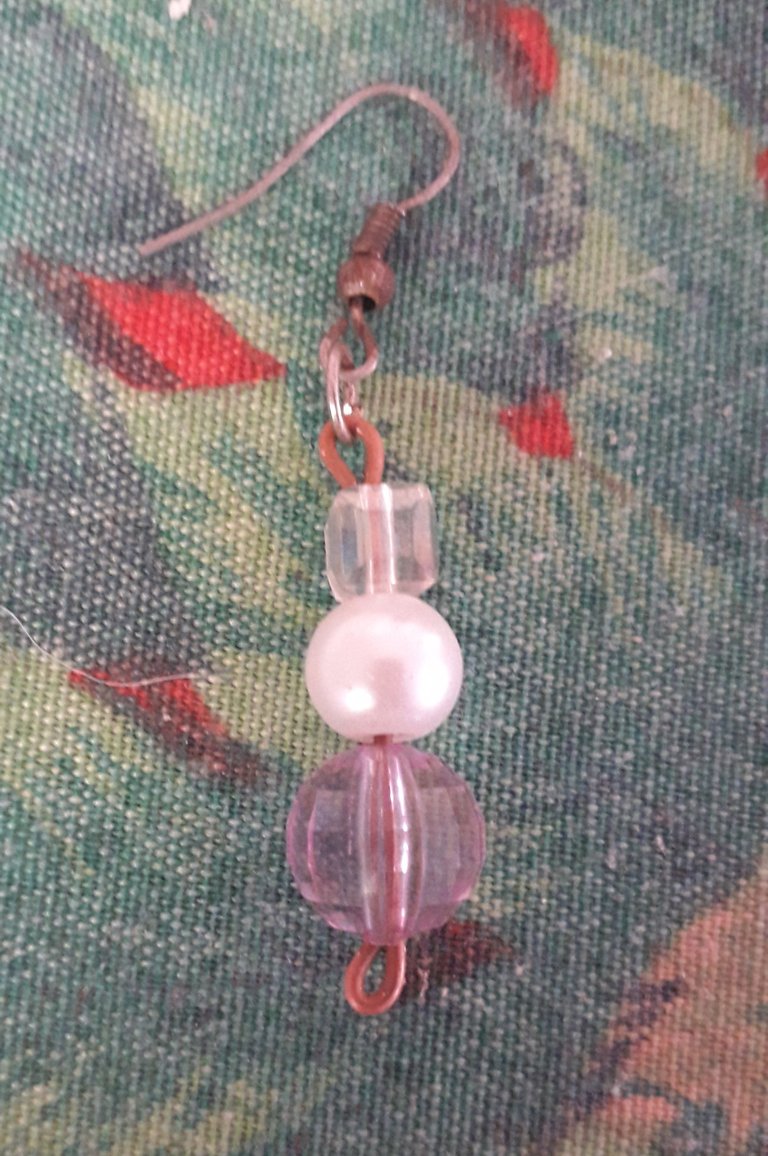
Ahora vamos a abrir la argolla con ayuda de la pinza de joyería y vamos a insertar en ella el aro del alambre de joyería del lado que tiene el cristal en forma de cubo trasparente y de tamaño mediano, añadimos también uno de los anzuelos para zarcillos y cerramos la argolla con la pinza de joyería.

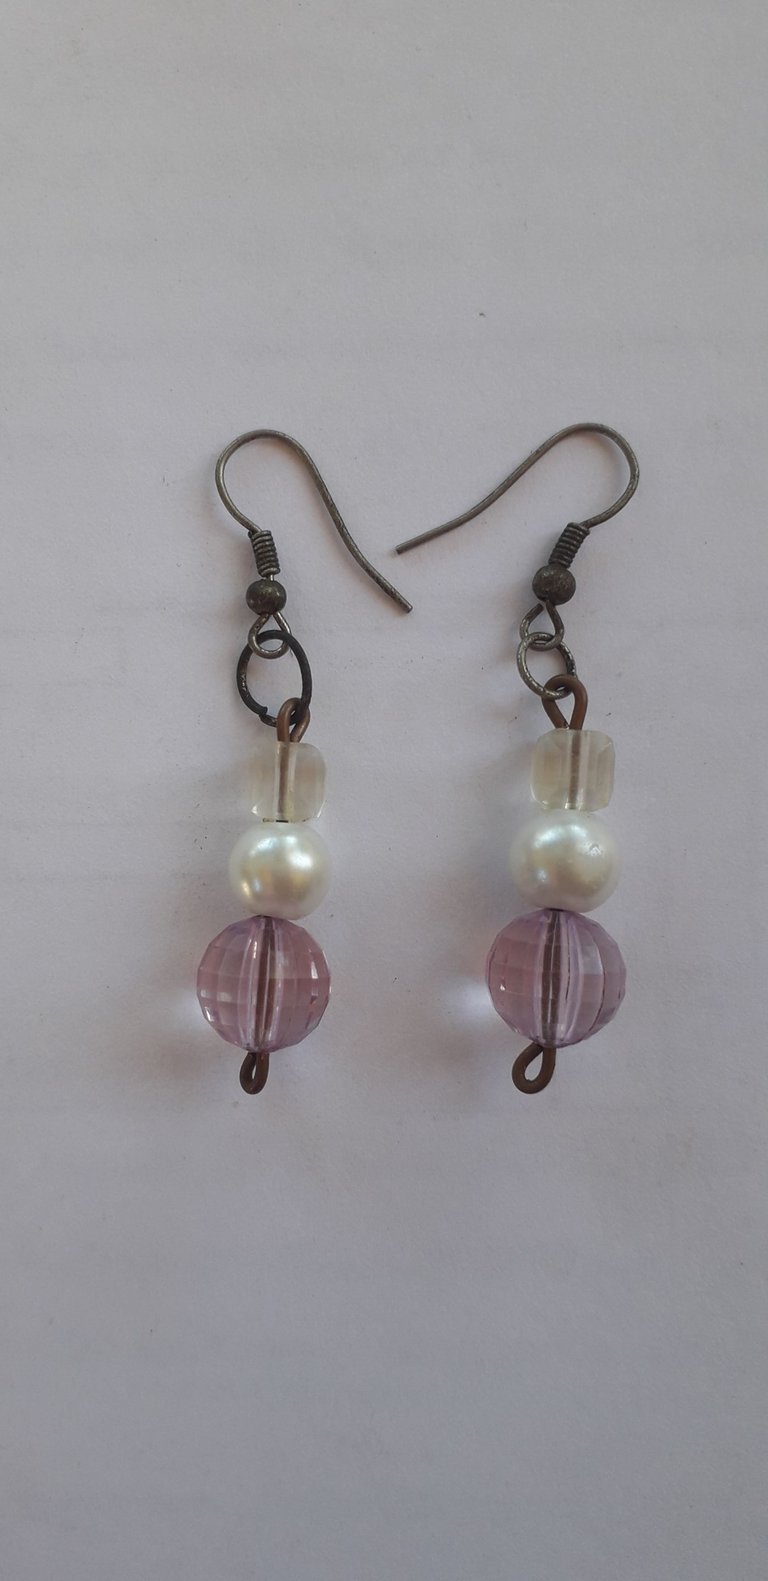
Ya tenemos uno de los zarcillos así que vamos a hacer la pareja de este, para esto vamos a cortar nuevamente 6cm de alambre de joyería y vamos a seguir nuevamente los pasos 1 y 2, es decir, en uno de los extremos de este alambre también vamos a hacer un aro pequeño con ayuda de la pinza de joyería para que lo que introduzcamos en el alambre no se salga. En el otro extremo del alambre vamos a agregar primero el segundo cristal redondo de color morado y tamaño mediano, luego la segunda perla de color blanco y tamaño mediano, el segundo cristal en forma de cubo trasparente y de tamaño mediano para volver a hacer un aro en el extremo del alambre con ayuda de la pinza de joyería. Este aro lo introducimos en una argolla abierta junto con el segundo anzuelo de zarcillos y cerramos la argolla. Listo, ya tenemos listo nuestro nuevo y sencillo par de hermosos zarcillos.
Hasta la próxima 👋
🎆“Feliz Año Nuevo 2024”🎆
Créditos
Traductor: App DeepL
Editores de fotos usados: editor de fotos Polish y Canva

Good afternoon dear friends of Hive and Jewelry, how are you, I hope you have been doing very well in this beautiful day and that you are having a beautiful start in this year 2024. Today I want to share with you how I made some beautiful earrings for my daughter, she has always loved purple and at the New Year's Eve dinner she had a purple sweater that I gave her and that's why I wanted to make her a beautiful pair of earrings that would match well with the sweater, the sweater has two colors purple and white so I used these simple materials, a purple crystal and a white pearl for these beautiful earrings that she loved. They are very easy to make, they only take 3 simple steps and look beautiful so I hope you like them as much as I do.
The Materials we are going to need are:
2 medium sized round purple crystals
2 medium sized clear cube-shaped crystals
Jewelry wire
2 earrings
2 earring hooks
Jewelry Clip
Procedure
To start we are going to cut 6cm of jewelry wire, at one end we are going to make with the help of the jewelry pliers a small ring so that what we introduce in the wire does not come out. At the other end of the wire we are going to insert first one of the round crystals of purple color and medium size, then a pearl of white color and medium size, a crystal in the form of transparent cube and medium size and we return to make a ring at the end of the wire with the help of the jewelry pliers so that the tendril is not disarmed, in this ring must fit a ring so it must be made small but large enough to fit a ring.
Now we are going to open the ring with the help of the jewelry pliers and we are going to insert in it the ring of the jewelry wire on the side that has the crystal in the shape of a transparent cube and medium size, we also add one of the earring hooks and close the ring with the jewelry pliers.
We already have one of the tendrils so we are going to make the couple of this one, for this we are going to cut again 6cm of jewelry wire and we are going to follow again steps 1 and 2, that is to say, in one of the ends of this wire we are also going to make a small ring with the help of the jewelry pliers so that what we introduce in the wire does not come out. At the other end of the wire we are going to add first the second round purple crystal of medium size, then the second white pearl of medium size, the second crystal in the shape of a transparent cube and of medium size to make again a ring at the end of the wire with the help of the jewelry pliers. This ring we introduce it in an open ring together with the second hook of tendrils and we close the ring. That's it, we have our new and simple pair of beautiful tendrils ready.
Until next time 👋
🎆"Happy New Year 2024"🎆
Credits
Translator: App DeepL
Photo editors used: Polish and Canva photo editor.
your daughter would surely have loved the earring. It looks so beautiful.
Lindos y fáciles de hacer amiga saludos