Hello dear hive community! 😉
¡Hola querida comunidad de hive! 😉
Once again it is a pleasure for me to write for the #Jewelry community and bring a simple tutorial to make our own jewelry. Personally I like to wear two or three bracelets on each hand, that's why, today I made two beautiful bracelets in very simple models and that will look really beautiful on our wrists... Without more to say, let's see what are the materials and the steps to follow.
Una vez mas es un placer para mi escribir para la comunidad de #Jewelry y traer un sencillo tutorial para realizar nuestra propia bisutería. Personalmente me gusta usar dos o tres pulseras en cada mano, es por ello, que hoy realicé dos hermosas pulseras en unos modelos muy sencillos y que se verán realmente hermosas en nuestras muñecas… Sin más que decir, veamos cuales son los materiales y los pasos a seguir.
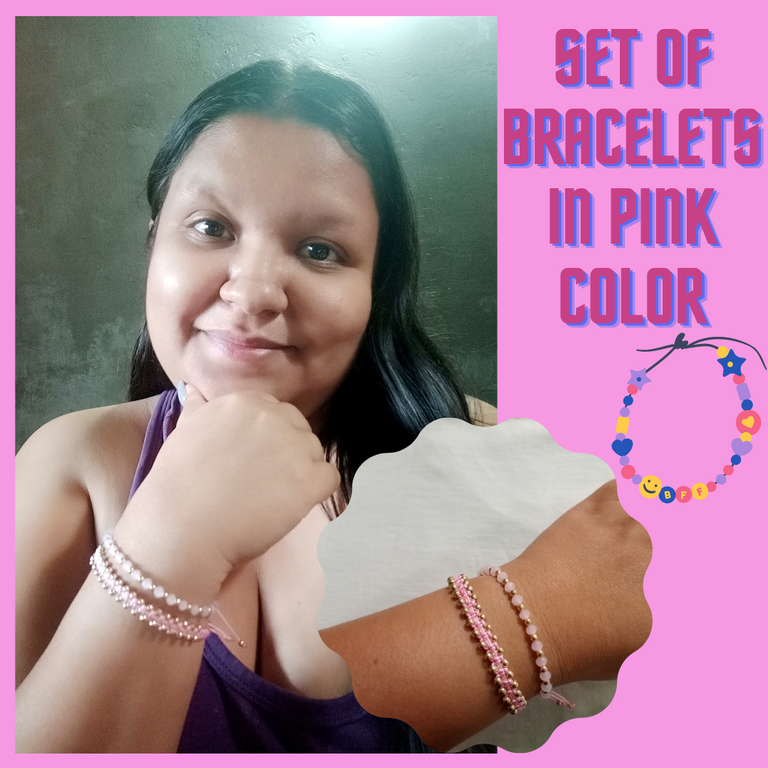
Imagen realizada con la página web de diseño gráfico y composición de imágenes Canva // Image made with the graphic design and image composition website Canva.

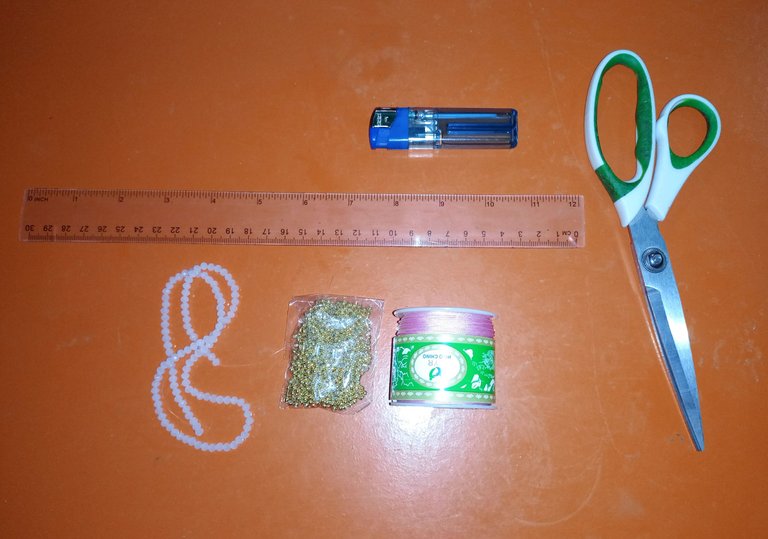
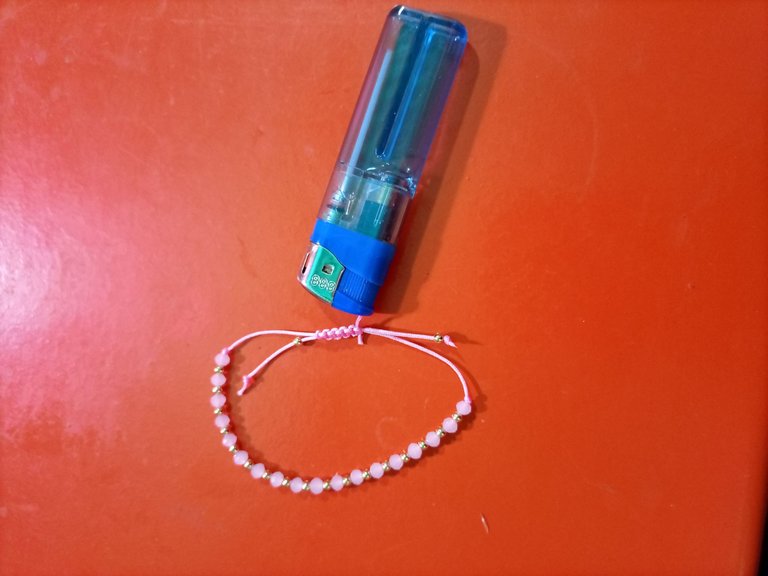
- Hilo chino de cualquier color
- Balines pequeños de plástico en color dorado
- Pedrería del color de nuestra preferencia
- Cinta métrica o regla
- Yesquero
- Chinese thread of any color
- Small plastic pellets in gold color
- Rhinestones in the color of your choice
- Measuring tape or ruler
- Tinder
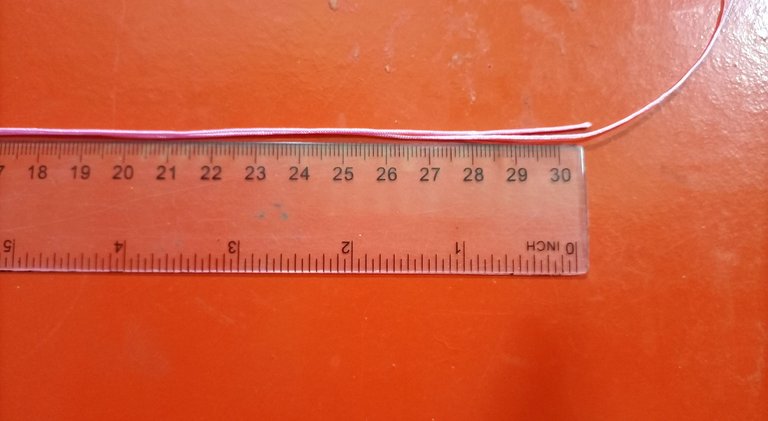
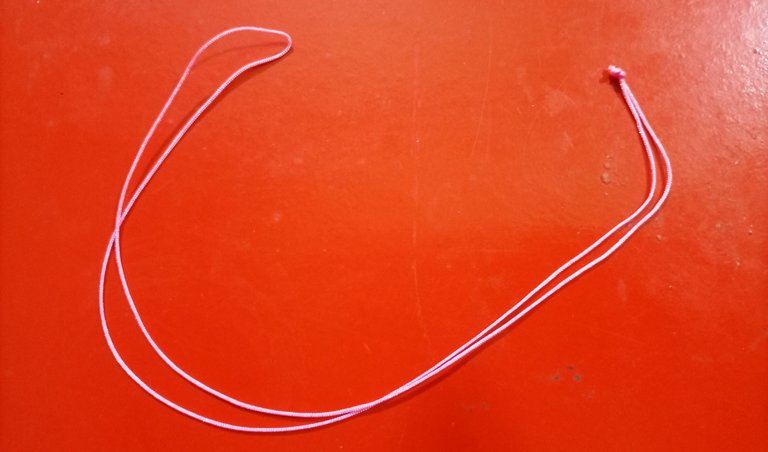
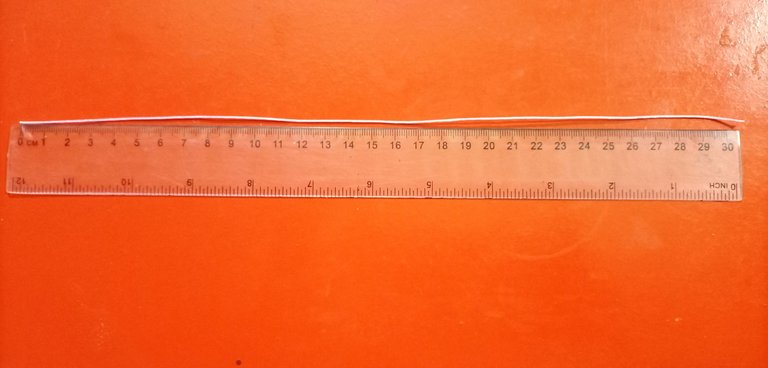
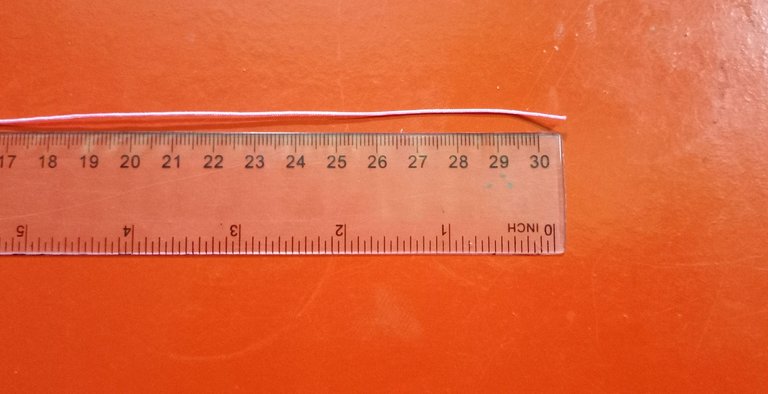
We will begin with the construction of our first bracelet, for this we will take the Chinese thread and with the help of the ruler or tape measure we will measure 30 cm. We will place the double thread and cut, this will be our base thread.
Comenzaremos con la construcción de nuestra primera pulsera, para ello tomaremos el hilo chino y con ayuda de la regla o cinta métrica mediremos 30 cm. Vamos a colocar el hilo doble y cortamos, este será nuestro hilo base.
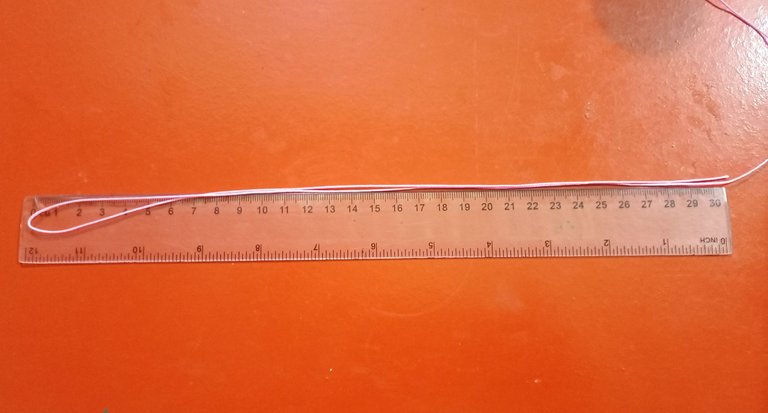
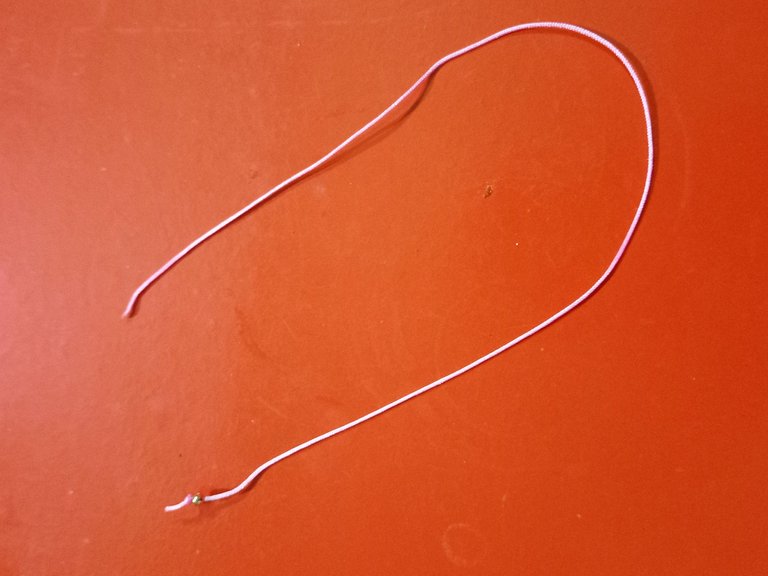
We will take the thread, fold it and tie a knot at the end of it
Tomaremos el hilo lo doblamos y haremos un nudo en la punta del mismo.
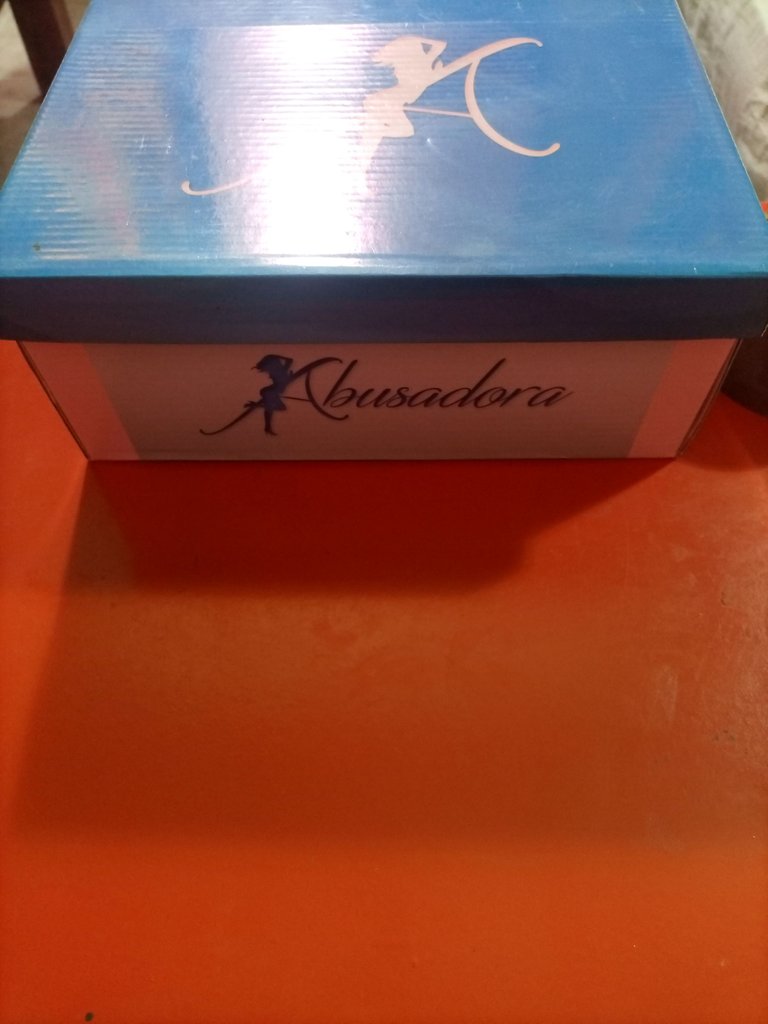
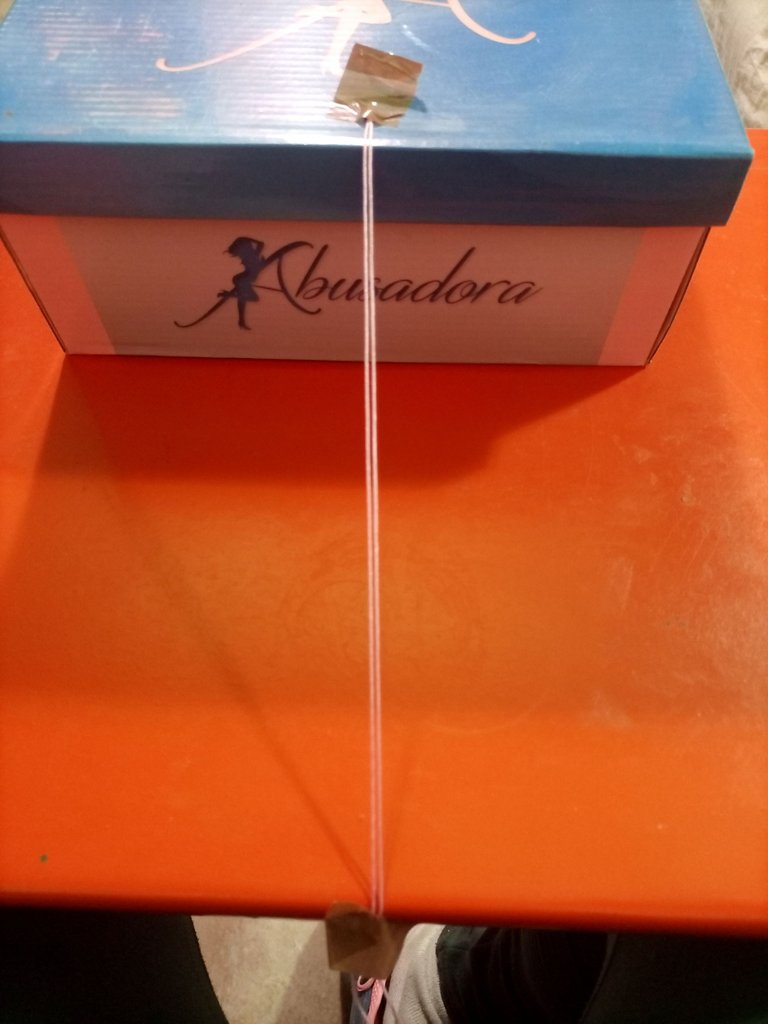
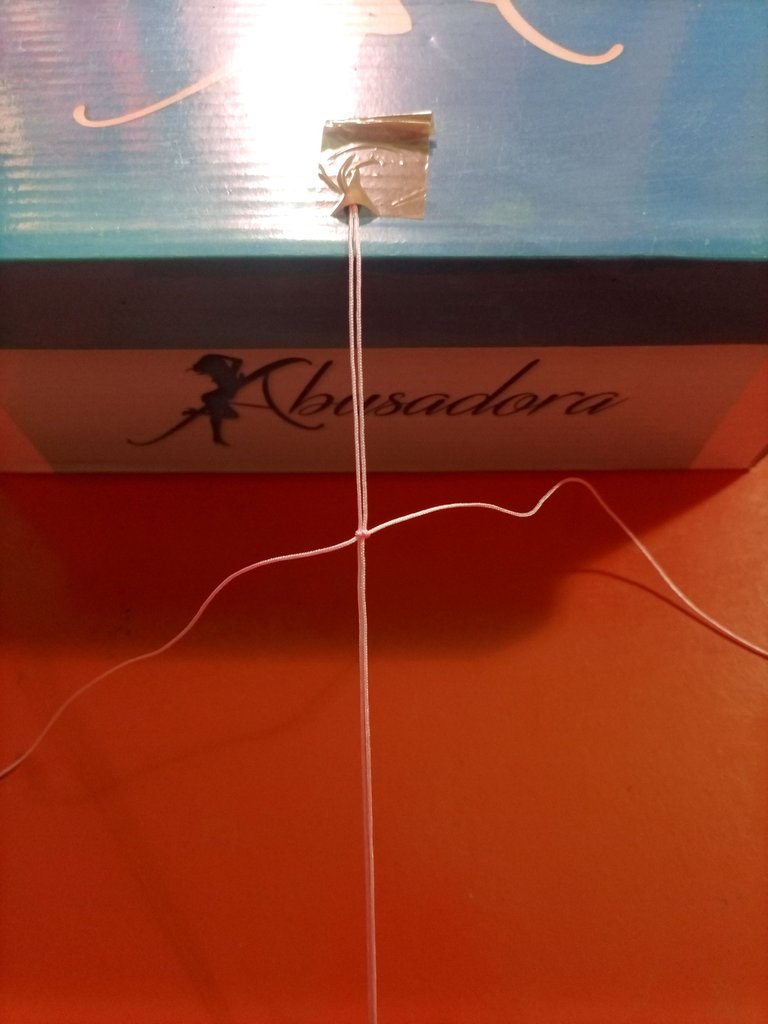
Since the weaving we will do is macramé, we will improvise a table. We will take a shoe box and place it on the table. With the help of two pieces of tape we will place our base thread as shown in the second image, so it will be easier to build our bracelet.
Como el tejido que haremos es macramé, vamos a improvisar una tabla. Tomaremos una caja de zapato y la colocaremos sobre la mesa. Con ayuda de dos pedazos de cinta adhesiva colocaremos nuestro hilo base tal como se muestra en la segunda imagen, así será más sencillo poder construir nuestra pulsera.
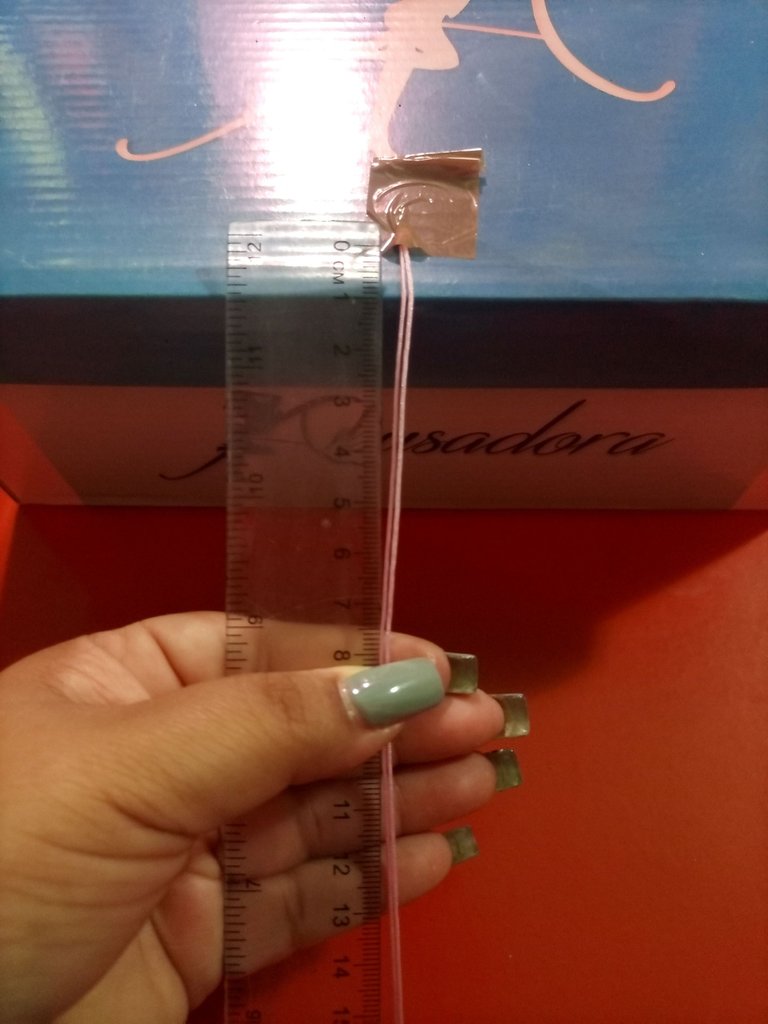
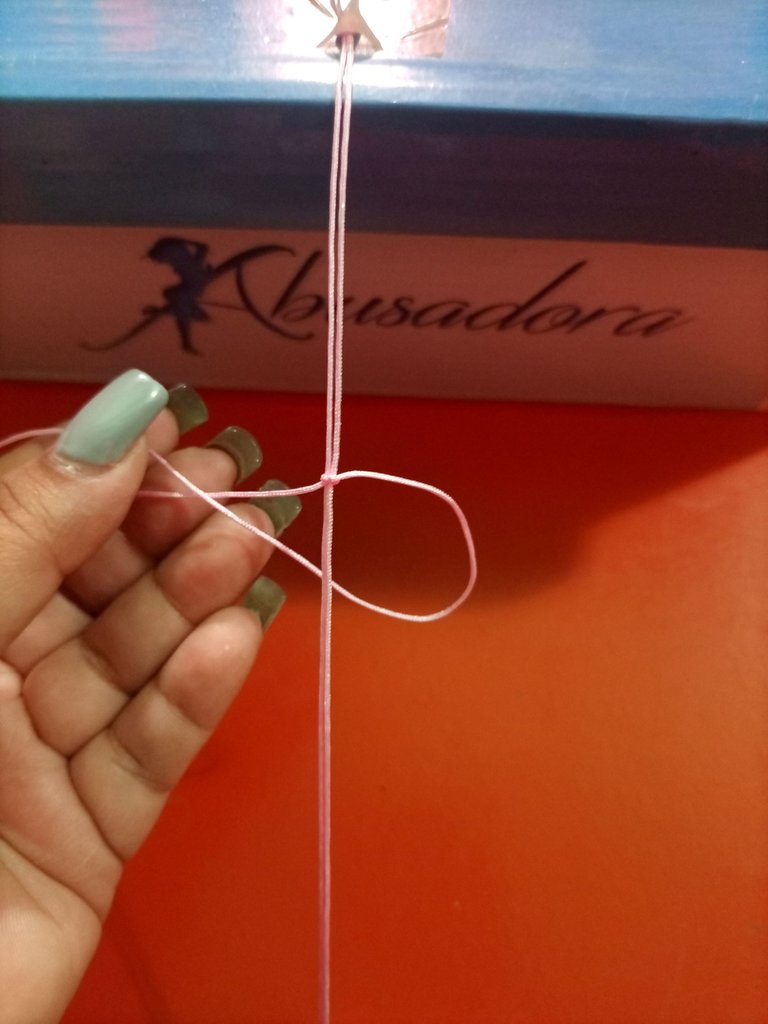
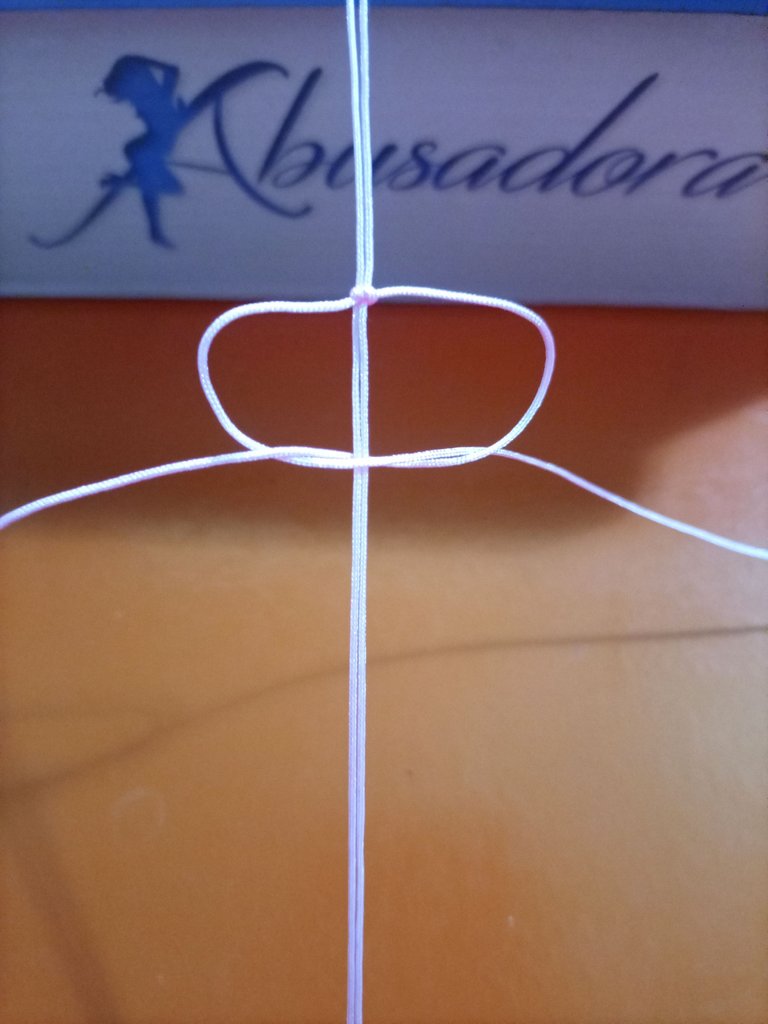
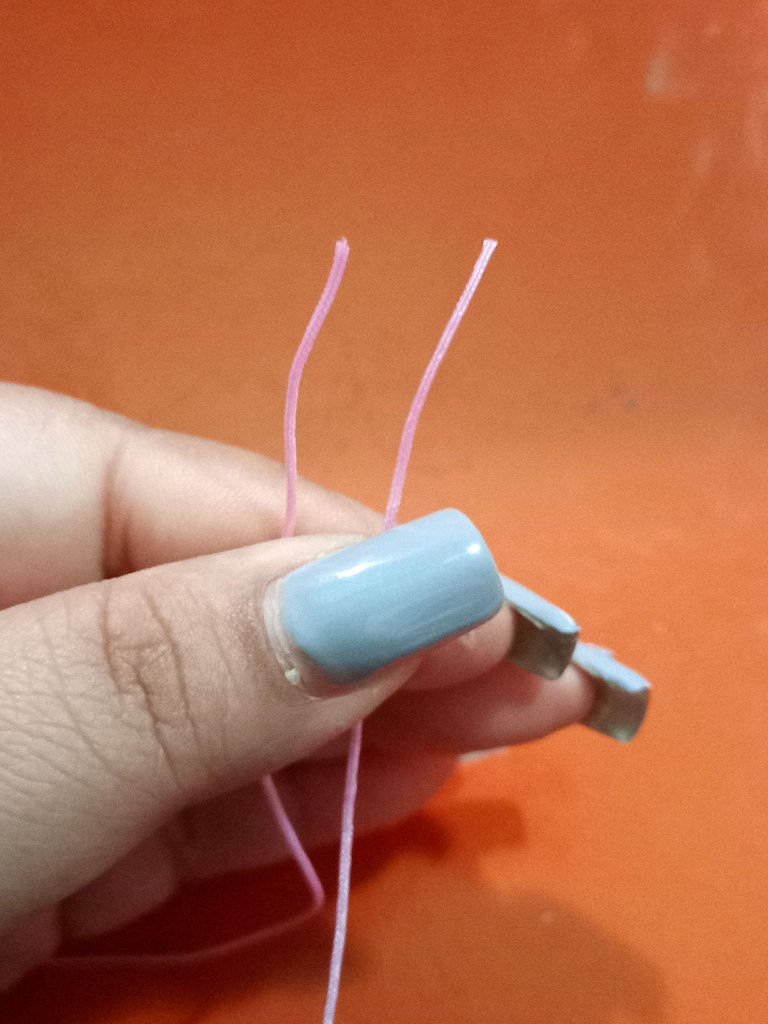
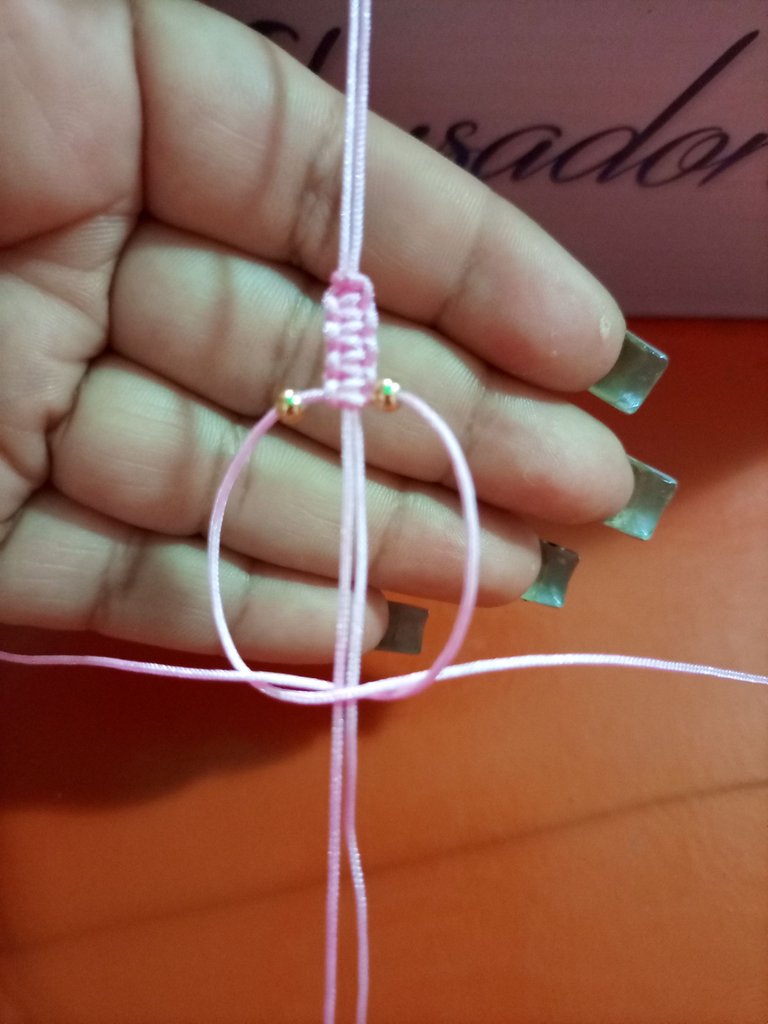
Now we will take the thread again, if our base thread is 30 cm then we will cut 90 cm, to proceed to weave the macramé.At this point, we will measure 8 cm on our base yarn and take the yarn we just cut and tie a knot trying to have the same amount of yarn on both sides.
Ahora tomaremos nuevamente el hilo, si nuestro hilo base es de 30 cm entonces cortaremos 90 cm, para proceder a tejer el macramé.En este momento, mediremos 8 cm en nuestro hilo base y tomaremos el hilo que recién cortamos y haremos un nudo tratando de que quede la misma cantidad de hilo en ambos lados.
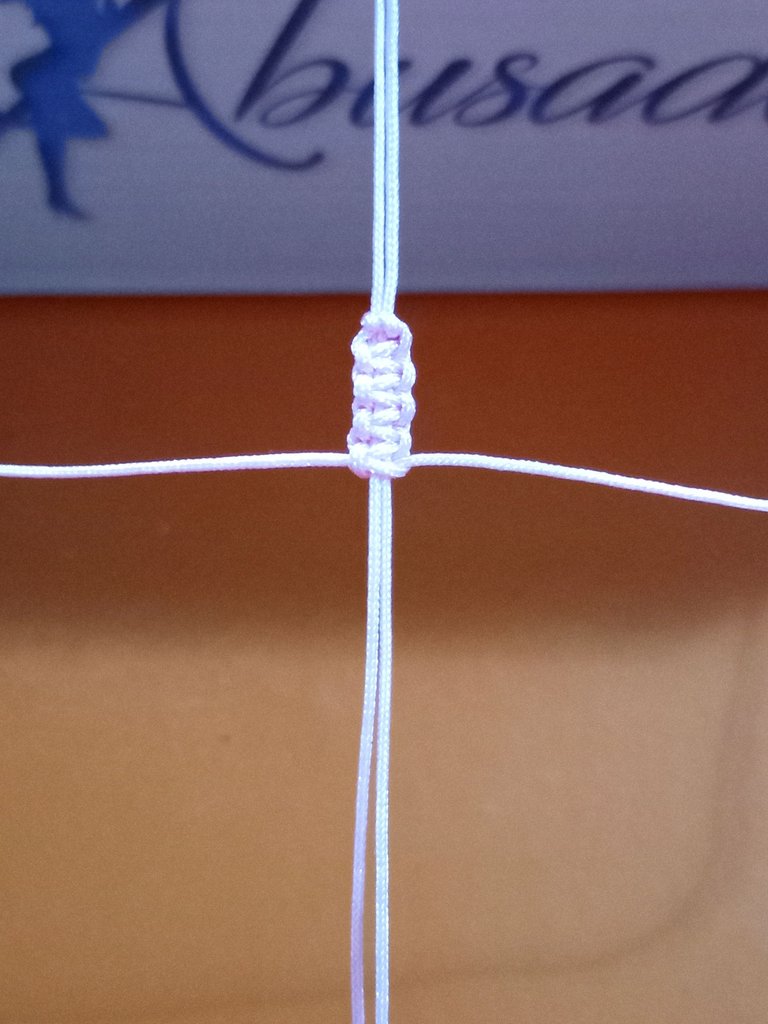
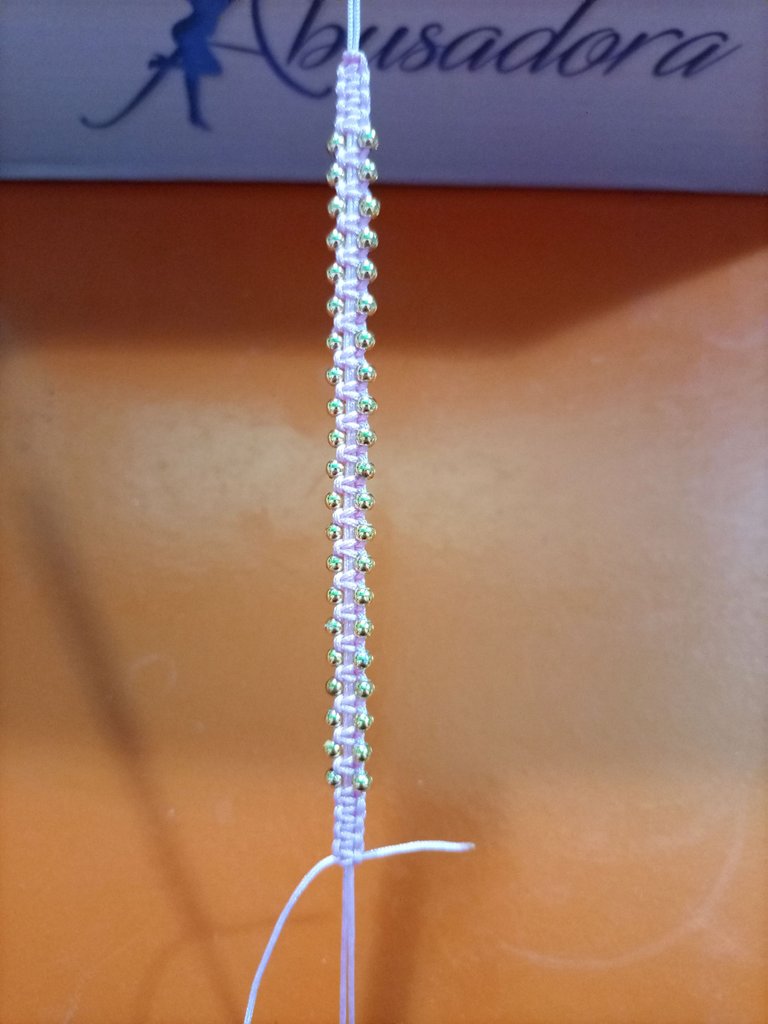
Next, we start weaving a macramé of about one and a half centimeters (we have already explained how to make a macramé in previous publications) when we have it ready, then we are going to introduce a ball in each end of the thread.
A continuación, empezamos a tejer un macramé más o menos de centímetro y medio (ya hemos explicado cómo hacer un macramé en publicaciones anteriores) cuando ya lo tengamos listo, entonces vamos a introducir un balín en cada punta del hilo.
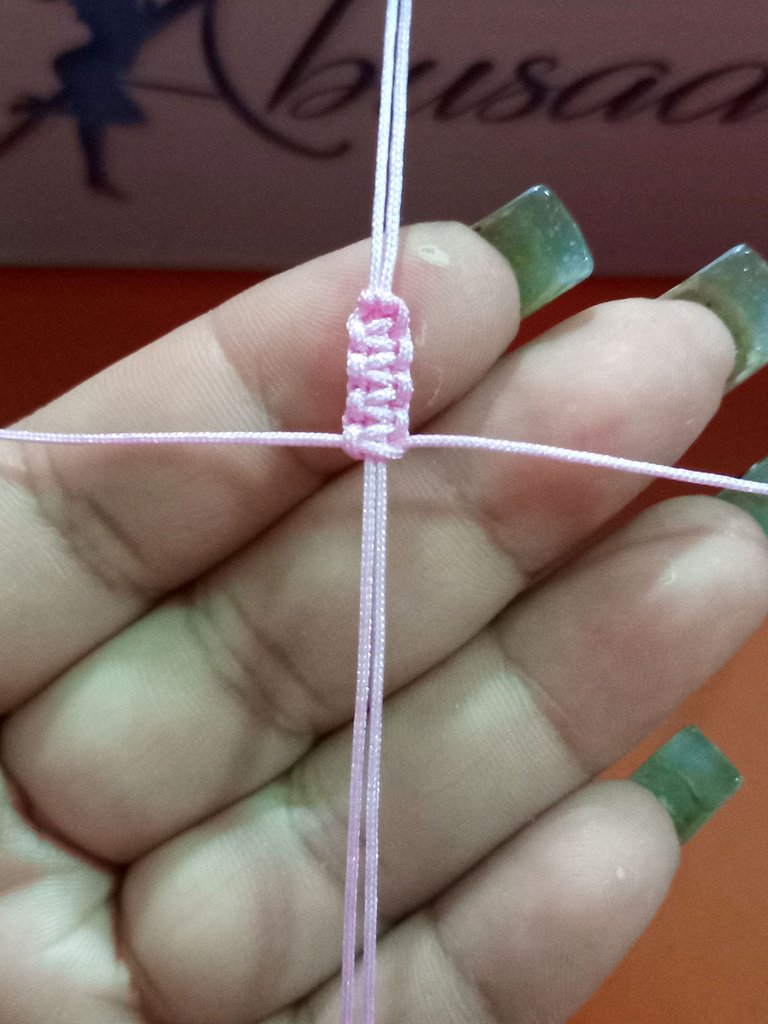
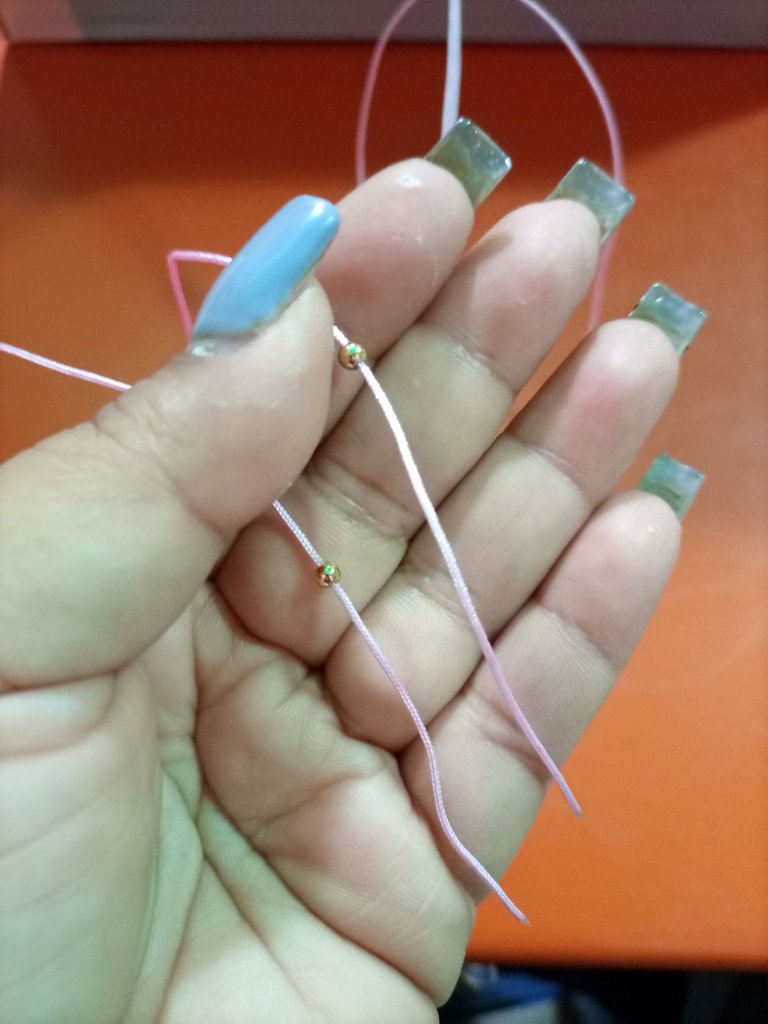
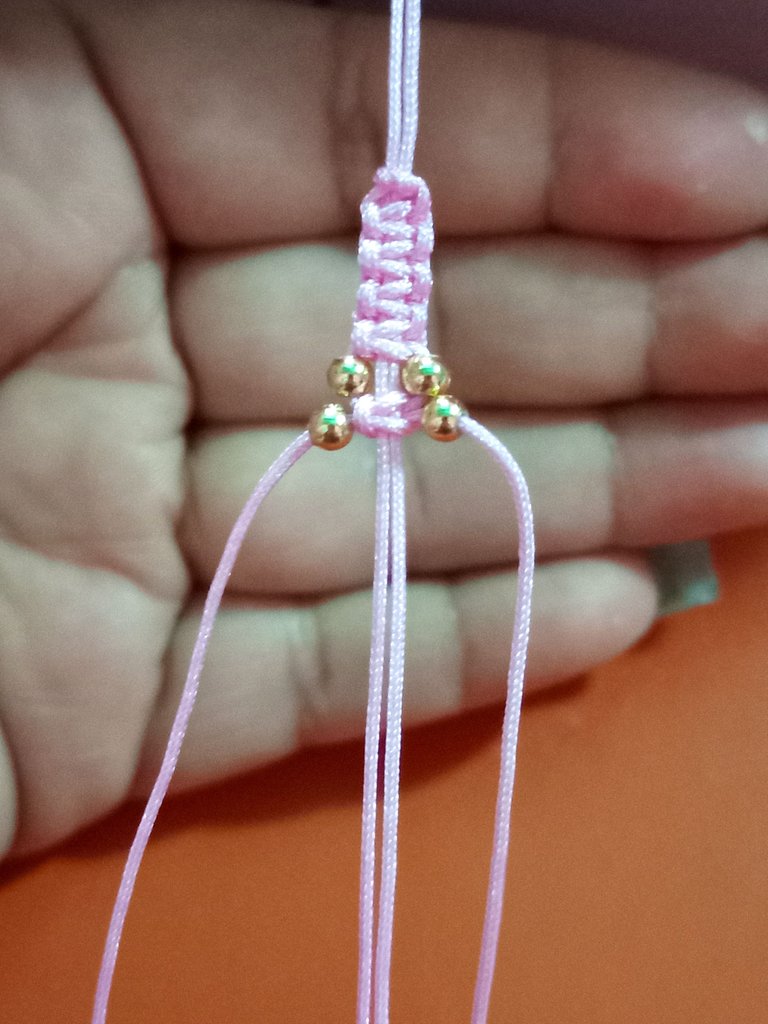
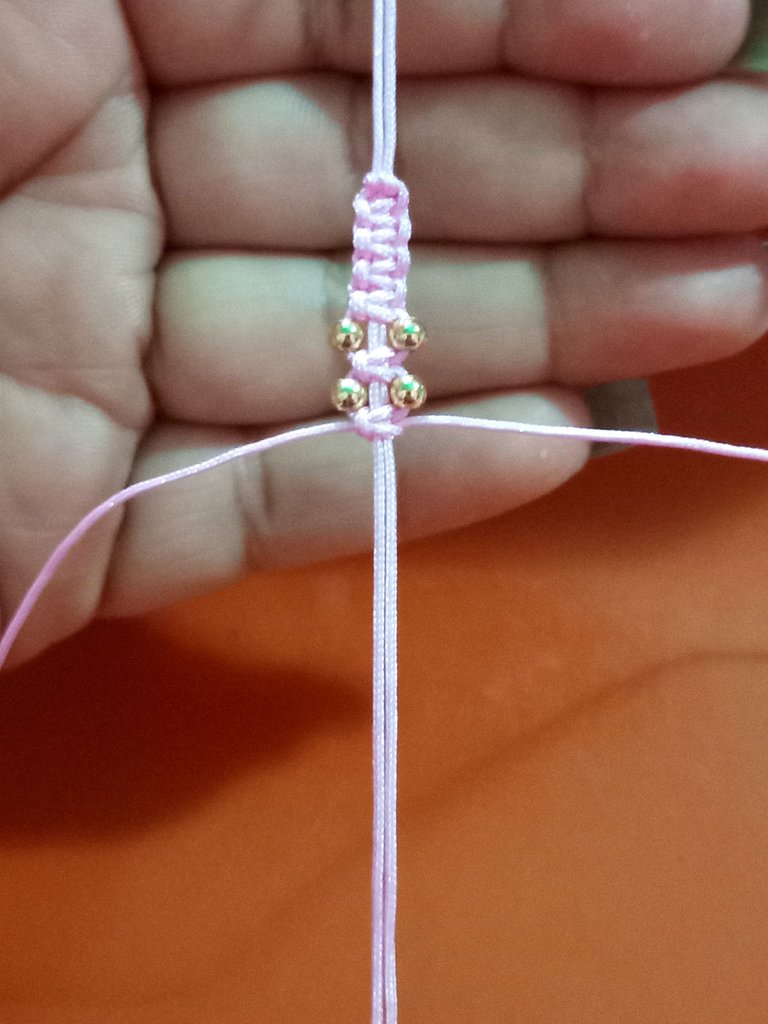
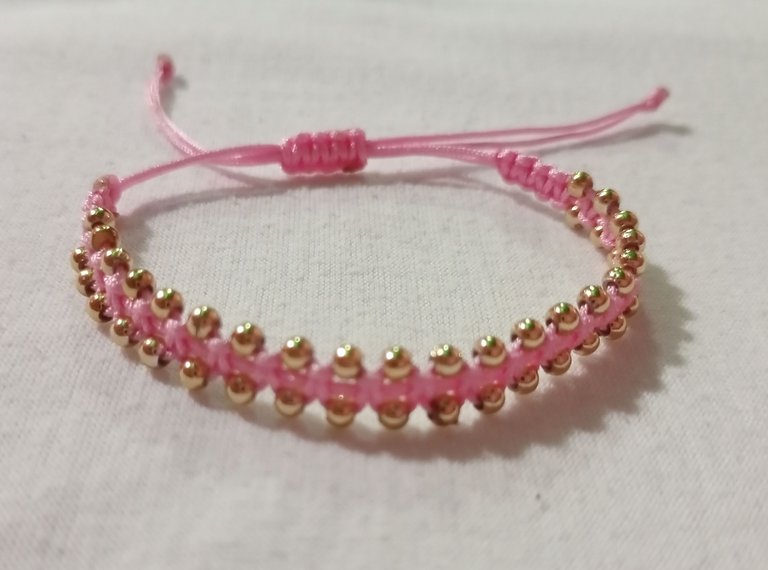
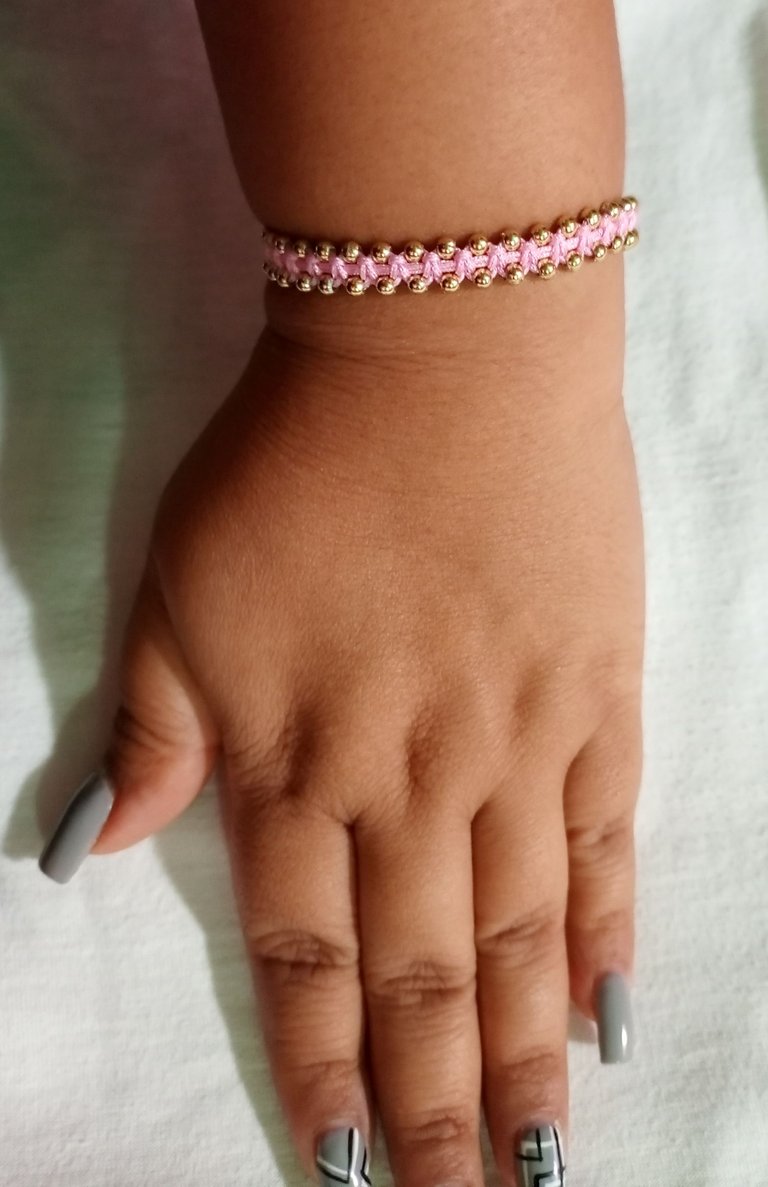
Once we have the balls, we will push them into the weave and then we will tie a knot with the same macramé technique. When we tie the knot, we will again place two balls, push them to the weave and close with a macramé knot. We will repeat this procedure until we have built our entire bracelet.
Cuando ya tengamos los balines entonces los empujaremos hasta el tejido y posteriormente haremos un nudo con la misma técnica del macramé. Al hacer el nudo, nuevamente colocaremos dos balines, los llevamos hasta el tejido y cerramos con un nudo macramé. Este procedimiento lo repetiremos hasta construir toda nuestra pulsera.
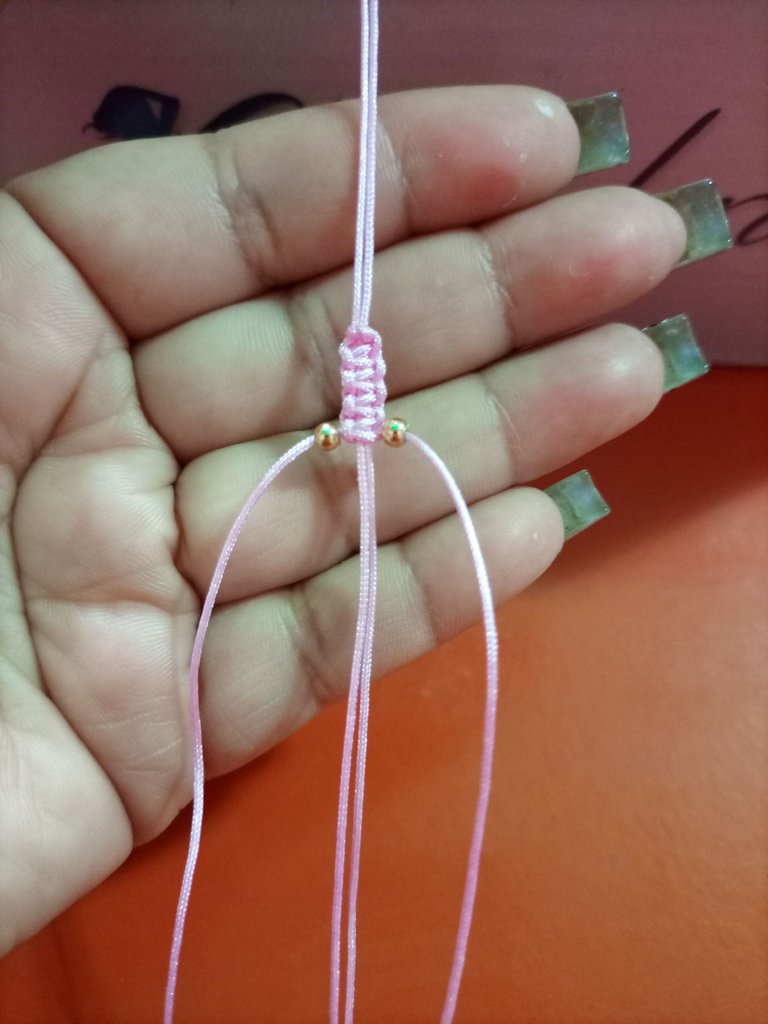
When we finish placing the beads, it is important to remember to weave again the macramé weave of a centimeter and a half in order to finish the bracelet weaving.
Cuando terminemos de colocar los balines, es importante recordar hacer nuevamente el tejido macramé de centímetro y medio para así finalizar el tejido de la pulsera.
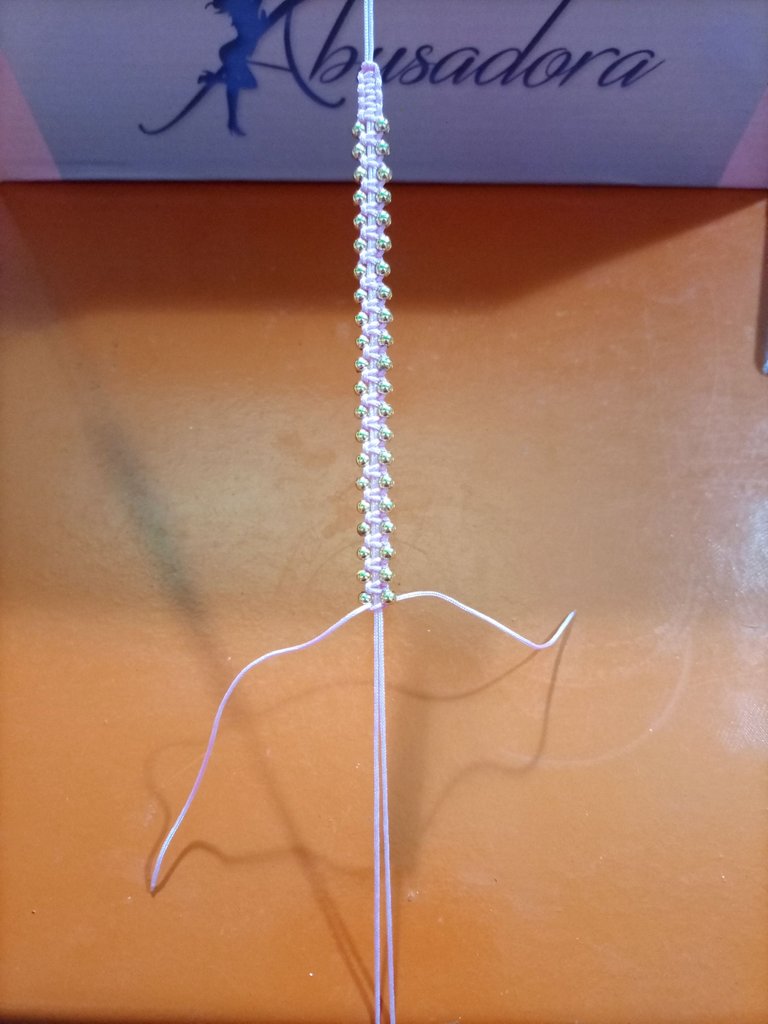
Then we proceed to cut and tie a knot at the other end of our bracelet.
Luego procedemos a cortar y hacer un nudo en la otra punta de nuestra pulsera.

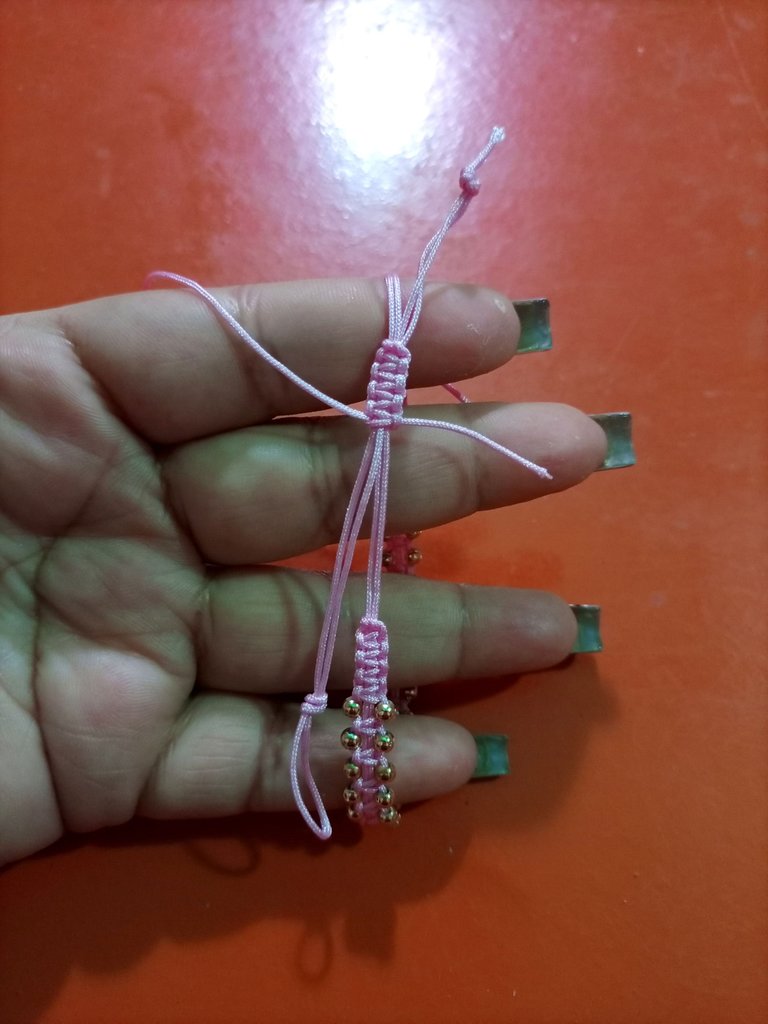
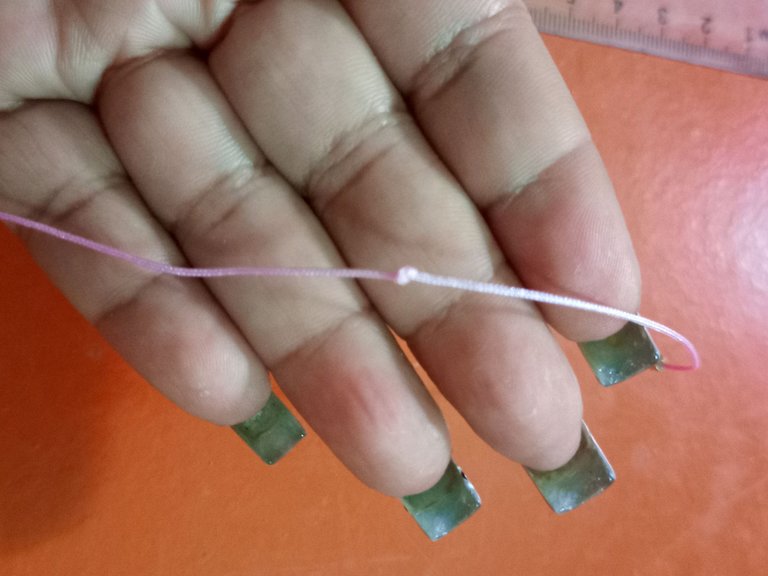
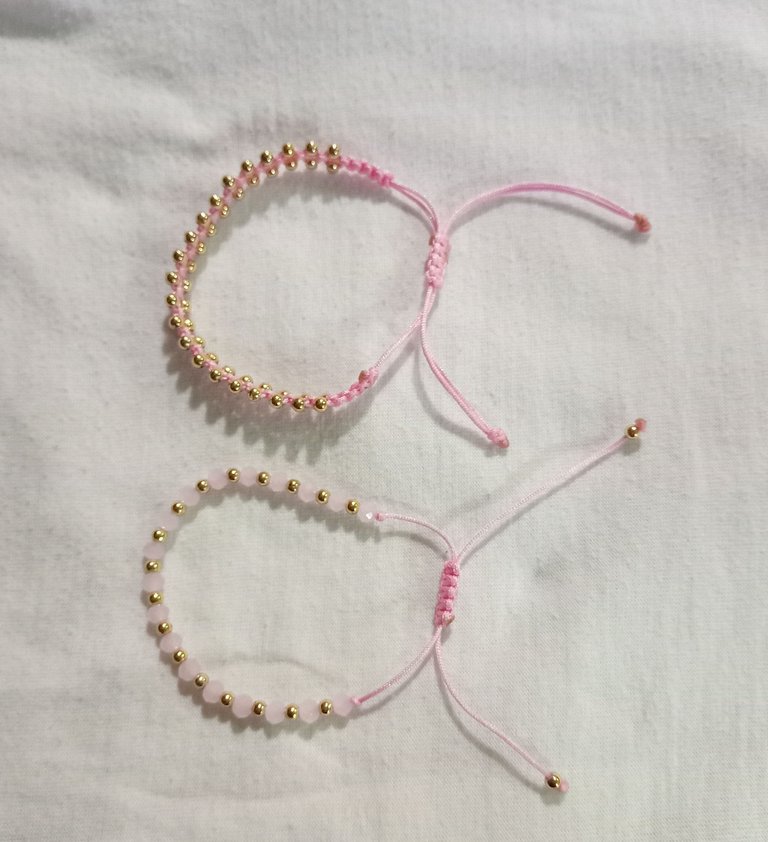
Now we are going to close our bracelet, we will take a small piece of thread and we will make a macramé knot that will allow us to open and close the bracelet.
Ahora vamos a cerrar nuestra pulsera, tomaremos un trozo pequeño de hilo y haremos un nudo macramé que permita abrir y cerrar la pulsera.
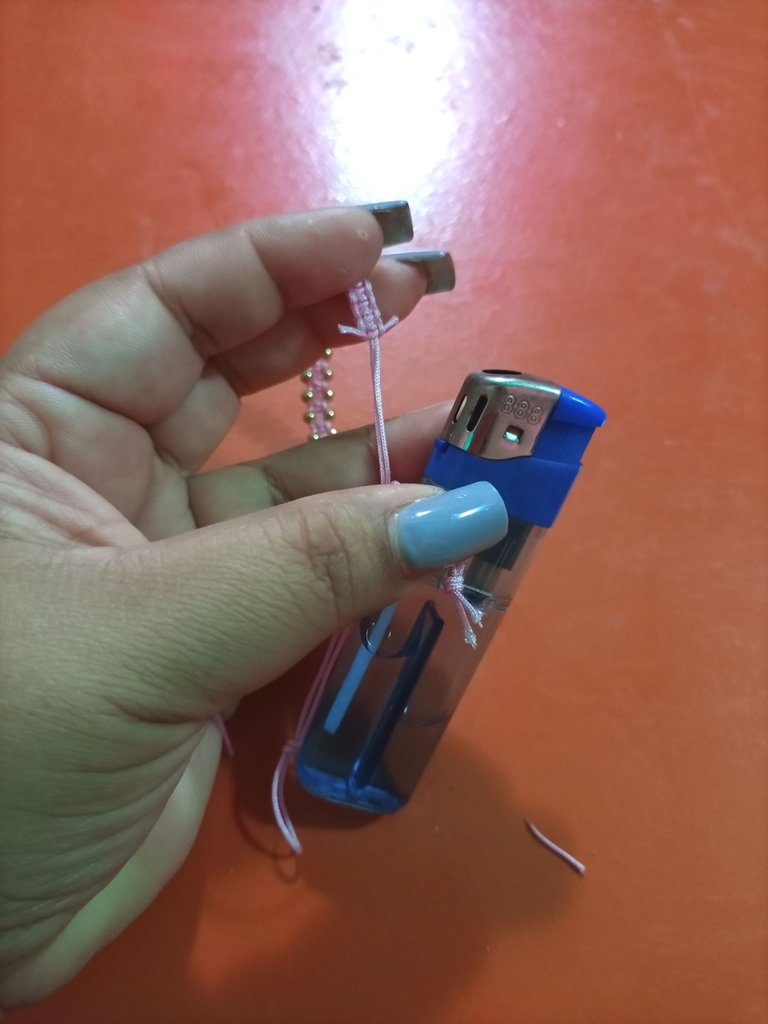
Finally, we will cut the excess threads and burn the ends, this way the bracelet will be ready.
Ya para terminar vamos a cortar los hilos excedentes y quemar las puntas, de esta manera a pulsera estará lista.
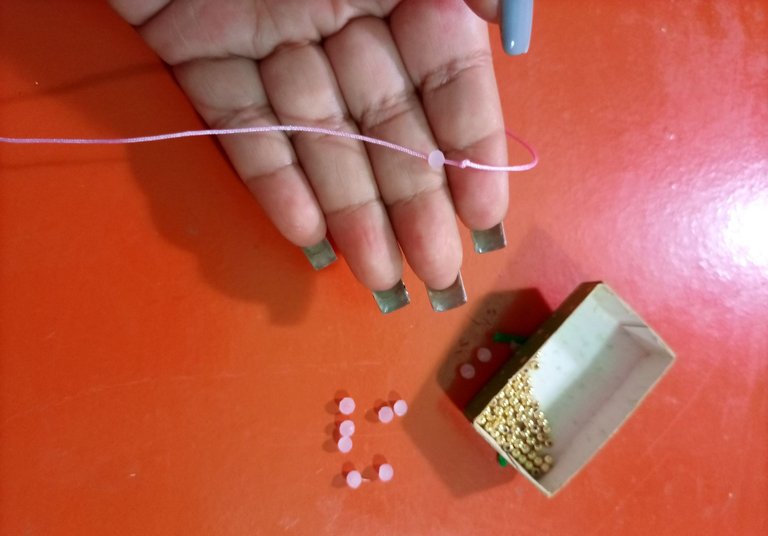
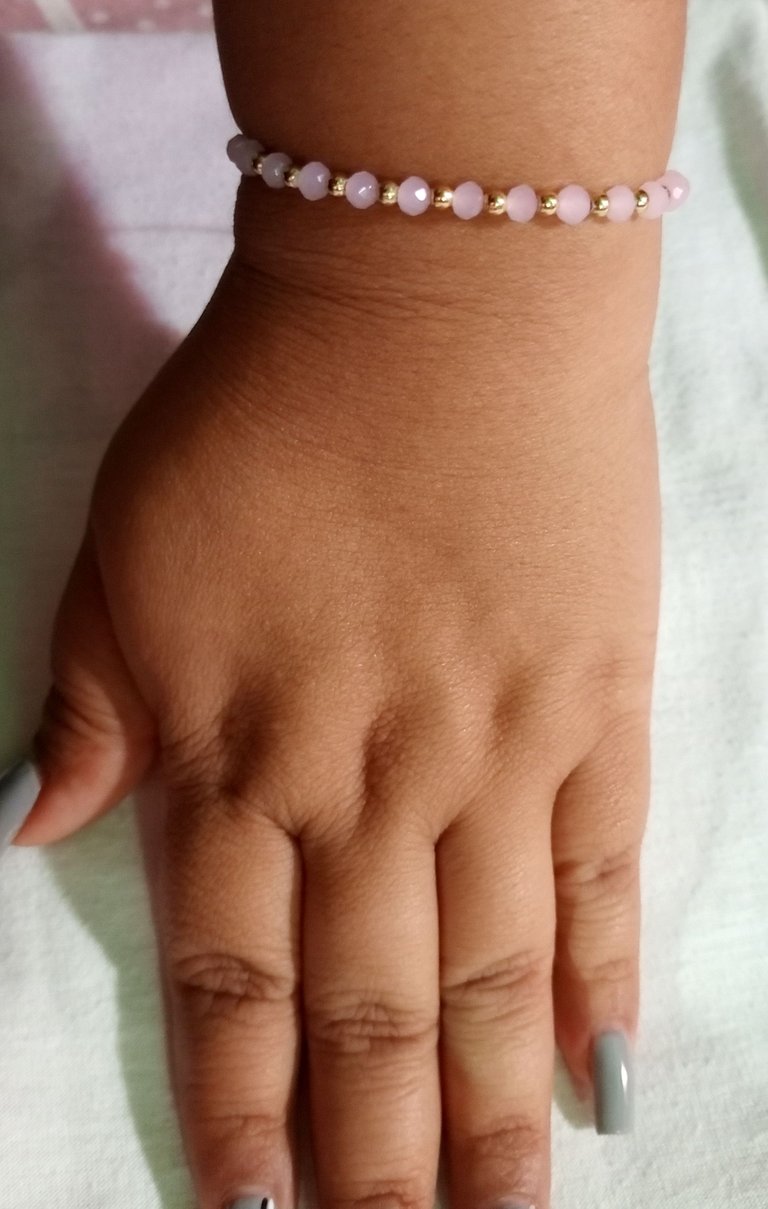
Now we are going to build our second bracelet, for that we measure a piece of thread of approximately 30 cm. This time we will use the pink stones.
Ahora vamos a construir nuestra segunda pulsera, para eso medimos un trozo de hilo de aproximadamente 30 cm. En esta ocasión usaremos las piedras de color rosado.
As we already have our piece of thread, we are going to make a knot at the end and introduce a ball and bring it to the knot.
Como ya tenemos nuestro trozo de hilo, vamos hacer un nudo en la punta e introduciremos un balín y lo llevaremos hasta el nudo.
Then we will measure 8 cm from the tip and tie another knot.
Luego vamos a medir 8 cm desde la punta y haremos otro nudo.
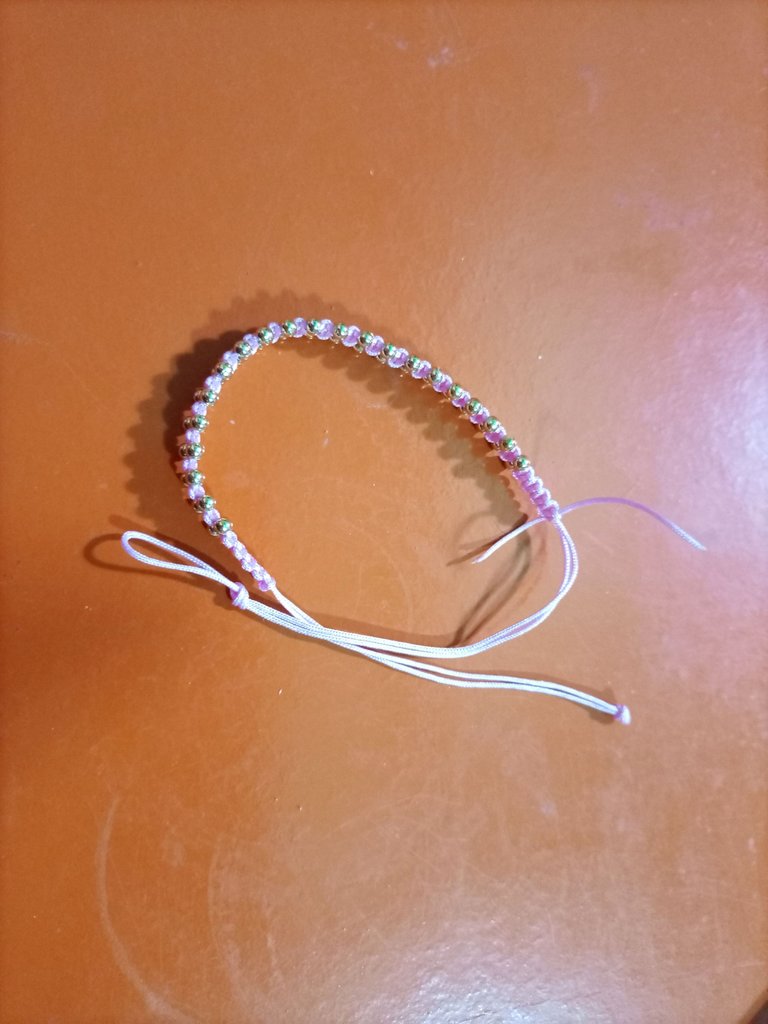
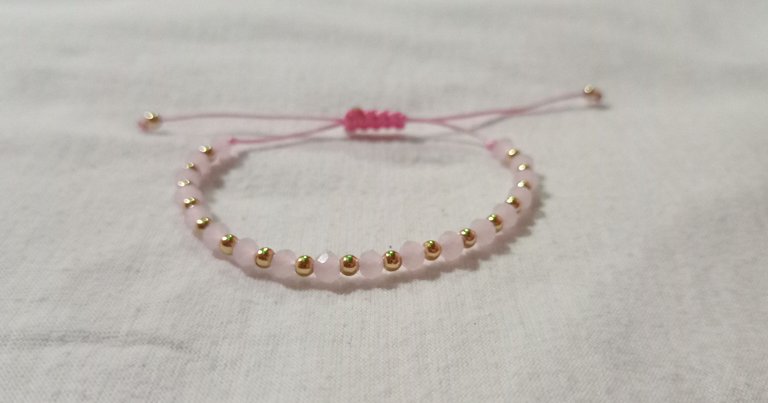
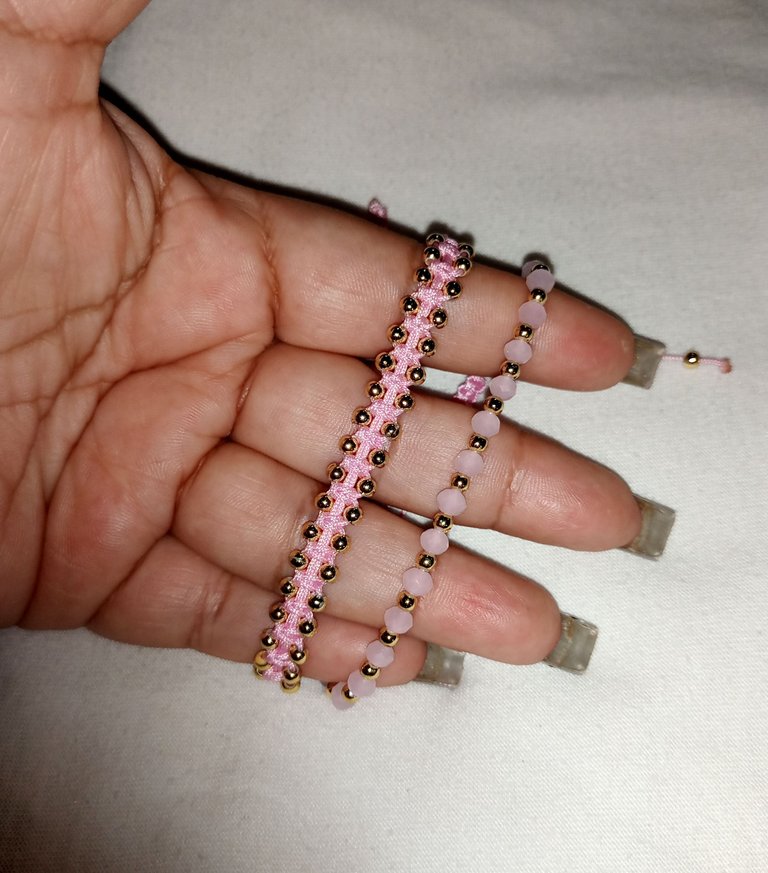
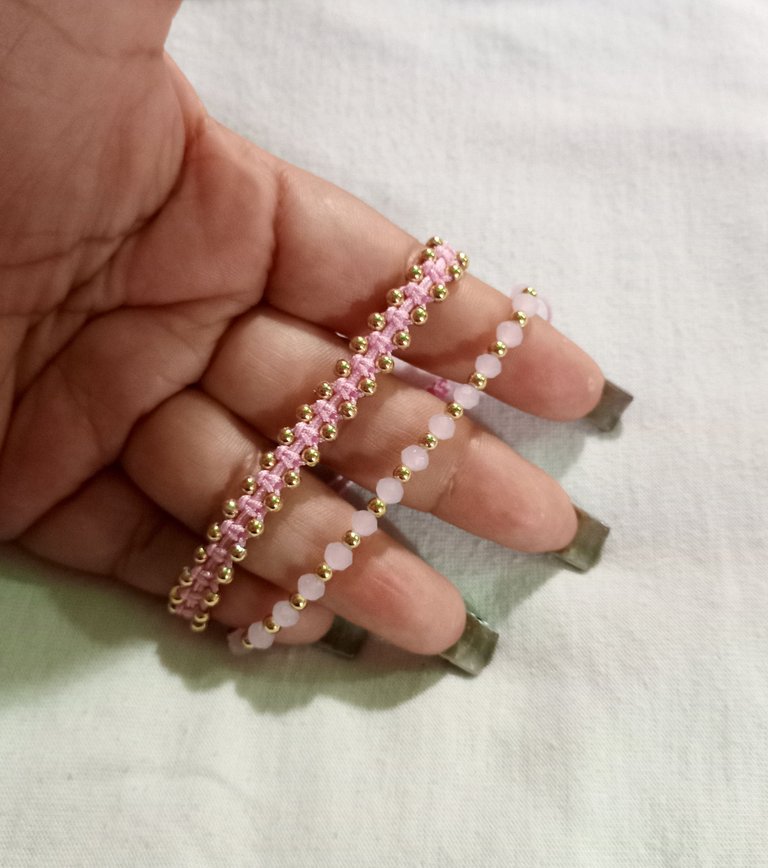
We will begin to place the stones and the pellets in an intercalated way, as shown in the images. We will repeat this procedure until we obtain our bracelet.
Comenzaremos a colocar las piedras y los balines de manera intercalada, tal como se muestran en las imágenes. Este procedimiento lo vamos a repetir hasta obtener nuestra pulsera.
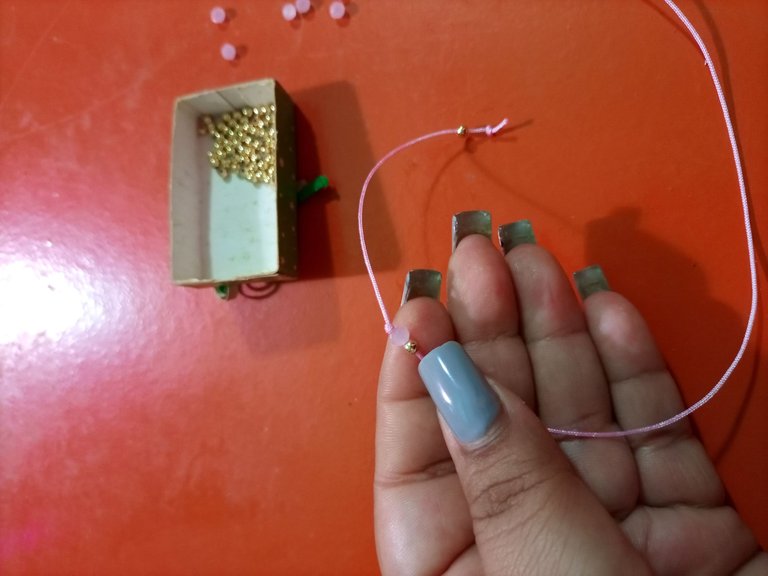
When we have placed all the pellets and stones; then we will close with a knot.
Cuando ya colocamos todos los balines y las piedras; entonces cerraremos con un nudo.
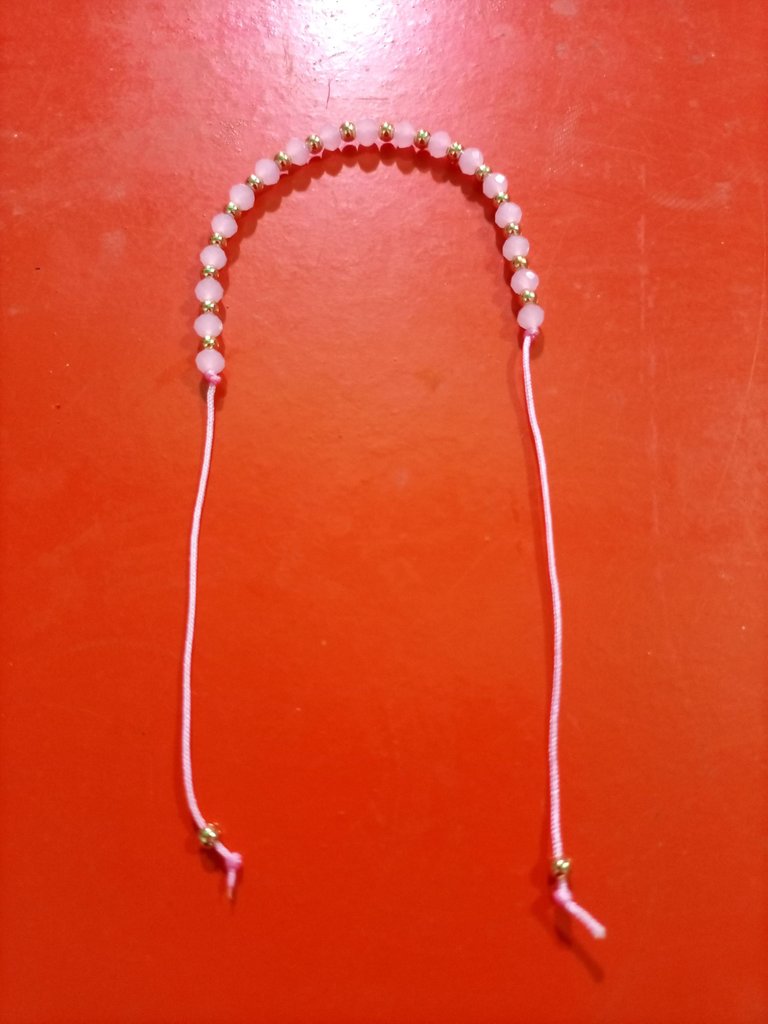
At this point we proceed to close our bracelet, in the same way as the previous one we will take a piece of thread joining both ends weaving a macramé that allows us to open and close.
En este momento procedemos a cerrar nuestra pulsera, de igual forma que la anterior tomaremos un trozo de hilo uniendo ambas puntas tejiendo un macramé que nos permita abrir y cerrar.
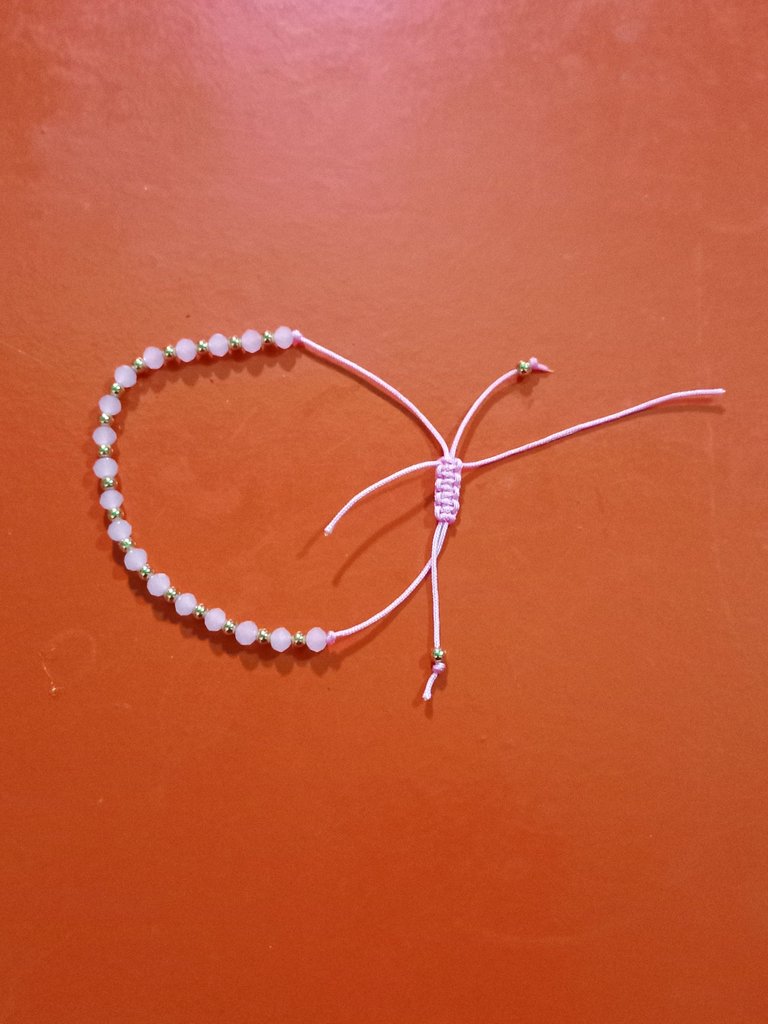
Finally, we will cut off the excess and burn the ends to secure our bracelet.
Finalmente, cortaremos los sobrantes y quemaremos las puntas para asegurar nuestra pulsera.
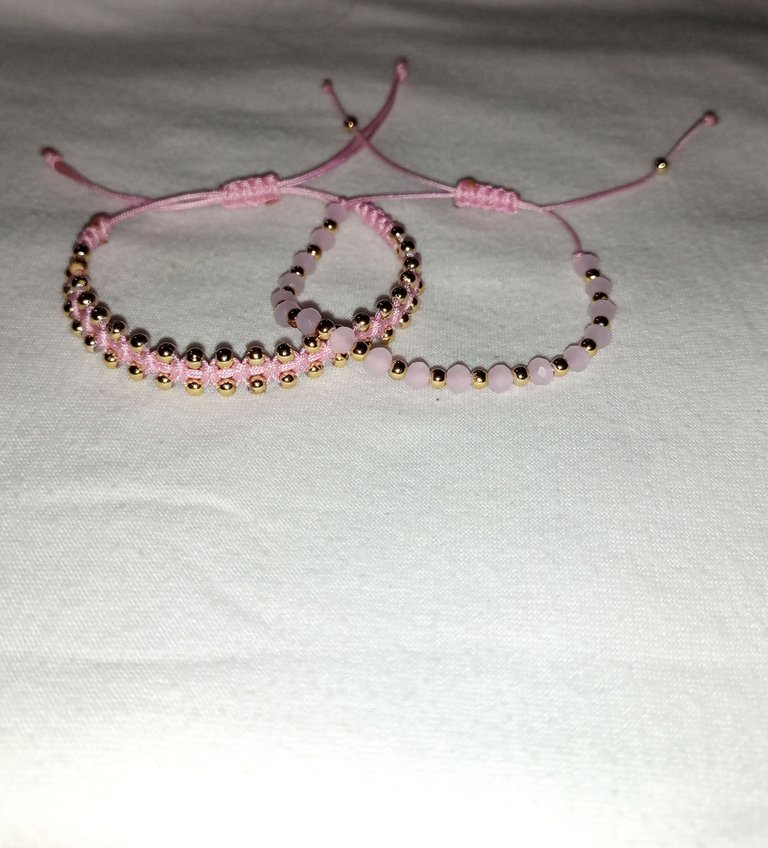
Ready ... Our bracelets are completely finished, the truth is that they are really beautiful, delicate, feminine and casual models; ideal to combine with our outfits and look beautiful. In the same way, they are ideal to make a gift.
Listoooo… Ya nuestras pulseras están completamente terminadas, la verdad es que son unos modelos realmente hermosos, delicados, femeninos y casuales; ideales para combinar con nuestros atuendos y vernos hermosas. De igual manera, son ideales para realizar un obsequio.
Translator Deepl


Thank you for sharing this post on HIVE!
Your content got selected by our fellow curator rezoanulvibes & you just received a little thank you upvote from us for your great work! Your post will be featured in one of our recurring compilations which are aiming to offer you a stage to widen your audience within the DIY scene of Hive. Stay creative & HIVE ON!
Please vote for our hive witness <3
Hello @diyhub
Thank you for your support
You're welcome. Keep up the great work.
Hermosas pulsera un color y diseños hermosos. ☺️
!discovery 25
Hola @mili2801
Si, es un color muy tierno y femenino... Gracias por tu apoyo.
Congratulations, your post has been upvoted by @dsc-r2cornell, which is the curating account for @R2cornell's Discord Community.
Hello @dsc-r2cornell
Thank you for your support
Thank you @fridakahlo
The rewards earned on this comment will go directly to the people sharing the post on Twitter as long as they are registered with @poshtoken. Sign up at https://hiveposh.com.
This post was shared and voted inside the discord by the curators team of discovery-it
Join our Community and follow our Curation Trail
Discovery-it is also a Witness, vote for us here
Delegate to us for passive income. Check our 80% fee-back Program