ENGLISH VERSION
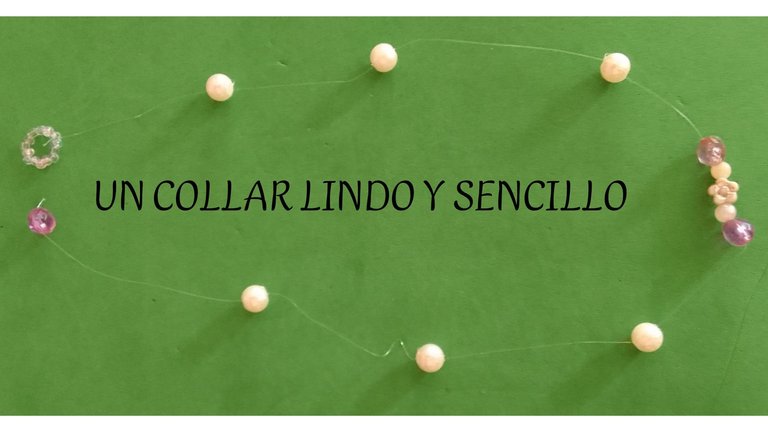
Hello #Jewelry community, today I have the pleasure of posting again in this community. And this time I do it with a cute and simple necklace. To make this necklace we only need 6 3cm round white pearls, one flower-shaped pearl, two 1cm round white pearls, three mauve rhombus-shaped pearls, twelve 5mm round white pearls, a needle and transparent nylon thread.
FIRST STEP
The first thing will be to insert the nylon fishing thread into the needle, we will take approximately 30cm of transparent nylon thread to make our necklace,
SECOND STEP
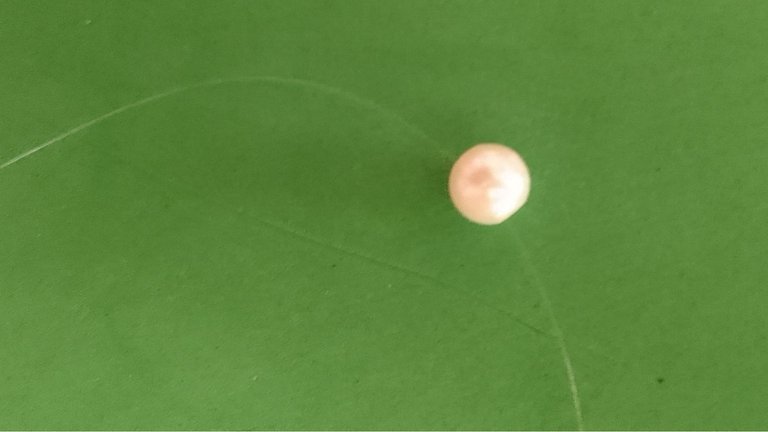
With the help of the needle we will insert the first pearl into the transparent nylon
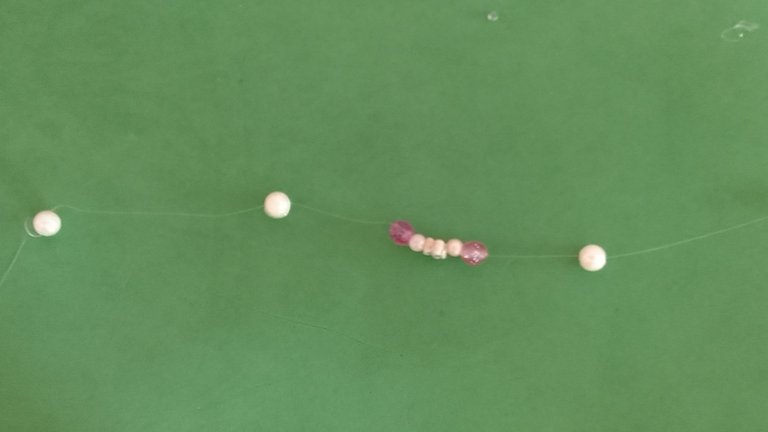
thread line, which will be one of the six 3cm round white pearls, always remembering to leave a space for the pearl at the end of the nylon thread line, so that the pearl does not If it moves from that place, we take the needle again with the nylon transparent thread and introduce it through the back of the pearlite, leaving the shape of a knot. We repeat this procedure two more times so that the perlite does not move from its place. We will introduce two more 3cm white pearls in this same way, leaving a space of approximately two fingers between each pearl. We do the same procedure on both so that none of them move from their place.
THIRD STEP
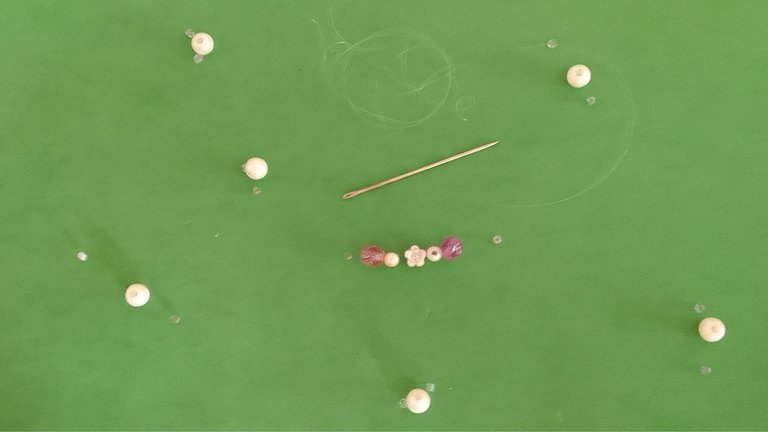
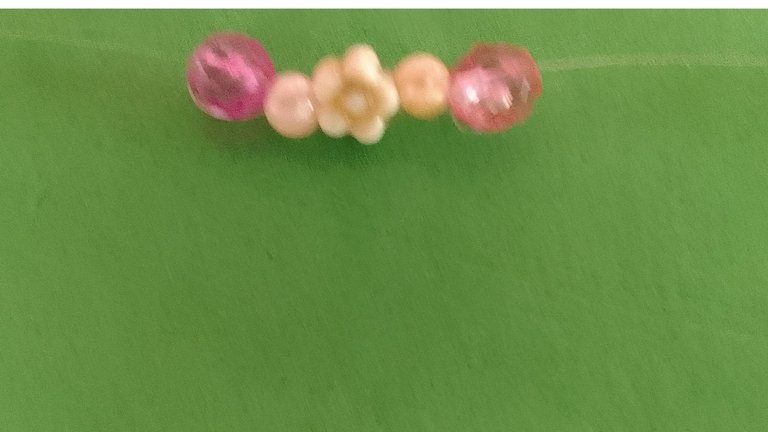
The next thing will be to place a mauve pearl in the shape of a rhombus, we do the same procedure so that it does not move and then we place a 1cm round white pearl, we place the flower-shaped pearl, then another 1cm rounded white pearl and finally We again place a mauve-colored pearl in the shape of a rhombus and carry out the same procedure as used in the other one so that it does not move from the place.
FOURTH STEP
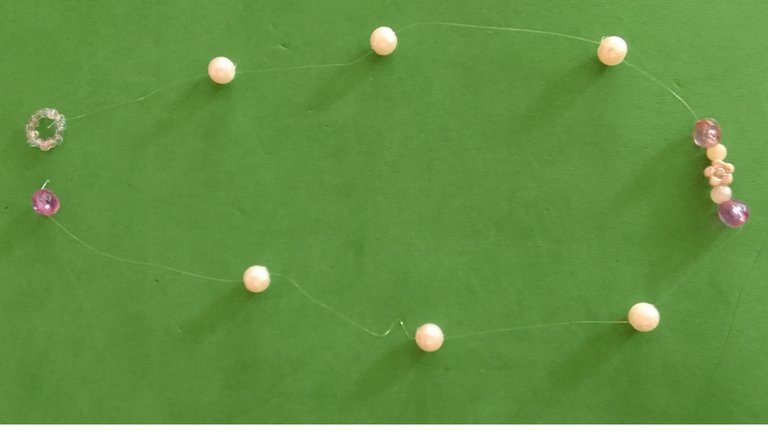
To make the other side of the necklace, we take the three 3cm round white pearls that we have left and place them on the nylon thread line with the help of the needle and carry out the same procedure on it that we did on the first three pearls.
FIFTH STEP
The only thing missing is the closure of the necklace. With the diamond-shaped mauve pearlite that we have left and we introduce it as dry to the tip as possible with the same previous procedure, we fix it as dry as possible to the tip. And we already have part of the closure. On the other side of the nylon fishing line we will introduce the twelve 5mm beads. After having introduced the twelve beads, we will introduce the thread again through the first bead introduced and make a small knot so that it does not move from the place. The twelve pearls must be in the shape of a circle. So that the pearl that is at the other end can be inserted and formed the closure.
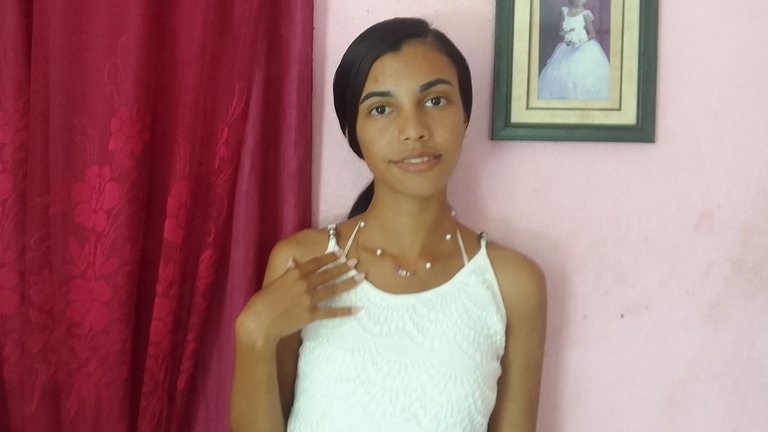
This was the result of my work, I hope you like it. I just have to wish you all a happy day.
The photos were taken by my Samsung Galaxy A 03 Core phone and edited in canva
The text was translated by Deepl
VERSIÓN EN ESPAÑOL
Hola comunidad de #Jewelry hoy tengo el placer de publicar nuevamente en esta comunidad. Y esta vez lo hago con un collar lindo y sencillo. Para realizar este collar solo necesitamos 6 perlas blancas redondas de 3cm, una perlita en forma de flor, dos perlitas blancas redondas de 1cm, tres perlas en forma de rombo de color malva, doce perlitas blancas redondas de 5mm, una aguja y hilo de nylon transporte.
PRIMER PASO
Lo primero será ensaltar el hilo de nylon transporte en la aguja, tomaremos aproximadamente 30cm de hilo de nyllon transporte para realizar el collar,
SEGUNDO PASO
Con ayuda de la aguja introduciremos al hilo de nylon transporte la primera perla que será una de las seis perlas blancas redondas de 3cm, siempre acordándonos de dejar un espacio de la perla al final del hilo de naylon, para que la perla no se mueva de ese lugar tomamos nuevamente la aguja con el hilo de nylon transporte y la introducimos por la parte de atrás de la perlita quedando la forma de un nudo. Repetimos este procedimiento dos veces más para que la perlita no se mueva de el lugar. Introduciremos de esta misma manera dos perlitas blancas de 3cm más, dejando un espacio de aproximadamente dos dedos entre cada perlita y hacemos el mismo procedimiento en las dos para que ninguna se mueva de el lugar
TERCER PASO
Lo siguiente sera colocar una perlita de color malva en forma de rombo hacemos el mismo procedimiento para que no se mueva y luego colocamos una perlita blanca redonda de 1cm, colocamos la perlita en forma de flor , luego otra perlita blanca redonde de 1cm y por último colocamos nuevamente una perlita de color malva en forma de rombo le realizamos el mismo procedimiento que utilice en la otra para que no se mueva del lugar.
CUARTO PASO
Para realizar el otro lado de el collar tomamos las tres perlas blancas redondas de 3cm que nos quedan y la colocaremos en el hilo de nailon de pescar con ayuda de la aguja y realizamos en ella el mismo procedimiento que realice en las tres primeras perlas.
QUINTO PASO
Ya solo falta el cierre de el collar. Con la perlita malva en forma de rombo que nos queda y la intoducimos lo más seca a la punta que se pueda con el mismo procedimiento anterior la fijamos lo más seca de la punta. Y ya tenemos una parte del cierre. Del otro lado del hilo de nylon transporte introduciremos las doce perlitas de 5mm después de haber introducido las doce perlitas introduciremos el hilo nuevamente por la primera perla introducida y hacemos un pequeño nudito para que no se mueva de el lugar. Las doce perlas tienen que quedar en forma de circulo . Para que se pueda introducir la perla que se encuentra en la otra punta y así formar el cierre.
Este fue el resultado de mi trabajo espero que les guste. Solo me queda deseearles un feliz día a todos.
Las fotos fueron tomadas por mi teléfono Samsung Galaxy A 03 Core y editadas en canva
El texto fue traducido por Deepl
https://reddit.com/r/cuba/comments/1brhfrn/un_lindo_y_sencillo_collar/
The rewards earned on this comment will go directly to the people( @heidy08 ) sharing the post on Reddit as long as they are registered with @poshtoken. Sign up at https://hiveposh.com.
Thanks 😊😊
Wow, this is so beautiful, I love it, you did a good work, nice one, well done dear
Thanks 😊😊
Muy lindo tu collar y te pega muy bien con tu vestido. ♥️🌹🙏
Gracias mami 🥰🥰
Esta muy lindo tu collarcito fantasma, acá en Venezuela lo llamamos de esa manera, siempre son muy elegantes y resaltan mucho, son muy casuales y se adaptan a cualquier ocasion.
Gracias por compartir tu proceso...
!DIY
Gracias por tu comentario y ese dato curioso sobre el collar 😊😊
You can query your personal balance by
!DIYSTATSThanks 😊😊
Congratulations @heidy08! You have completed the following achievement on the Hive blockchain And have been rewarded with New badge(s)
Your next target is to reach 2250 upvotes.
You can view your badges on your board and compare yourself to others in the Ranking
If you no longer want to receive notifications, reply to this comment with the word
STOPCheck out our last posts: