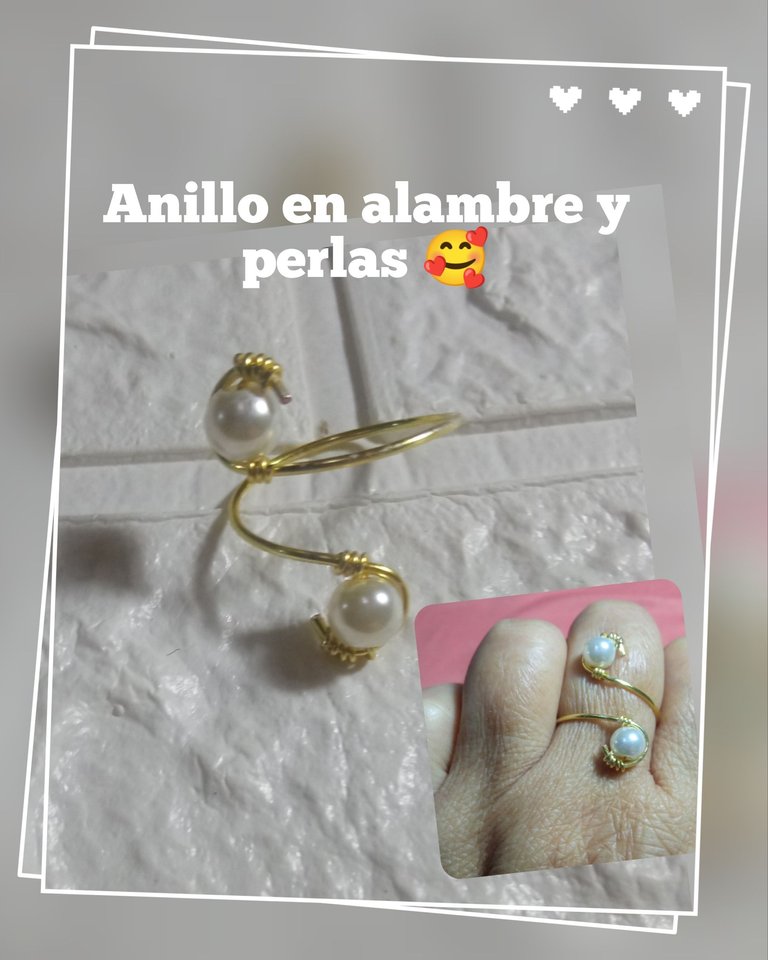
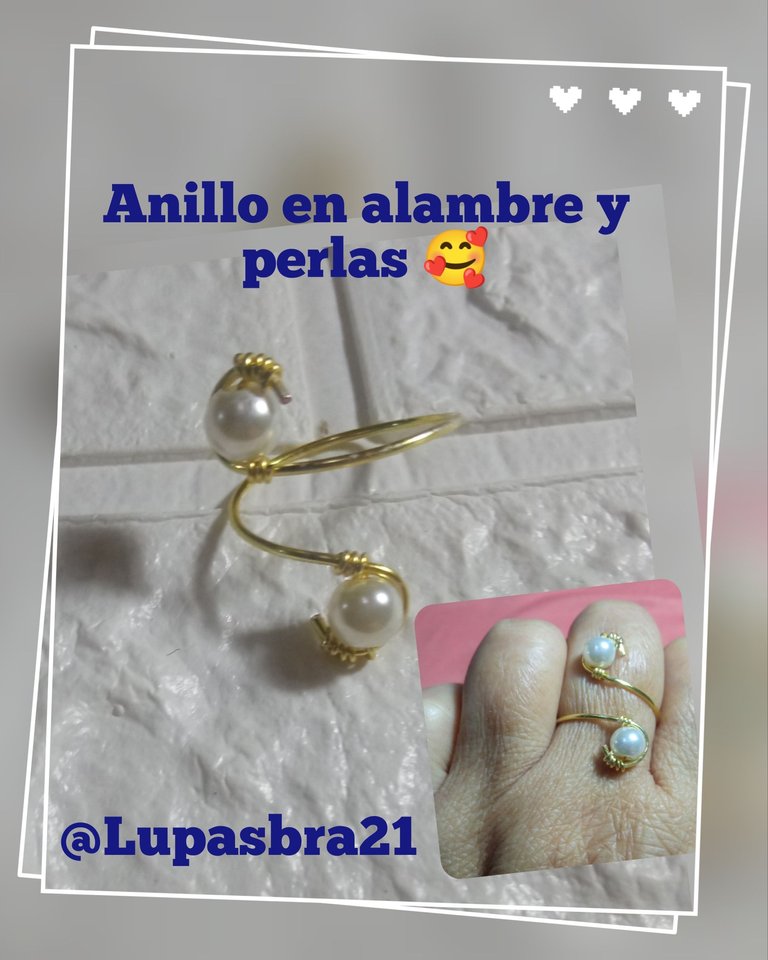
Hola , hola comunidad de #Hive y comunidad de #Jewelry espero se encuentren todos bien, yo con ustedes por acá y en está oportunidad les traigo el tutorial o paso a paso de, como realizar un hermoso y bello anillo en alambre tpc y perlas acrílicas, es un hermoso y delicado trabajo, la verdad quedó muy bonito. Los anillos son joyas o accesorios que más allá de su función decorativa pueden transmitir un mensaje. Hay anillos que simbolizan el amor, la amistad, el compromiso y mucho más, es un lindo accesorio y hacen lucir unas manos más delicadas y femeninas. Les cuento que desde hace mucho tiempo tenía la inquietud por realizar un anillo ya que no los había hecho, la verdad no me atrevía, hasta que decidí y realicé este, mi primer anillo y adivinen que? Pues lo deje para mi, pues a pesar de que es fácil de realizar y se utiliza pocos materiales el resultado es una pieza sencilla, delicada y elegante, así que, los invito a quedarse hasta el final para que disfruten el proceso.
Hello, hello #Hive community and #Jewelry community I hope you are all well, I am with you here and this time I bring you the tutorial or step by step, how to make a beautiful and beautiful ring in tpc wire and acrylic beads, it is a beautiful and delicate work, the truth was very nice. Rings are jewelry or accessories that beyond its decorative function can convey a message. There are rings that symbolize love, friendship, commitment and much more, it is a nice accessory and make your hands look more delicate and feminine. I tell you that for a long time I had the restlessness to make a ring since I had not made them, the truth is that I did not dare, until I decided and made this, my first ring and guess what? Well, I left it for me, because although it is easy to make and uses few materials, the result is a simple, delicate and elegant piece, so I invite you to stay until the end to enjoy the process.
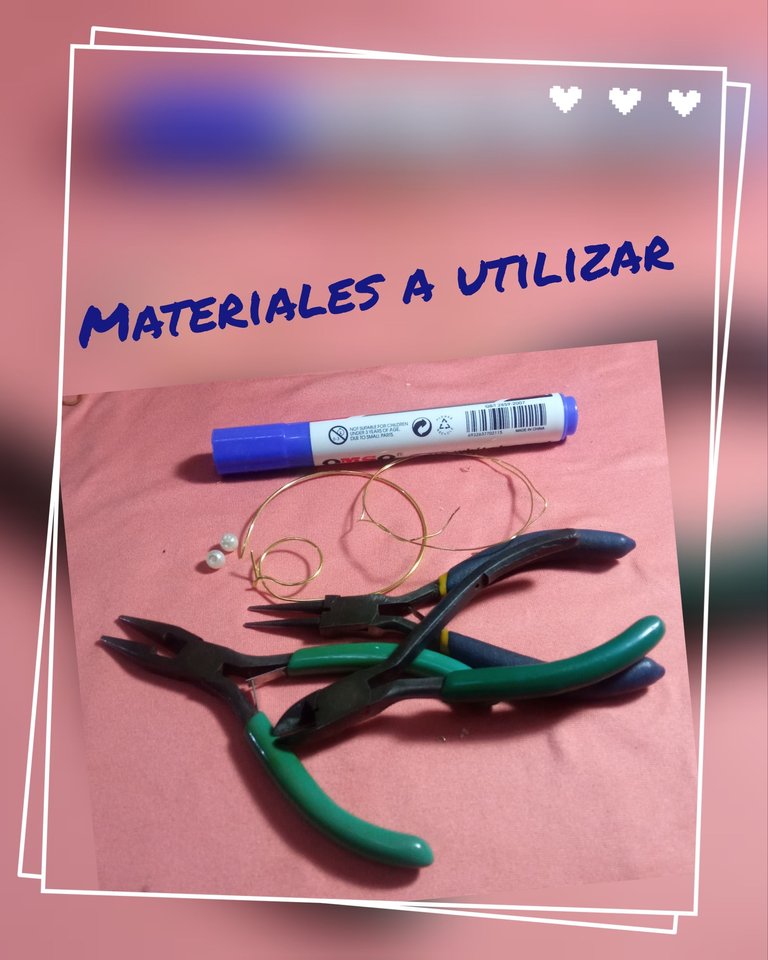
Materiales a utilizar
☑️ Alambre tpc No 18.
☑️ Alambre tpc No 24.
☑️ 2 perlas No 4.
☑️ Pinza punta redonda.
☑️ Pinza punta plana.
☑️ Pinza piqueta.
☑️ Un marcador grueso.
☑️ Lima de uñas.
Materials to be used
☑️ tpc wire No 18.
☑️ tpc wire No 24.
☑️ 2 No 4 beads.
☑️ Round nose pliers.
☑️ Flat nose pliers.
☑️ Pick-nosed pliers.
☑️ A thick marker.
☑️ Nail file.
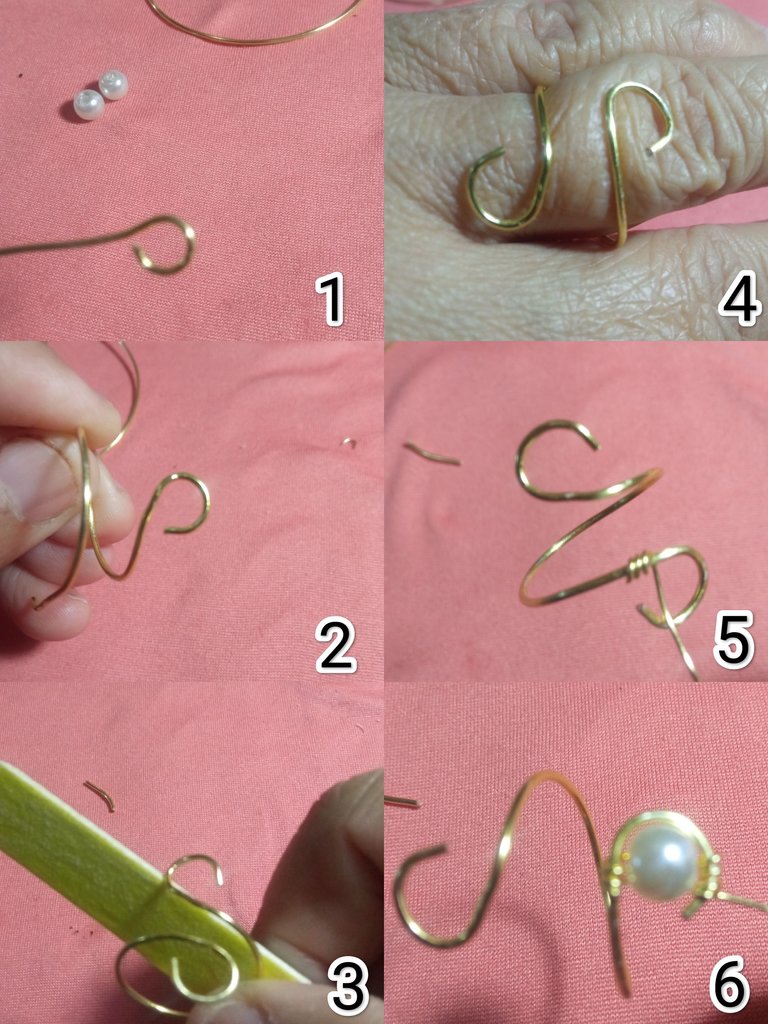
Tutorial o paso a paso .
Comienzo haciendo un aro sin cerrar en un extremo del alambre con la parte más gruesa de la pinza punta redonda, luego utilizo el marcador en dónde doy vuelta al alambre para darle la forma al anillo (lamentablemente no tomé esa foto ) para realizar anillos se debe utilizar una pieza llamada Mandril , la cual trae todas las medidas para realizar anillos, y yo no la tengo por eso utilizo el marcador, luego corto el alambre al obtener la medida del anillo y realizo otro en el otro extremo del alambre un aro el cual tampoco cierro, luego con la lima limo las puntas para evitar que moleste en el dedo al momento de usar, luego con el alambre 24 doy 4 vueltas en uno de los extremos del aro e introduzco una perla y realizo otras vueltas en el otro extremo del aro para sujetar bien la perla ( 1 al 6).
Tutorial or step by step .
I start making a ring without closing at one end of the wire with the thickest part of the round tip tweezers, then I use the marker where I turn the wire to shape the ring (unfortunately I did not take that picture) to make rings you must use a piece called Mandrel, which brings all the measures to make rings, and I do not have it so I use the marker, then I cut the wire to obtain the measure of the ring and I make another one in the other end of the wire a ring which I do not close, then with the file, I file the tips to avoid that it bothers in the finger at the moment of using, then with the wire 24 I give 4 turns in one of the ends of the ring and I introduce a pearl and I make other turns in the other end of the ring to hold well the pearl (1 to 6).
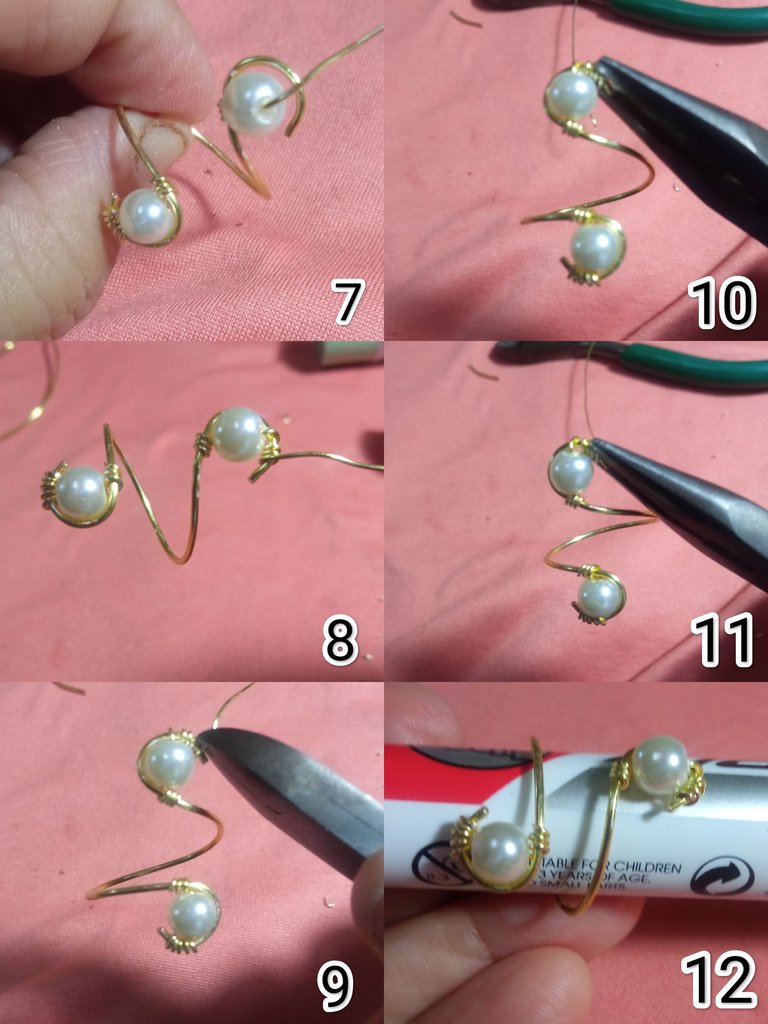
Luego en el otro extremo realizo el mismo procedimiento con la otra perla , corto con la pinza piqueta el alambre sobrante, aprieto con la pinza plana todos los extremos del alambre que usé para colocar las perlas, luego coloco el anillo en el marcador para que quede redondeado , en este caso para definir la forma de anillo, y así doy por terminado este hermoso proyecto ( 7 al 12).
Then at the other end I do the same procedure with the other bead, I cut with the needle-nose pliers the excess wire, I tighten with the flat pliers all the ends of the wire that I used to place the beads, then I place the ring in the marker so that it is rounded, in this case to define the ring shape, and thus I finish this beautiful project (7 to 12).
Espero haya Sido de su agrado el trabajo realizado, gracias por visitar mi blog y comentar e igualmente gracias a todos por el apoyo, será hasta una próxima oportunidad.
I hope you liked the work done, thank you for visiting my blog and comment and also thank you all for your support, it will be until next time.
Las fotos son de mi autoría @Lupasbra21 fueron tomadas con mi teléfono inteligente Redmi note, utilicé la aplicación polish para la edición de fotos y utilicé el traductor Deepl translate.
The photos are of my authorship @Lupasbra21 were taken with my Redmi note smartphone, I used the polish application for photo editing and I used the translator Deepl translate.

Te quedó muy lindo, me encanta 😍
Gracias, me alegro que te haya gustado .
It looks so beautiful and stylish. Love its design! Well done! Thank you for sharing this.
Gracias por el apoyo y por el comentario.
Está bellísimo. Que lindura hicistes... gracias por compartir @lupasbra21
Gracias amiga @katiuskamata , gracias por el apoyo.
Para ser tu primer anillo quedo hermoso, los anillos son sencillos de realizar y este aún más, esperamos que lo disfrutes.
Gracias por el apoyo , es muy lindo y por supuesto lo estoy disfrutando.
Muy bueno, que fino que explicaste que se necesita un mandril, pero que no es una limitante .
Es un anillo simple y elegante, un proyecto perfecto para cualquiera que se quiera iniciar en esto de hacer joyería artesanal en alambre
Gracias por visitar mi blog y por tu comentario, así es, el no tener un mandril no limita el que realicemos un trabajo de joyería . Saludos.