English Version
Hello my dear Hivers! Today I present you something different, interesting and even fun, this is a cute and colorful bracelet made from magazine paper, this is ideal for personal use but it is also very nice to make matching bracelets with your best friend for example, just varying the color trend according to the favorite of each one and while you may think it will be damaged immediately, the truth is that with a good sealing is quite durable, so if you want to look something unique, read on to learn each step.
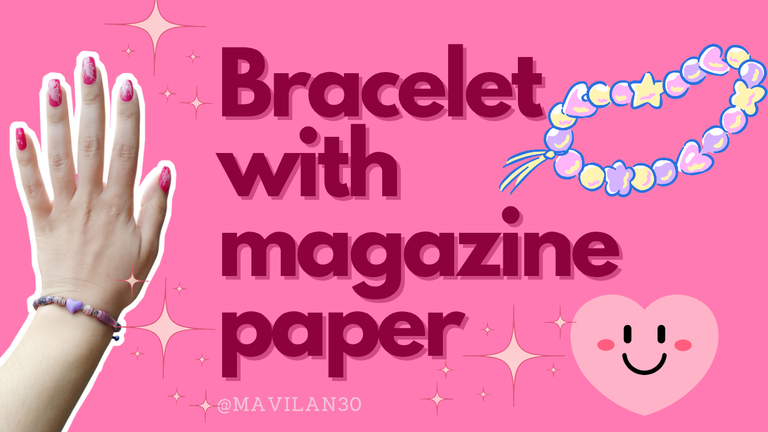
Imagen creada por mí en Canva / Image created by me in Canva
Materiales:
- Papel de revista
- Lápiz/Lapicero
- Regla
- Pegamento blanco
- Palito de altura
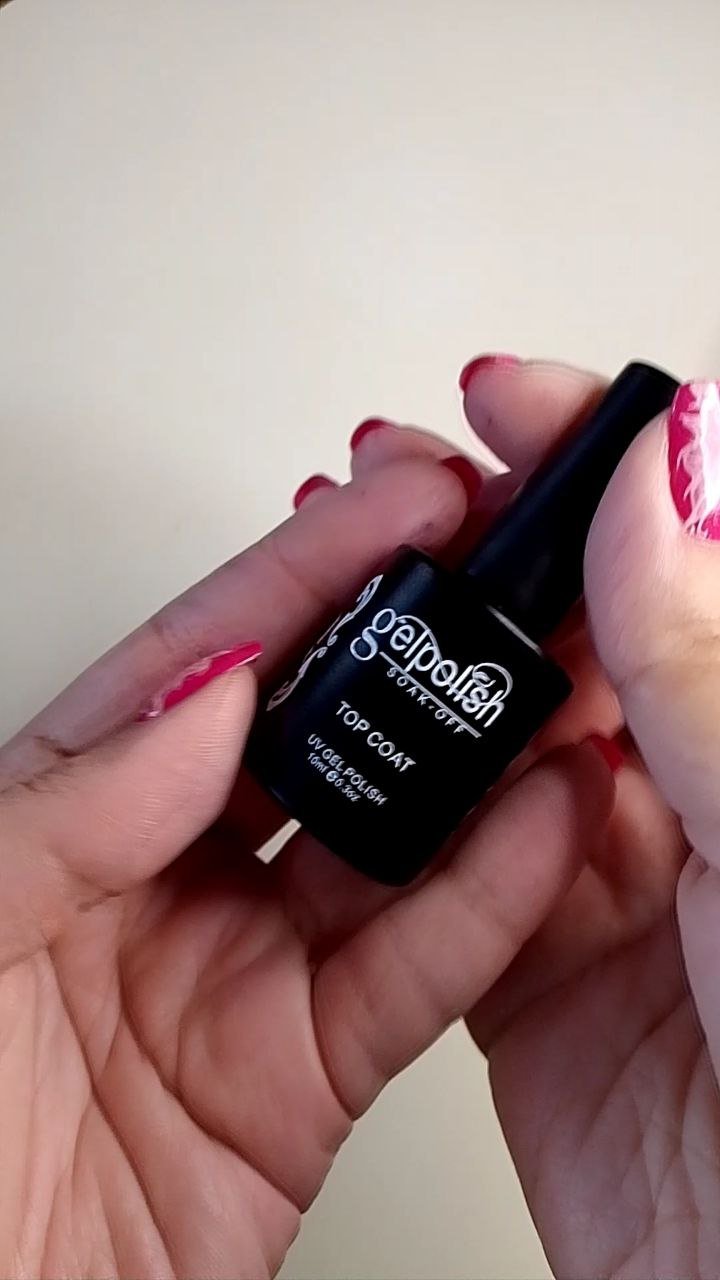
- Top coat
- Lámpara UV/LED
- Cordón tipo cola de ratón
- Encendedor
Procedimiento:
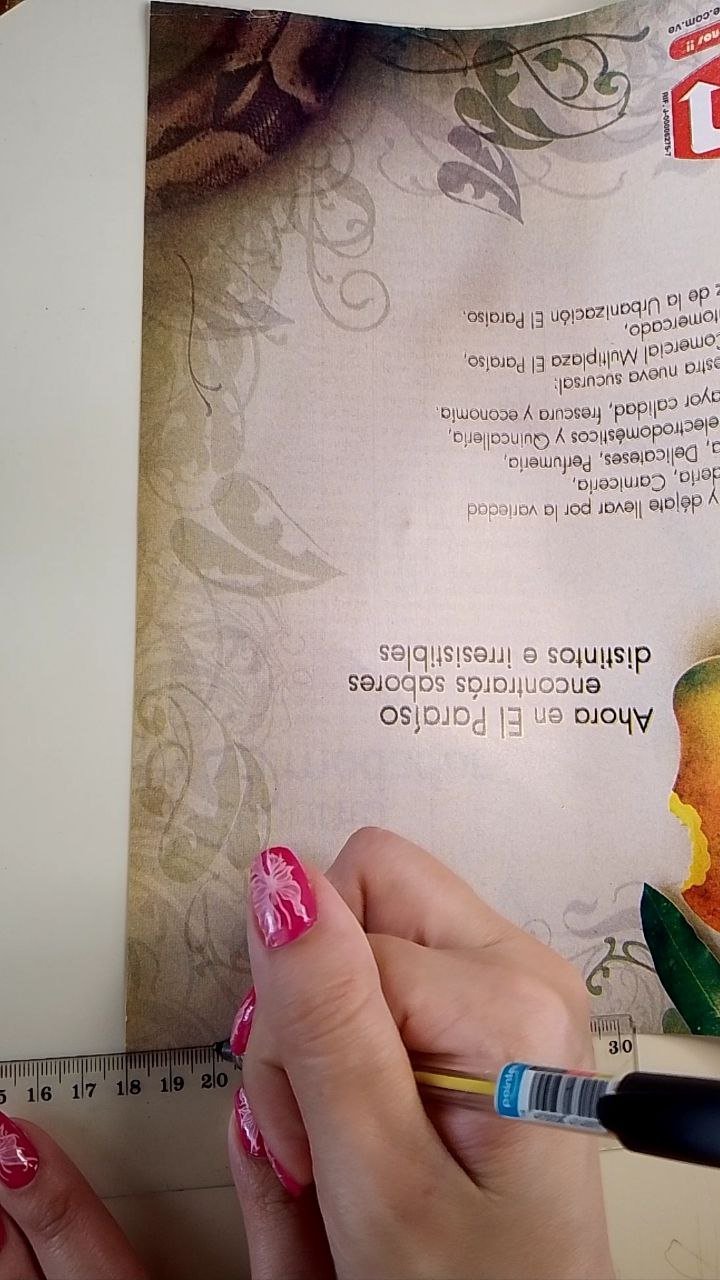
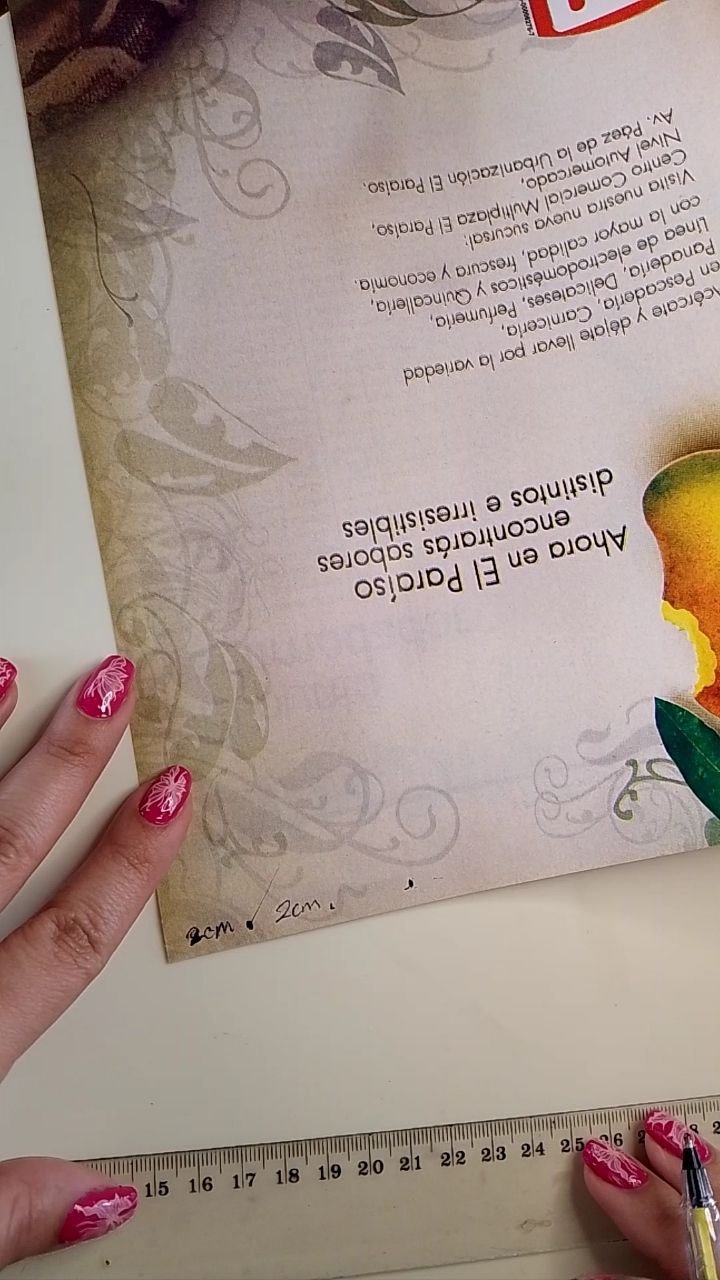
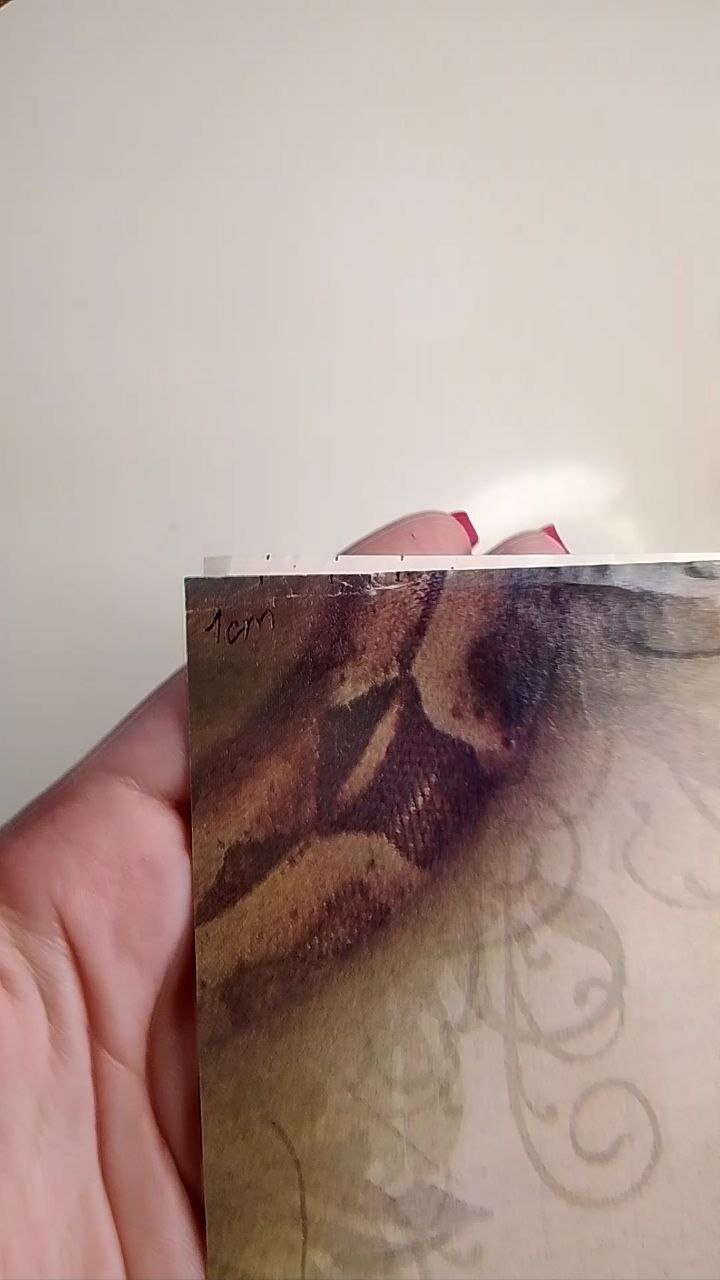
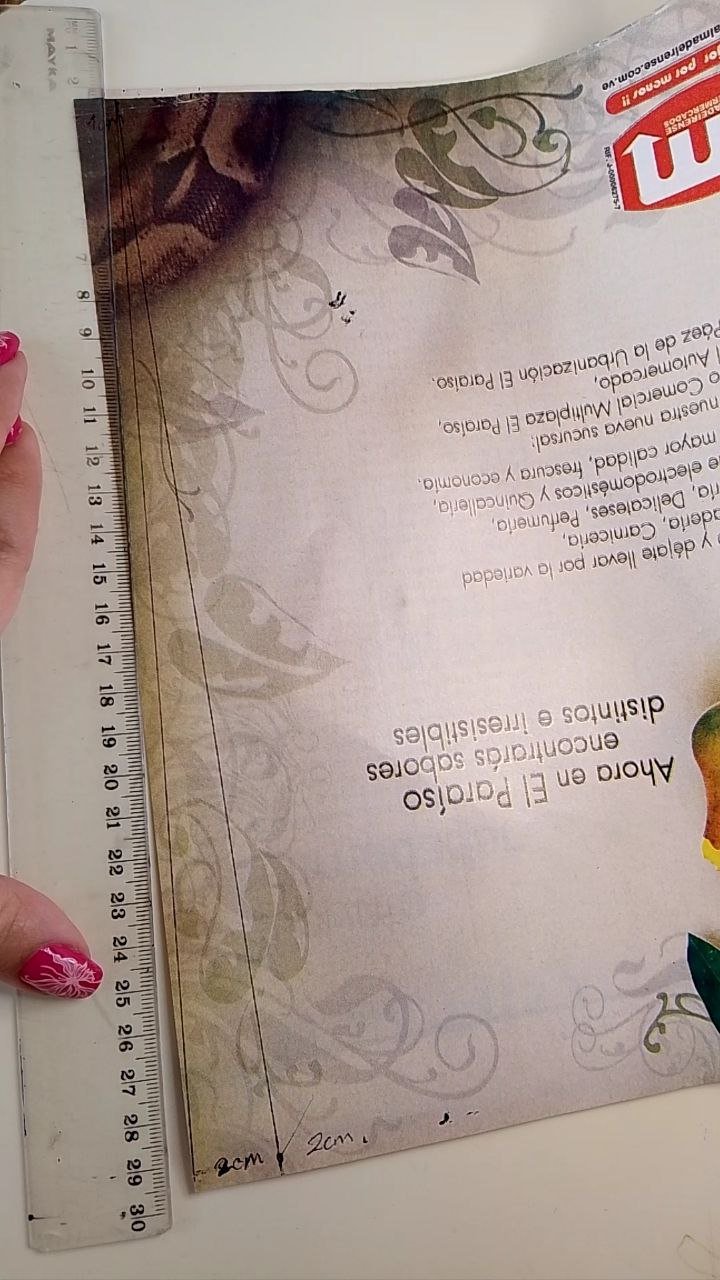
Iniciamos tomando una revista y eligiendo una de sus páginas, que contenga los colores de nuestra referencia según la combinación que deseamos hacer. Marcaremos a distancias de dos centímetros en uno de los extremos de la hoja ya cada un centímetro en el extremo opuesto.
English Version
Materials:
- Magazine paper
- Pencil/Pencil
- Ruler
- White glue
- Height stick
- Top coat
- UV/LED lamp
- Mouse tail cord
- Lighter
Procedure:
We start by taking a magazine and choosing one of its pages, which contains the colors of our reference according to the combination we want to make. We will mark at distances of two centimeters at one end of the page and every one centimeter at the opposite end.
 |  |
|---|
 |  |
|---|
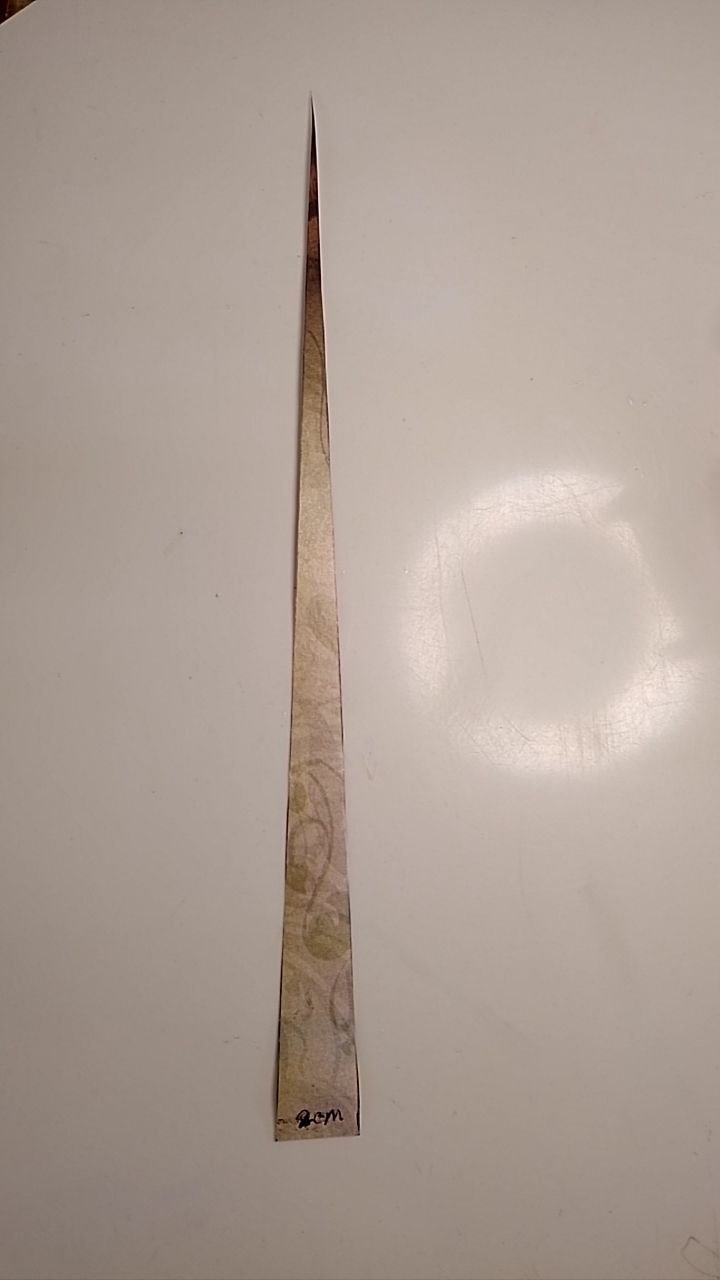
Uniremos los puntos con líneas inclinadas, formando así triángulos que procederemos a recortar con ayuda de las tijeras.
English Version
We will join the points with inclined lines, thus forming triangles that we will proceed to cut out with the help of the scissors.
 |  |
|---|
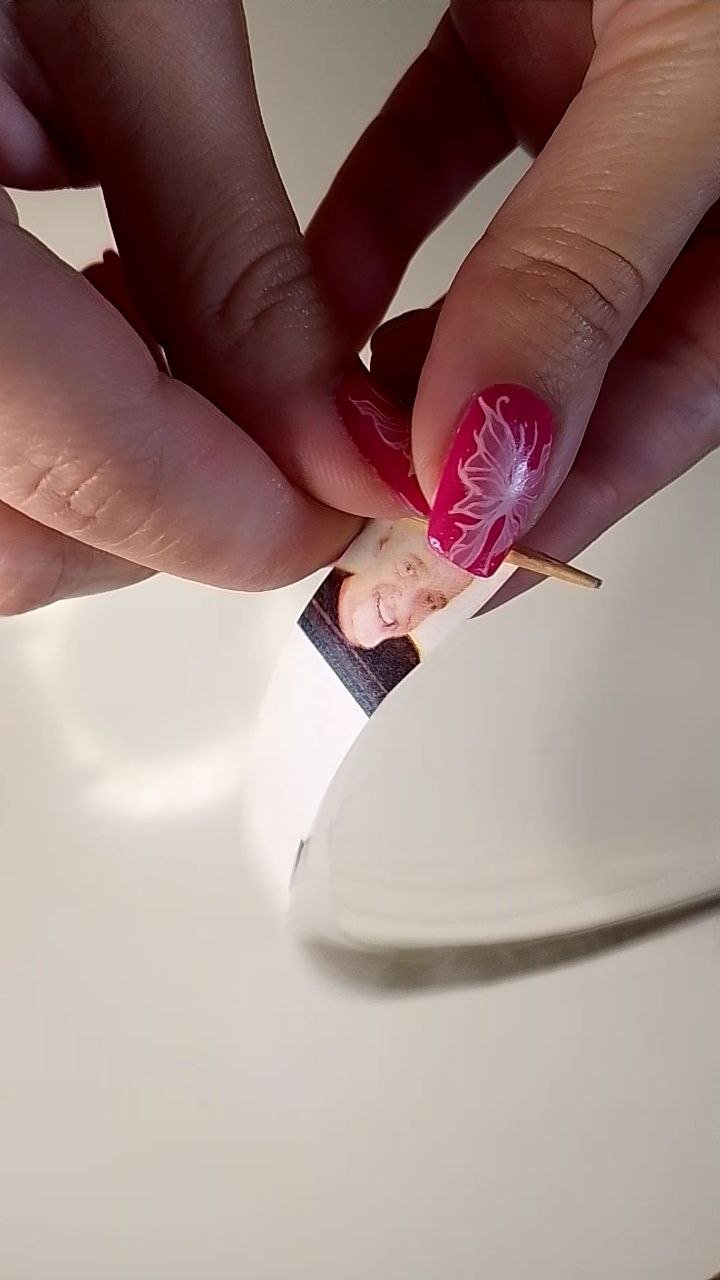
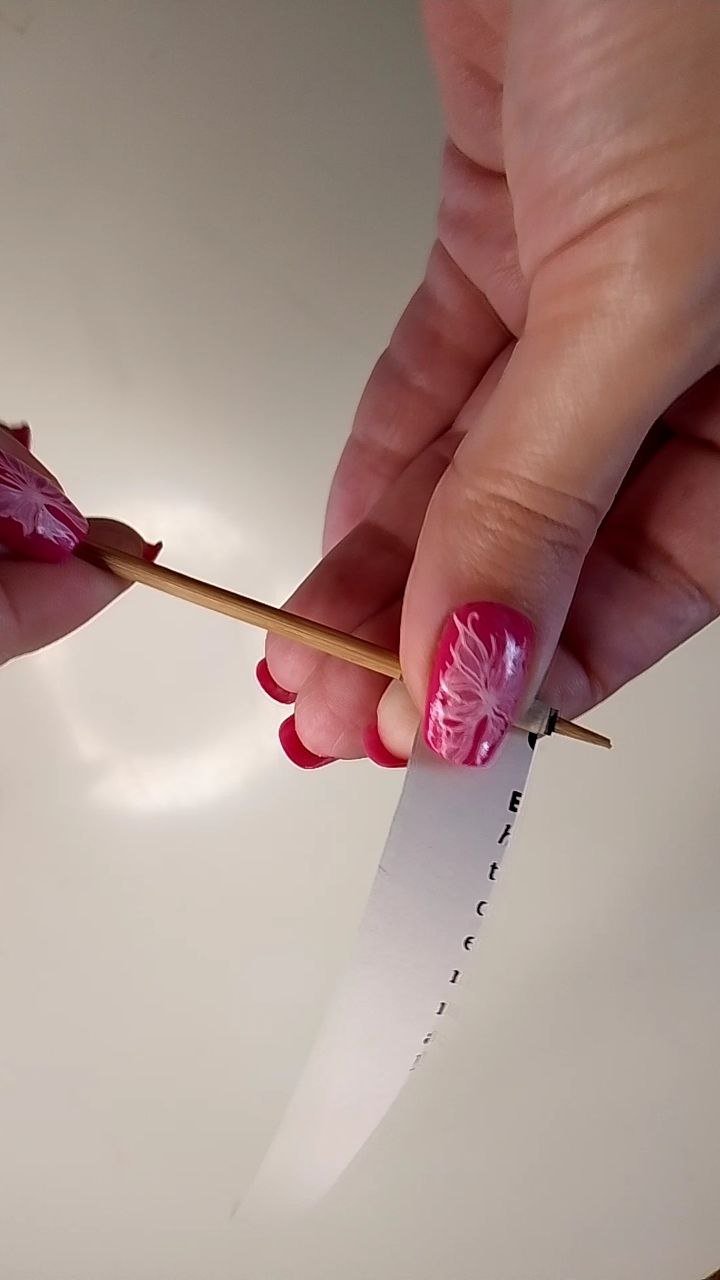
Ahora, tomaremos uno de los triángulos y comenzamos a envolver el palito de altura o palillo con la base del triángulo y continuaremos enrollando sobre sí mismo.
English Version
Now, we will take one of the triangles and start wrapping the height stick or toothpick with the base of the triangle and continue wrapping it around itself.
 |  |
|---|
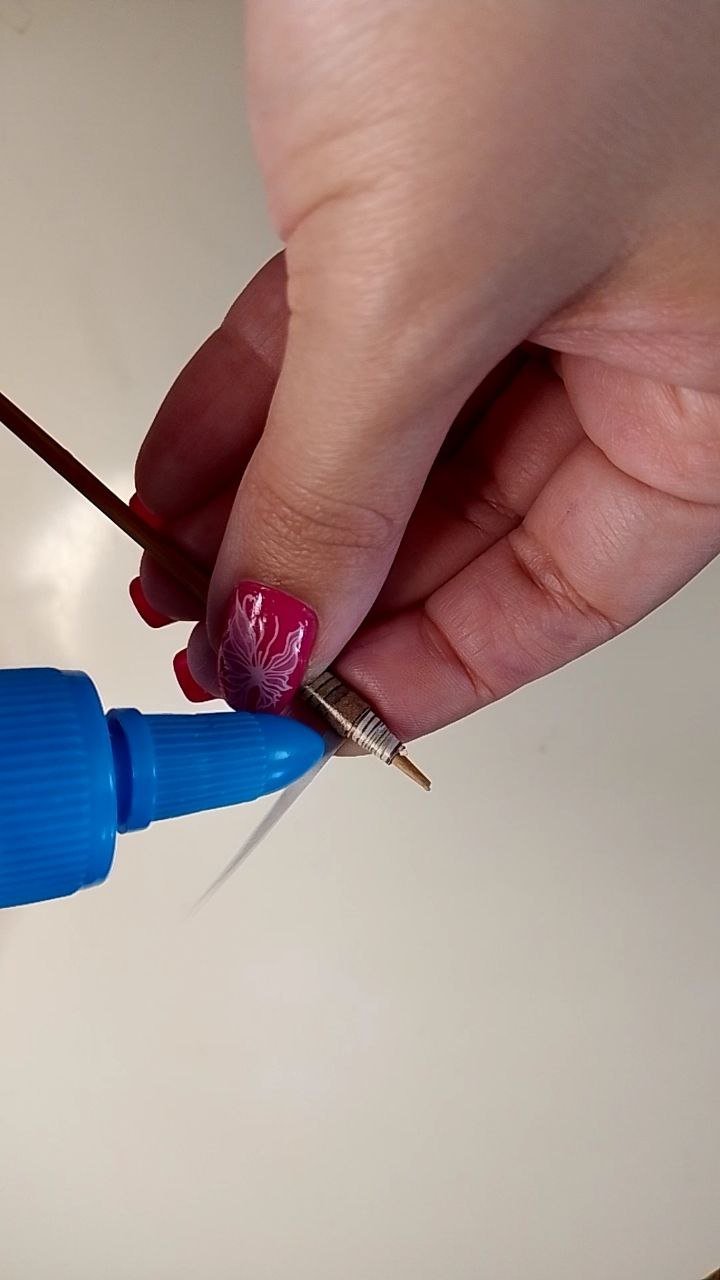
Cuando ya se vaya acercando el final del triángulo, es decir, la parte puntiaguda, añadimos un poco de pegamento y seguimos enrollando, de manera que quede asegurado.
English Version
When the end of the triangle is approaching, that is, the pointed part, add a little glue and continue rolling, so that it is secure.
 |  |
|---|
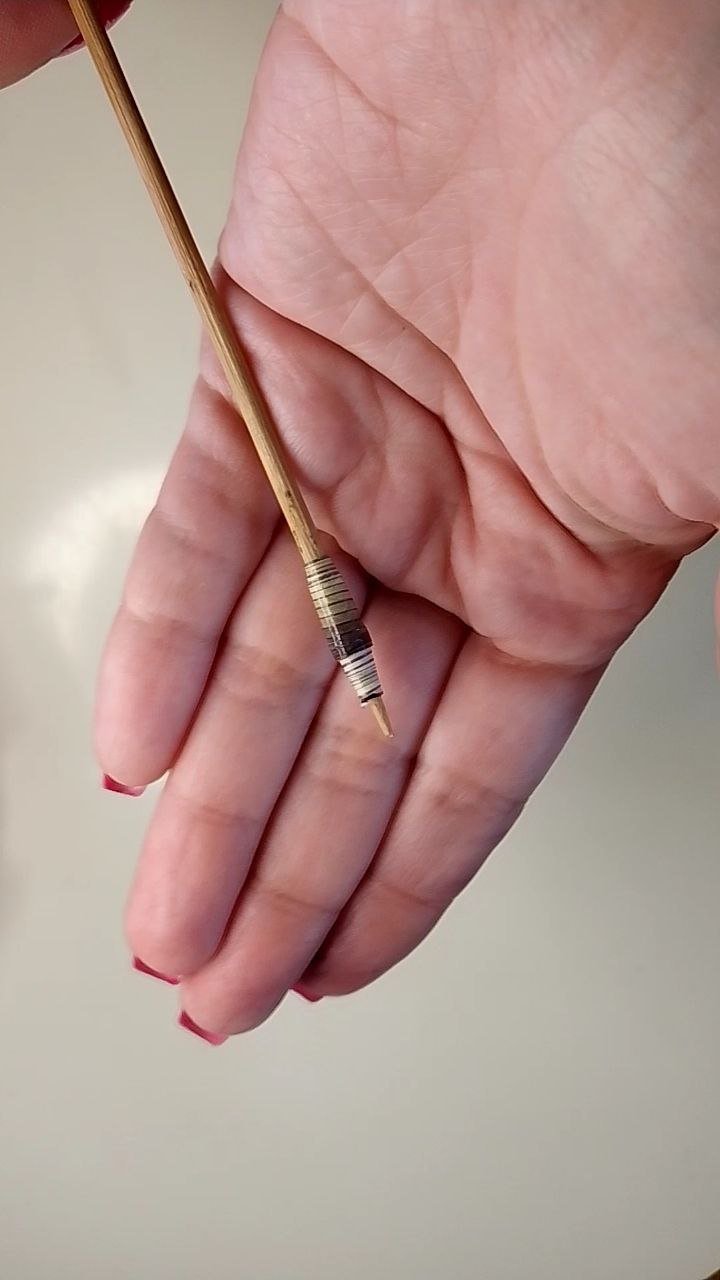
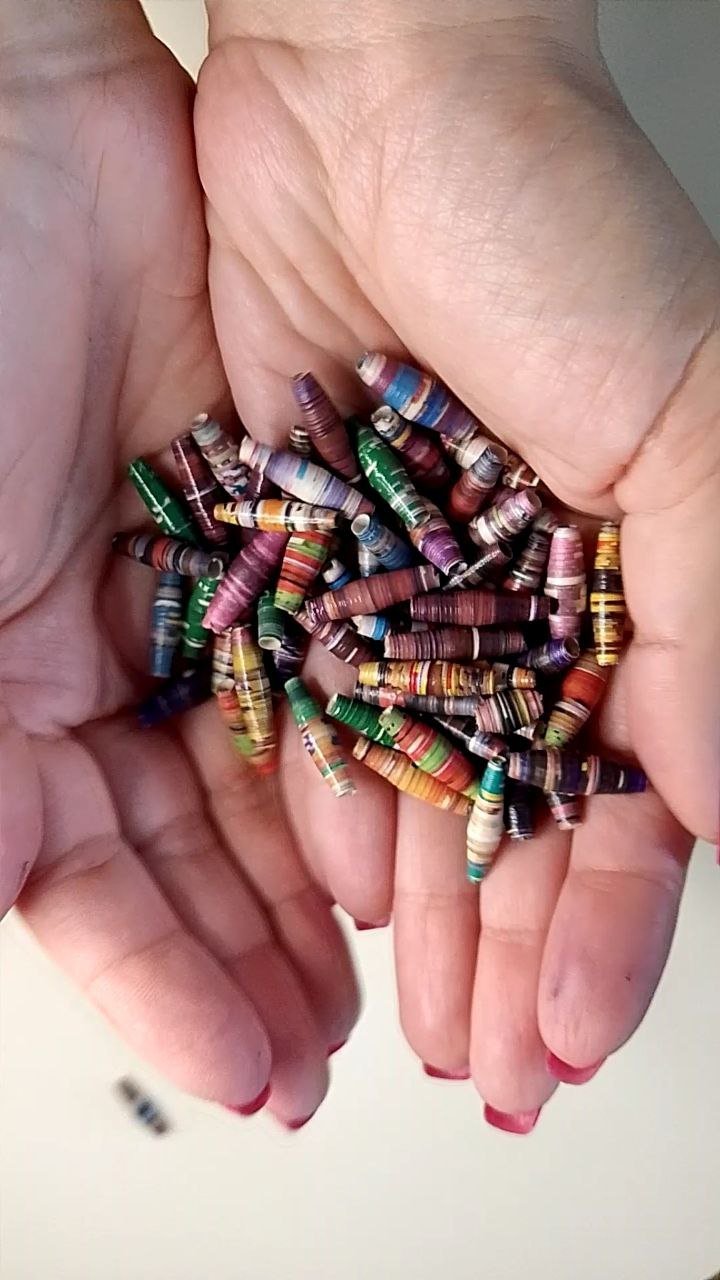
Y ya estando listo, agregamos una capa fina de pegamento blanco a toda la pieza para que todo quede en su lugar y mantenga su forma como se canutillo gordito.
English Version
And being ready, we add a thin layer of white glue to the whole piece so that everything stays in place and keeps its shape like a chubby bobbin.
Asegurando con pegamento / Securing with glue
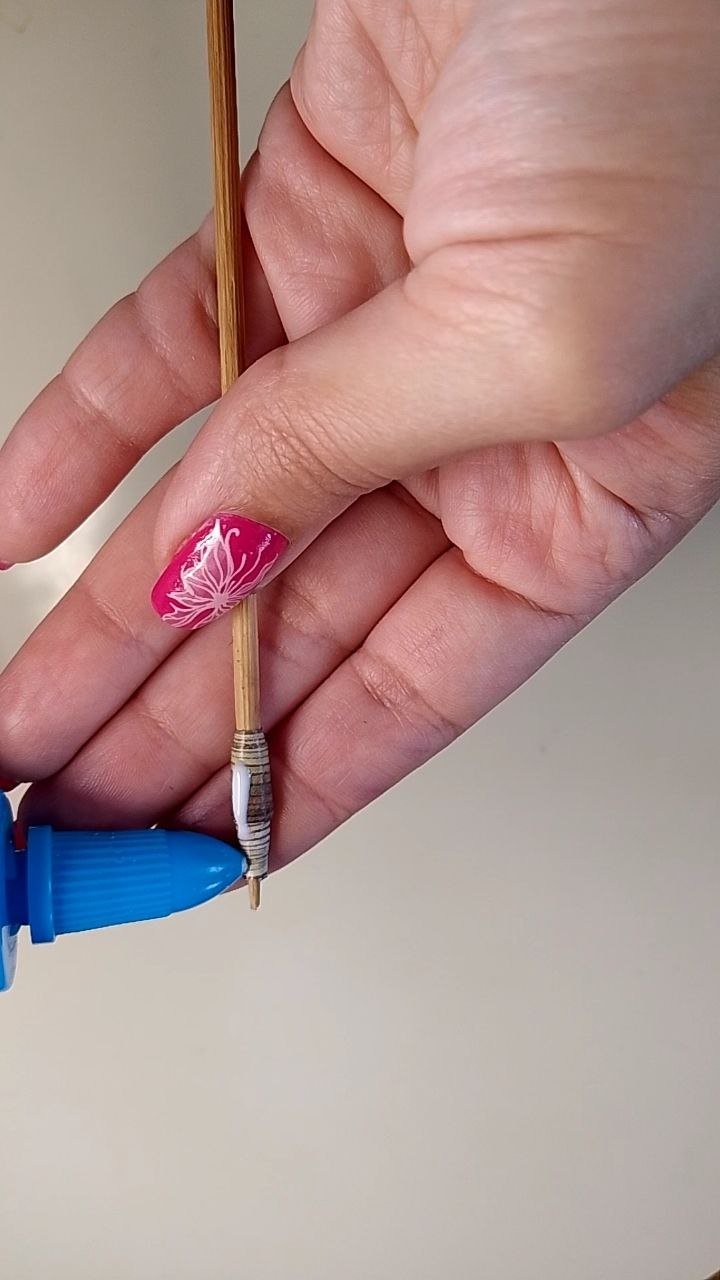
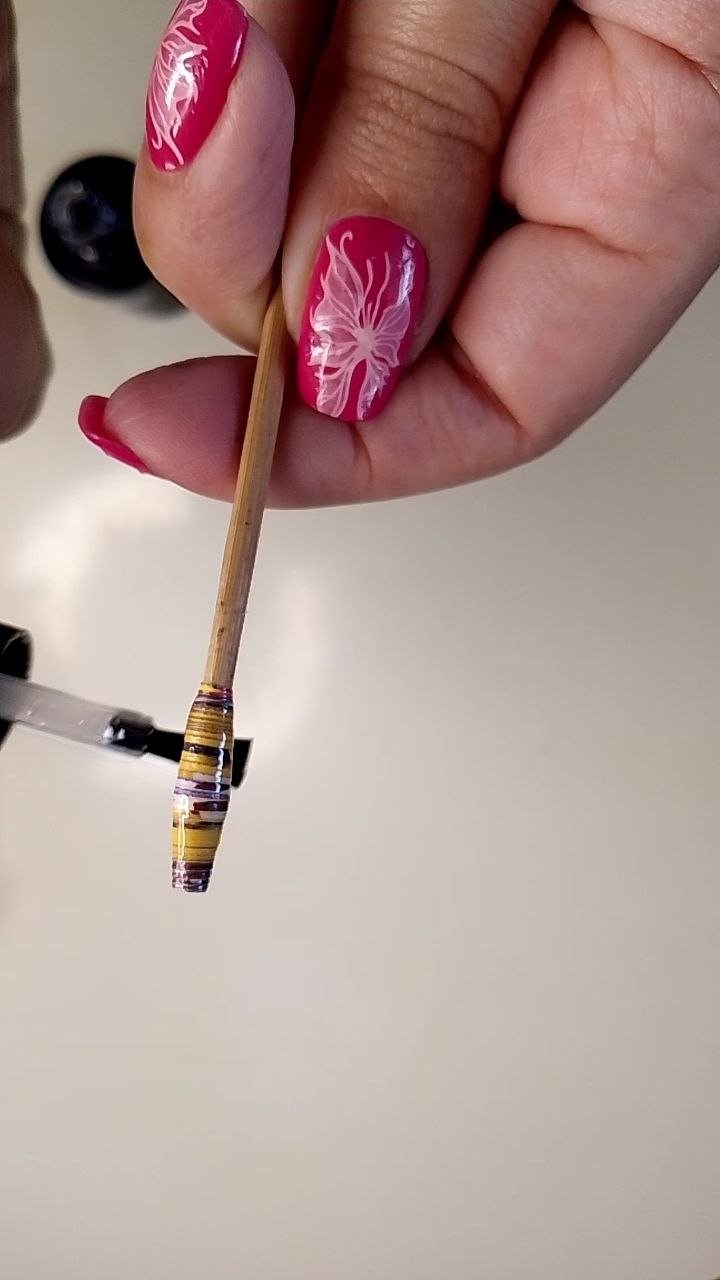
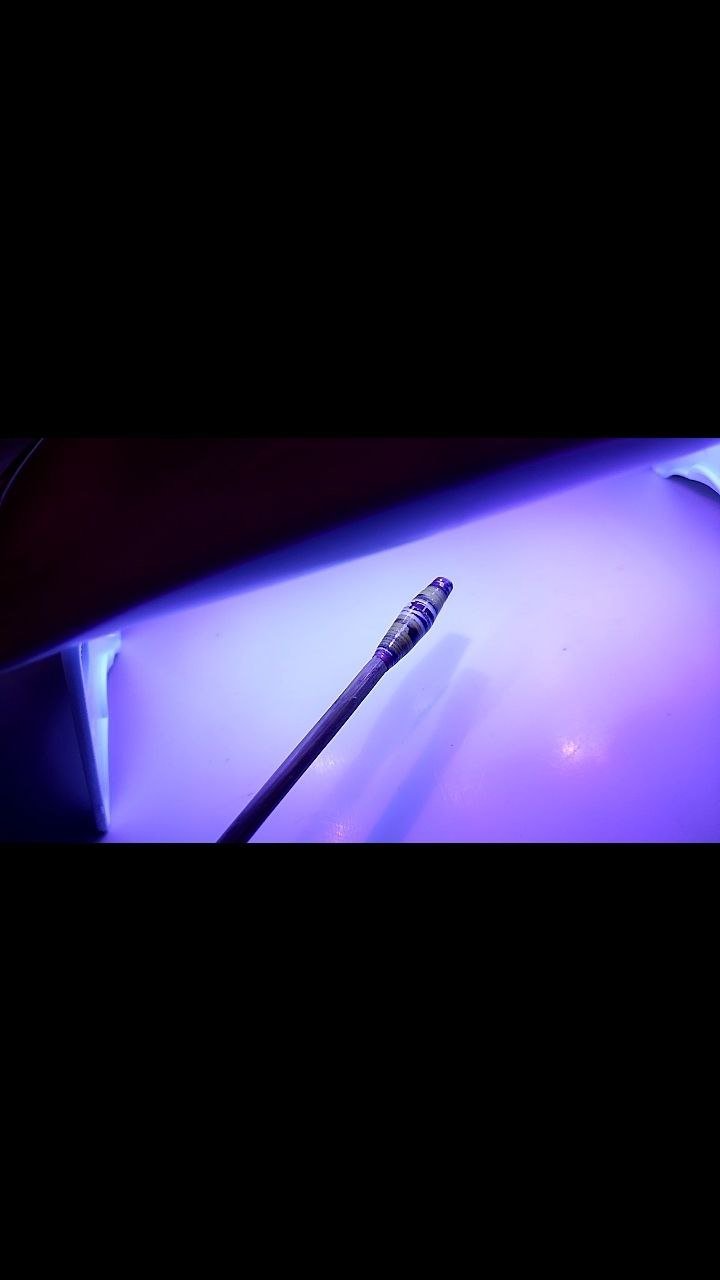
Como toque final, le damos una capa con top coat y curamos en lámpara toda su superficie. Repetimos todos los pasos anteriores tantas veces necesitemos para el número de piezas que requerimos.
English Version
As a final touch, we give a coat with top coat and cure in lamp all its surface. We repeat all the previous steps as many times as we need for the number of pieces we require.
 |  |
|---|
 |  |
|---|
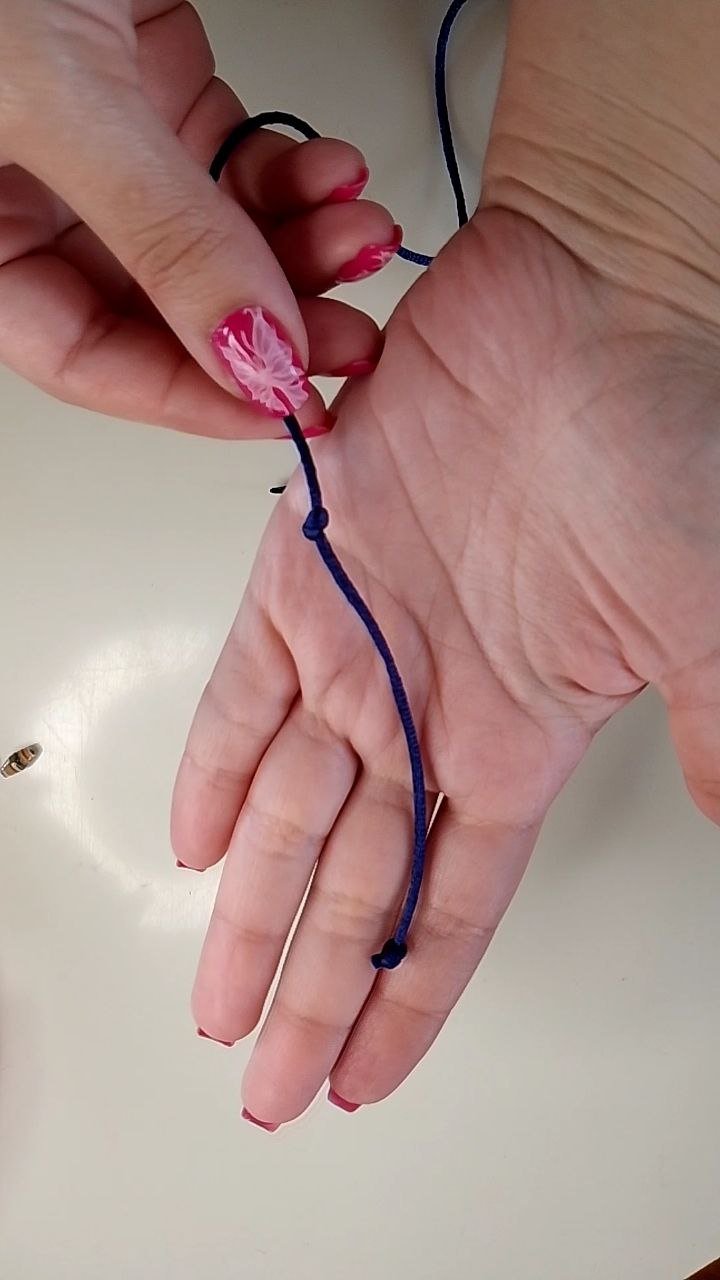
También hice unas piezas más pequeñas siguiendo los mismos pasos anteriores, pero en lugar de dejar espacios de 2 y 1 centímetros, los dejé a 1 y 0.5 centímetros. Así, tomé un cordón cola de ratón y realicé un primer nudo en un extremo y luego otro nudo dejando la distancia que consideré prudente para formar la tira que permitirá la zona de cierre.
English Version
I also made some smaller pieces following the same steps above, but instead of leaving spaces of 2 and 1 centimeters, I left them at 1 and 0.5 centimeters. So, I took a mouse tail cord and made a first knot at one end and then another knot leaving the distance I considered prudent to form the strip that will allow the closing area.
Haciendo nudos iniciales / Making initial knots
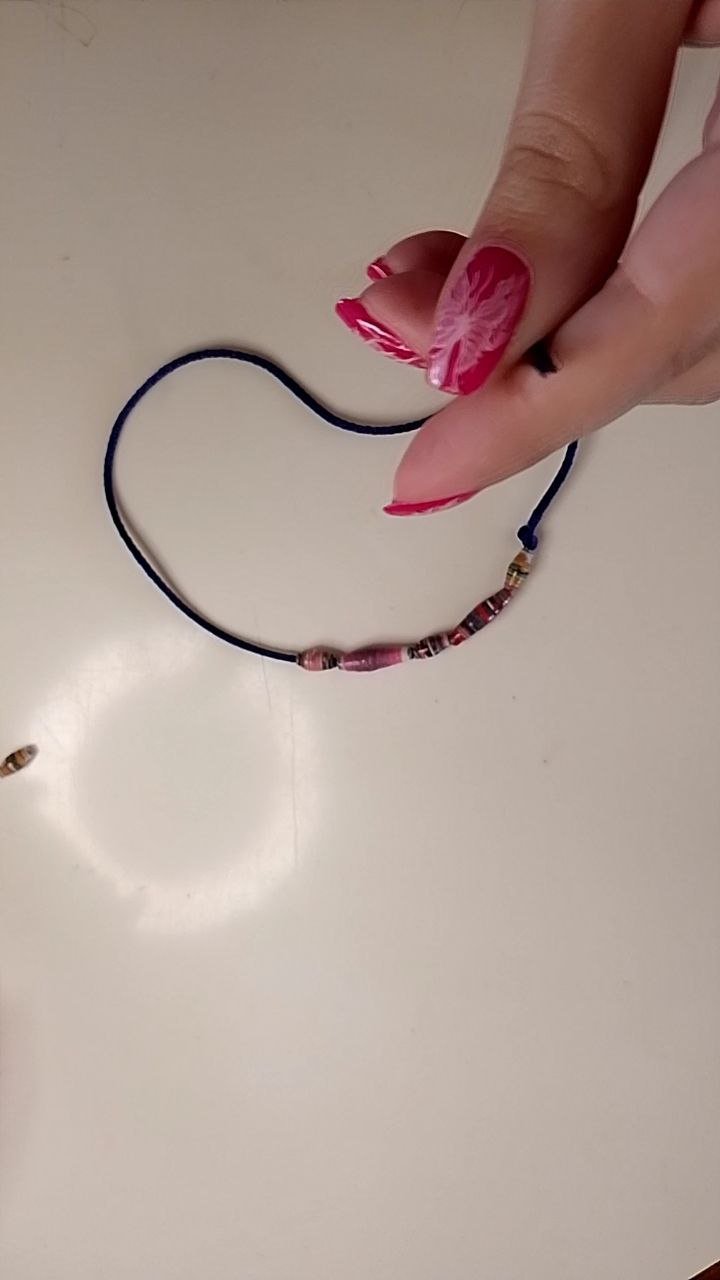
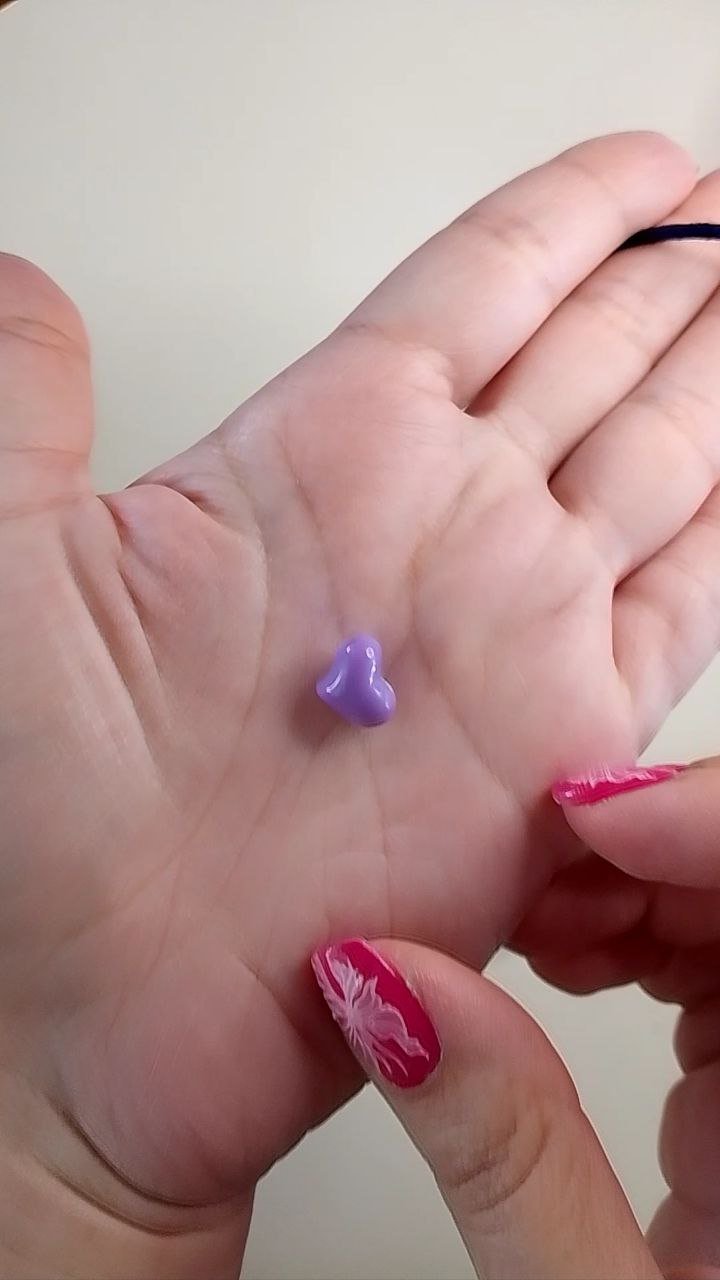
Ahora solo resta ir agregando nuestras cuentas favoritas, siguiendo el patrón de "una pequeña - una grande", hasta llegar al centro, donde agregaremos alguna cuenta decorativa para dar dinamismo al patrón.
English Version
Now we just need to add our favorite beads, following the pattern “one small - one large”, until we reach the center, where we will add a decorative bead to give dynamism to the pattern.
 |  |
|---|
Agregando cuentas / Adding accounts
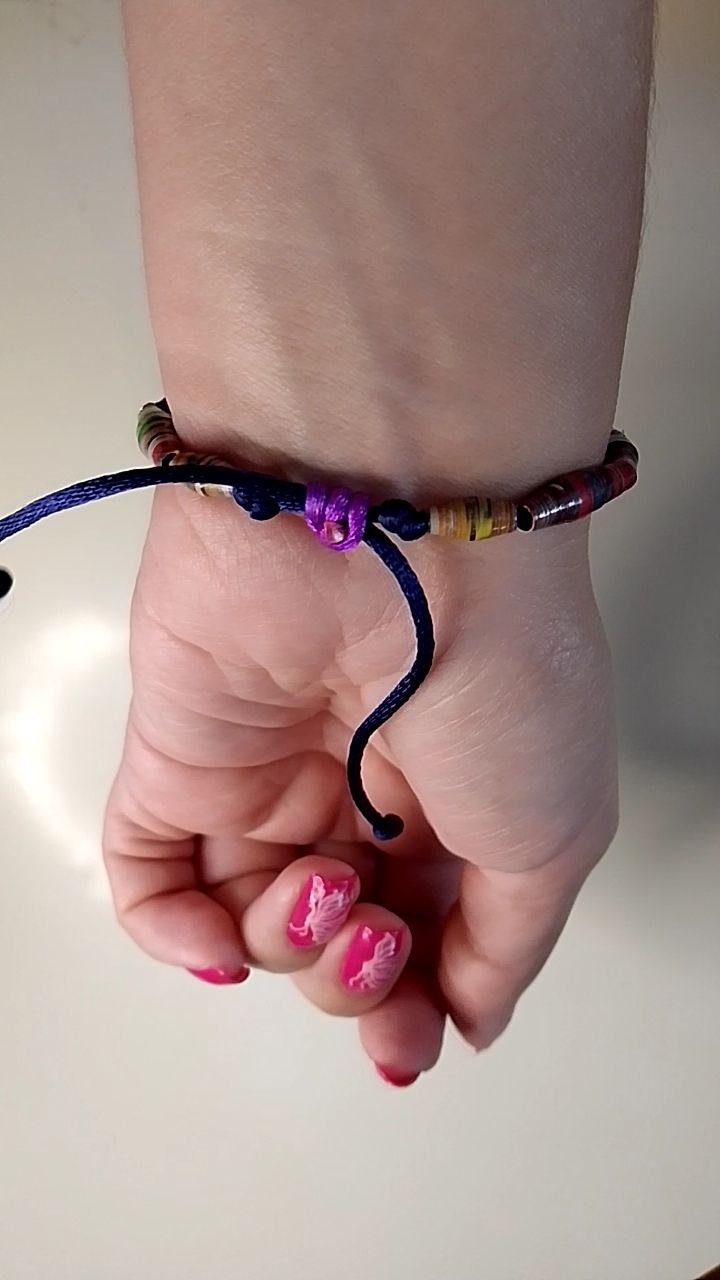
Una vez logramos la extensión suficiente para envolver la muñeca, cerramos con un nudo y un nudo más a la distancia que guarde simetría con la tira inicial. Cortamos el excedente de cordón.
English Version
Once we have enough length to wrap around the wrist, we close with a knot and one more knot at a distance that keeps symmetry with the initial strip. Cut the excess cord.
 |  |
|---|
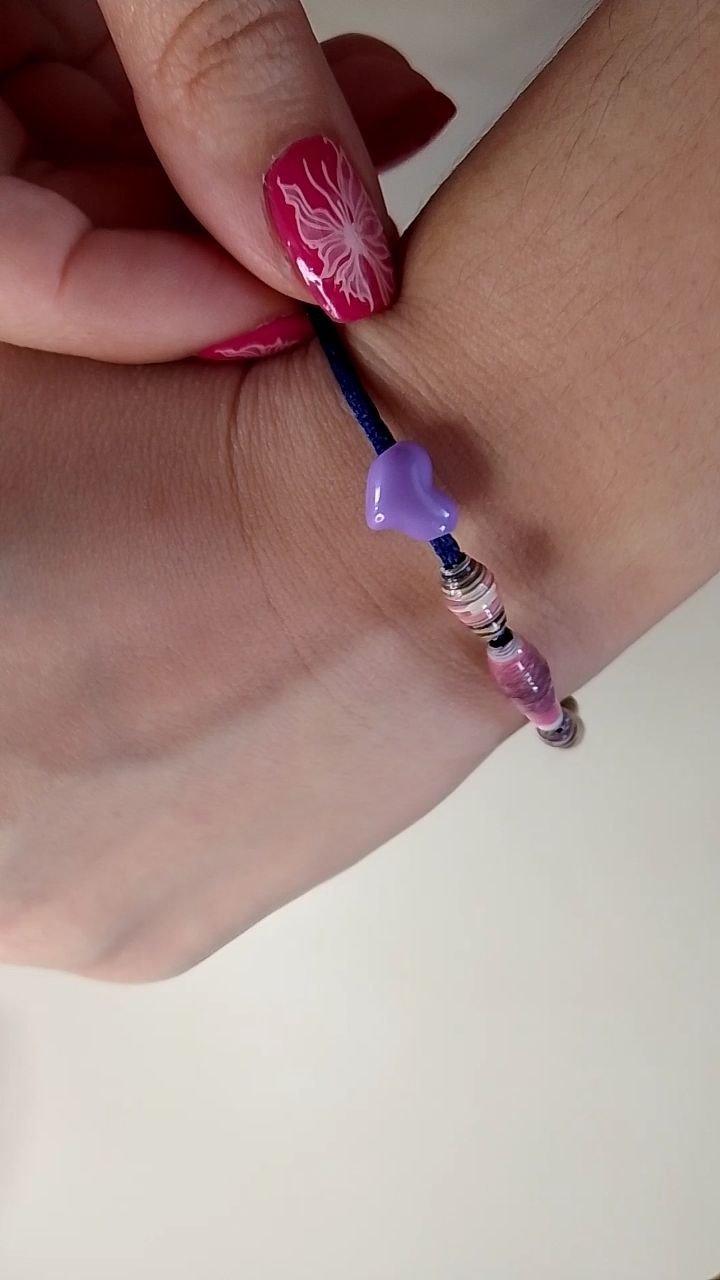
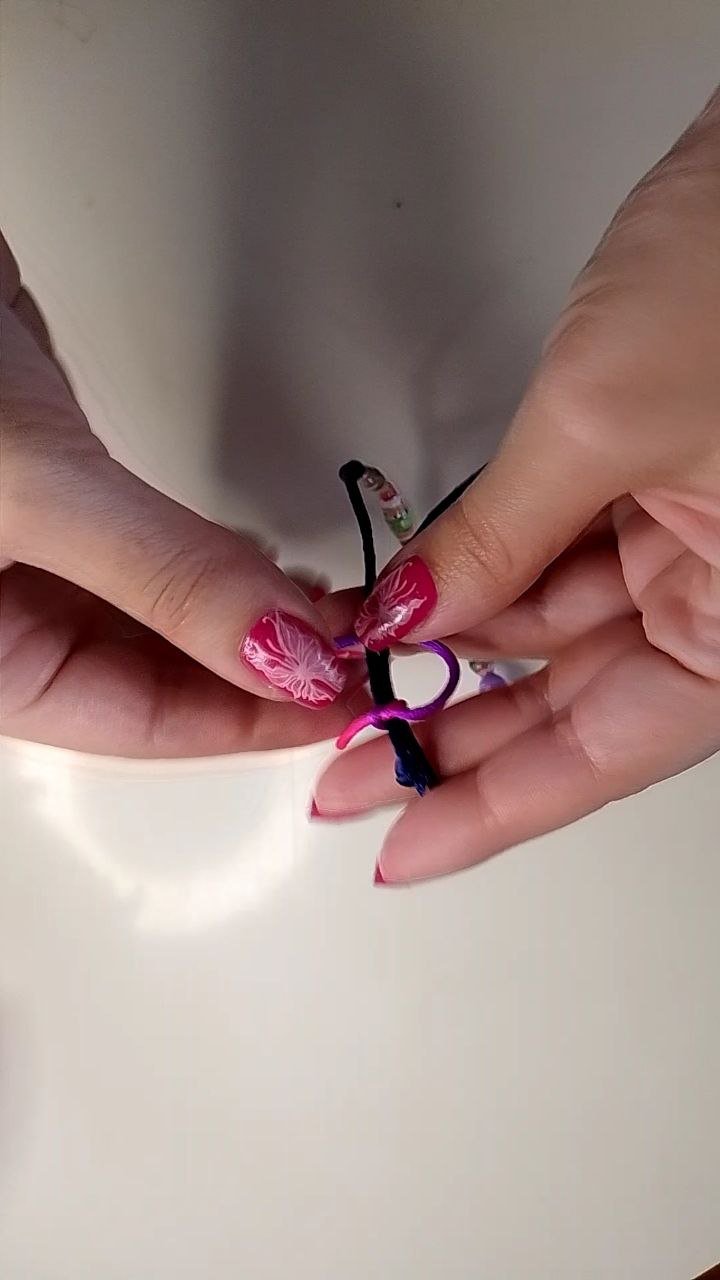
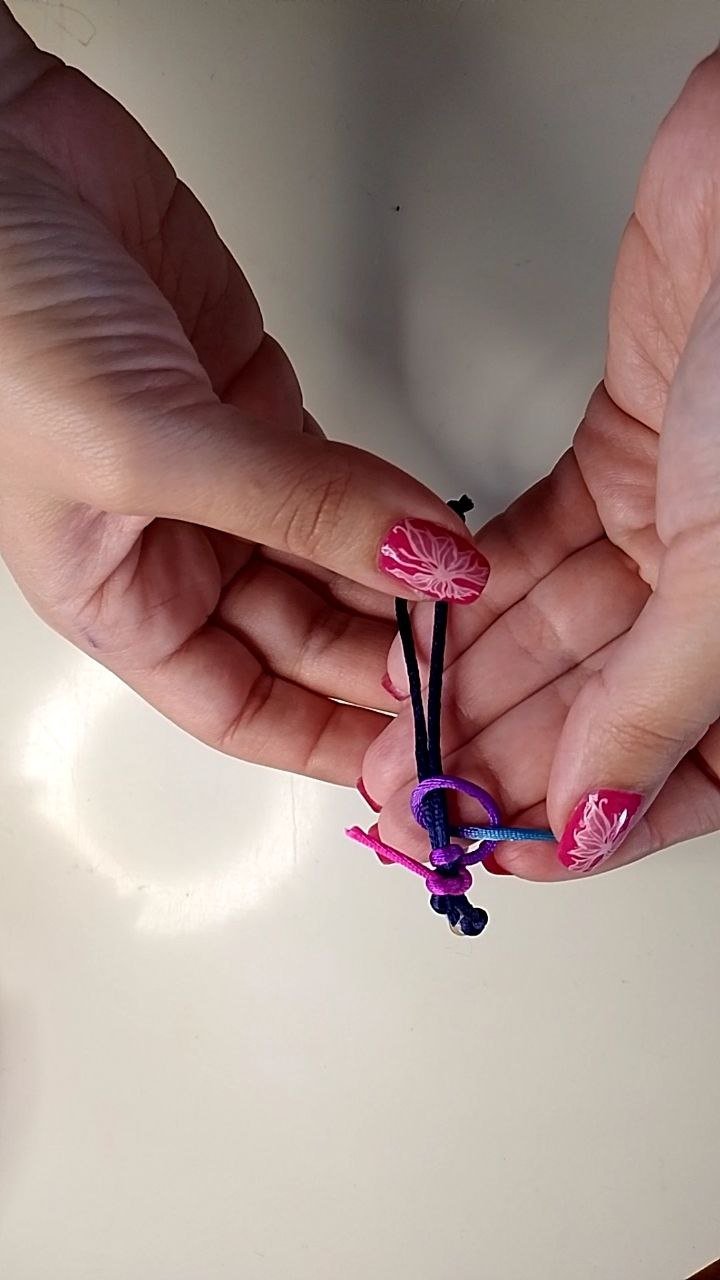
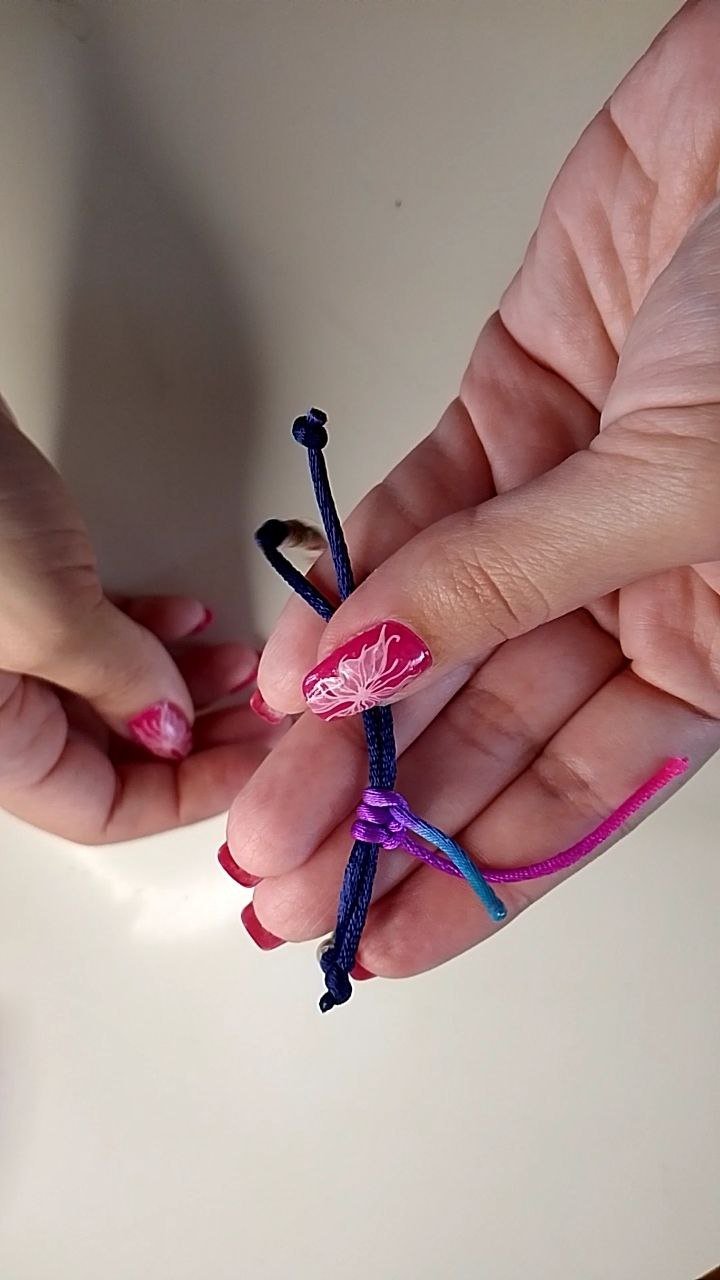
Para el mecanismo de cierre emplearemos un nudo corredizo, para el mismo, solo debemos tomar un trocito de cordón, hacer un nudo envolviendo ambas tiras de la pulsera y luego, pasar el extremo de la nueva tira por encima de las anteriores formando un ojal de un lado, para luego terminar de envolver las tiras desde debajo e introducir este cordón por dentro del ojal y tiramos para que quede apretado por así decirlo.
English Version
For the closing mechanism we will use a slip knot, for the same, we only have to take a small piece of cord, make a knot wrapping both strips of the bracelet and then, pass the end of the new strip over the previous ones forming an eyelet on one side, and then finish wrapping the strips from below and introduce this cord inside the eyelet and pull it to make it tight so to speak.
 |  |
|---|
Estos pasos se repetirán tres veces. Al finalizar, soltamos el nudo inicial, cortamos los excedentes y sellamos con ayuda de un encendedor, tanto en el cierre como en los extremos de las tiras.
English Version
These steps will be repeated three times. At the end, loosen the initial knot, cut off the excess and seal with the help of a lighter, both at the closure and at the ends of the strips.
Nudo corredizo / Slipknot
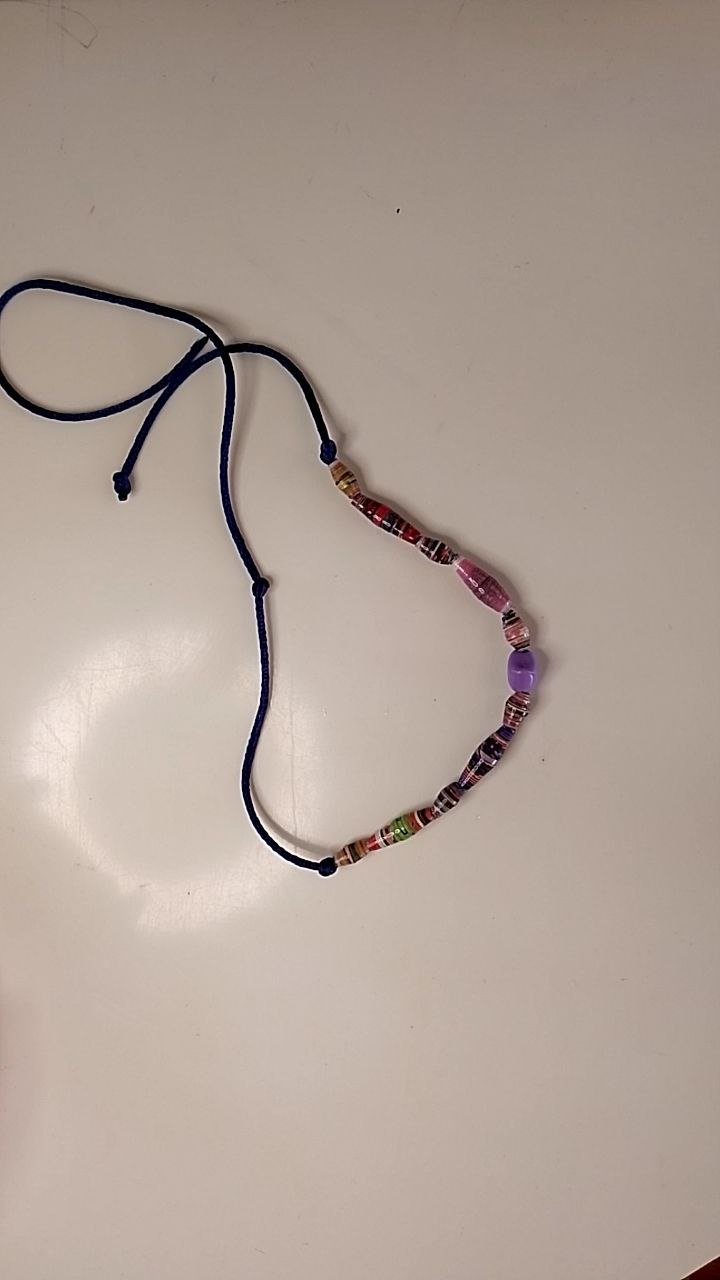
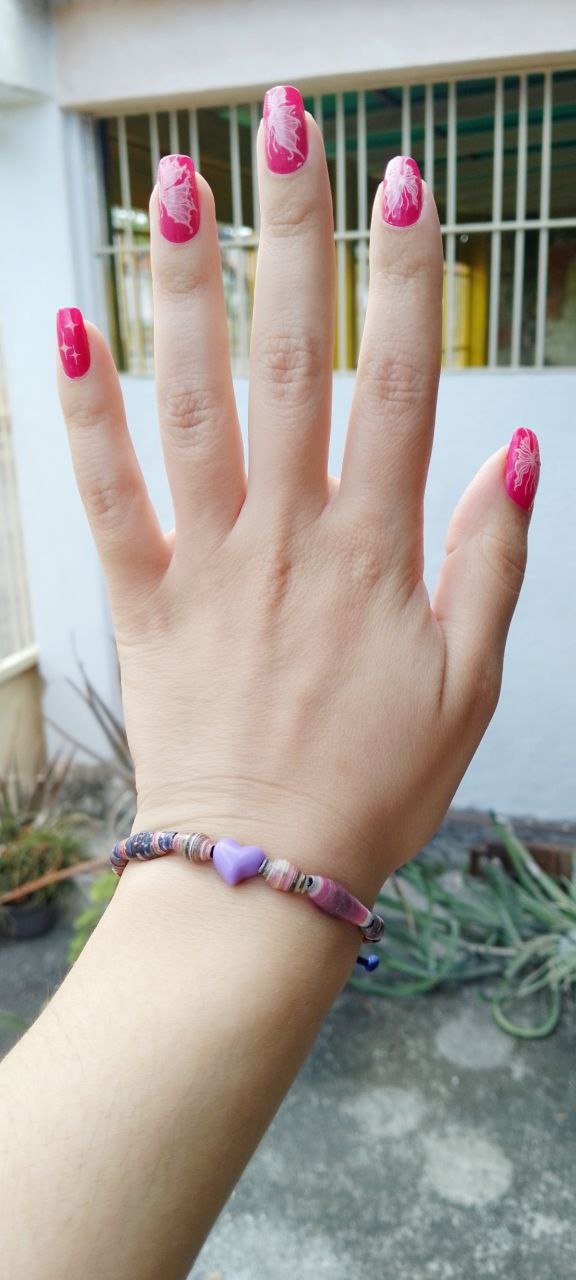
¡Y listo! Así se vería el resultado final:
English Version
And that's it! This is what the final result will look like:
 |  |
|---|
¡Muchas gracias por leerme!
Thank you so much for reading me!
Fotografías propias, tomadas con mi Tecno Spark 10C.
Traducido al inglés con DeepL.
English Version
Own photographs, taken with my Tecno Spark 10C.
Translated to English with DeepL.

Que fantástica idea. Me llamó la atención de inmediato, Las piezas quedan como cuentas de madera.
Me fascinó tu idea, es innovadora y muy creativa.
Saludos
Muchísimas gracias amiga por tu bonito comentario🤗✨
Super bonito Amor.
No sabía que eso se podía así con papel. Me sopremdió gratamente!!! 😘
Siiii lo empecé a hacer hace algunos años y me encanta como se ve🥰 muchas gracias mi amor❤️
I was really surprised by the materials used and the final result, if you didn't show me how it was done I would never have believed it, it seems very original and very well explained, so congratulations for what you have shared.
Thank you very much for your nice comment! ✨ It's true, the end result doesn't look like you started with magazine paper 😅
Está genial la pulsera. Yo hace algunos años realice una parecida y aún la conservo, quedan de lujo las perlas realizadas de esta manera.
Gracias por dejarnos tu paso a paso.
De verdad que quedan muy bonitas 😍 me alegra que te gustara ☺️ gracias por comentar 💖
Its look very beautiful. The colors that you have used are Amazing. Thanks for sharing with us.
Thank you very much for your comment☺️🤗