Hola a todos mis amigos , Dios les bendiga a todos , espero que hayan amanecido bien , hoy les quiero compartir en este día el paso a paso de la elaboración de unos zarcillos estos zarcillos los realice con demasiado amor , les cuento porque se trata de una de mis flores favoritas (orquídea) me encanta esta especie es única para mí, por eso quise realice unos zarcillos con está temática
Hello to all my friends, God bless you all, I hope you have had a good morning, today I want to share with you the step by step of the elaboration of some tendrils, I made these tendrils with too much love, I tell you because it is one of my favorite flowers (orchid) I love this species is unique to me, so I wanted to make some tendrils with this theme.
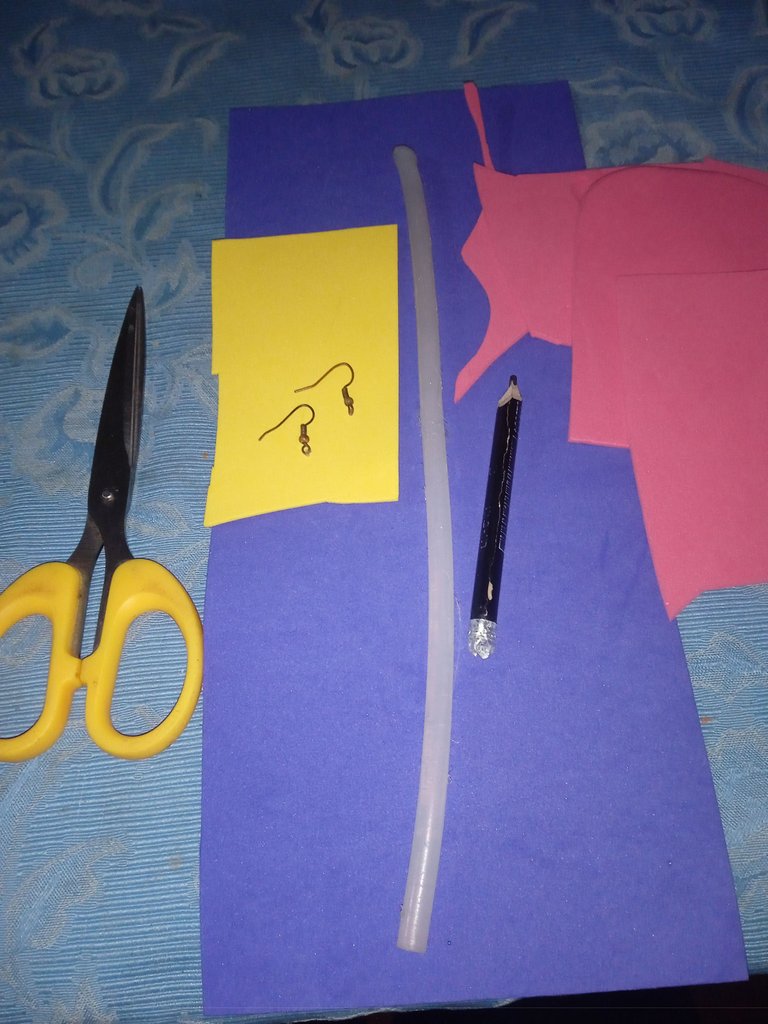
Materiales para realizar unos zarcillos en forma de orquídea :
-Foamis colores:Rosado,Morado y Amarillo
-Los anzuelos de zarcillos llamados específicamente base
-Lapiz
-Silicon
-Tijera
Materials to make tendrils in the shape of an orchid:
-Foamis colors: pink, purple and yellow.
-Hooks of tendrils called specifically base
-Polish
-Silicon
-Scissors
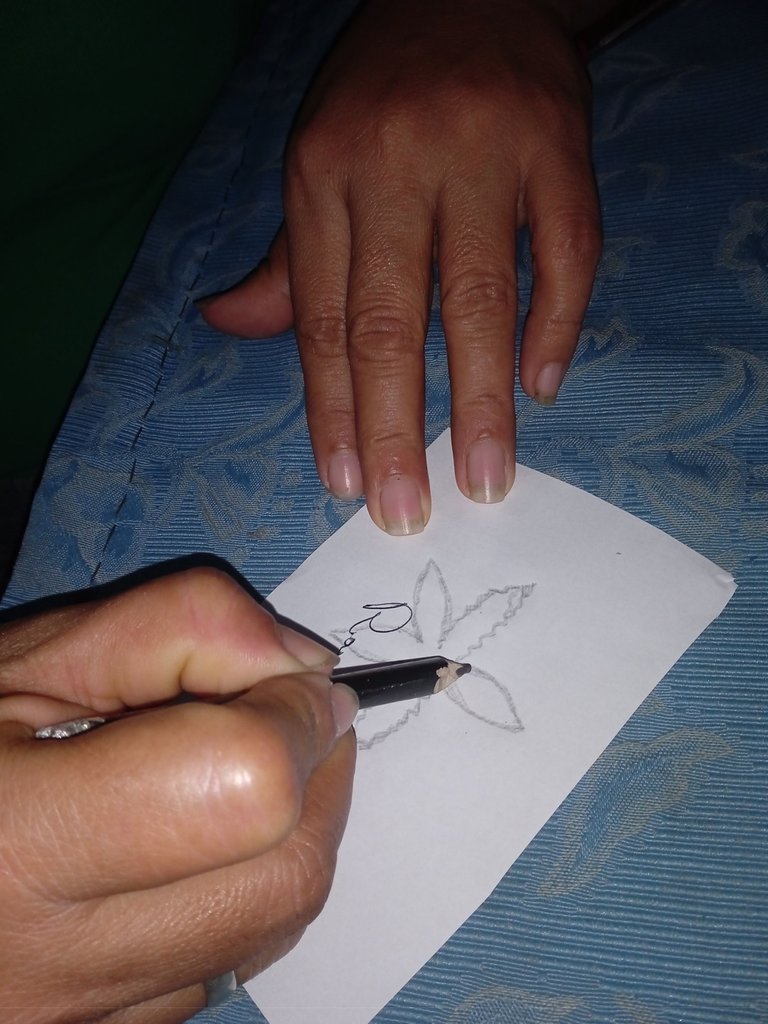
Pasos que seguir para esta elaboración :
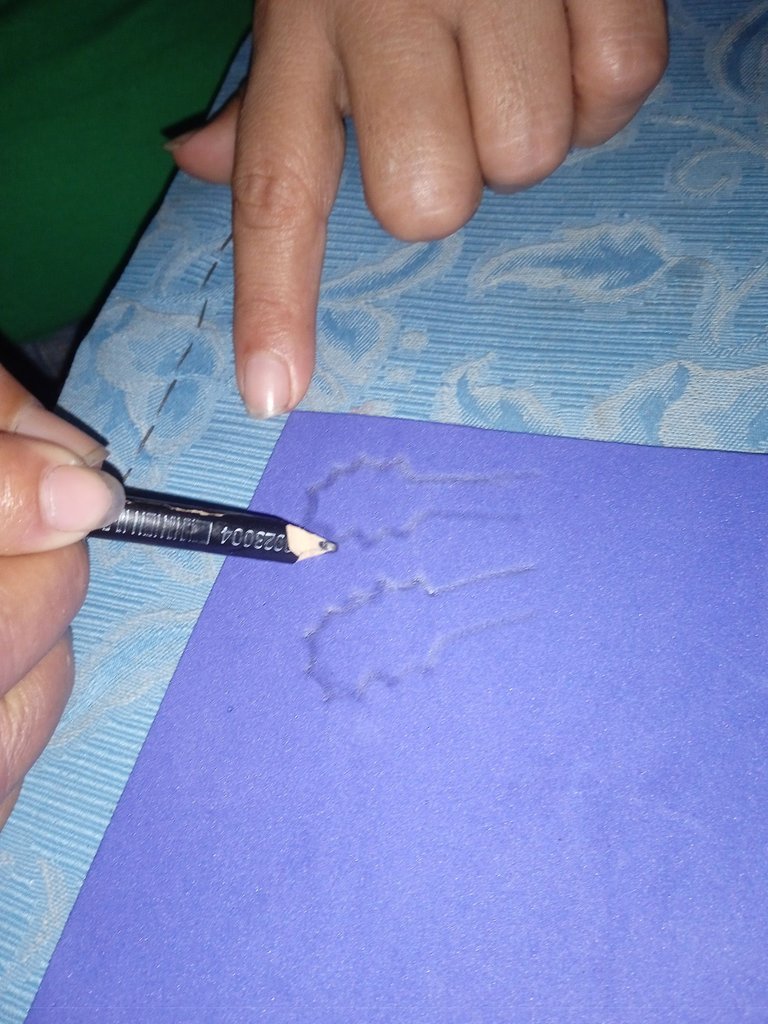
Comenzaremos dibujando la orquídea en un papel para tener una forma exacta para trabajar, les cuento que una vez realice una manualidad usando dos objetos iguales y me quedo uno más grande que otro por trabajar a pulso , es que en realidad nunca tenemos una medida exacta a la hora de trabajar doble , por eso es necesario trabajar con patrones en estos caso .
Steps to follow for this elaboration:
We will begin by drawing the orchid on paper to have an exact shape to work with, I tell you that once I made a craft using two identical objects and I got one bigger than the other by working with my hand, is that we never really have an exact measure when working double, so it is necessary to work with patterns in these cases.
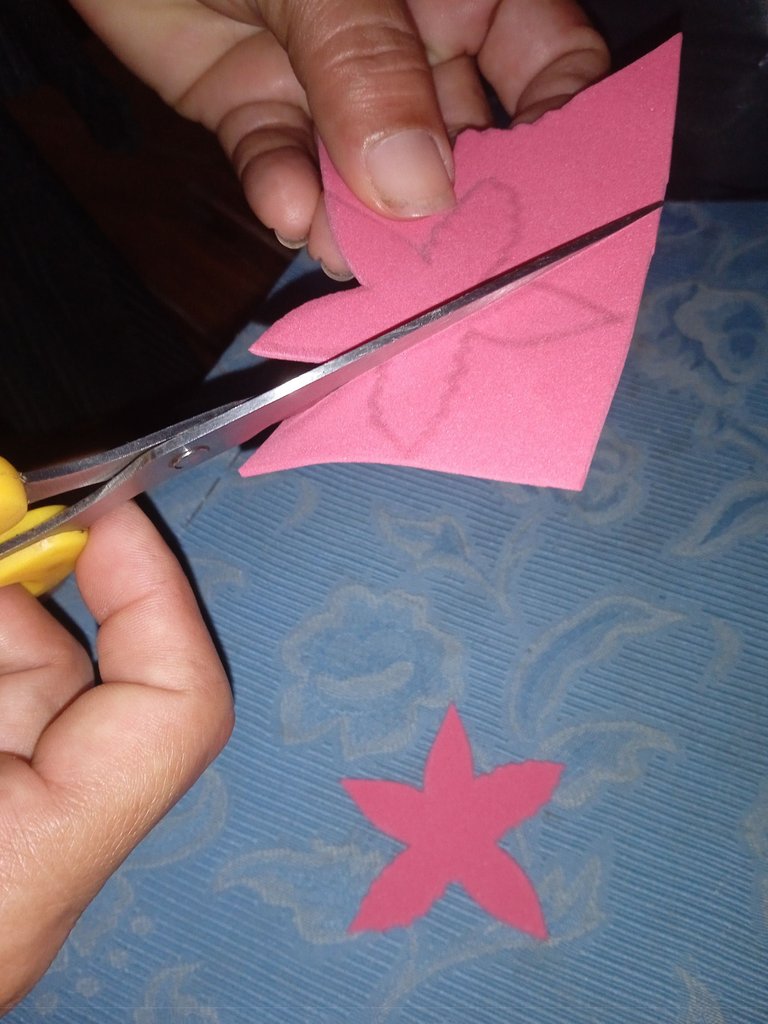
Luego vamos a tomar el patrón que realizamos y lo marcamos en el foamis color rosado , debemos marcar dos porque son un pars, recuerden que son tres pétalos liso y dos hacia los lados con formas moldeada ,para realizar esas forma hay tijeras especiales pero como no las tengo las realice yo misma haciendo forma como tipo puntiaguda que suban y bajan
Then we are going to take the pattern we made and mark it on the pink foamis, we must mark two because they are a pair, remember that there are three smooth petals and two on the sides with molded shapes, to make these shapes there are special scissors but as I do not have them I made them myself making a shape like a pointed type that go up and down.
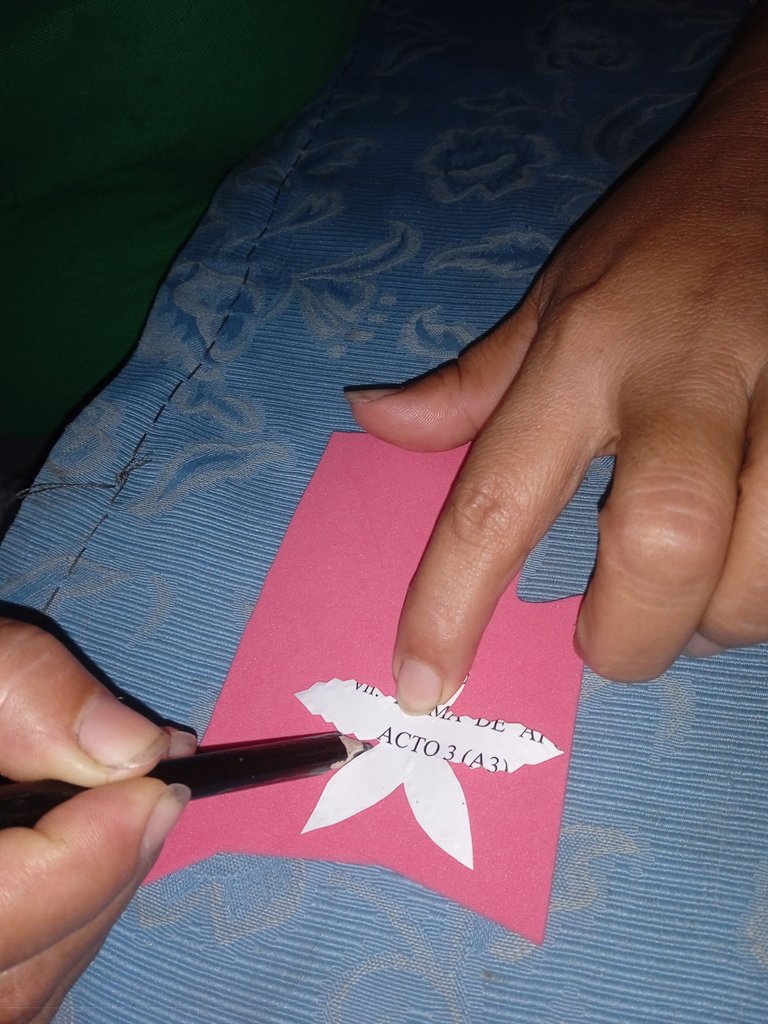
Luego que dibujamos nuestra orquídea continuaremos recortando las dos formas que marcamos en el foamis color rosado ,con mucho cuidado detenidamente para que esté quede tal cual lo dibujamos
After we have drawn our orchid, we will continue cutting out the two shapes we marked on the pink foamis, carefully and carefully so that it is exactly as we drew it.
Luego continuaremos dibujando en el foamis morado la forma de el centro de la orquídea que le cuelga como una flor para que esté dentro la semilla
Then we will continue drawing on the purple foamis the shape of the center of the orchid that hangs like a flower for the seed to be inside.
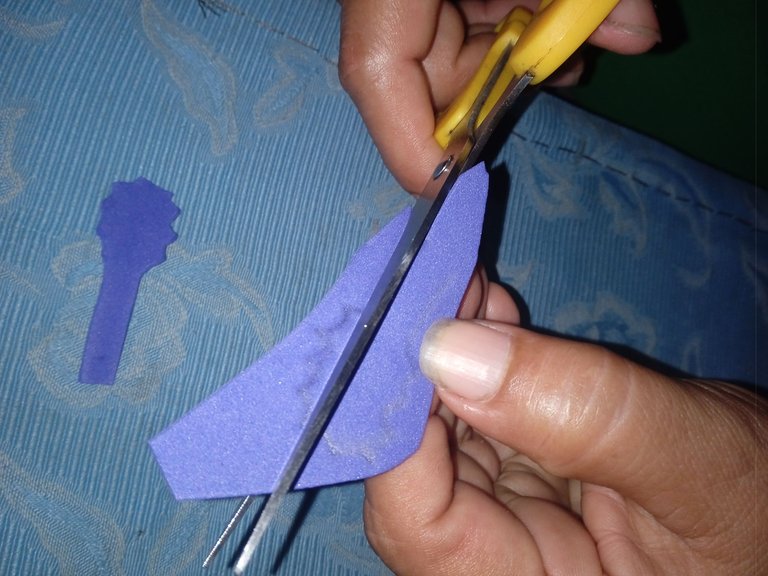
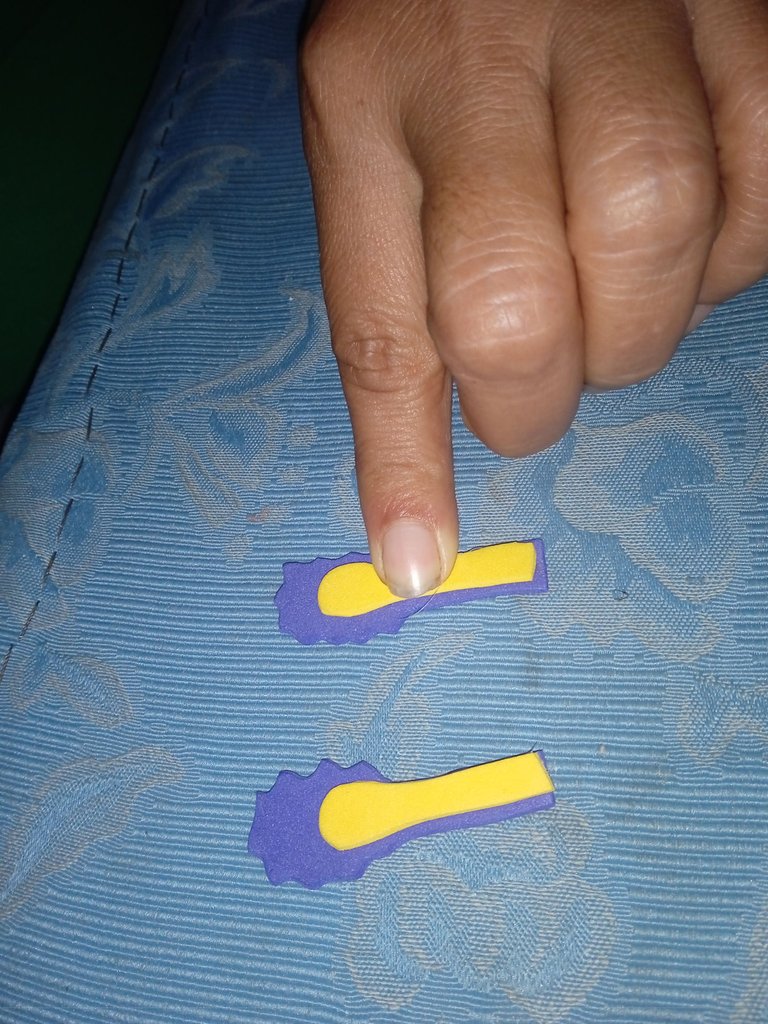
Luego continúe recortando ambas piezas que llevan las orquídeas en todo el centro , una lleva forma de flecos en la parte redonda de abajo y la otra de el color amarilla va redonda sin moldes la cual irá una arriba de la otra para que cuelgue en todo el centro de nuestra orquídea
Then continue trimming both pieces that carry the orchids around the center, one has a fringe shape in the round part at the bottom and the other of the yellow color goes round without molds which will go one above the other to hang around the center of our orchid.
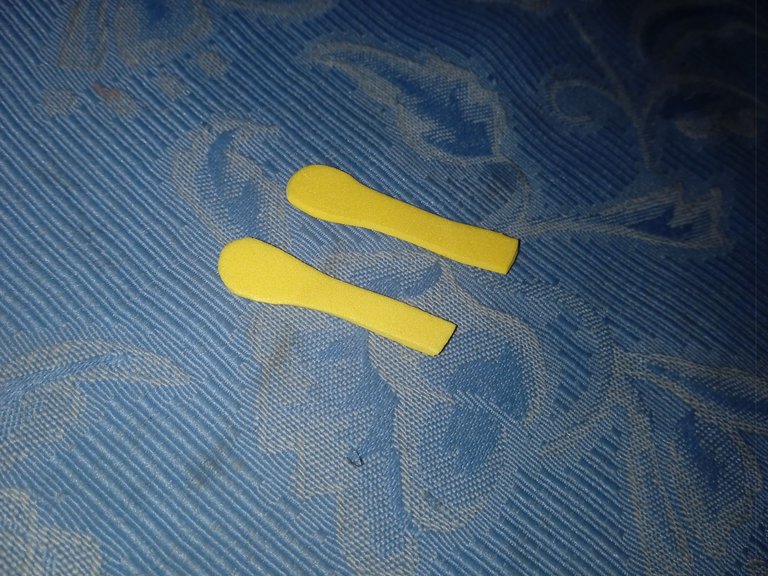
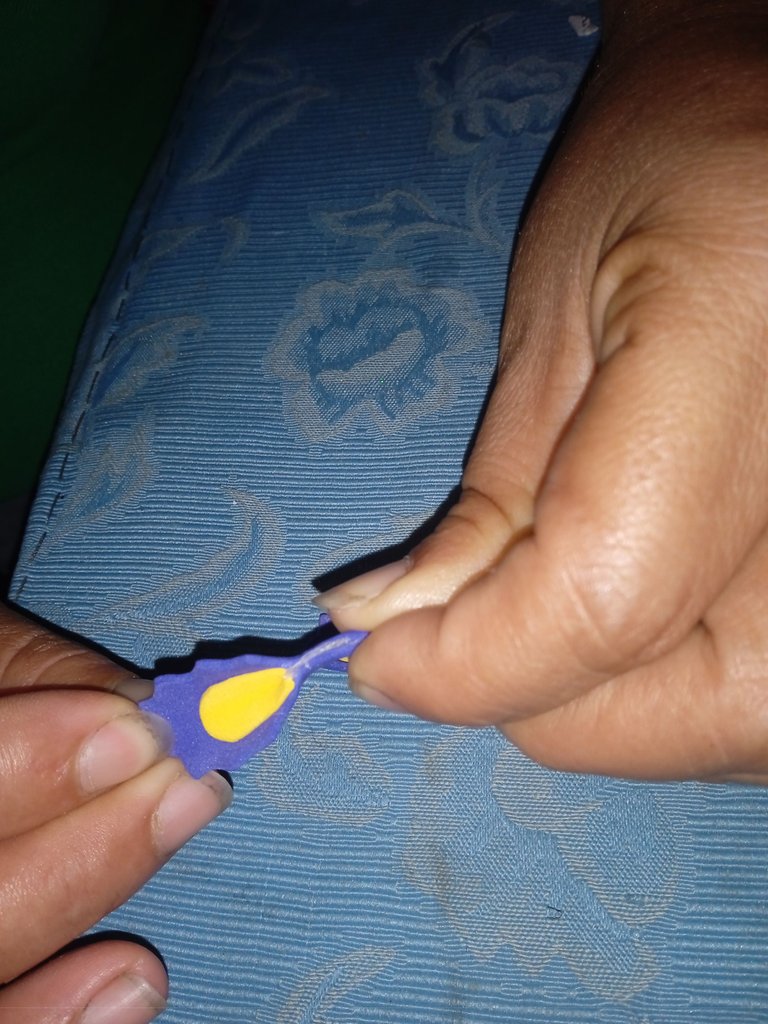
Luego continúe pegando la pieza amarilla encima de la morada ya que la amarilla será la semilla y irá pegada de la otra dejándolo por dentro
Then continue gluing the yellow piece on top of the purple one, since the yellow one will be the seed and will be glued to the other one, leaving it on the inside.
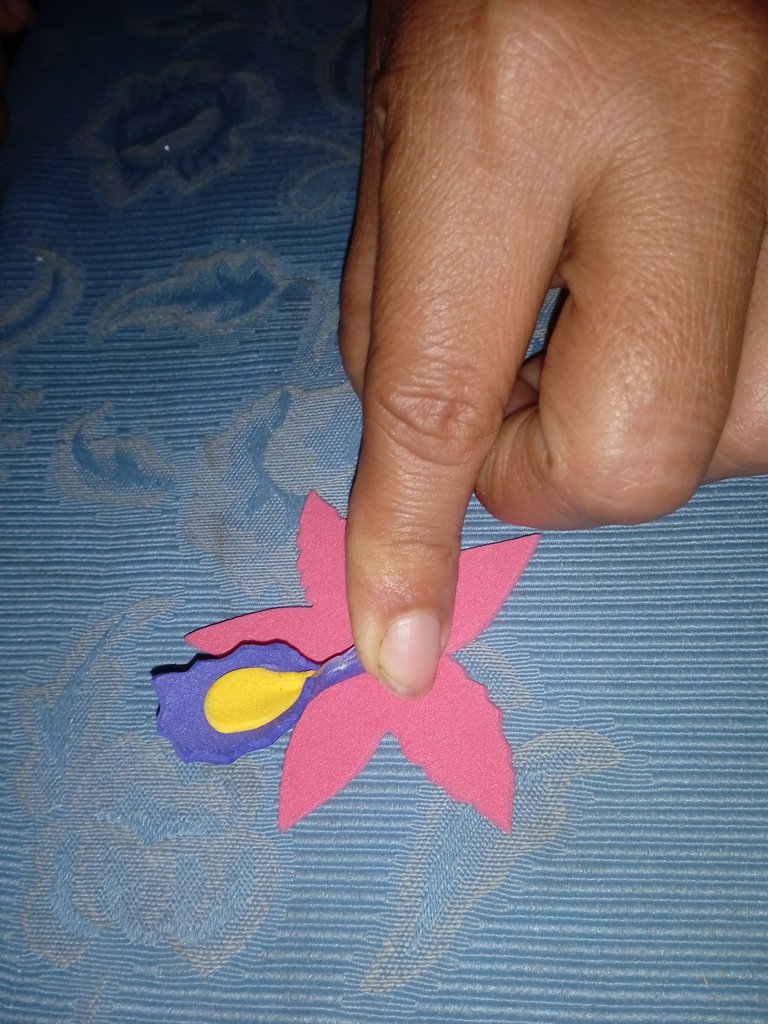
Luego continúe pegando la flor con la semilla que lleva en el centro colgando la orquídea para que se observe tal y como ella es ,hermosa y delicada
Then continue gluing the flower with the seed in the center, hanging the orchid so that it can be seen as it is, beautiful and delicate.
Seguido de este paso tomé un prende cocina y lo encendí debajo de la orquídea a una pequeña distancia para que esté con su temperatura caliente lo moldeara dejandolo con las puntas hacia adentro y no hacia arriba , este procedimiento lo pueden realizar también con una plancha de ropa o cabello , la encienden a temperatura media para que no queme ni derrita sino para que molde
Following this step, I took a hotplate and turned it on under the orchid at a small distance so that the hot temperature would mold it, leaving it with the tips facing inwards and not upwards, this procedure can also be done with a clothes or hair iron, turn it on at medium temperature so that it does not burn or melt, but so that it molds the orchid.
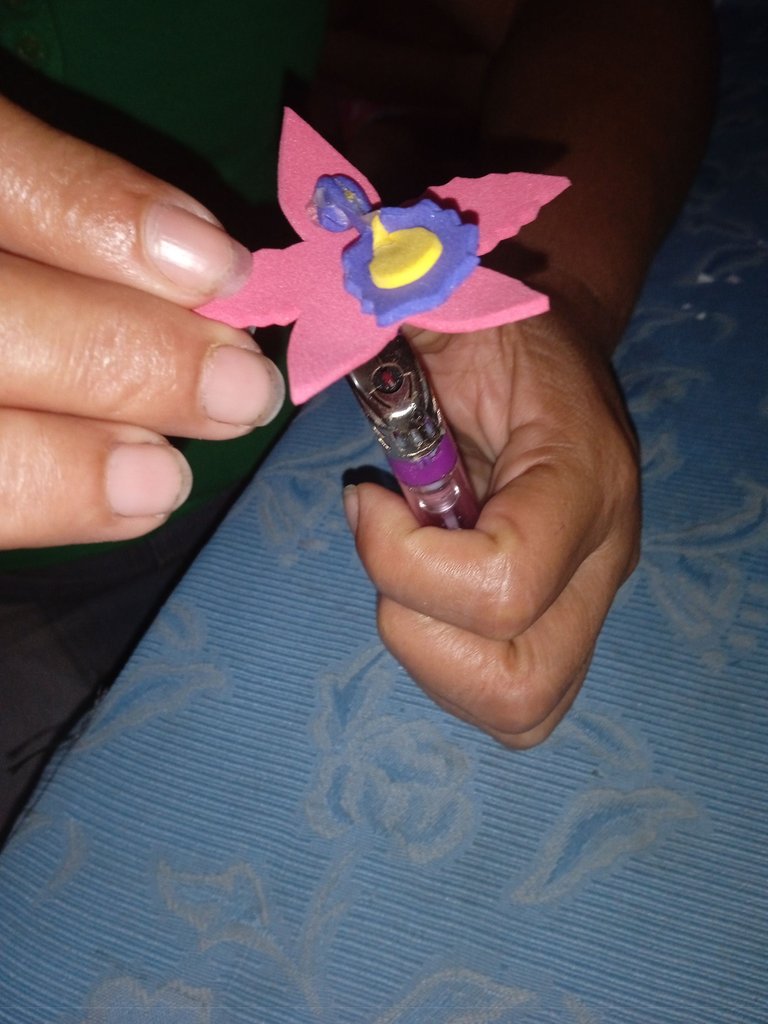
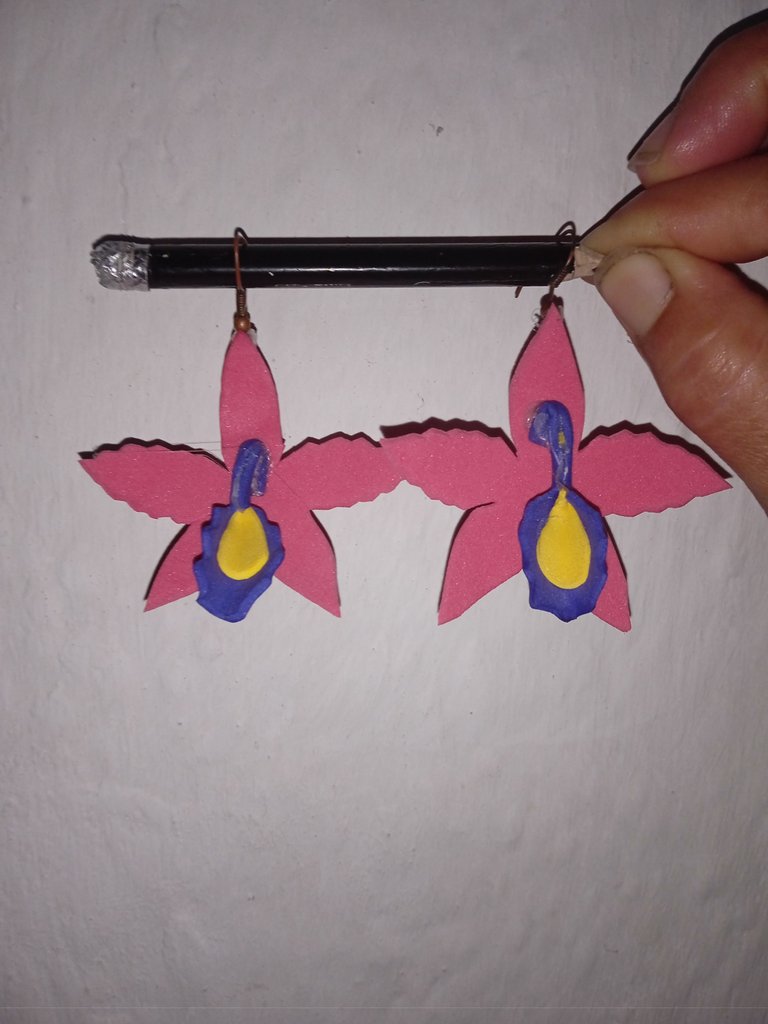
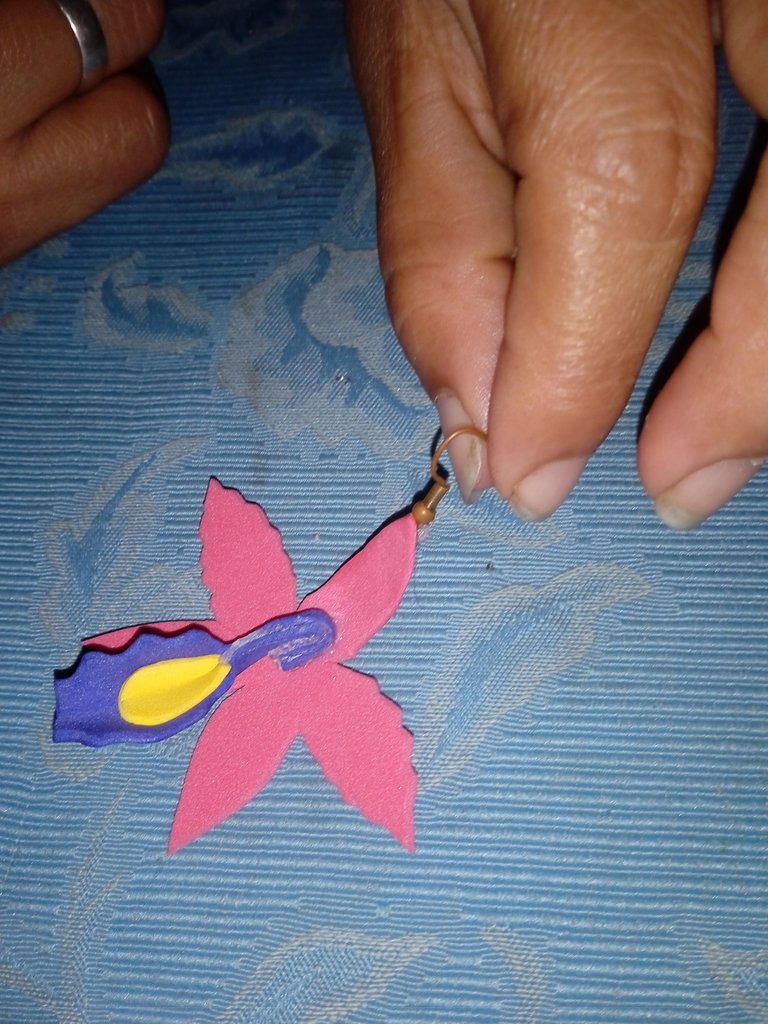
Por último tomé el zarcillo específicamente la base principal de nuestra decoración y lo pegue en la parte de arriba de la orquídea para poder usarlo y lucir esta bella orquídea la cual es delicada y hermosa
Finally I took the tendril specifically the main base of our decoration and glued it to the top of the orchid so that I could use it to show off this beautiful orchid which is delicate and beautiful.
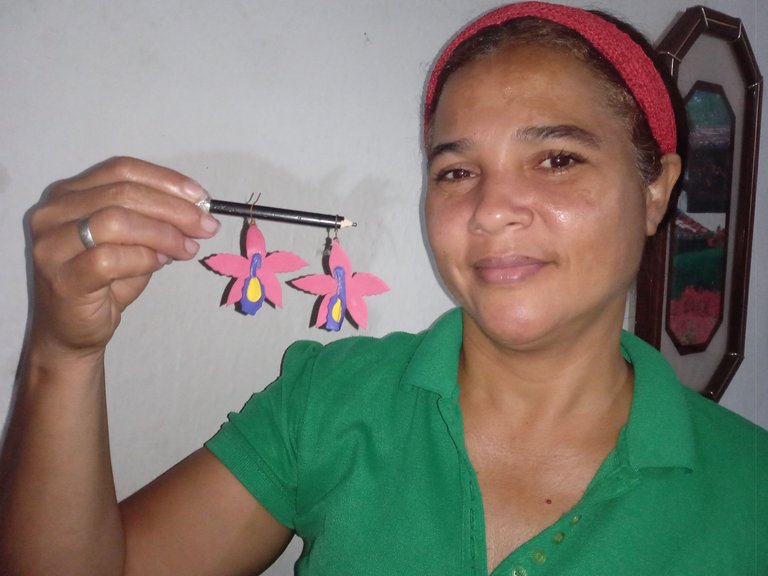
Acá culmine mis hermosos y únicos zarcillos de orquídea ,es totalmente hermosa como nosotras las mujeres amantes a esta flor, única en su especie y sobre todo delicada para lucir en cualquier ocasión ,Dios les bendiga a todos los que leyeron esta publicación ,nos vemos la próxima
Here I finish my beautiful and unique orchid tendrils, it is totally beautiful as we women lovers of this flower, unique in its kind and above all delicate to wear on any occasion, God bless you all who read this publication, see you next time.
Te han quedado hermosas 💖 estas orquídeas, realmente maravilloso todo lo que se puede hacer en foami buen post, gran trabajo con los zarcillos
Así es el foamis es un excelente material , muchas gracias