Hello friends and craft lovers today I decided to make some lovely earrings, inspired by the anime Kimetsu no Yaiba, those earrings are the main character Tanjiro, they really are lovely, follow me to the step by step and discover how wonderful these earrings will be.
Hola amigos y amantes de las manualidades el día de hoy decidí hacer unos encantadores pendientes, inspirados en el anime de Kimetsu no Yaiba, esos pendientes son los del personaje principal Tanjiro, realmente son encantadores, acompáñame al paso a paso y descubre lo maravilloso que quedarán estos pendientes.
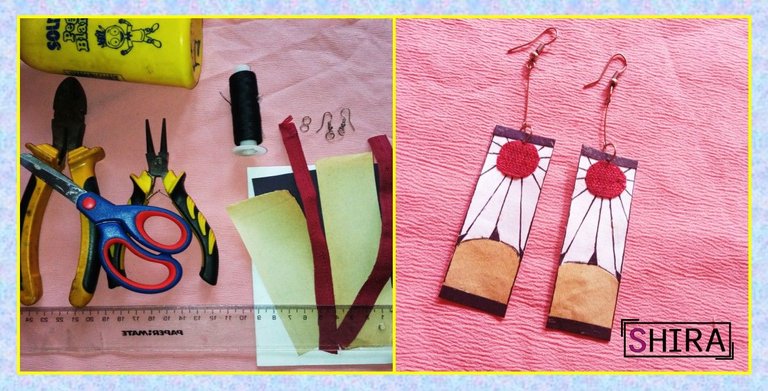
Recently the Kimetsu no Yaiba movie came out, I loved it and the character calls my attention so today I woke up determined to make these beautiful earrings with paper and other materials that gradually give life to the earrings. They are simple materials without any complications.
Recientemente salió la película de Kimetsu no Yaiba, me encantó y el personaje me llama bastante la atención por eso hoy me levanté decidida a realizar estos hermosos pendientes con papel y otros materiales que poco a poco van dándole vida a los aretes. Son materiales simples sin ninguna complicación.
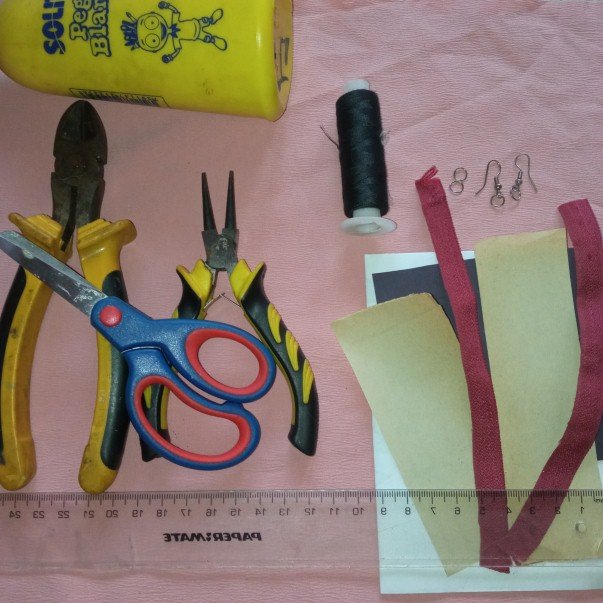
The materials I used were the following:
- White sheet
- Black construction paper
- A stylograph
- Glue
- A piece of fabric in a red wine tone * A piece of earth colored leaf
- A piece of earth-colored leaf.
- Piqueta
- Round tweezers
- Hook for tendrils
- Ruler.
Los materiales que utilice fueron los siguientes:
- Hoja blanca
- Cartulina de construcción negra
- Un estilógrafo
- Pegamento
- Un pedazo de tela en un tono vino tinto
- Un pedazo de hoja color tierra.
- Piqueta
- Pinza redonda
- Gancho para zarcillos
- Regla.

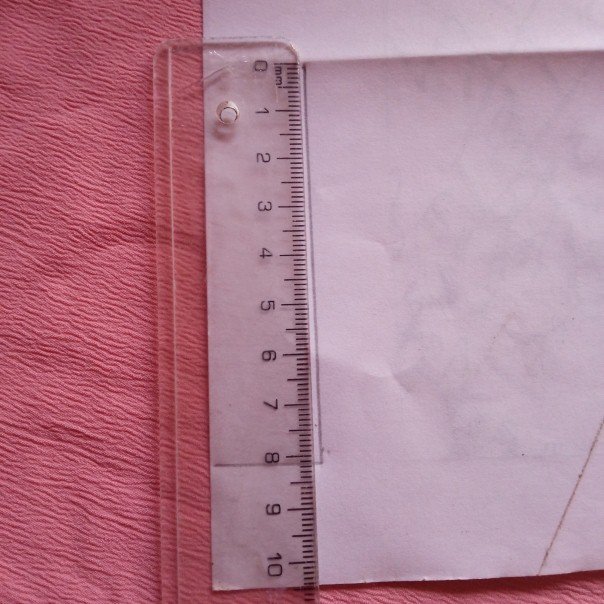
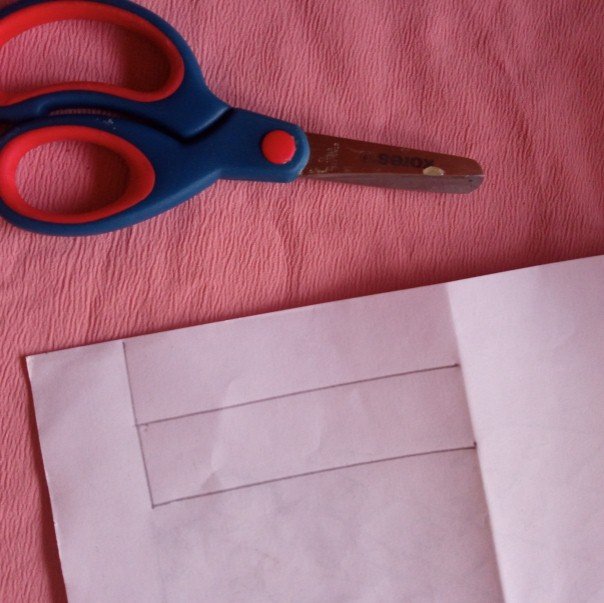
In this step I start the realization of the craft and the first thing to do is to take the white sheet and the ruler and measure the desired size, both the length and width, in my case I made the width of 2cm and the length of 8cm but in the end I cut it a little more and left only 6cm long because the earring looked more tender 6cm long.
En este paso comienzo la realización de la manualidad y lo primero que se debe hacer es agarrar la hoja blanca y la regla y medir el tamaño deseado, tanto del largo como del ancho, en mi caso hice el ancho de 2cm y el largo de 8cm pero al final lo recorte un poco más y dejé solo 6cm de largo ya que el pendiente se veía más tierno de 6cm de largo.
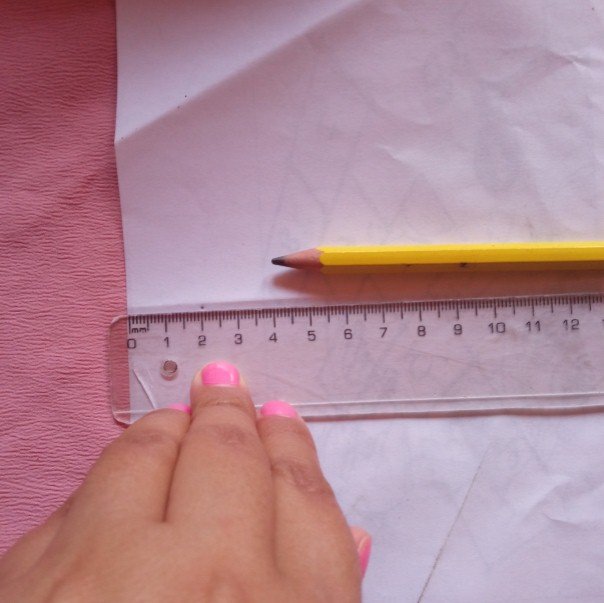
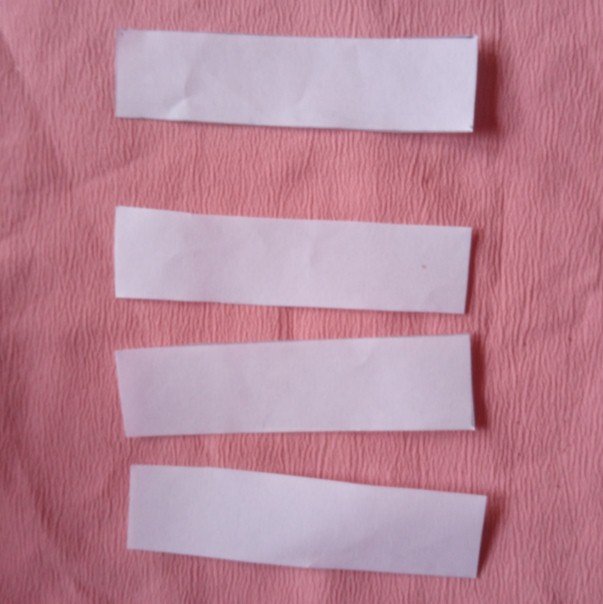
Then he cut it out and formed four equal parts of the same length and size with the measurements already mentioned above.
Luego lo recorto y formó cuatro partes iguales del mismo largo y tamaño con las medidas ya antes mencionadas.
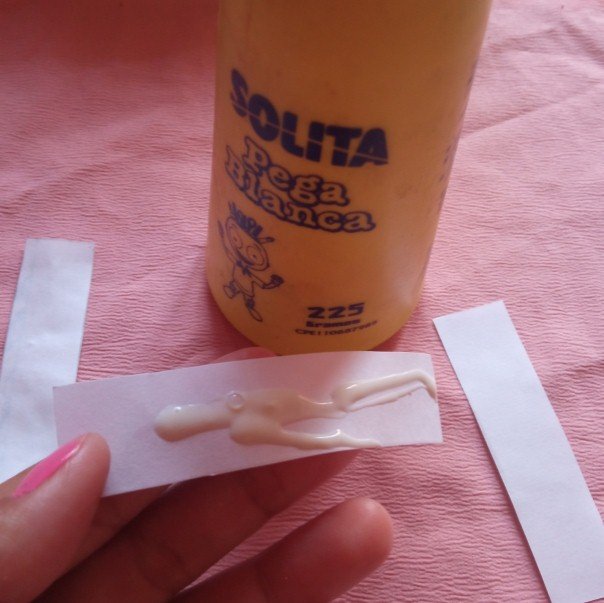
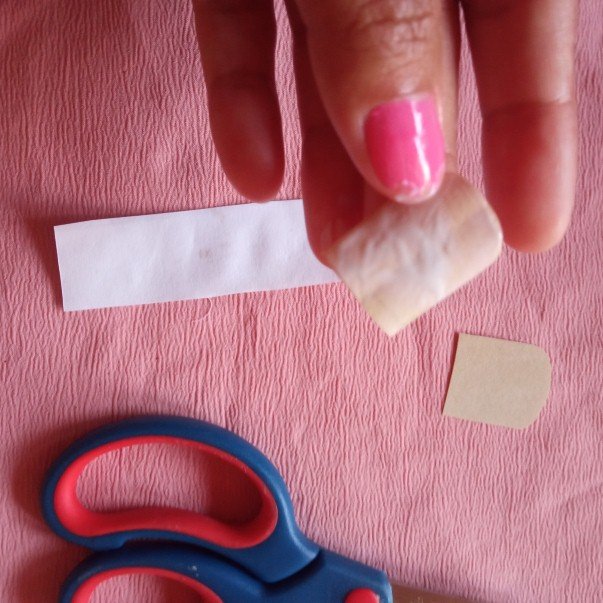
I put glue on one of the parts and then glue the other to make it stronger and in this way we will get only two rectangles.
Colocó pega en unas de las partes y luego pego la otra para dejarlo más fuerte y de esta manera vamos a obtener solo dos rectángulos.

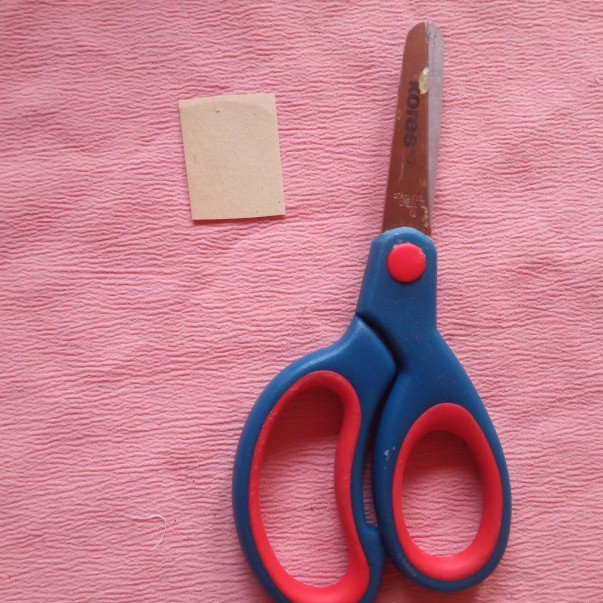
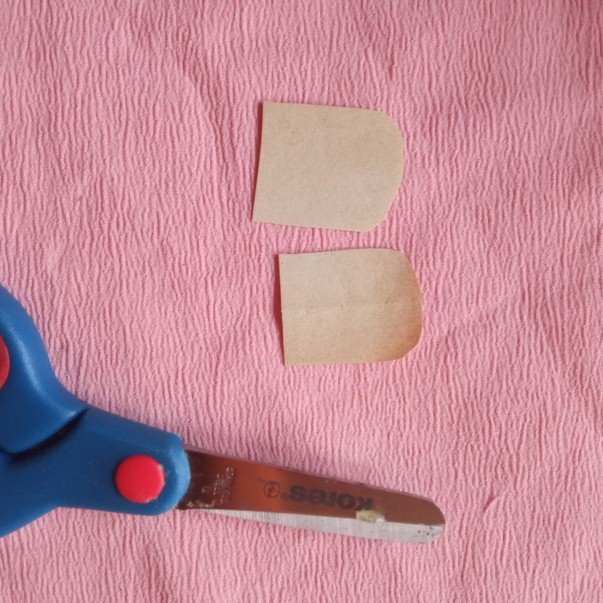
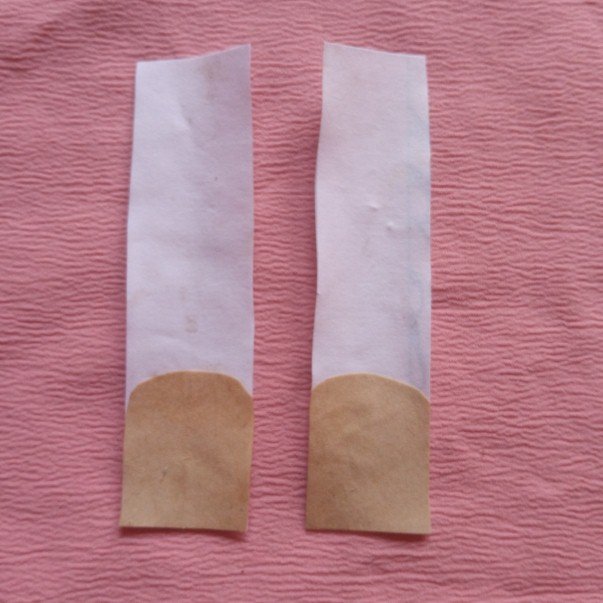
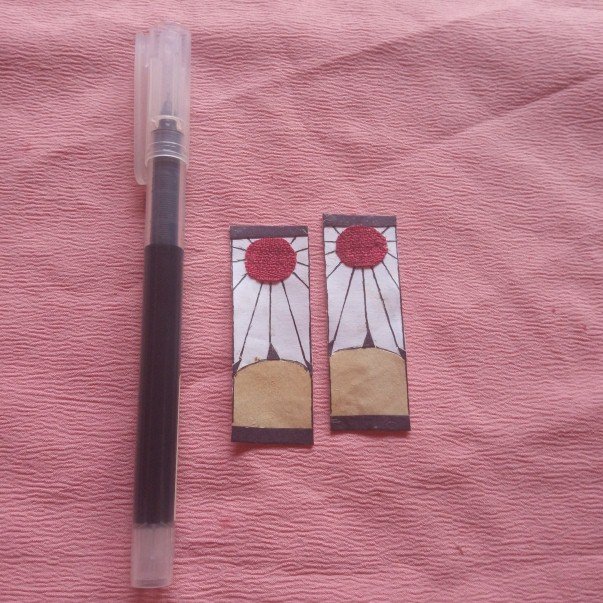
Next, I cut out the earth-colored leaf as you can see in the image and then glue it to the rectangle as you can see.
Seguidamente recorto la hoja color tierra de la forma que verán en la imagen y luego la pego al rectángulo así como observan.
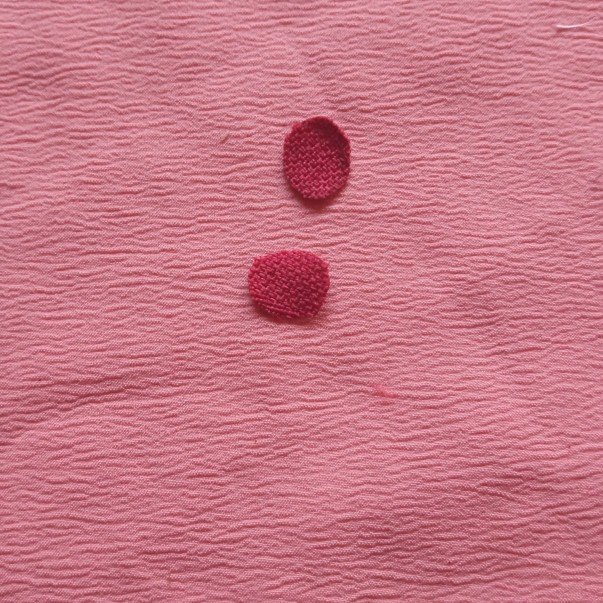
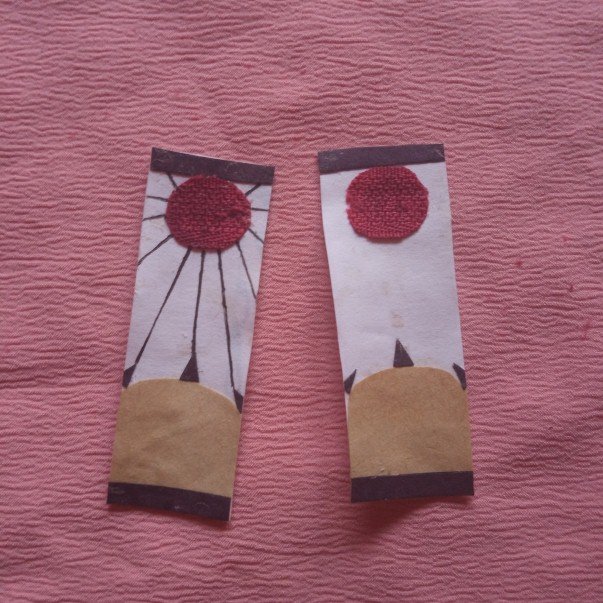
We proceed to remove two circles of red wine colored fabric and glue them on the top of the earring leaving a space for the next step.
Procedemos a sacar dos círculos de tela en color vino tinto y pegamos en la parte de arriba del pendiente dejando un espacio para luego colocar lo que toca en el siguiente paso.
We continue cutting out the 4 strips of black cardboard that will be glued to the pendant, as shown in the image. I made them double so that they would be more resistant.
Continuamos recortando las 4 tiras en cartulina negra que van a ir pegada al pendiente, así como se muestra en la imagen las deben de pegar. Les aclaro que las hice dobles para que quedarán más resistente.
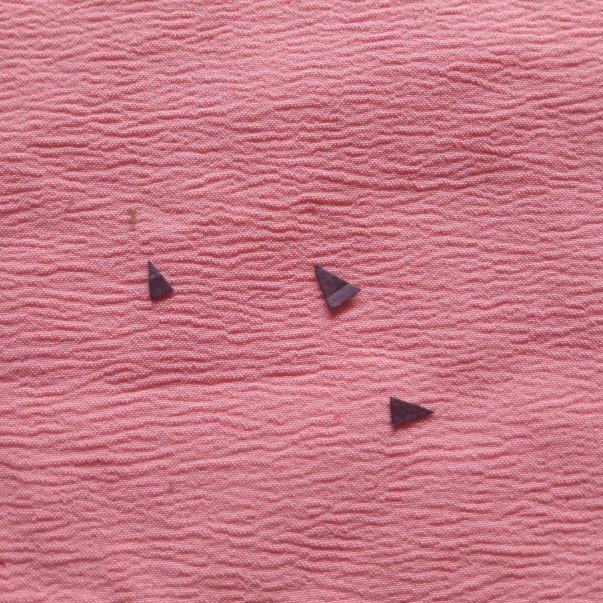
With the same construction cardboard I make some small triangles that are glued to the bottom where I placed the earth-colored leaf, note that in this same opportunity I grabbed the stylograph and made the lines with the ruler as shown in the images, also making a very thin edge to the slope in black.
Con la misma cartulina de construcción hago unos pequeños triángulos que van pegados a la parte de abajo donde coloque la hoja color tierra, cabe destacar que en esta misma oportunidad agarre el estilógrafo y le hice las líneas con la regla así como se muestra en las imágenes, haciéndole también un borde muy fino al pendiente en color negro.
Ya casi finalizando la manualidad agarro una aguja finita y le hago un pequeño agujero al pendiente en la parte donde está círculo vino tinto y la tira negra y comienzo a introducir el aro y el gancho a los pendientes dejándolo precioso.
Ya casi finalizando la manualidad agarro una aguja finita y le hago un pequeño agujero al pendiente en la parte donde está círculo vino tinto y la tira negra y comienzo a introducir el aro y el gancho a los pendientes dejándolo precioso.

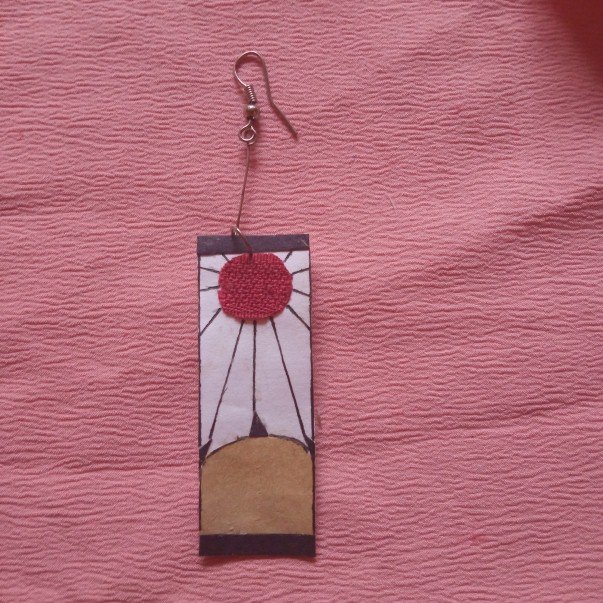
Here are the two earrings ready, as always I leave you some images of the final result hoping you like them.
Aquí ya están listos los dos pendientes, como siempre les dejo unas imágenes del resultado final esperando que sean de todo su agrado.
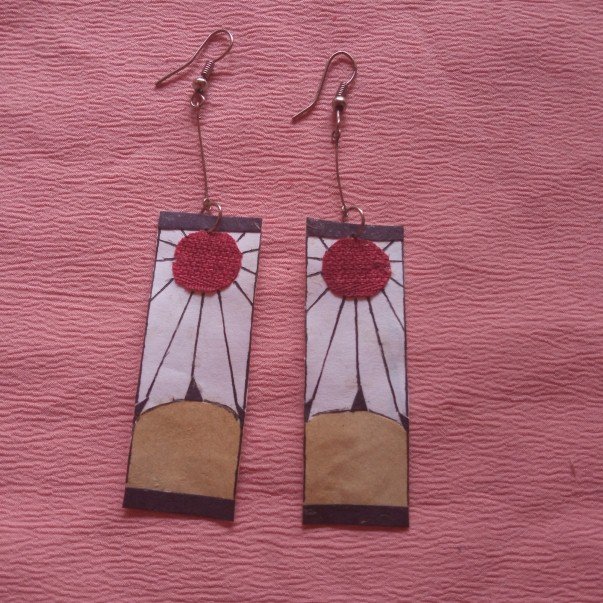
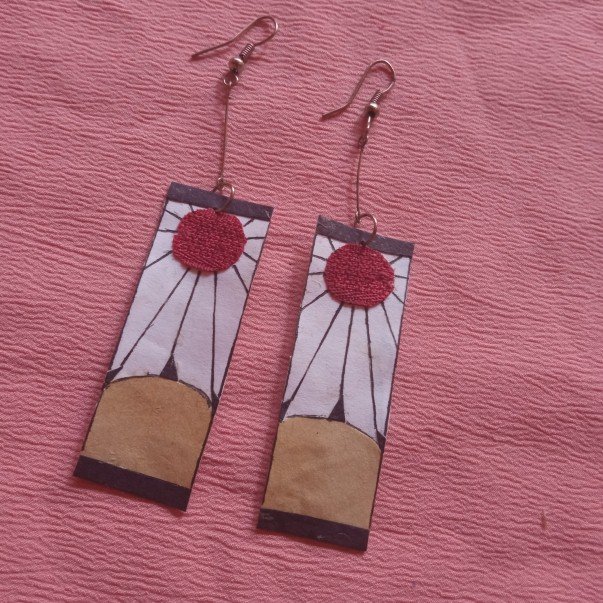
I also leave you a GIF of these lovely and cute earrings. Enjoy them.
También les dejo un GIF de estos encantadores y tiernos pendientes. Disfrútenlos.

Without more to say and hoping that this craft post will be to the liking of every reader, I say goodbye with a strong and warm hug in the distance. Love @shirahoshi.
Sin más que decir y esperando que este post de manualidad sea del agrado de cada lector, me despido con un fuerte y caluroso abrazo en la distancia. Los quiere @shirahoshi.
The photographs are my own and were taken by me with a Redmi 9 and were edited in powerpoint.
The Step by Step Gif was made by me in AdobePhotoshop CC2014.
The logo was designed by me in Adobe Illustrator CC 2015 and its animated version was made in After Effects CC 2017.
Language corrector used Deepl.
The rewards earned on this comment will go directly to the people( @cetb2008 ) sharing the post on Twitter as long as they are registered with @poshtoken. Sign up at https://hiveposh.com.
Thank you for sharing this post on HIVE!
Your content got selected by our fellow curator sharminmim & you just received a little thank you upvote from us for your great work! Your post will be featured in one of our recurring compilations which are aiming to offer you a stage to widen your audience within the DIY scene of Hive. Stay creative & HIVE ON!
Please vote for our hive witness <3