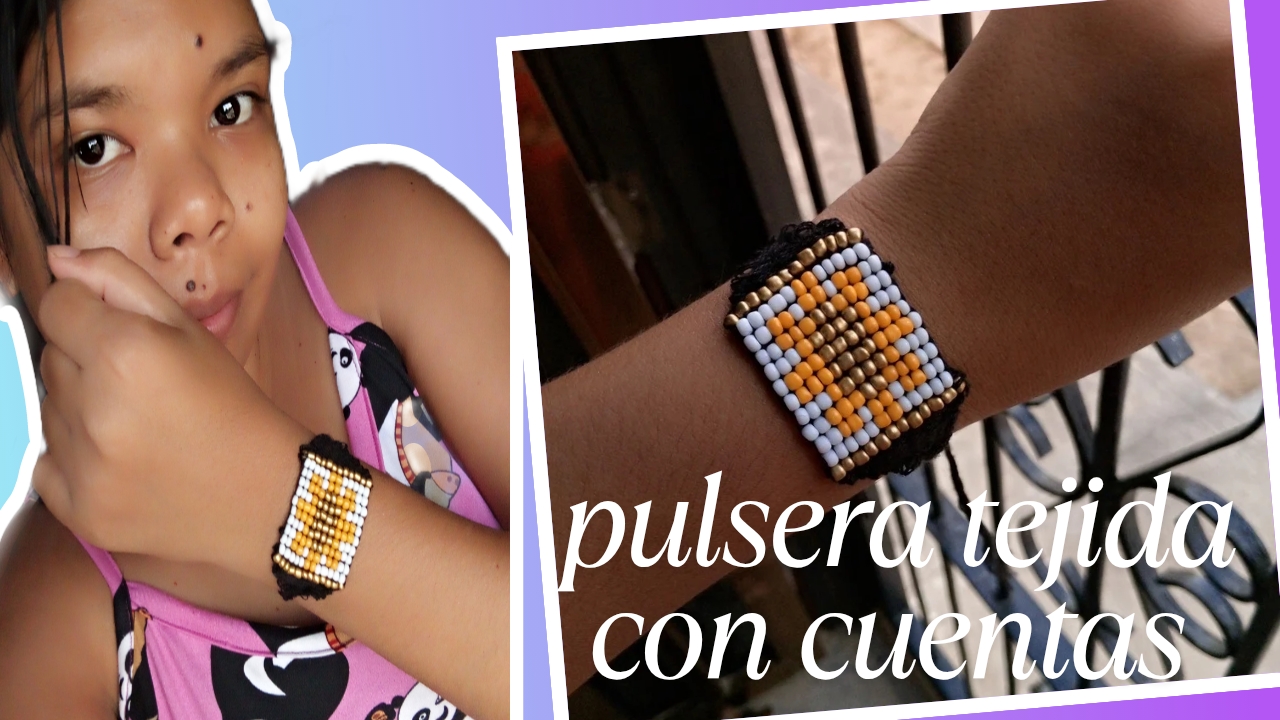
Hello, friends! I hope you're all well. I'm so happy to be here with you tonight. I wanted to share with you that I've learned how to make a bracelet style I've been wanting to master for a while, due to its beautiful style. These are beaded bracelets, the kind you make on a loom with a needle. This technique had always caught my attention, and I finally decided to try it. Also, since tomorrow is Yellow Flower Day, I chose a yellow flower print for my bracelet. I invite you to join me in creating this beautiful bracelet!
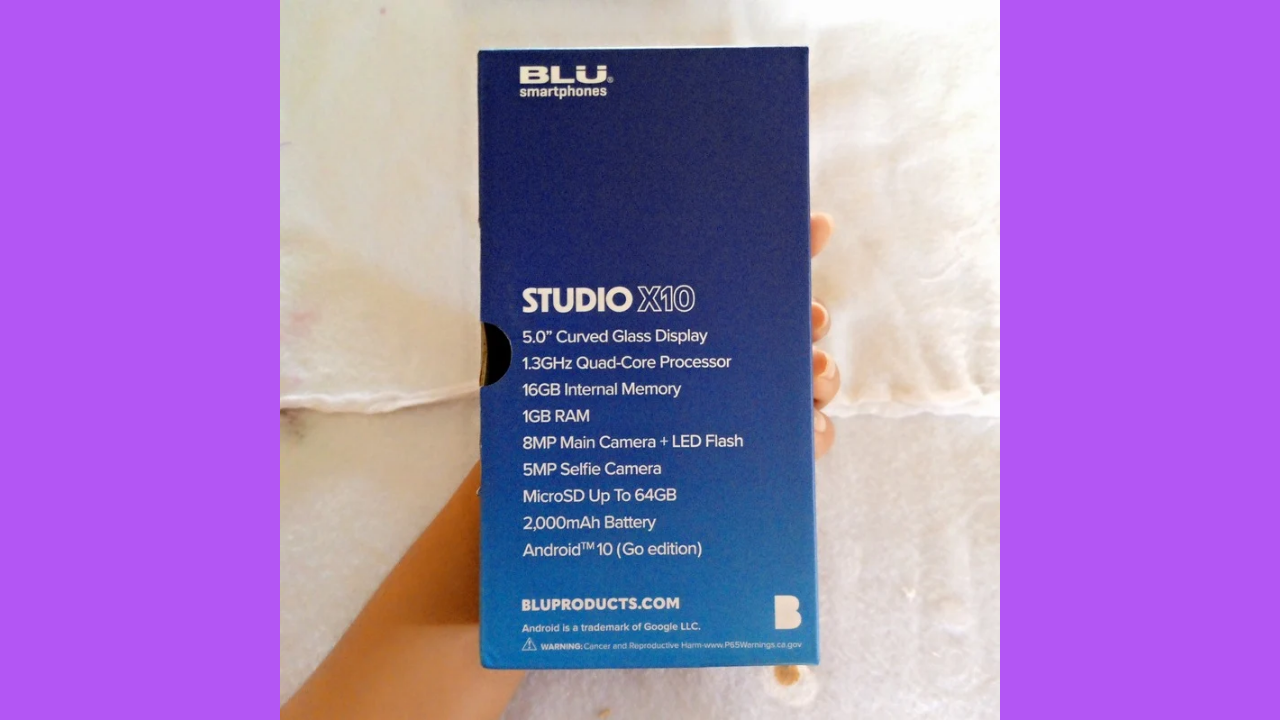
One of the things that prevented me from making this type of bracelet was not having a loom, which, based on what I'd seen, was a very important tool for making it. However, while researching how I could make the bracelet, I discovered an ingenious idea: using a phone box—the box that cell phones come in—as a loom. This box works well as a base, as it has the necessary depth. Another challenge was the type of thread. I didn't know which one was most suitable, but I decided to use embroidery thread. Beads were also a problem, as I needed a lot and didn't have enough. Therefore, I opted to only make the flower part. This time, nothing will stop me, and I will be able to make my bracelet!
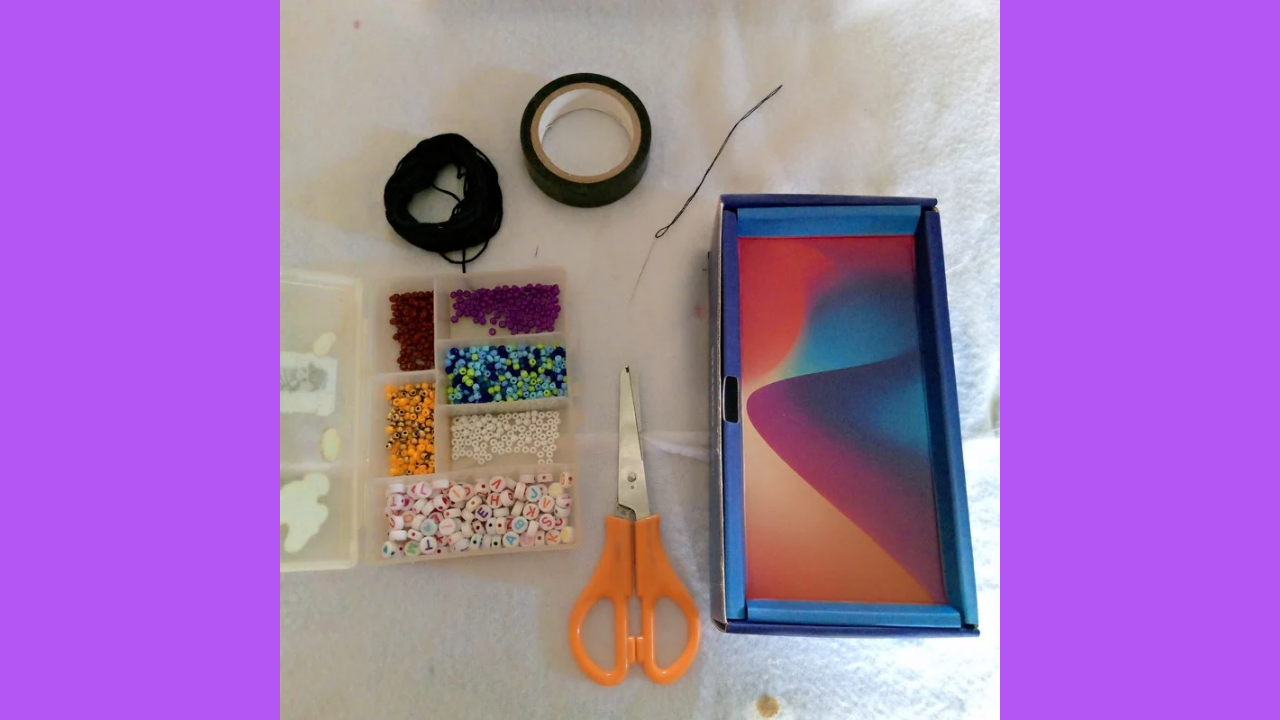
(Materiales:)||(Materials:)
- Caja de teléfono
- Hilo de bordado color negro
- Tijeras
- Cuentas de color blanco, amarillo y dorado
- Agua de coser a mano
- Cinta adhesiva
- Phone case
- Black embroidery thread
- Scissors
- White, yellow, and gold beads
- Hand-sewing glue
- Adhesive tape
(Procedimiento:)||(Procedure:)
Paso nro 1
Paso nro 1
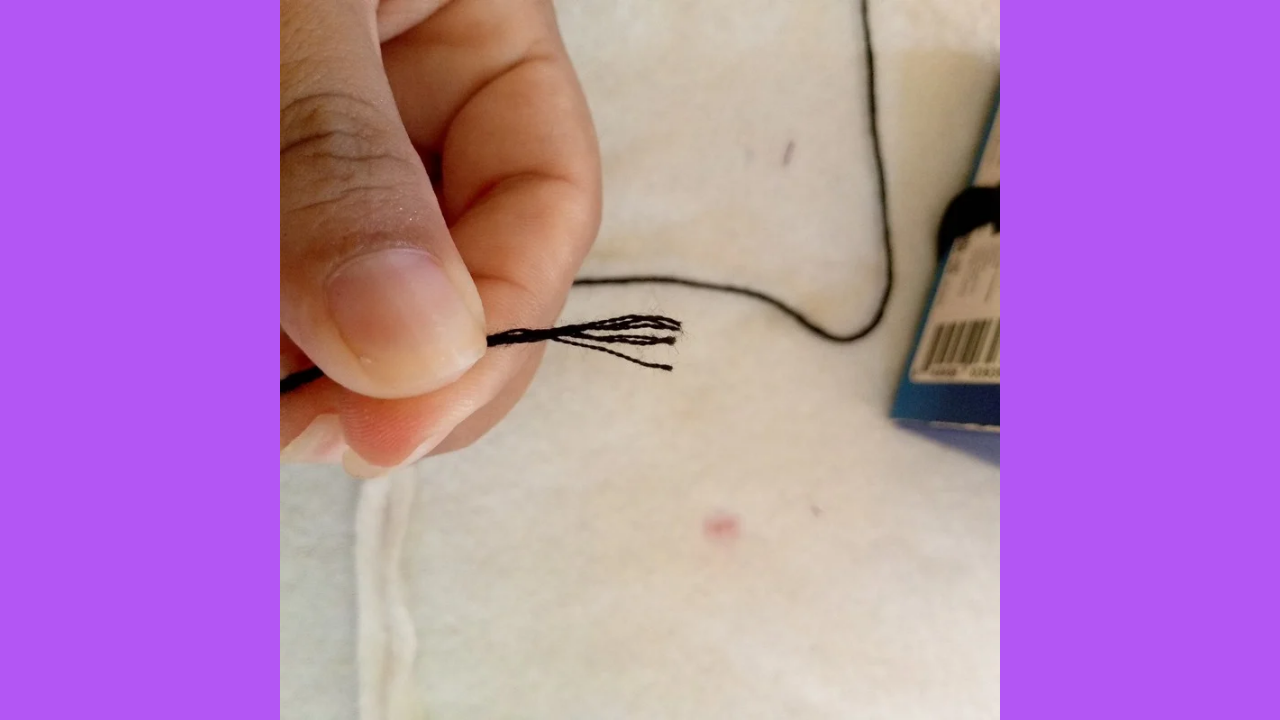
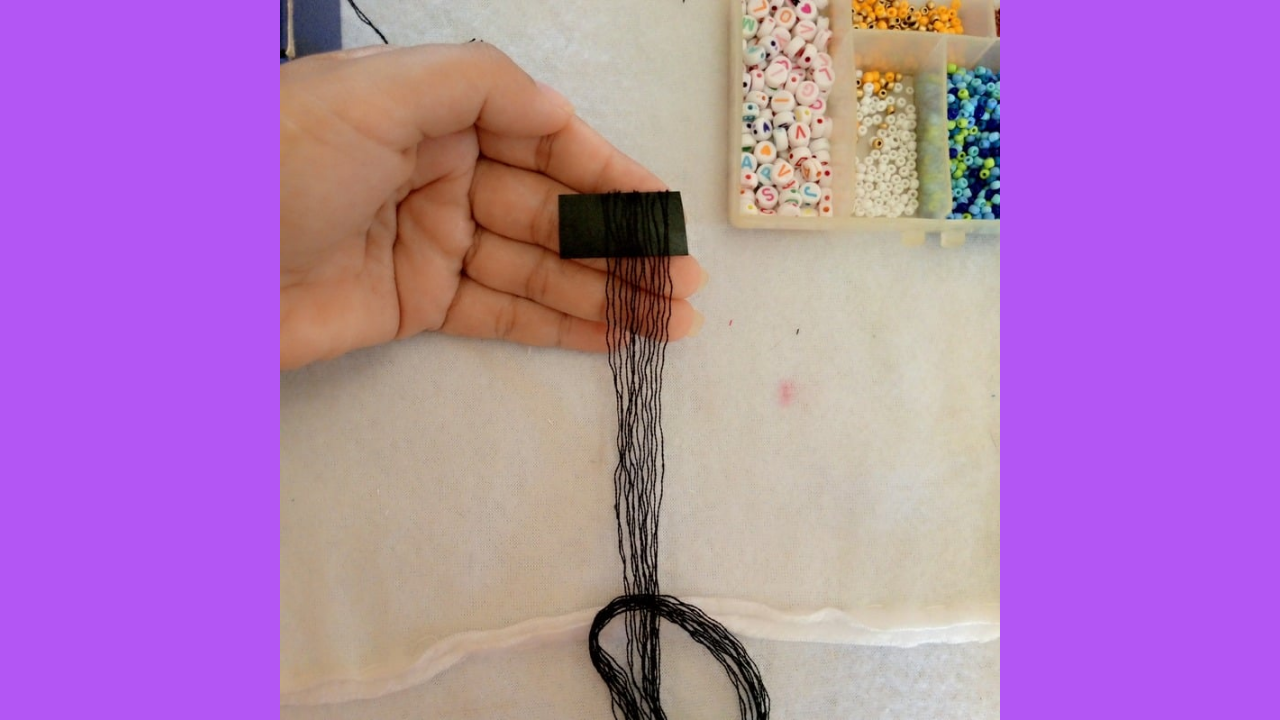
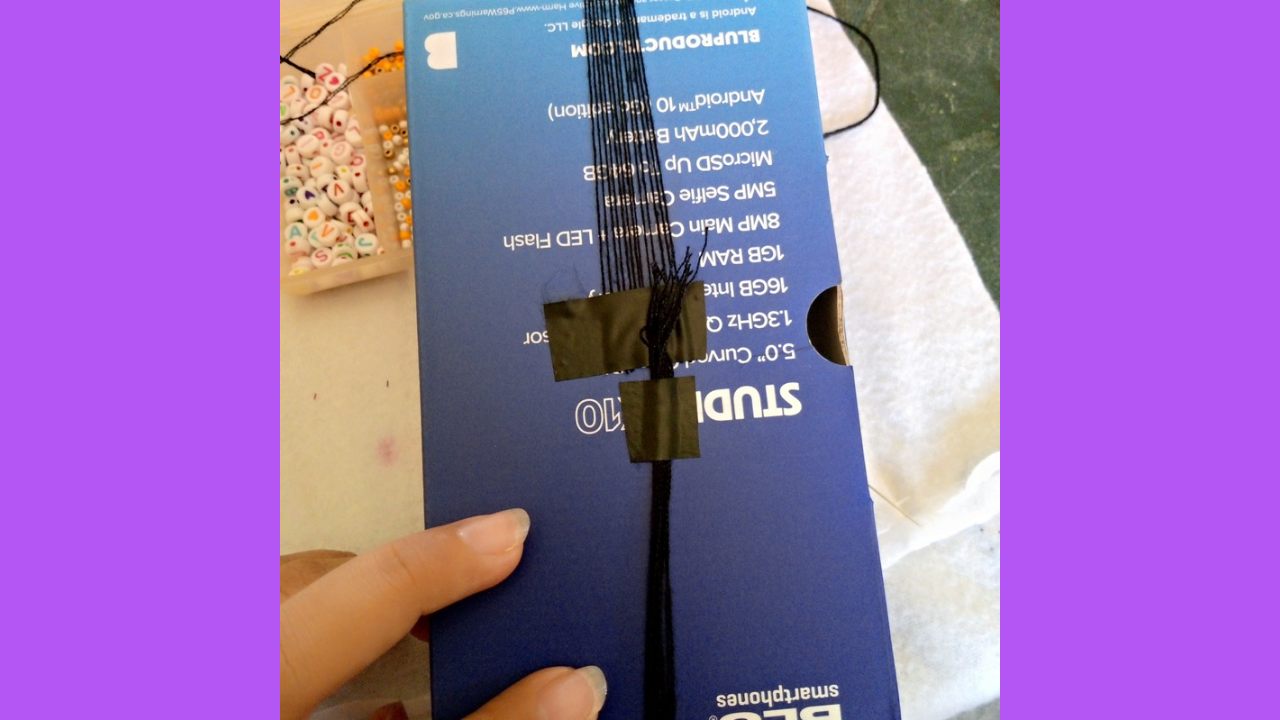
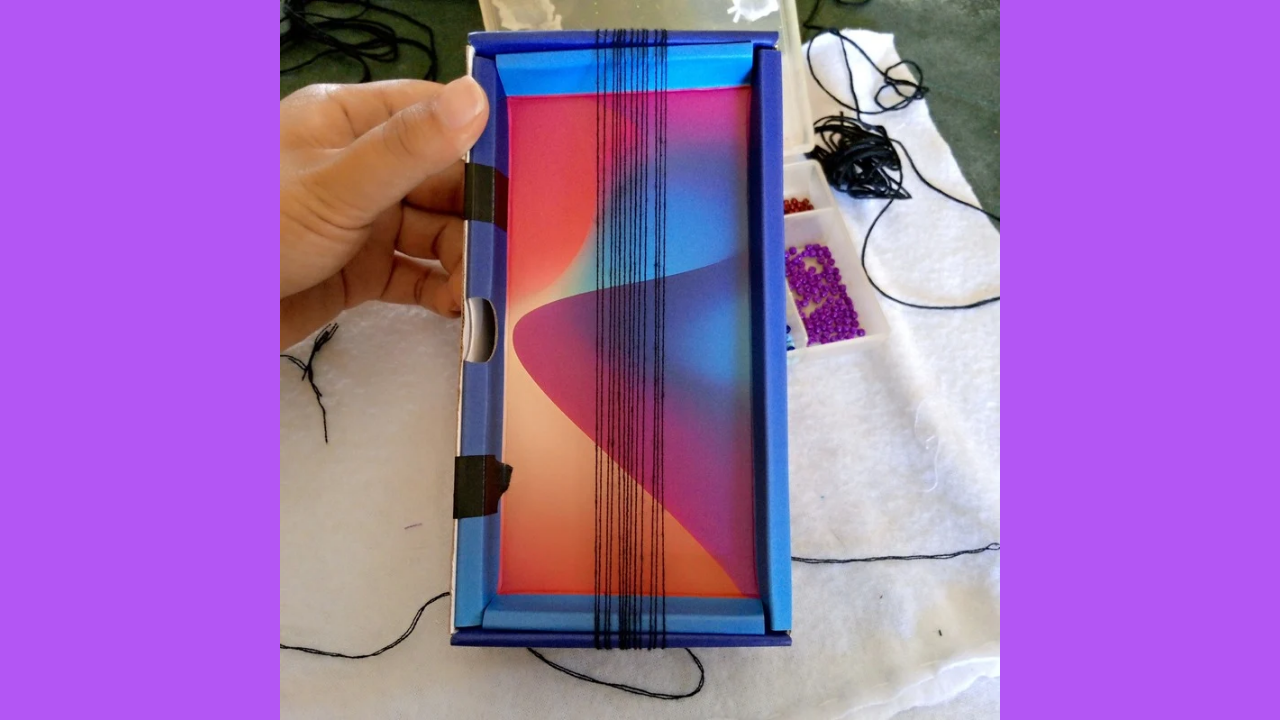
I started by preparing the box, removing the lid and leaving only the bottom. To ensure the thread stays taut, I'll use a length equivalent to the size of the box. I'll apply tape, tightening it firmly so it doesn't come loose. The thread I'll be using is embroidery floss, which comes with six strands. Since I'm using a considerable number of beads, I'll be using twelve strands of thread. I arranged the thread so it's not too tight, leaving a little space between them.

Paso nro 2
Paso nro 2
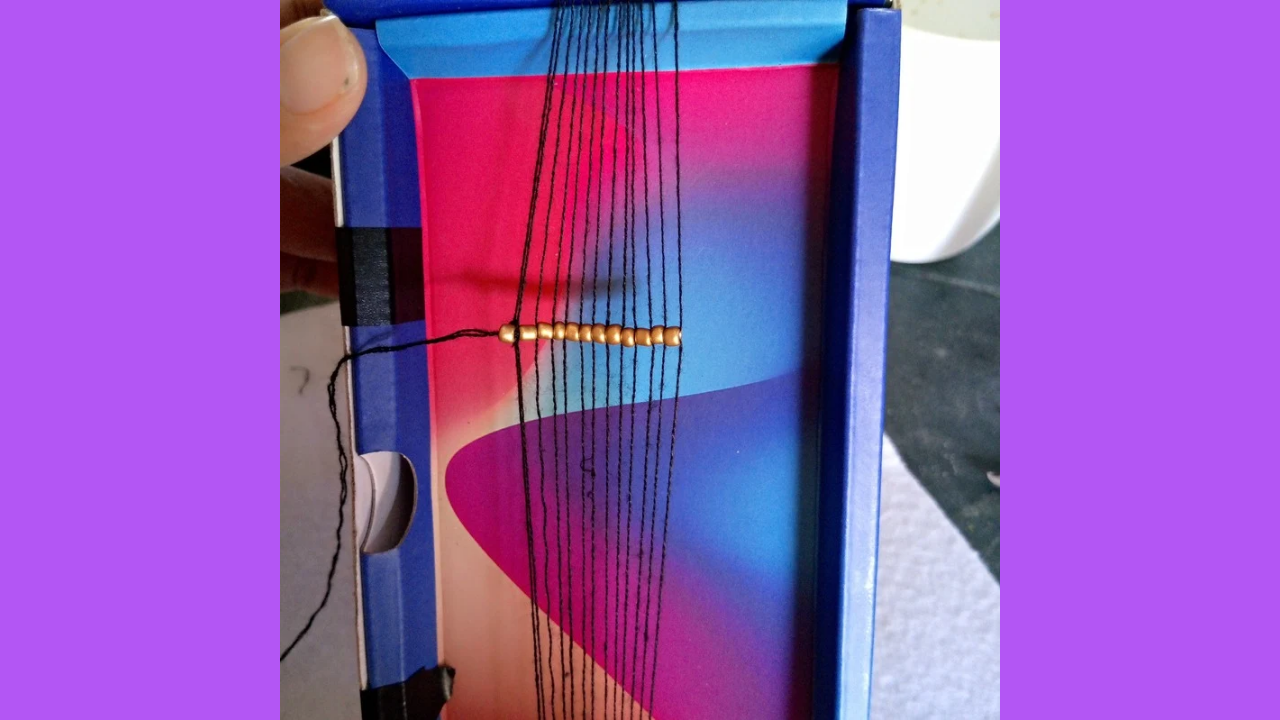
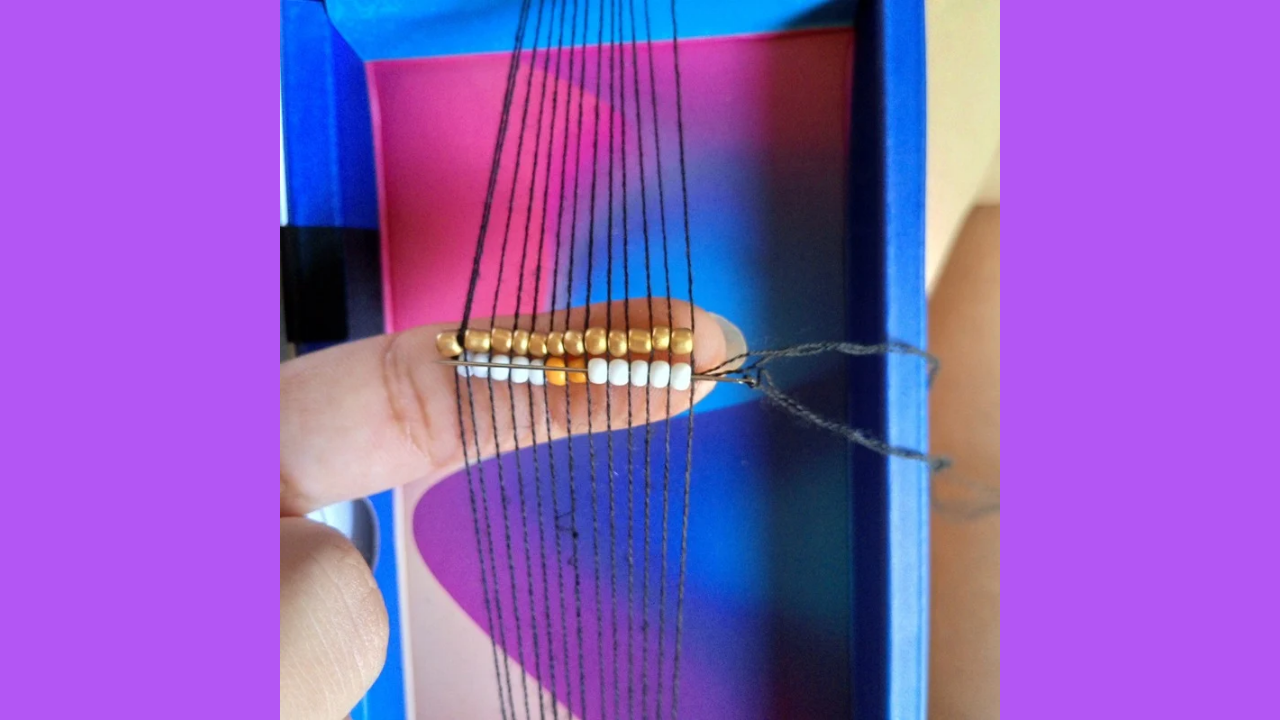
Now I'm going to start making the bracelet. I prepared my needle with a meter of embroidery thread and, first, placed twelve gold-colored beads on the needle. Then, I passed the beads under the twelve strands of thread, making sure they stuck out through the spaces between each thread. I had to arrange them carefully and, finally, passed the needle through the middle of the beads. To make the flower, I looked for a pixelated image that would fit the materials I had available. I guided myself through each step by following the image, using different colors for each part of the flower. I really enjoyed this process, as it resembled a puzzle game.
Paso nro 3
Paso nro 3
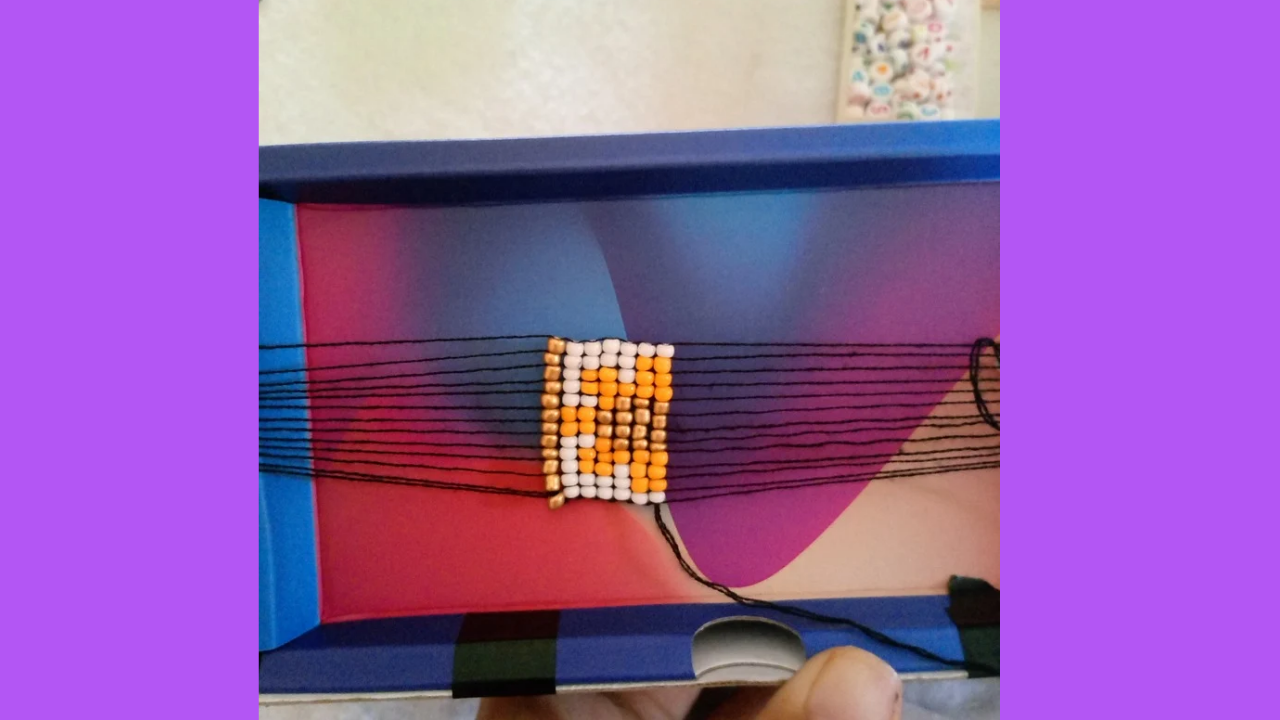
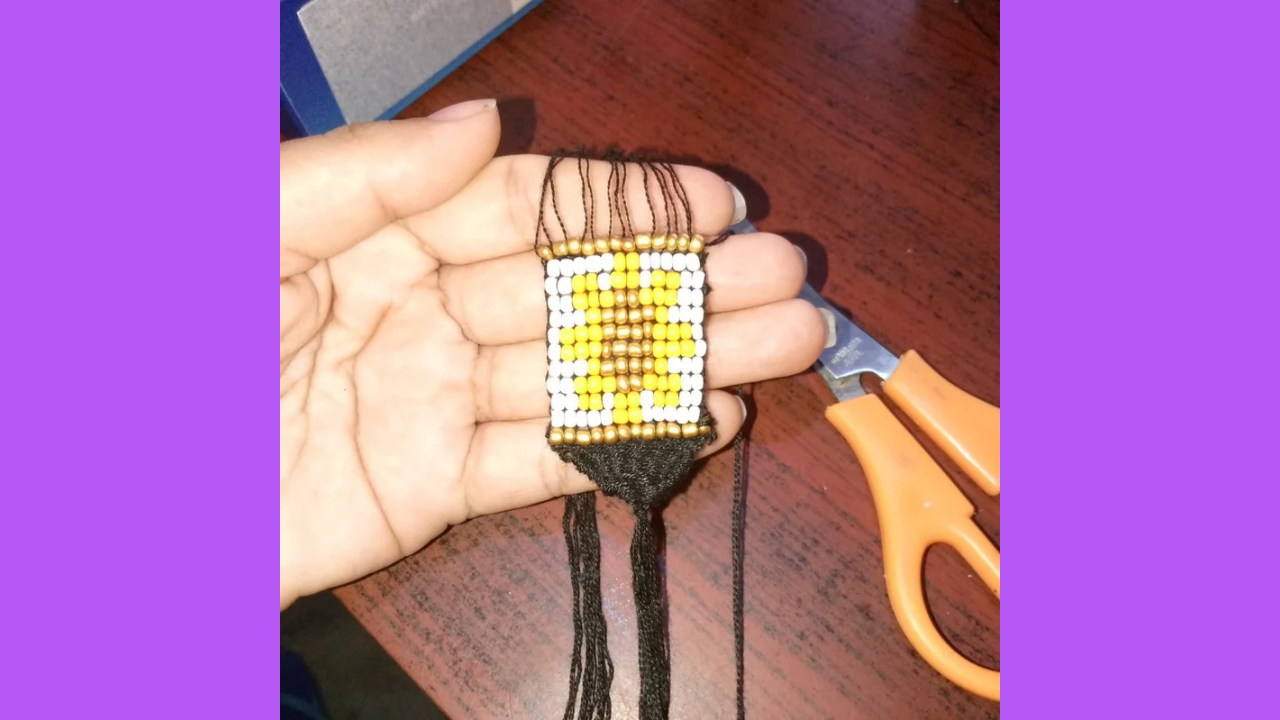
After three hours, I finished making the flower. You might be wondering why it took me so long. The truth is, it wasn't as easy as it looks. First, some of the threads got tangled, so I had to cut them and start over about three times. Now that the part I like the most is done, I'm going to move on to weaving in the remaining threads. I continued weaving with the needle, zigzag-wise through the strands of thread.
Paso nro 4
Paso nro 4
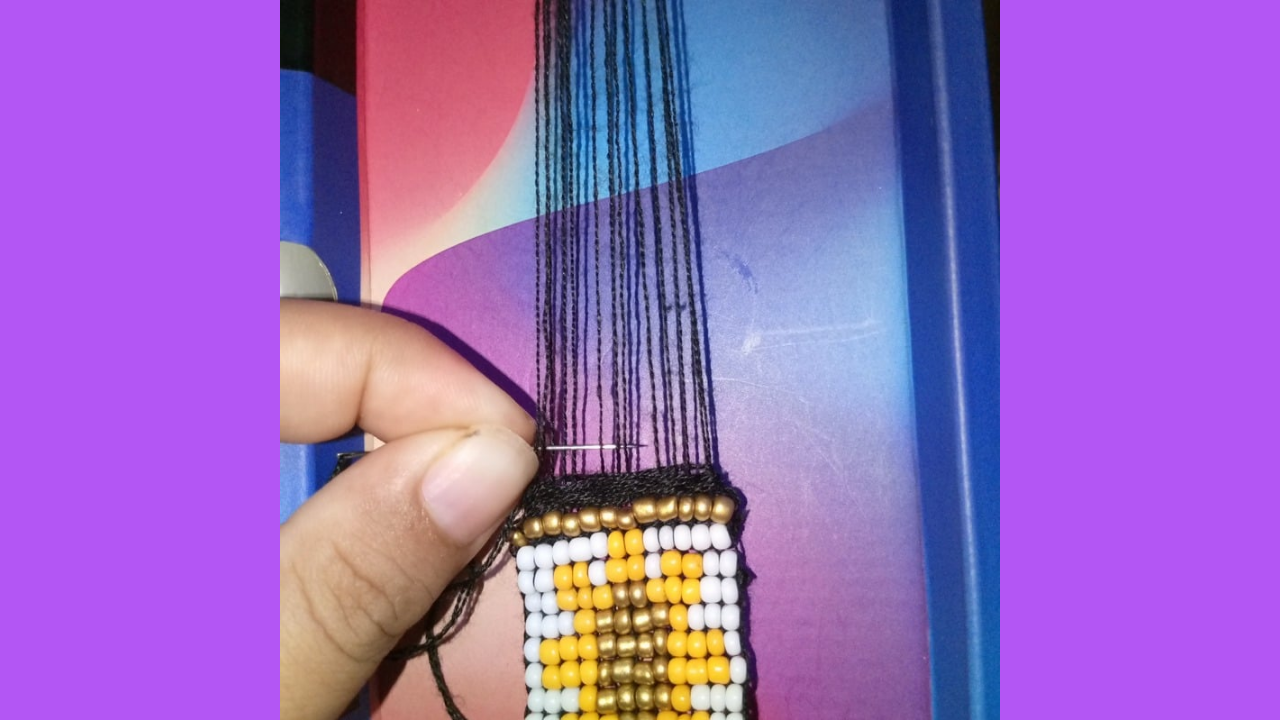
I continued weaving on both sides, making sure each stitch was made correctly and the threads were firm. This process was very satisfying, as each movement brought me closer to my goal. With patience and dedication, I continued to progress until I finally had my beautiful finished bracelet.
(Resultado final:)||(Bottom line:)
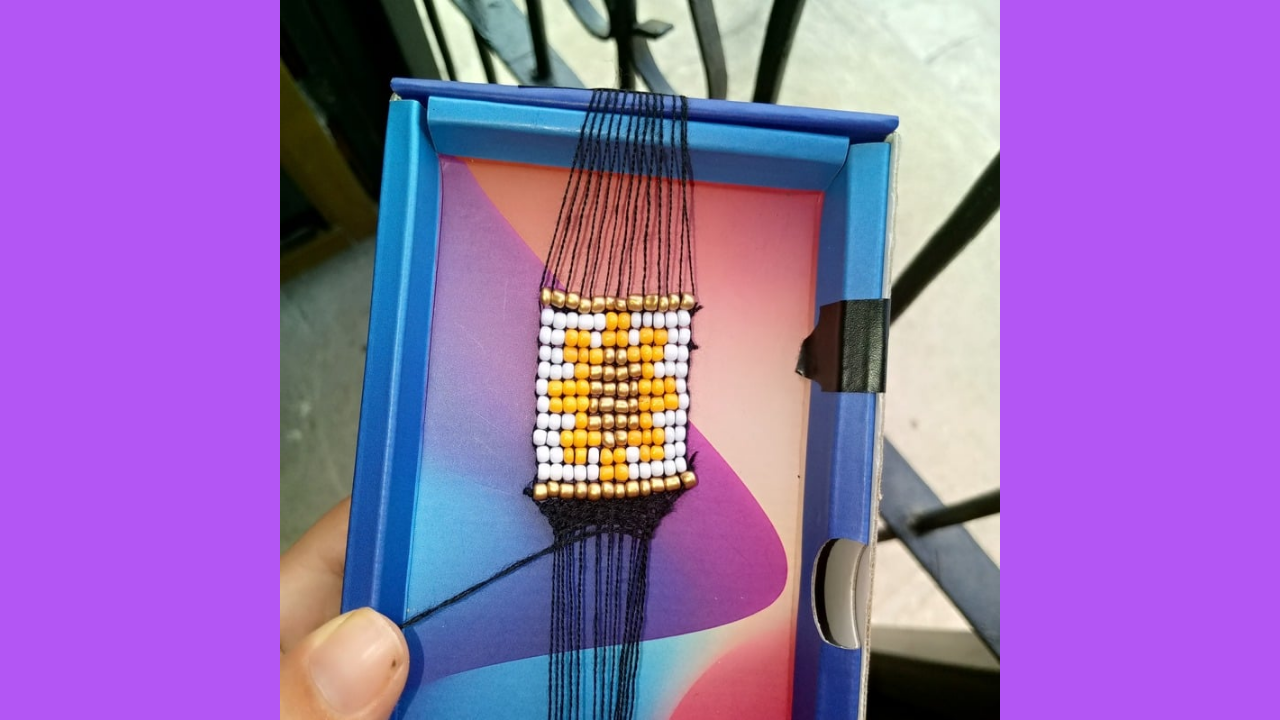
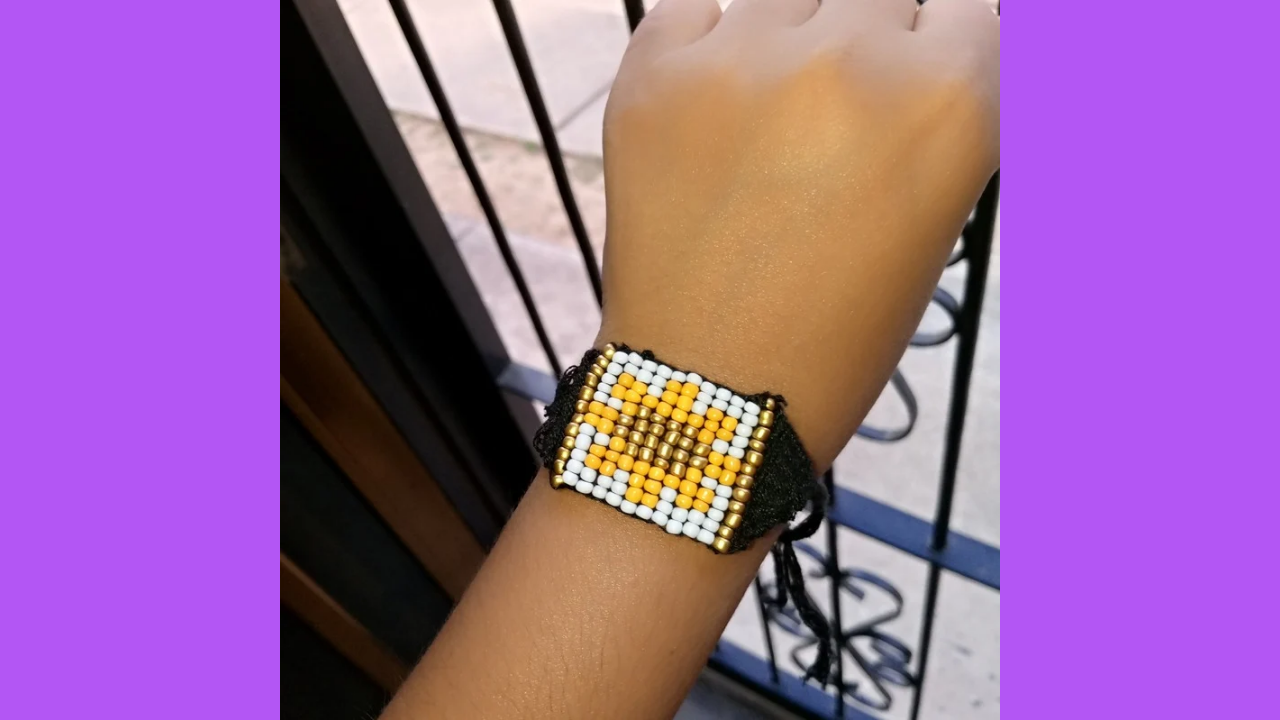
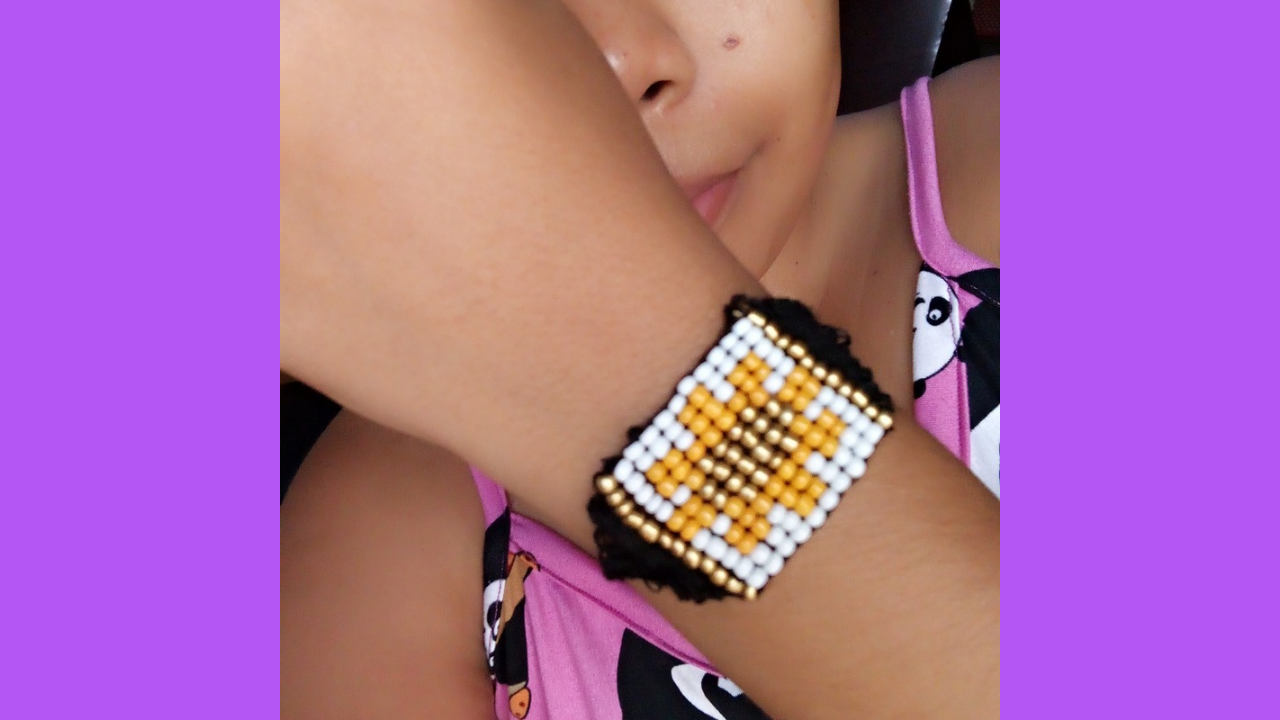
And here's my yellow flower bracelet. How cute it turned out! One of the things I enjoyed most about making this bracelet was the opportunity to learn new crafts. I love exploring my creativity and seeing how each project becomes a personal expression. I hope you love it as much as I do. I'm signing off with this beautiful bracelet and a smile. ☺️

Las fotos de este blog son de mi propiedad|Las imágenes son editadas en canva|Fotografías tomadas en mi celular infinix Smart 7|El contenido está traducido en el traductor de Firefox.
It is really pretty. First I thought it's a watch but it is a bracelet. You did a great job.
Hello, good day, thank you, I'm glad you liked it.
the bracelet is unique, i like it👍
thank you
This is lovely
thank you
I'm glad to hear that you was learing to make this type of bracelet and now finally you have made it, if it's your first time making this type of thing i must say you nailed it.., this is just superb, i will also try to learn to make this type of bracelets😊🥰
Hello, thank you very much. The truth is that I always wanted to make this type of bracelet. I always found them so pretty with their colors and designs, and if you try to make it, it's too entertaining.
Your bracelet looks beautiful and unique. Lovely work friend and thanks for leaving a detailed tutorial on how you made it. Well done, thanks for sharing.
Hello, thank you. I'm very happy to know that you liked the bracelet. Thank you very much.