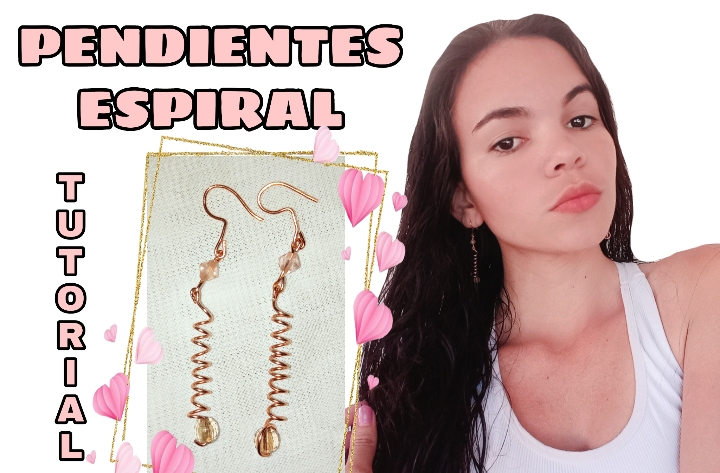
Hello hello friends of #jewelry, I am pleased to greet you and wish you a good Sunday, today I come to show you one more of my publications for you, this time I bring you some earrings made with the wire technique.
This time I will give you the types and I will try to be as explicit as possible because believe it or not, it is very easy to make.
We will only need the following materials for its elaboration, which I will mention below:
MATERIALES
-alambre de cobre.
-pinzas.
-piedras pequeñas.
-palillo
MATERIALS
-copper wire.
-tweezers.
-small rocks.
-toothpick
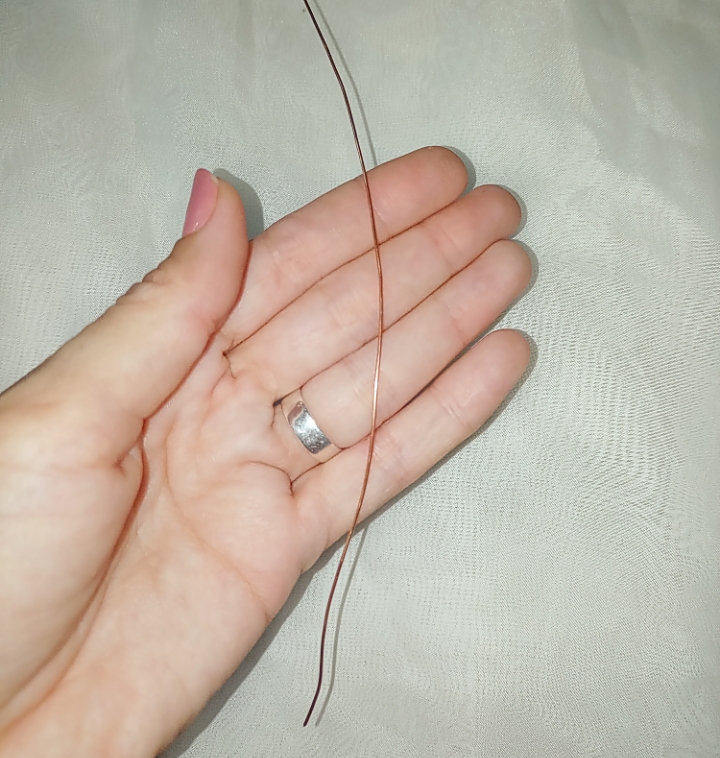
1 . The first thing I did was cut a 20 cm piece of wire, this will be enough to make the earring.
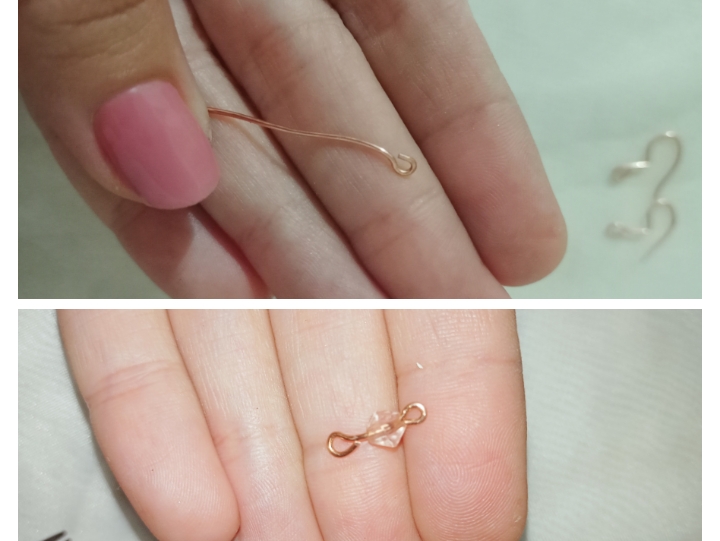
2 . Then, with the round tip pliers, make a ring on the tip, insert the pink stone, cut and make another ring.
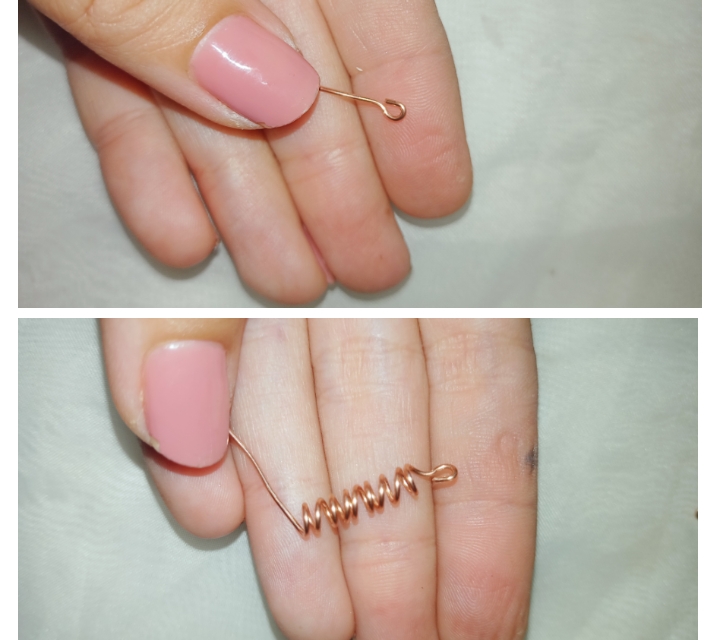
3 . For the next piece, also make a ring at the end of the wire and then wrap it around the toothpick, making approximately 10 turns.
4 . I introduced the other brown tone stone and wound the wire around it, cutting off the excess.
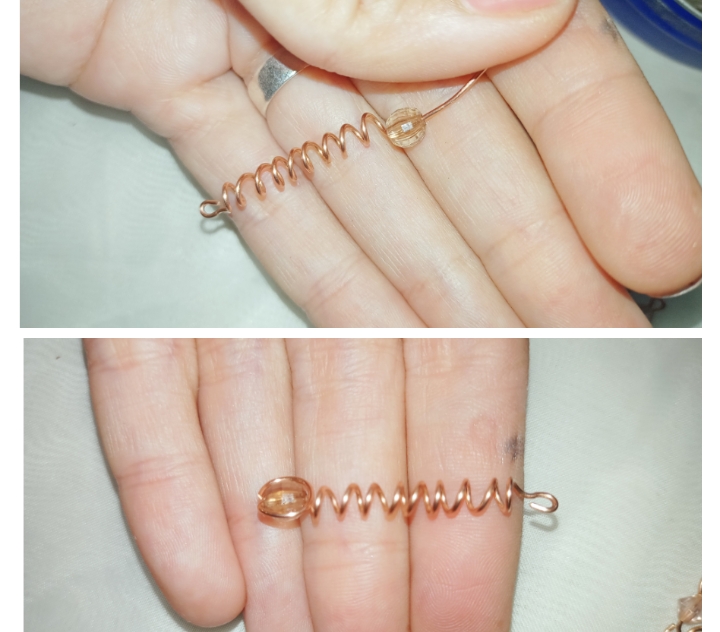
5 . Next, join the two pieces that we have made.
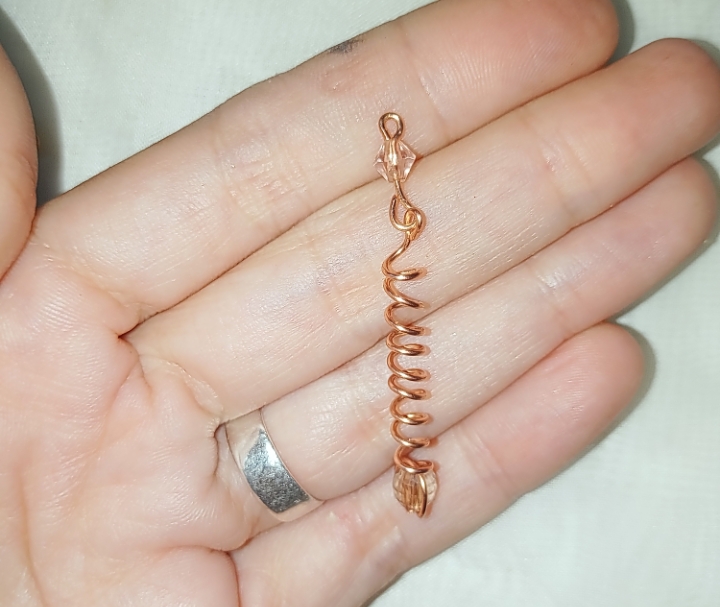
6 . Make and place the piece in the shape of a hook.
TIPS: Si deseas que quede más largo puedes dar más vueltas en el palillo o estirar y separar cada vuelta.
TIPS: If you want it to be longer, you can make more turns on the toothpick or stretch and separate each turn.
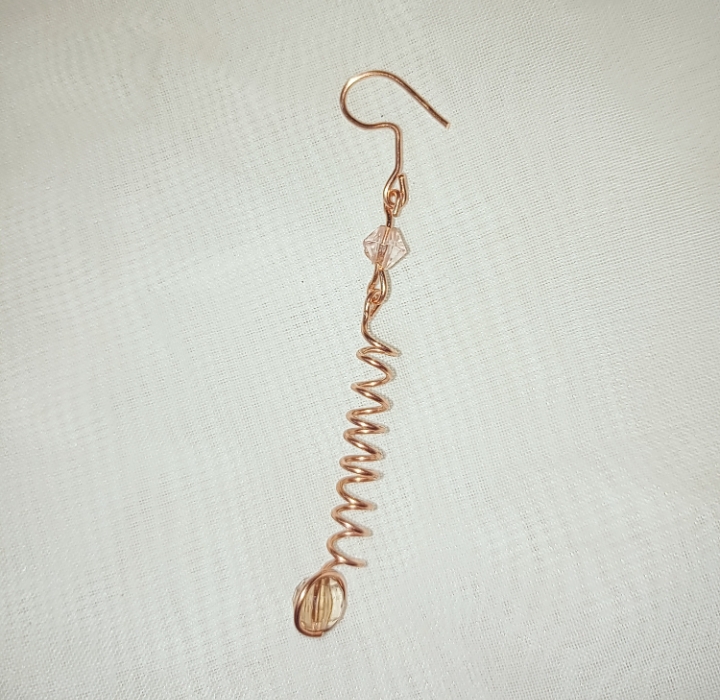
What did you think? Easy right? with few materials, and in a simple way I thought the final result was great!
FINAL RESULT


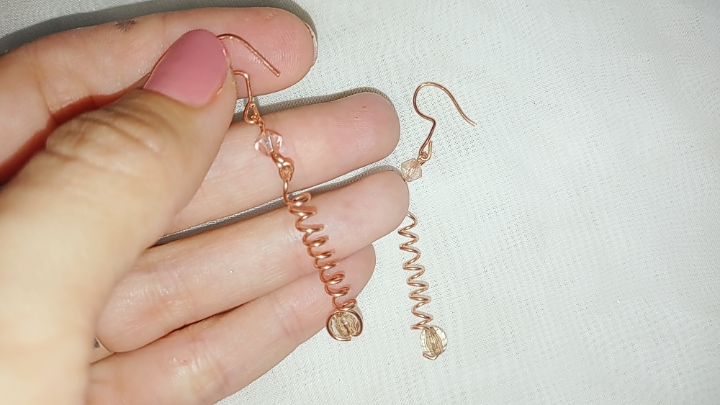
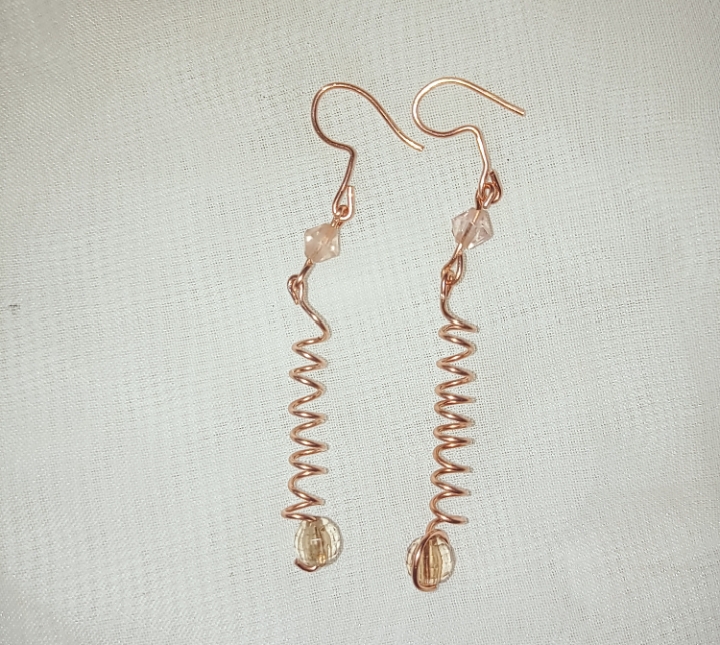
Happy to share with you friends of #jewelry one more of my projects, I hope you liked it! I loved sharing it with you.😊
You can find more tutorials like this on my blog, it will be until a next opportunity!
Fotografías propias tomadas con mi REALME 7i
Own photographs taken with my REALME 7i
Portada: diseño propio creado en PicsArt/ own design created in PicsArt
Para traducir el texto utilice traductor Google// To translate the text use Google translate
Gracias por su apoyo!😊
Your content has been voted as a part of Encouragement program. Keep up the good work!
Use Ecency daily to boost your growth on platform!
Support Ecency
Vote for new Proposal
Delegate HP and earn more
Saludos @venusl19 👏 felicidades por estos aretes tan bonitos, me gusta mucho la forma que les diste a los mismos.
Recuerda por favor la.longitud del post y las reglas de la comunidad, gracias por tu apoyo saludos
Gracias por tu comentario, que bueno que te hayan agradado! Y muchas gracias por tu sugerencia, estaré más atenta !
☺️
Wow, the rounding design gave it a perfect outlook. This is something I will have to try one day following your steps.