

Un saludo querida comunidad de @jewelry para mi es un gusto traer un nuevo tutorial a todos ustedes, hoy deseo compartir una creación que me gusta mucho y desde hace algún tiempo quería hacer unos anillos en este caso les traigo un "Anillo de Rosa", realmente es un anillo muy sencillo de realizar no se necesita de mucho conocimiento.
Voy a explicar el anillo en rosa y un poco de otro anillo parecido, pero el cual requiere de la misma técnica y que se puede realizar igual de fácil solo siguiendo siguiendo primero.
En cuanto a la creación de anillos puedo decir que creo que es la técnica de alambrismo más fácil de realizar solo se necesita un poco de imaginación y práctica si no se está muy acostumbrado, así que les invito a ver este lindo paso a paso mis creativos.

Greetings dear community of @jewelry for me it is a pleasure to bring a new tutorial to all of you, today I want to share a creation that I really like and for some time I wanted to make some rings in this case I bring you a "Rose Ring ", it really is a very simple ring to make you do not need much knowledge.
I will explain the ring in pink and a little of another similar ring, but which requires the same technique and that can be done just as easy just following first.
As for the creation of rings I can say that I think it is the easiest wire wrap technique to do, you just need a little imagination and practice if you are not very used to it, so I invite you to see this nice step by step my creatives.
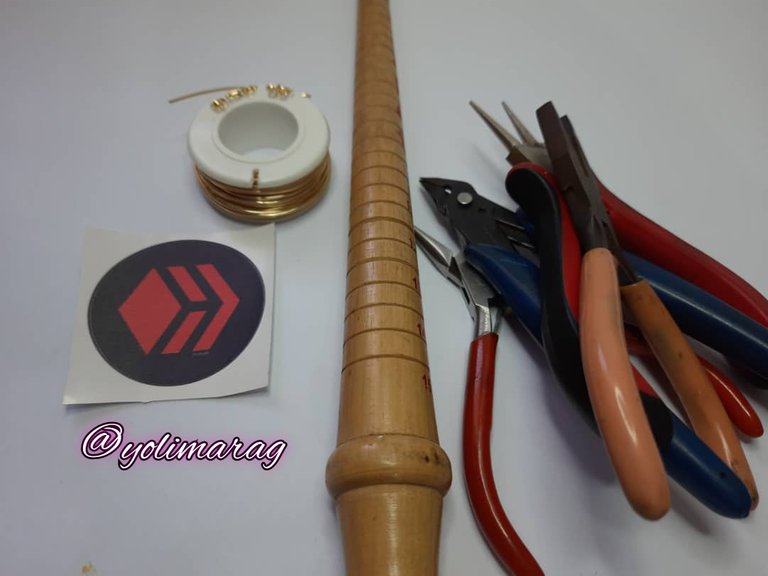
Materiales:
- Alambre #18 90cm
- Pinzas de Bisutería
- Mandril de anillos
Materials
- Wire #18 90cm
- Jewelry Tweezers
- Ring mandrel
Paso a Paso / Step by Step
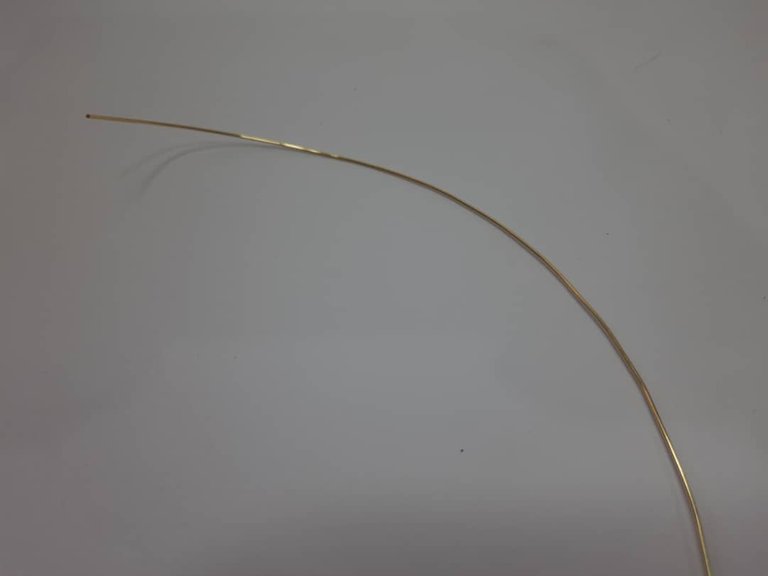
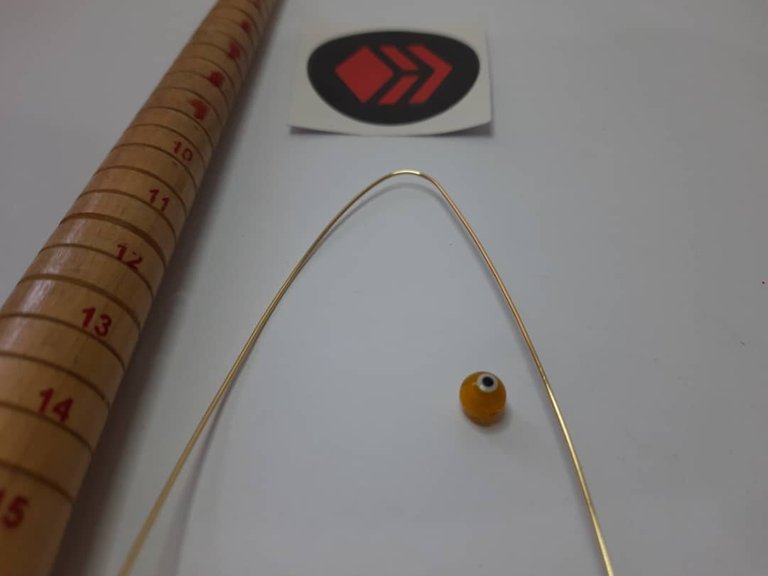
Lo primero que hice fue cortar un alambre #18 y cortar unos 90cm de largo.
The first thing I did was to cut a #18 wire and cut about 90cm long.

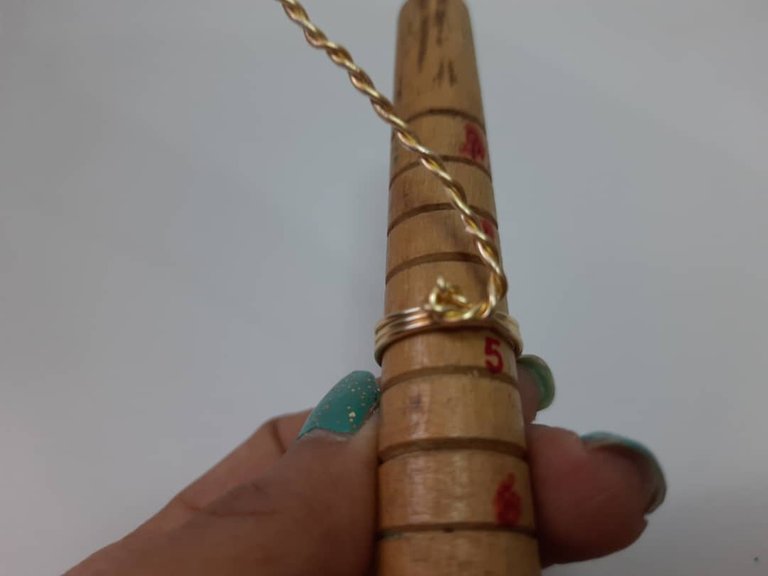
Vamos a tomar e Mandril y mediremos según el diámetro del dedo que queramos, en este caso yo usaré una medida de 4,5cm, es pequeño pero así son mis dedos muy delgados.
We will take the mandrel and measure according to the diameter of the finger we want, in this case I will use a measurement of 4.5cm, it is small but my fingers are very thin.
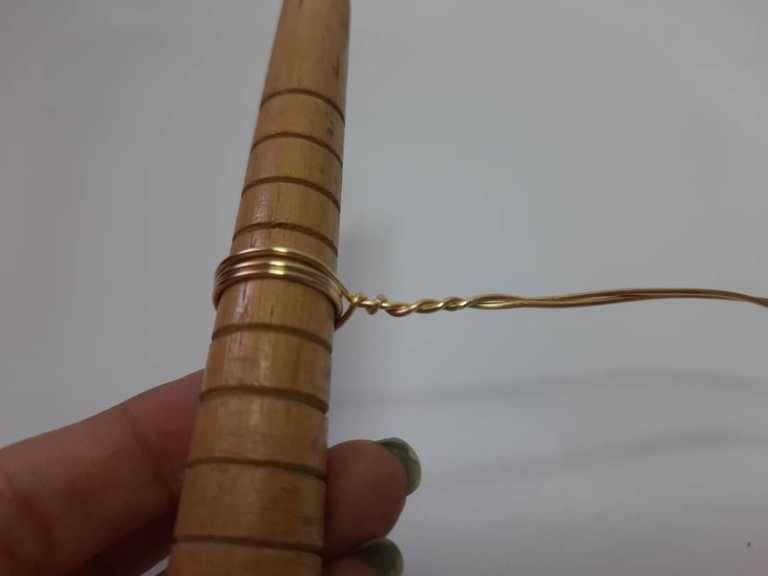
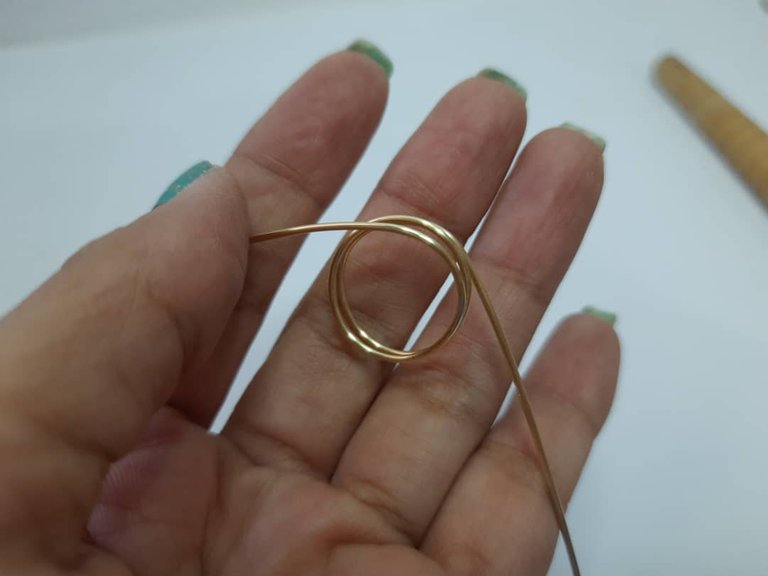
Vamos a enrollar unas tres vueltas y luego vamos a unir ambos extremos y vamos a entrelazarlos ayudándonos de una pinza plana con goma, vamos a tratar de levar hasta arriba dejando unos 5 cm sin entrelazar aproximadamente.
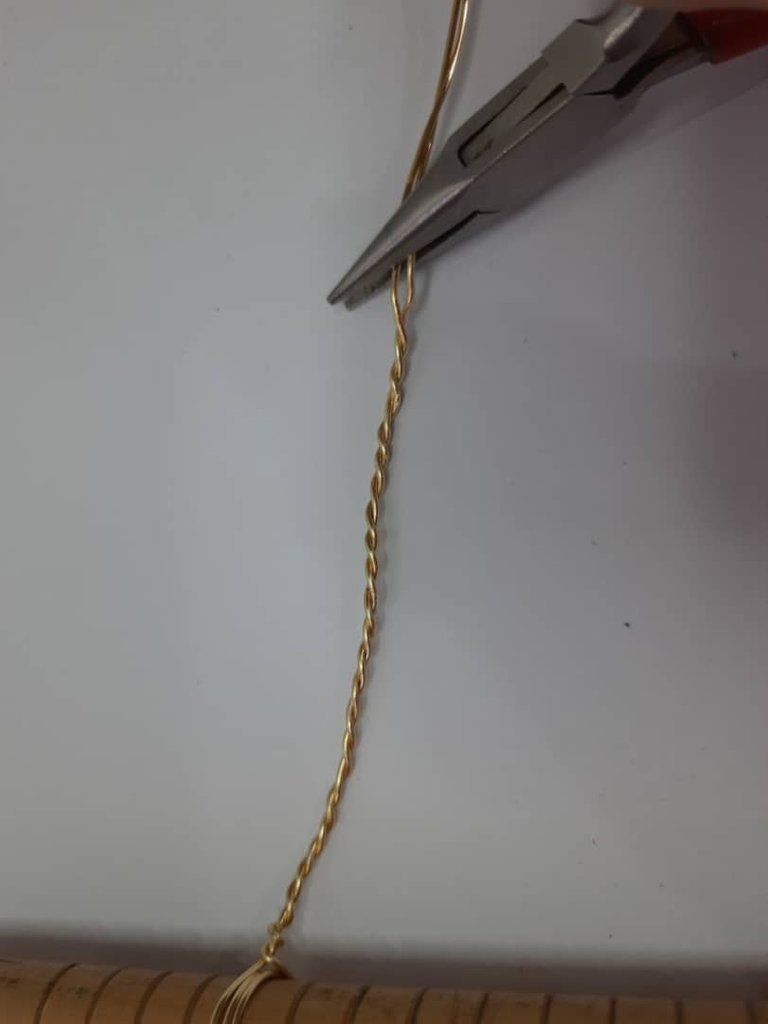
We are going to roll about three turns and then we are going to join both ends and we are going to interlace them with the help of a flat clamp with rubber, we are going to try to raise up to the top leaving about 5 cm without interlacing approximately.
Comenzamos a dar vueltas poco a poco, para ir formando nuestra flor.
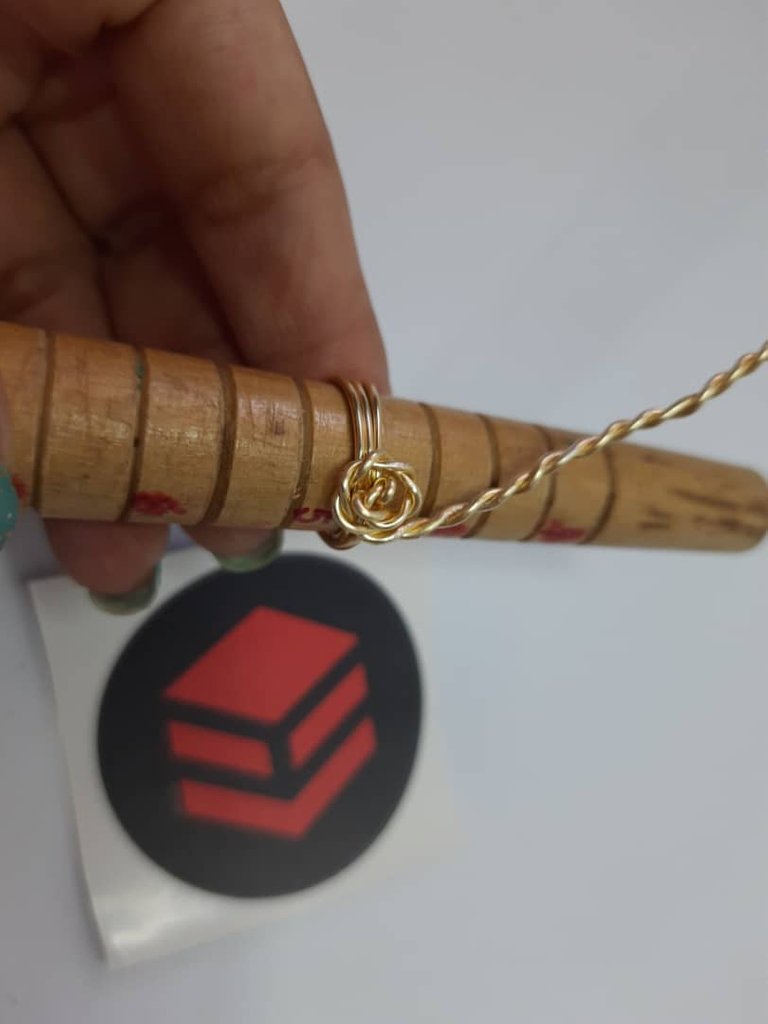
We begin to turn little by little, to form our flower.

En cada extremo al lado de la flor vamos a dar tres vueltas para cerrar así nuestro anillo 💍
At each end next to the flower we will make three turns to close our ring 💍.
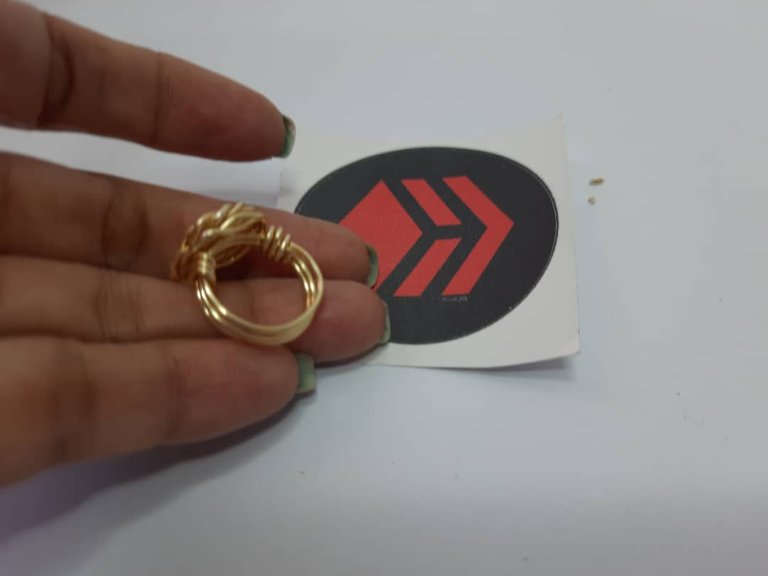
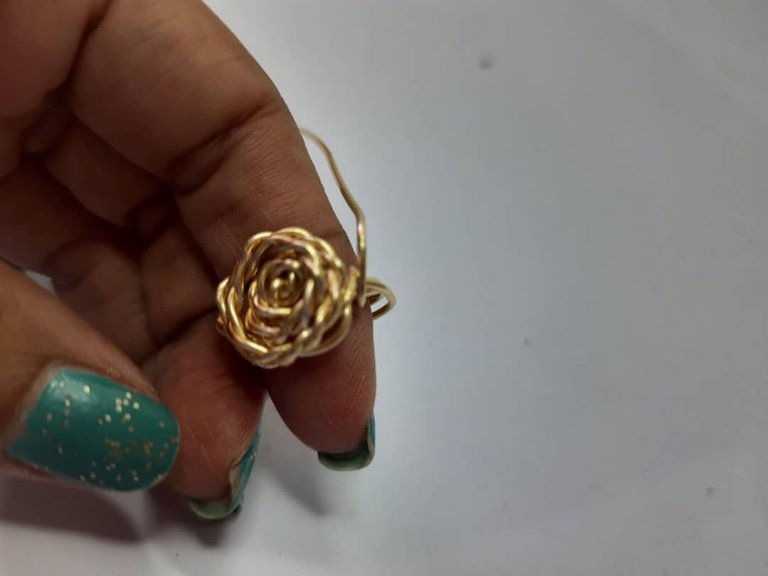
Al cerrar en ambos extremos tendremos listo nuestro primer anillo.
By closing both ends we will have our first ring ready.
Anillo #2
Materiales:
- Alambre #18 35cm
- 1 Piedra de 2cm
- Mandril de anillos
- Pinzas de Bisutería.
Materials:
- Wire #18 35cm
- 1 stone of 2cm
- Ring mandrel
- Jewelry Tweezers.
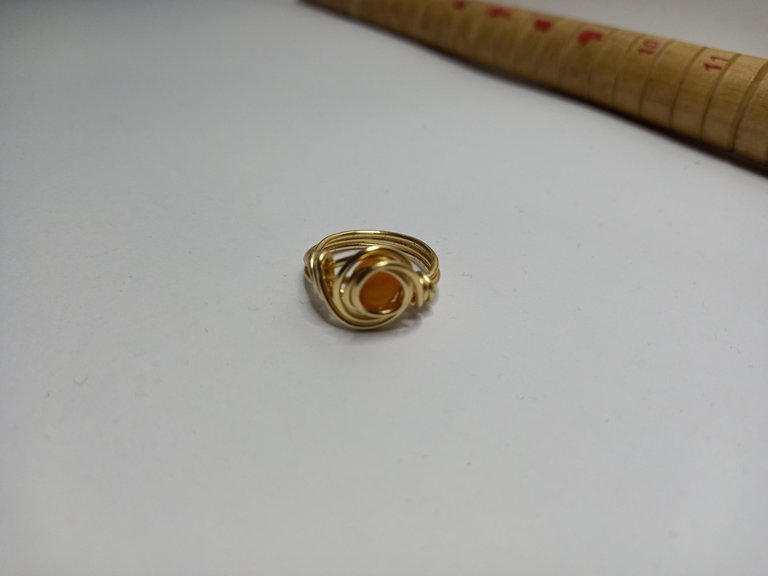
Daremos tres vueltas en el Mandrila nuestro alambre, esta vez utilice una medida de 5.5 en el Mandril.
Introduciremos la piedra a la mitad, daremos vueltas al rededor de ella y vamos a anudar a los lados con los excedentes tal y cual lo hicimos con el primer anillo.
We will make three turns on the Mandrila our wire, this time use a measure of 5.5 on the Mandrila.
We will introduce the stone in half, we will make turns around it and we will knot at the sides with the surplus as we did with the first ring.
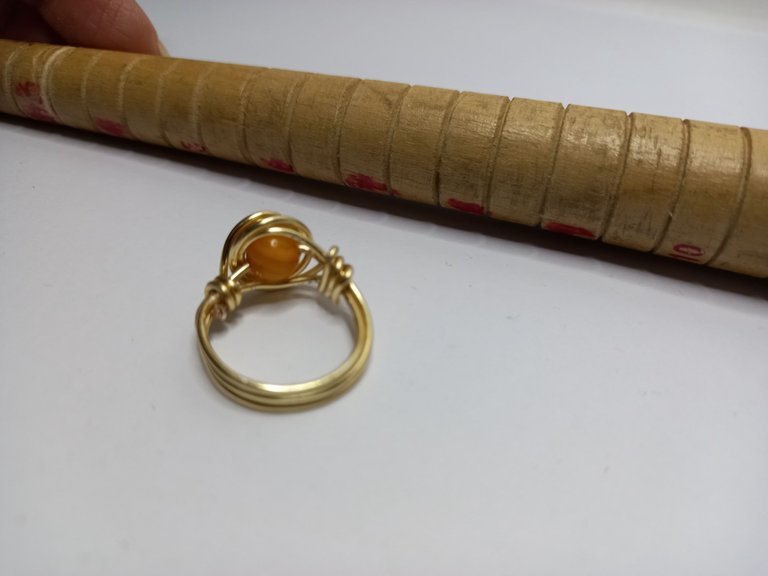
Siempre tratando que los extremos queden muy bien cerrados y para ello nos ayudaremos de la pinza plana, para que al cerrar ninguna punta dañe los dedos.
Always trying that the ends are very well closed and for this we will help us with the flat tweezers, so that when closing no end will damage the fingers.
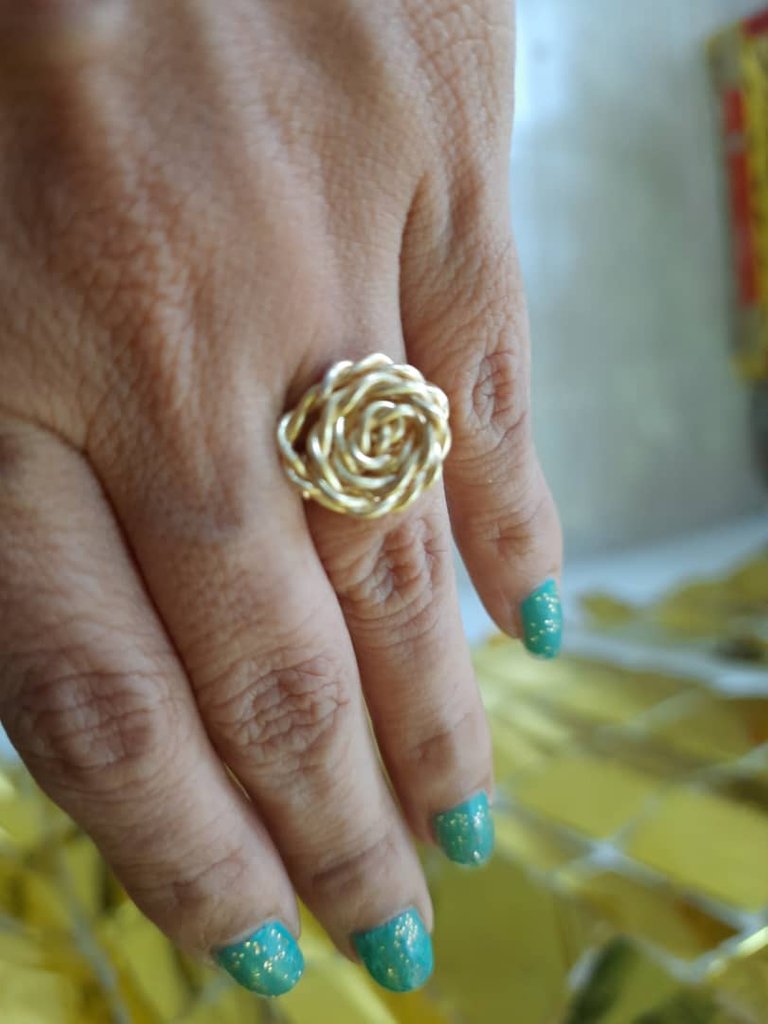
Resultado:
Y así han quedado los dos anillos, una misma técnica sencilla con la cual podemos hacer muchos diseños diferentes de anillos.
Lo mejor de hacer anillos es que con poco material se pueden crear diferentes diseños y técnicas, espero que les guste el resultado.
Gracias por estar aquí y ser parte de mi blog y de la comunidad @jewelry 😉
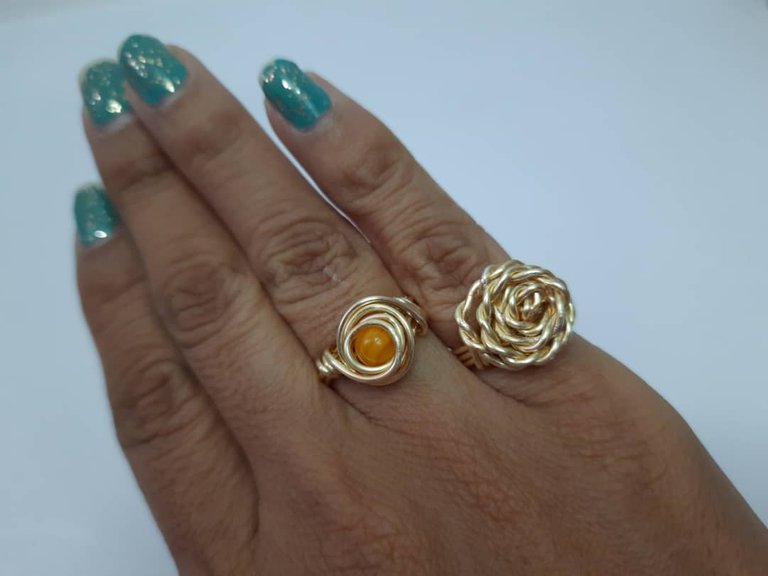
And so have been the two rings, the same simple technique with which we can make many different designs of rings.
The best thing about making rings is that with little material you can create different designs and techniques, I hope you like the result.
Thanks for being here and being part of my blog and the @jewelry community 😉.
Thank you for being here and being part of my blog and the @jewelry community 😉

Les invito a suscribirse a la comunidad de @Jewelry y poder así mostrar todas sus creaciones de accesorios, tanto de adultos como de niños; nos encanta ver y apoyar a todos los artesanos, manualistas y orfebres, puedes crear accesorios para damas, caballeros y niños, así que tu creatividad es el límite 😉
I invite you to subscribe to the @Jewelry community to showcase all your accessory creations for both adults and children; we love to see and support all the artisans, crafters and goldsmiths, you can create accessories for ladies, gents and kids, so your creativity is the limit 😉.
Fotos principal editada con Canva.
Separadores Link
Fotos de mi Autoría derechos reservados
Cámara: Samsung M31
Traducido con www.DeepL.com/Translator (versión gratuita)
Photos edited with Canva
Separators Link
Photos by me Author's rights reserved
Camera: Samsung M31
Translated with www.DeepL.com/Translator (free version)


Hola.
El anillo de la rosa me encanta. Se ve bellísimo. Y lo mejor es que entendí perfecto el paso a paso.
Gracias por compartir.
Me alegra que te gustará amiga, es muy sencillo espero un día lo hagas, saludos.
Wow, I can't even imagine the imagination you applied here but I'm grateful to have come across the post. Maybe, I will just give it a trial.
@tipu curate
Upvoted 👌 (Mana: 22/42) Liquid rewards.
Amiga amé el segundo anillo, cuando vi el primero me encantó. Pero el segundo lo veo más delicado para mí. Tenía tiempo sin ver herramientas de bisutería, aunque nunca he trabajado el alambre.
Demasiado bellos amiga, @yolimarag entendí la explicación perfectamente 🤩 Gracias por enseñarnos, la manera que manejas el alambre se hace ver tan fácil. Como siempre nos brindas unos tutoriales excelentes.
Gracias amiga ne alegra mucho que te gusten 😊
Hola, estimada realmente muy bonito a esta señorita le encanta la bisutería.
felicidades por tu gran trabajo.