Hello, hivers!
In my last post, I talked about rebuilding the back curve on the railroad, and hauling ballast gravel to fill in between the ties. By the middle of July, I had a fair amount of the railroad ballasted.
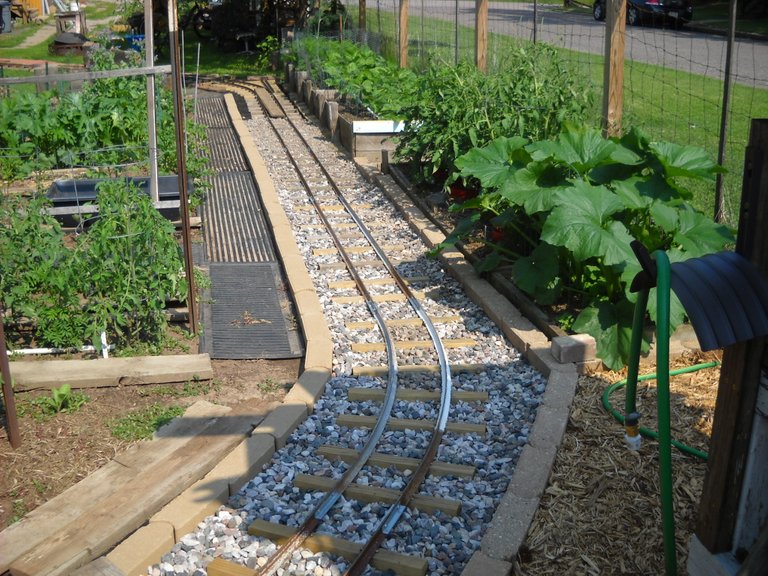
Then the end of July came, and the beans started getting ripe. I decided to use the railroad flatcar to sit on to pick the beans in the raised bed.
This picture is from the middle of August, but you can see how I was using the flatcar to pick beans. The flatcar makes it easy to move down the length of the raised bed without getting up. I just roll the car down the track a bit at a tim as I'm picking the beans.
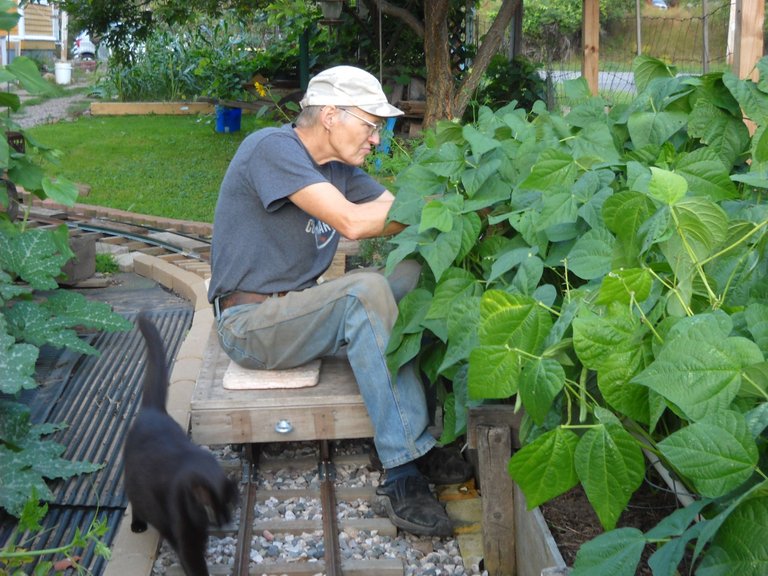
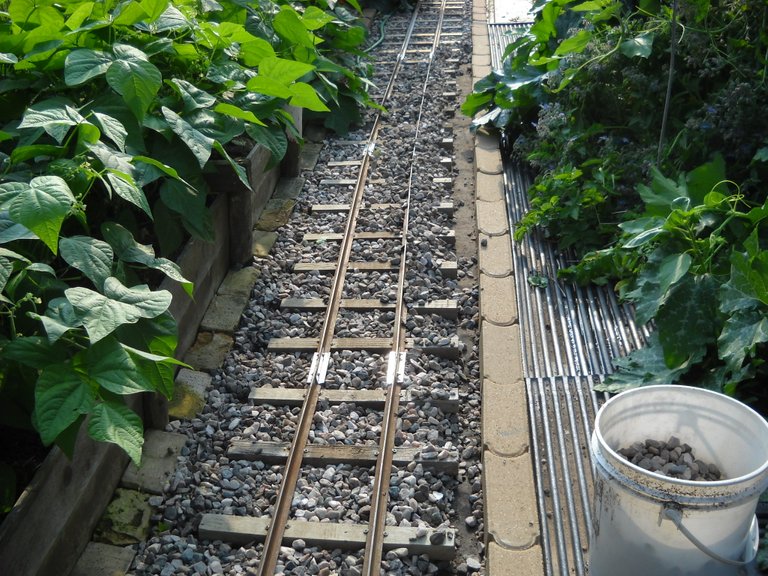
The first time I tried using the flatcar to sit on, I discovered that the track was too close to the raised bed, and I didn't have enough room for my feet. Since using the car to sit on to work in the raised beds was one of the reasons that I put the track there in the first place, I knew that I would need to move the track away from the raised bed as far as I could within the limits of the space that I had. Of course, that also meant that I had to move the turnout with the track.
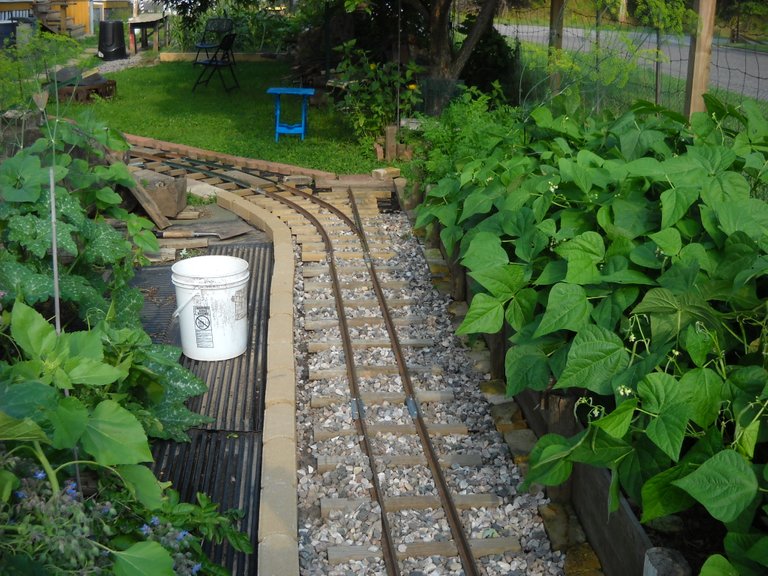
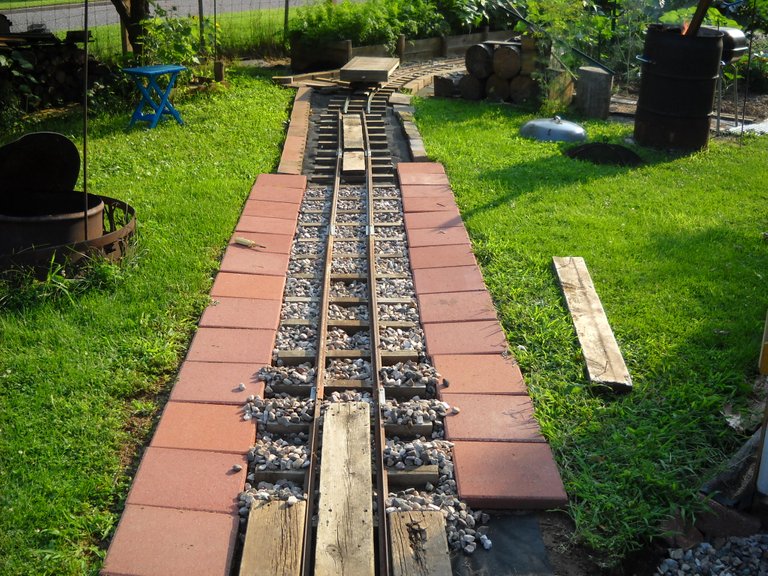
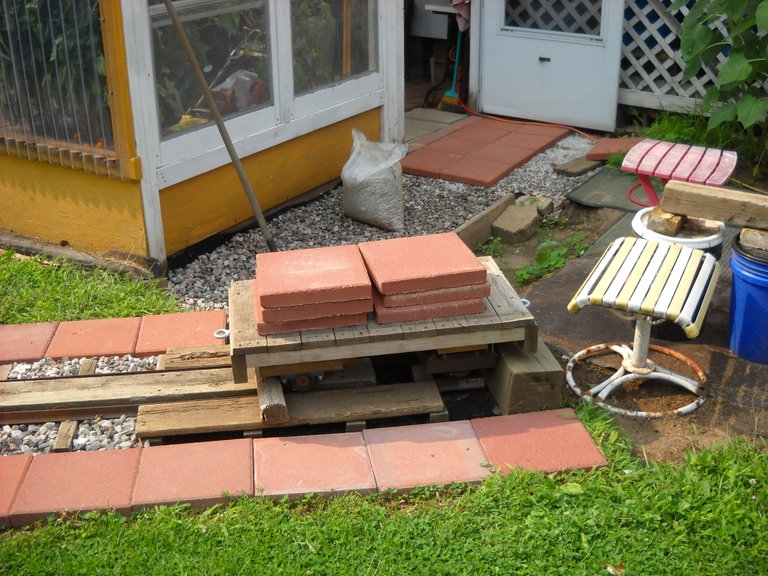
I started the process with the turnout. I had to remove some of the ballast to be able to slide the track sections away from the raised bed. The bucket was a handy place to put the ballast rock until I was ready to put it back on the track.
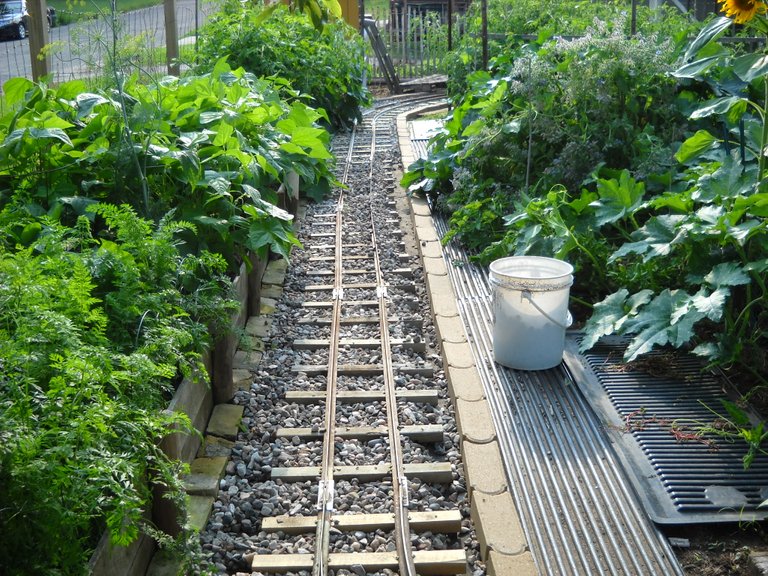
In this picture, you can see the gaps in the ballast close to the raised bed where the ties used to be before I pulled the track away from it.
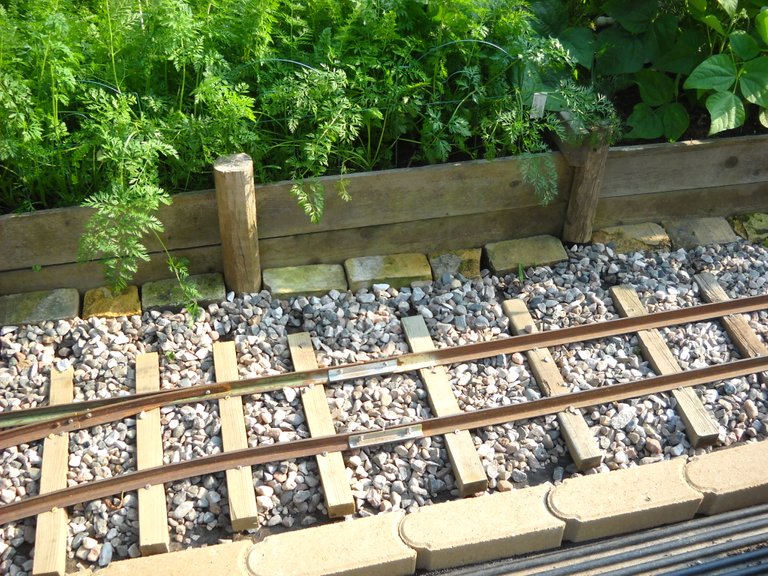
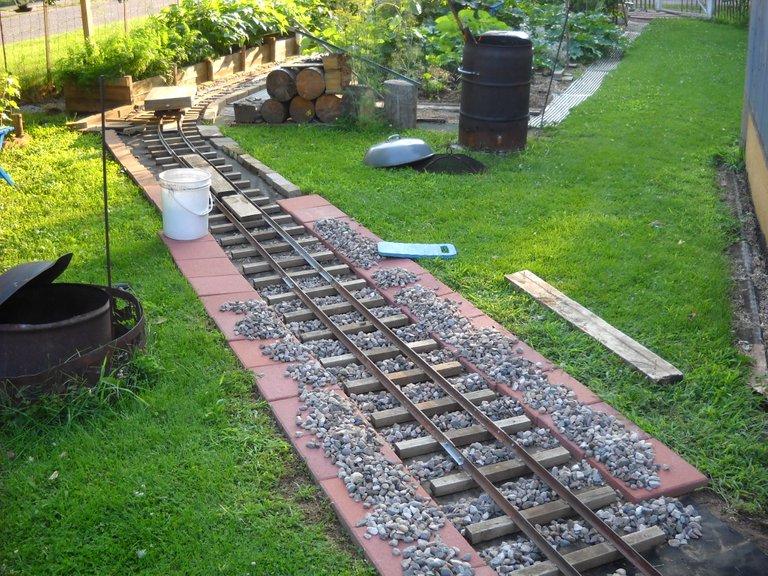
I pulled the track out one section at a time after removing the ballast on the outside so the track could slide out easier.
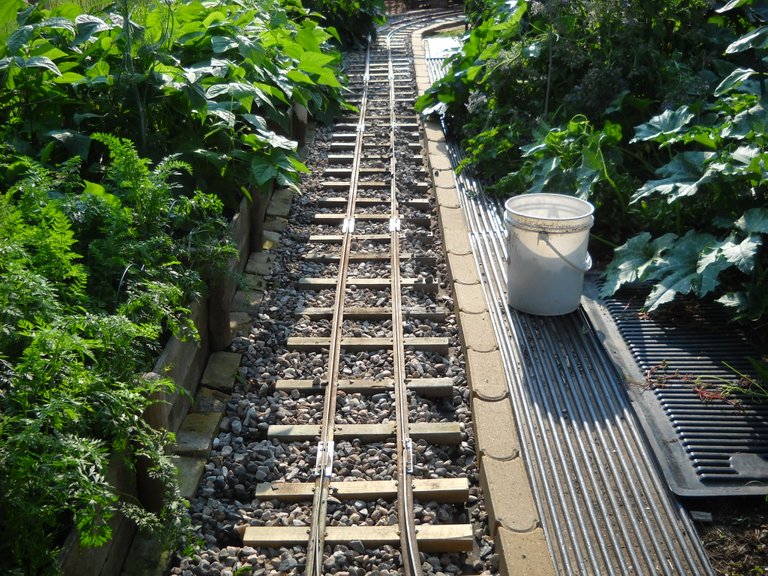
After I was done moving the track away from the raised bed, I had about 4-5 inches more room. That doesn't seem like a lot, but it made a difference when working on the raised beds. I didn't have to move the end by the back corner because the raised bed on that end already had more space to work with.
Because I had to move the turnout in order to move the track, I also had to disconnect the track at the other end of the turnout in order to have the space to move the turnout.
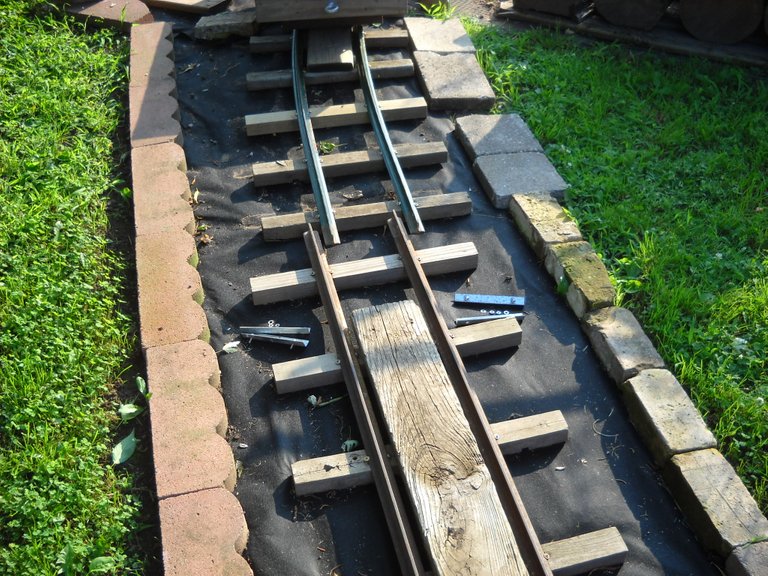
Of course, that meant that the track to the greenhouse didn't line up with the turnout. I had 2 choices, cut the ends off the rails so the track panel would line up again, or move the track panels going to the greenhouse.
I didn't want to have to drill new holes in the rail ends for the rail joiners, so I chose to move the track. That meant that I had to remove more ballast so that I could move the track panels. The process wasn't too bad because only about half of the track was ballasted. I just scraped enough of the ballast up on the pavers to be able to move the track panels. I disconnected the panels and moved them one at a time until I had everything moved and lined back up, then I reconnected the track panels.
Once I had the track panels moved and reconnected, I reballasted the track in that section.
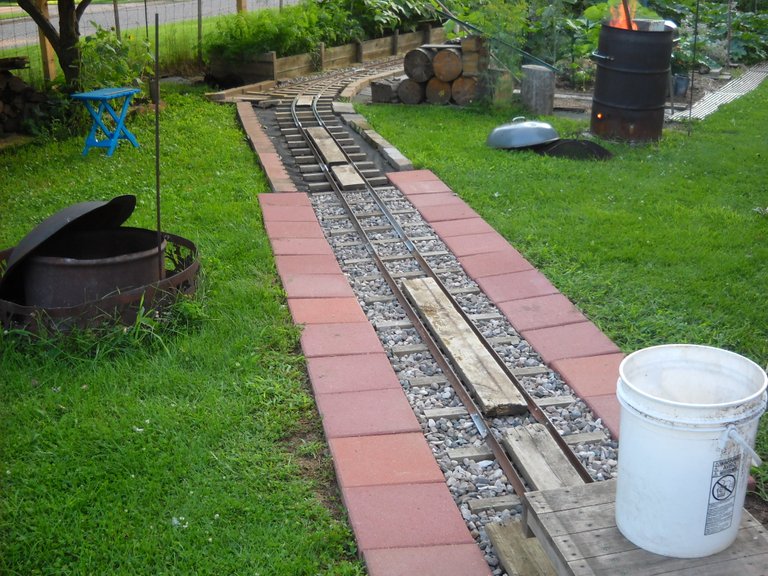
Once I had the greenhouse section of track finished, I finished putting the ballast back onto the raised bed section of track.
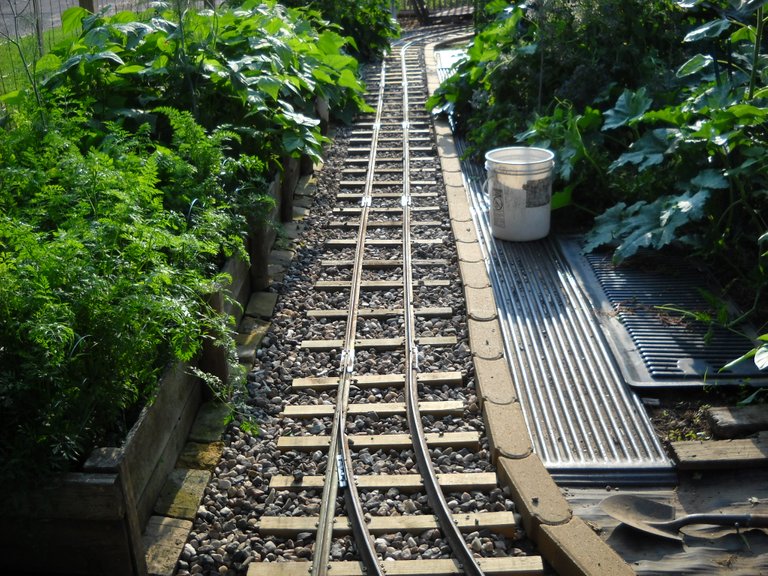
I didn't have any more ballast rock to use to finish the end of the greenhouse track by the turnout, so that had to wait for another day.
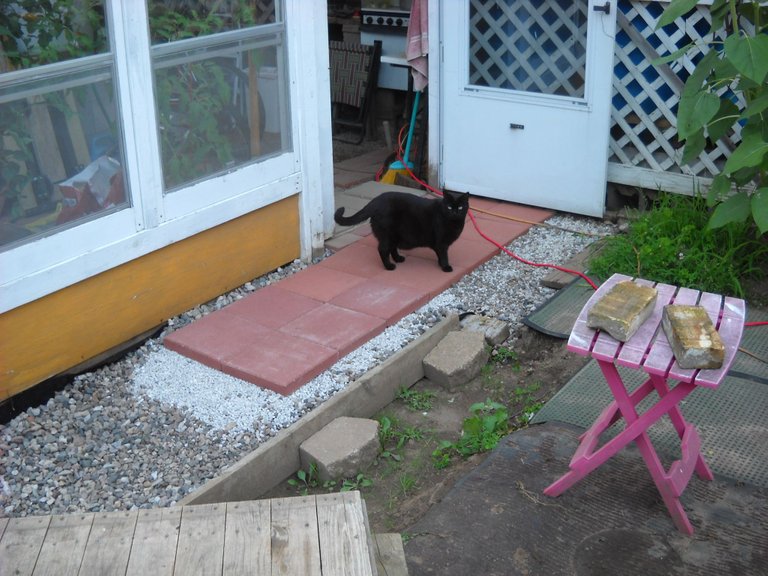
I also needed more paver blocks to line the edge of the track with. I had been getting them 10 at a time from the local big box store and moving them from the gate by the alley with the flatcar. I was also using the paver blocks for a different project by the greenhouse.
You can see the start of that project here. That project got a lot bigger, but that is a story for a different day.
After all of this work, I didn't do any more work on the railroad until September when I made a few improvements to the railroad. I'll tell you about that in my next post about my garden railroad.
Thanks for stopping by to read my post! I hope you found it interesting!

Beautiful garden and that railway track is genius!
Thanks!
This is an awesome effort, looking so good! <3
Thank you!
Brother can I come live with you? We'll build railroads and giant trains all day! 😁
You are lowkey a genius, I am sure you know that!
Thank you! 😀
!PIZZA
!BEER
PIZZA Holders sent $PIZZA tips in this post's comments:
eii tipped amberyooper (x1)
@tdctunes(6/20) tipped @amberyooper (x1)
You can now send $PIZZA tips in Discord via tip.cc!
This project turned out pretty awesome! Thumbs up! :D
The adjustments were little fiddly things, but in the long run, it will make things easier to use.
Track is looking fantastic - great work!
!PIZZA
Thank you for sharing this amazing post on HIVE!
Your content got selected by our fellow curator @stevenson7 & you just received a little thank you via an upvote from our non-profit curation initiative!
You will be featured in one of our recurring curation compilations and on our pinterest boards! Both are aiming to offer you a stage to widen your audience within and outside of the DIY scene of hive.
Join the official DIYHub community on HIVE and show us more of your amazing work and feel free to connect with us and other DIYers via our discord server: https://discord.gg/mY5uCfQ !
If you want to support our goal to motivate other DIY/art/music/homesteading/... creators just delegate to us and earn 100% of your curation rewards!
Stay creative & hive on!
Actually interesting post. Attractive railroad.You have good skills.