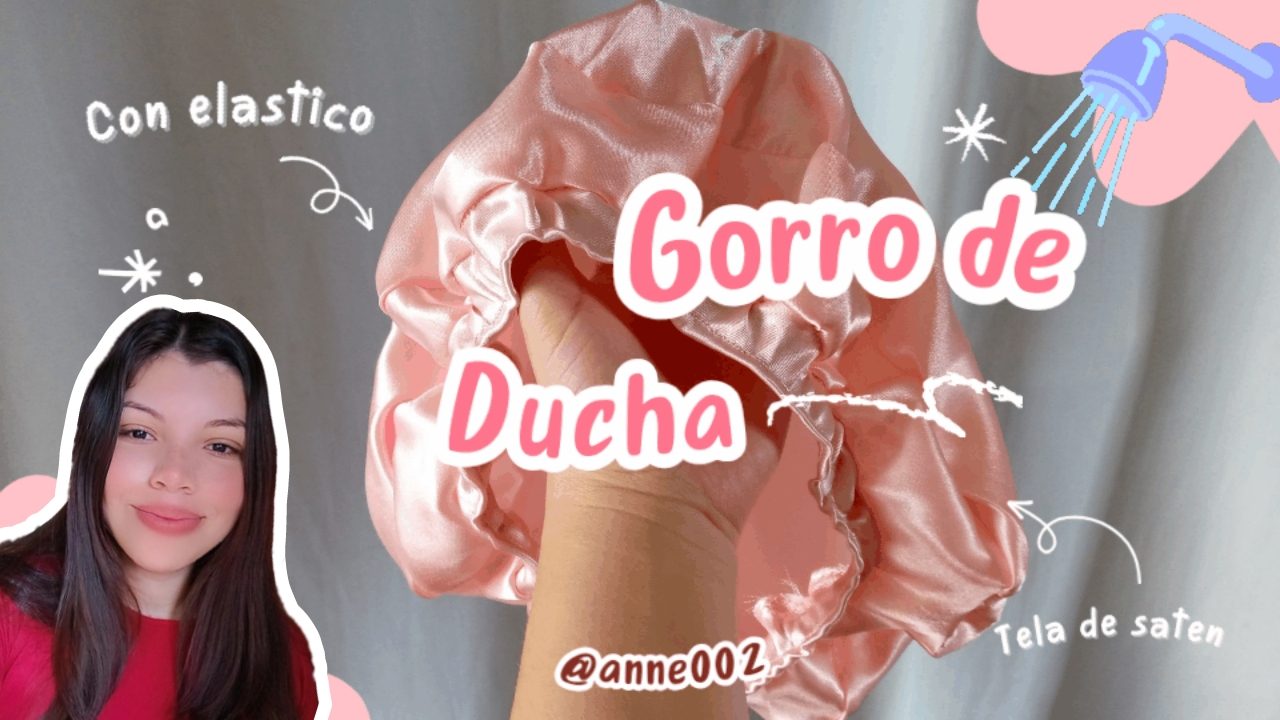
✨🌸Hello, how are you? It's a pleasure to greet you. If you are one of those who likes easy and simple sewing and you are here because you wanted to know what this blog was about, then here I show you what it is about. Basically, I love to make, as I mentioned, any type of sewing, making clothes, recycling fabric scraps, crafts, clothes, among other things that have to do with fabrics, threads and needles, so I always recycle my fabric scraps. Today I want to show you how I made this super easy and simple swimming cap in just a few short steps so that you too are encouraged to make it if you can't get one to fit you. ✨🌸
.jpg)
• What are hats for and how can we use them?:✨🌸
Its purpose is to protect our hair from water, for this they are made of waterproof fabrics that prevent the passage of water inside, said cap also has another use it could be used for the management and work of hair treatments that act on the hair for several minutes, using a bathing cap on those occasions is very good since our treatment could have more effect by producing the heat that these caps with thermal fabric make possible, the caps are also used to protect the hair while we take a nap since our hair would not get tangled and the management of it would be less painful since it could get tangled if we do not use a cap that keeps our hair in place if you have done a hairstyle and you do not want to ruin it during the nap, although caps of any type of fabric help a lot they have never gone out of style since it is something that every girl in the water opportunity needs to have and could serve for many uses.
In my case I like to use these caps when I apply a hair treatment and I want it to work with more effect, so for that our cap is very useful but of course you have to make it out of thermal fabric, mostly sleeping caps are made of silk fabric the same as some shower caps are also made like that but you have to be very careful when not letting water fall in there because if not our hair would get wet and what would be the use? So well this opportunity in this blog we will make this cute little cap called a shower cap but this time for sleeping, I hope you like the results and with this we begin a late afternoon of making, let's go with the materials.
.jpg)
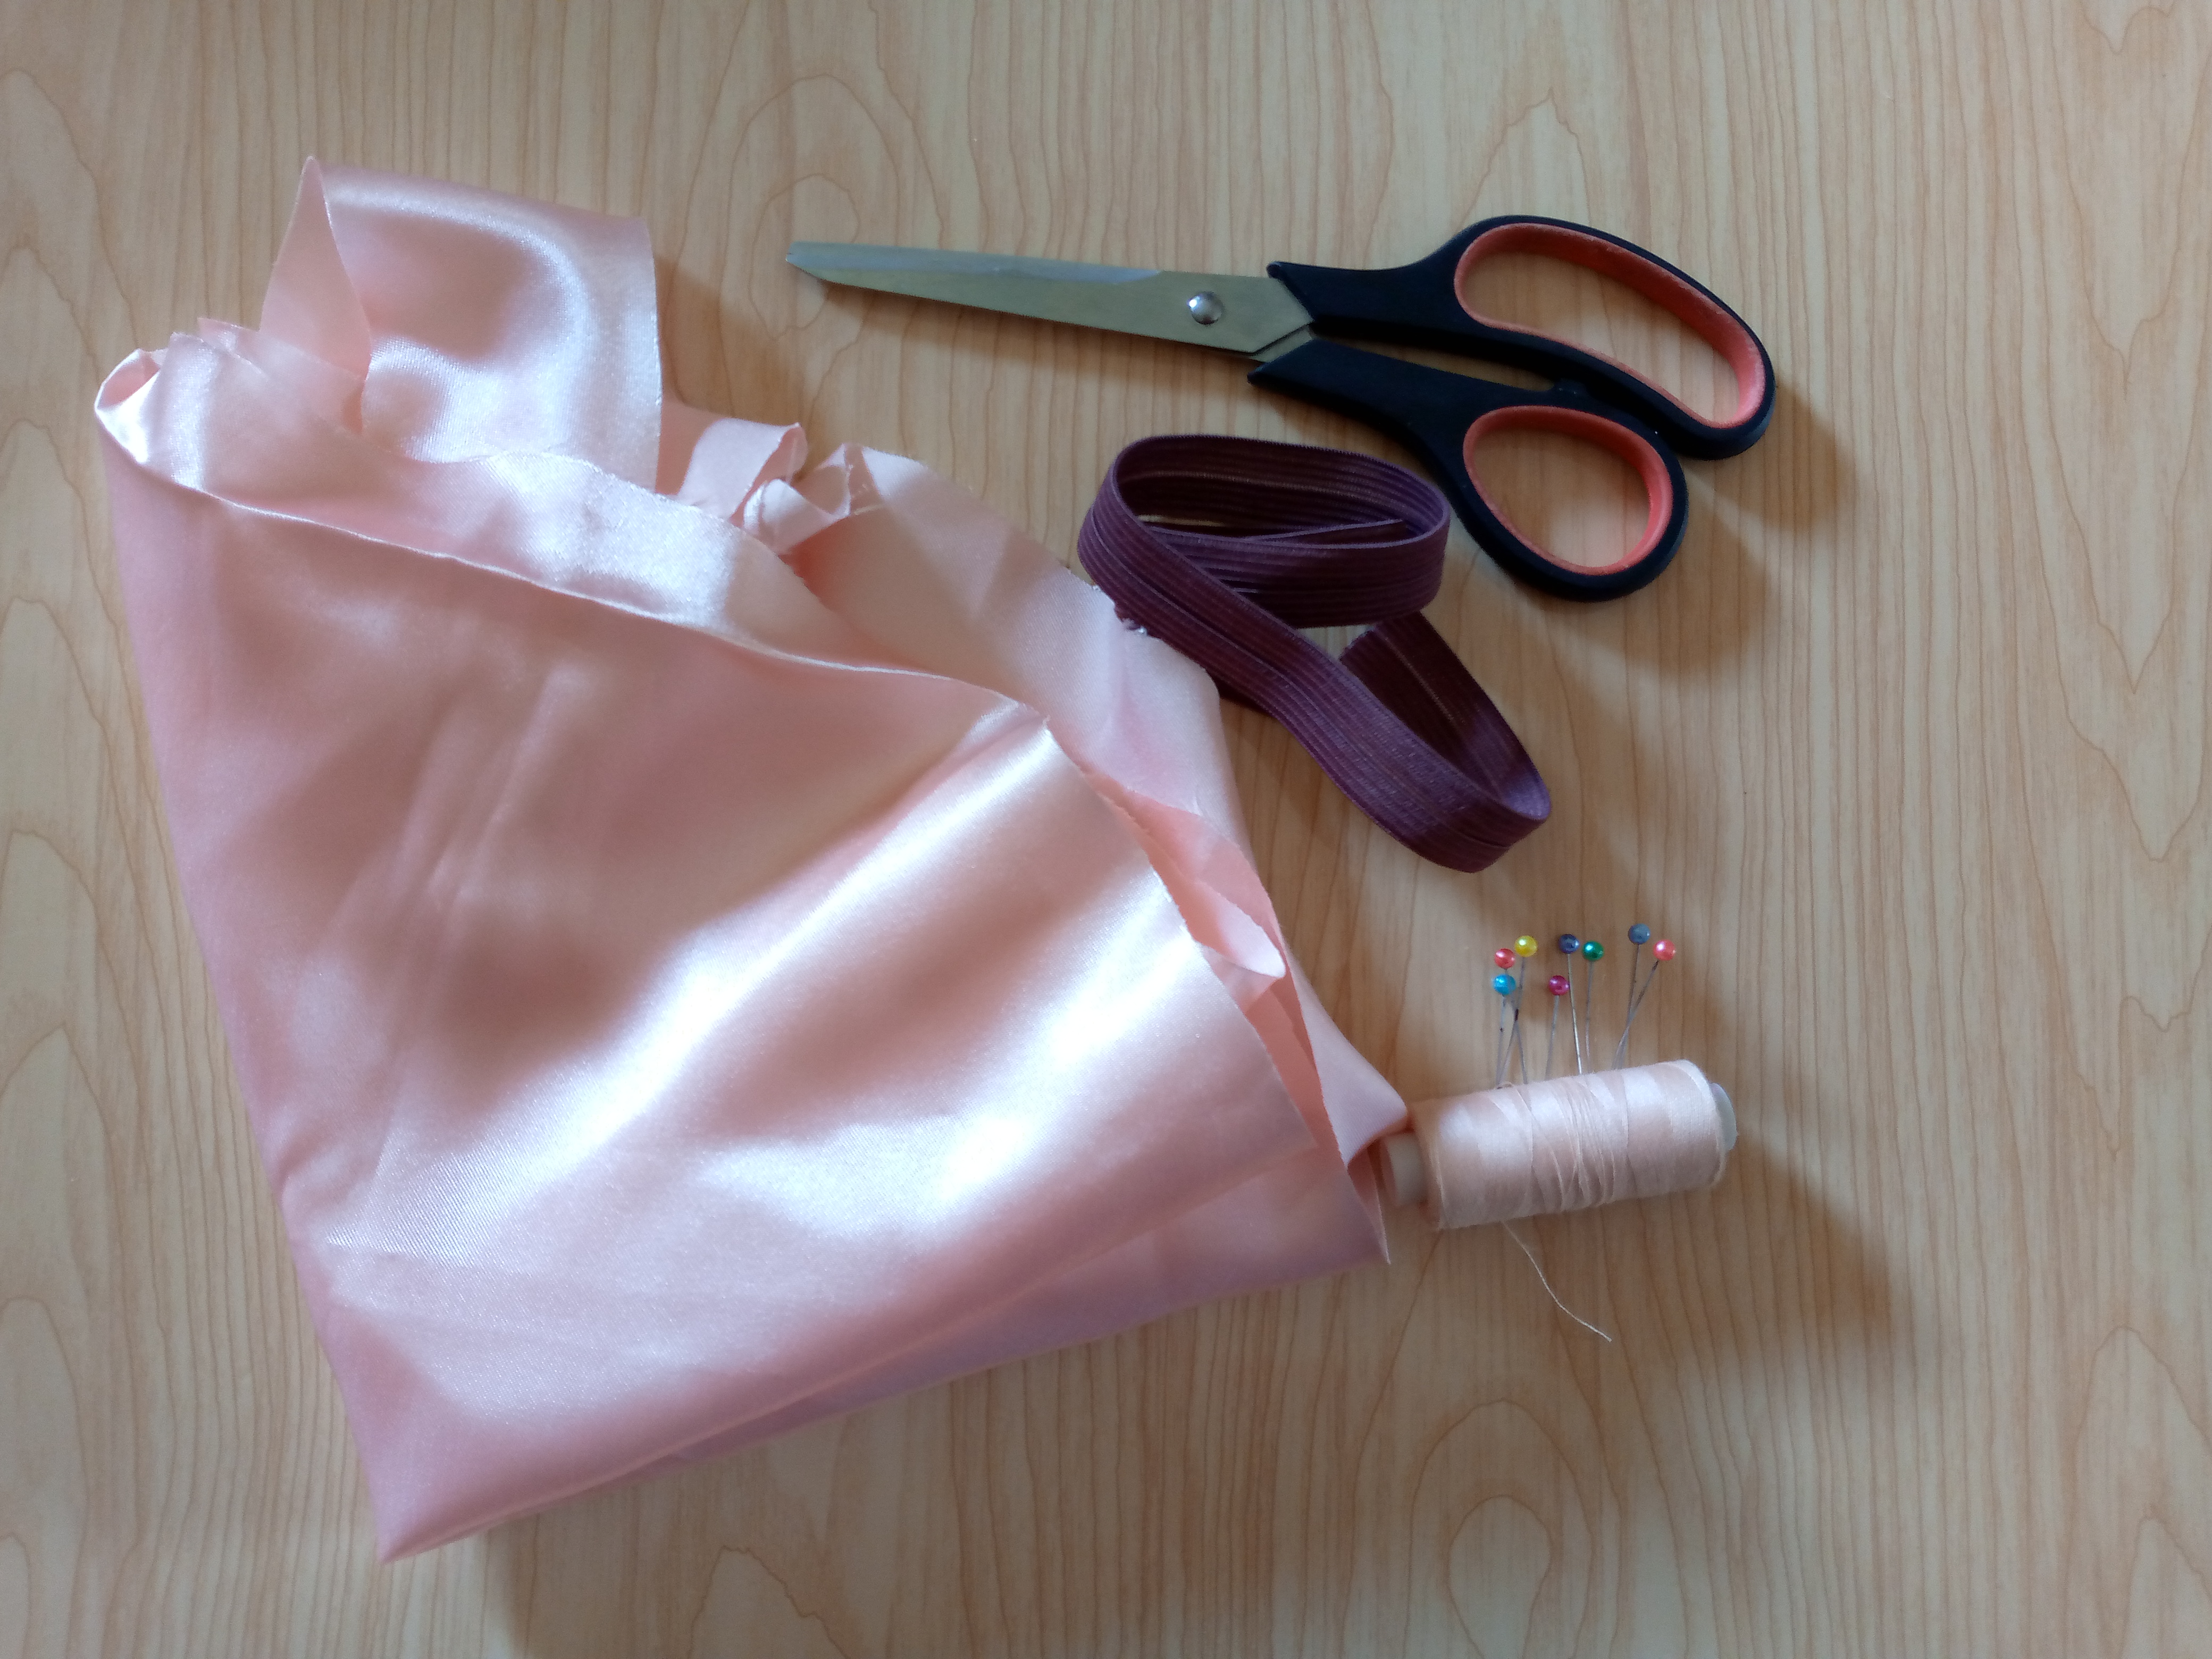
Materiales:// Materials:
- 30 cm de tela de seda o satén
- Tijeras
- Alfileres
- Elástico de aproximadamente 1.5 cm de ancho
- Hilo
- Máquina de coser
- 30 cm silk or satin fabric
- Scissors
- Pins
- Elastic approximately 1.5 cm wide
- Thread
- Sewing machine
.jpg)
Pasos a seguir://Steps to follow:
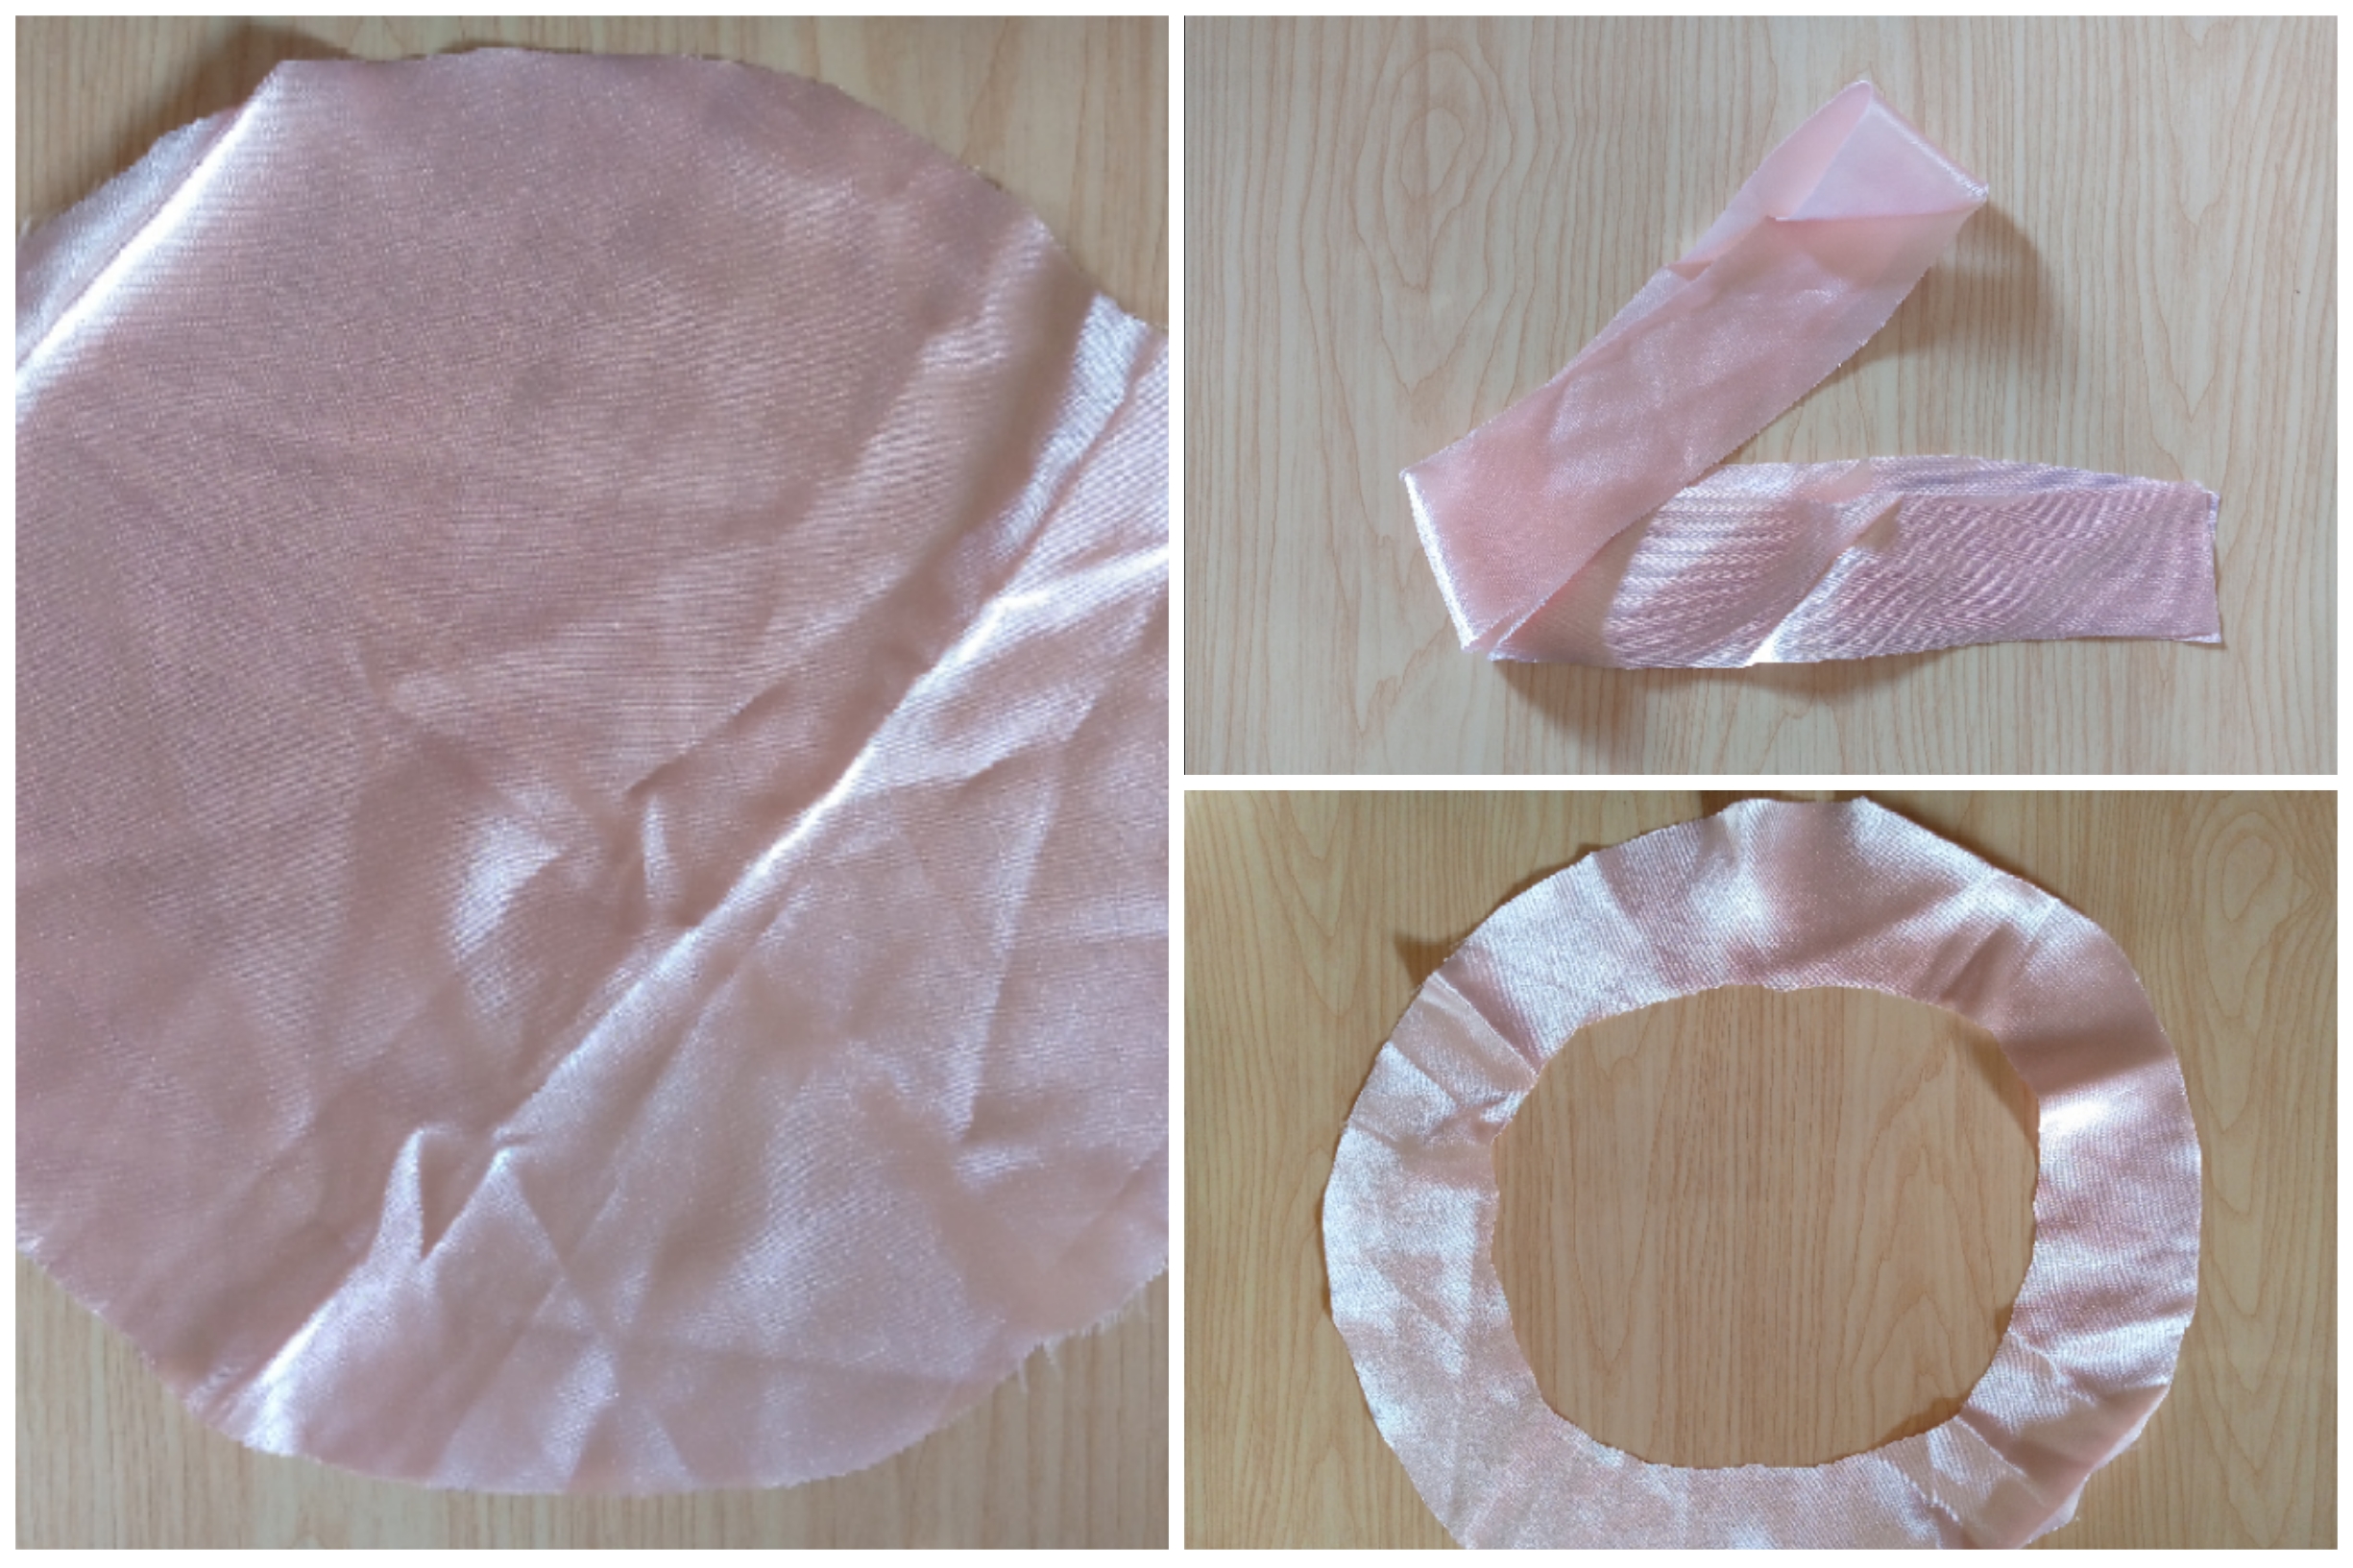
Paso 01
Step 01
The first step we will do is cut a circle of fabric or your pattern 60 cm in diameter and another round piece cut in the center with the measurement of the contour of your head, and a rectangular ribbon of the same fabric the width of your head also those are the basic pieces to make the hat, I tell you that this fabric was already ironed but since it is silk and soft it tends to wrinkle a lot and sometimes no matter how much we iron it it wrinkles again 🤭 but it was not an impediment for me not to make my hat.
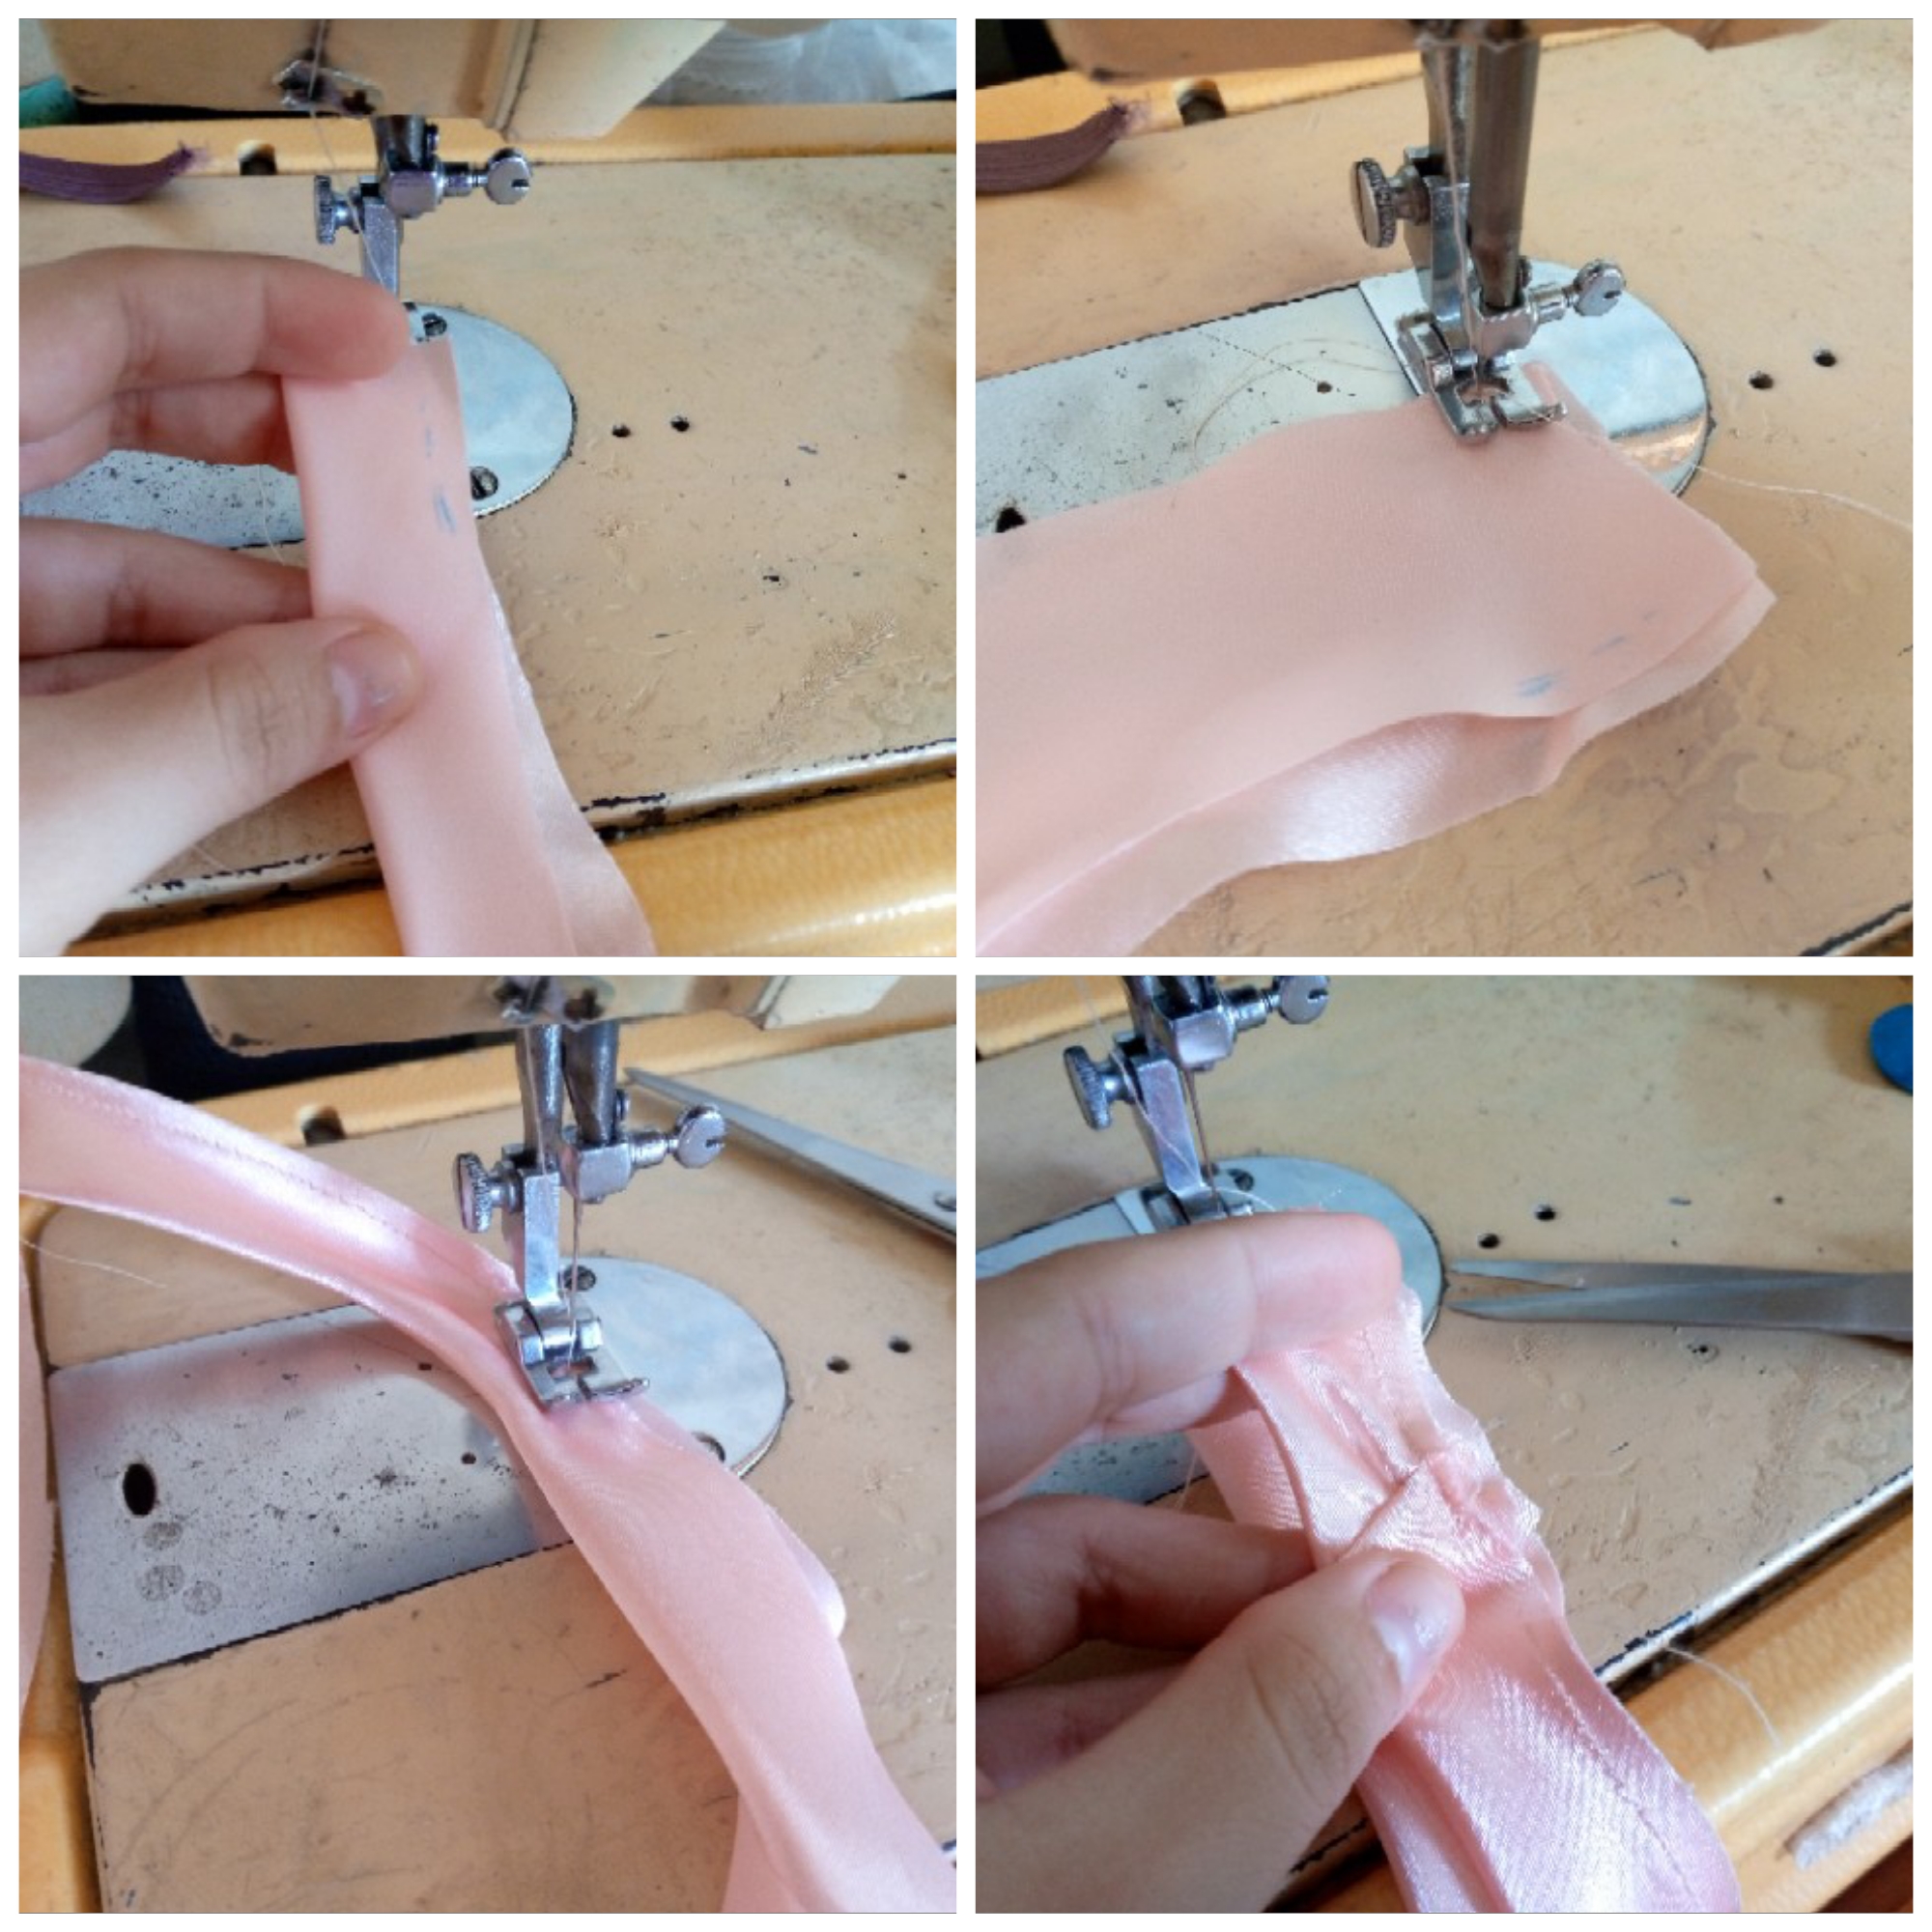
Paso 02
Step 02
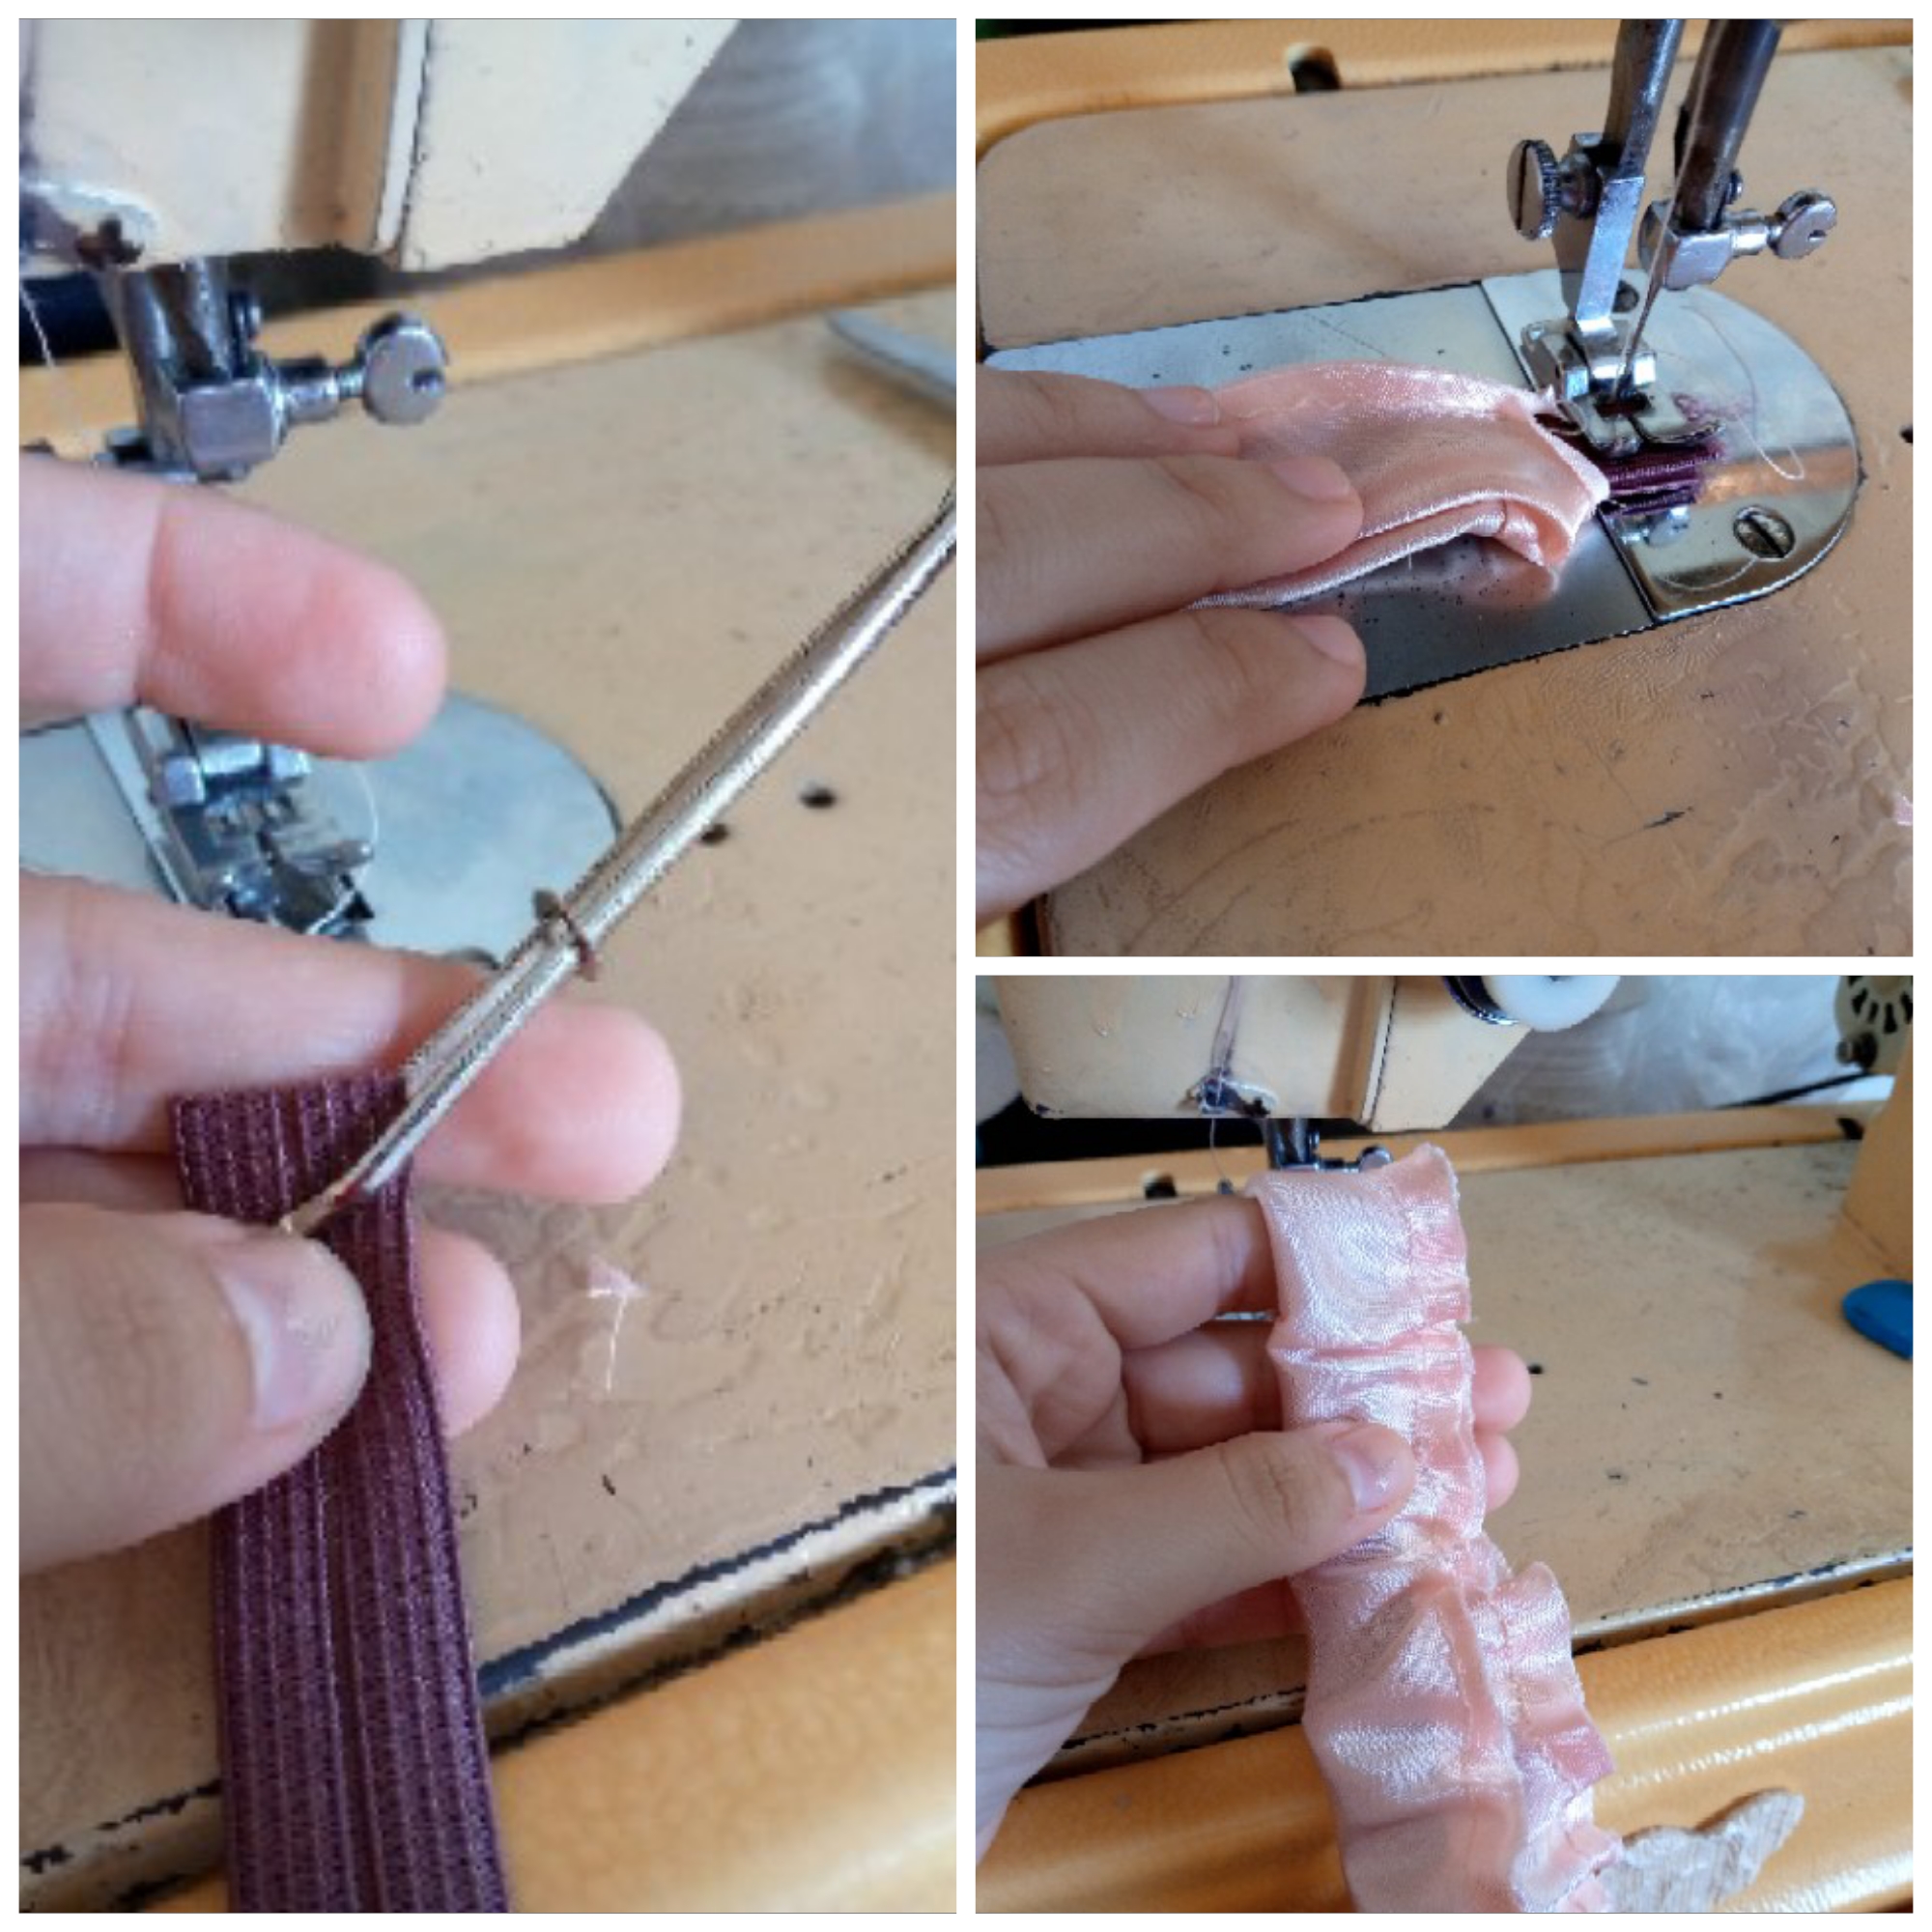
We proceed to sew or tie our ribbon at the ends and we are going to fold it, we are going to be marking the width of our elastic with a sewing chalk and that is where we are going to sew the waistband and then insert the elastic, at the end when we finish sewing we leave a hole which is where we will later insert the elastic.
Paso 03
Step 03
It is time to insert the elastic through the hole that we had left open with our tape or elastic tool and then we seal it at the tip so that it does not come out, then we seal it with a seam.
.jpg)
Paso 04
Step 04
With our pins it is time to join both pieces, the cut of the outline of our head with the complete piece or the circle we will join with pins so that both fabrics do not come loose and it is much easier to sew them, then we will sew along the outline with straight stitch and zig zag, then we will sew our elastic with the fabric now next to the hat around the entire outline thus finishing this hat.
.jpg)
Resultado:// Result:
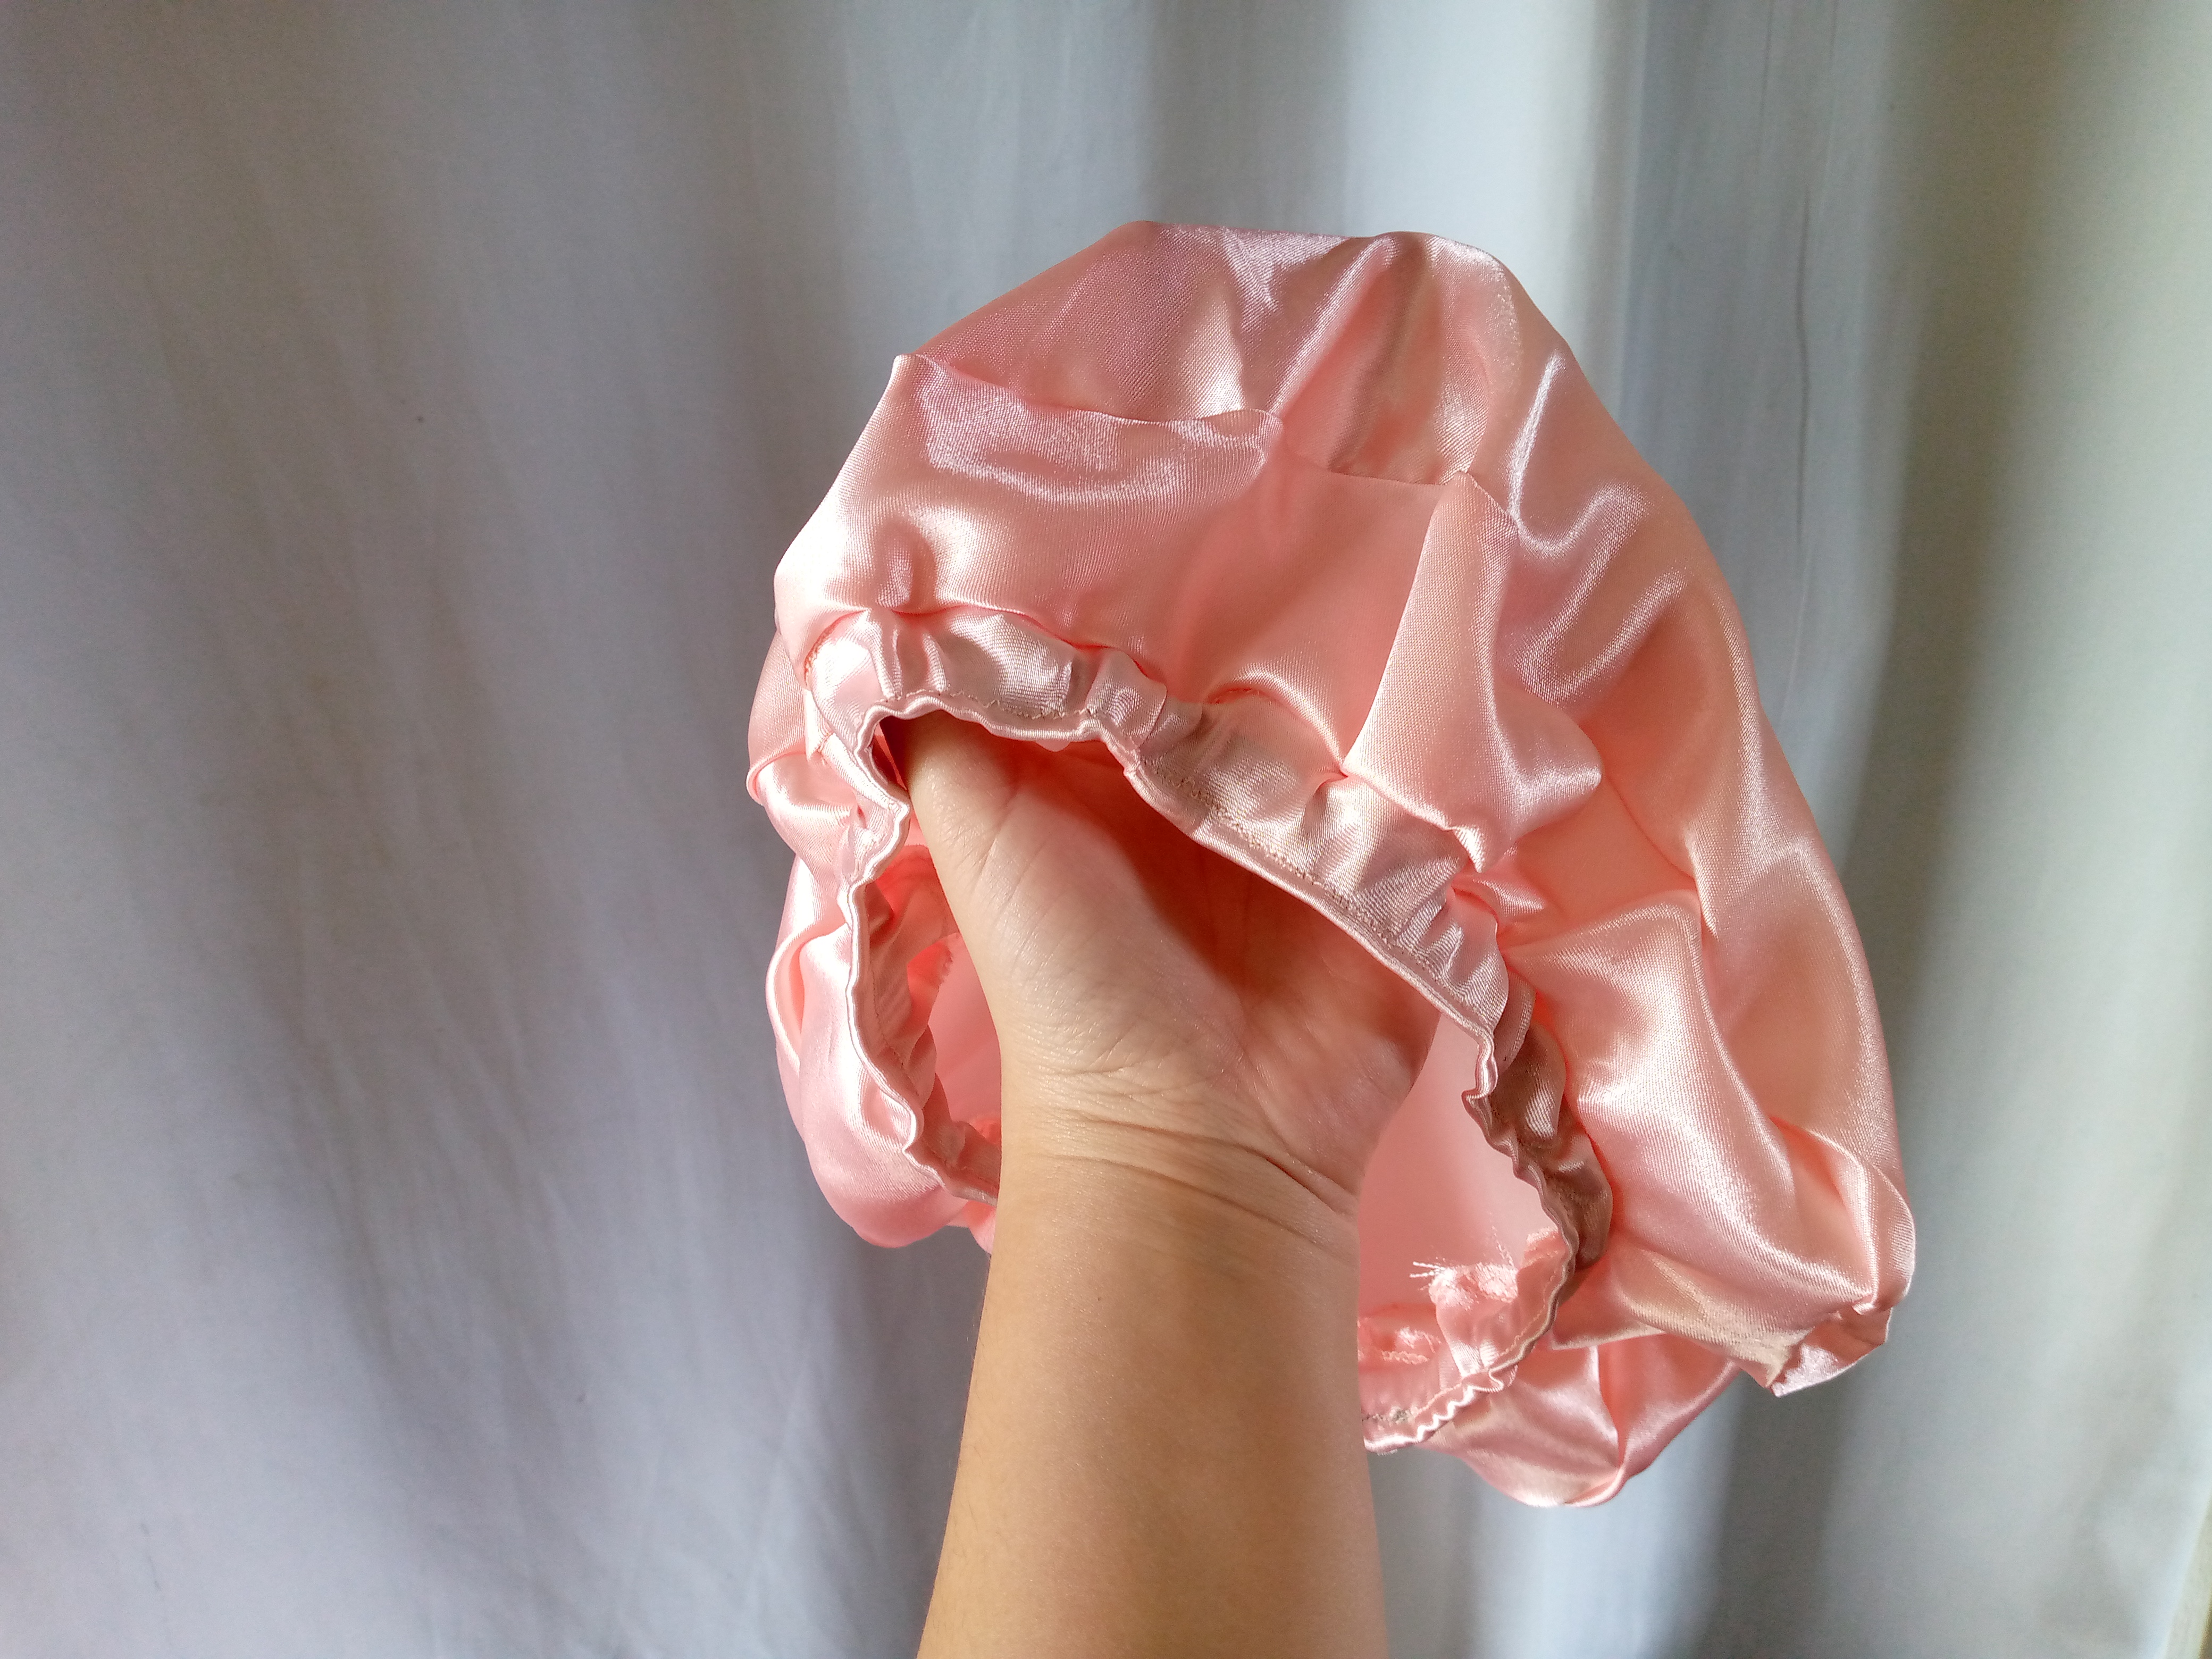
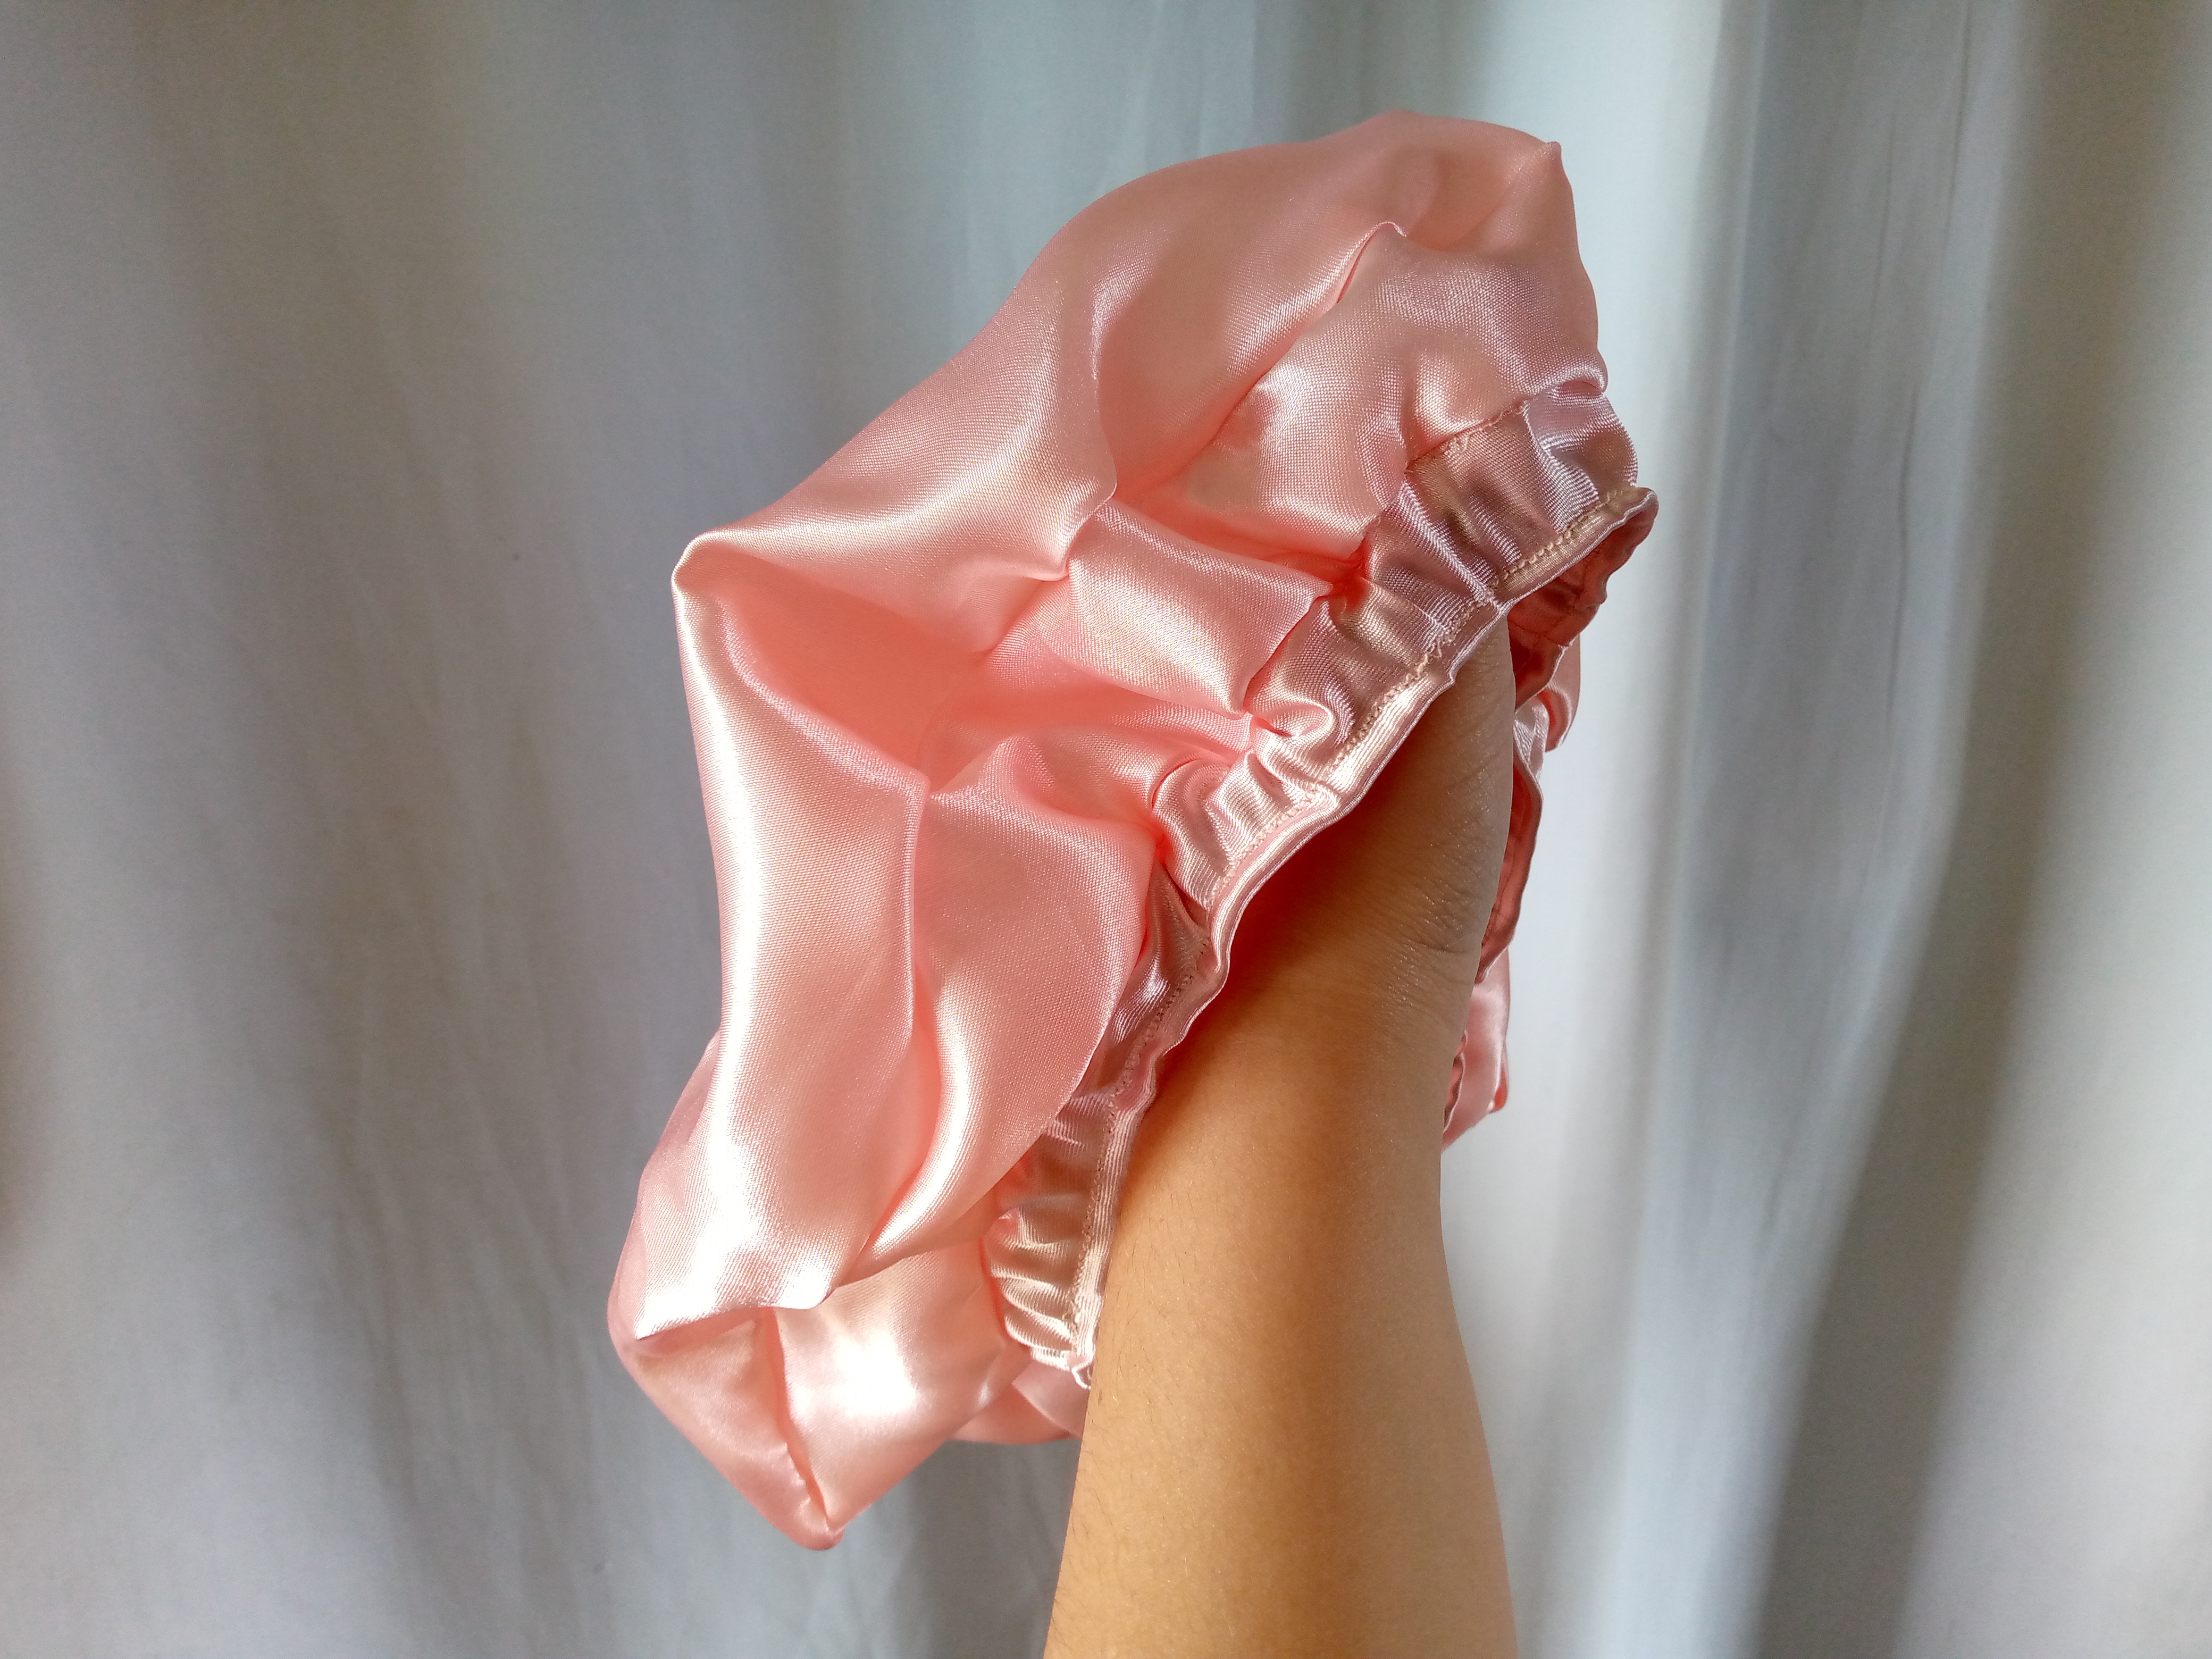
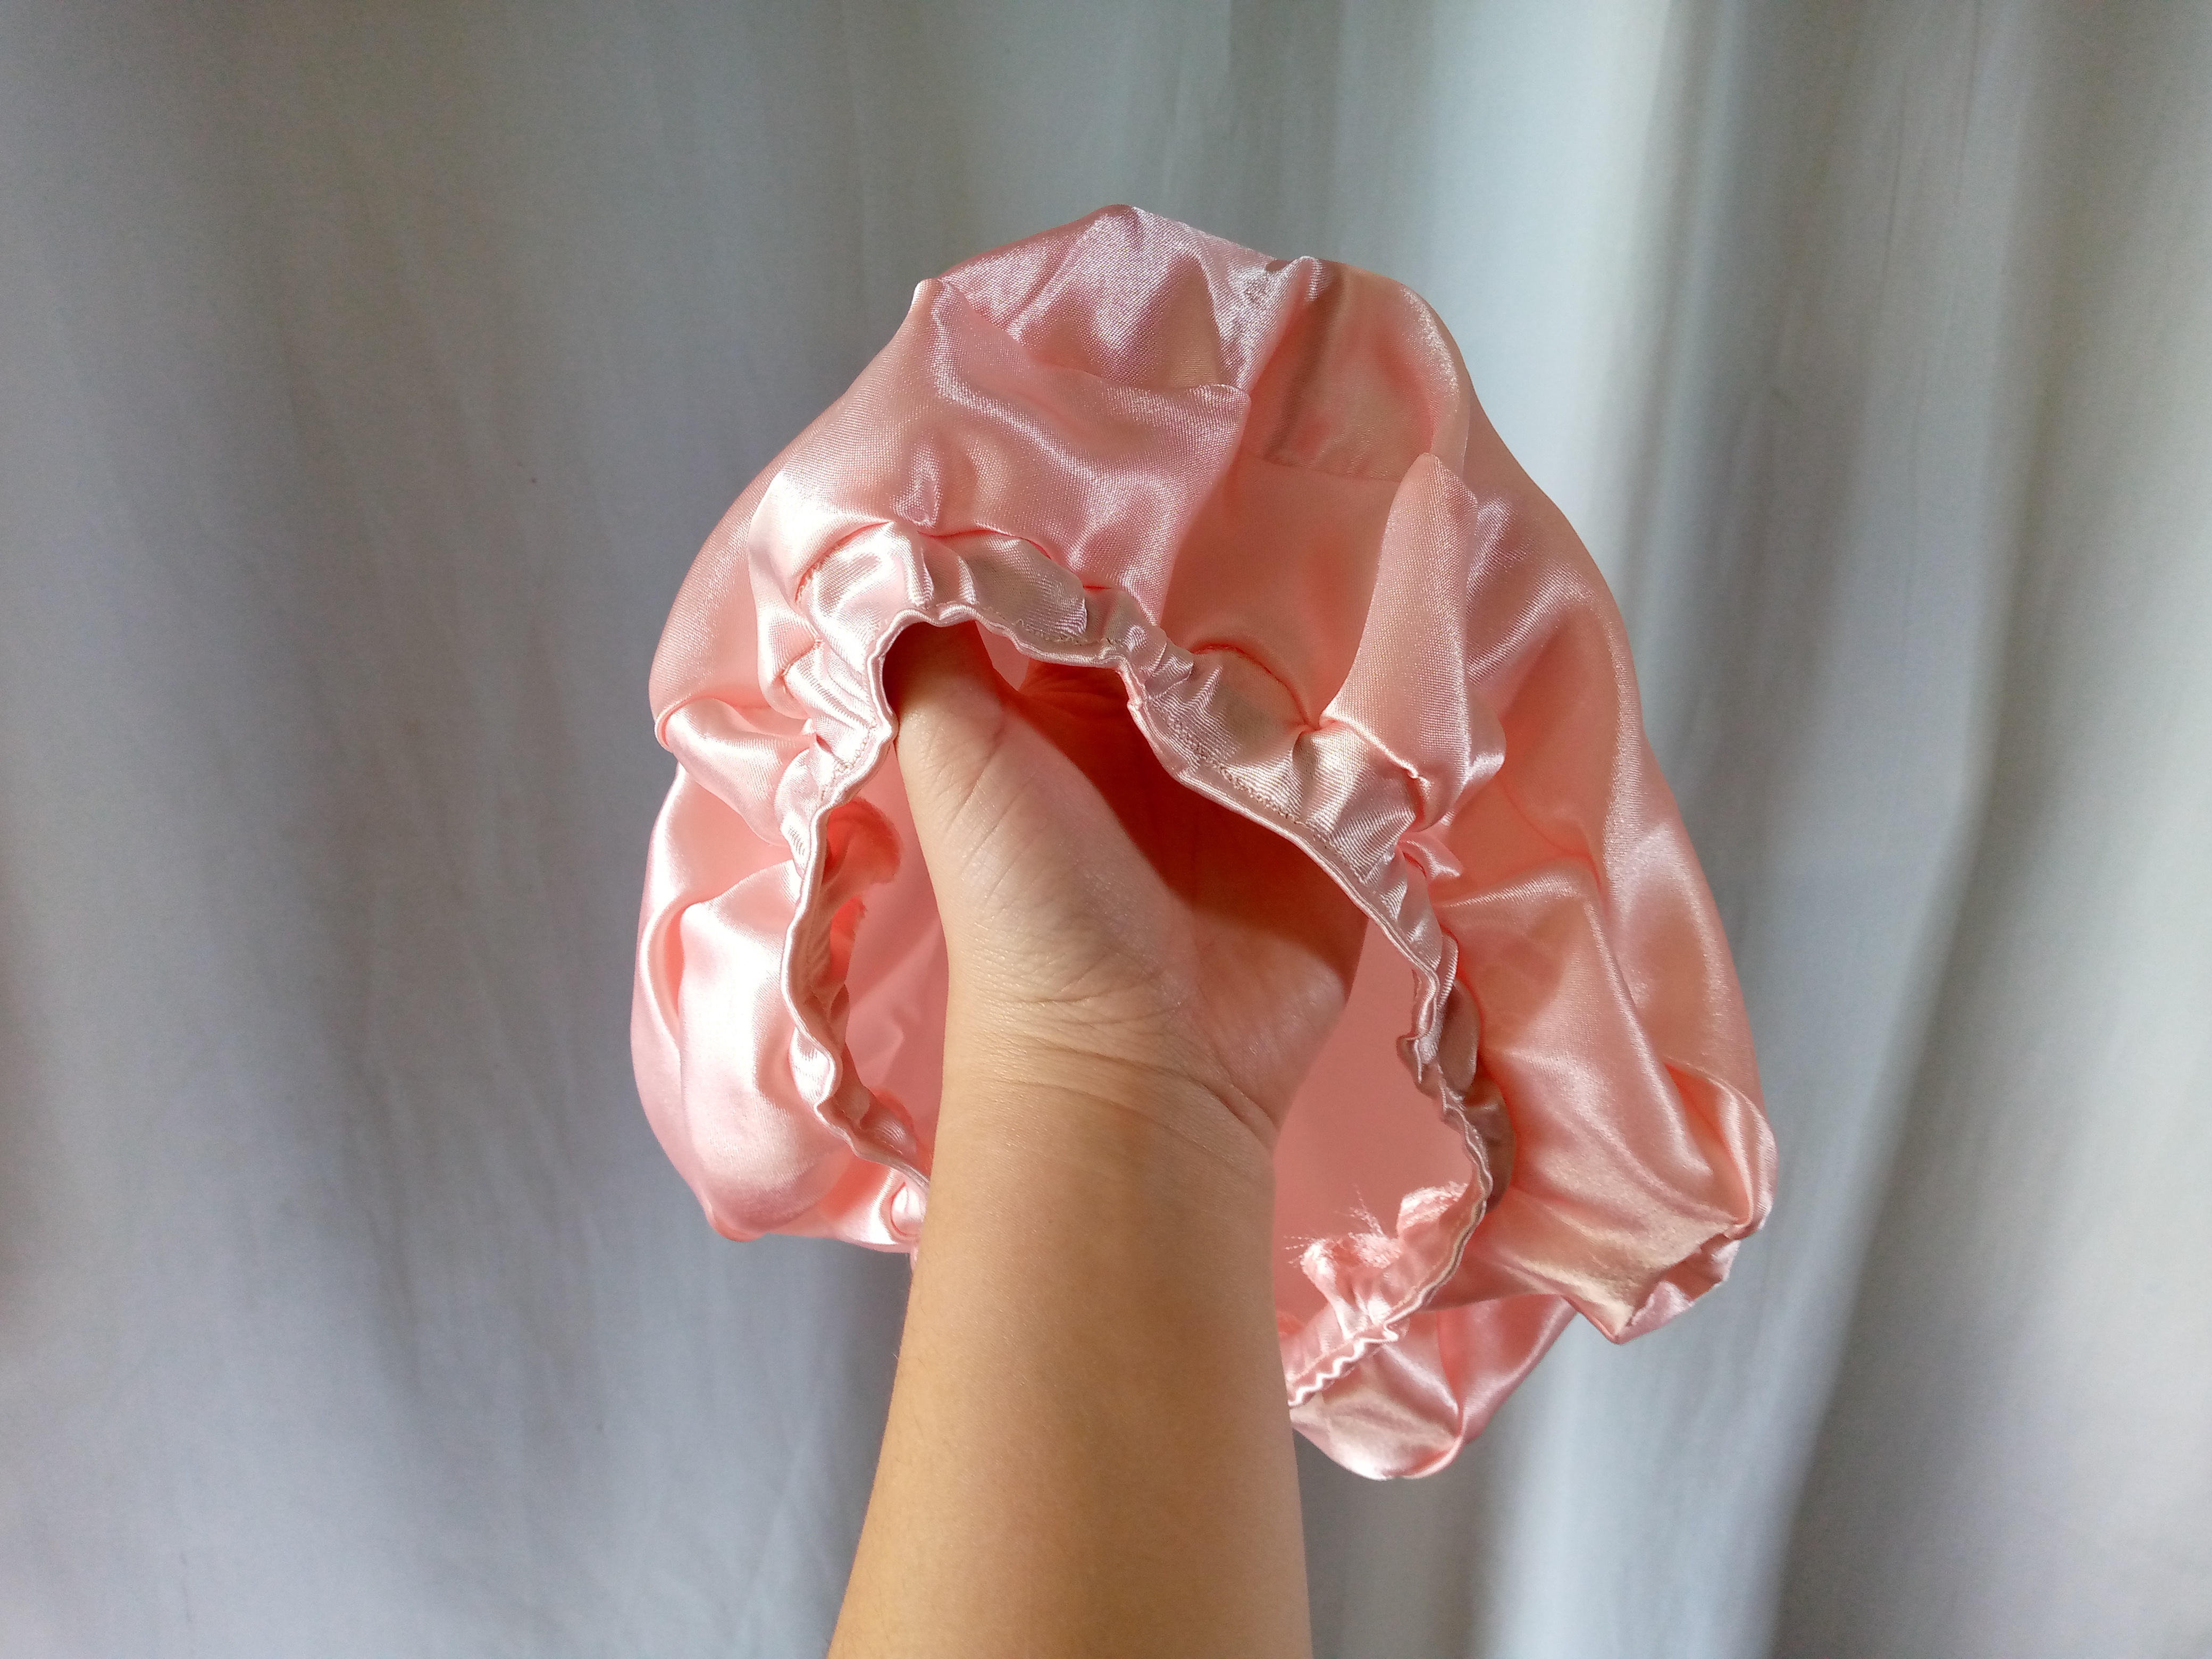
This way you can appreciate how cute this hat has turned out 🥰😍it looks super big at first but then when you start sewing it it actually reduces in size, and well, sewing friends of the community, I hope you liked this cheerful and simple confection and here I leave you these beautiful photos of my hat, I wish you a happy day and many blessings for you, greetings until another next blog.
.jpg)
Creating things with love 🌷❤️
🦋✨ All the images in this publication are my author ,📱taken with my TecnoSpark8C cell phone |📸Photos edited in PicsArt and Canva. Text translated in Google Translate.
Muy bien explicado todo, me encantó 💙. Yo justo estaba pensando en hacerme uno para dormir, a ver si puedo acabar un poco con el frizz tan molesto 🤭. Hacer estas cositas por una misma, da mucha satisfacción. ✨
Hola amiga bueno ya tienes la idea de como hacerlo con este tutorial espero te sirva muchísimo y lo puedas hacer 🥰es que si son bien cómodos y el cabello no se maltrata 🥺
Me gustó mucho tu explicación de los diferentes usos que tiene un gorro, de acuerdo al material con que esté confeccionado.
Siempre he pensado que sería bueno usar un gorro para dormir, nunca he dado ese paso porque siento que amanecería sin él, ya quedó y muchas vueltas para dormir.
Creo que ciertamente seguiría tutorial para hacer este modelo de gorro para utilizarlo en la ducha, porque me gustó mucho su forma, aunque por supuesto usaré una tela impermeable.
Amiga te quedó muy lindo, me encantó
Gracias hermosa que bueno saberlo me alegra gracias por comentarme aprecio mucho el gesto 💕🌸saluditos 🥰
The bathing cap looks beautiful and charming. It is good to see how you made it. It shows your skills. You did a wonderful job! Keep it up!
😊thanks team @diyhub good to know
muy útil y bonito!
very useful and beautiful!