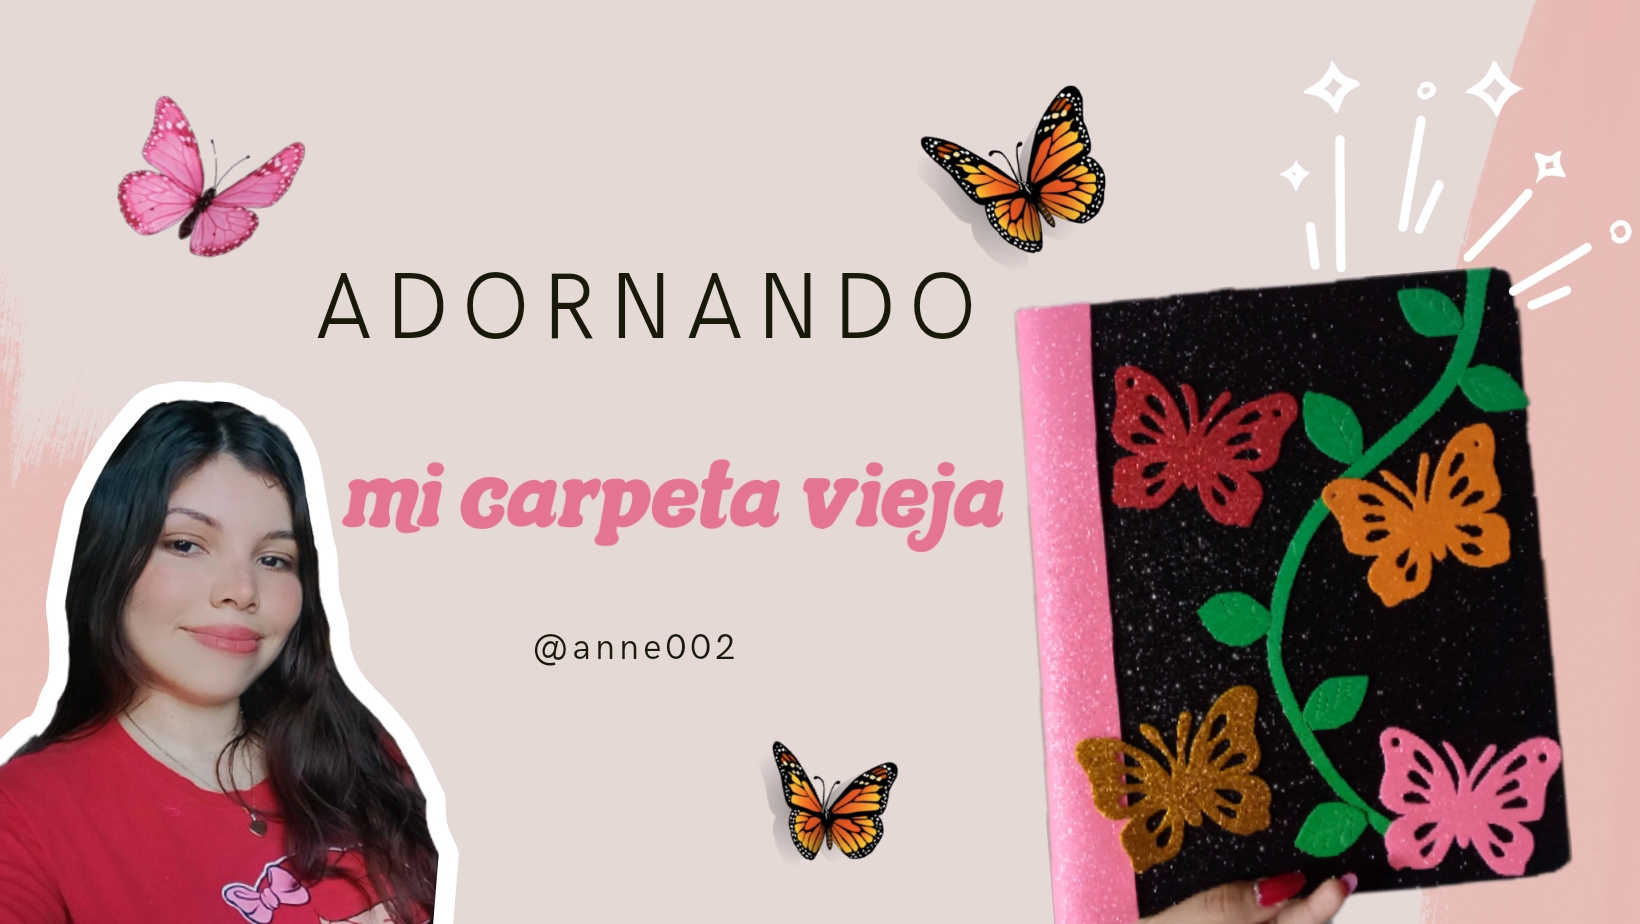
How are you friends, I hope you are having a nice afternoon and a week full of energy, I want to show you how I have decorated this folder that I have precisely to keep my patterns but it was already somewhat ugly and I wanted to remodel it, well, give it a change, this folder is somewhat old but it still works for me to keep my patterns because it is very comfortable and spacious, so today we are going to give it a second change and a second chance and recycle this folder, join me in the fun process, you will like how it turned out.
.jpg)
.jpg)
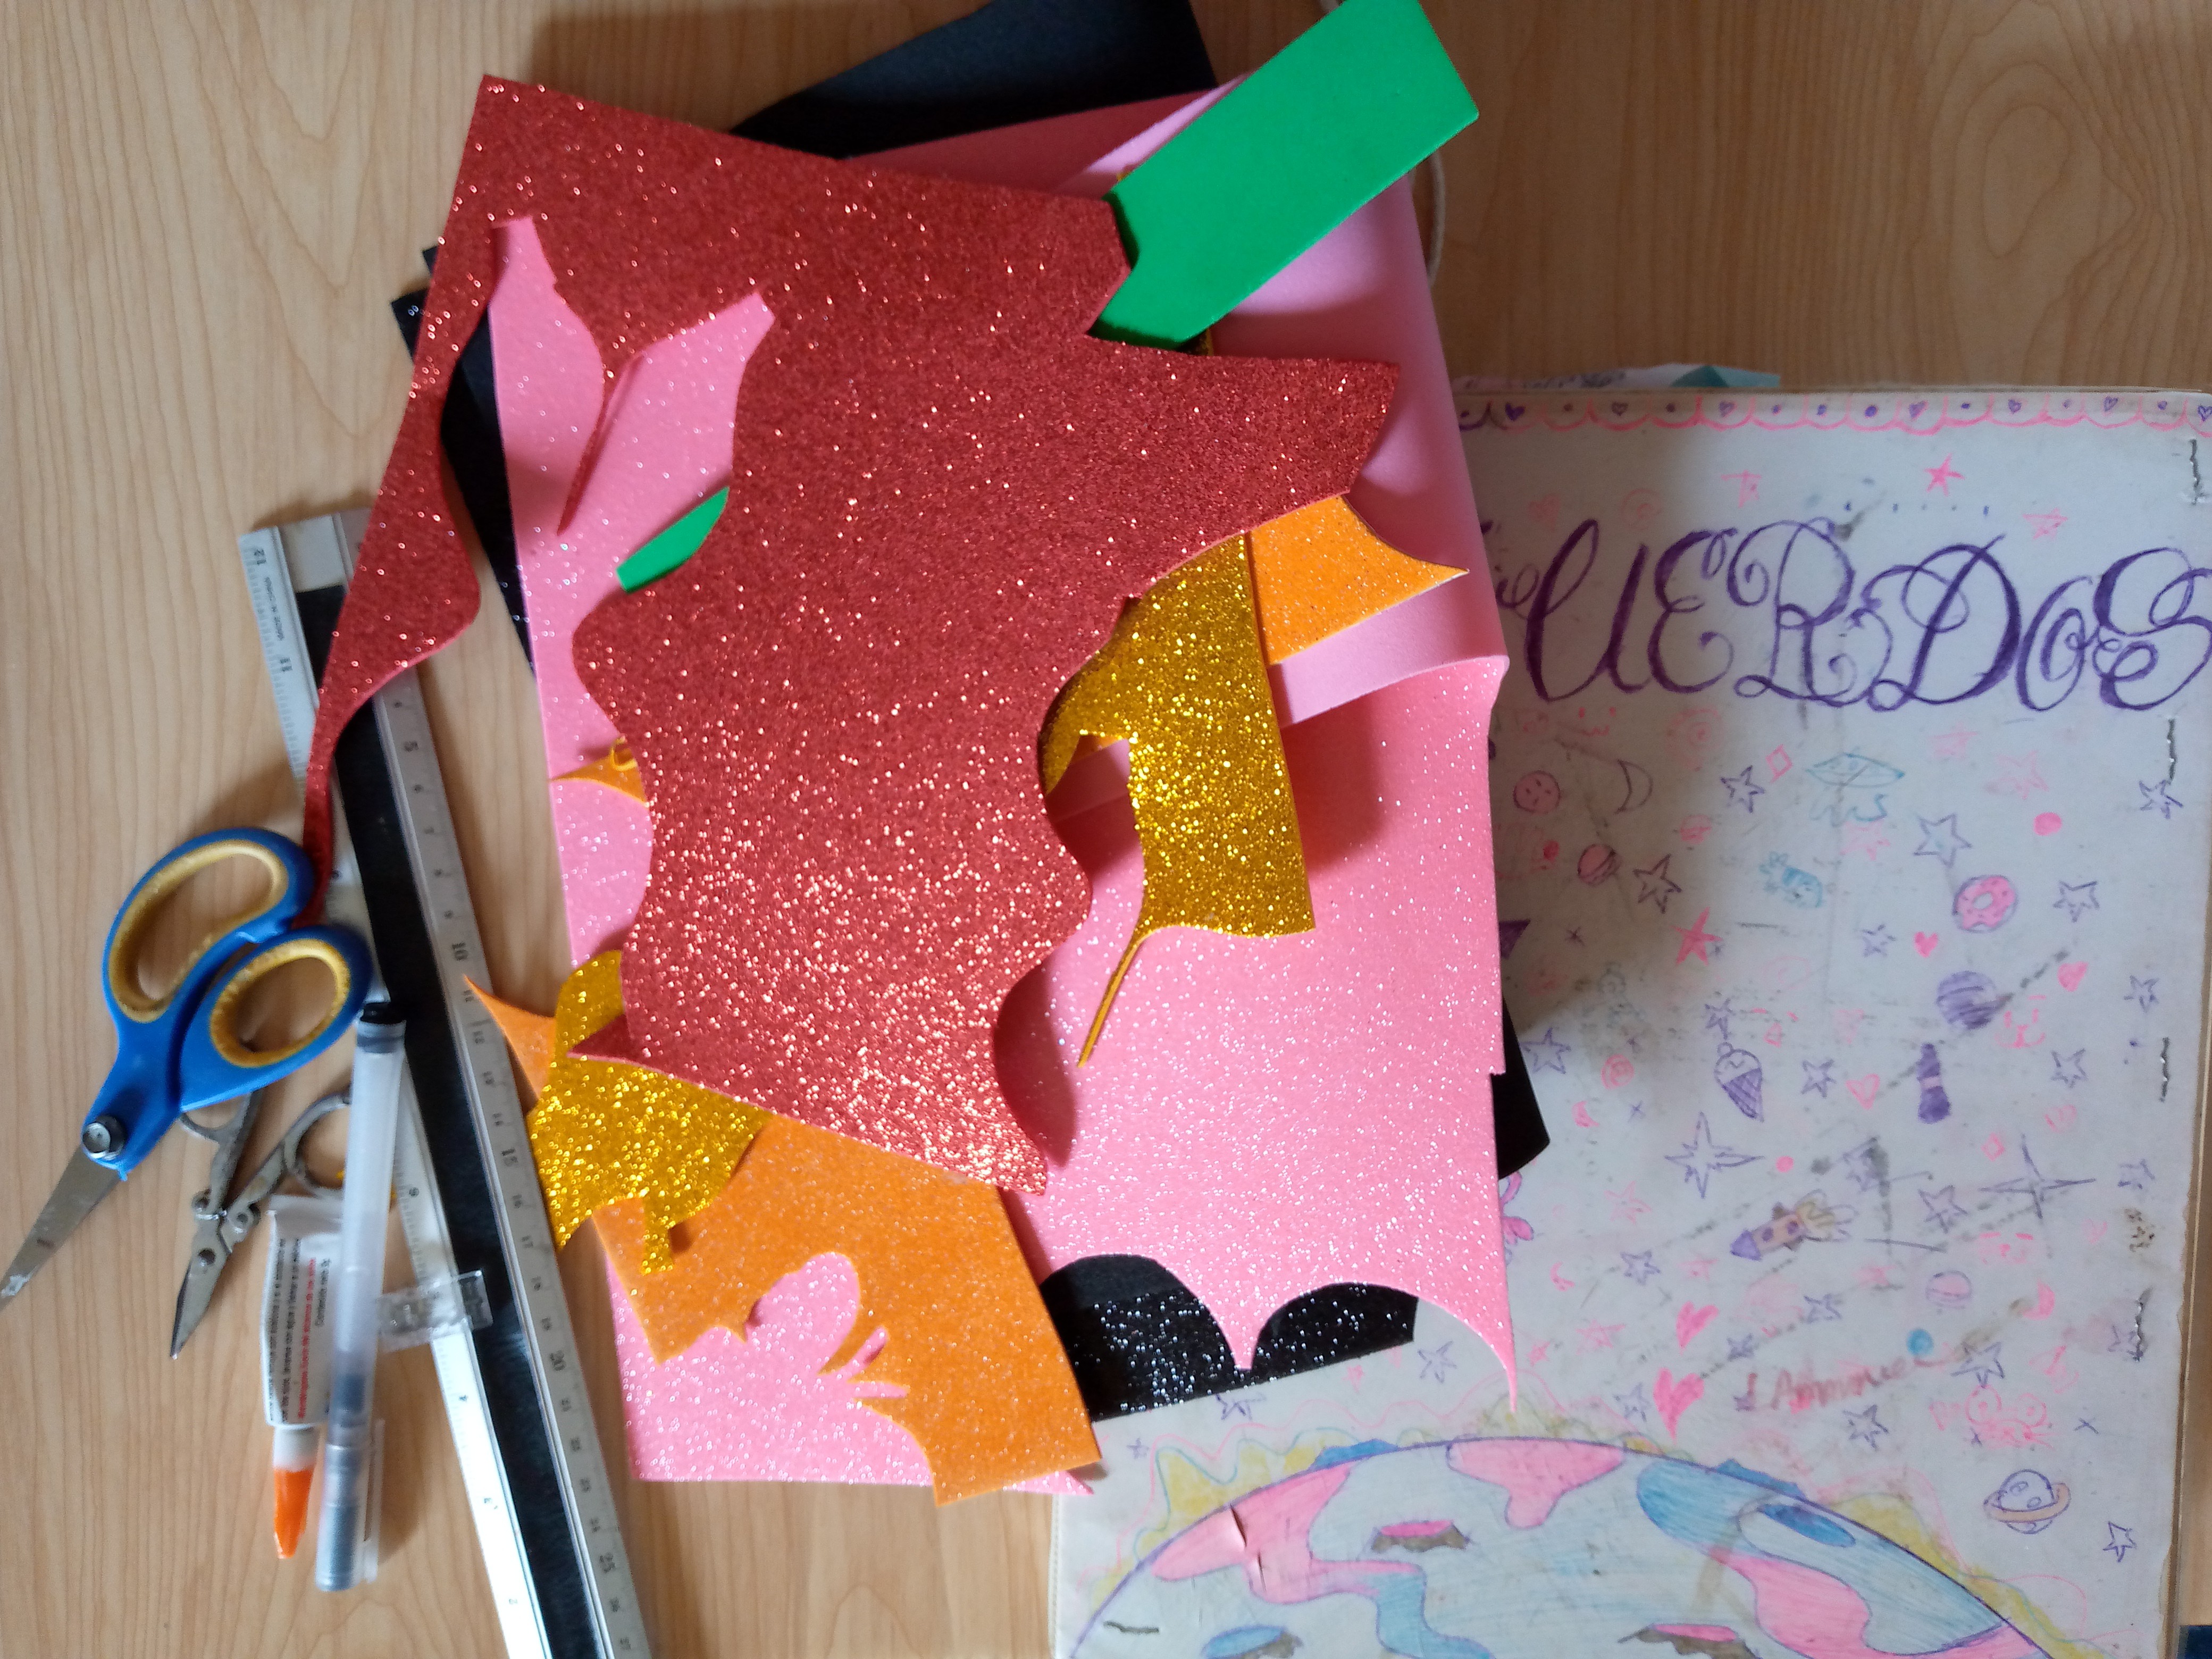
Materiales:// Materials:
- Fomi brillante de colores
- Silicon y pegamento fuerte
- Carpeta para adornar
- Tijera grande y pequeña
- Patron de mariposas
- Regla
- Lápiz o bolígrafo
- Colorful glitter foam
- Silicone and strong glue
- Folder for decorating
- Large and small scissors
- Butterfly pattern
- Ruler
- Pencil or pen
.jpg)
Pasos a seguir://Steps to follow:
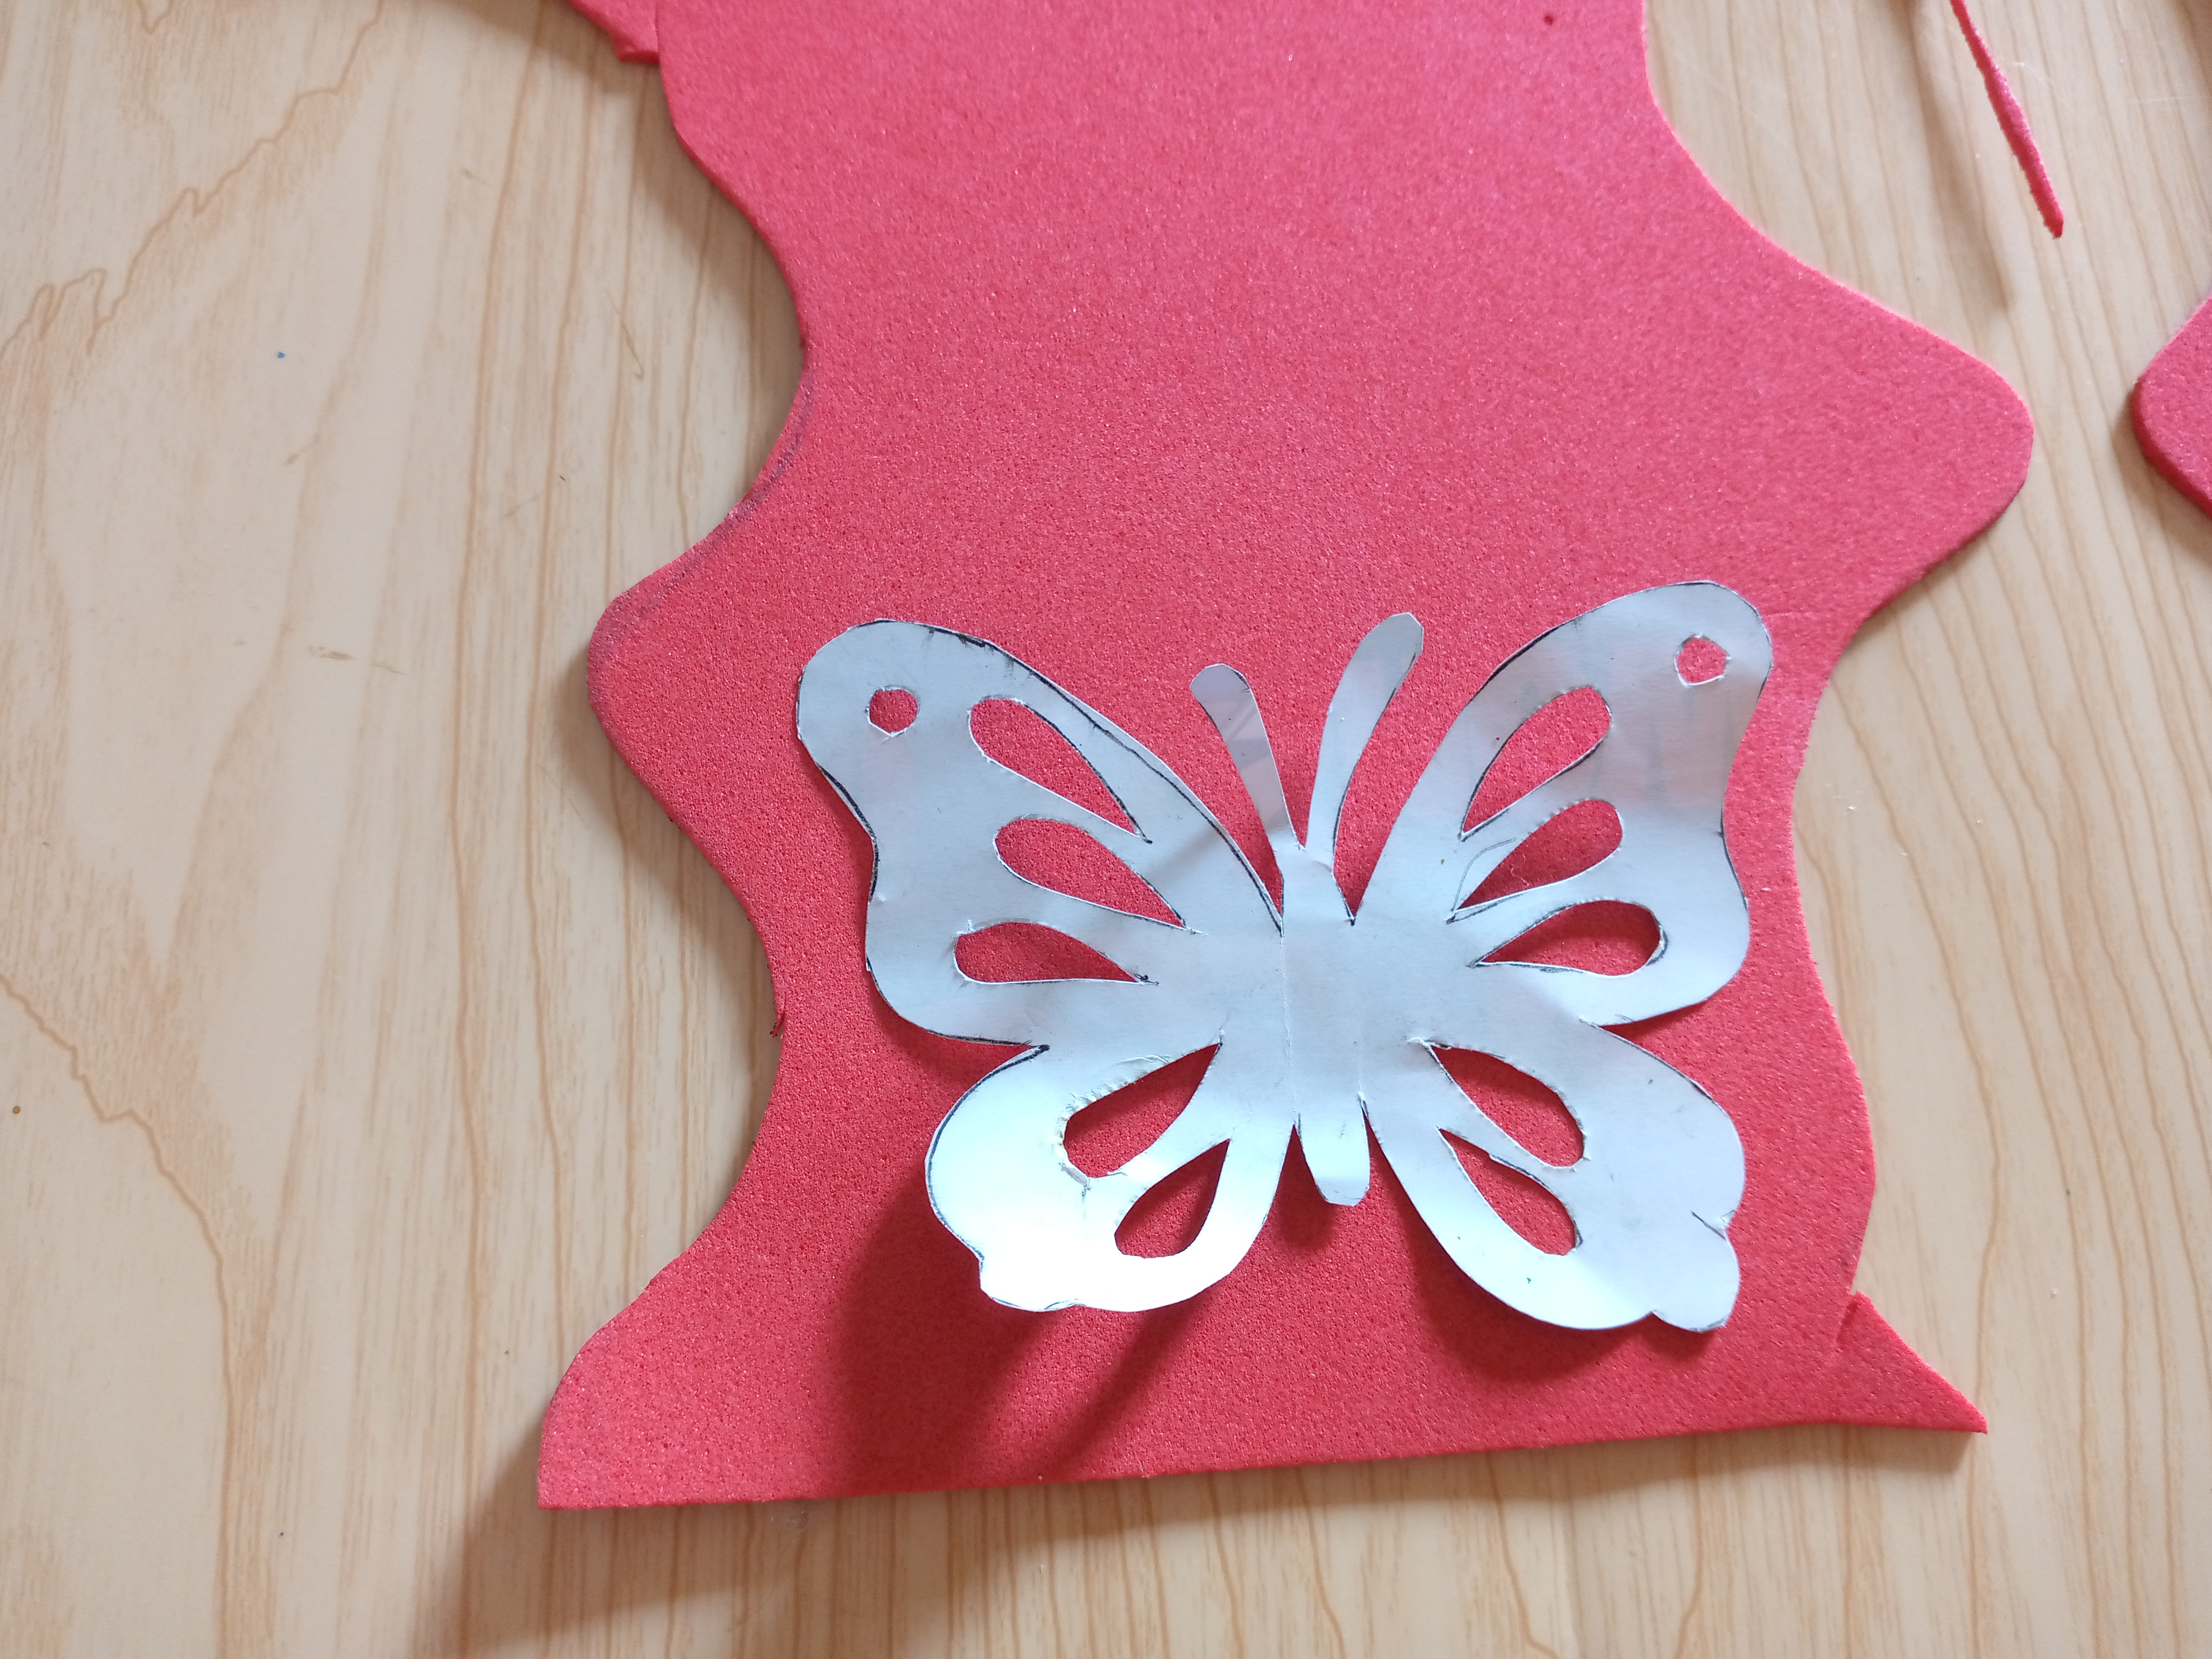
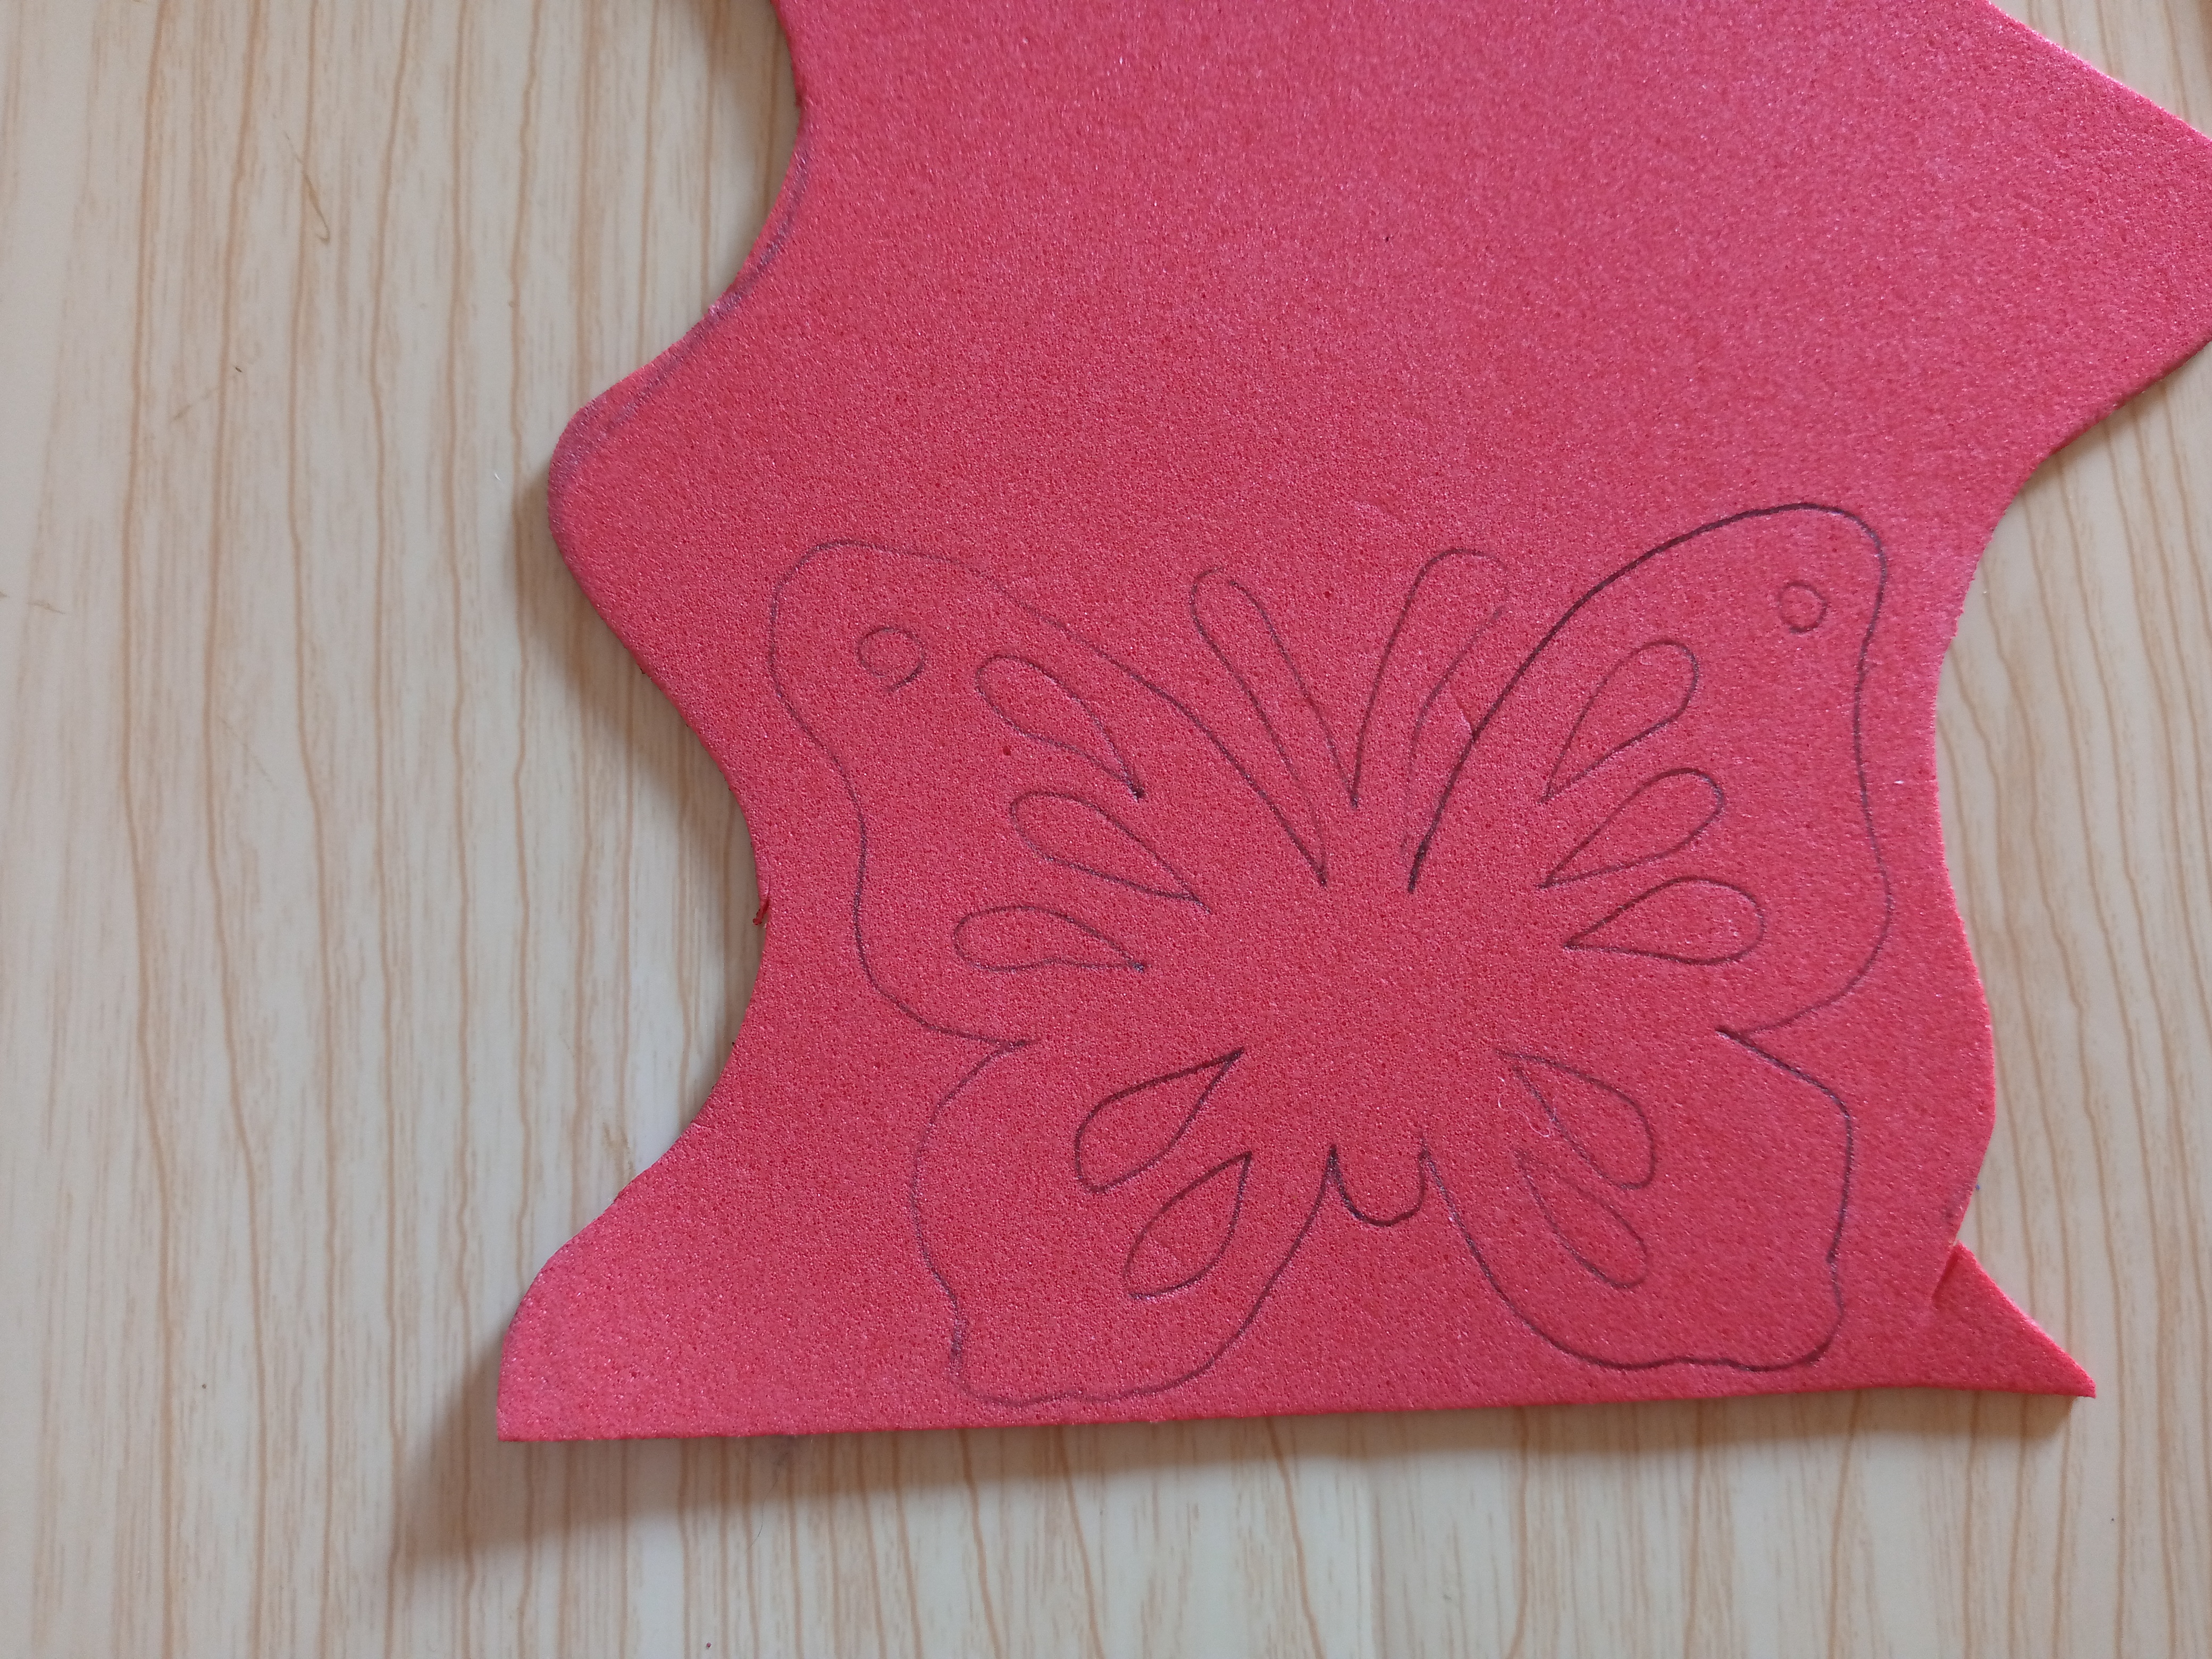
Paso 01
Step 01
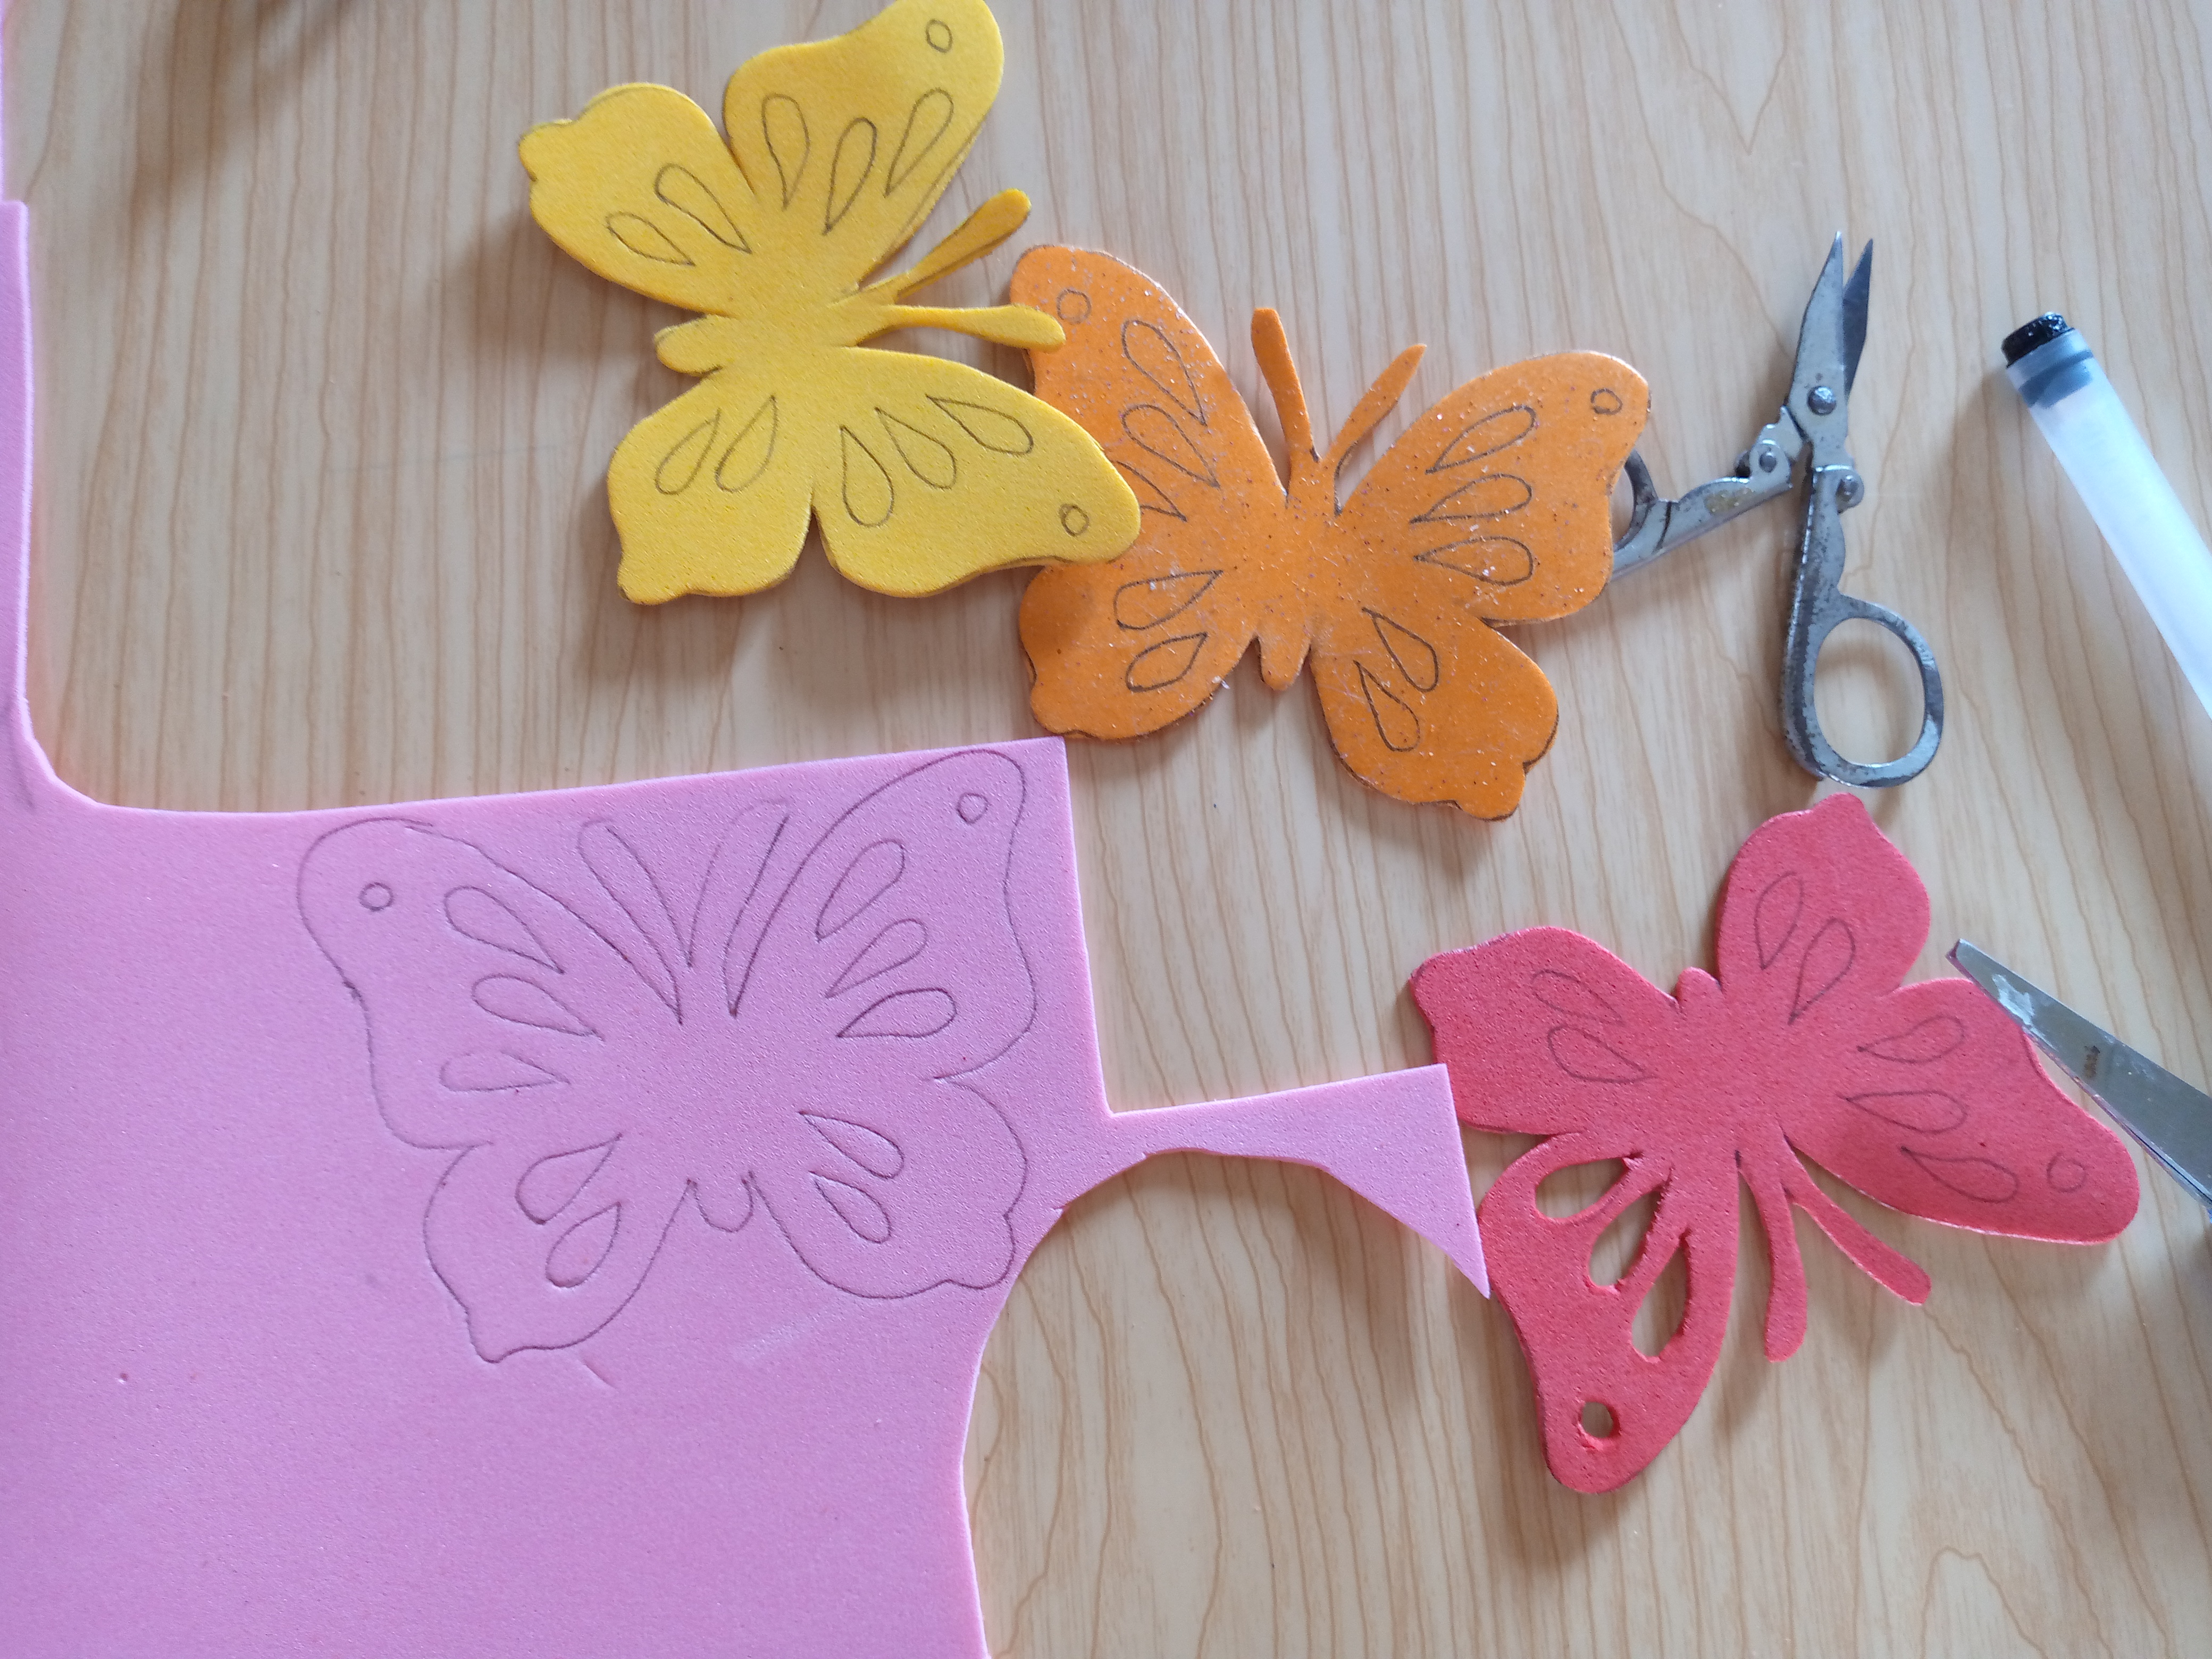
Let's start friends by placing our foam on the bottom side and we are going to mark our designs in this case as I really like butterflies, we are going to mark several of them with our colored foam.
Paso 02
Step 02
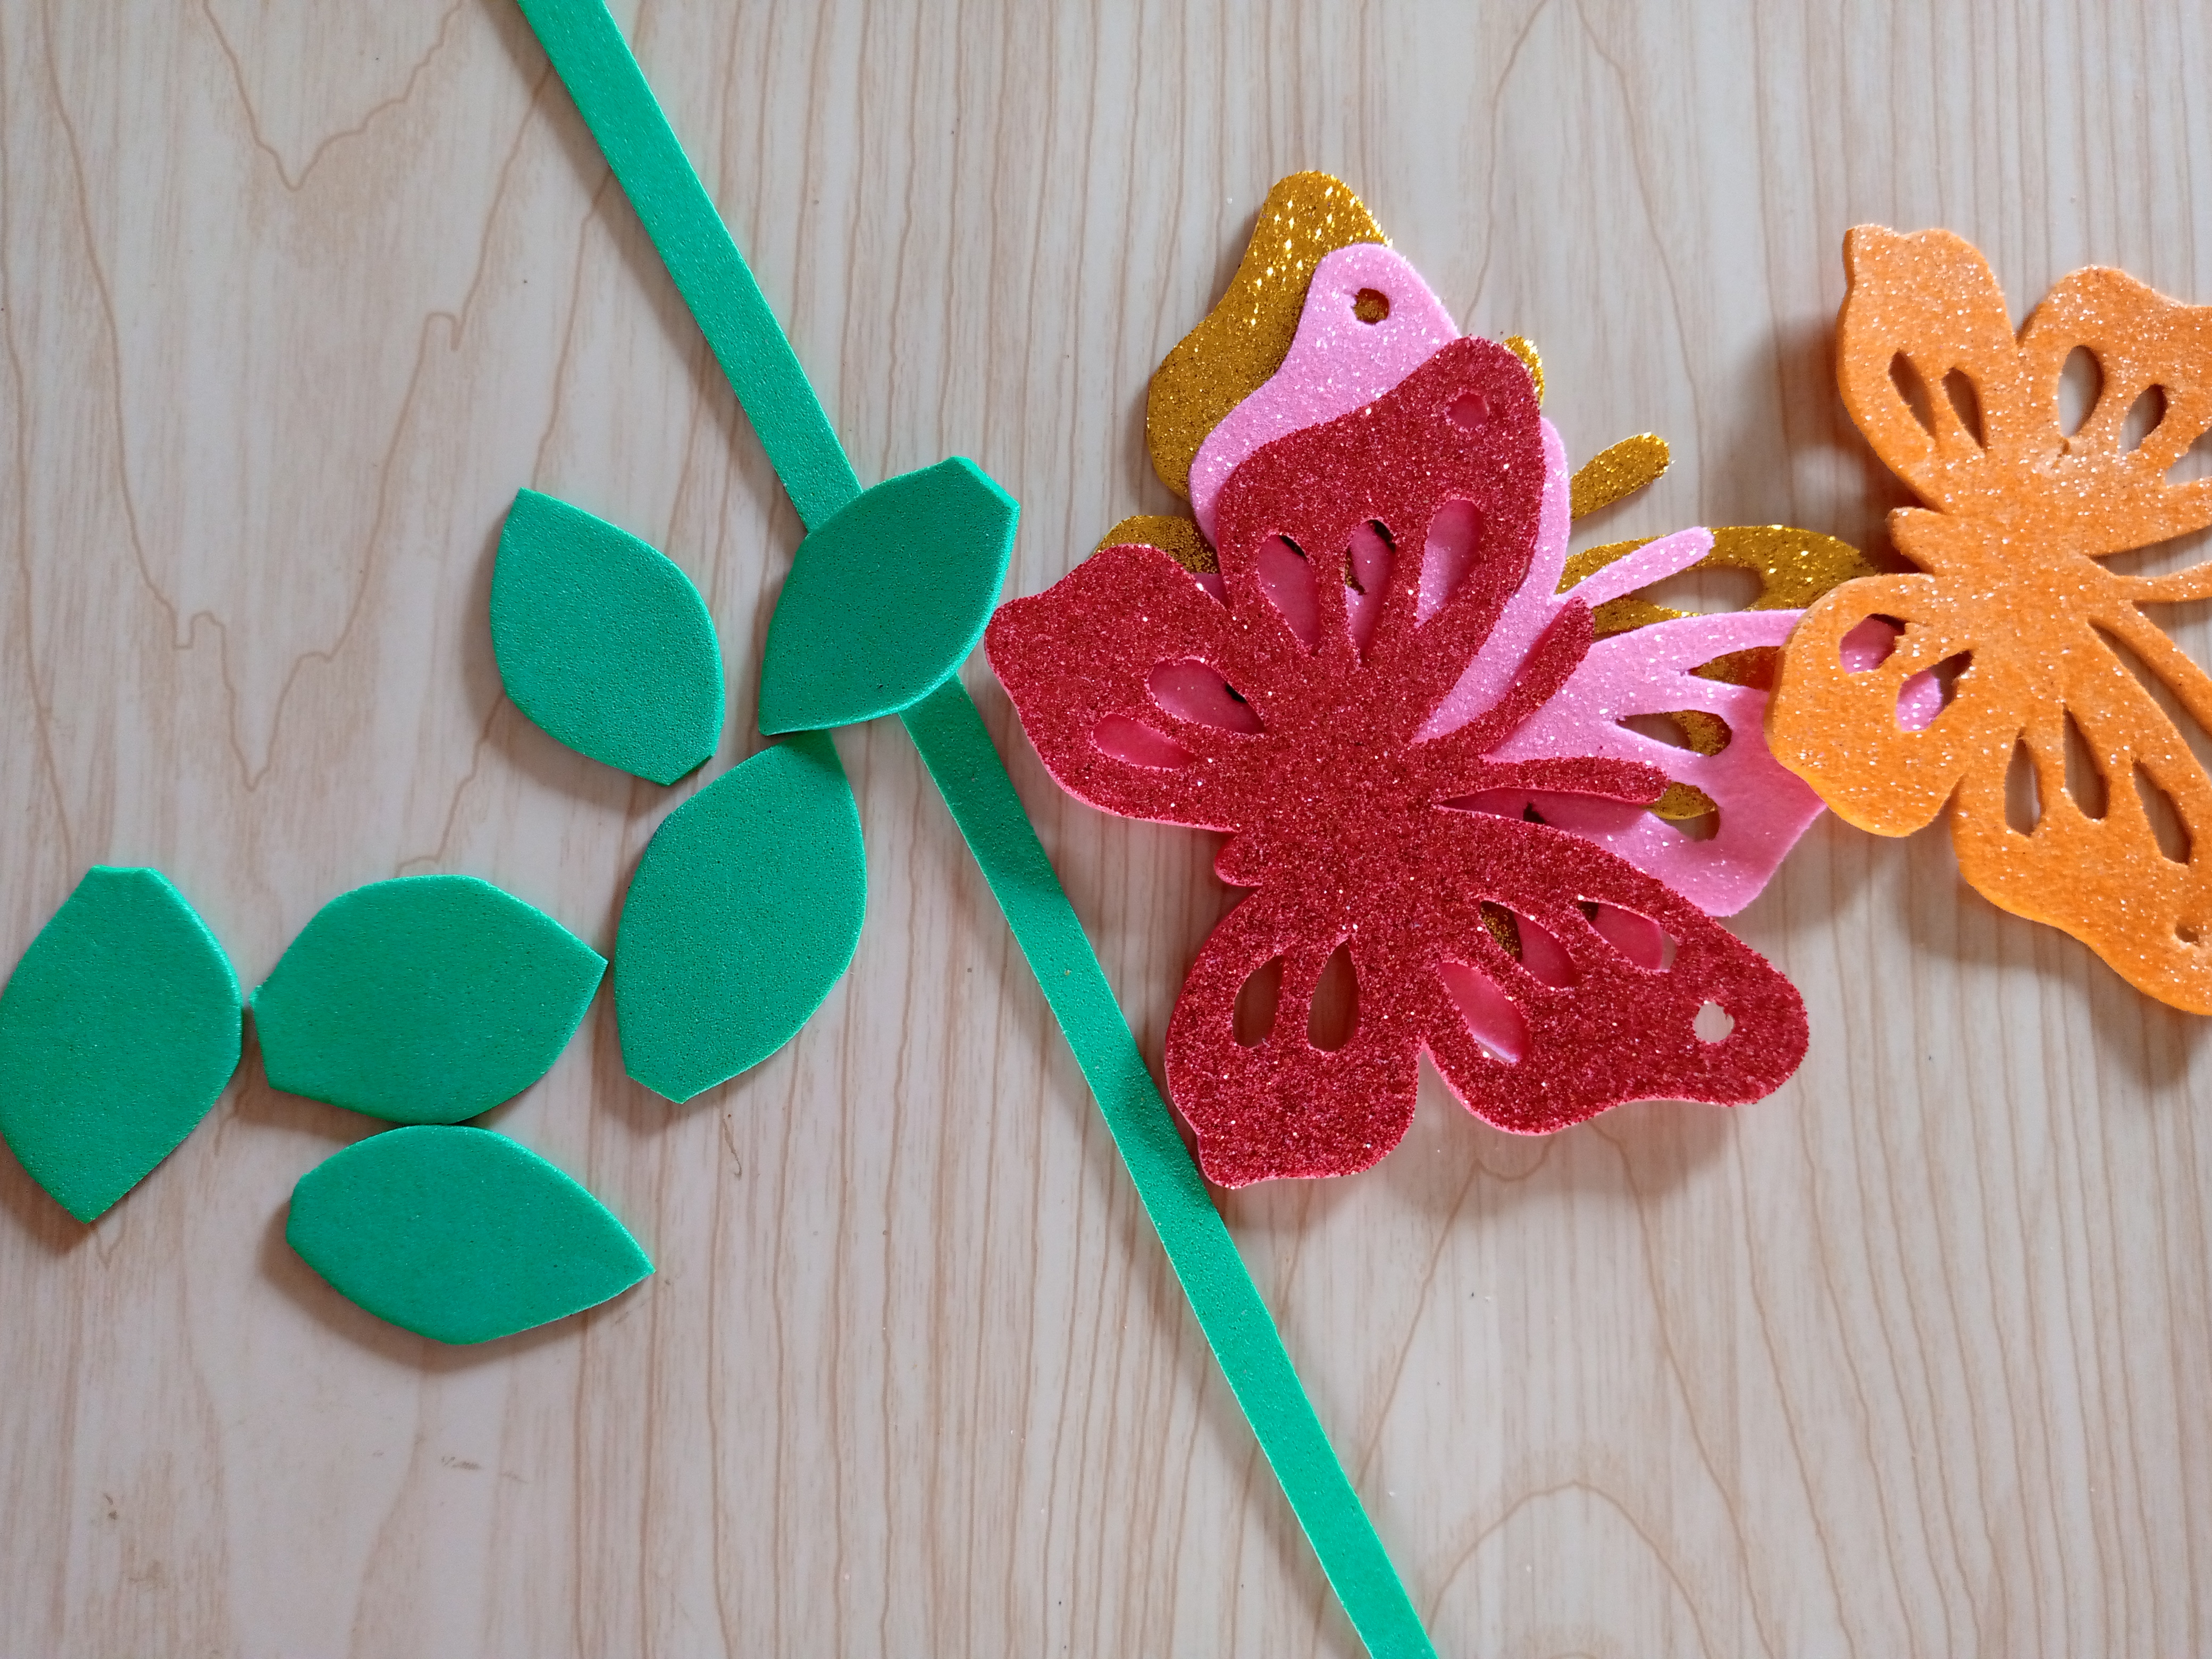
I have cut several butterflies, in this case four, and I have cut a green twig with foam and some leaves to make a design of a twig with its leaves simulating the plant where the butterflies are flying.
Paso 03
Step 03
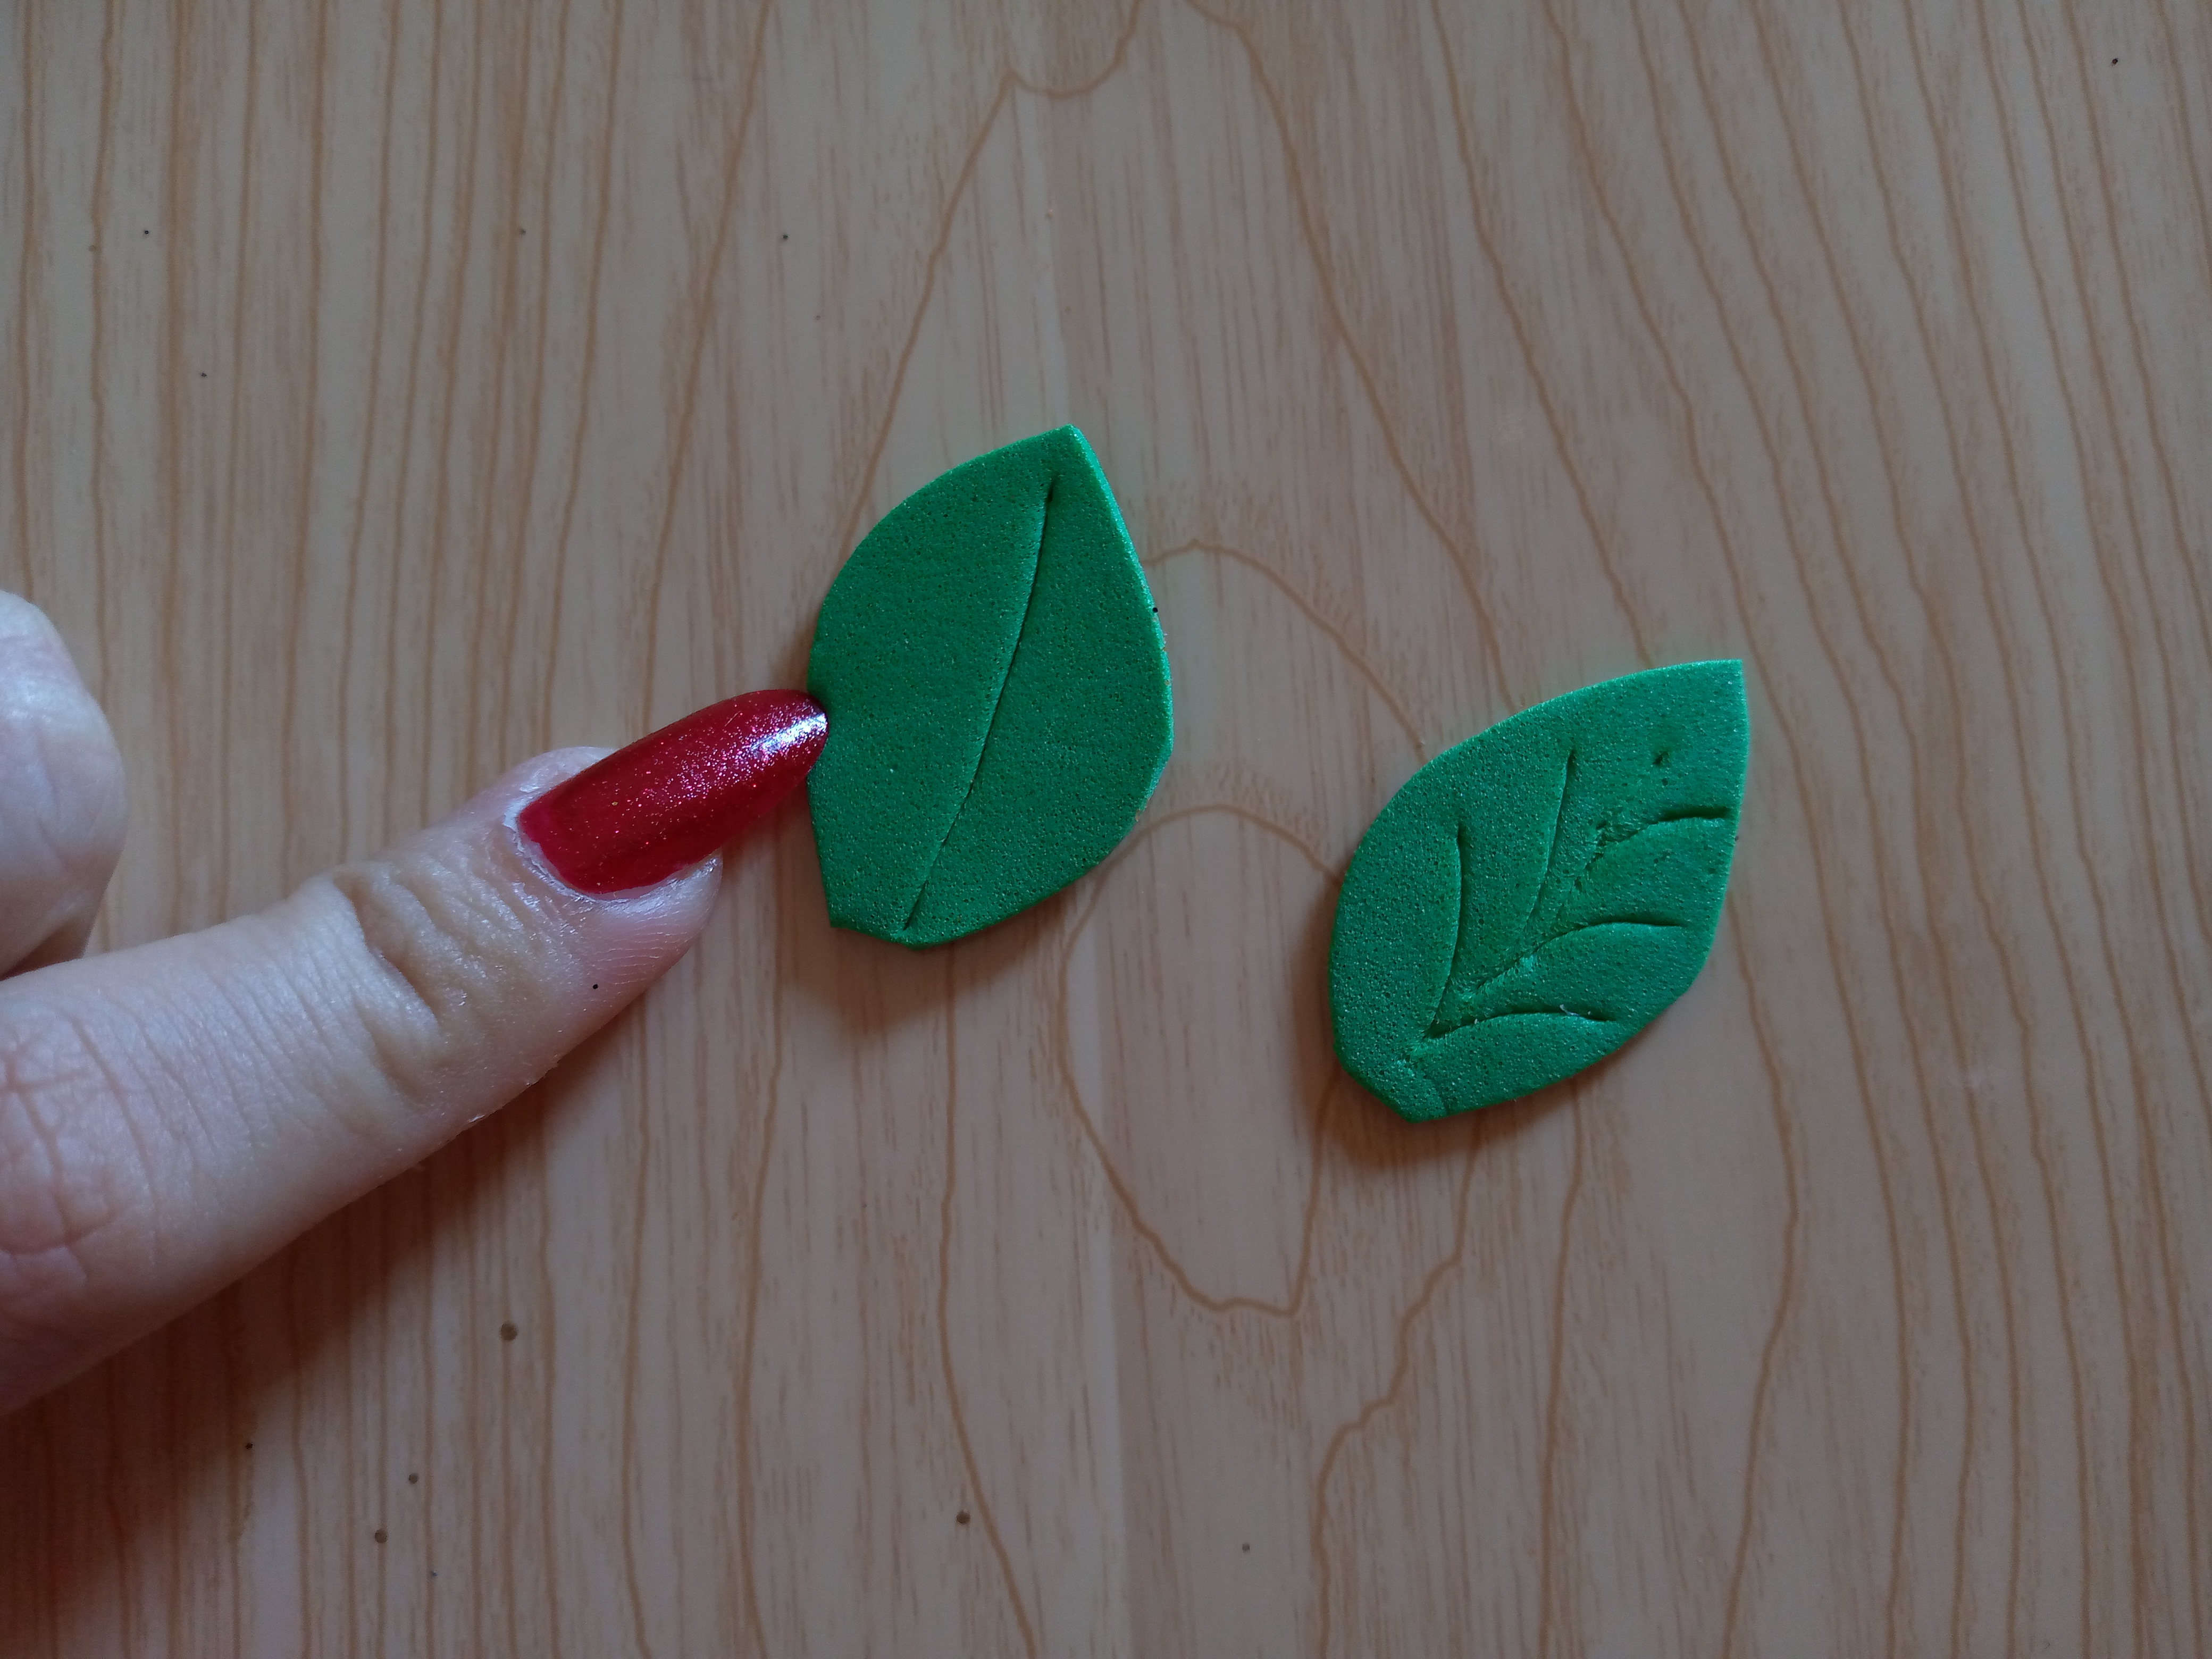
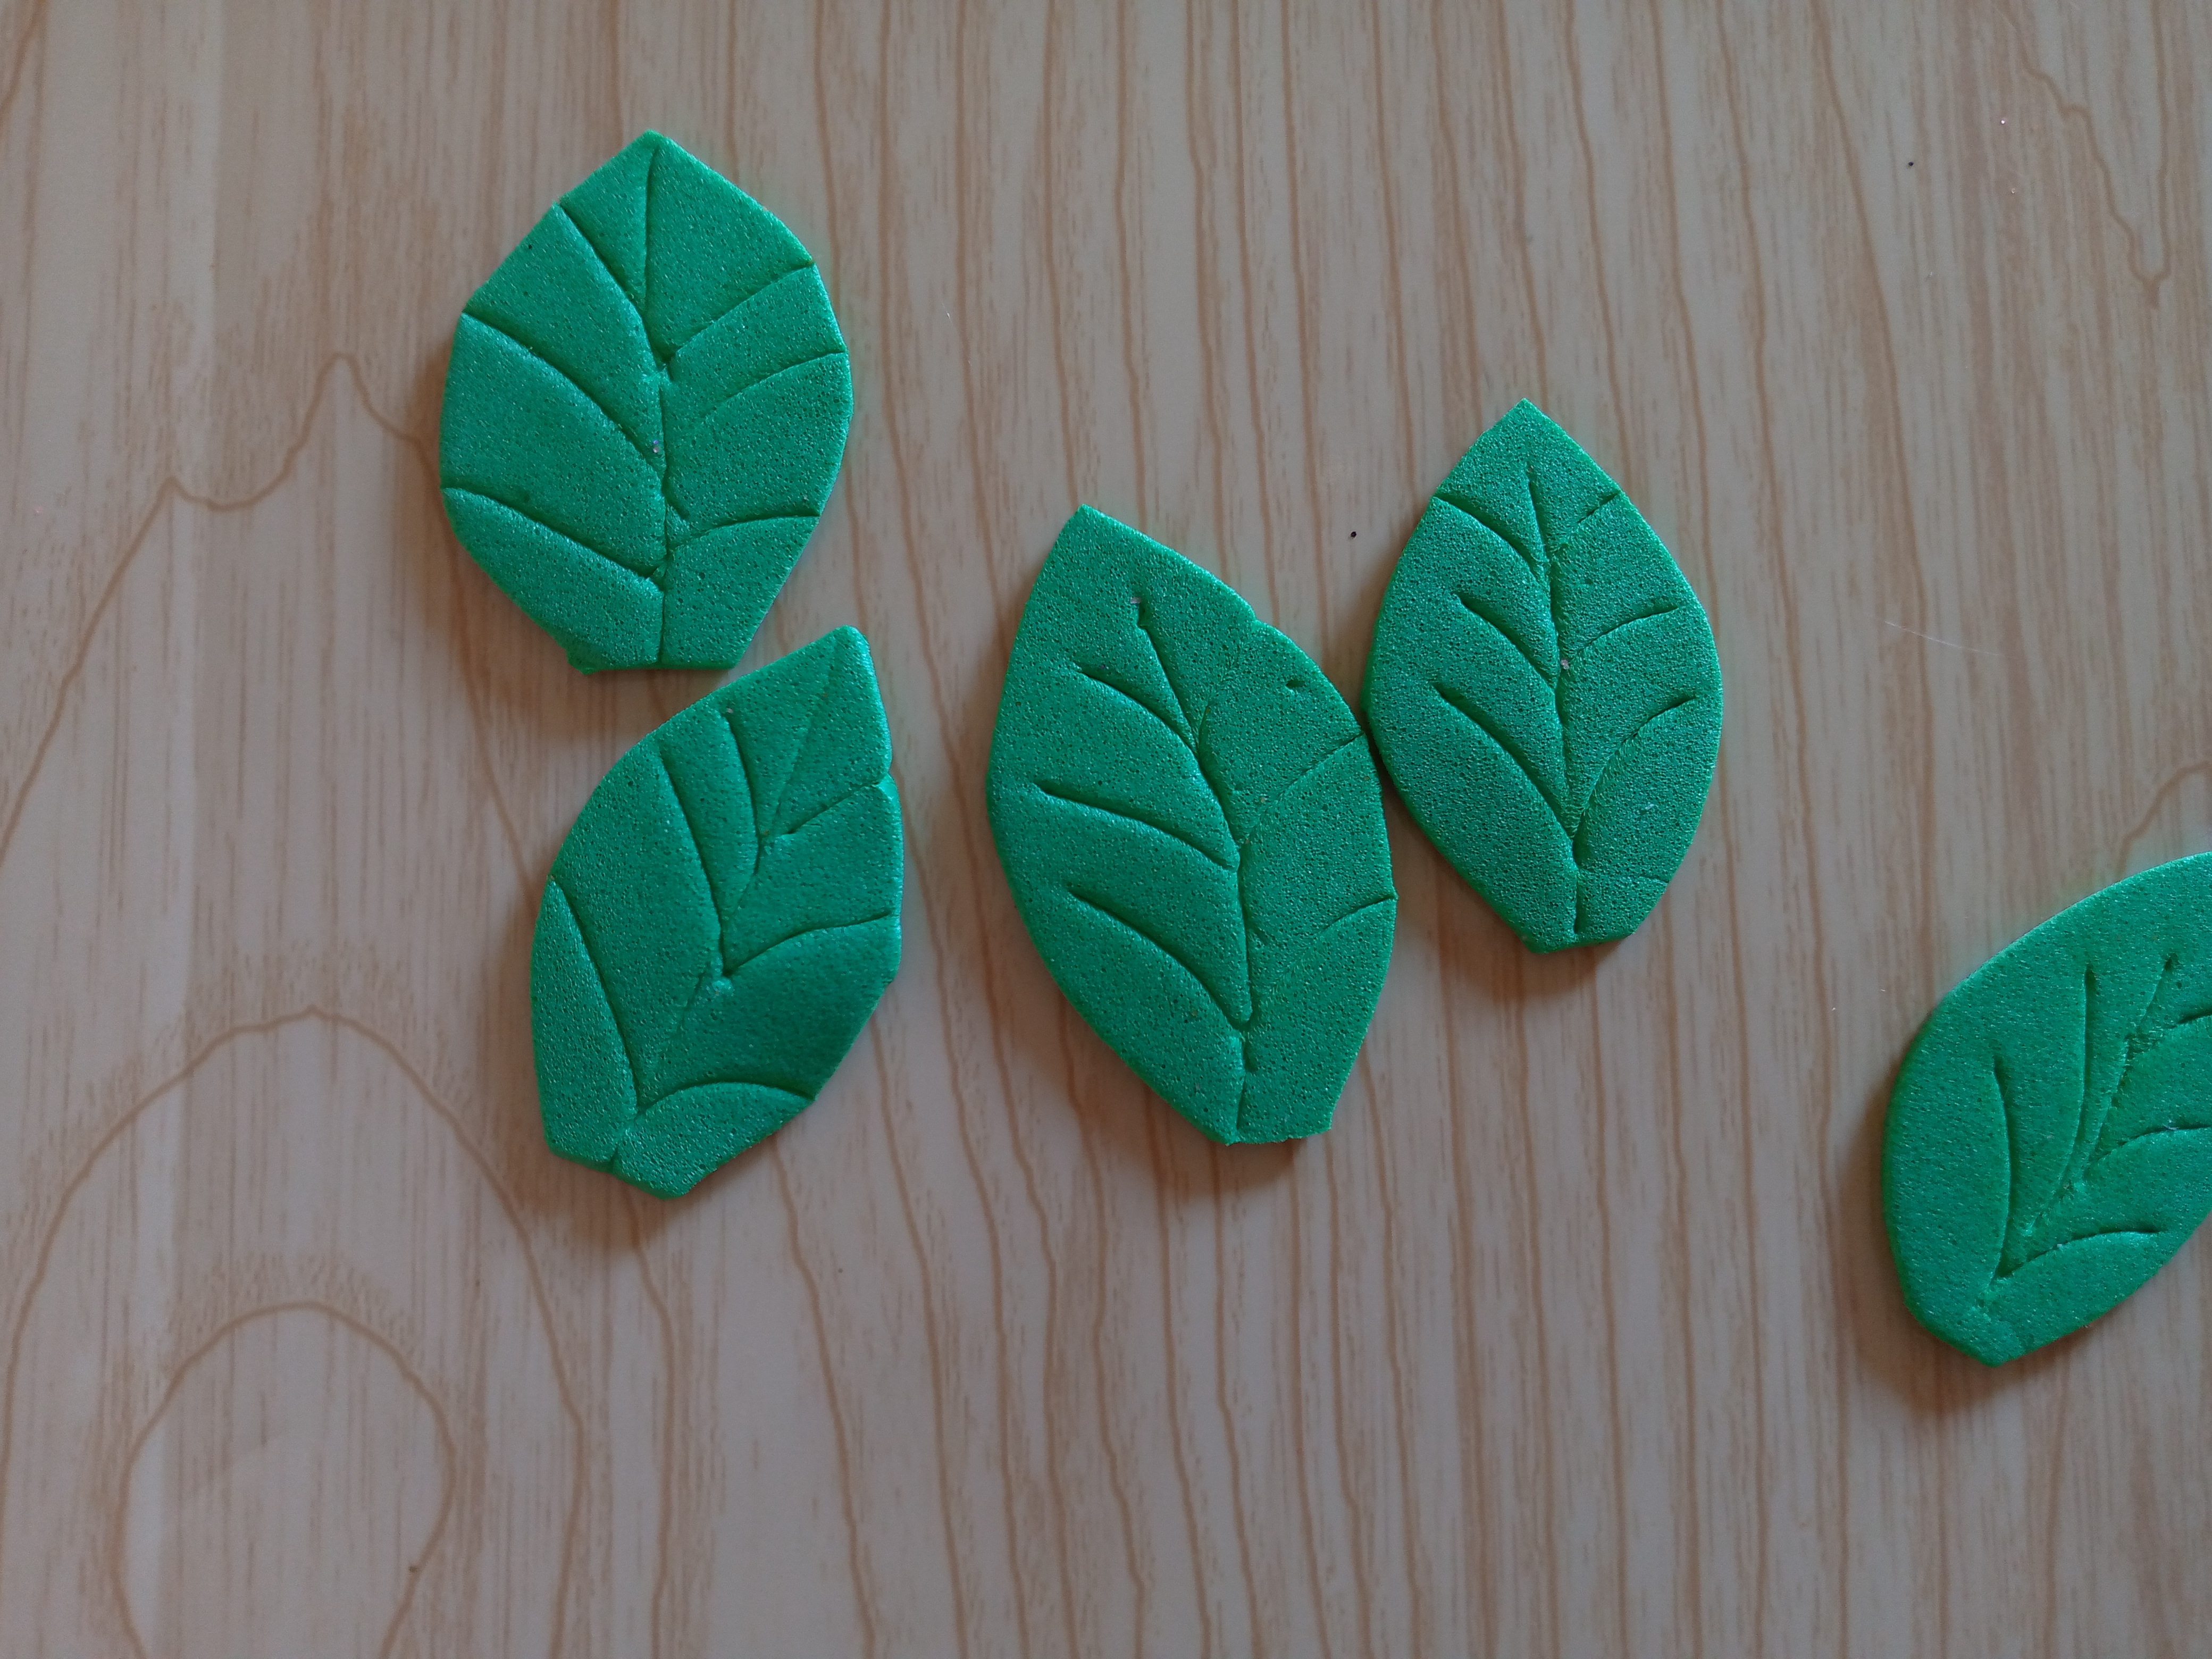
The next thing we will do is make the actual design on the leaves. I did this with the tip of a pair of scissors and I marked the texture that the leaves have in the center.
Paso 04
Step 04
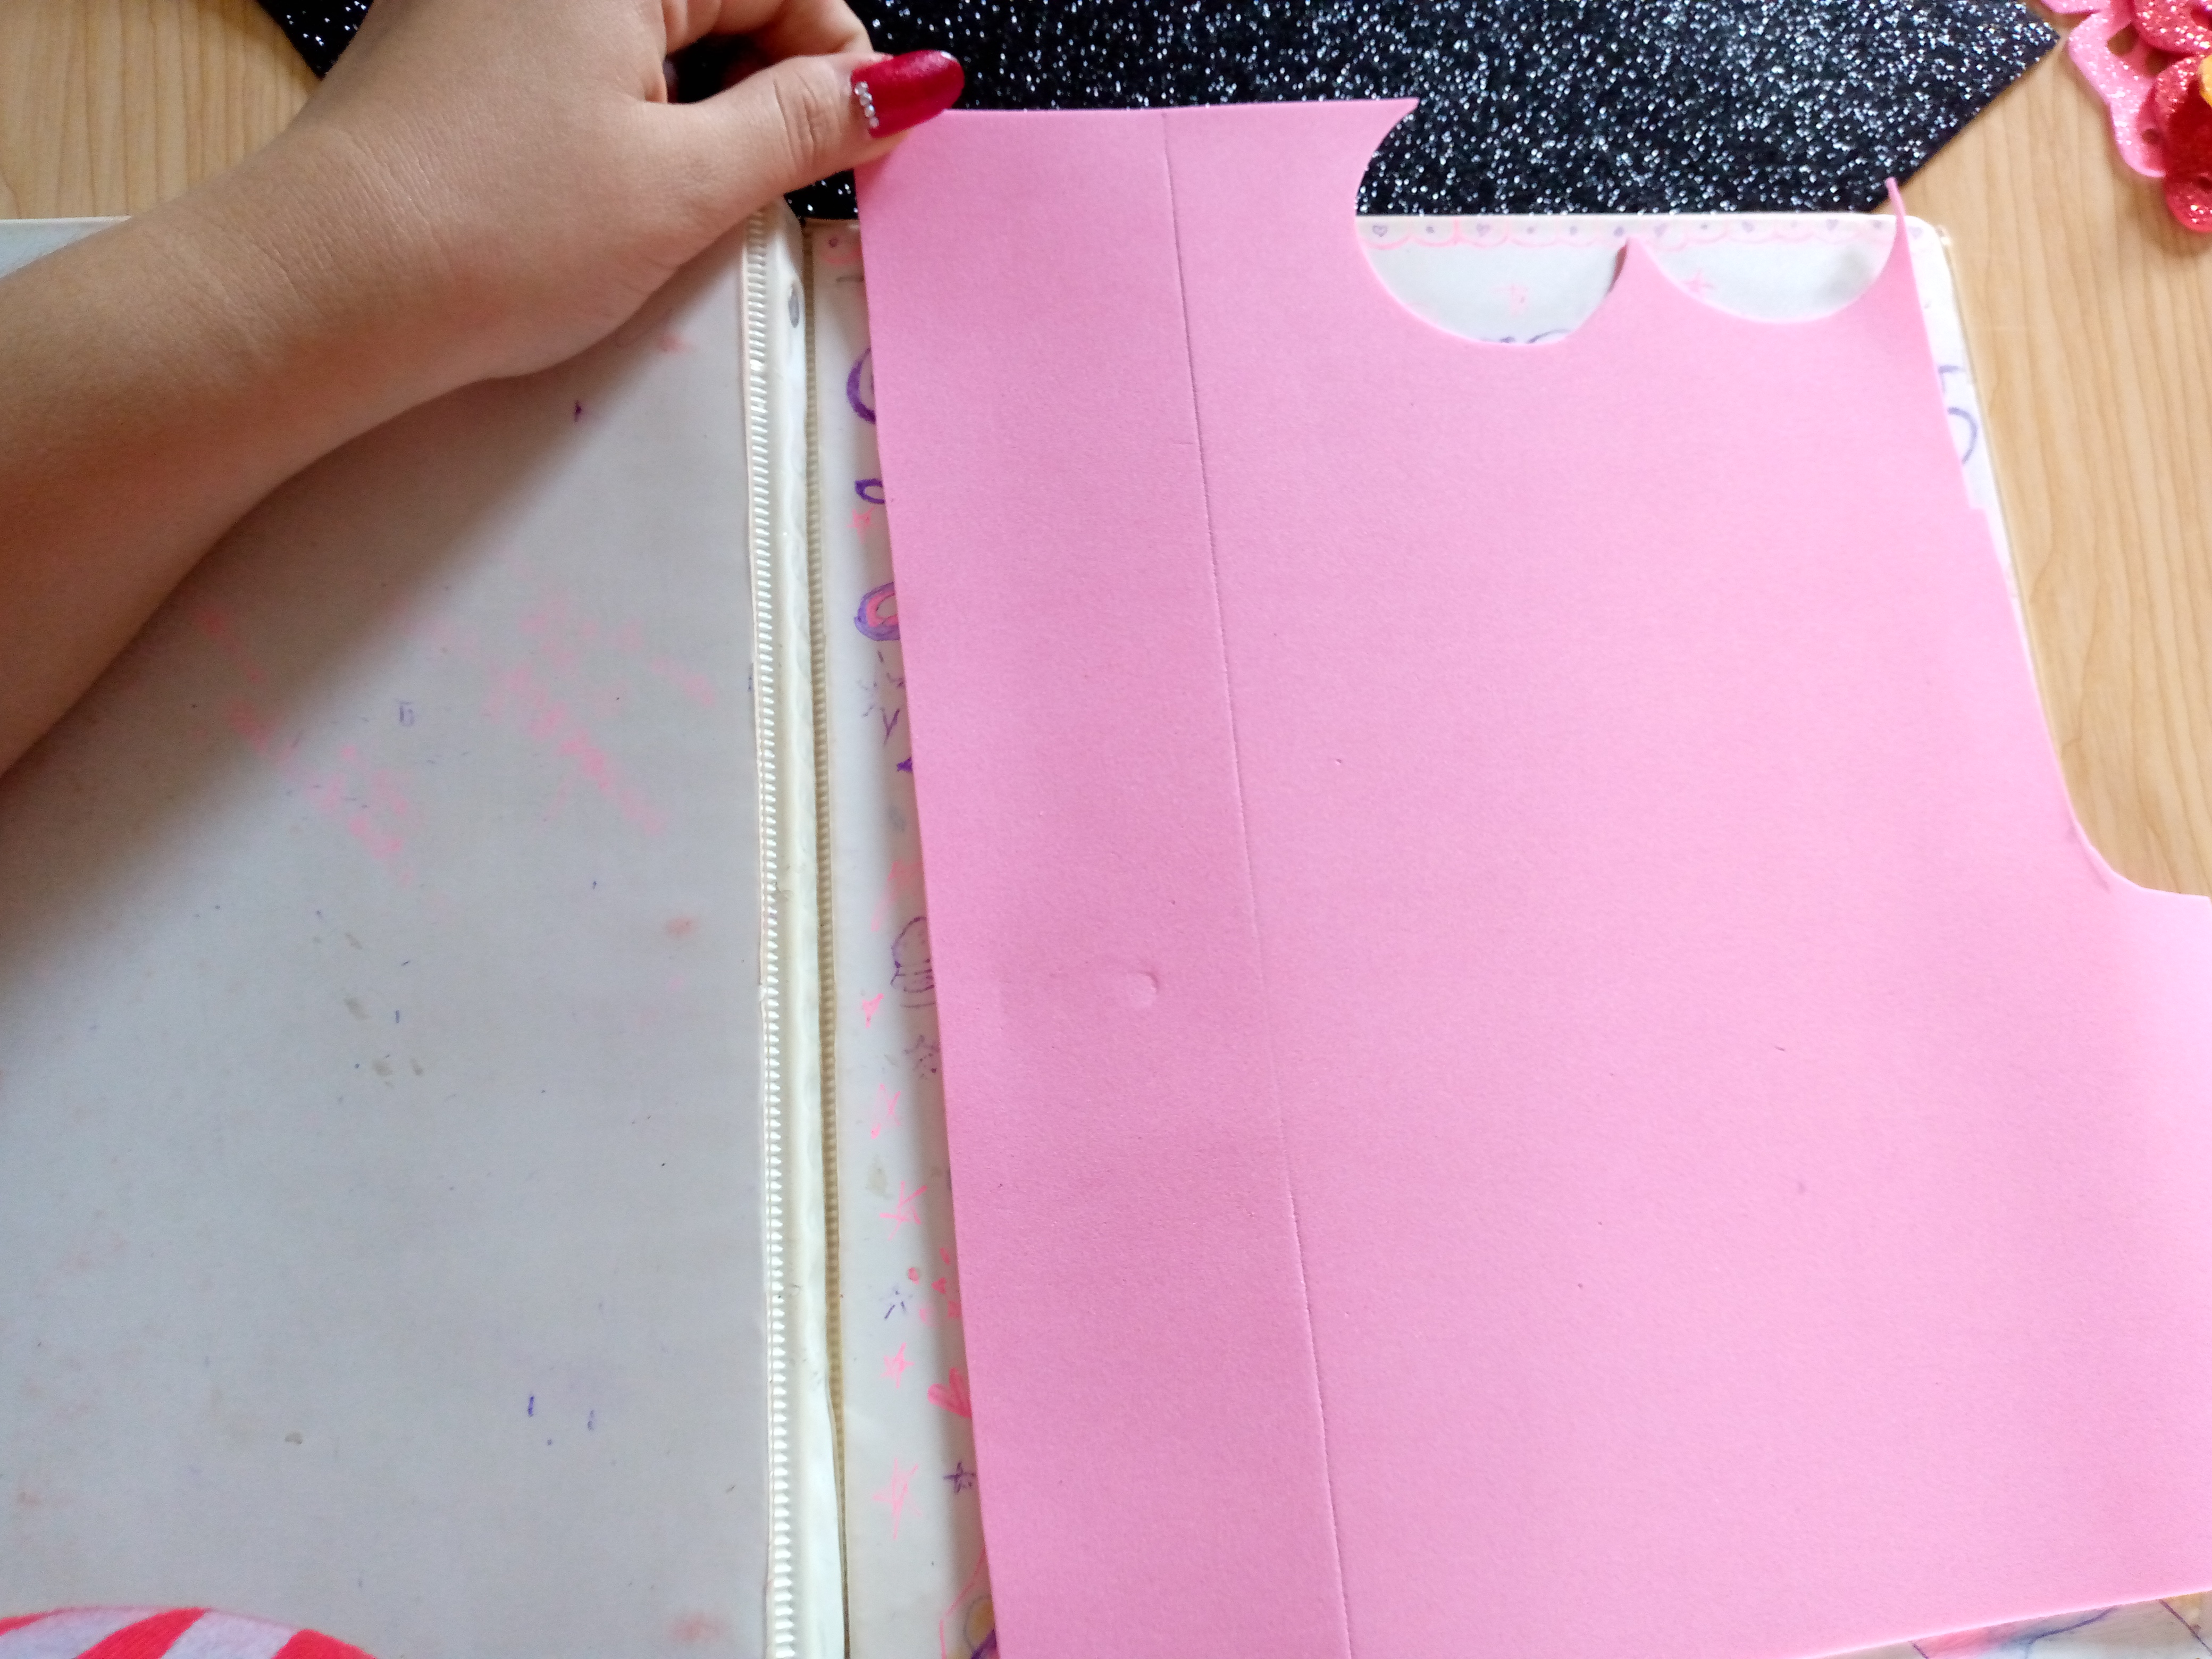
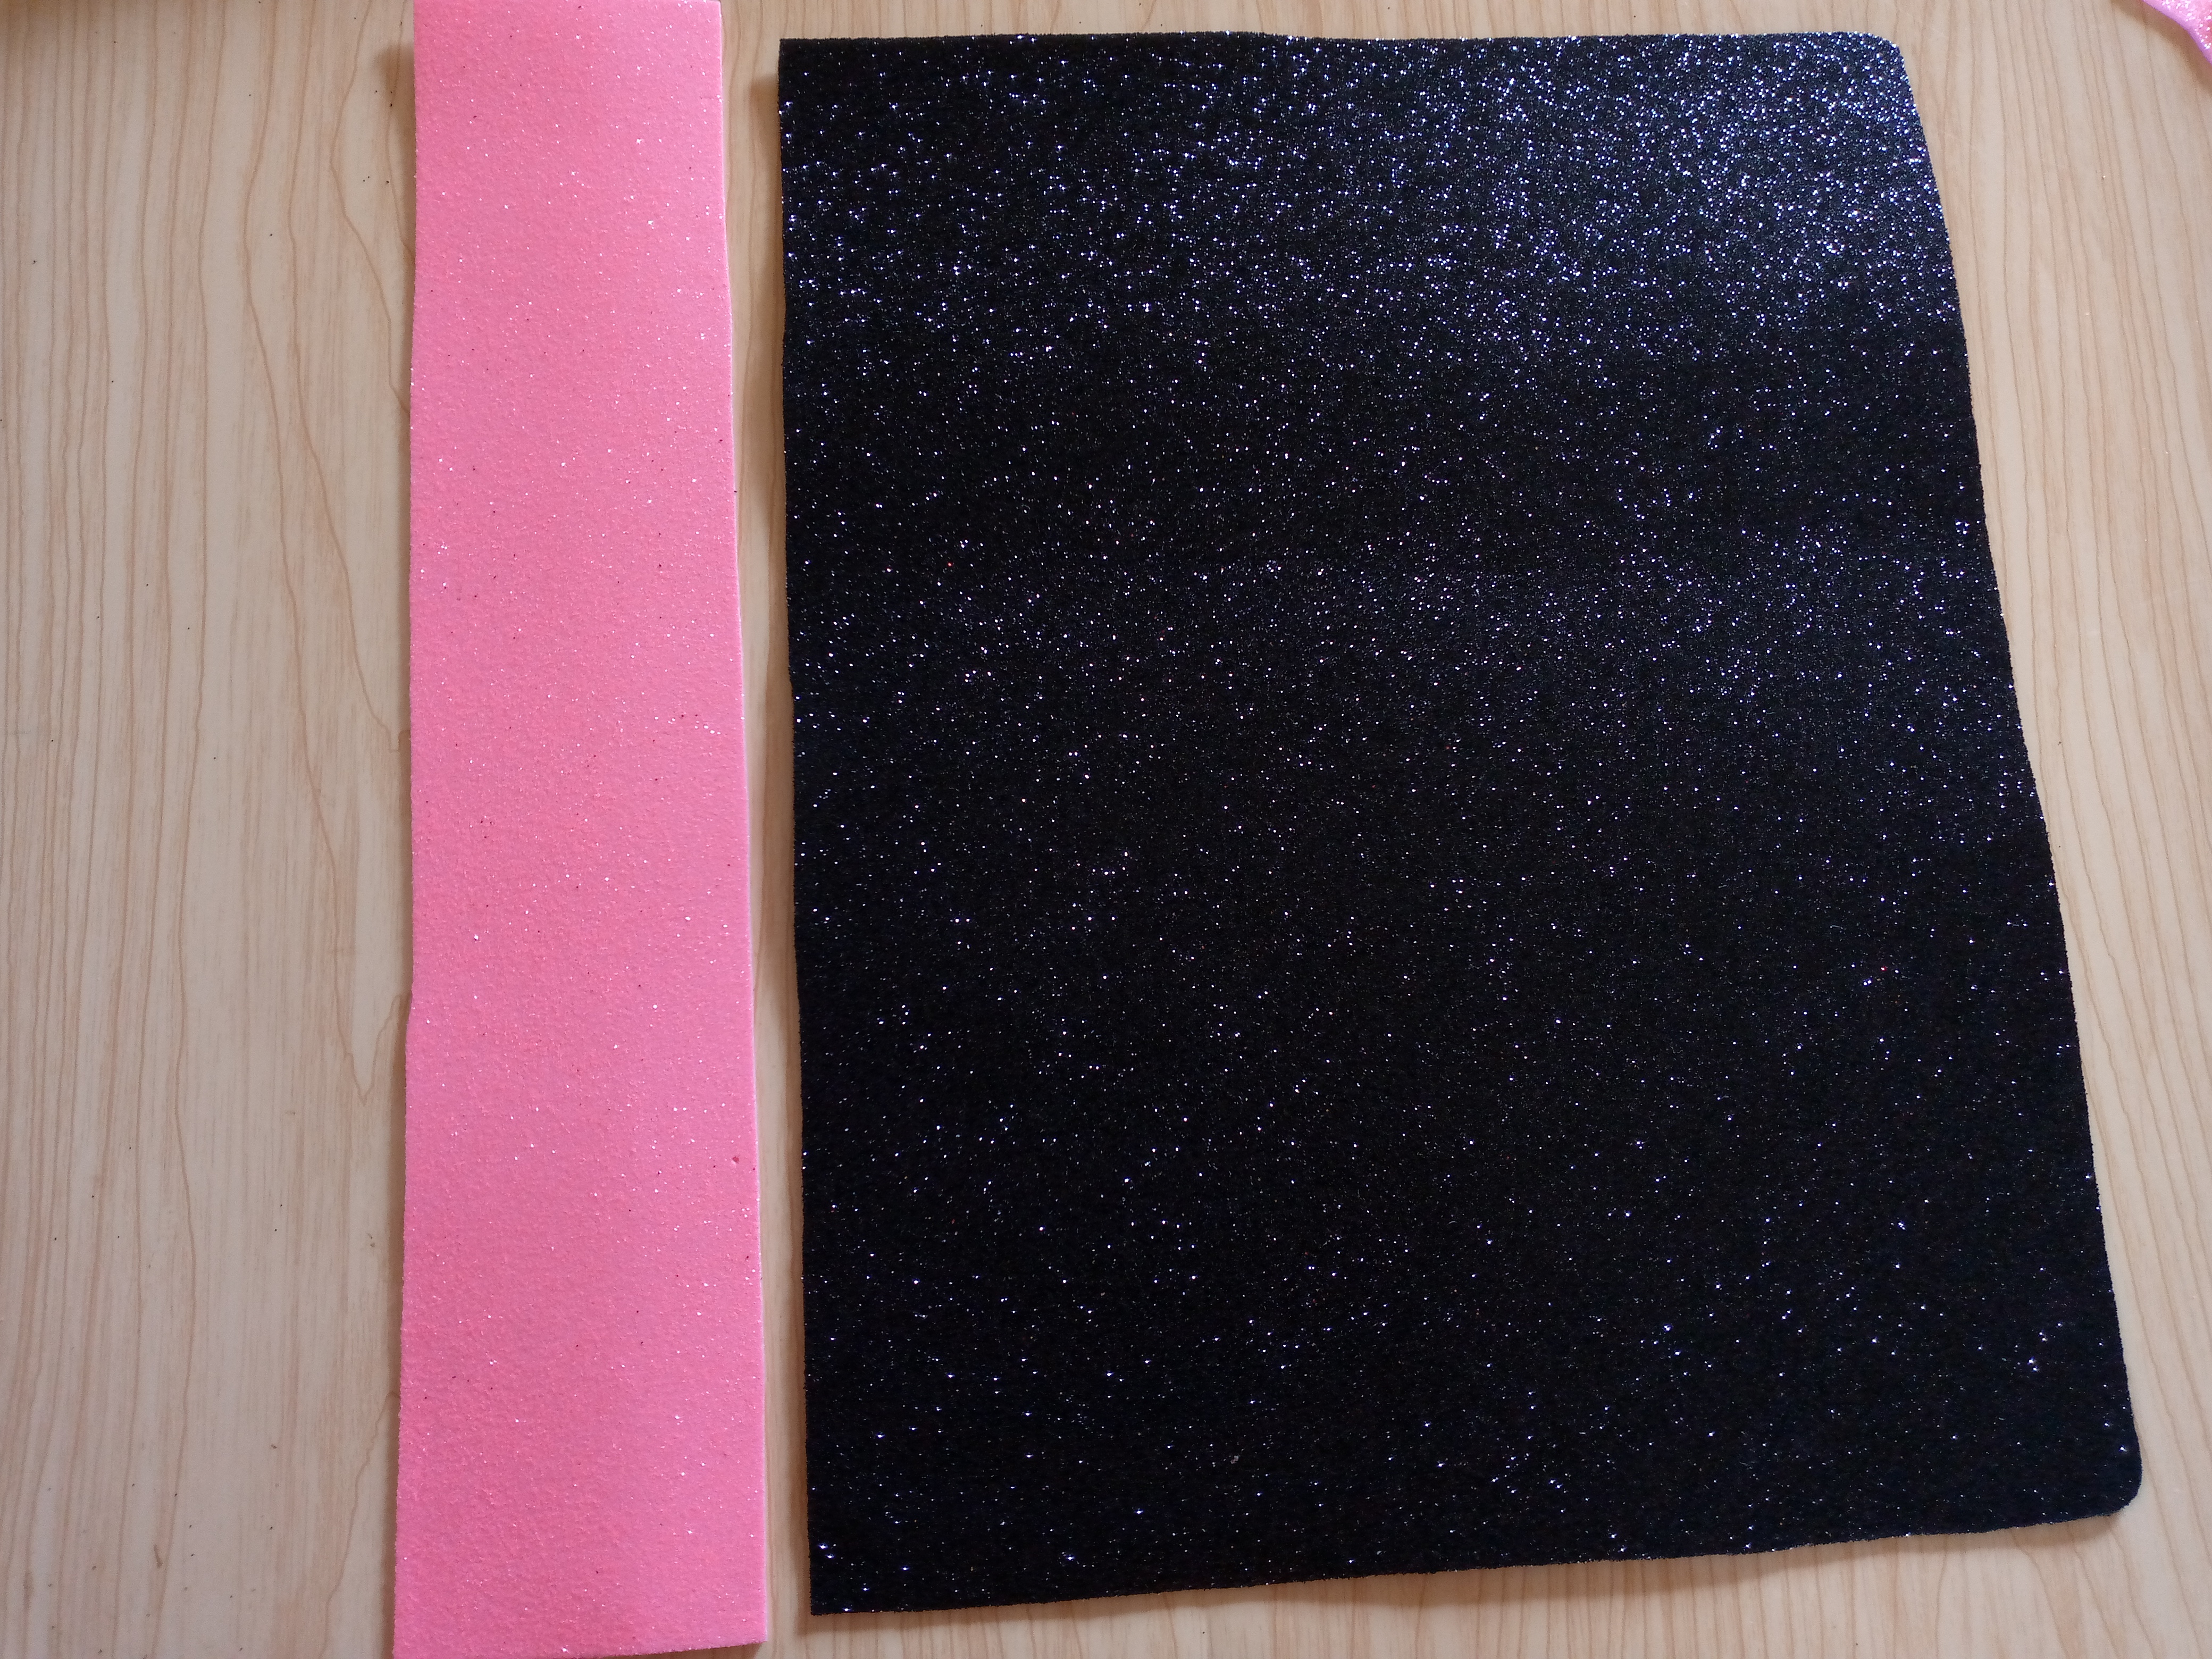
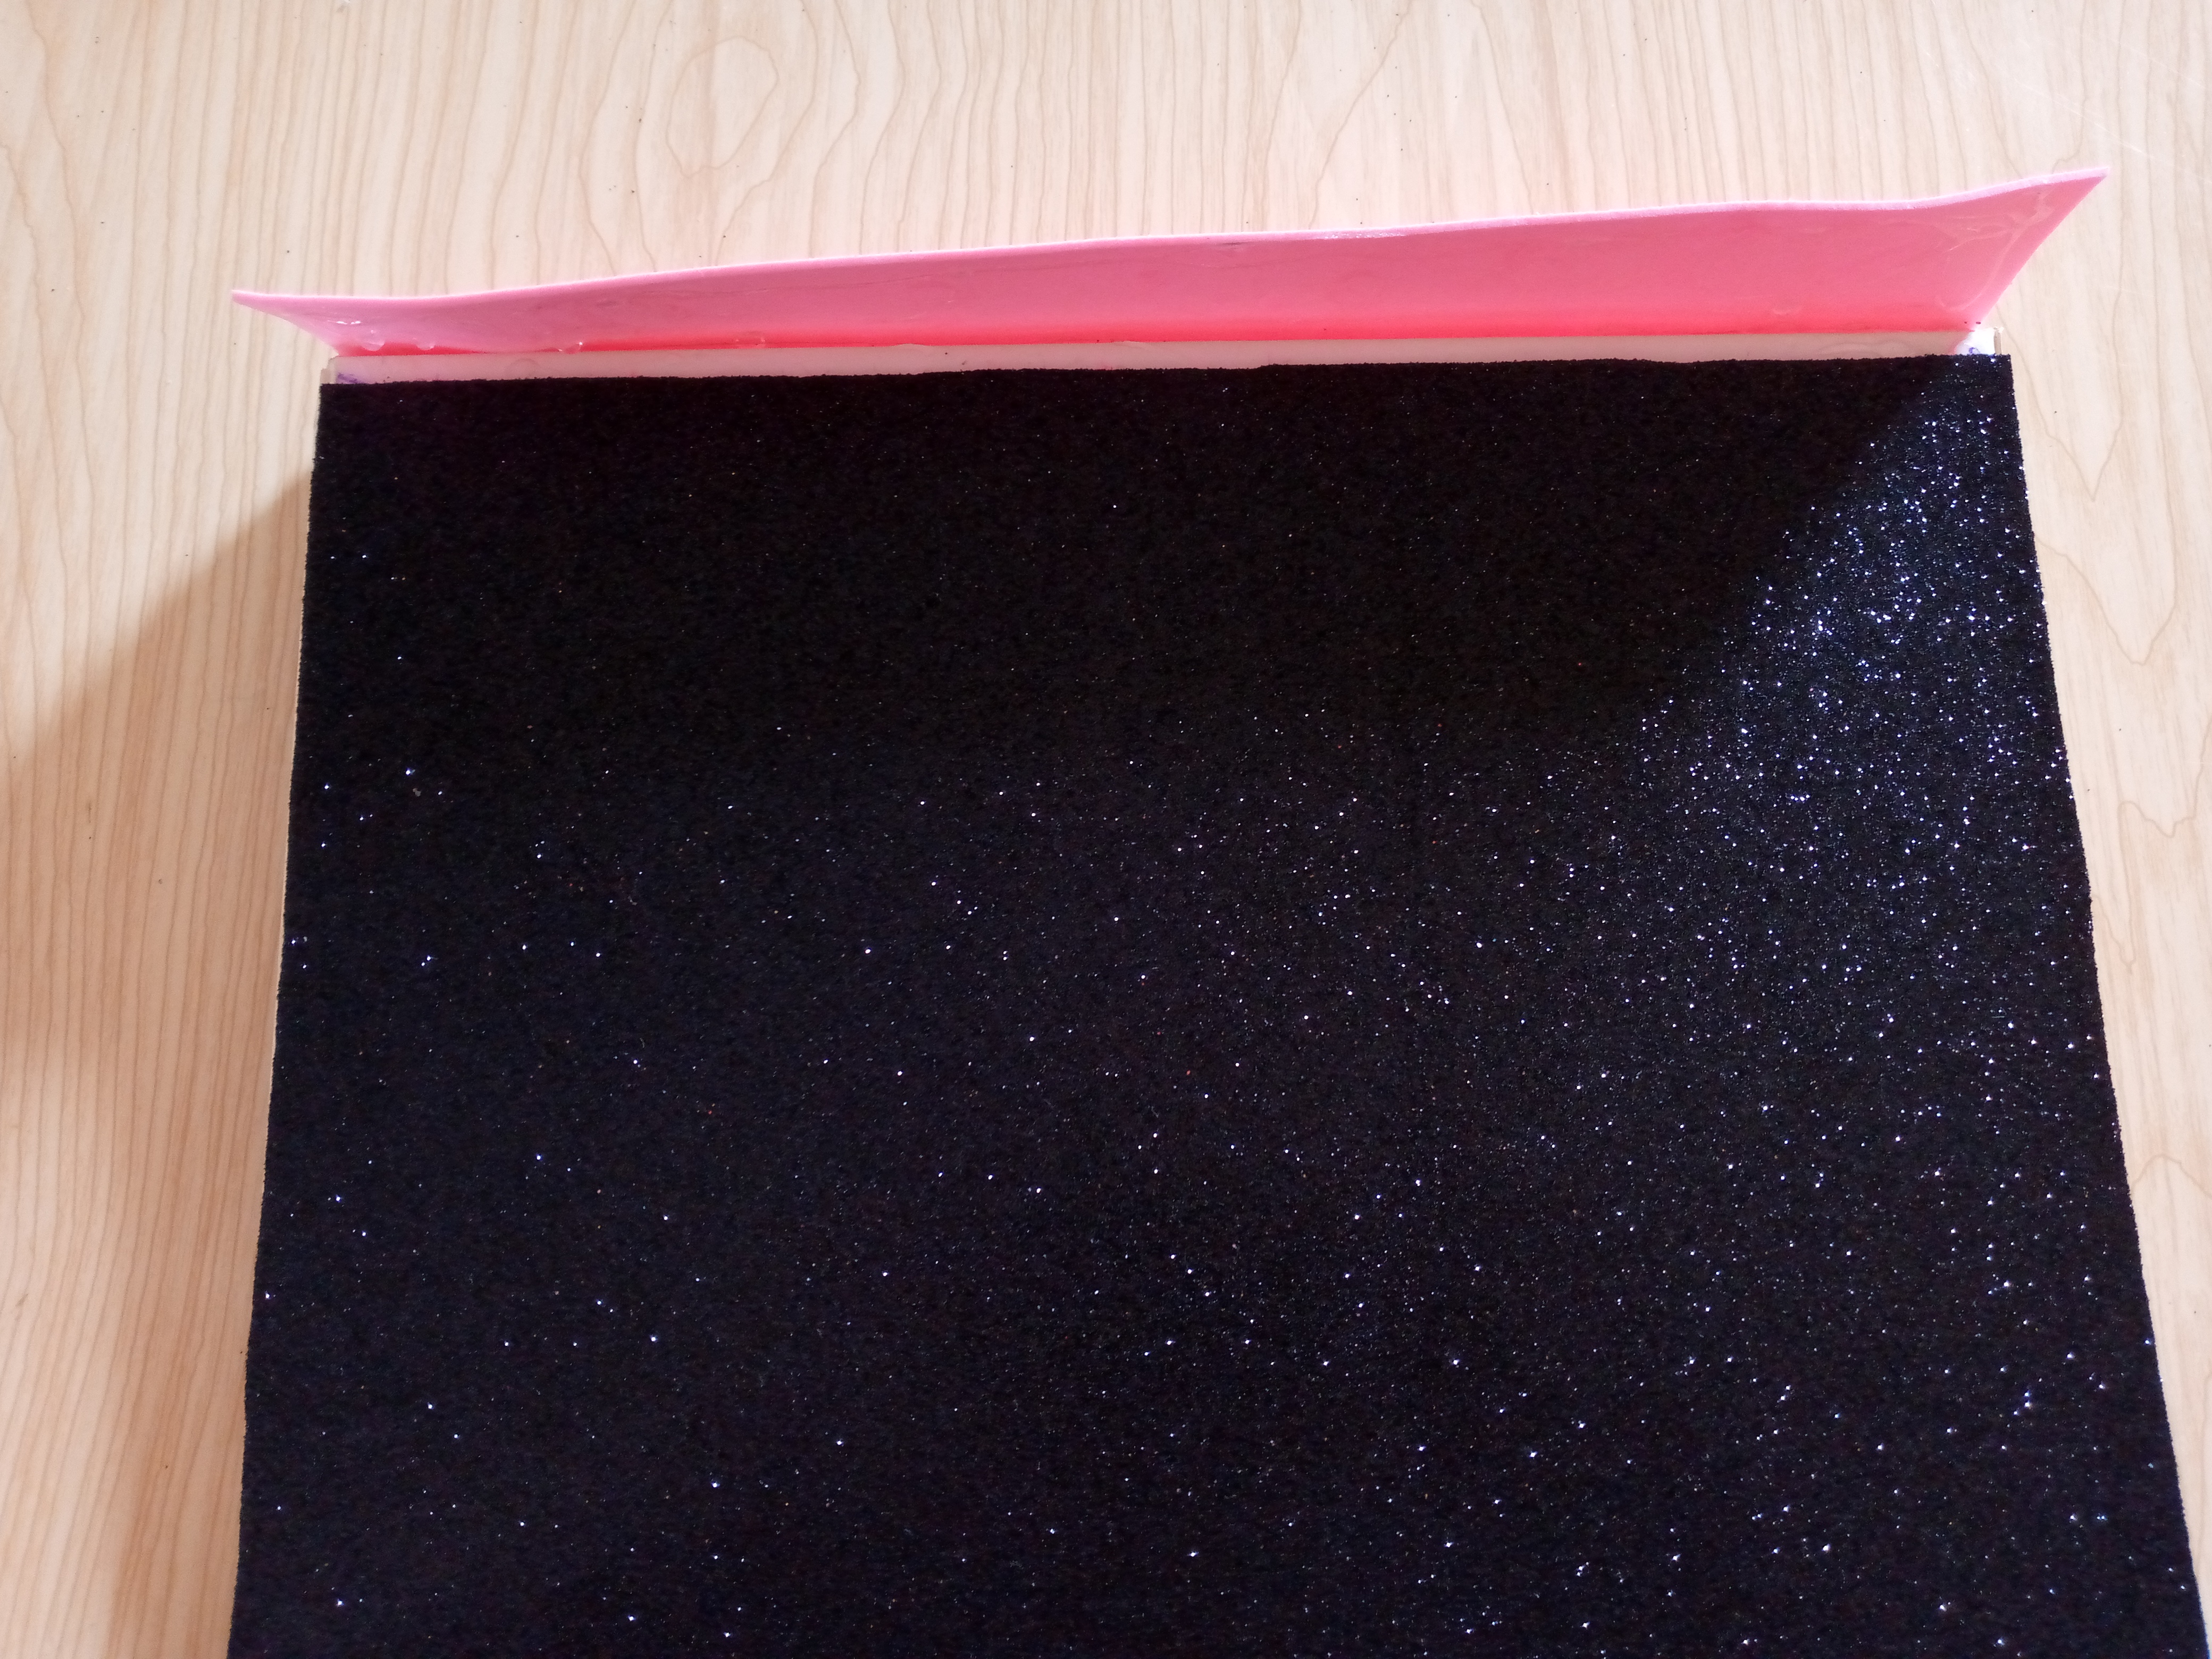
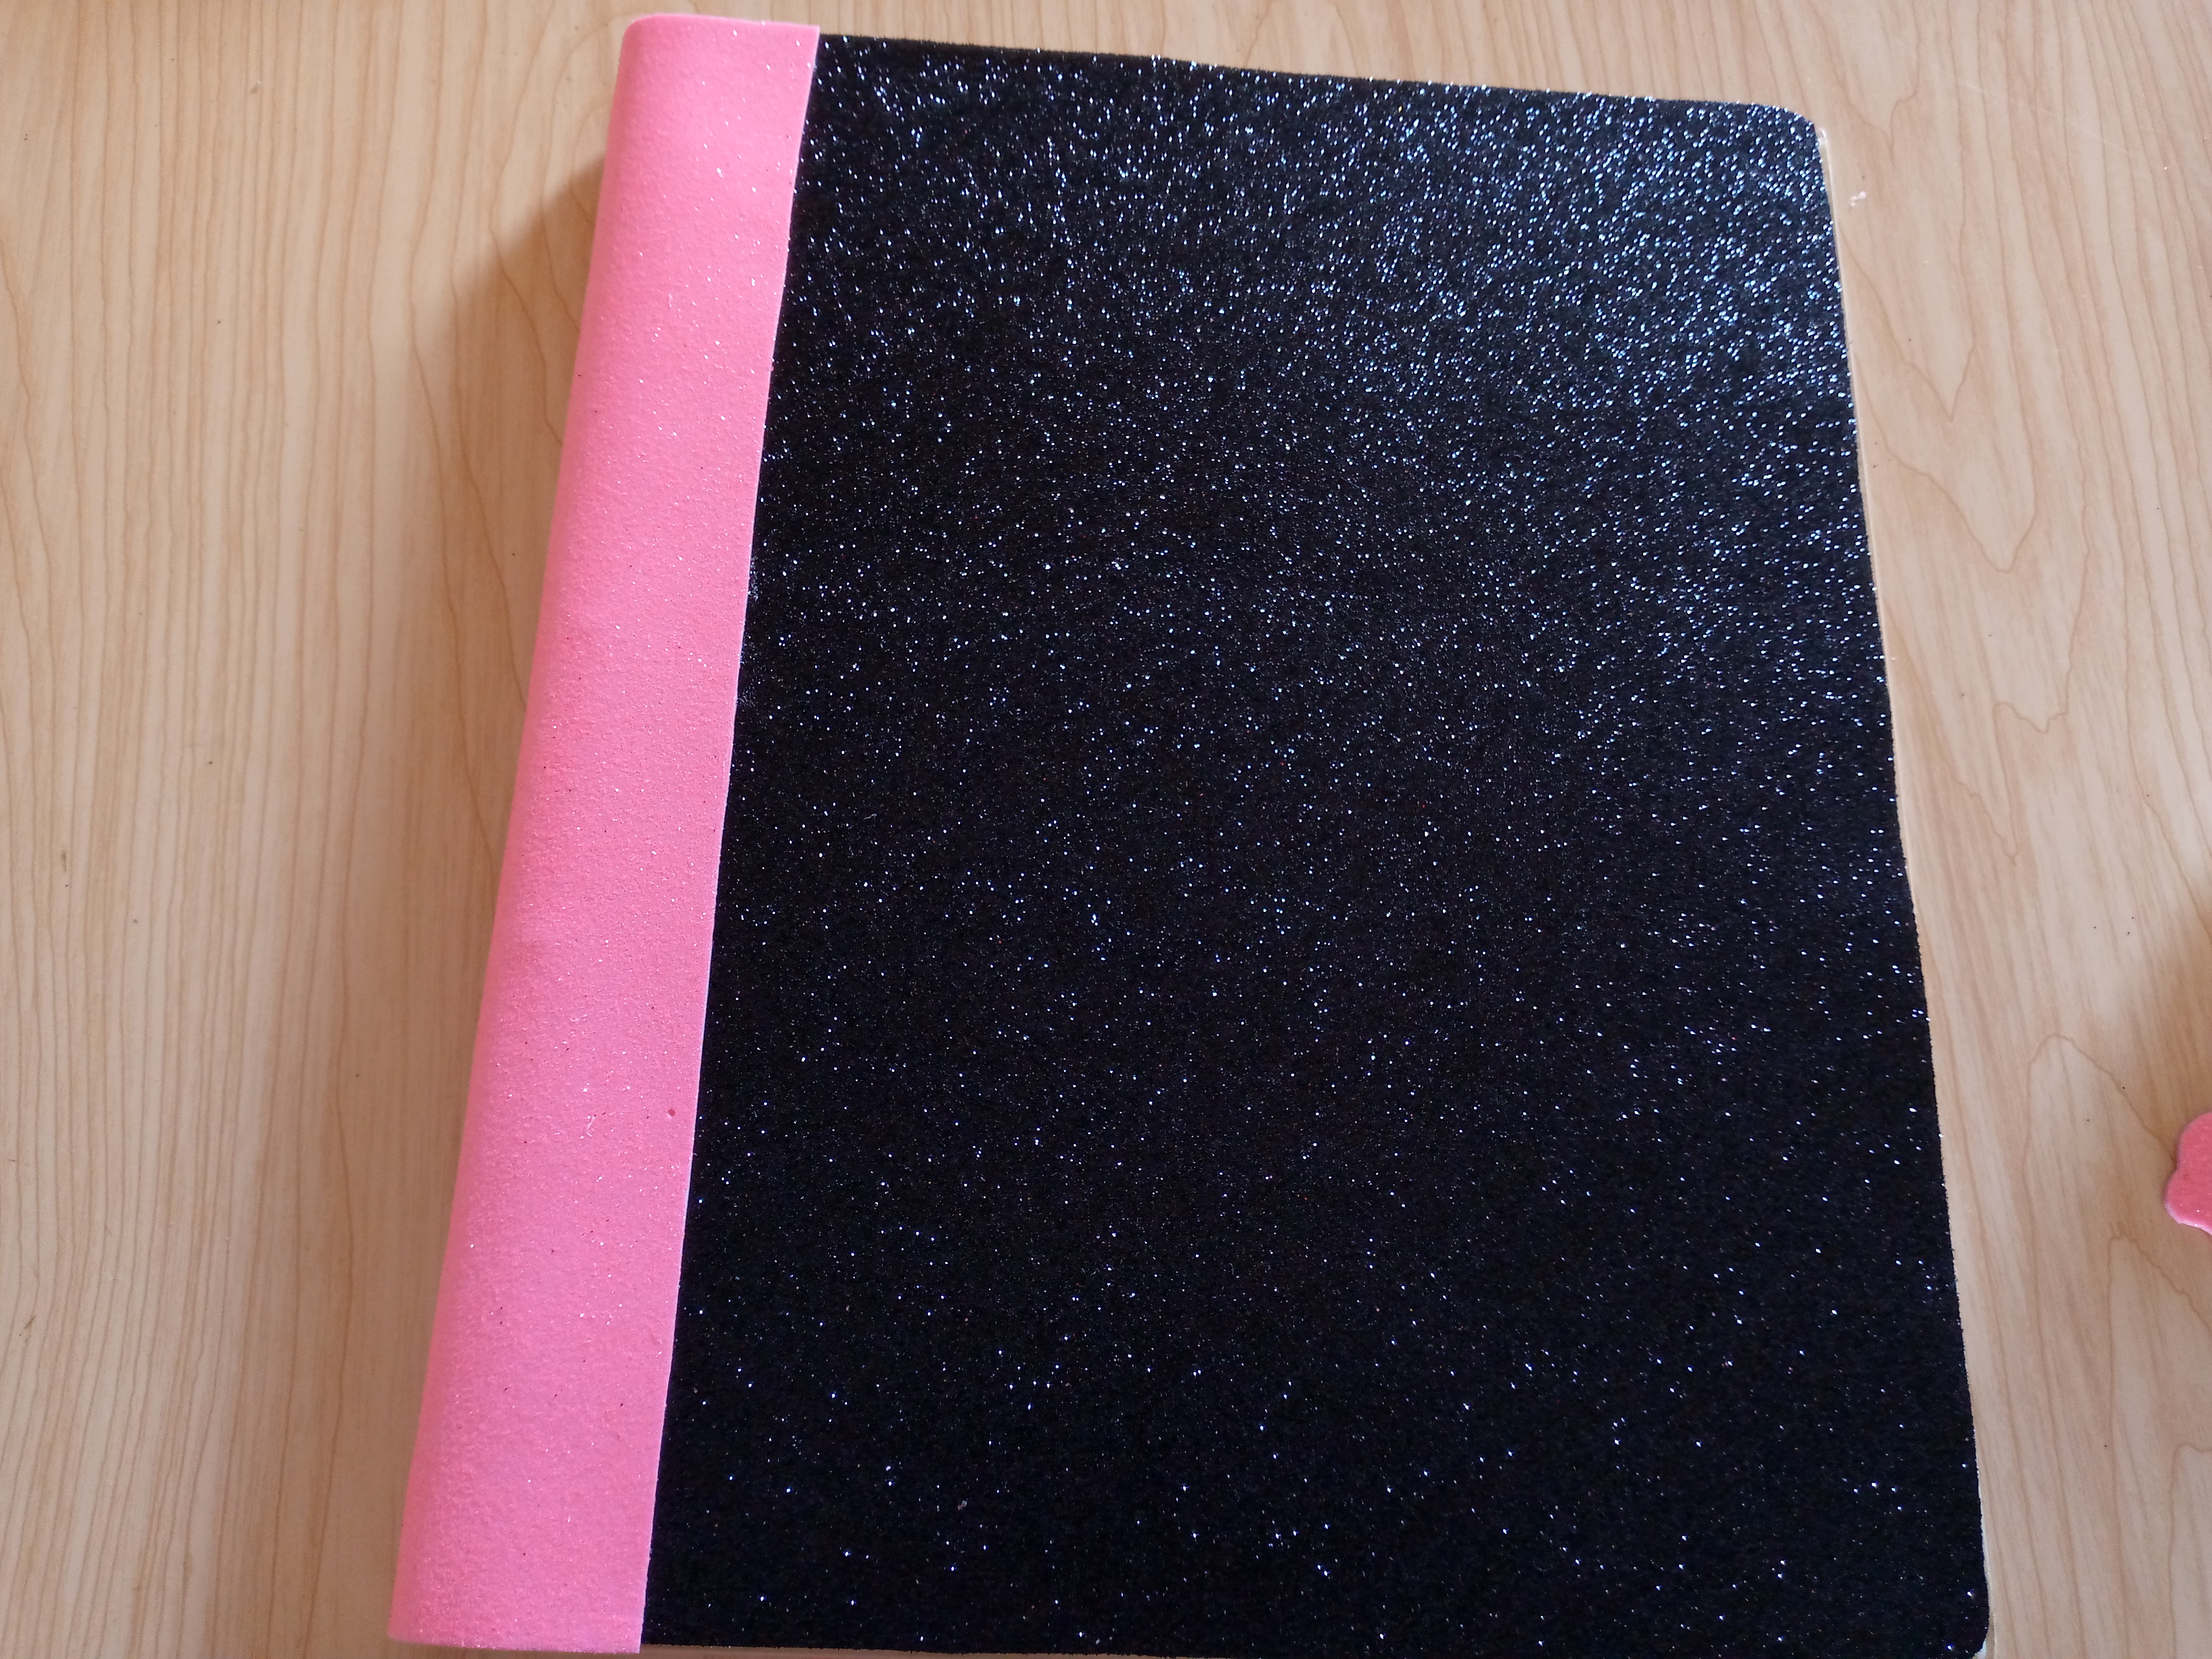
I proceeded to cut a strip marking the width with the pencil and the ruler to cover the spine of my folder in pink foam and I cut another piece of foam for the cover in black, and I glued the pink foam to the spine of my folder and for it to stick well I will use the strong glue, press for a while until it dries and I will glue the black to the base of my folder.
.jpg)
Paso 05
Step 05
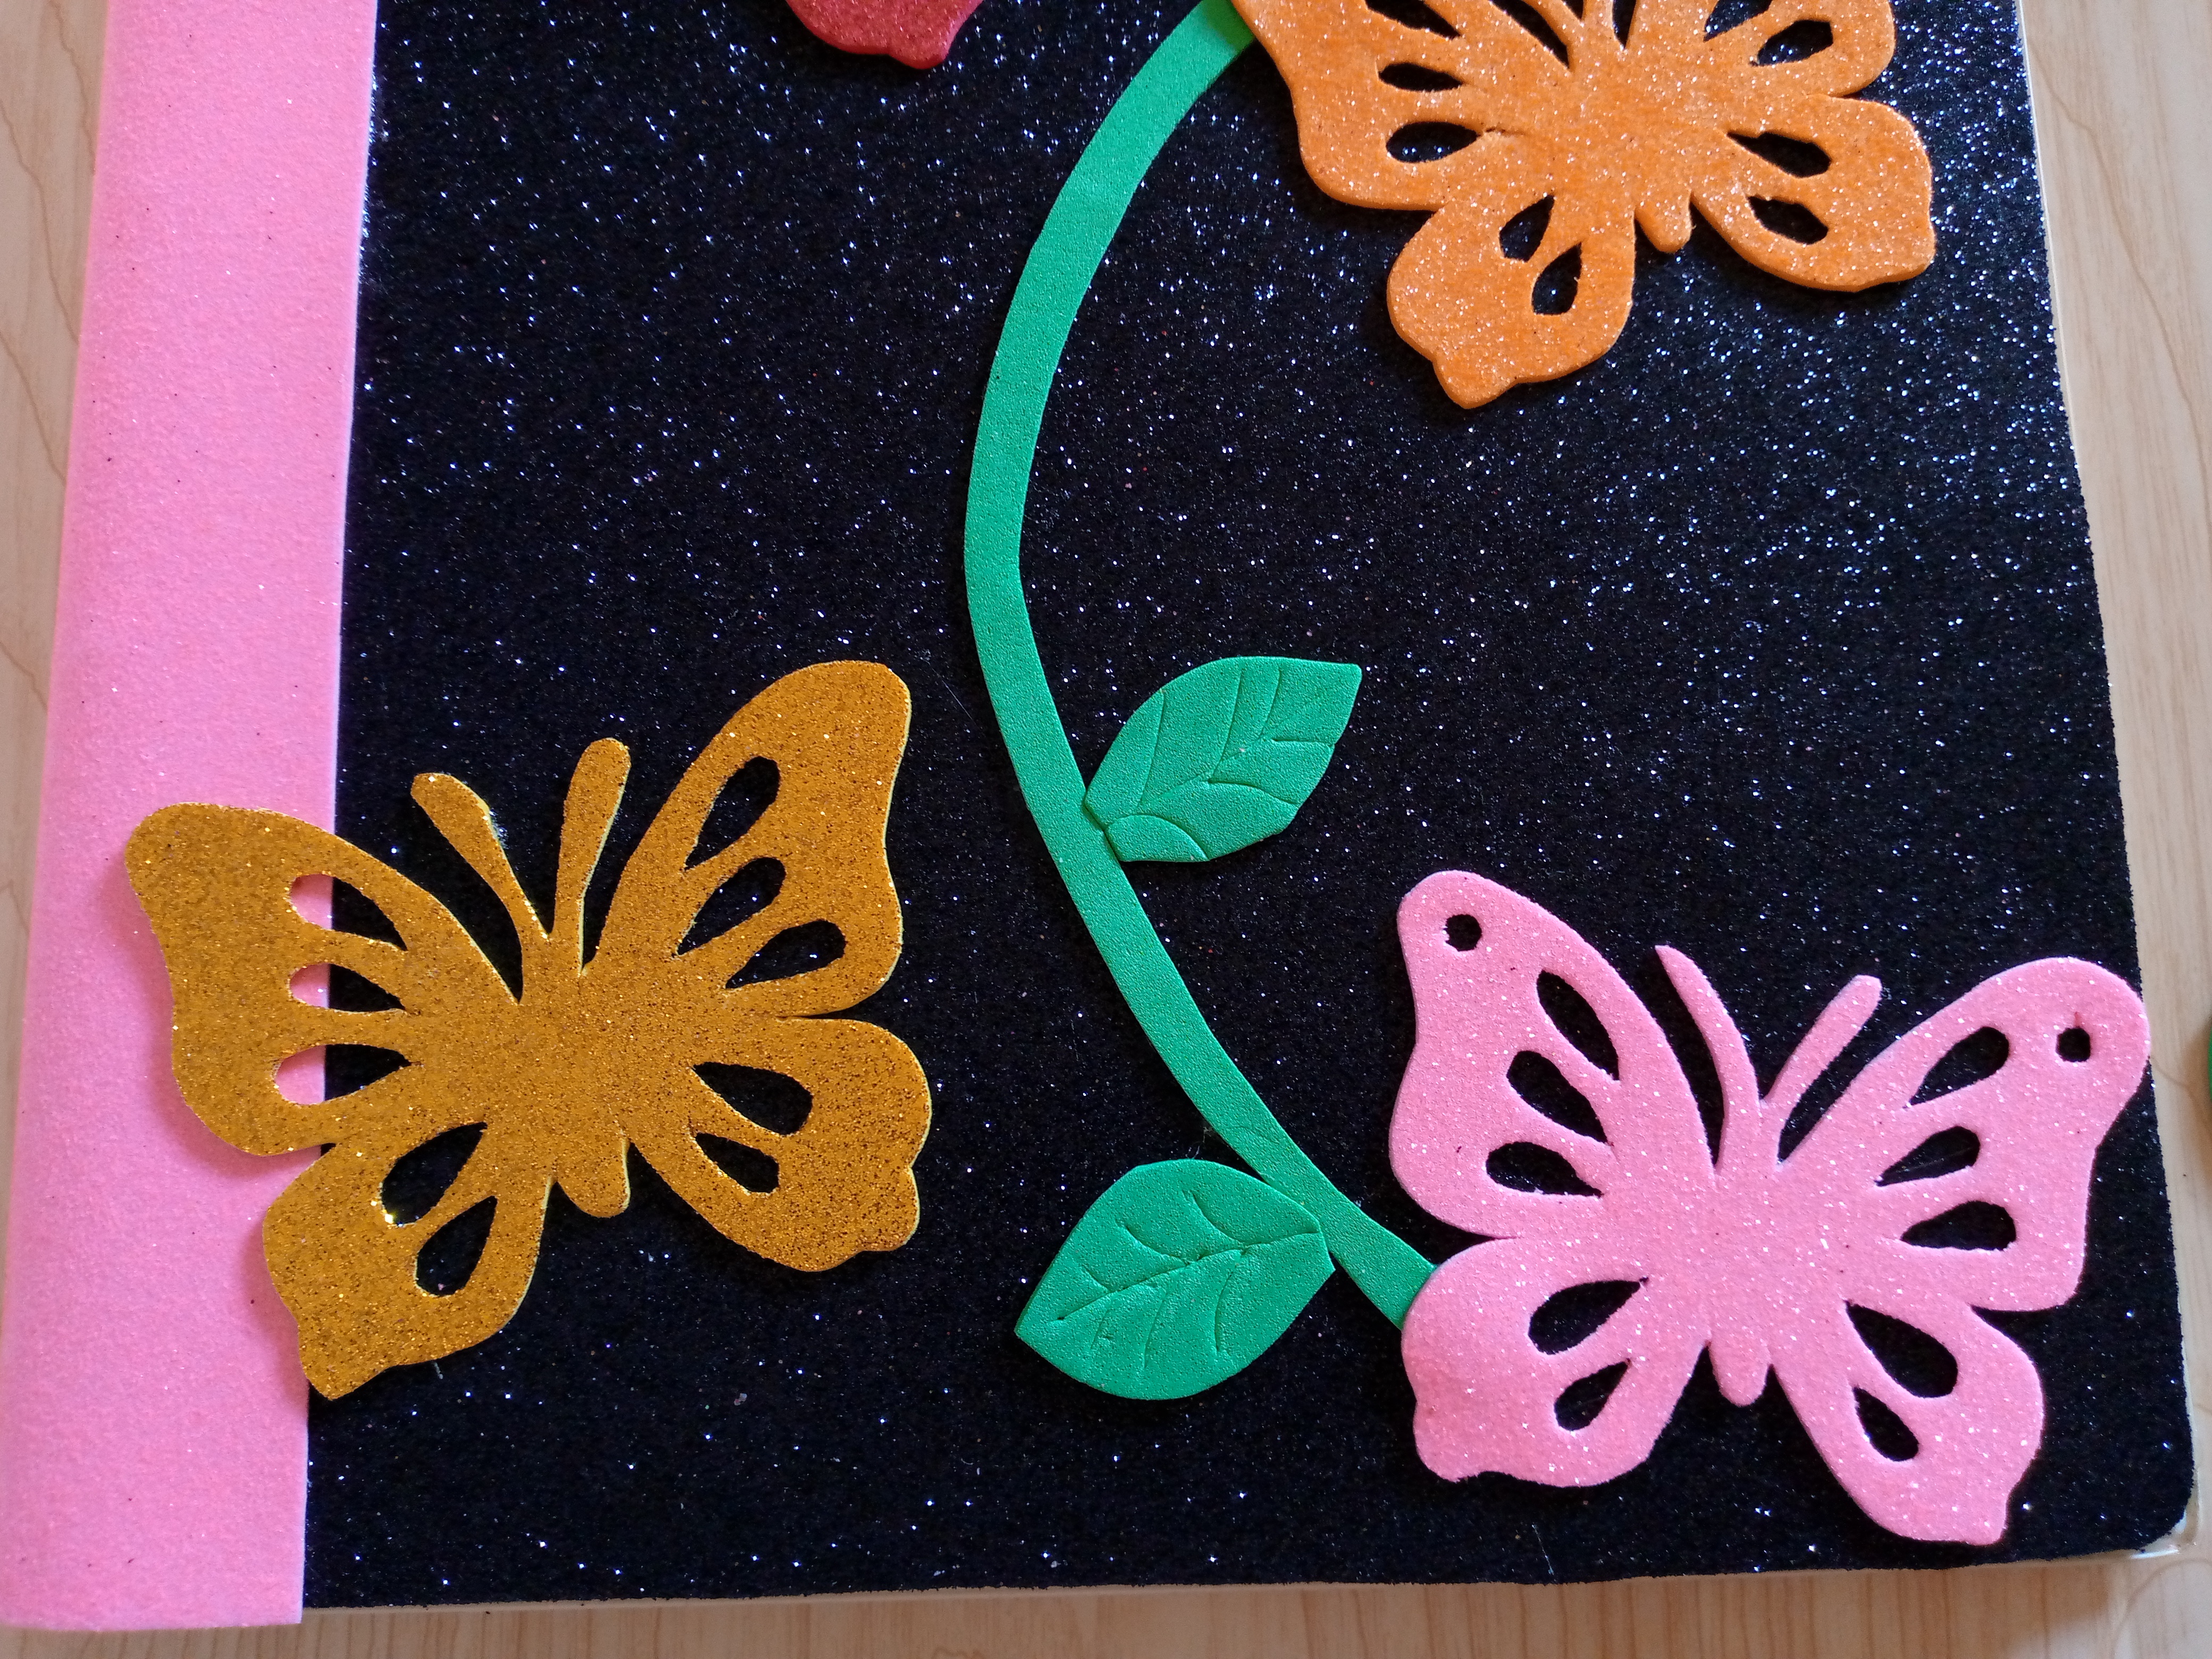
My favorite moment has arrived and it is the moment of decorating and putting together the design. First I glued the butterflies to the twig and then the leaves. I let it dry and I organized the patterns that I had stored inside and that is how I finished it.
.jpg)
Resultado:// Result:
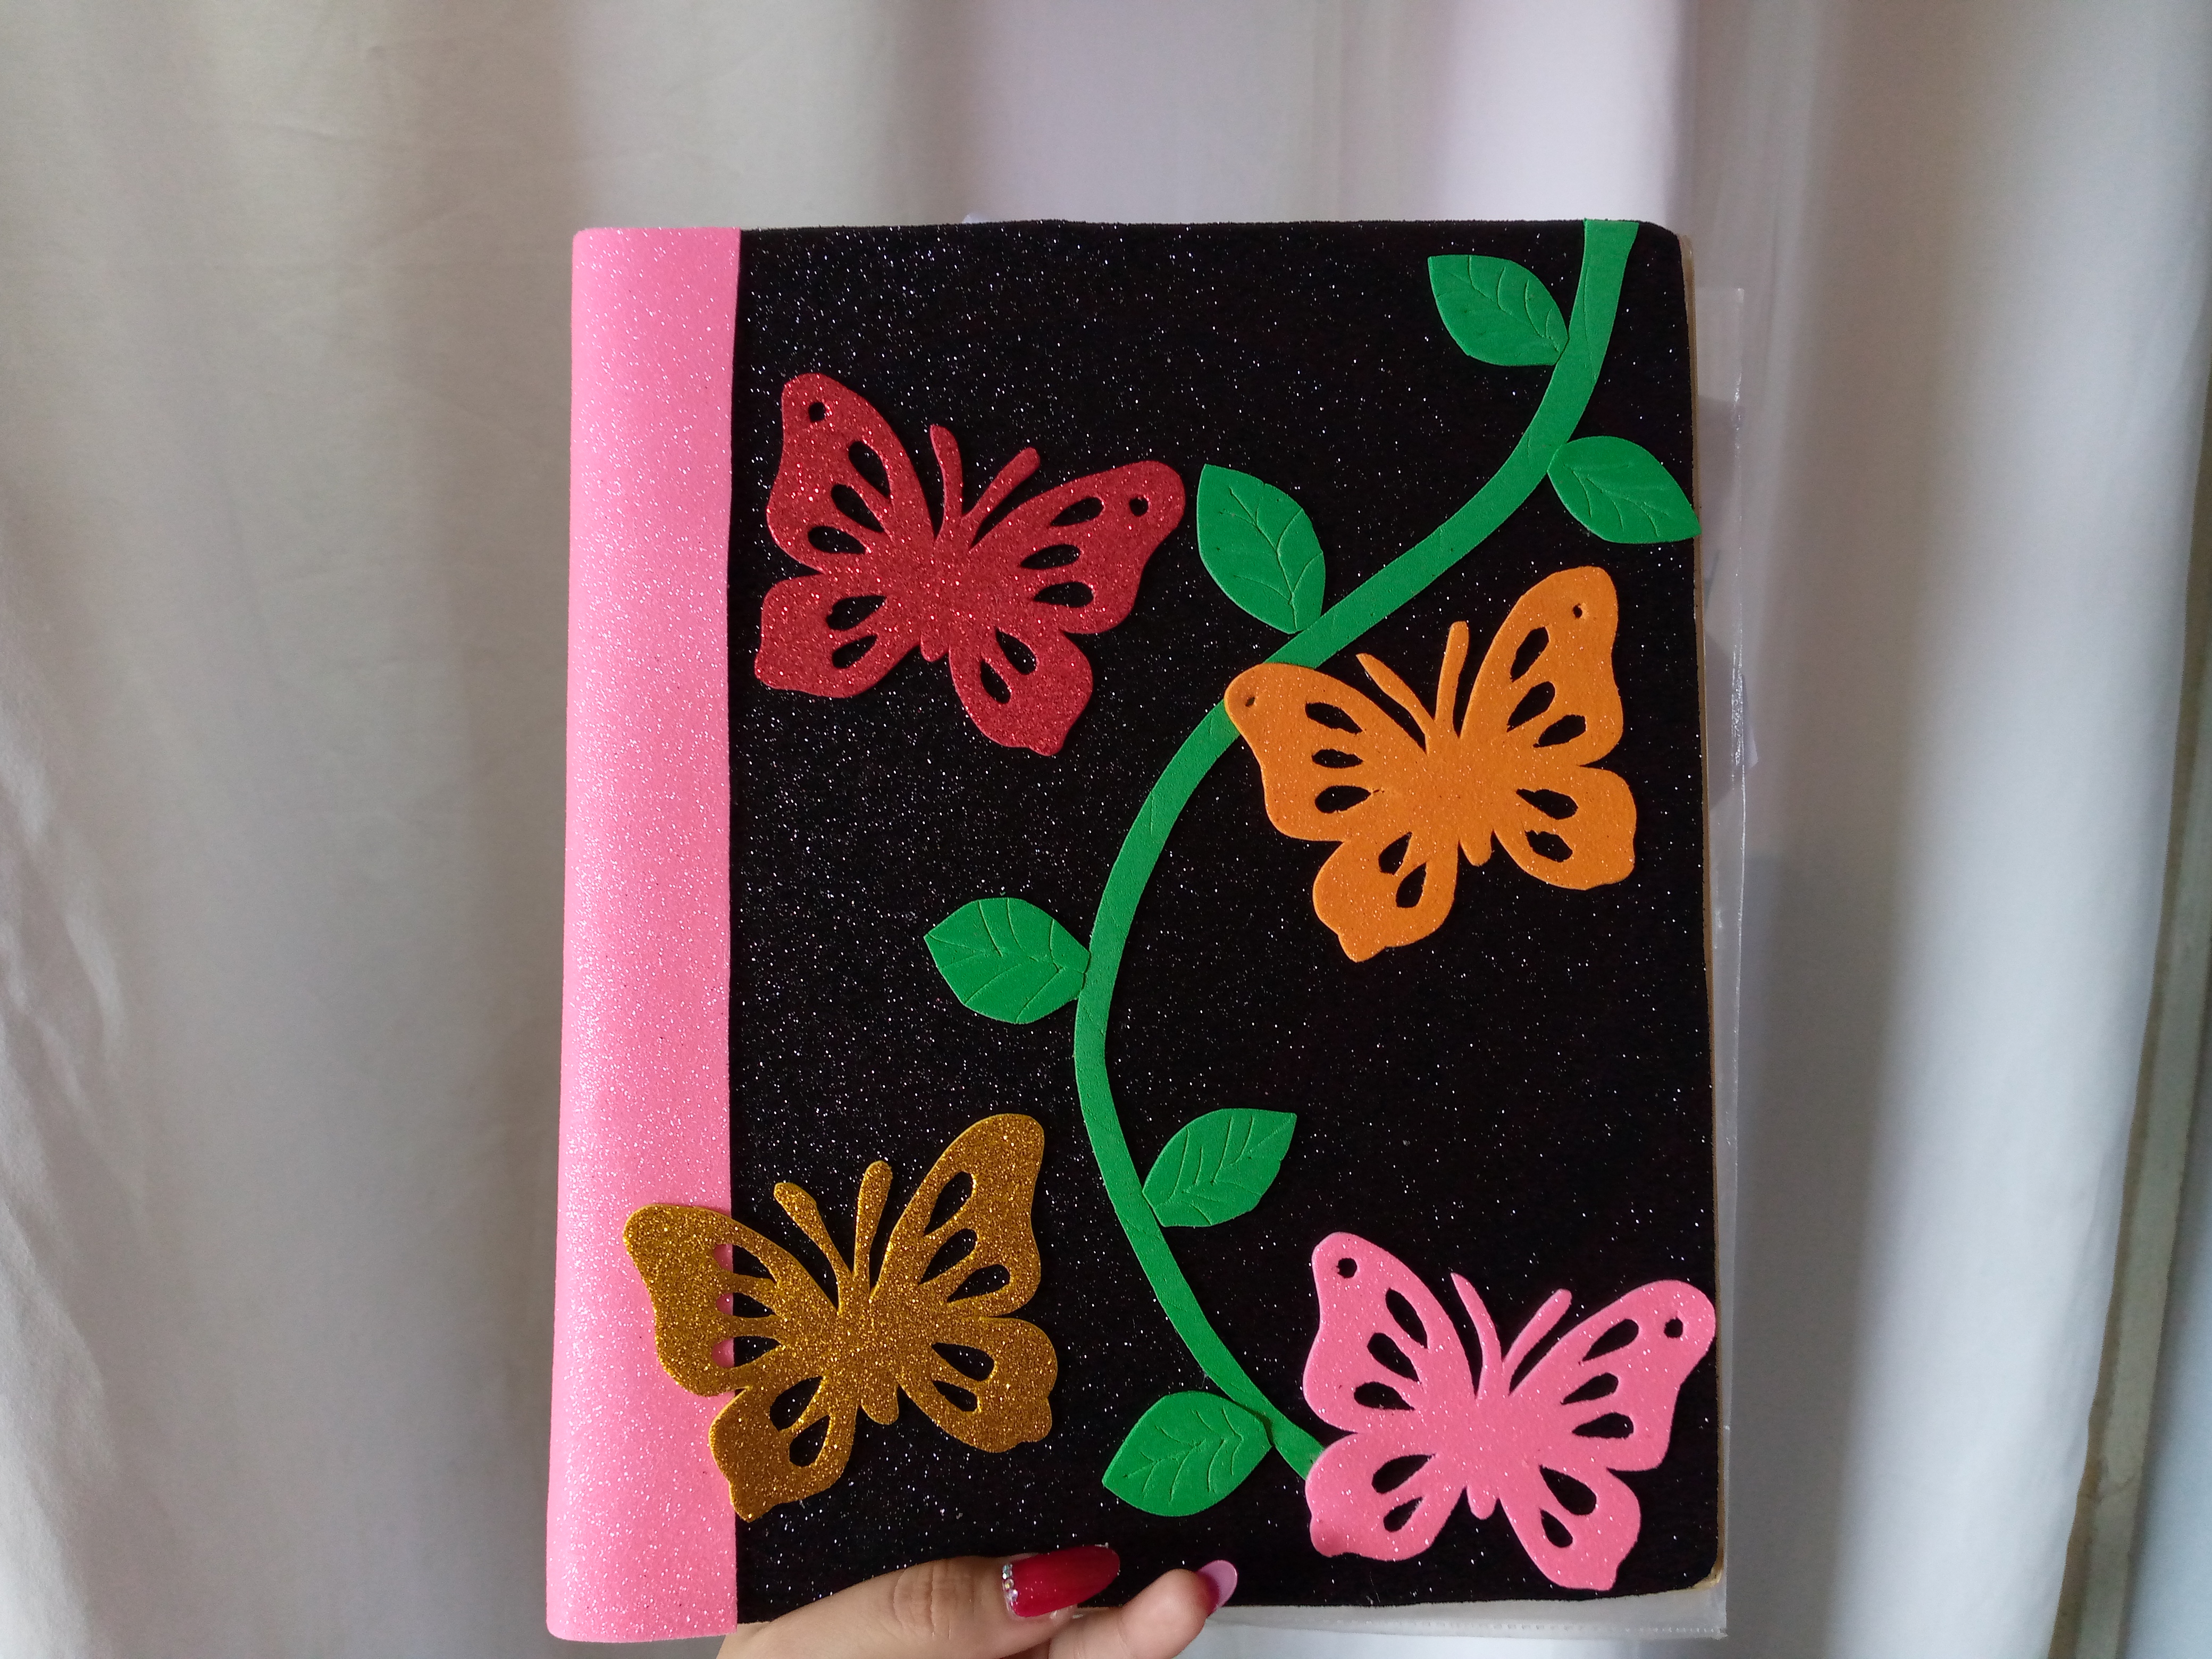
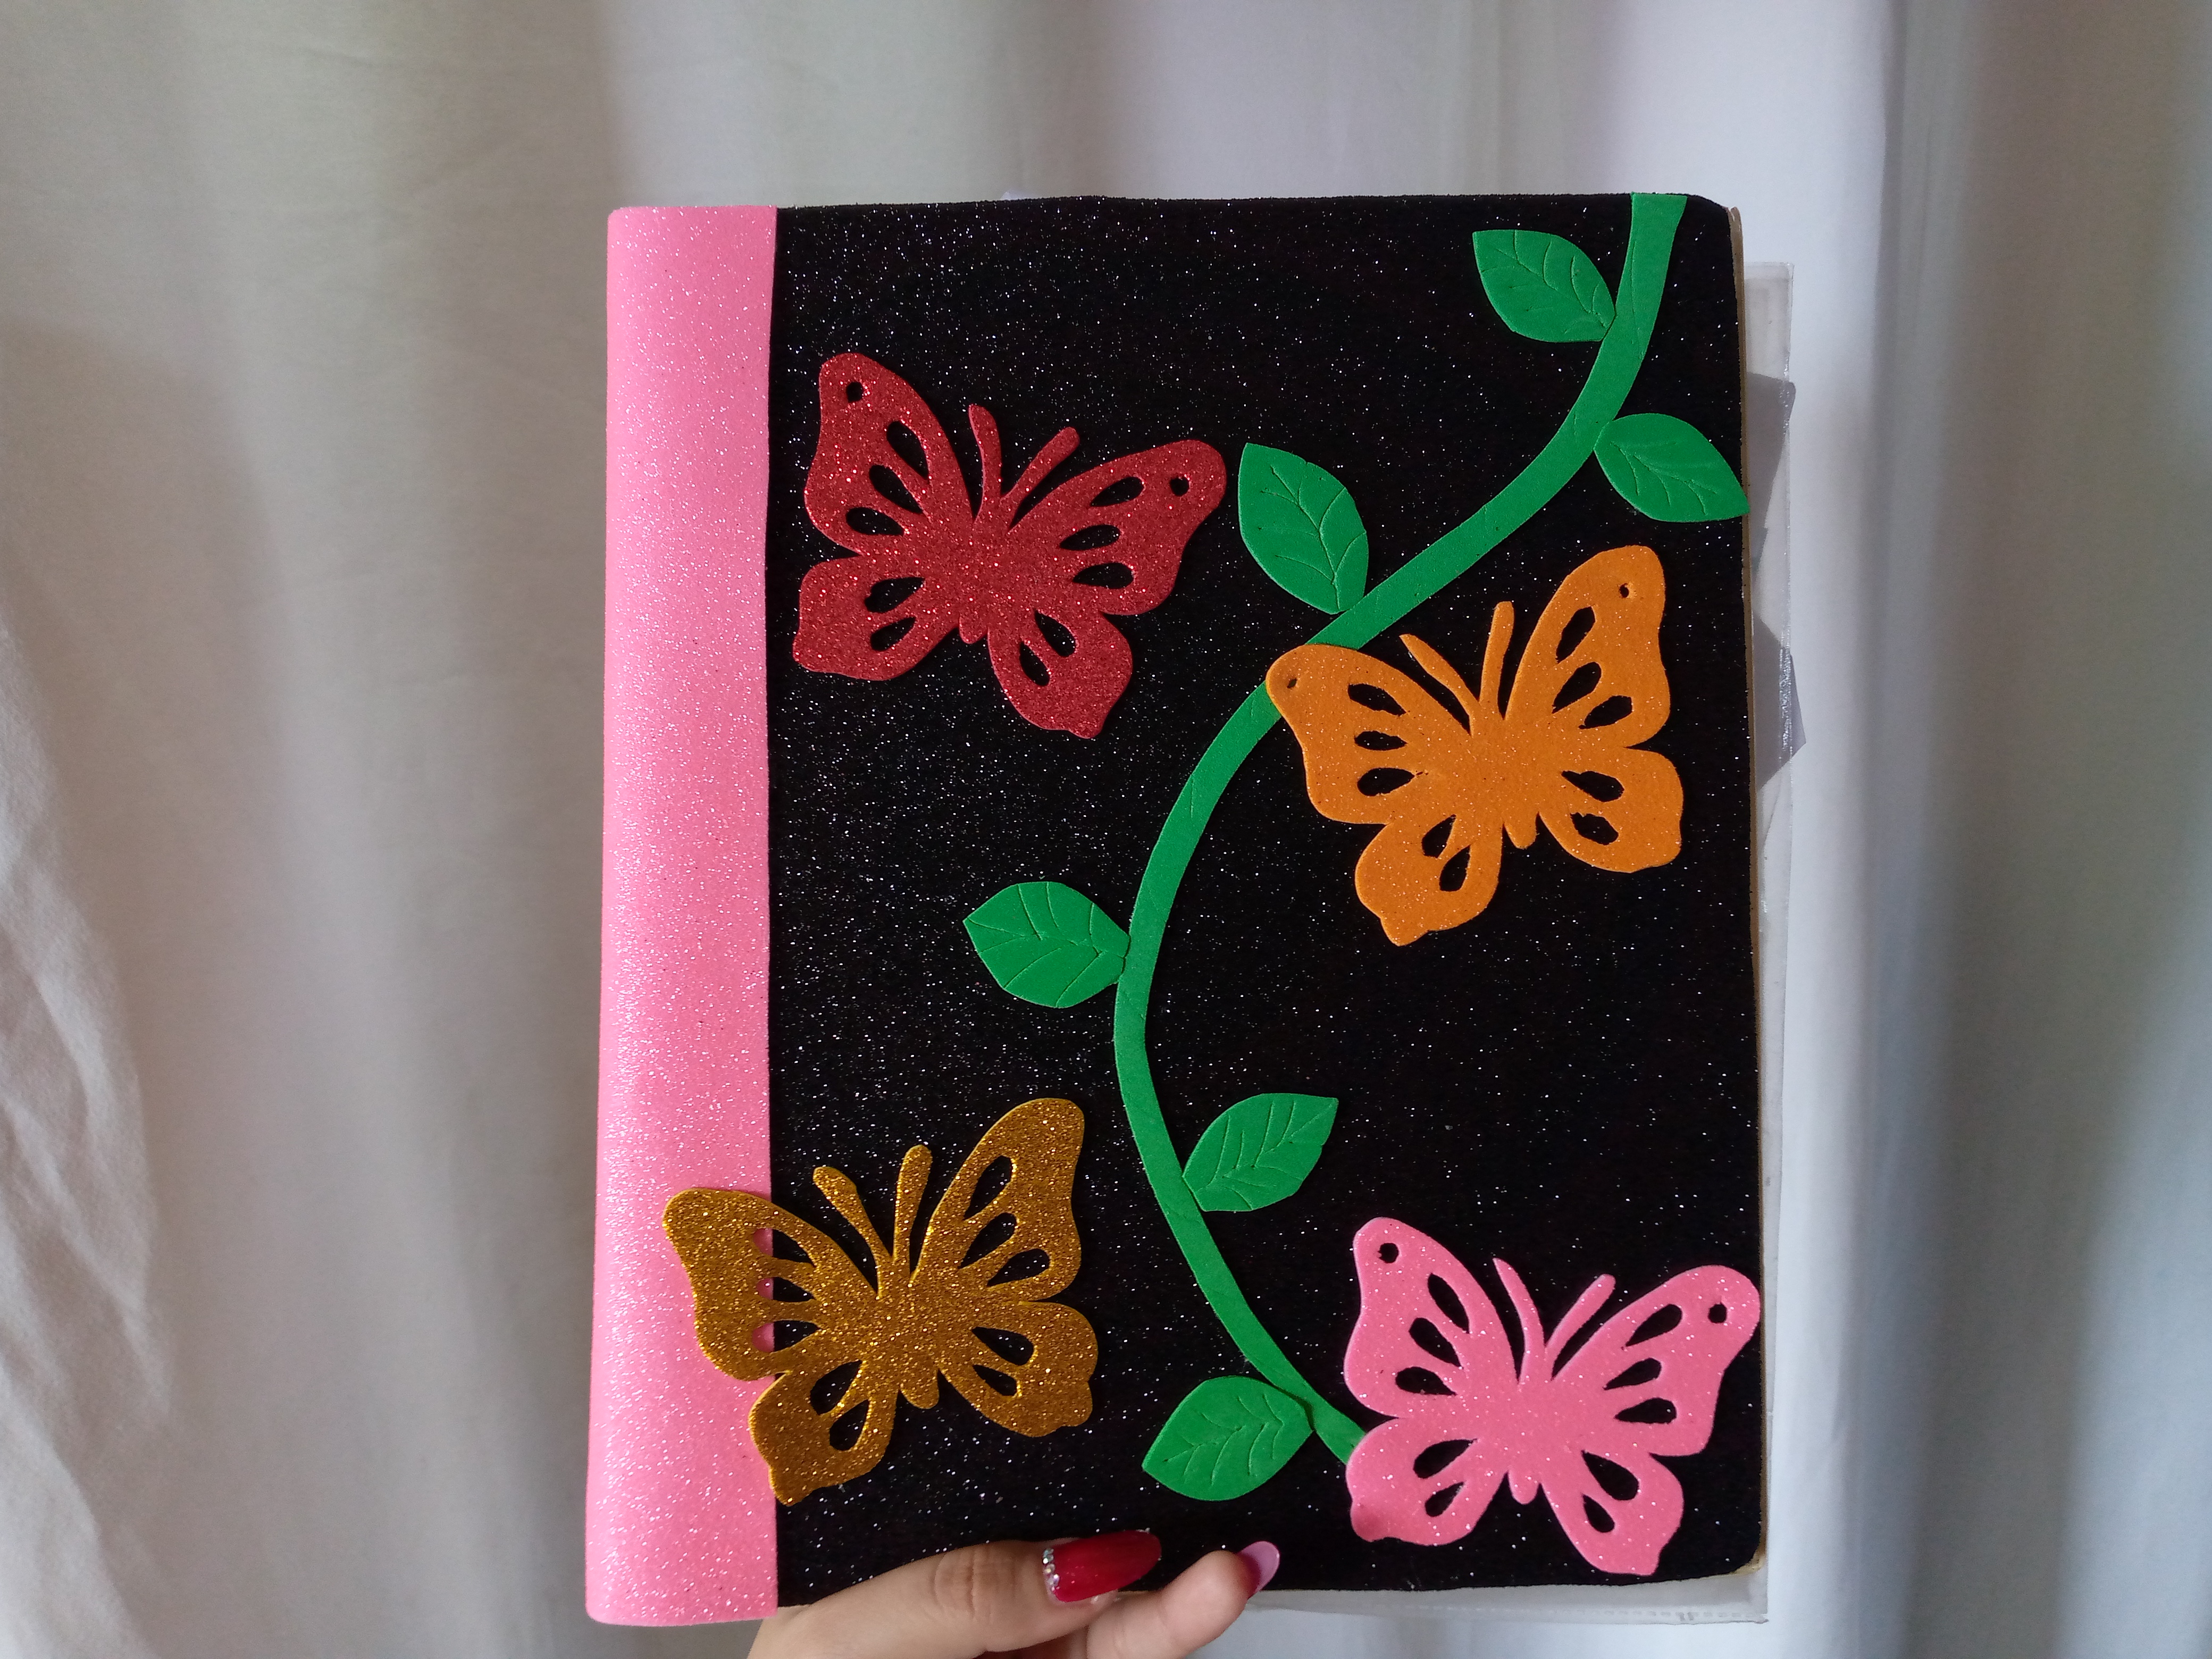
My folder is now ready and these are the final results. I hope you love this idea to cover and decorate those folders that you think are not used but that you will have again when we decorate them very nicely and with the design that you want to do. With this I say goodbye to you and I leave you with photos of how it turned out. I'll read you in another upcoming blog and I appreciate you taking a little of your time to read me. I send a big greeting to the community and a big virtual hug. See you later.

.jpg)
Creating things with love 🌷❤️
🦋✨ All the images in this publication are my author ,📱taken with my TecnoSpark8C cell phone |📸Photos edited in PicsArt and Canva. Text translated in Google Translate.
How you did this is really amazing
Nice sharing this with us
Thanks friend 🫂
Ves buenísimo darle otra oportunidad a carpetas u otros útiles, y sobre todo aprovechar estos materiales que nos van quedando y son súper útiles para crear detalles como este.
Si así es amiga yo tenía ya rato que no transformaba una carpeta 😊me alegra que te haya gustado este trabajo
que lindo, creativo y útil!
how cute, creative and useful!
Gracias hermosa .😘🥰
Your folder transformation project is both inspiring and practical. Great job on turning a simple folder into a stunning and functional piece
I'm glad to know that you liked it, greetings and have a nice night @diyhub team