It's been a long time since the last post regarding this project. You can check out the previous post and the ones before thanks to the link.
Ha pasado un tiempo desde la última publicación de este proyecto. Dando click aquí puede ver el post anterior y los anteriores a ese.
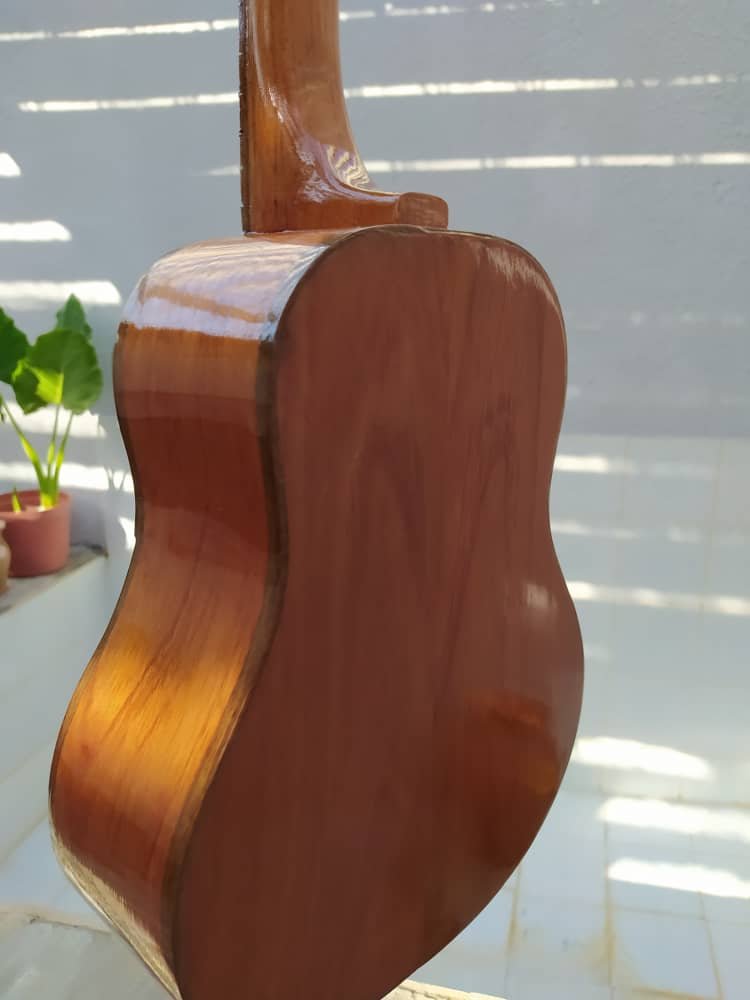
This cuatro was in hold because there wasn't a way to finish the process. The bad thing is that it was something so small that it was truly annoying. It was only missing the varnish, but now we have done it and I took the time to go through the rest of the process and got it finish some hours ago. A sound test is due, but it will come as soon as I finish some recordings. Sit tight and enjoy the last bits of the process of this, my fourth Venezuelan Cuatro.
Este cuatro estuvo en pausa porque no había manera de terminar el acabado. Lo malo es que esto es algo tan pequeño que fue una molestia. Solo faltaba el barniz, pero ahora ya está listo. Me tomé un tiempo para terminar el resto del proceso. La prueba de sonido está pendiente, pero esa se hará después de terminar unas grabaciones. ¡Pónganse cómodos y disfruten del último capítulo en este, mi cuarto Cuatro Venezolano.

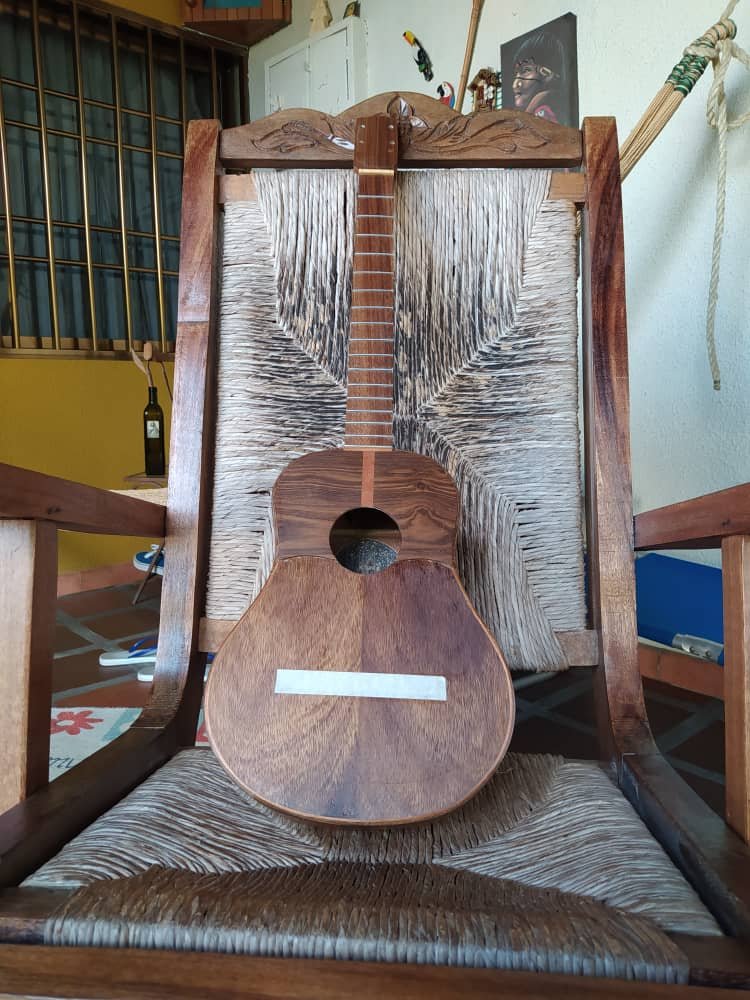
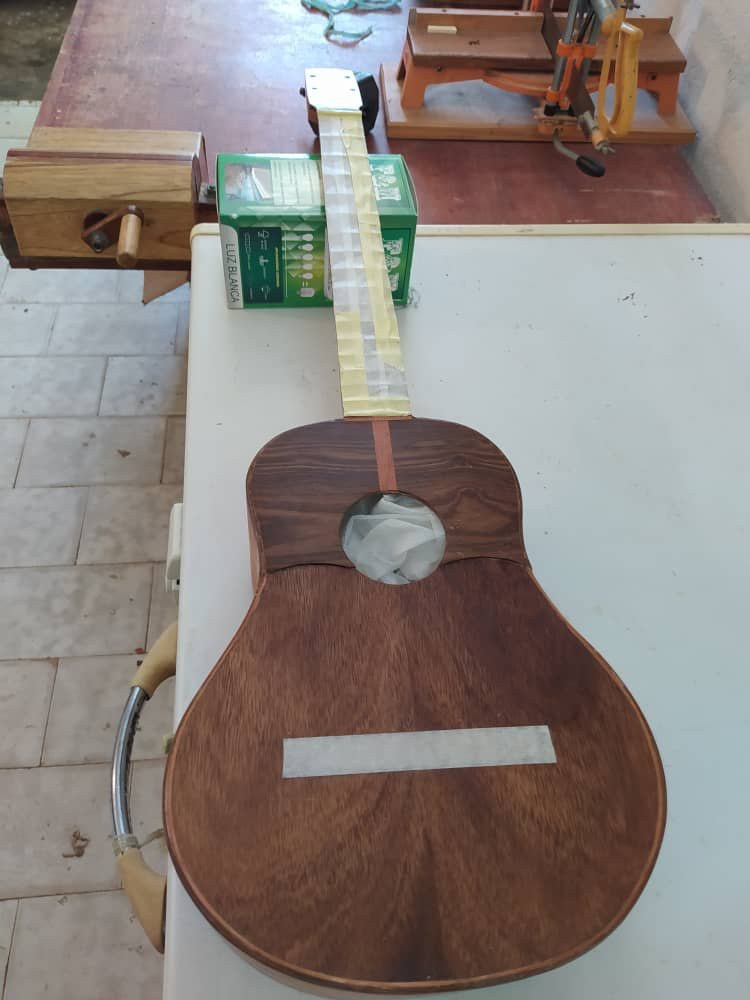
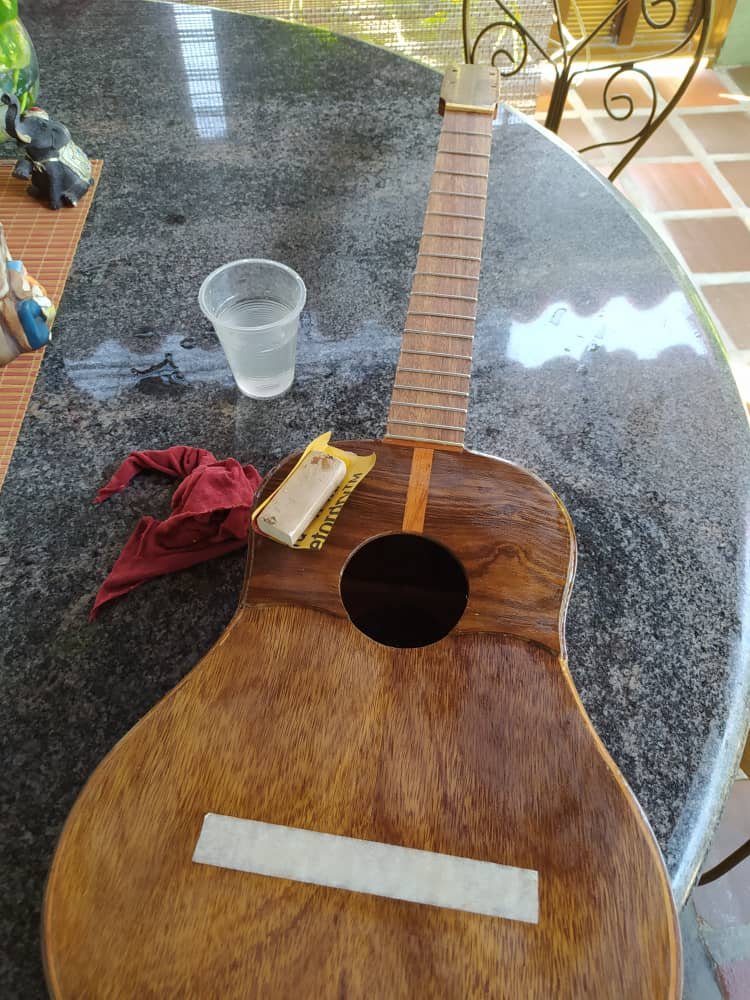
You can see the instrument was prepared for the finishing touches. The areas where we don't need any vanish were covered with masking tape.
El instrumento fue preparado para completar su acabado. Las áreas donde no se necesita barniz se cubrieron con cinta de enmascarar.
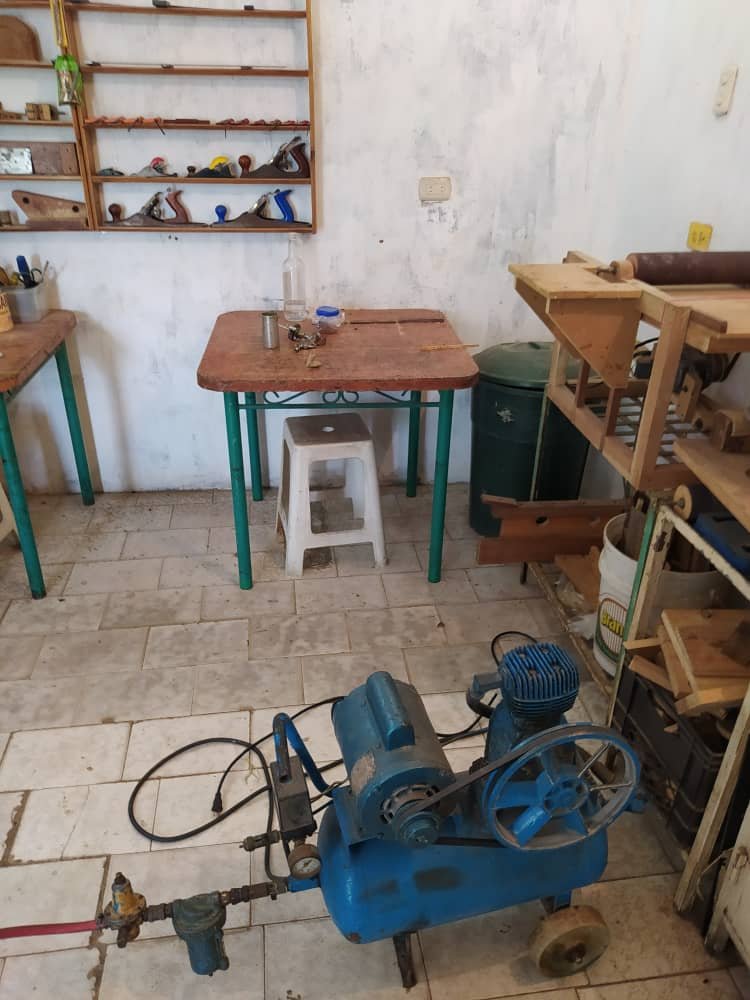
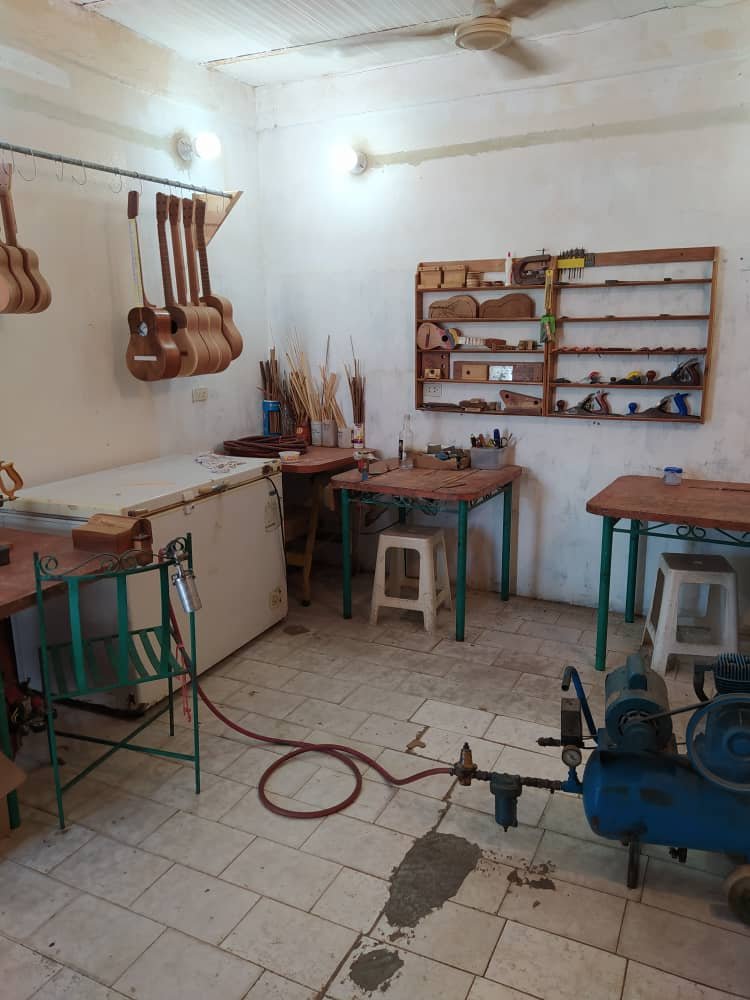
The things stopping this process was the missing air compressor. My teacher's finally died and he's still looking for a fitting replacement. He got one borrowed and it did the job just fine.
Lo que nos estuvo deteniendo fue la falta de compresor. El de mi profesor murió hace unos meses y todavía sigue buscando un reemplazo. Este es uno prestado.
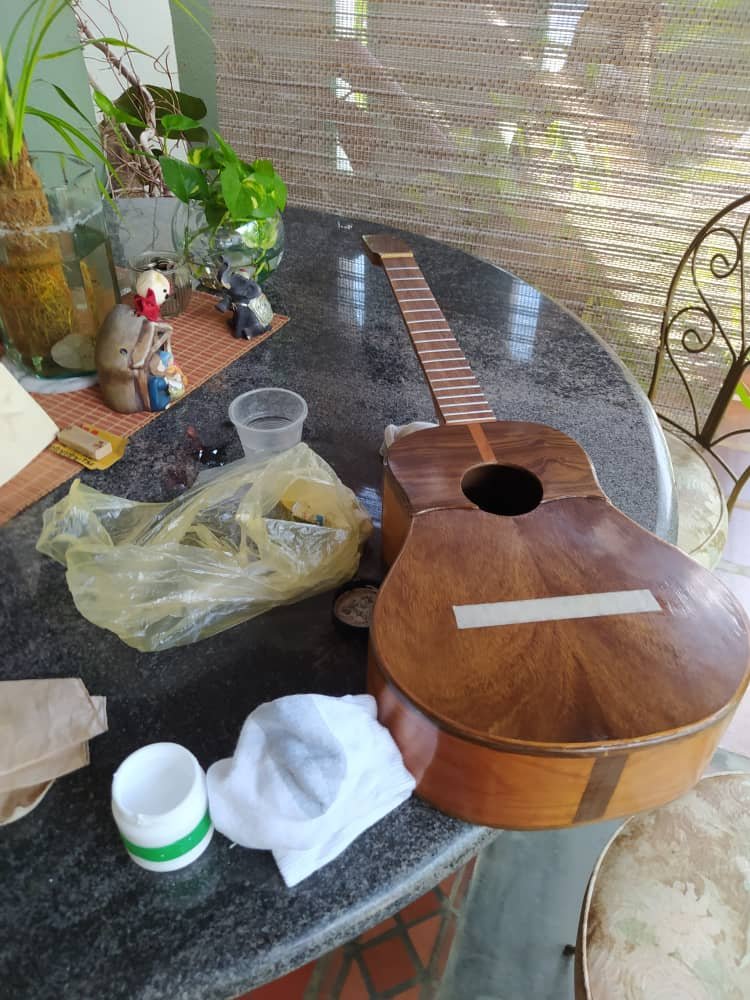
After the varnish is dry to the touch, it is time to do some sanding using water and a 1200 grit sandpaper. Afterwards, we dry the instrument with a piece of cloth and get ready to apply a laying of wax to polish the finish.
Una vez que el barniz esté seco al tacto, es tiempo de lijar al agua con papel de lija de grano 1200. Luego, se seca el instrumento con un trapo y queda listo para aplicar un poco de cera para pulir.
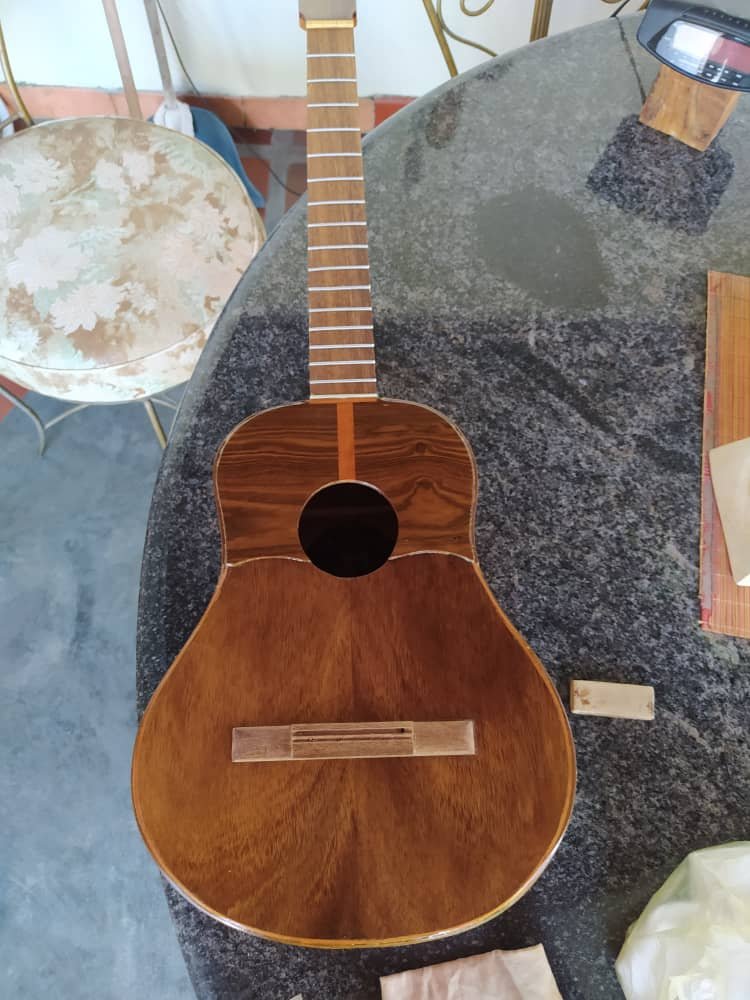
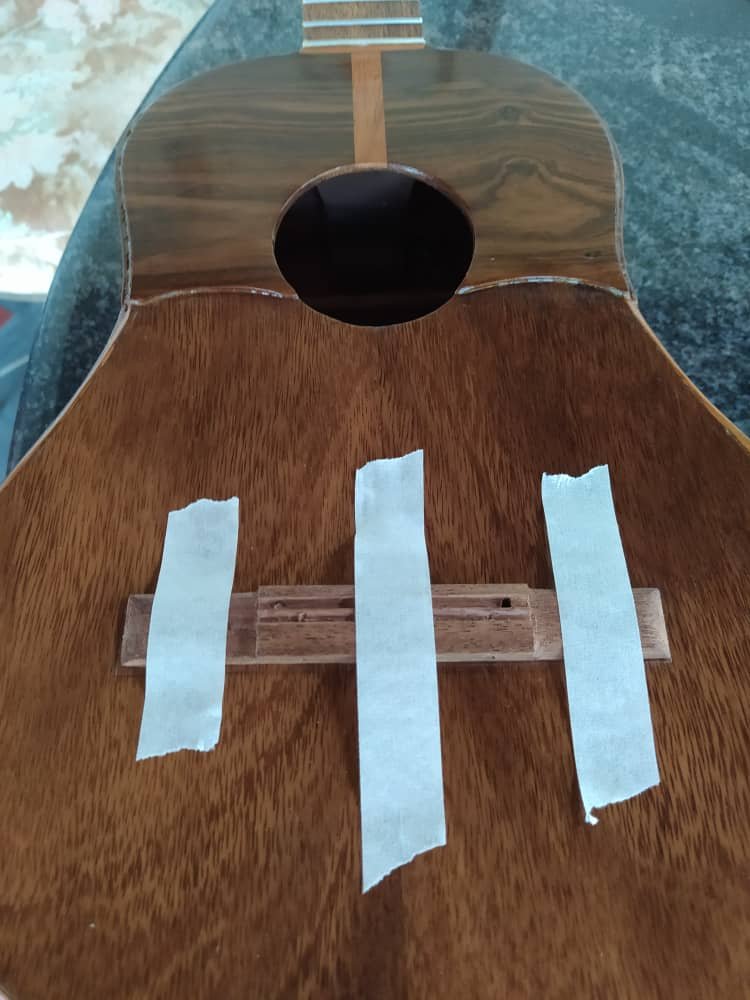
Remember that piece of tape on top of the bridge area? It is time to remove it and glue the bridge in position. This area needs to be free of any varnish or sealant. That way glue can work properly. After the tape is put to hold the bridge in place, some weight is applied to the center area and the wings. This weight needs to be on top of this area for at least 24 hours.
¿Recuerdan el pedazo de cinta en el área del puente? Es tiempo de removerla y pegar el puente en su lugar. Esta área debe estar libre de sellador y barniz. Es la única manera en que el pegamento funcionará. Después utilizamos algo de cinta para sujetar el puente. Se aplica peso encima, tanto en el centro como en las orejas. Este peso debe permanecer ahí por al meos 24 horas.
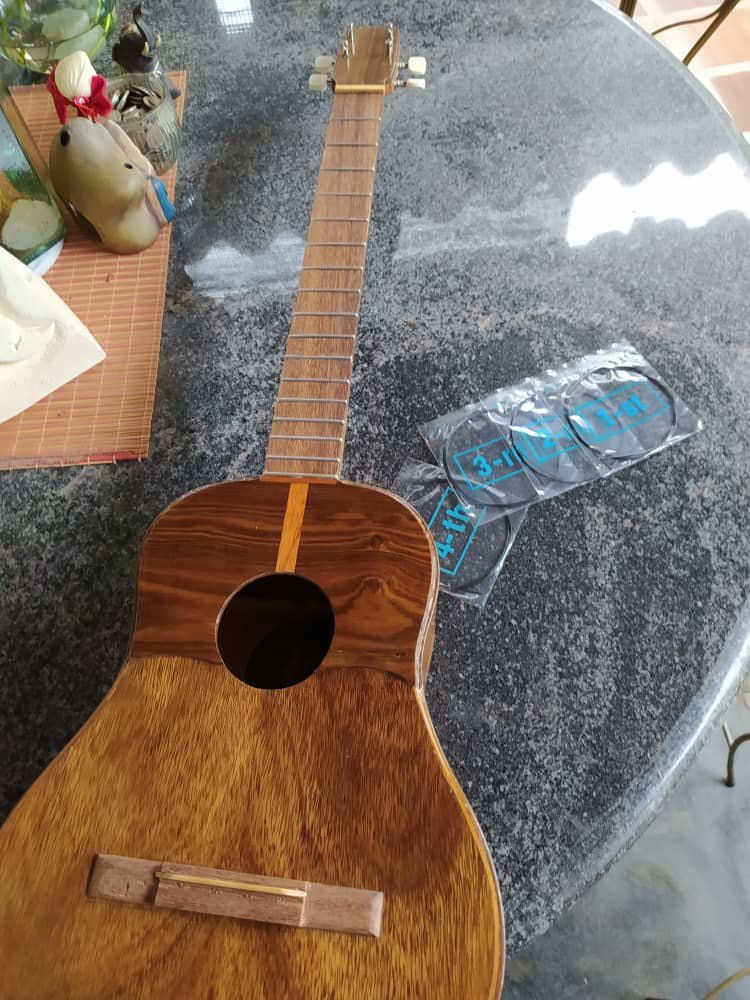
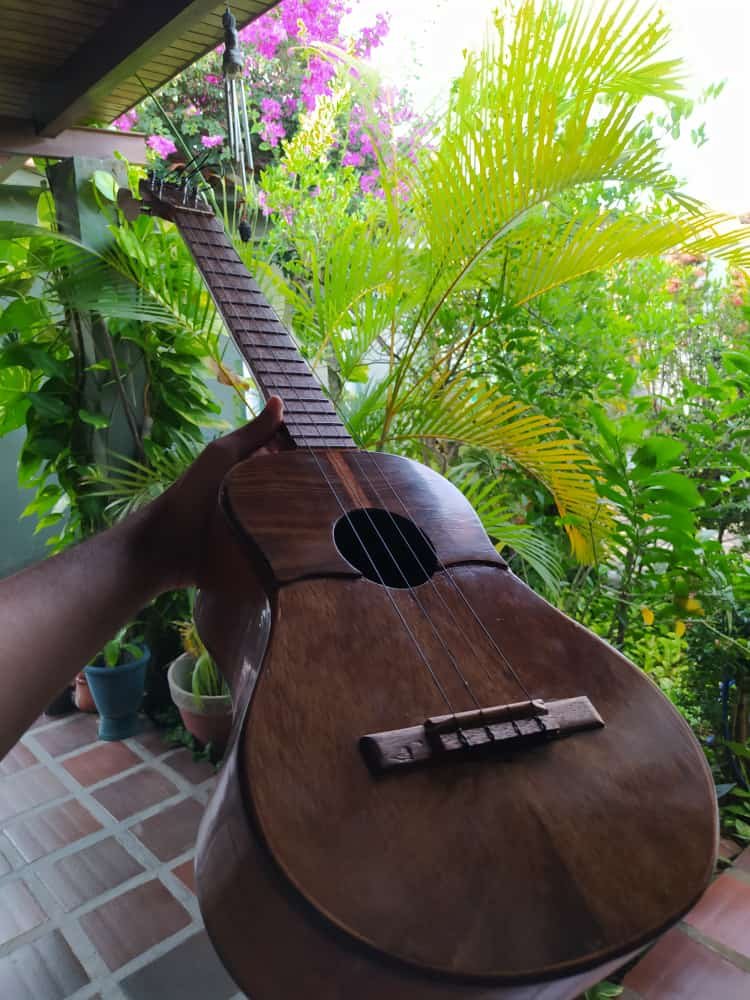
Once the bridge is glued properly, it's time to get the strings on. Before that, we take the time to screw the tuning machines on the head stock. Once this is done, we go to the strings. While the strings are fresh on the instrument, they'll need time to stretch properly so they will get out of tune often. And with this, at last, this instrument is ready to play. This cuatro is currently available for sale.
Una vez que el puente este bien firme en su lugar, es hora de atornillar las clavijas en el clavijero. Luego, vamos a las cuerdas. Por ahora, las cuerdas se desafinarán. Se requiere de tiempo y varias afinadas para que se estiren lo suficiente para mantener el tono. Con esto listo, el instrumento ya puee sonar. Este en particular, se encuentra a la venta.
Don't miss out the sound test. It will come soon enough!
¡No se pierdan la prueba de sonido que vendrá pronto!
I'm sofa king impressed. I've never seen anyone refurbish a guitar. @edprivat check this out.
¡Me refiero a cuatro por supuesto!
Oh yeah bro, @bertrayo is the man, he can do everything, literally!
Ha, ha, ha. I can't dance. That's a fact! But thanks for the compliment, @edprivat
cheers!
I'm always the last to find out.
But at least, you find out :D
Epa, ¿hablas español? Eso sí es una sorpresa.
I have never refurbished anything. Maybe I'll use my bed in the future to make more instruments. 🤣
Muy poco. Suficiente para sobrevivir un poco. Mi esposa excelente.
I'm better off translating.
You don't think what you're doing with that Cuatro is a refurbish? That wasn't offensive was it? You're probably being funny and I ruined the joke.
Ah, ¡qué bien! Suficiente para sobrevivir es mejor que nada.
I was trying to be silly. No joke ruined! 🤣
Oh hell yes! This acquaintance will be fun.
👊🏼
Ha, ha, ha. I'm sure. 🤝
Really nice work on this cuatro!
What is the scale length of this instrument? My baritone ukulele has a scale length of 20 inches, 511mm.
Thanks a lot. It was a interesting experiment. The scale length depends on the number of frets. But you can vary it if you can keep the tune in pitch. The usual numbers are 550mm for 15 frets and 580mm for 17 frets. I think the ones made for children use that 510mm scale length.
Nuestras coordenadas: