English
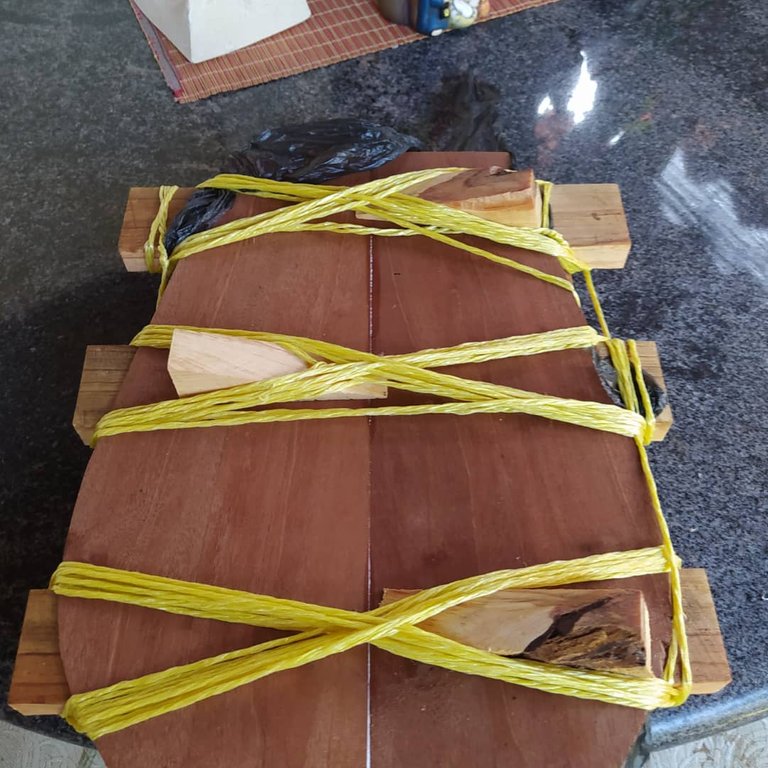
A month ago I started this instrument as seen here in this post. It took me a while to get back to it since I had a little accident with the soundboard. So, after I got new pieces of wood to continue the project and the internet connection had been giving me trouble. I decided to keep going and working and taking some picture to highlight the process. This is the 5th Venezuelan Cuatro in the workshop's account. Sit tight and enjoy the process.
Spanish
Hace mes comencé con este instrumento como puede verse en este post. Me tomó un tiempo volver al ruedo porque la tapa armónica tuvo un accidente. No obstante, después de conseguir unas piezas nuevas para reemplazar esta, pude volver al ruedo. Y como la conexión a internet no colaboraba, también aproveché el tiempo para seguir tabajando. Aquí hay algunas fotos del proceso de este 5to Cuatro Venezolano. Espero que lo disfruten.
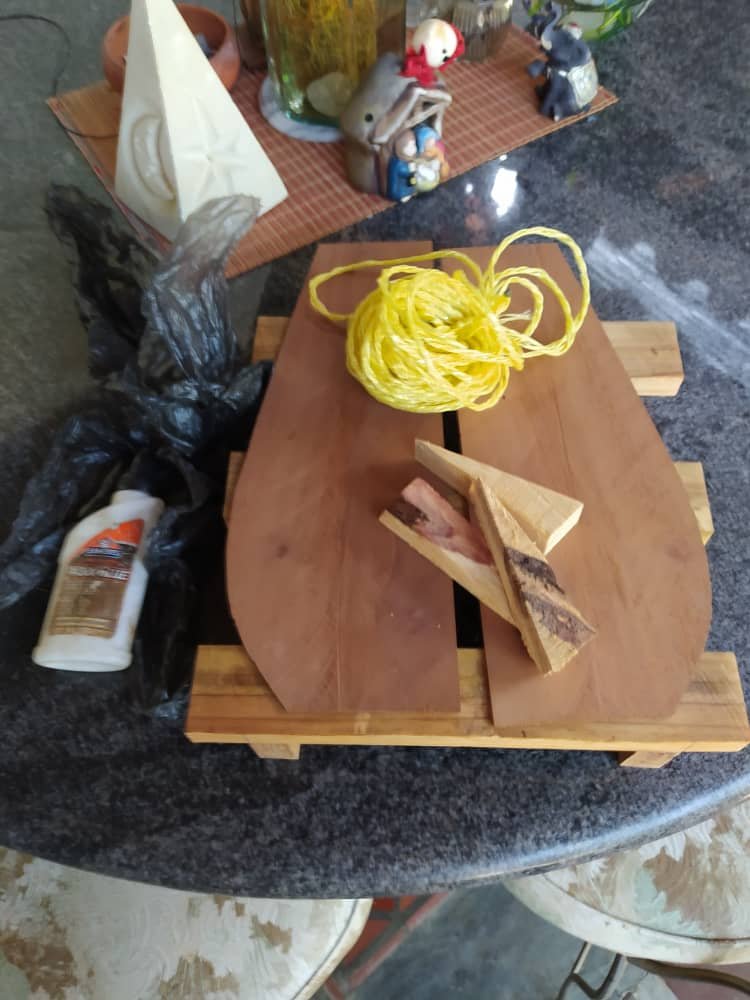
Here we go gluing the new pieces of wood to make a new soundboard. The previous one was made of cedrala. But there wasn't any cedrala available, so I got these pieces of mahogany instead. Cuatros with this kind of front aren't new in Venezuela. Master Aldana was the first to use hard woods for these instruments.
Aquí estamos pegando las piezas para la tapa armónica nueva. La anterior estaba hecha de cedro amargo. Pero no había nada de eso para hacer una tapa, entonces, conseguí estas piezas en caoba en su lugar. Cuatos con tapas de caoba no son una novedad en Venezuela. El Maestro Luthier Aldana fue uno de los primeros en utilizar maderas duras con este fin.


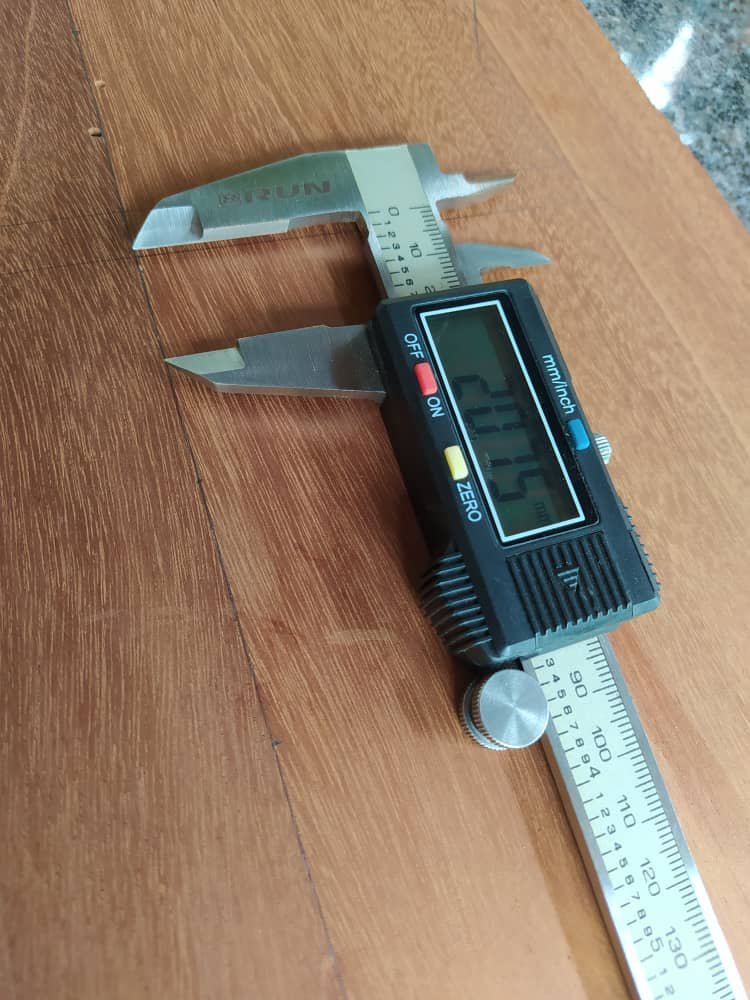
This is part of the preparation of the soundboard. Since there are knots in the wood, it would be impossible to plane it to reduce its width. However, this is where a card scraper comes in handy. With a ton of patience I started the process of reducing the width of the sound board. I also used my glass sanding block to speed the process. Then, with a caliper and a compass, I marked out the places of reinforcements, sound hole and this squares that I'm using instead of struts. The goal was to achieve a width of 1.6 - 1.8 mm. After having that, all the reinforcements were glued into place.
Esta es la preparación de la tapa armónica. Como hay nudos en la madera, sería muy difícil trabajar la madera con un cepillo para reducir su grosor. Sin embargo, aquí es una rasqueta está para salvar el día. Con mucha paciencia, comencé el proceso de reducción. También utilicé me bloque de lijado de vidrio para acelerar un poco el proceso. Luego, con el vernier y un compás, marqué la posición de los refuerzos, la boca y esta nueva junta para reemplazar el abanico armónico. La idea era lograr un grosor entre 1.6 y 1.8 mm. Después de conseguir esto, se pegaron todos los refuerzos.
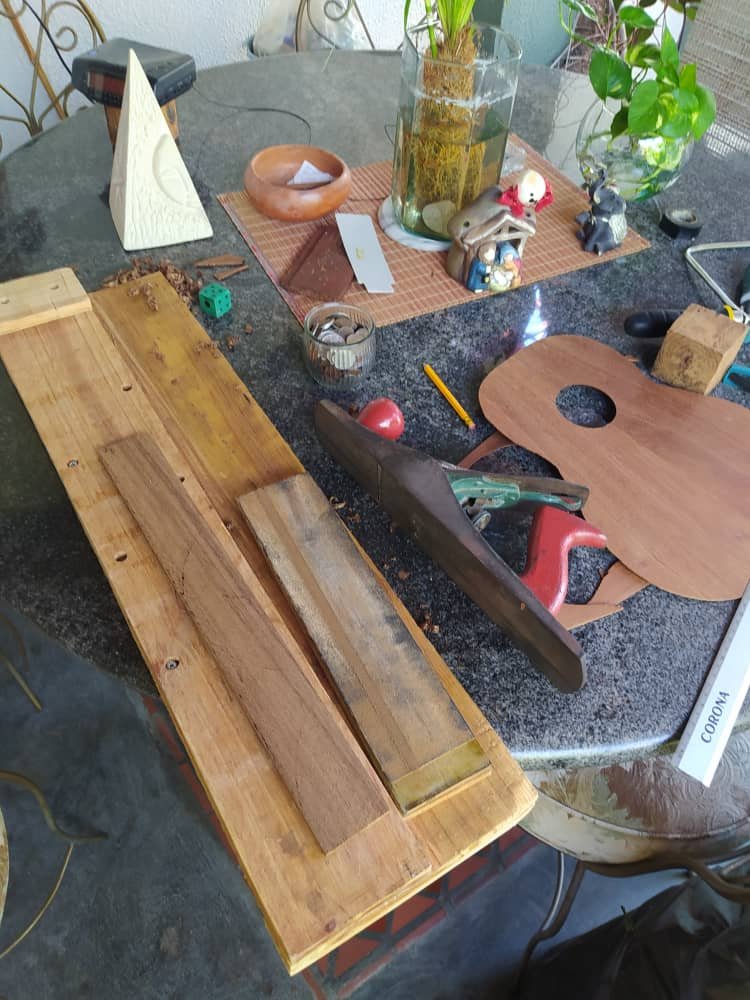
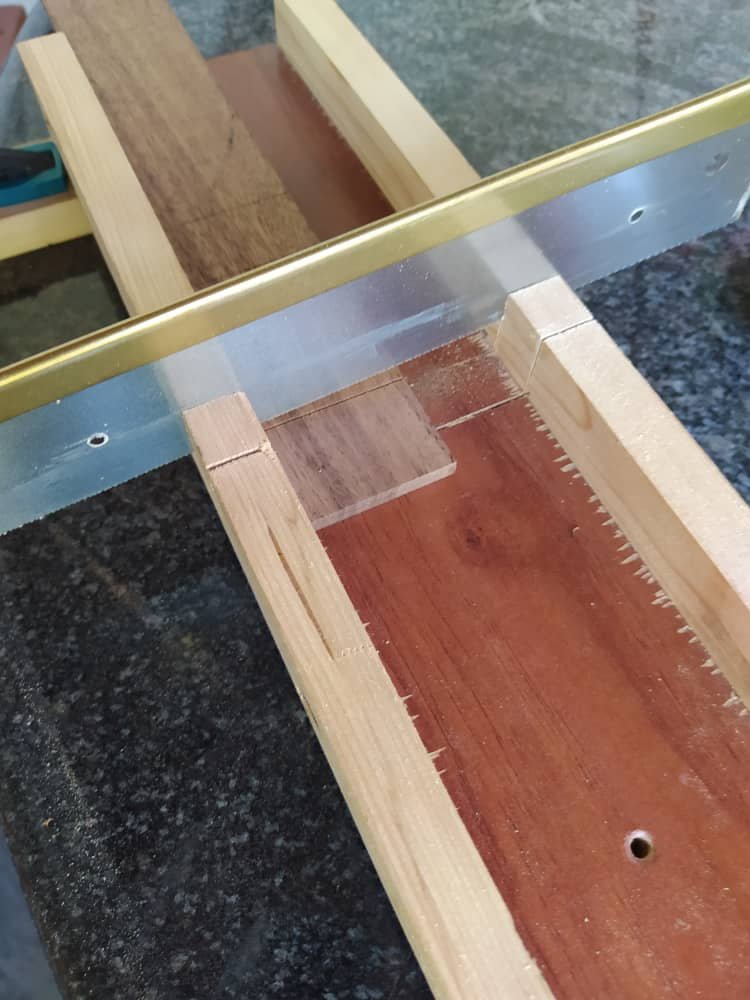
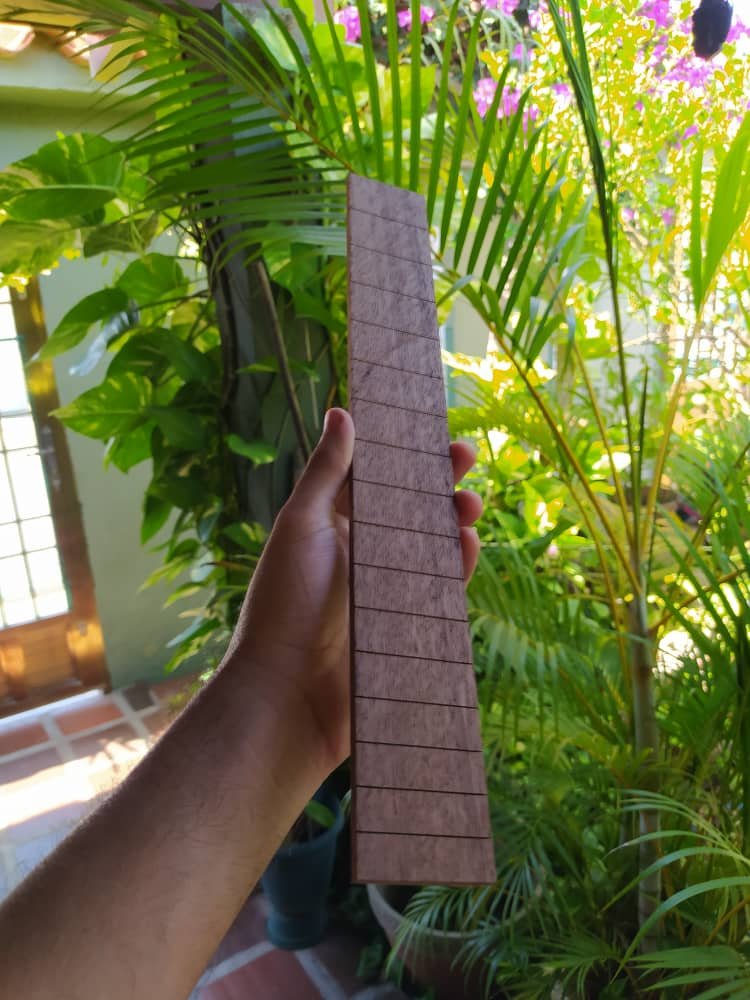
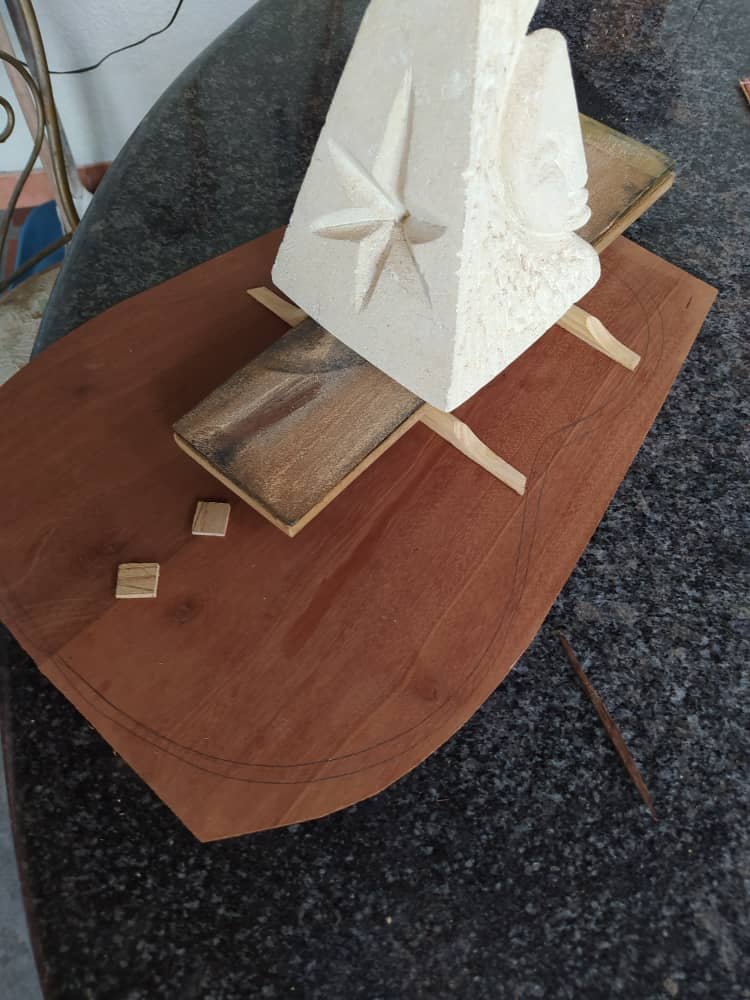
In the pictures above you can see the soundboard already in shape. The other piece to work was the fretboard. Making ahead of time meant to speed the process. I used my DIY miter box to make the slots at 90° angle. Afterwards, I used my plane to achieve a conical shape, thus having all pieces ready for assembly.
En las fotos anteriores pueden cómo la tapa armónica ya cobró forma. La otra pieza en cuestión es el diapasón. Hacerlo ahora implica acelerar el proceso del cuatro. Utilicé mi caja de inglete para cortar las ranuras a 90°. Luego, con mi cepillo le di forma cónica. Con esto, todas las piezas están listas para comenzar el ensamblaje de este instrumento.
I hope you have enjoyed this little peak at the project. There's more to come in the next entries as this instrument is already on its final stages. Once it is done, it will be up for sale. All the pictures from above were taken by me using my phone. The background is the lovely front yard my mom keeps green.
Espero que hayan disfruta esta pequeña ventana a este proyecto. Vienen muchas más cosas ya que este instrumento se encuentra en sus fases finales. Una vez que esté listo, estará disponible para la venta. Todas las fotos mostradas anteriormente han sido tomadas por mi con mi teléfono celular. El fondo es el porche de la casa que mi mamá mantiene vivo y verde.
Thank you for sharing this amazing post on HIVE!
Your content got selected by our fellow curator @stevenson7 & you just received a little thank you via an upvote from our non-profit curation initiative!
You will be featured in one of our recurring curation compilations and on our pinterest boards! Both are aiming to offer you a stage to widen your audience within and outside of the DIY scene of hive.
Join the official DIYHub community on HIVE and show us more of your amazing work and feel free to connect with us and other DIYers via our discord server: https://discord.gg/mY5uCfQ !
If you want to support our goal to motivate other DIY/art/music/homesteading/... creators just delegate to us and earn 100% of your curation rewards!
Stay creative & hive on!
That's a lot of scraping to thin out the face to the thickness you wanted!
The project looks like it's coming along nicely.
A lot of scrapping and almost no change in depth. But that's how it goes.
Nuestras coordenadas: