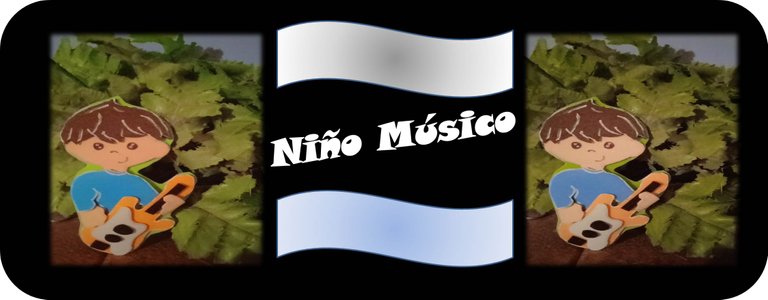
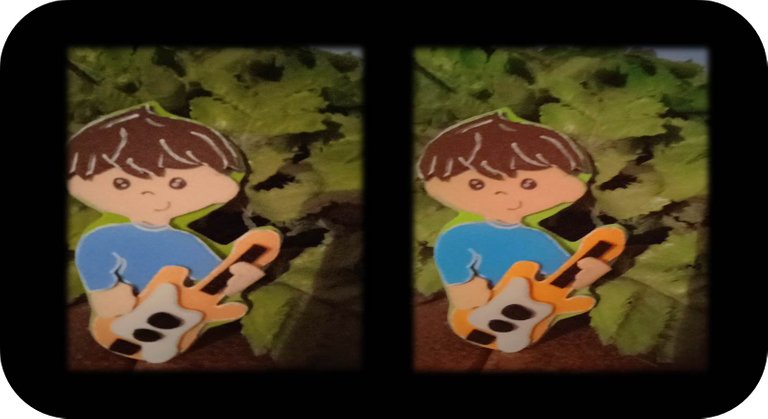
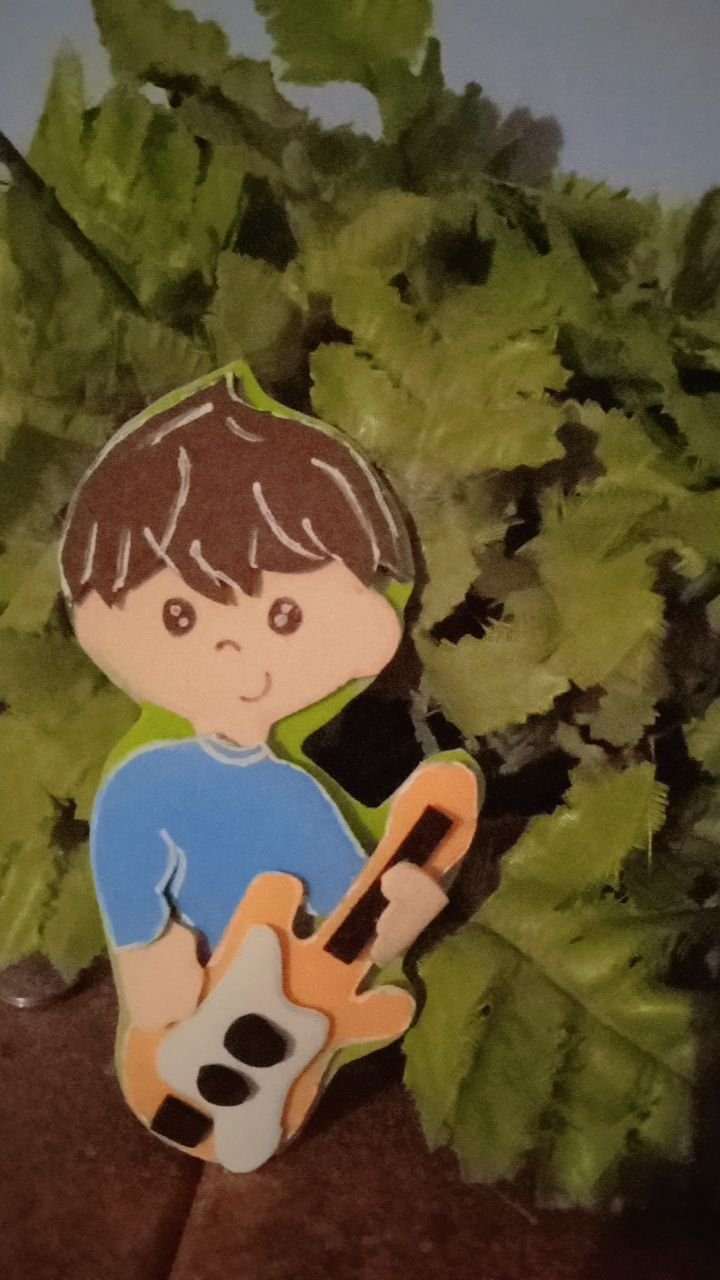
aHappy day to all the Hive community, boys and girls, who make up this platform, today's creation is a child musician playing his guitar, transmitting with his sound, how warm and pleasant music is. For this reason, my dedication is for all those who love music, especially to the great HIVE Music Video Foundation that is looking for great musicians on this platform.
I don't know if this posh would qualify for the contest, but I made it with a lot of love and affection, the essential of music.
I hope you like it.
Here is this tutorial.
Feliz día a toda la comunidad Hive, chicos y chicas, que conforman esta plataforma, en este día la creación de hoy es un niño músico tocando su guitarra, transmitiendo con su sonido, lo caluroso y agradable que es la música. Por tal razón, mi dedicación es para todos aquellos que les encanta la música, en especial a la gran HIVE Music Video Foundation que anda en busca de grandes musicos en esta plataforma.
No sé si este posh calificaría para el concurso, pero lo hice con mucho amor y cariño, lo esencial de la música.
Espero que les guste.
A continuación el presente tutorial.
WE BEGIN - COMENZAMOS
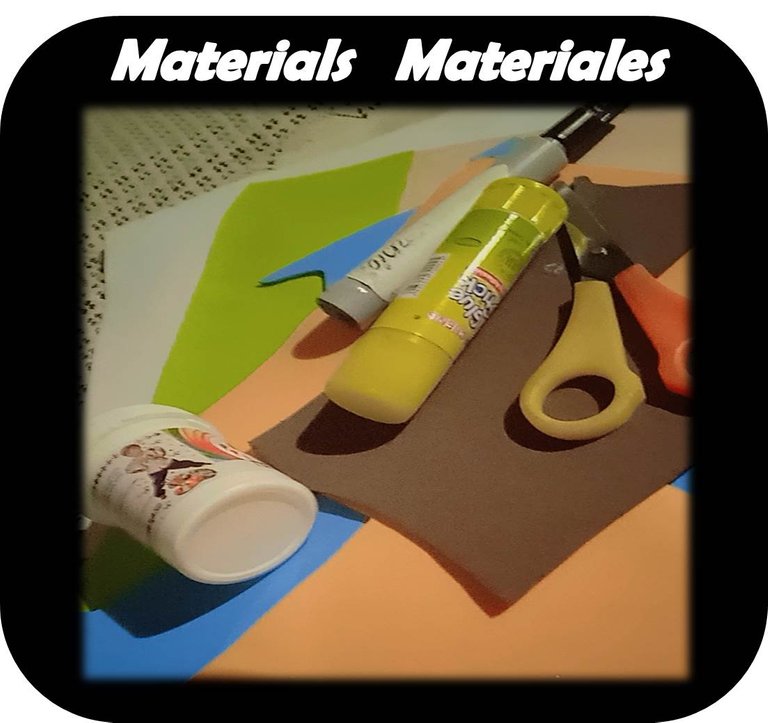
Materials:
White cold paint.
Black marker
Glue.
Silicon and scissors.
Brown foami.
Flesh-colored Foami.
Blue foami.
Green foami.
Orange foami.
White foami.
Black foami.
Pintura al frio blanca.
Marcador negro
Pega.
Silicon y tijera.
Foami marron.
Foami color carne.
Foami azul.
Foami verde.
Foami anaranjado.
Foami blanco.
Foami negro.
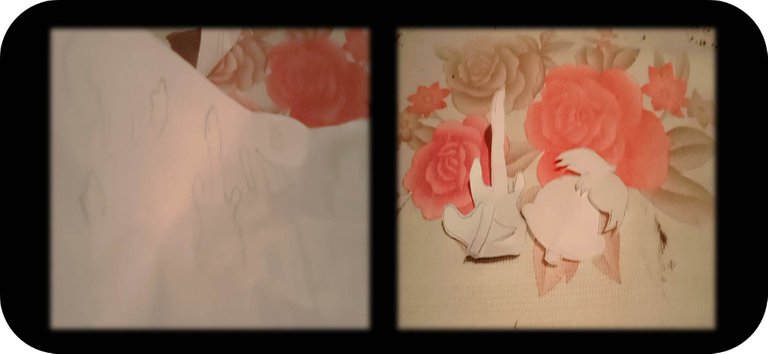
Paso 1:
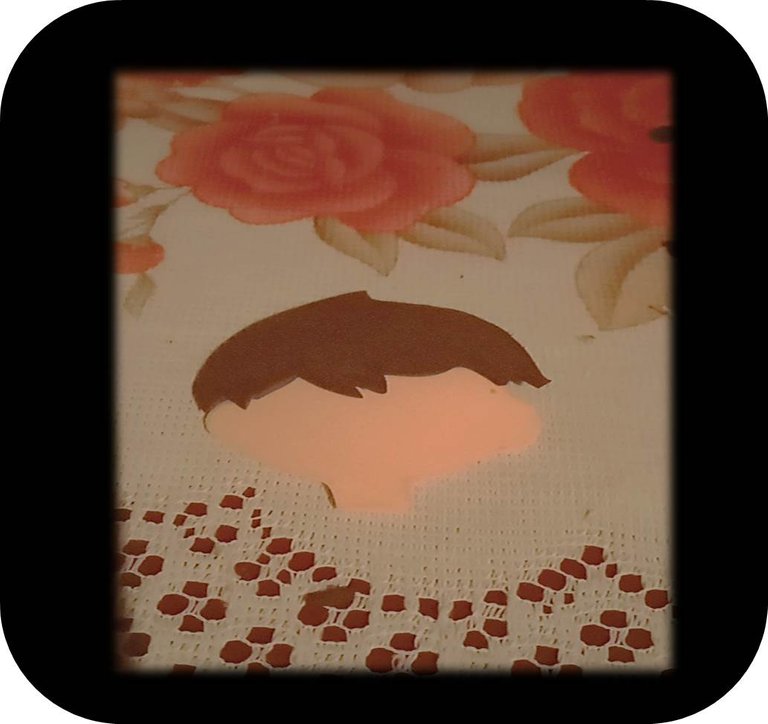
Let's start with this tutorial, friends, the first thing I did was the pattern of each figure, so that at the time of making my creation is a little faster, so I did it and cut it out. Once I had it ready, I proceeded to use the flesh colored foami for the head and hands of the boy, his hair with the brown foami, the guitar with the orange foami, shirt with the blue foami, and finally with the black and white foami the parts that will make up the guitar.
With all the figures marked, cut out each one of them.
Images below.
Comenzamos con este tutorial, amigos, lo primero que hice fue el patrón de cada figura, de manera que al momento de hacer mi creación sea un poco más rápido, así que lo hice y lo recorte. Al tenerlo listo, procedí a utilizar el foami de color carne para la cabeza y manos del niño, su cabello con el foami marrón, la guitarra con el foami anaranjado, camisa con el foami azul, y finalmente con el foami negro y blanco las partes que conformara la guitarra.
Con todas las figuras marcadas, recorte cada una de ellas.
Imágenes a continuación.
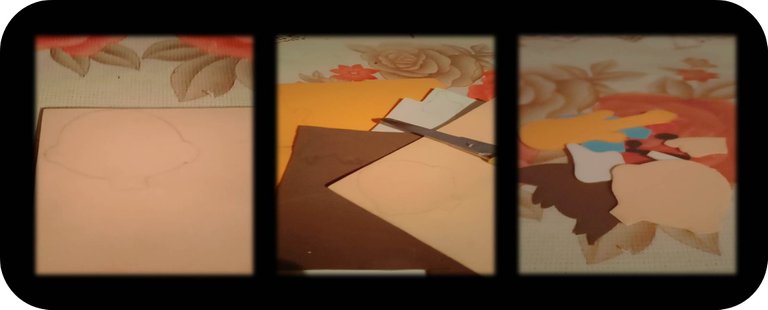
Paso 2:
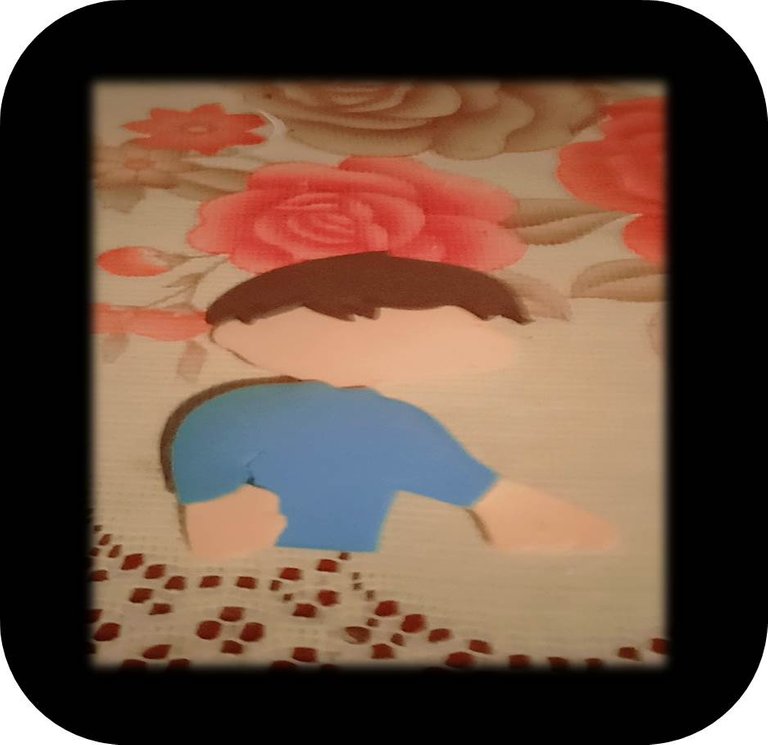
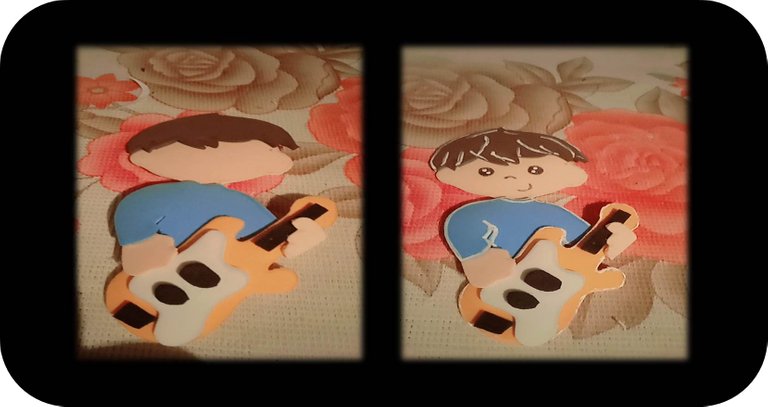
As a second step, I began to glue and assemble my creation, as follows, the head and the hair, then consecutively the shirt and hands.
On the other hand, I assembled the guitar, because when I had it ready I joined the guitar with the boy.
When I was almost finished, I used the white cold paint to create the outlining effects on the hair and body, as shown in the pictures.
Como Segundo paso, comencé a pegar y armar mi creación, de la manera siguiente, la cabeza y el cabello, así consecutivamente la camisa y manos.
Por otro lado, arme la guitarra, porque al tenerla lista uni la guitarra con el niño.
Ya casi terminando, utilice la pintura a frio blanca para crearle efectos de delineacion en el cabello y cuerpo, asi como se muestran en las imagenes.

Paso 3:
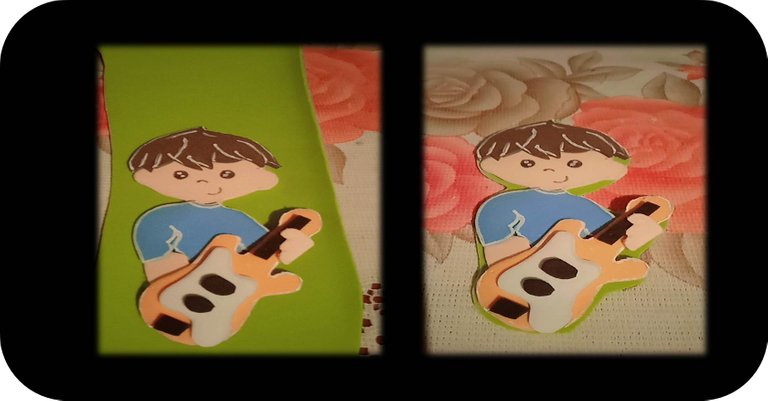
As a third step, place the child with the guitar on the green foami, with the idea of making a green outline all over the figure.
End.
Como tercer paso, coloque al niño con la guitarra en el foami verde, con la idea de hacerle un contorno por toda la figura de color verde.
Fin.
My Musical Child.
Mi Niño Músico.
All photos are my property taken with my Redmi 9c Smartphone.📷
🌺 My number is @Brindyschi 🌺
Until a future opportunity

Success for all 👊
a true musical child that would be a great adornment anywhere it is placed. Nicely.
Estoy de acuerdo contigo, gracias @diyhub
Hola 👋 buen día. Está muy linda y tierna tu manualidad. Está chévere para decorar un ambiente de clase e de música. Felicidades y mucha suerte.
Pero qué linda manualidad has creado. Me gusta la dedicación y el detalle todo genial.
Nice one!! I also like your post, how you showed all the steps. :) !PIZZA
$PIZZA slices delivered:
@ravenmus1c(4/20) tipped @brindyschi