The kitchen is one of the places that suffer wear and tear as it is the place where we prepare food.
Although there are people whose lifestyles allow them to prepare only one of the three meals at home, the kitchen sink is always in frequent use.
I imagine it's a lot per day, especially if you like to cook like me. The consequence of this overuse is that some parts get damaged, and that was my case.
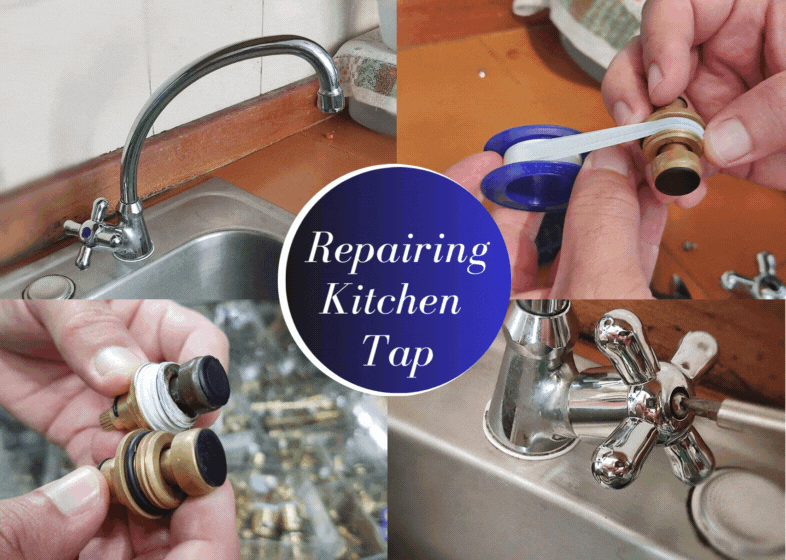

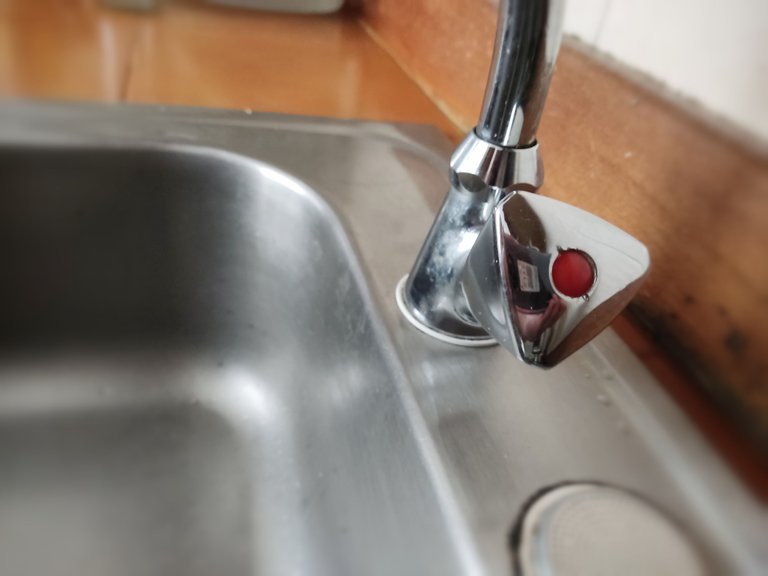
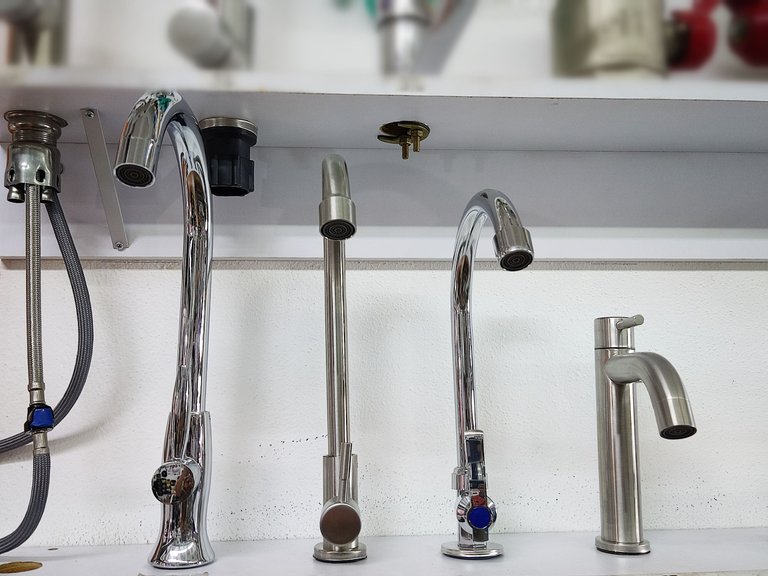
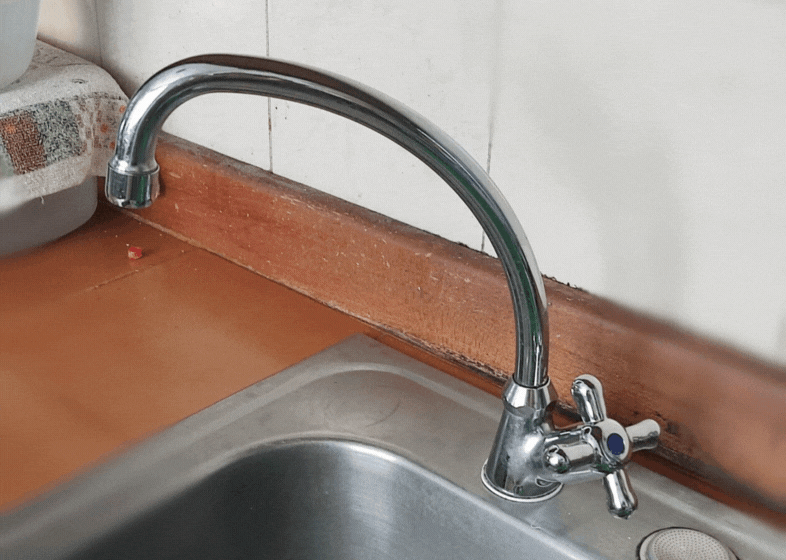
Days ago, my kitchen sink started leaking. When this happens, it is because we have not closed the kitchen tap properly. Then logic dictates that we should tighten the faucet more. But when the parts are plastic instead of metal, this tightening causes the internal mechanism of the kitchen tap knob to wear down to the point that it no longer performs its function, which is to shut off the water stream. It can be said that at this point, you have to make a review to decide whether to change the entire kitchen tap or just some pieces.
Before continuing, I must tell you that sometimes we associate this type of repair with the male gender. I do not know if some women are fearful and do not dare to try to solve the problem. I think it's all a matter of being curious about how things work and learning about these types of repairs that are always useful in the home.
The first step was to disassemble the kitchen tap. This model has a plastic plug in the center part of the faucet knob. It was a good sign since it is not a complete part.
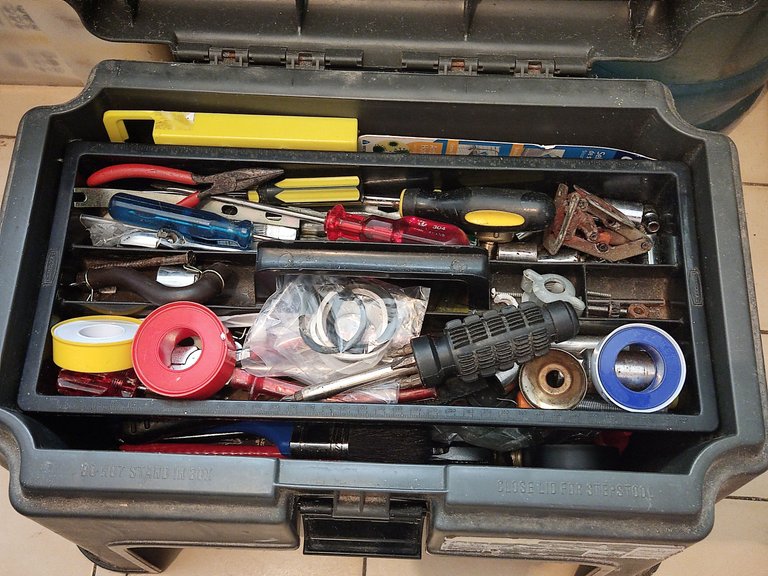
I must remind you that before starting this type of repair, you must turn off the main faucet that supplies the water. Otherwise, the water will gush out like a spring.
We went to the toolbox to find a flathead screwdriver to remove the plug that protects the screw that adjusts this part to the kitchen tap.
Then with a Phillips head screwdriver, the screw is removed. This way, we remove the tap knob to check it and also explore the other parts.
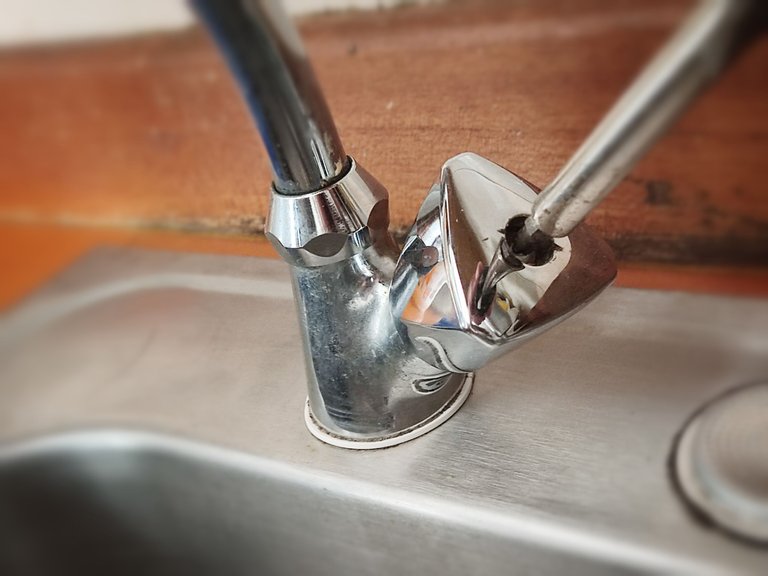
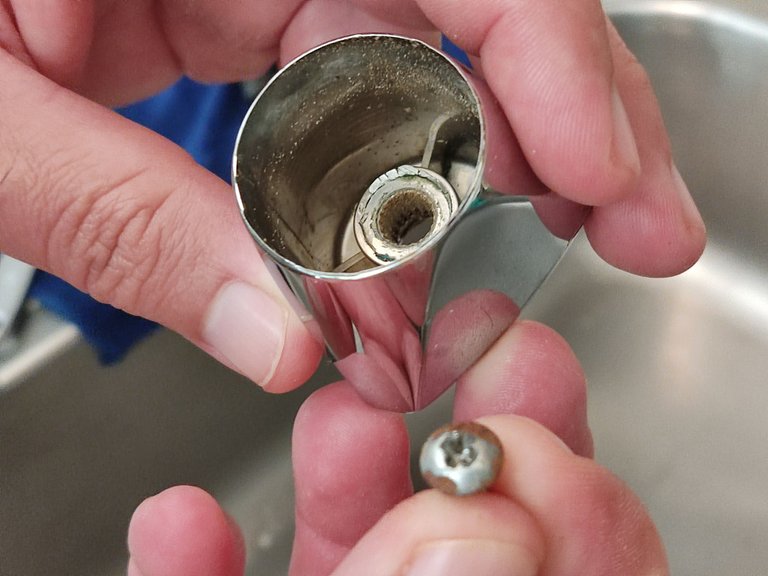
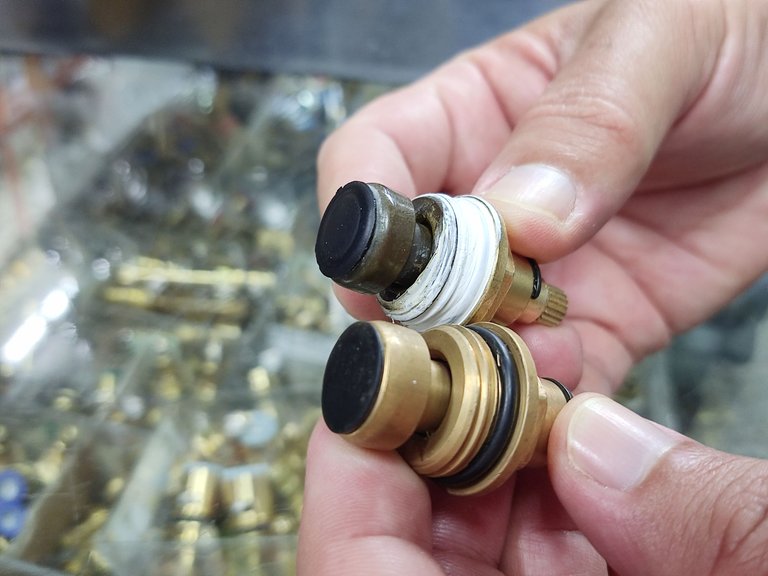
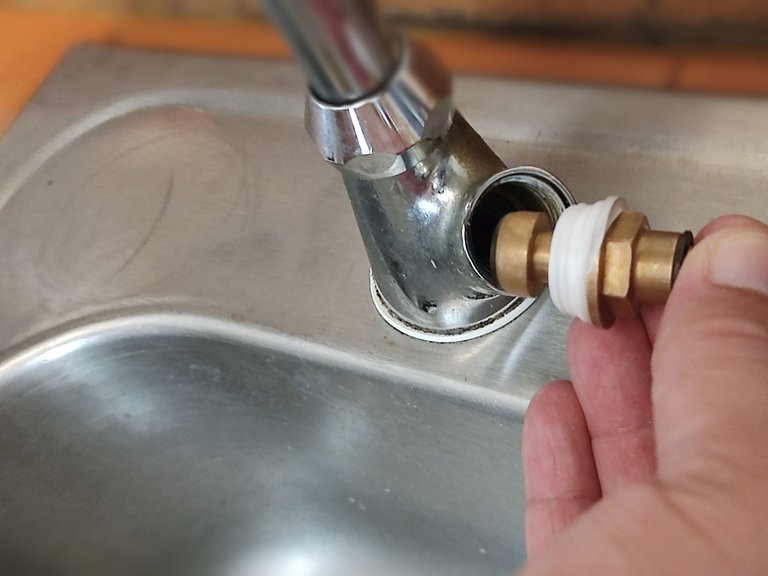
Removing the faucet knob exposed a gold-colored metal part responsible for the mechanism that shuts off the flow of water from the pipe.
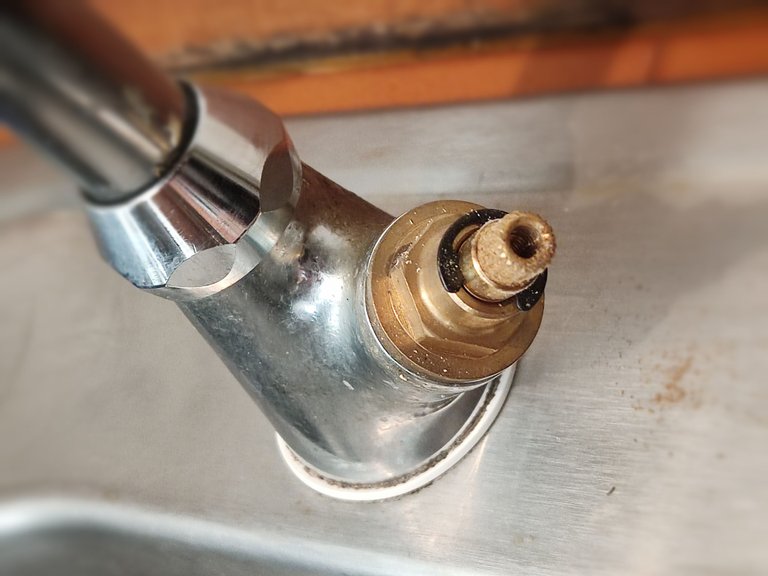
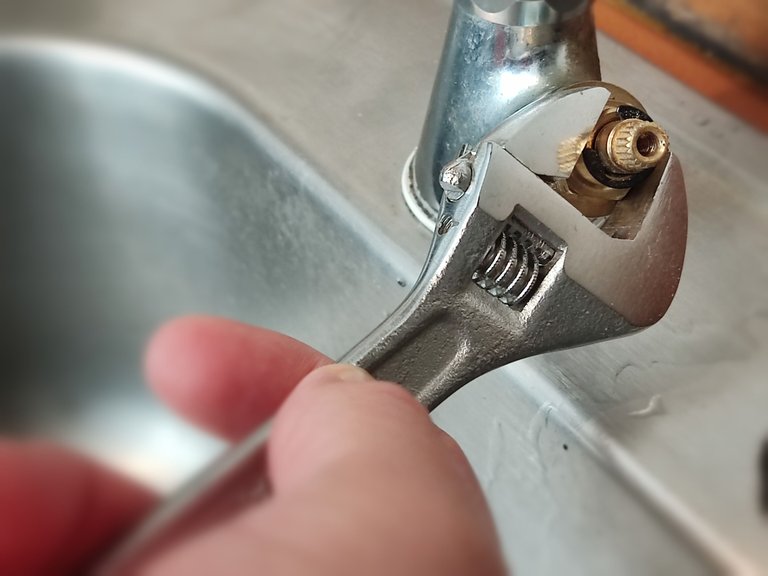
With the help of an adjustable wrench we remove the metal part to check it in detail. This part is called valve.
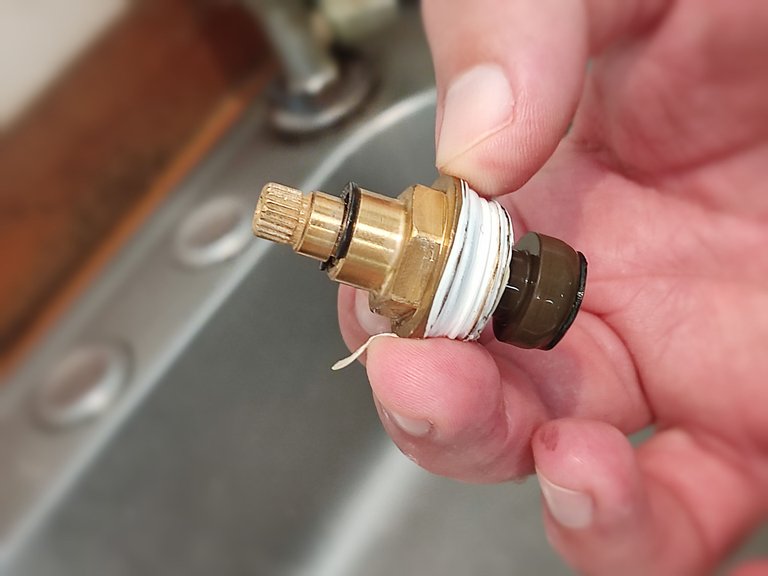
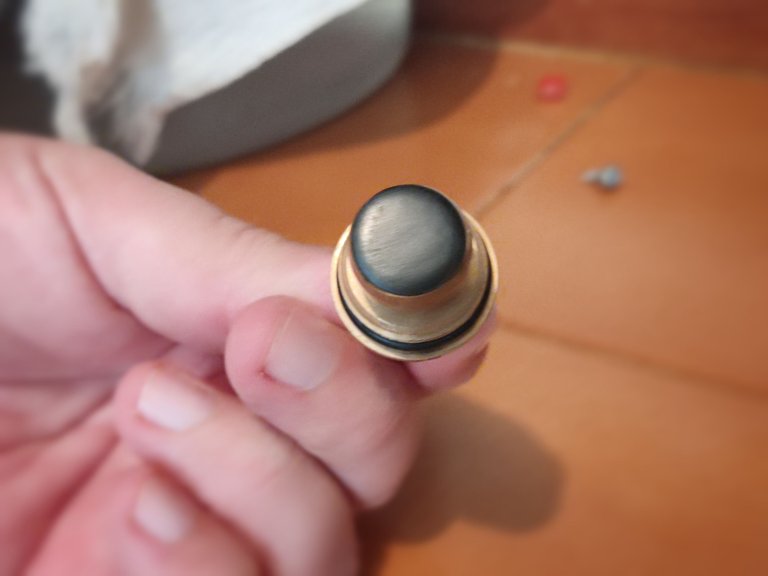
At the end of the valve is a rubber disc whose function is to block the water flow and prevent it from rising through the kitchen tap.
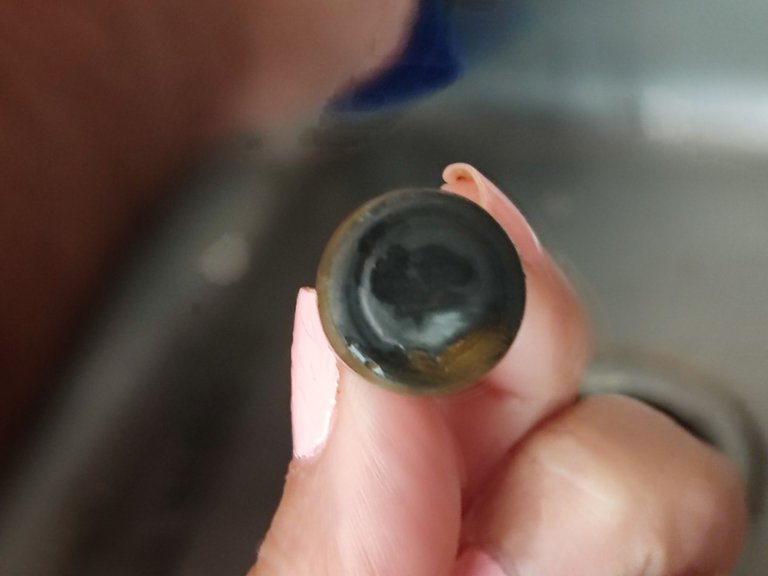
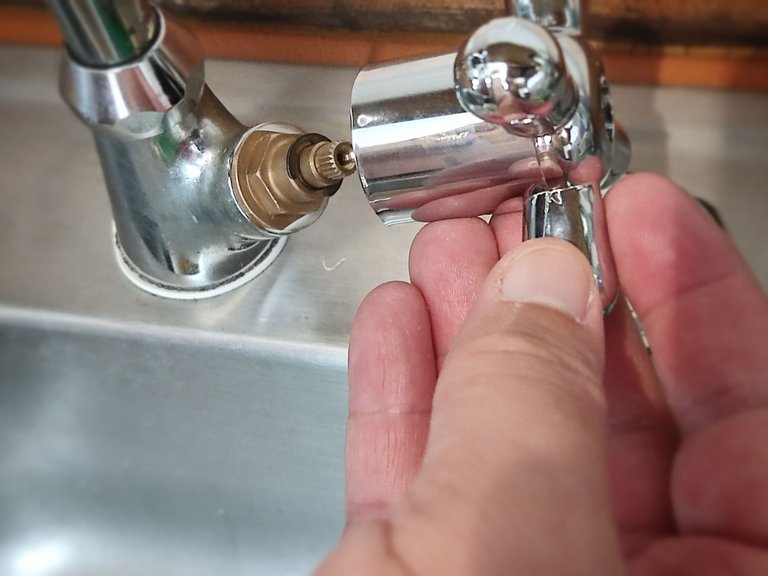
As you can see in detail, the rubber was worn out, so there was always some water left in the tap, and that's why it dripped. As a consequence of closing the kitchen tap knob tighter, its internal grooves were worn out, and the knob was isolated, turning around without fulfilling its function.
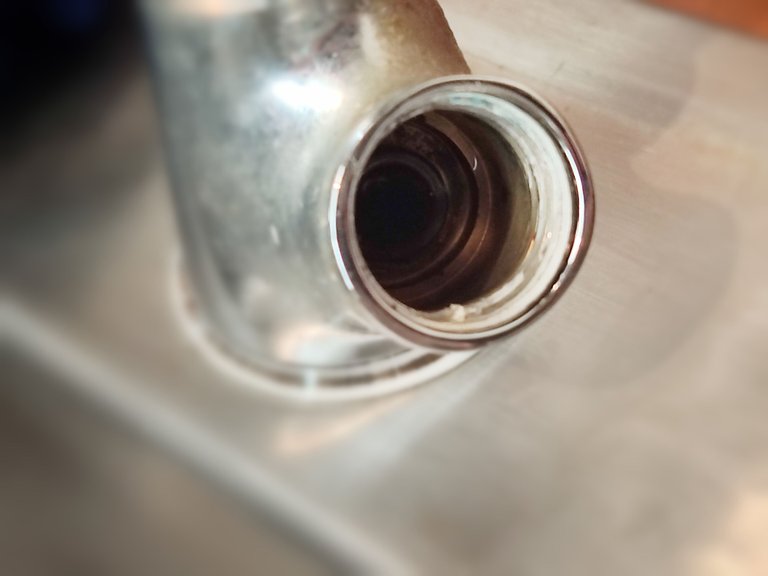

As you see, two problems had to be solved. The first was to replace the valve with its worn rubber. The second was to replace the kitchen faucet knob to avoid water dripping.
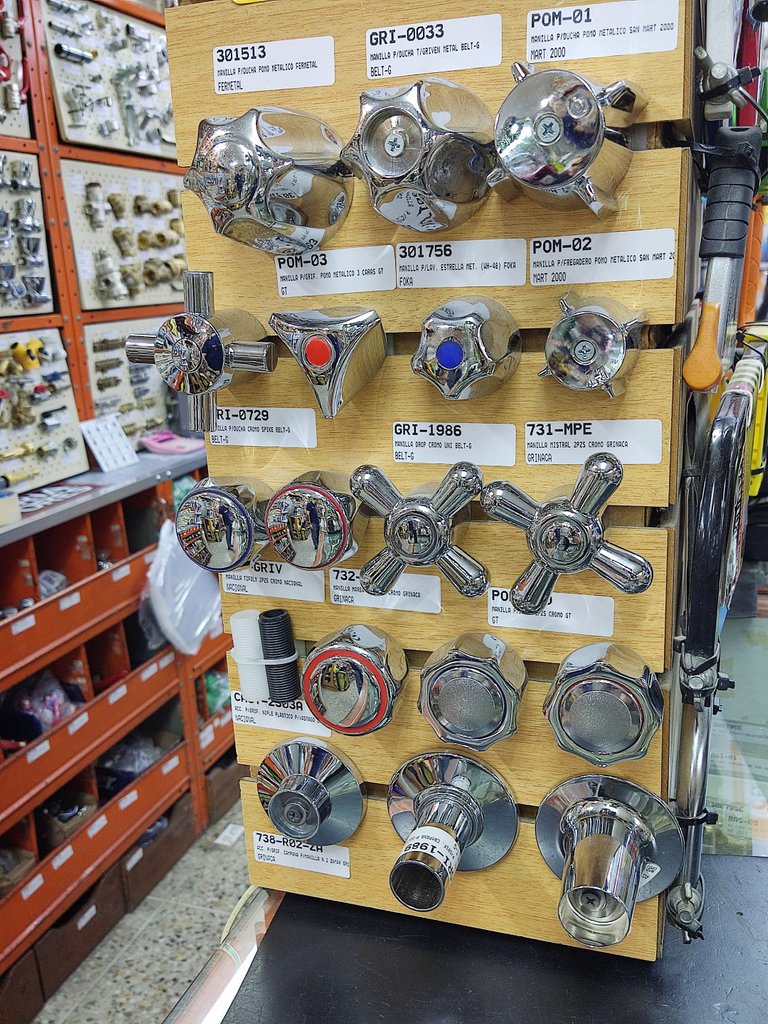
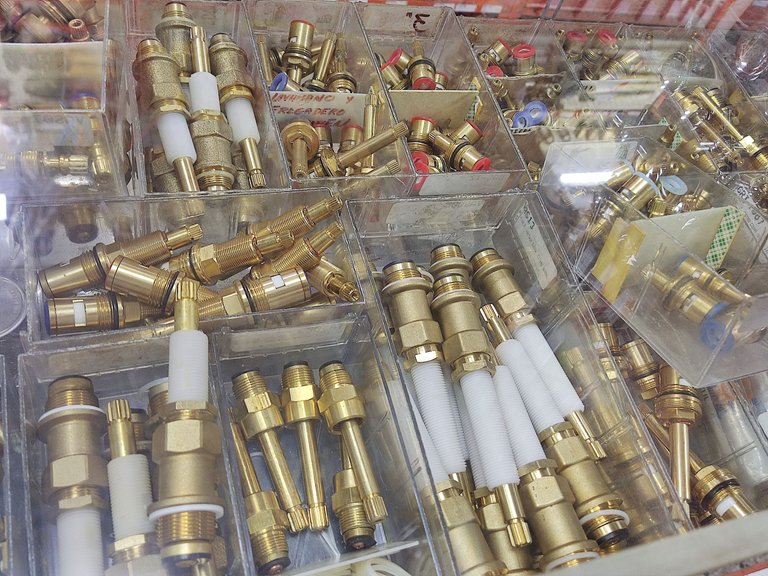
We visited a hardware store and bought both parts there. An important point to consider is to bring the original parts so the seller has the reference. He will look for the most suitable ones.
Once in home with the necessary parts, we proceeded to repair the kitchen tap. We use Teflon tape, adjustable wrench and a flathead screwdriver.
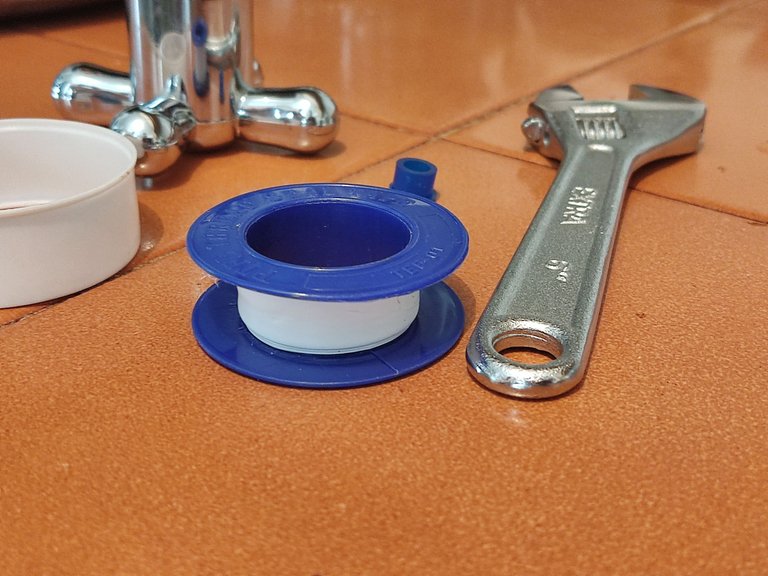
We take the Teflon tape and wrap it around the grooves of the valve. It will help seal the piece when it is threaded into the kitchen tap. It ensures that water will not leak through this piece.
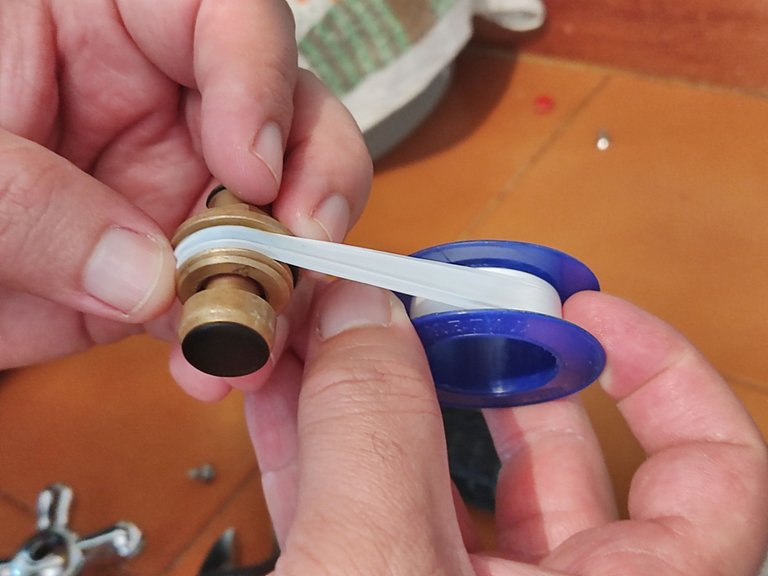
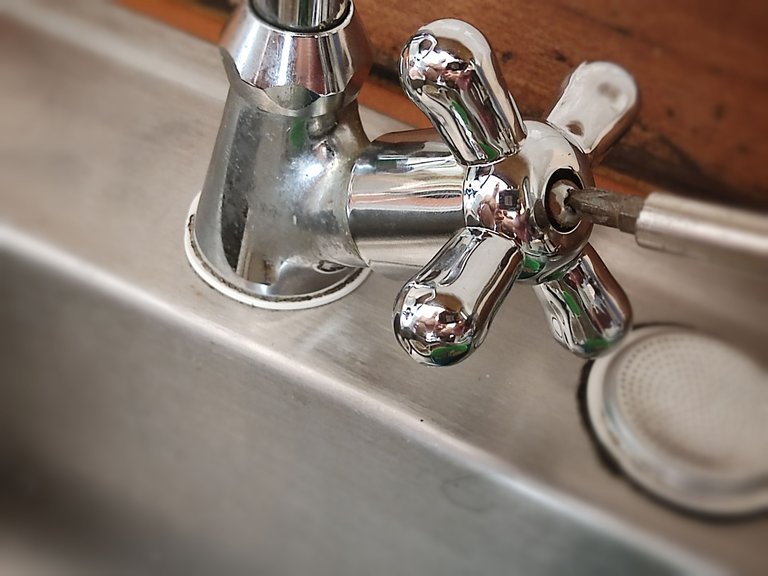
Place the valve in the hole of the kitchen tap and screw it in with the help of an adjustable wrench.

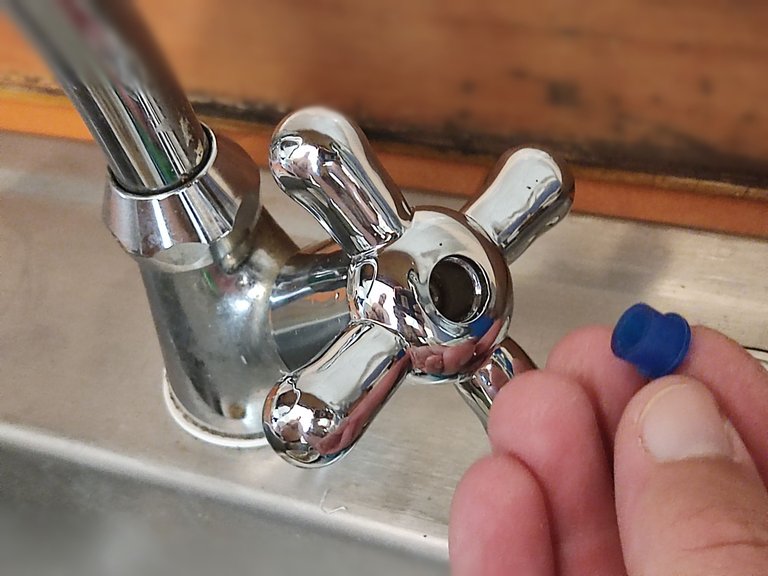
Finally, place the new kitchen tap knob and screw it on. Do not forget to put the plastic cap so that the screw is not exposed and your kitchen tap looks aesthetically pleasing.
When comparing the prices of a new kitchen tap and the cost of buying just this pair of parts, the repair was well worth it! I spent only a quarter of the cost of a new kitchen tap.
I am pleased with the result. It type of repair is not so difficult. I learned something new. The only thing you have to take into account is the strength you need in the arms to tighten the parts properly.
Now my kitchen tap does not leak. It is in optimal working order and best of all. I gave it a second chance of use!
Have you ever done anything like this before?
I'll read you in the comments!
All images are property of the author
(Camera cell phone: POCO X3 Pro, Xiaomi)

The rewards earned on this comment will go directly to the people( @chaodietas ) sharing the post on Twitter as long as they are registered with @poshtoken. Sign up at https://hiveposh.com.