Hi, Hive Diyers.... Here's some deep Do-It-Myself-ing, as I make further improvements to my chapel room balcony doors, in my Italian medieval quarter home.
note: see ADDENDUM in the comments below the post, for the finished images!
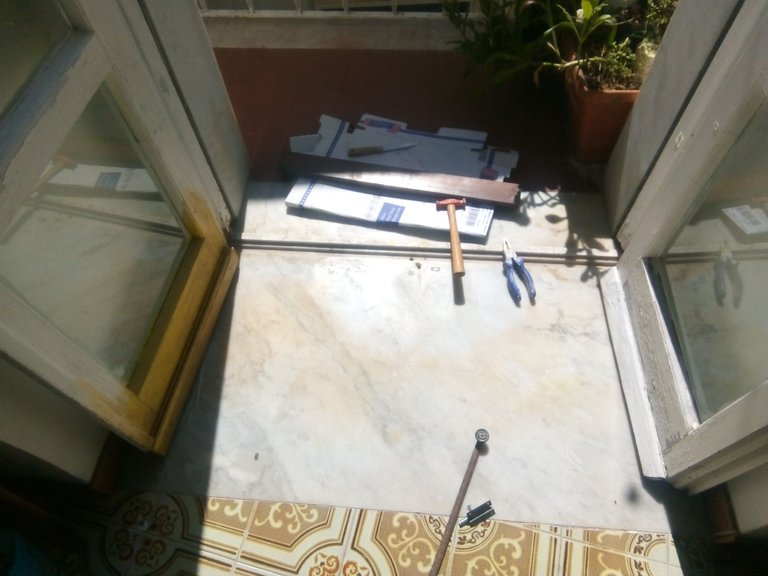
These doors are damn rattly, and they're also the 'weakest link' in the security of the house: they're only a couple of meters up from the street steps which rise up and around this corner of the house, and since the door handle failed (so I'm without up-and-down built-in locking), the door didn't have any way of locking it, bar having the metal roller blinds down. So I had to close the metal shutters any time I went out.
So I'd been thinking a long time about needing a sliding lock and/ or bolt, and just recently sort of put two and two together, in synchrony with creating emotional, psychological and other physical boundaries in place - much more necessary than usual, as I am gestating!
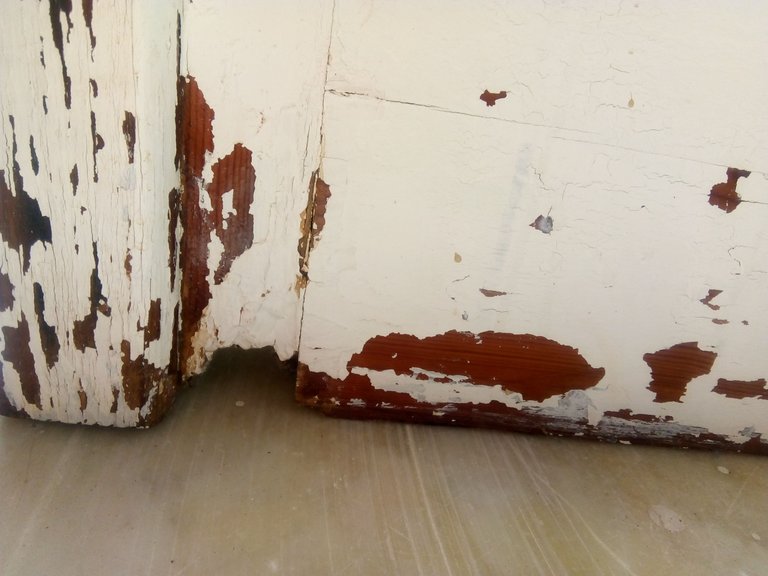
I think that these doors were installed earlier than the 80s, when another big renovation was made with PVC windows in the kitchen. The doors get some of the hard winter winds which whip around that corner and up the steps - plus 16 years of the house being abandoned before I acquired it - and the bottom of the frame as well as the edges of the door are pretty rotted. I made an earlier post a couple of weeks ago, about how I began adjusting the doors.
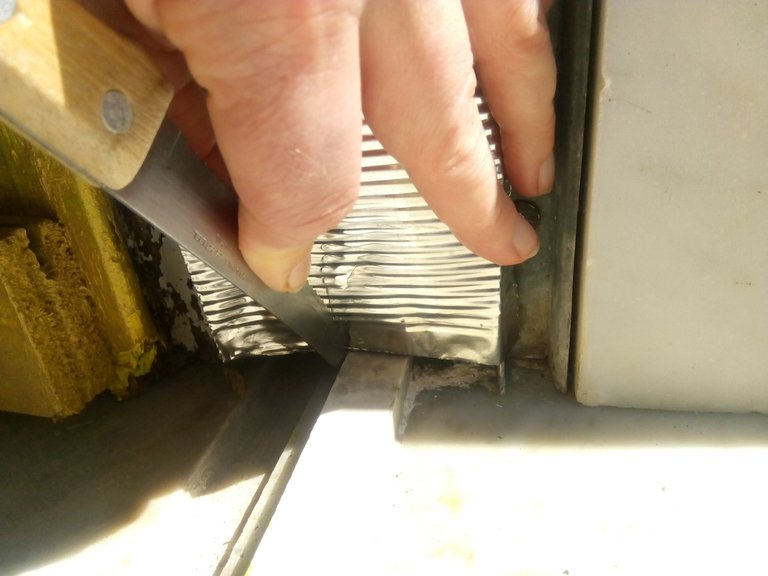
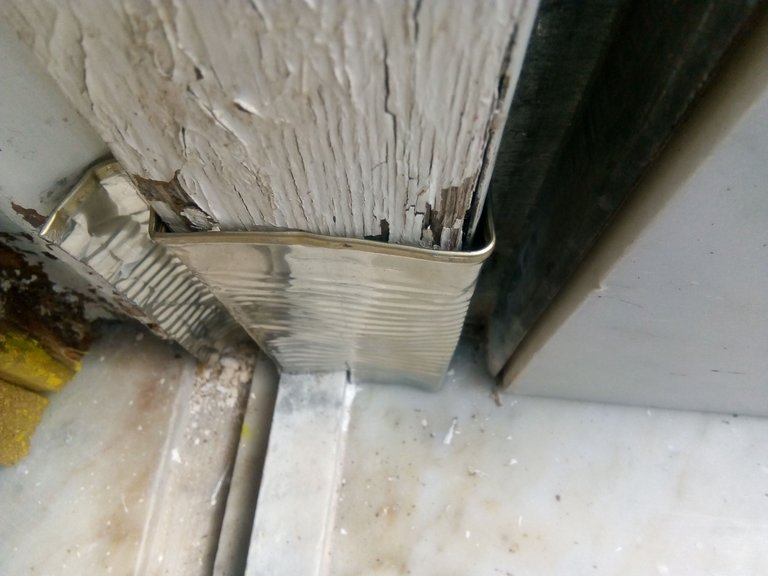
Above is the edge of the door frame - all disintegrating! And below are the pieces of tin can that I thought to adjust the rooten part with - a medium-term temporary measure: I don't yet have the skills or tools to cut out the rotten part and replace it with a square of wood, so am using a typical local strategy, picked up from how my big front doors were reinforced when I first had the house: a large sheet of metal nailed firmly into the first third of the door - from the bottom up - which at least kept the majority of rain from further disintegrating the door, and kept the form of the door.
I've been able to tolerate having 'loose doors' like this for a while - but recently I have a strong calling to fix all the wee jobs that want fixing: nesting instinct! Equally, I'm aware of both the way the world is going, and my position in it as a woman alone and as a mother - within an essentially very mysoginist culture (meaning both the planet and the local community in rural Italy).
I've been aware my whole life of the dangers inherent in being a woman alone - and of the importance yes, of energetically taking up the full space that sovereignty allows us, but at the same time, I'm lucidly conscious that the energies of folks around me are deeply ingrained with prejudice and bad habits around trespassing boundaries of women in particular.
My immunity to being fed-off-of by folks is substantial, but the amount of times I've caught someone about to steal something from me (especially energetically), or e.g. enter my home without permission, is quite startling. As romantic and laid-back as the location of my house is, the reality of opportunistic theft and presumption of entitlement to steal energy, is very real.
So small jobs like this, manipulating materials found in everyday objects - metal sheet taken from a catfood tin! - are prfoundly transformative - and an essential part of keeping on one's toes, keeping one's eyes open... I know that the Universe will support us to stay safe, if we actively secure our boundaries well. Whereas, it might teach us about the importance of boundaries, if we don't!
The true nature of our being divine co-creators is also very important, which links into the issue of boundaries, security and stability: if we don't take care of our self, the Universe will encourage us to. If we do take good care of our selves and of the spaces in which we live and work, then magical things can happen, because the container is strong and right-aligned.
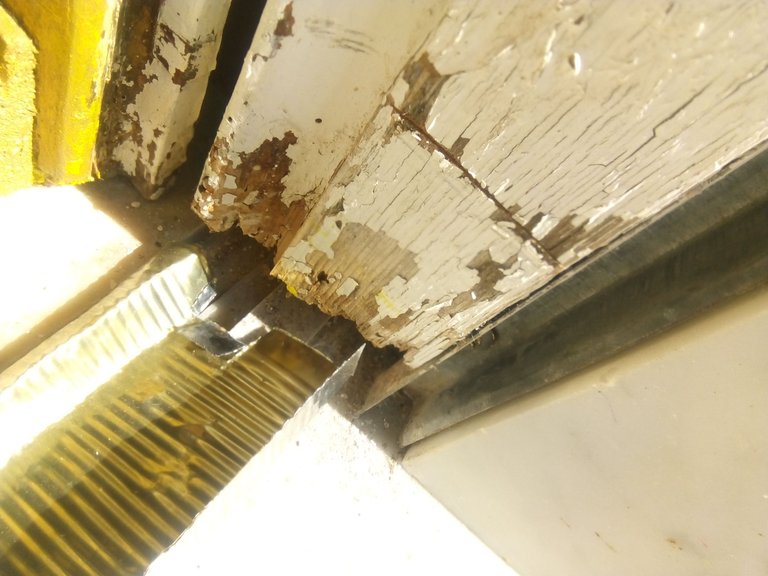
I hope you might see above how I am hammering the metal around a piece of wood, to get the rough shape of the form at the bottom of the door - taking care to check if the door can still close, and if the metal blinds can still be drawn fully down!
And they could! The new 'metalising' of the door frame sits very well, and I am extremely pleased that I took up the instinctive vision that was calling me!
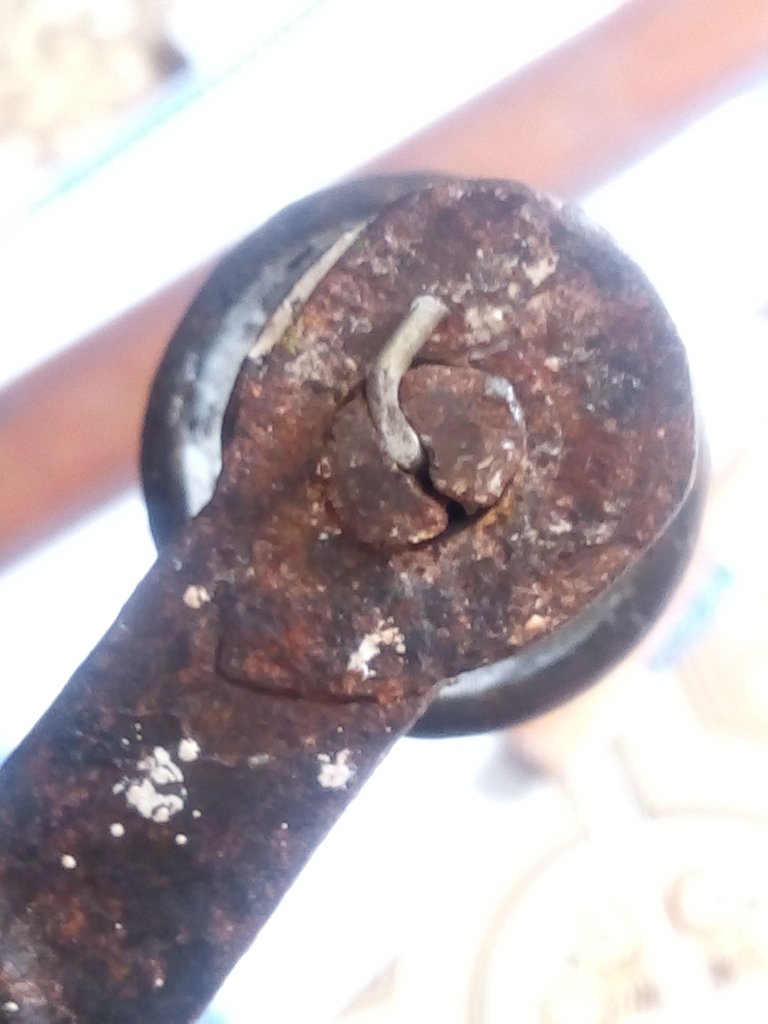
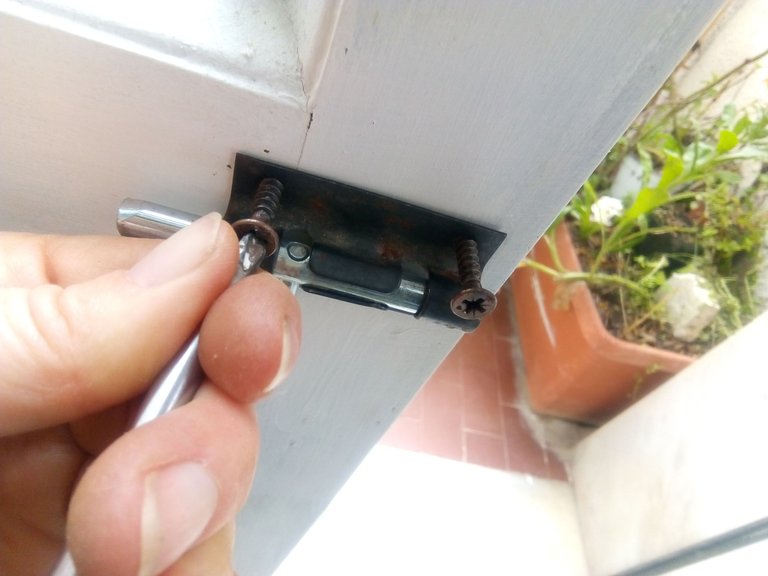
Next was this beautiful bolt that I've had sitting around since I bought the house; it needed straightening a little, and I scrubbed it at length with the wire brush - revealing that the knob was actually copper - who knew! One of the reasons I hadn't used the bolt yet, was the fact that the knob was shoogley: it didn't have a nice solid feeling to it, which made me feel like it wouldn't work well...
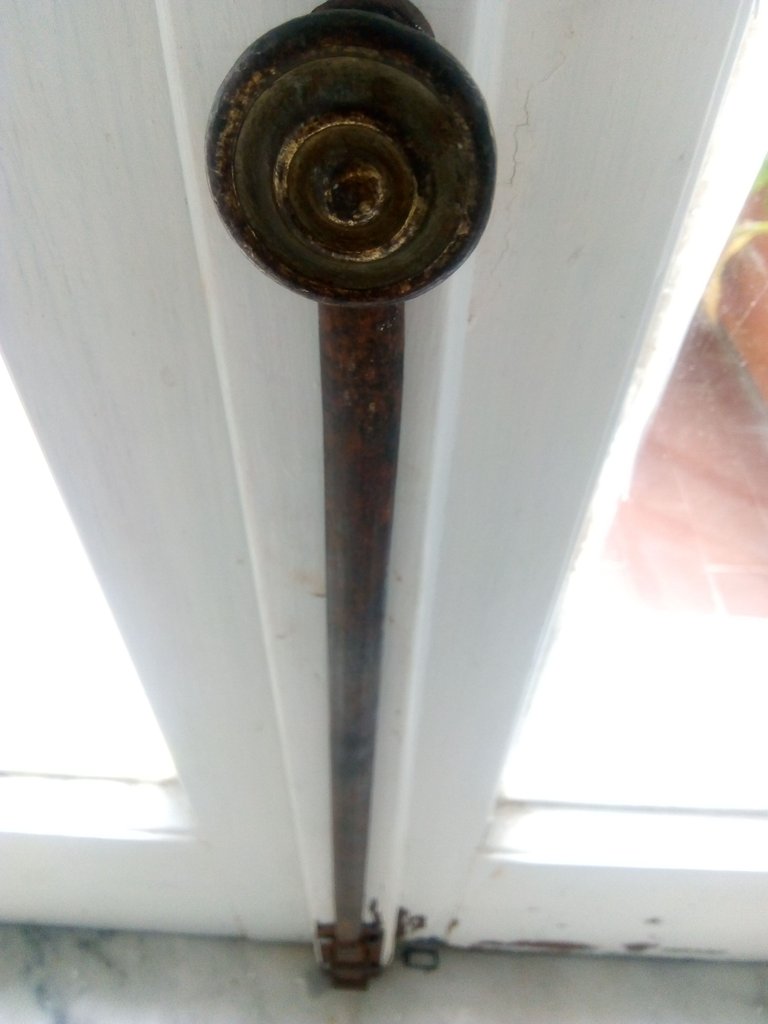
Because I was already in full swing with my aggiustamentazioni, I immediately came up with a solution even for this - seeing that the back of the hammered-in bolt for the knob was split - I thought of how the axe has a similar set up: a nail or wooden wedge forced into the slot can push the two sides of the setting apart, and secure the knob - woohoo! This worked fantastically, and the rest of the installation of it was really easy.
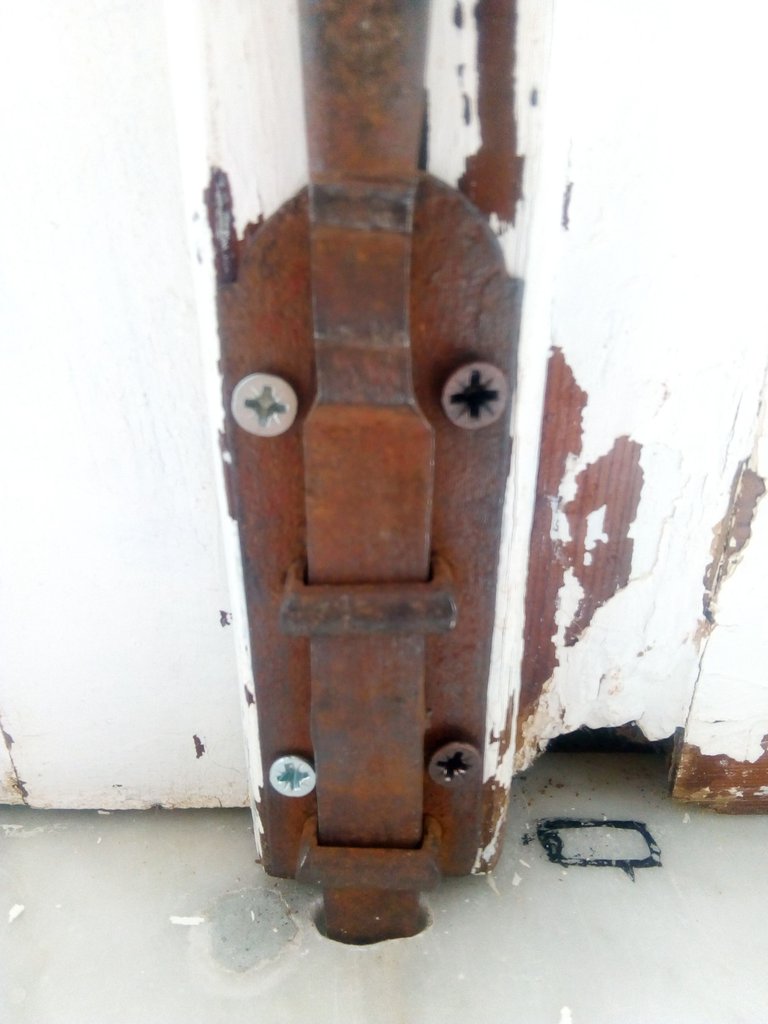
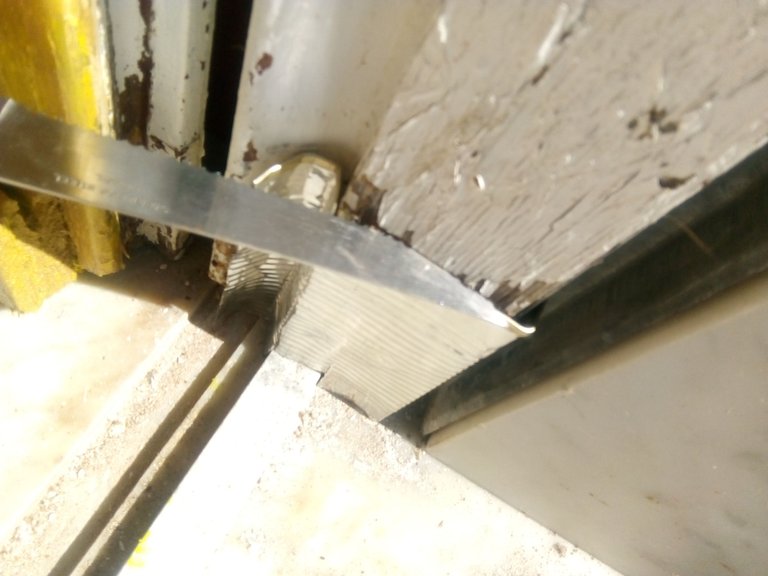
Above you can see where I marked the first hole for the beautiful bolt to go into - but then realised that I couldn't secure it well enough into the frame - but then saw that I could actually set it into this edging strip, which is strongly attached to the rest of the door. It fit really well!!
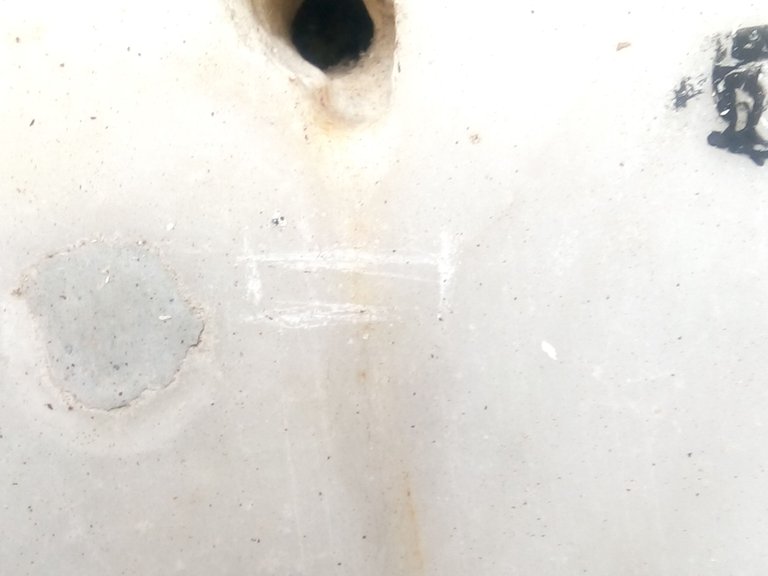
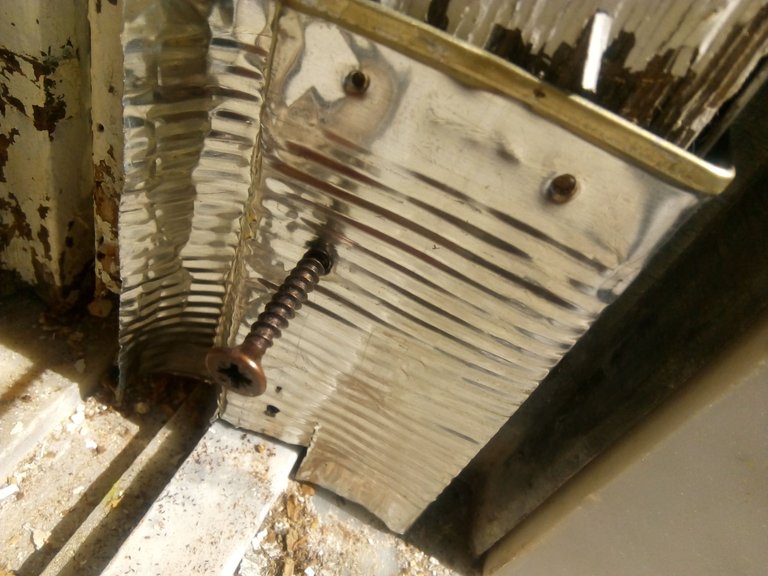
And in the centre of this photo you see the new square hole: I used a masonry drill bit, on the hammer-drill setting, to make the hole, then I used a flat head screwdriver and a hammer to neaten up the hole - to give the bolt the most solid fitting.
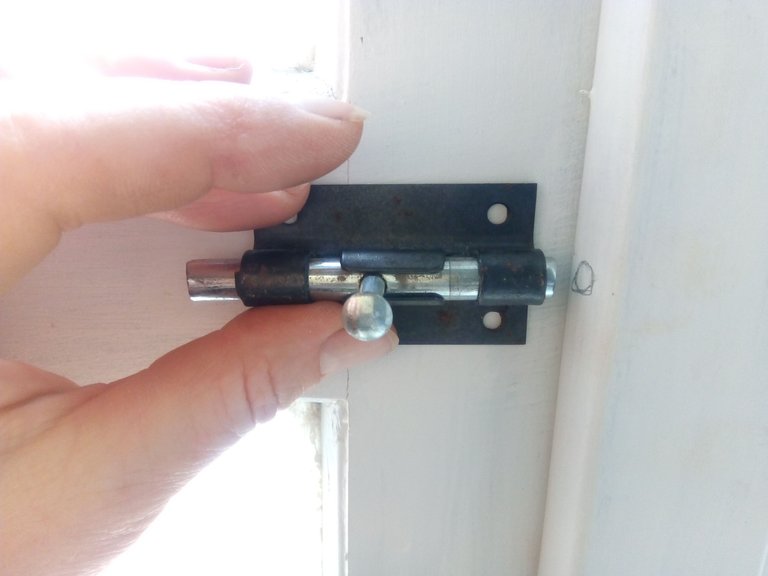
Then, a simple job, which I'd also avoided for ages, of an additional wee bolt to hold the door tight further up: I couldn't see whether or not the frame would accomodate a big round sliding closure like this - but it did. Took a while to find the right sized drill-bit, but eventually it came together quickly.
Apart from!! As I used a longer screw, and even though the wee bolt seemed quite far from the glass, I heard a nasty CRACK as I was screwing in the second screw at the top! I cannot see any visible break in the pane, and am hoping very much that it is just a crescent out of the edge of the window, which will not affect it's integrity overall - yikes! DIY 101: do not try to put a screw through glass!
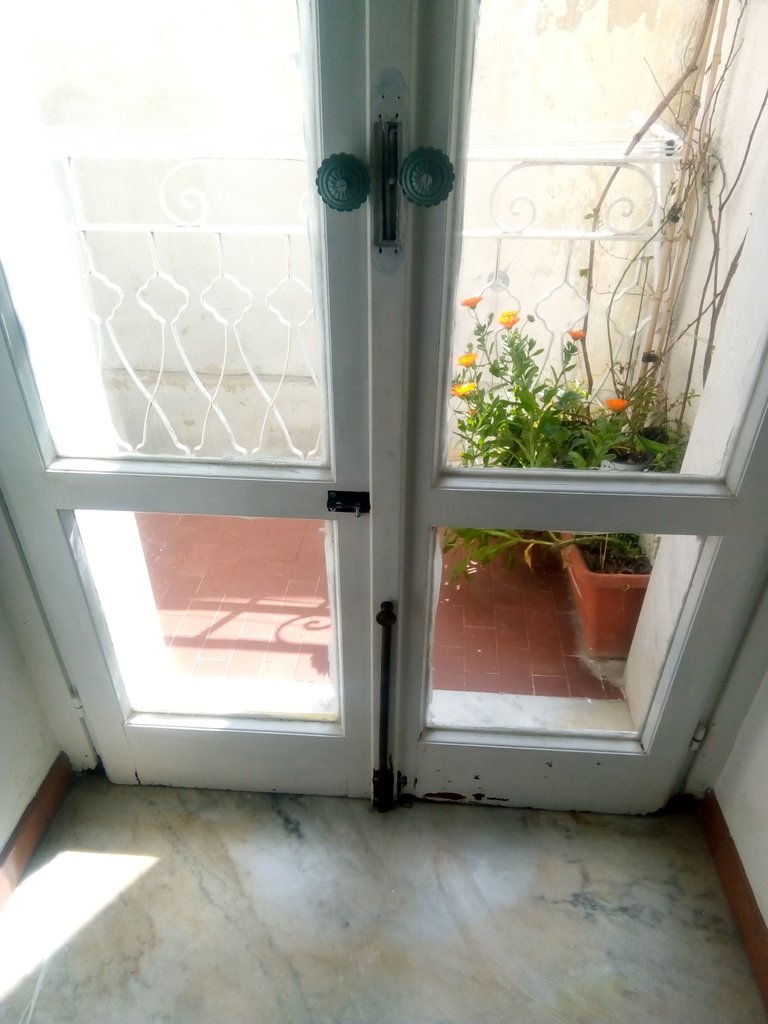
Anyhoo: I chose shorter screws that stayed away from the glazing, hoovered up the mess, and outlined an idea for covering this guddle here:
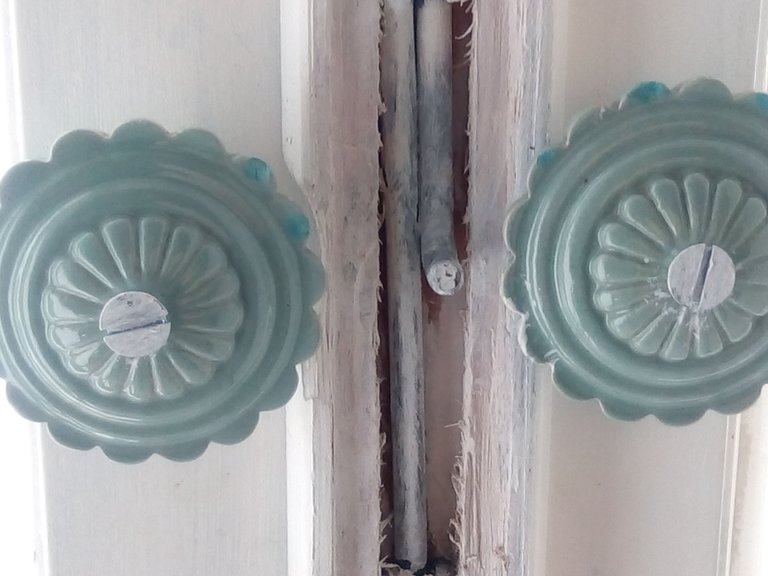
... where the new doorknobs that I put in a couple of weeks ago sit either side of the old mechanisms: I'm trying to find the old door handle and plate, which I can take the handle out of and sit over this bit, but cannot find them anywhere. If I don't get hold of them, I'll have a look around for something similarly use-able.
Meanwhile, the doors are magnificently quiet! NO RATTLING!! It is a very windy day today, and there is not a peep out of them! This feels like a wonderful metaphor for boundaries in general, and I look forward to my new improved embodied aura and my capacity to shut out energetic draftiness!
Much love to you all in your home improvements and creativity this week!
Blessings!


Securing your boundaries with a tin, some nails and a hammer...just incredible ✨
Great job.
Many thanks for your encouragement, @wongi - it really was very satisfying, and I am enjoying very much the improved door experience 😇
You're very much welcome dearie ✨
Impressive work :^)
Thanks for encouraging me today, dear @vincentnijman 😍
ADDENDUM!
I forgot to take an end photo of the metal addition: here are some snaps in the evening -
Just to show how the metal was quite neat!
And the finished look of it, once the wee bolt was painted - I was going to paint the big bolt too, but love the rusty-iron-ness of it.
This hit home so much!!!!
On pointt!
Love the result, it looks beautiful!