Some days back I shared lessons I learnt from the journey of building my first ever studio. It was an interesting ride and the lessons learned were very instrumental to building my next studio.
I spent about a year in this space, utilising the most of it towards the end of my stay there.
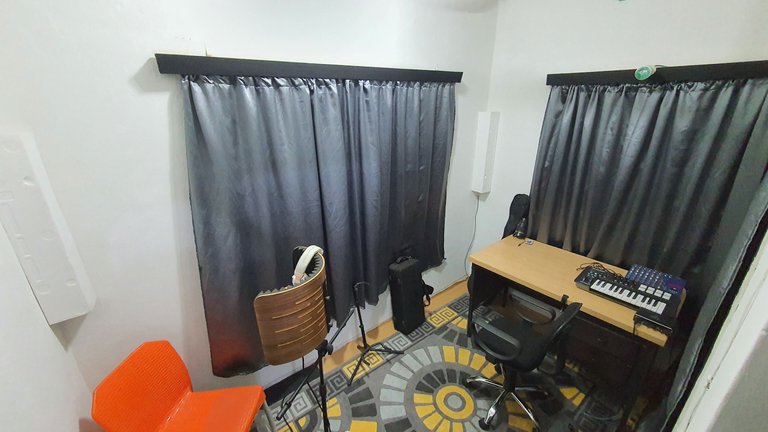
My Former Studio
After I finished my 1 year internship as a medical houseofficer, I was faced with a dilemma of choices because I had to move locations.
- One option would be moving back to my parents' house. This was easily a good option because I won't be paying for amenities.
- Another option would be finding another location for a studio. But that would come with more responsibilities because I would have to pay for everything.
The problems with the first option are however numerous. Having built a studio and acquiring the equipment I now had, it would be a problem bringing in so much equipment into my parents' house.
More so, I had been out of home predominantly for over 5 years - creating a usable space was going to be difficult. My room had been converted into something else🤣.
Another big problem was that my parents' house is located far away from town where power supply is stable. It won't also be easy to take clients to such a far place.
As uneasy as the second choice felt, it was my best option, especially if I found one in the heart of the city.
Lucky me!
A friend of mine got me a good place right in the city centre. It was a 2 room self-contained apartment. It was a perfect choice, though small.
I basically selected one of the rooms as my studio space while the other would be my living area.

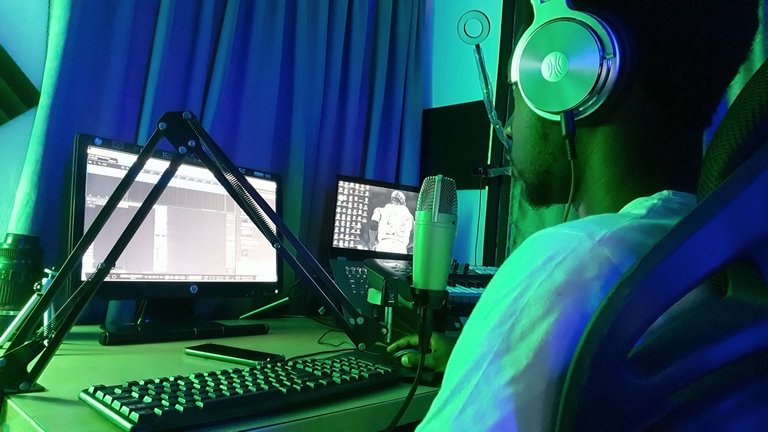
In this video, I describe the thought process behind setting up the studio and it blended into the final result of the studio I use today for all my creative works.
After cleaning the space, I had to ensure the painting of the room which a friend of mine helped me with. The initial paint on the walls were quite strong and we had to do 2 layers of painting.
Here was how the room looked like before painting.
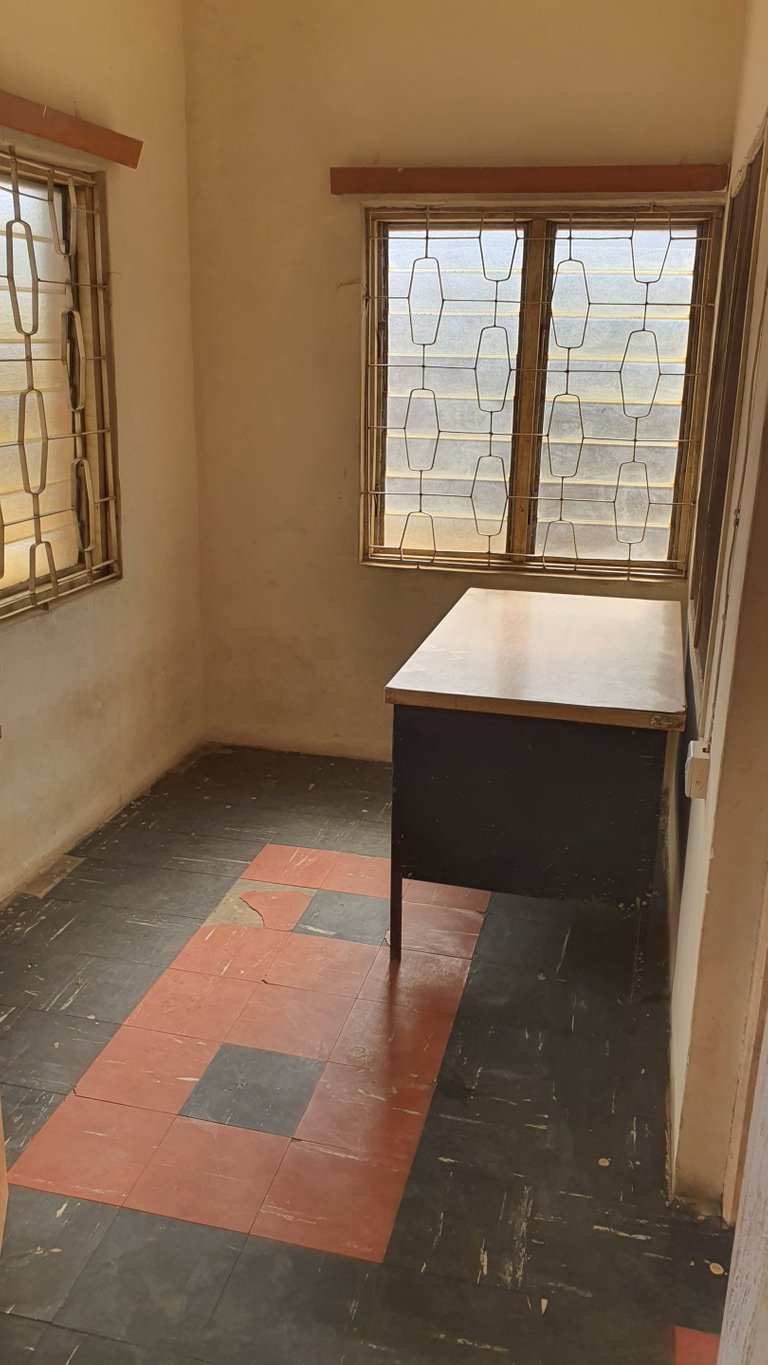
Before painting
Once I had the painting out of the way, I came up with a plan, and drawing from the lessons I learned from my former studio, I ensured I included these considerations in my new studio:
- Sound treatment and sound proofing and Sound quality
- Adequate and intentional lighting
- Convenience features
- Quiet air conditioning
- Functionality features
- Space management
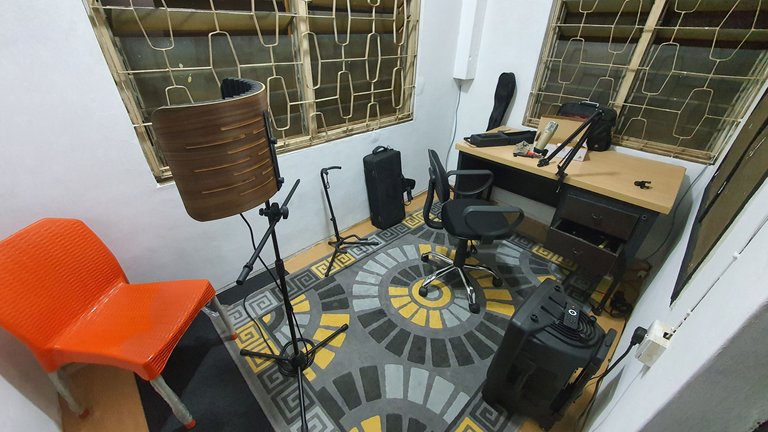
After painting, bringing in some equipment and fixing the styrofoam for the lights
After adding the curtains
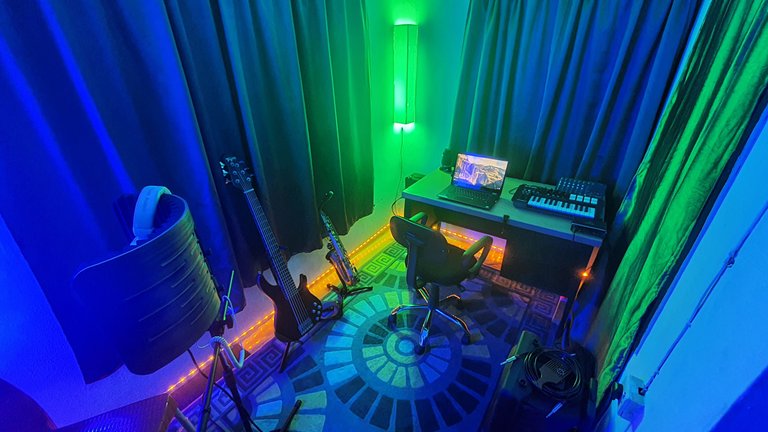
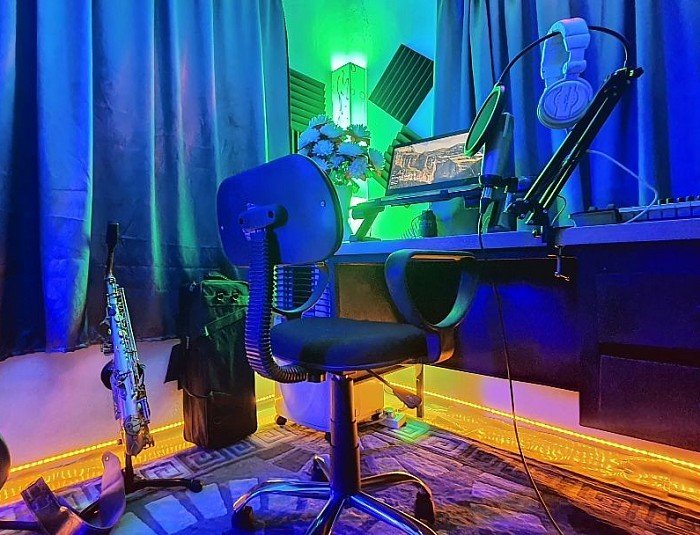
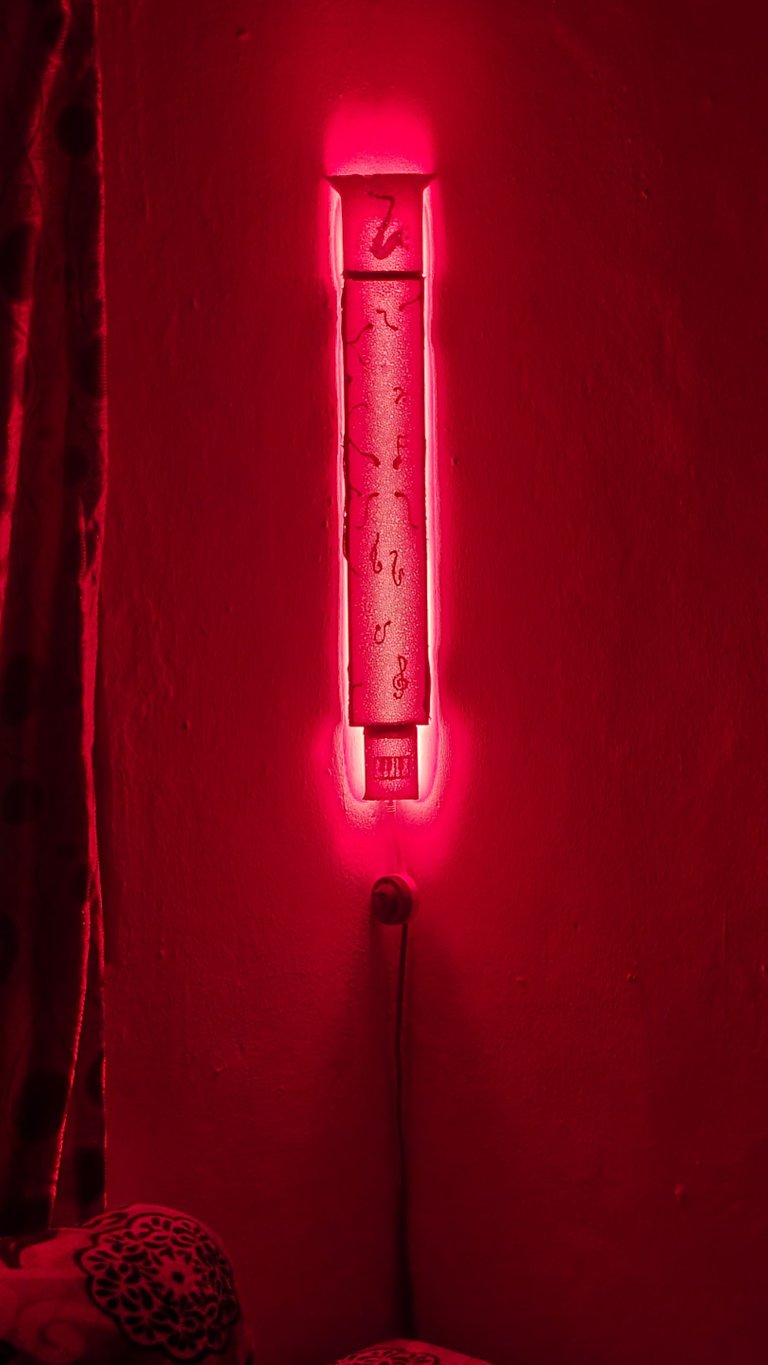
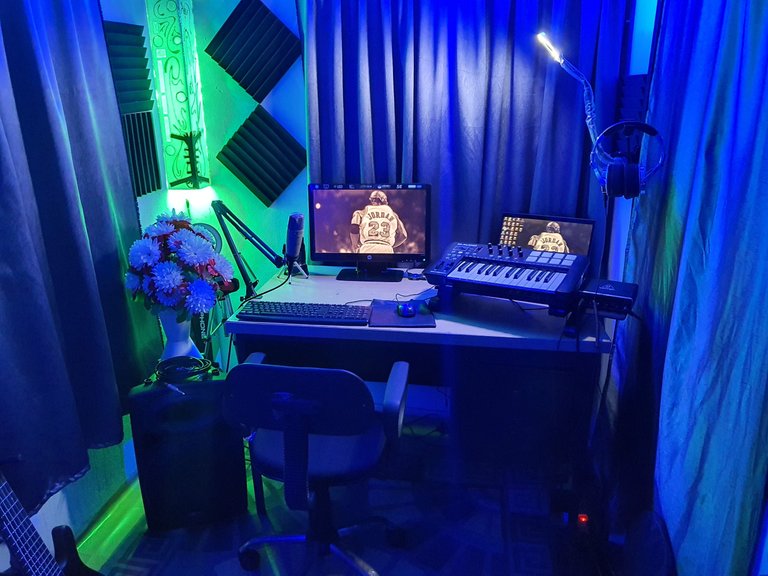
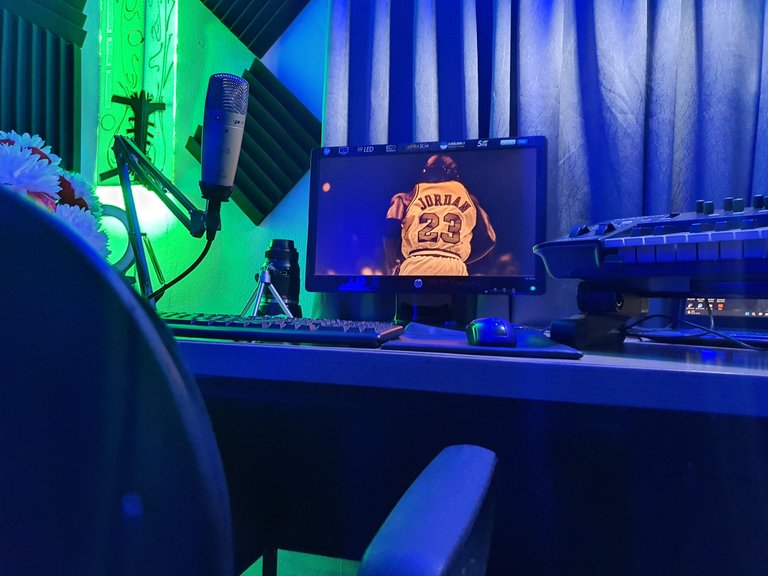
The studio look😍, after I connected the led lights behind the styrofoams and added strip lighting
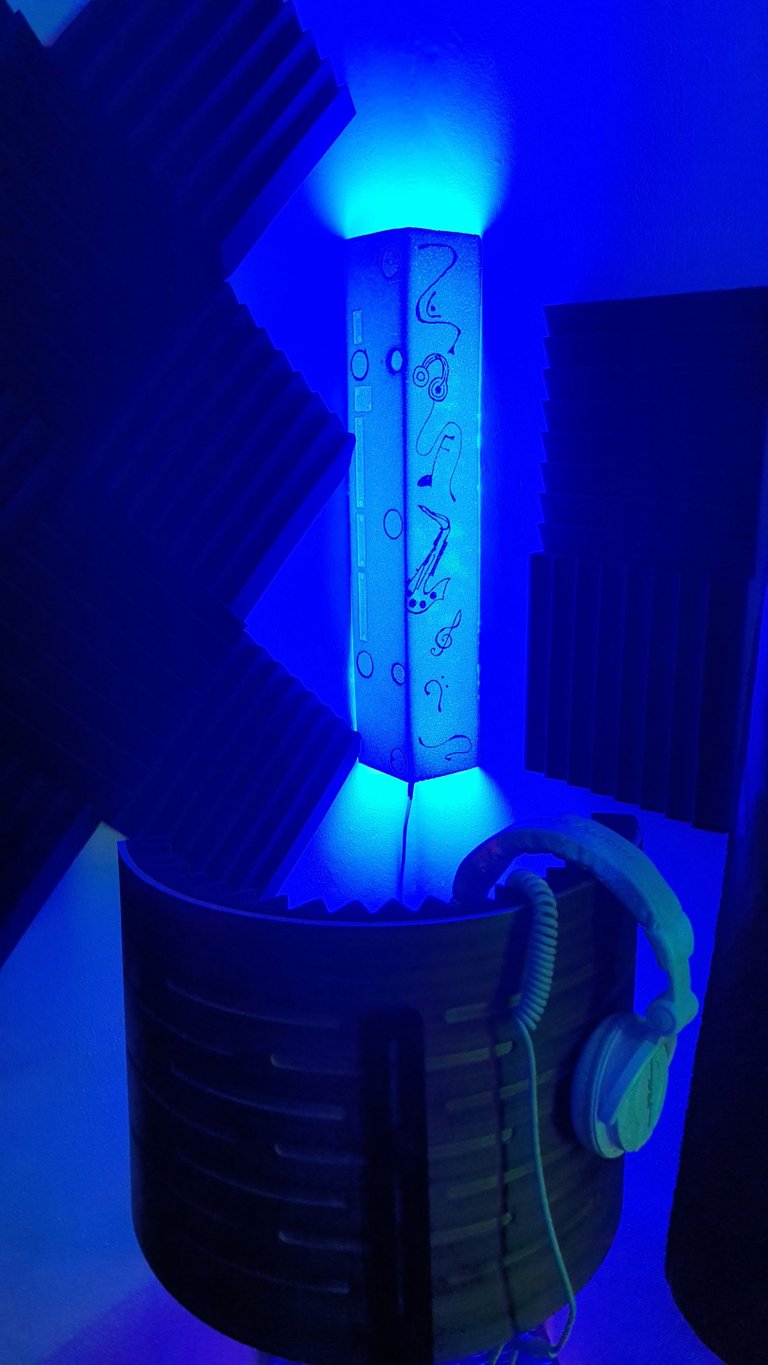
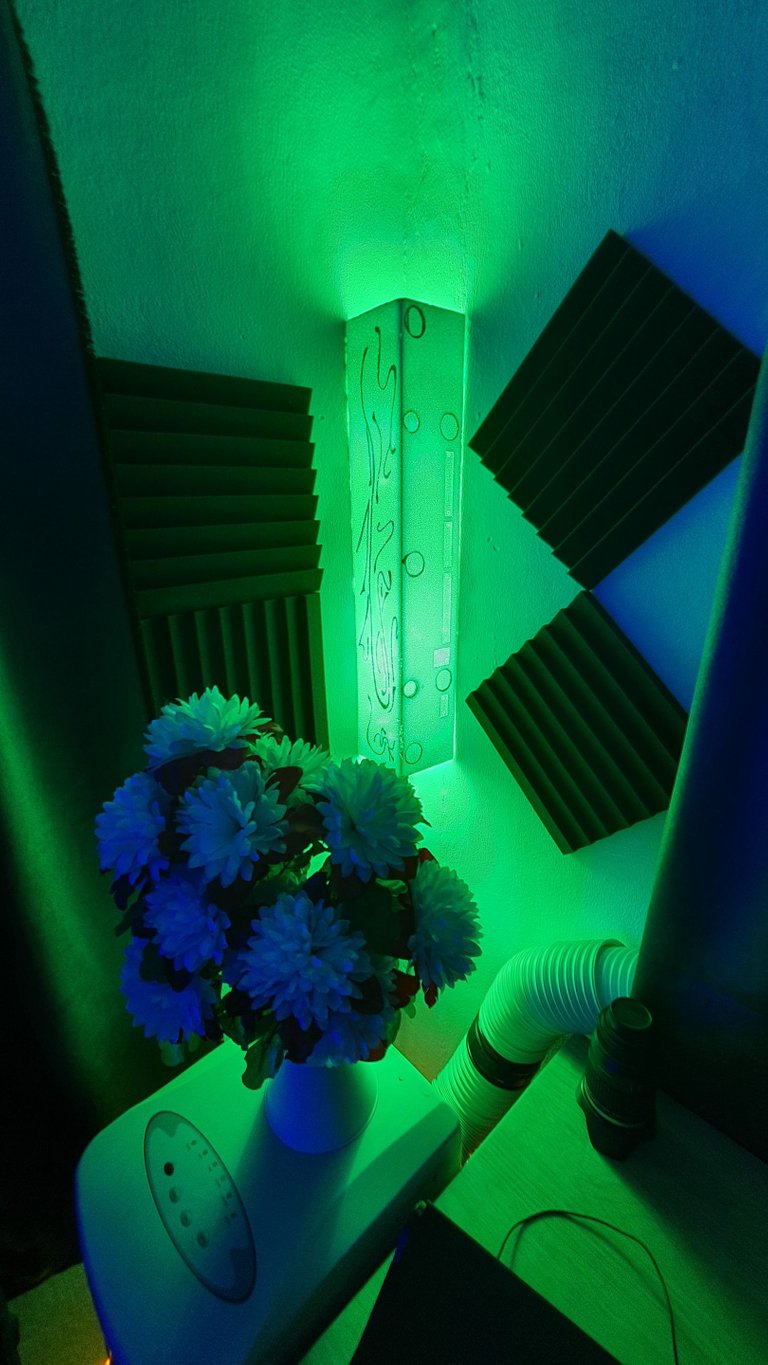
I added Sound panels and did some little design on the styrofoams just to give some more beauty to the light diffusion
You should see the AC pipe and the portable Air Conditioner in the picture too. I initially opted for a portable AC, but it was not practical, so I had to get a split AC.
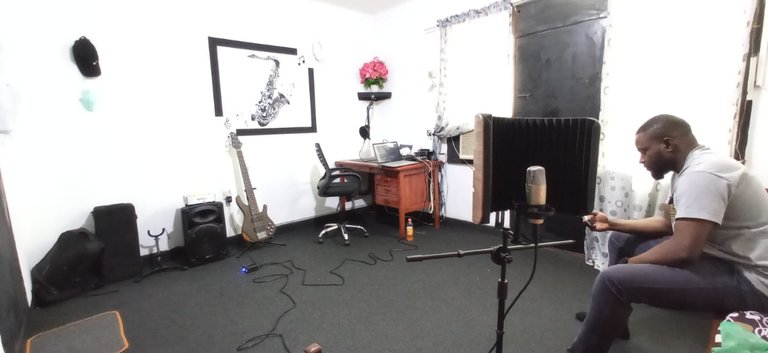
I did something similar with the living room, using leftover styrofoams

The initial final result after bringing in some more equipment and props
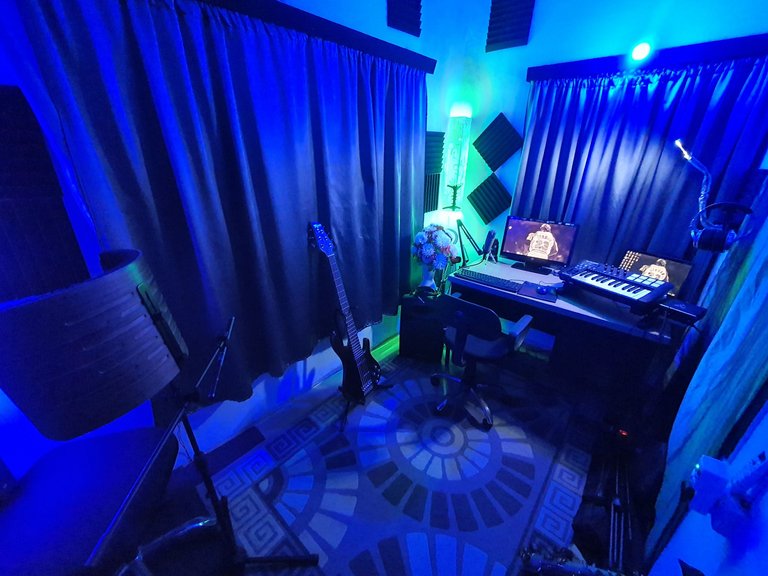

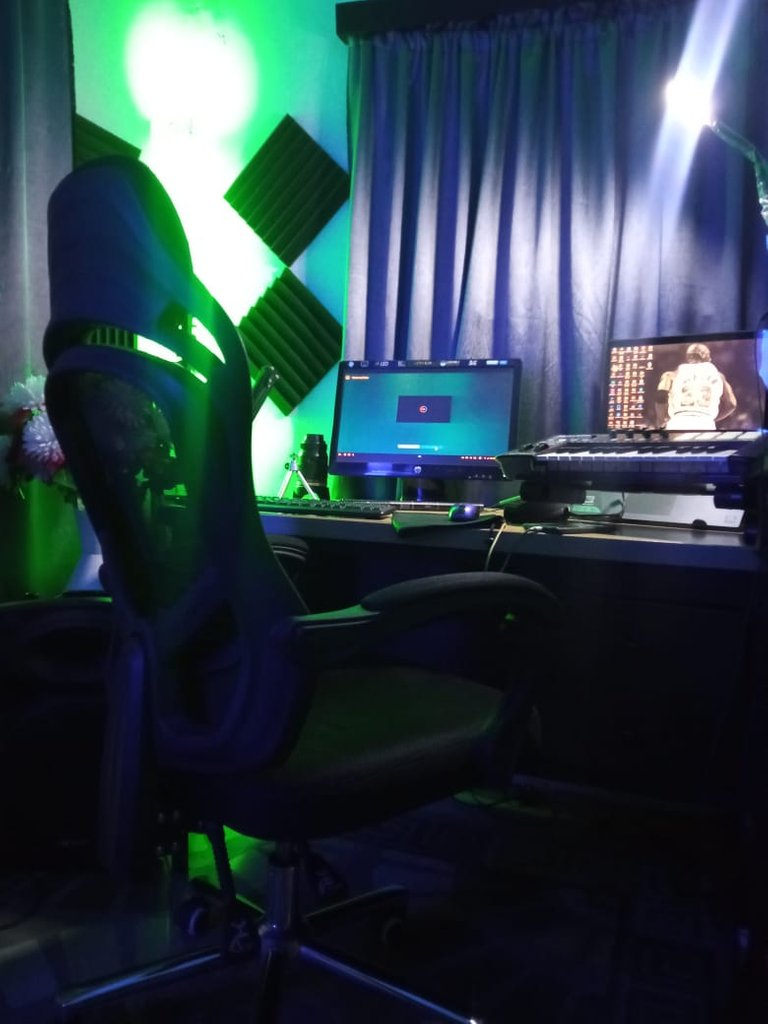
I bought a proper studio chair subsequently
I am still learning from this current studio I use and I'm sure there will be a lot of new lessons by the time I upgrade to perhaps a bigger studio.
The current space is quite small though we'll confined as compared to my former studio where the same room doubled as a studio and living area.
I hope you could a thing or 2 from what I have managed to build so far.
Do you think the improvisations turned out well in the general outlook of the studio space?
What could I have done differently?
Thank you for watching/reading!
▶️ 3Speak
Great work, very interesting post... Great "Before/after" views!... Enjoy your place @draysax friend!... And go ahead!... Create, create and create a lot of wokrs!
!discovery 20
Thank you so much!
Hyped for what I'll get to do in the near future here.
This post was shared and voted inside the discord by the curators team of discovery-it
Join our community! hive-193212
Discovery-it is also a Witness, vote for us here
Delegate to us for passive income. Check our 80% fee-back Program
Thank you for sharing this post in the DIYHUB Community!
Your content got selected by our fellow curator desro & you just received a little thank you upvote from us for your great work! Your post will be featured in one of our recurring compilations which are aiming to offer you a stage to widen your audience within the DIY scene of Hive. Stay creative & HIVE ON!
Please vote for our hive witness <3
Baddest guy!
The devil is in the details, and you've done great!
The accent lights add their own dynamism, and designs on the styrofoam columns were a nice touch.
Keep up the great work!
Thank you so much my Chief🙌