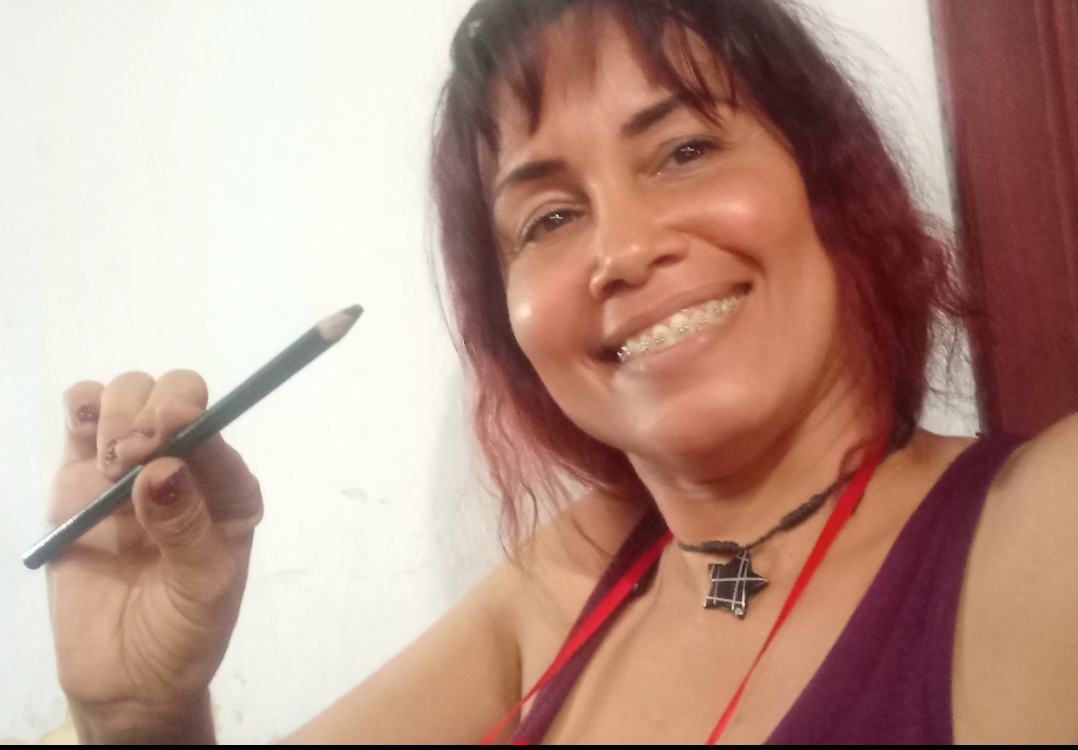
Welcome to my Tutorial!!❤️
Hello. Greetings to this beautifull #diyhub community.
It is a pleasure to be with you and to be able to participate in this beautiful contest of the month: DIYHUB MONTHLY CONTEST - MOON (in collaboration with 3SPEAK, that caught my attention due to the theme "Moon".
My partner @davidcentenor informed me about the contest since he saw it on discord.
My objective of this contest is to comply in advance with the theme and the rules and at the same time I want to "TEACH HOW TO DO". I wish with all my heart that our users learn what I made with my hands with a lot of love.
In this moon contest I wanted to relate it taking into account our hive platform that would remain in the background because the main idea is the "Moon" but that the moon influence in our hive.
The materials are easily obtained. You can get it at home with what you have or buy in haberdashery.
Let's now elaborate this beautiful DIY. As I elaborate, the materials will be shown:
Process:
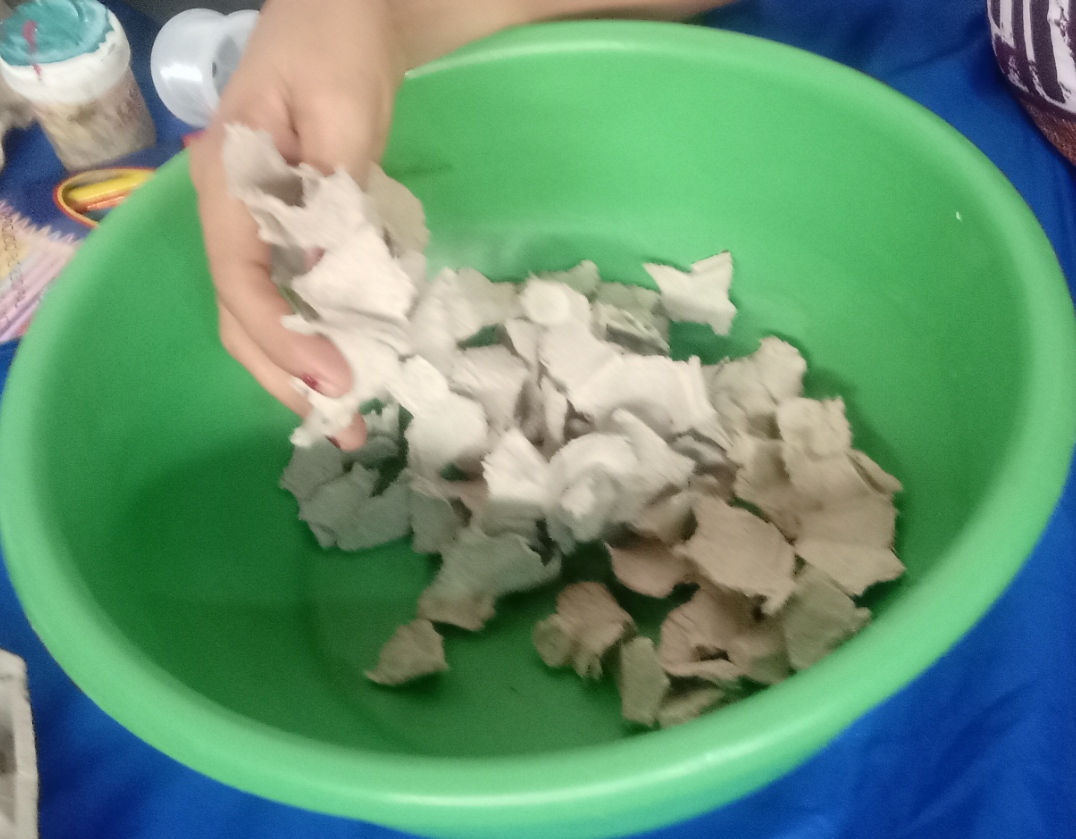
First we made the moon and the beehive with a denim that I learned. This denim is made as follows:
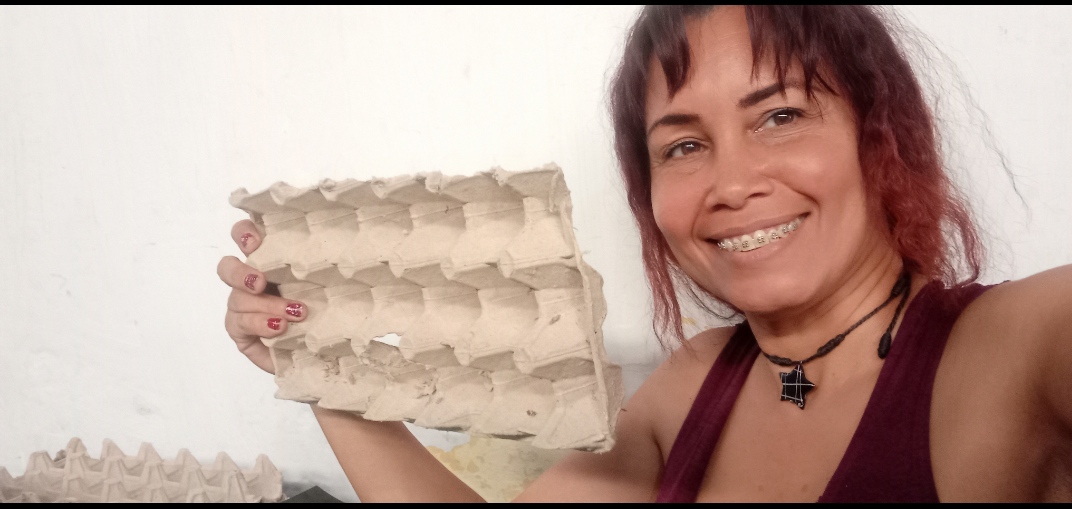
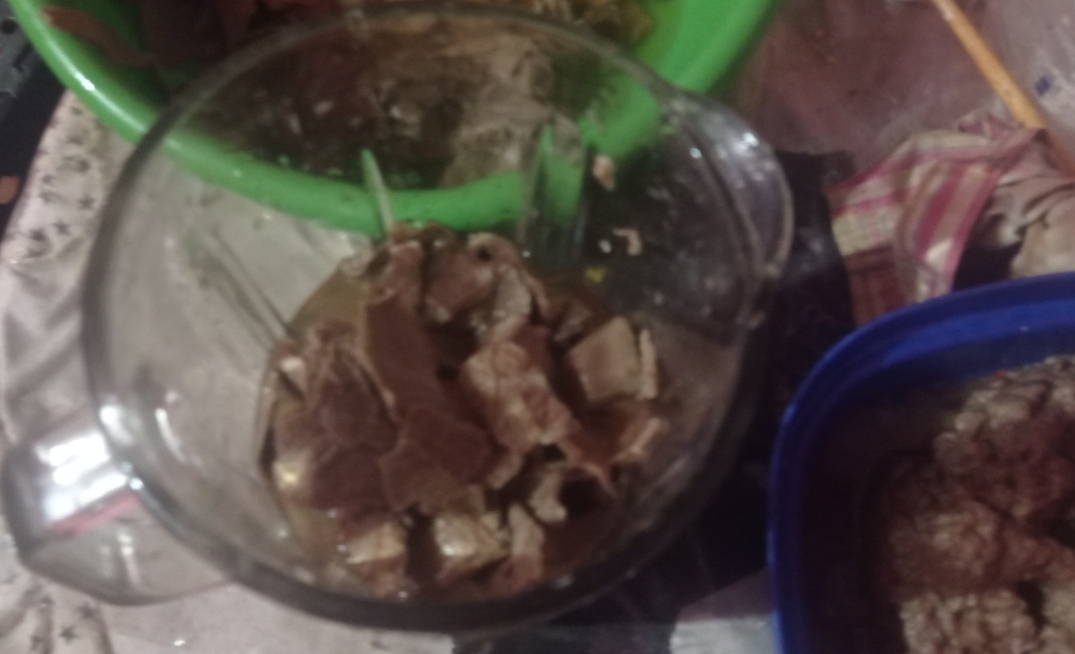
Here's a sample of an egg carton. 6 cardboards will be used because it all depends on the size you want to make it.
It is chopped into small pieces and added to a container.
You can place it however you want.
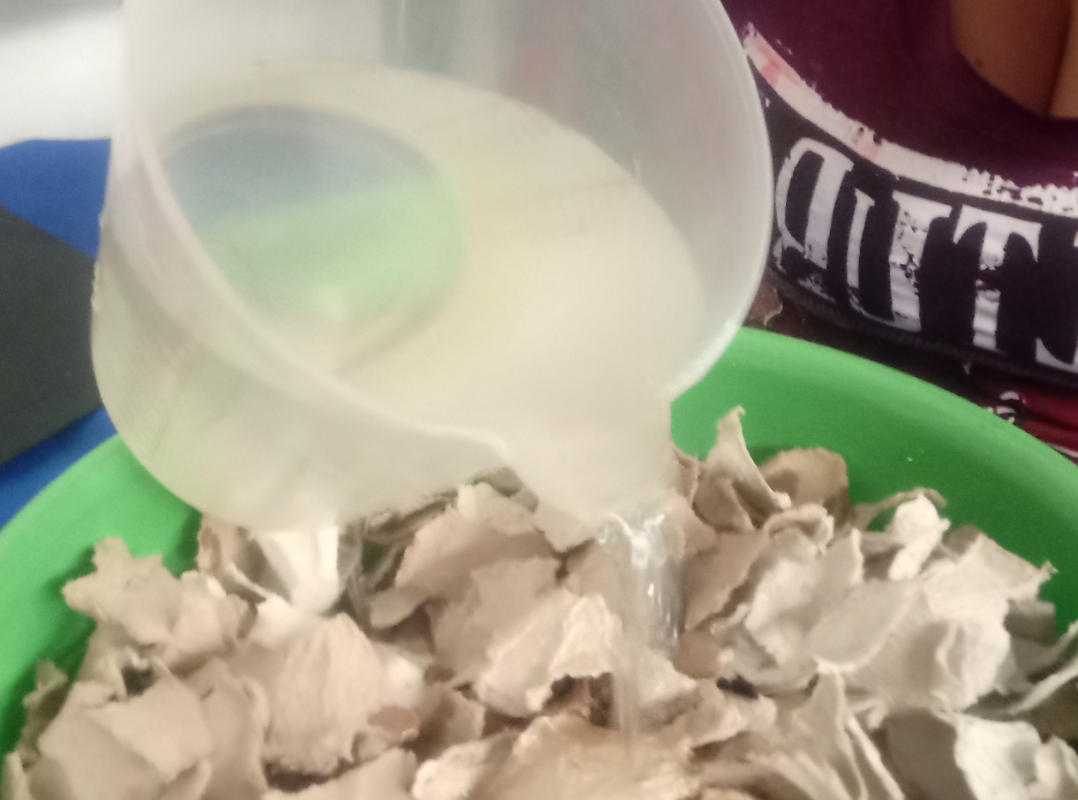
After this we add water and leave it for 24 hours so that the cardboard softens enough.
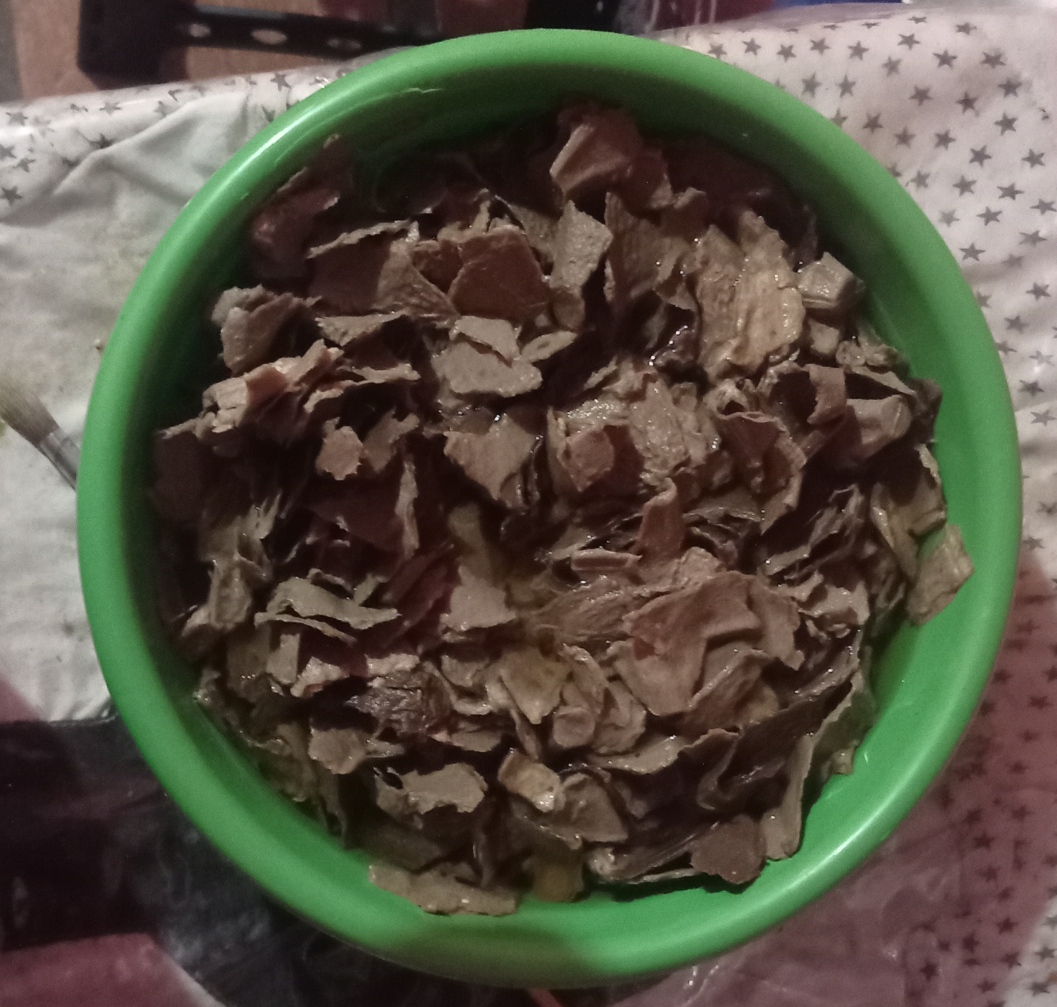
We already have it here 24 hours a day.
Now we add portions in the blender and blend with parts of the same water until a paste is obtained. This process is repeated until you get everything that is in the container.
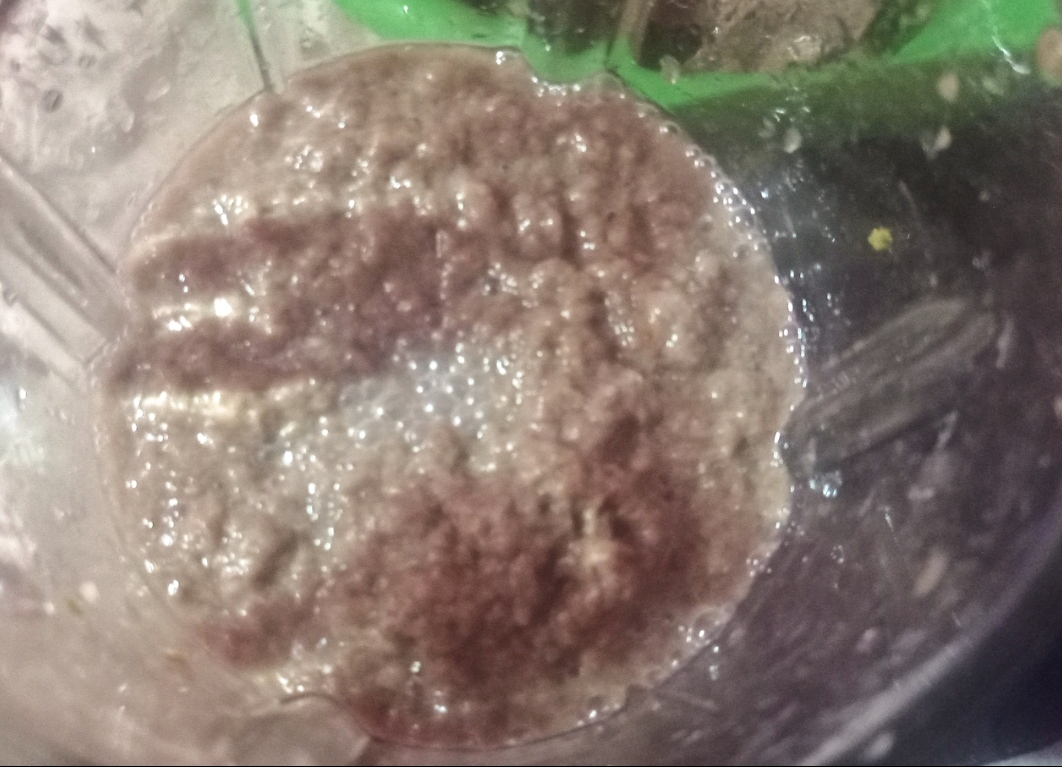
Here we have it ready.
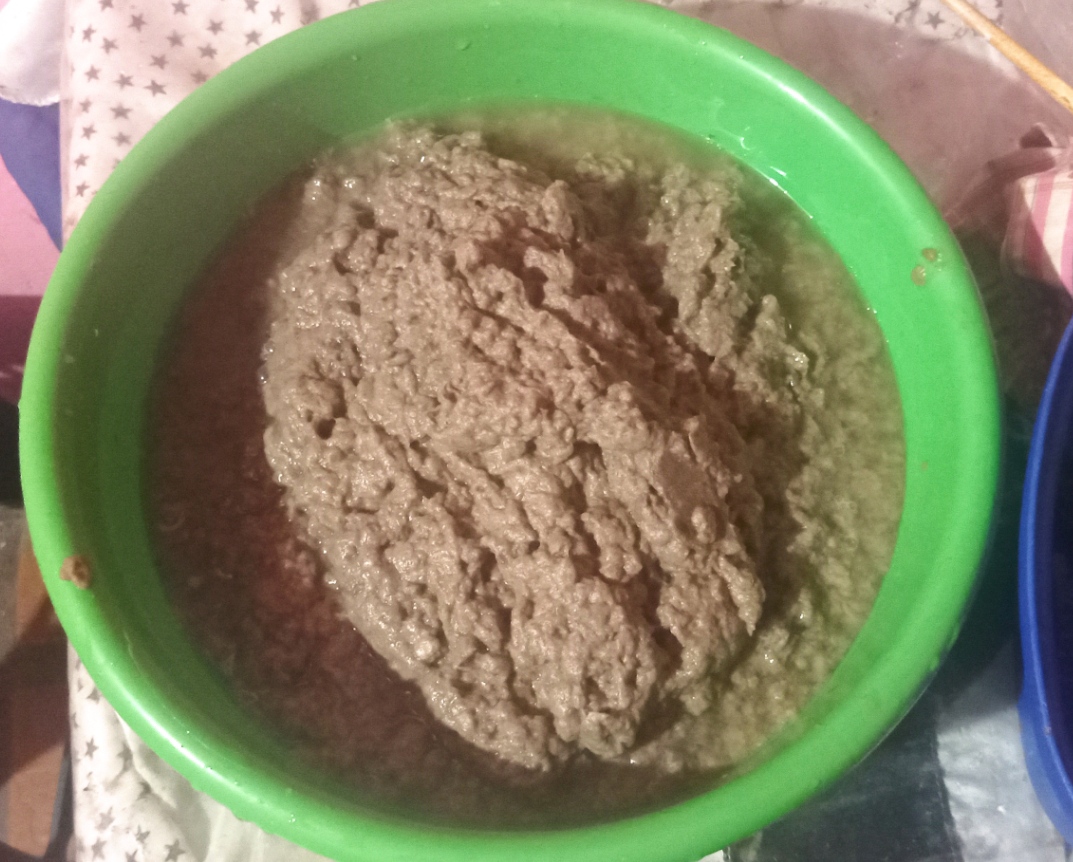
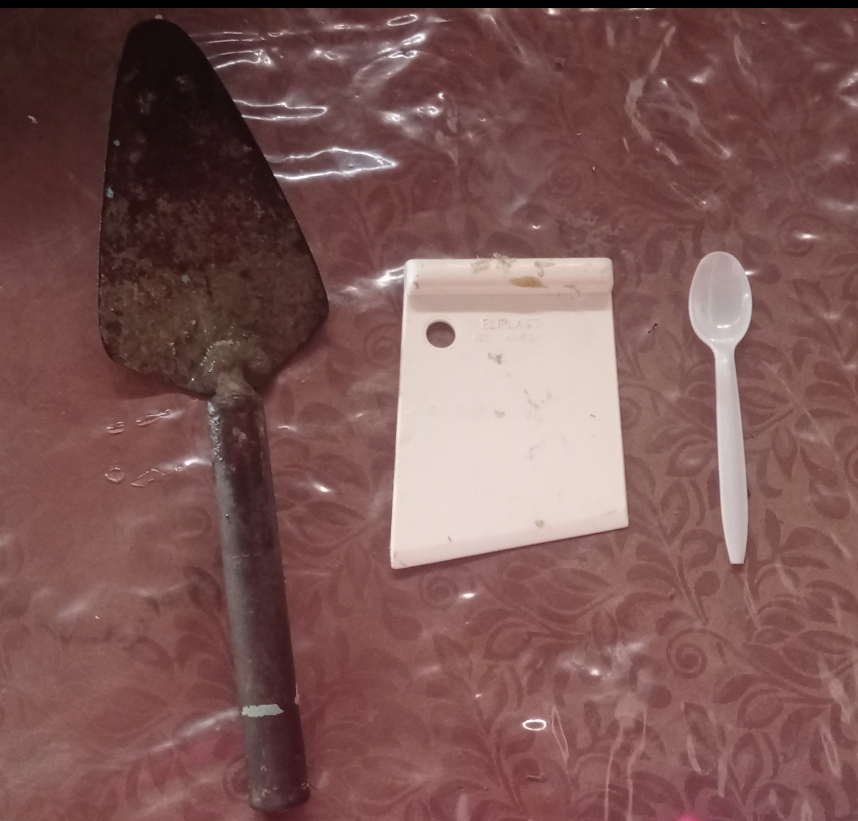
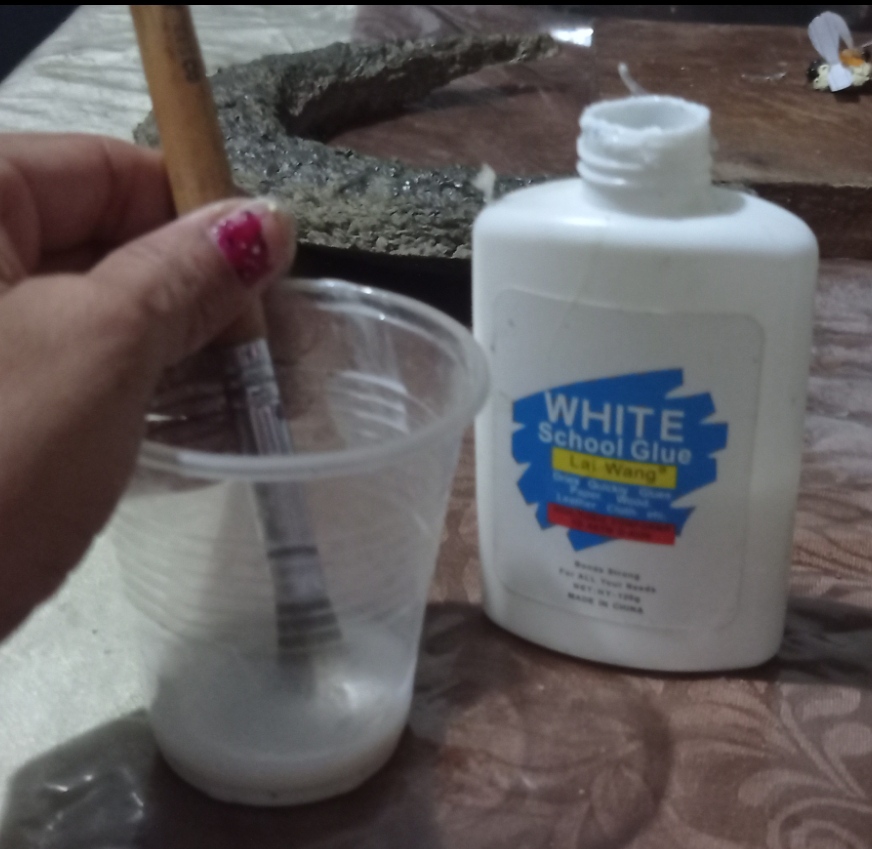
Once this paste is obtained, we proceed to make the denim. These are the utensils:
1 medium plastic spoon
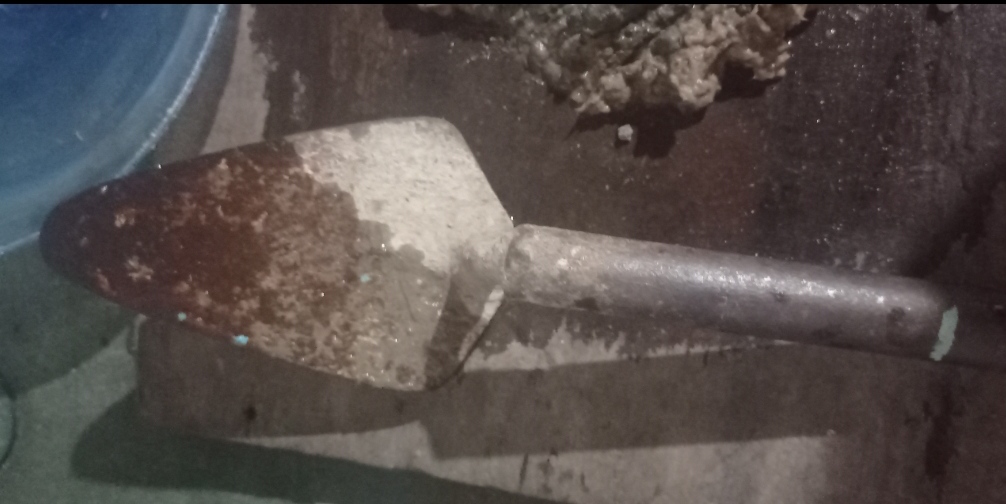
1 masonry spoon to grab the portions
1 plastic spatula I have for that. They can use it that makes it more comfortable for them.
Note:Use gloves in this process. In my case I worked with pure utensils. I had no contact with the mixture. If you don't have gloves, use plastic bags. In case of working with children, work under the supervision of their parents.
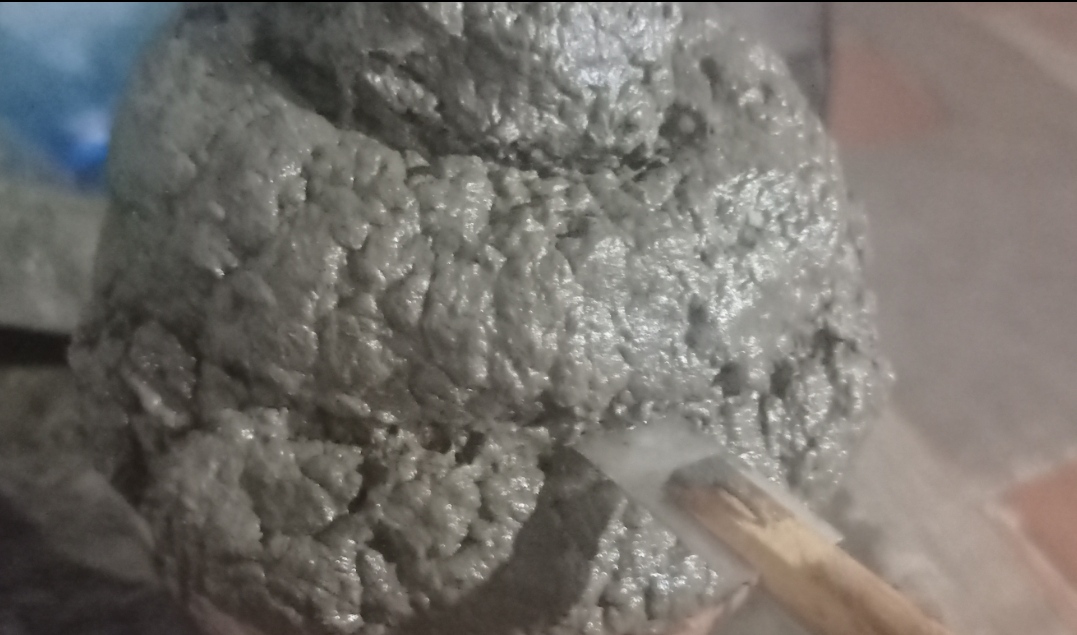
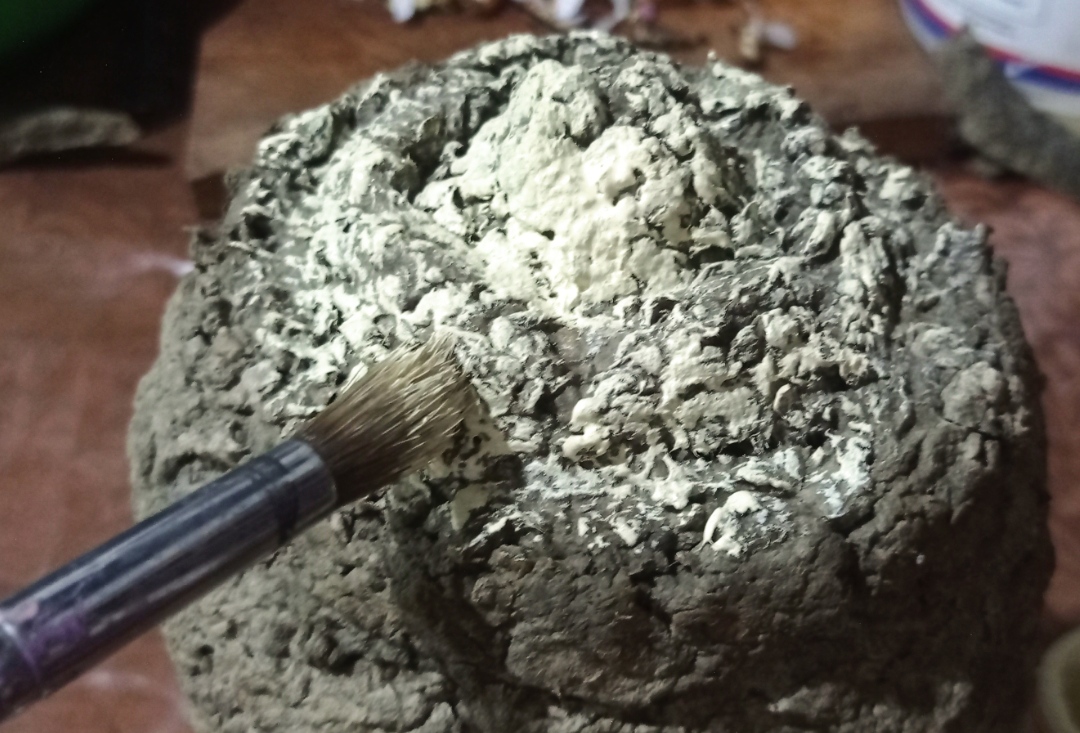
We add 3 tablespoons of cement.
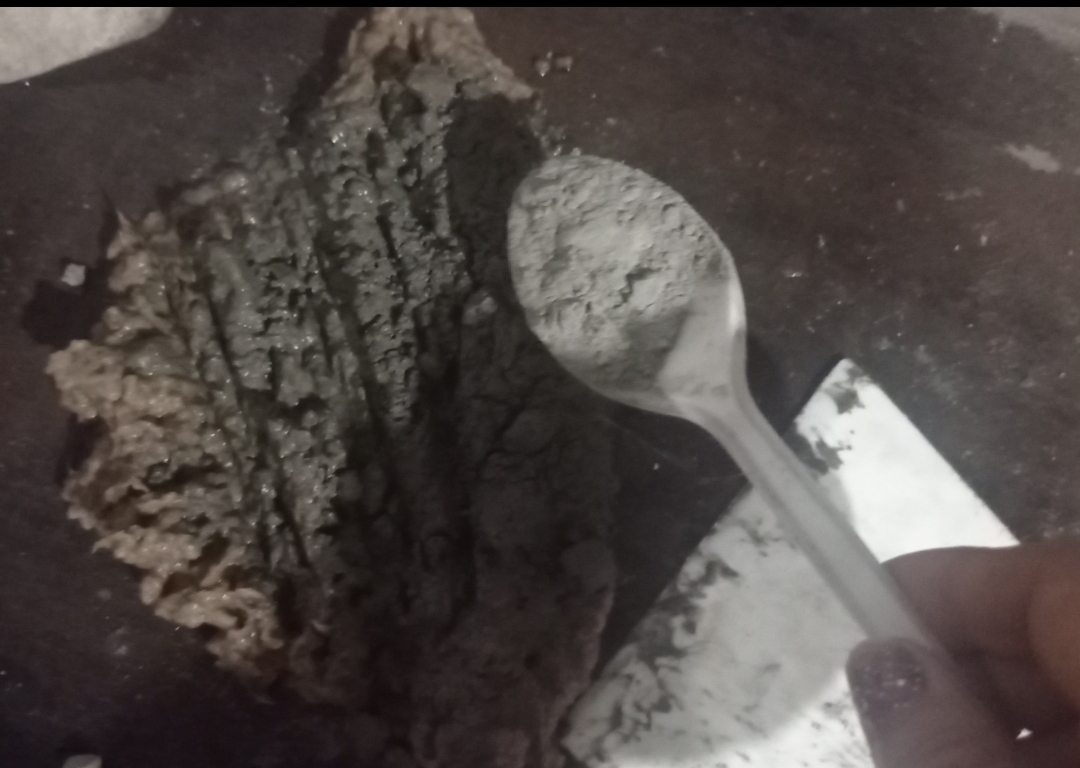
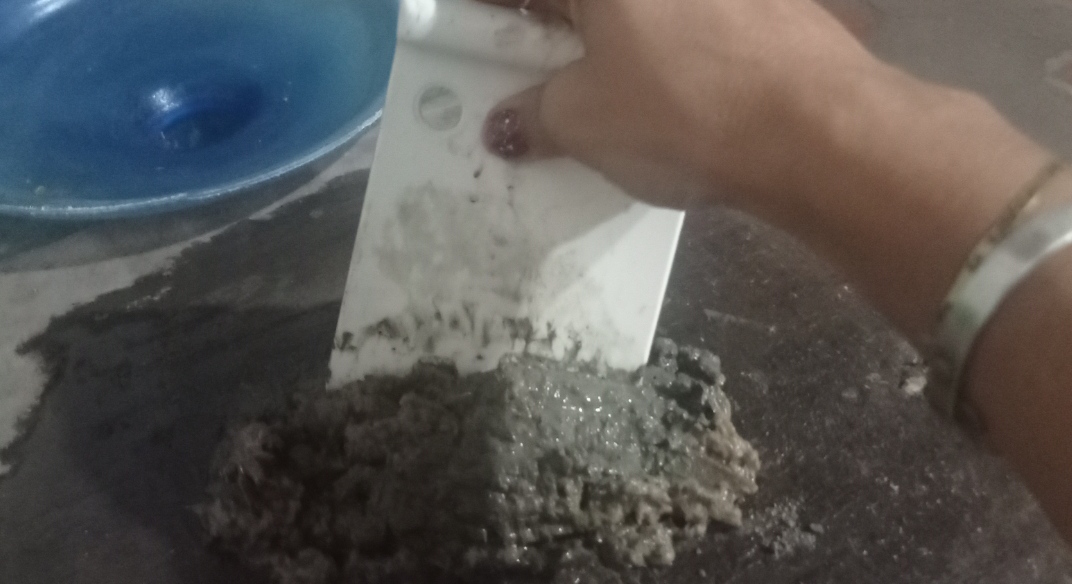
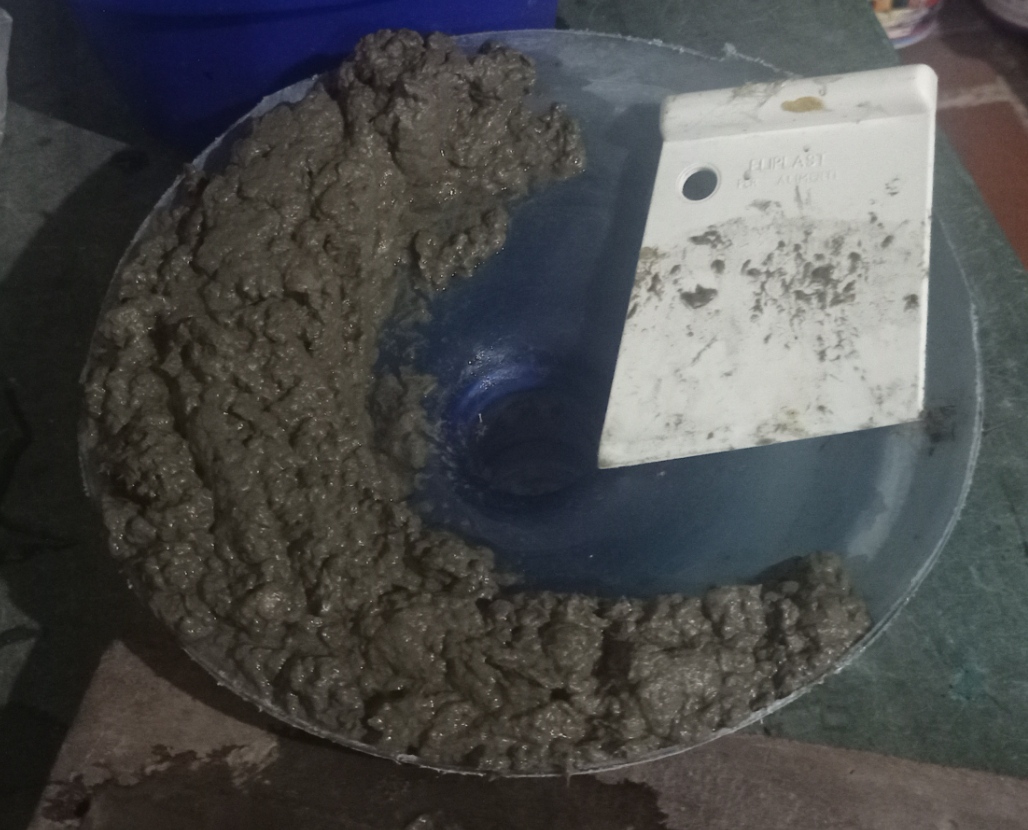
And we mix until we obtain a very uniform homogeneous paste. And they are obtained by portions and then you put them together and you get a single mixture.
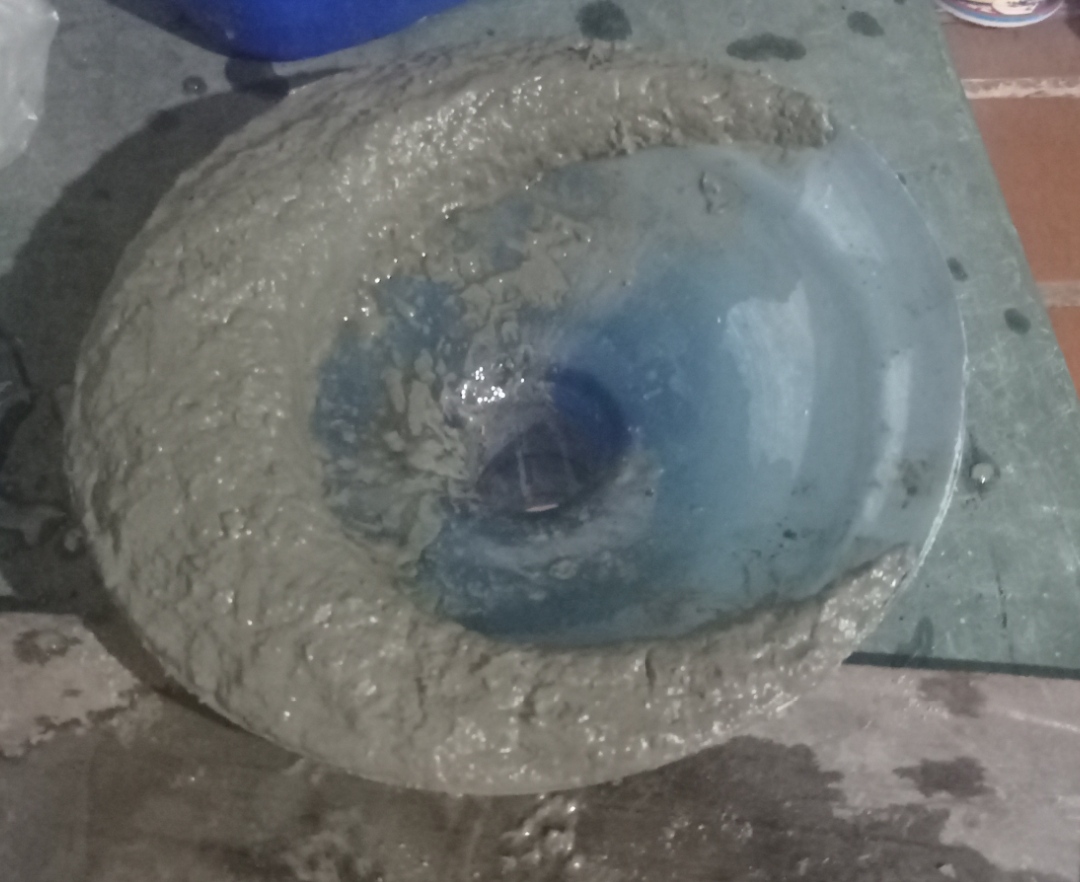
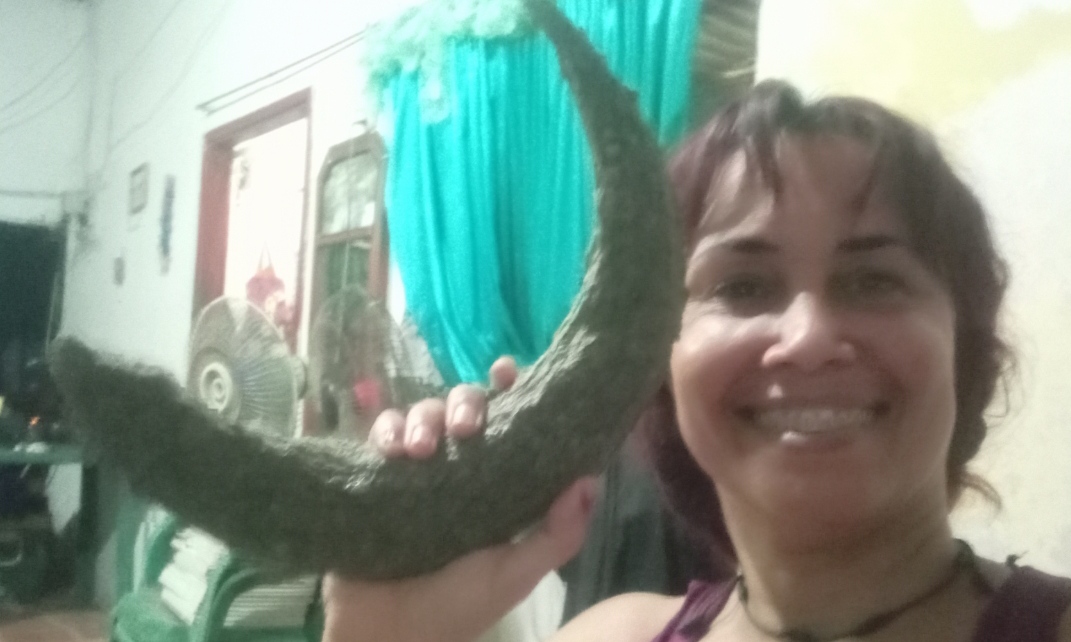
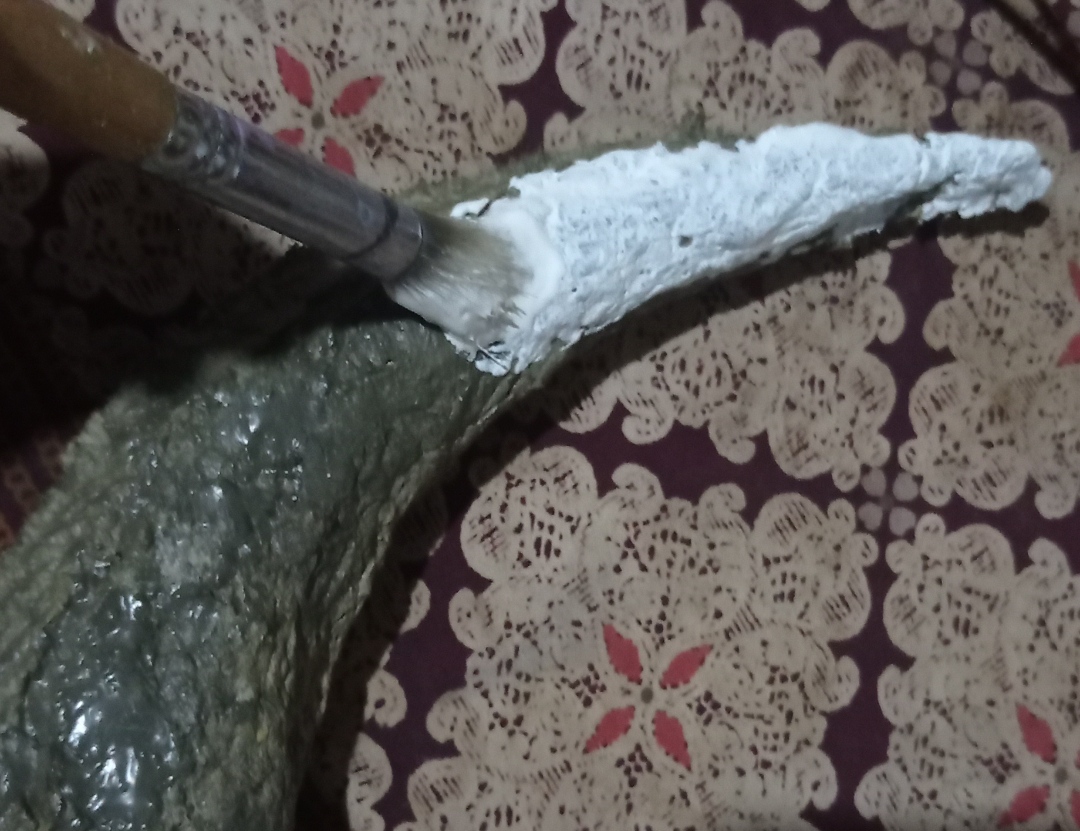
Once everything is fully obtained, we proceed to form the moon with a round plastic base. You give it the way you want. I wanted to do it in crescent.
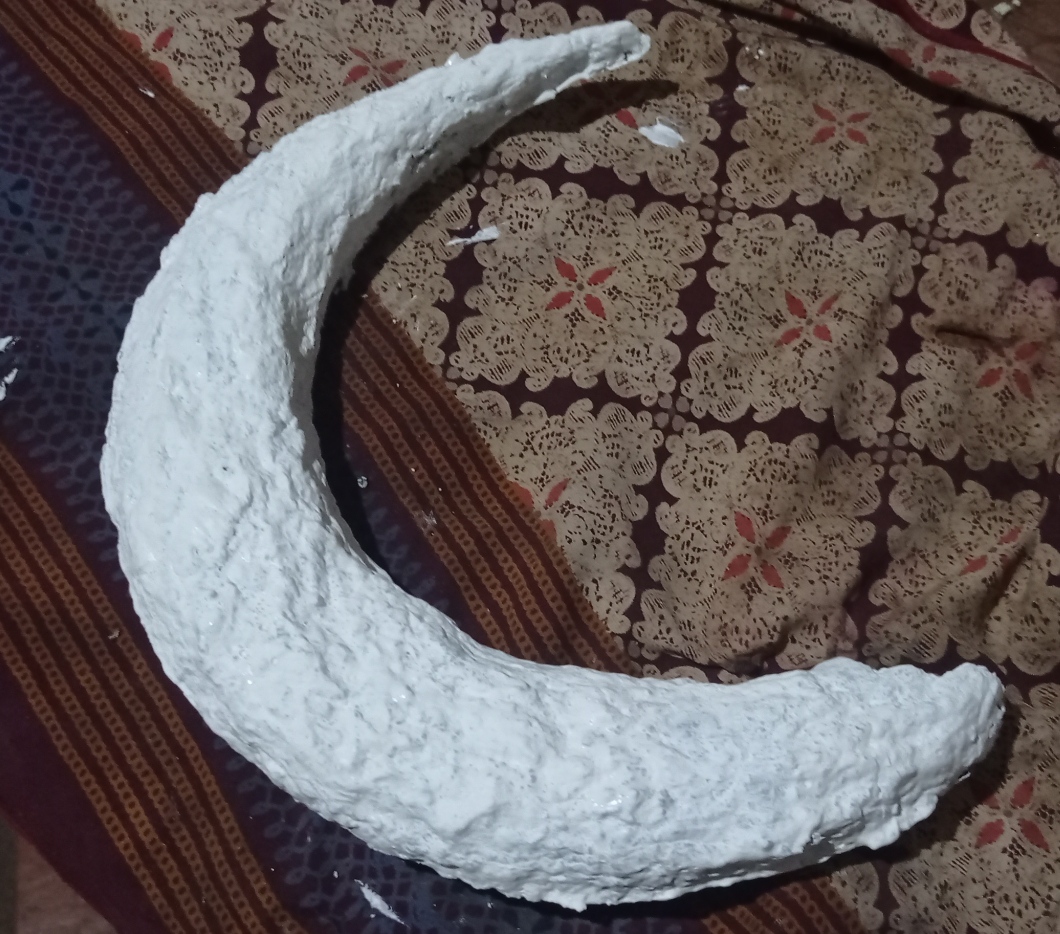
And ready. Here is the moon formed. Let it dry in the sun for 2 days or more.
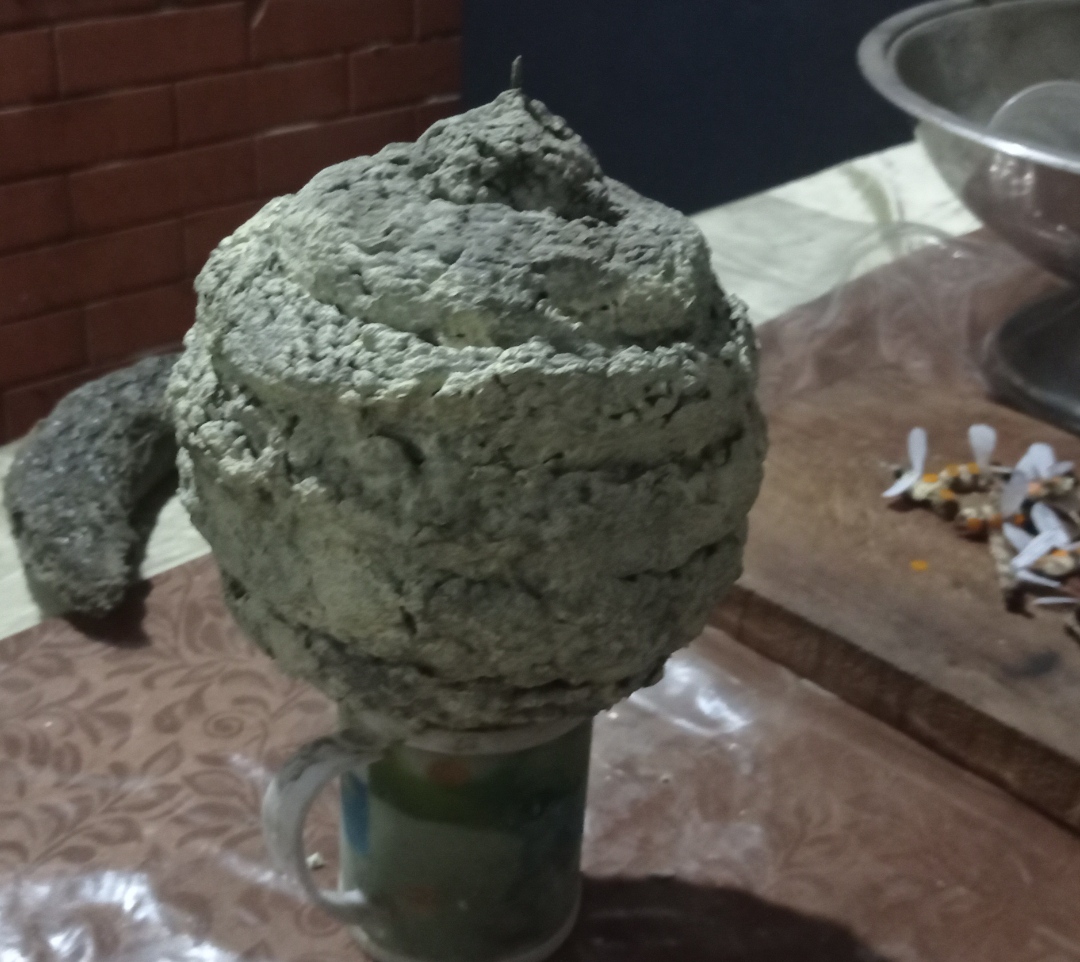
Now we make the hive. First we take a wire and bend it with a clamp at the end as seen in the figure.
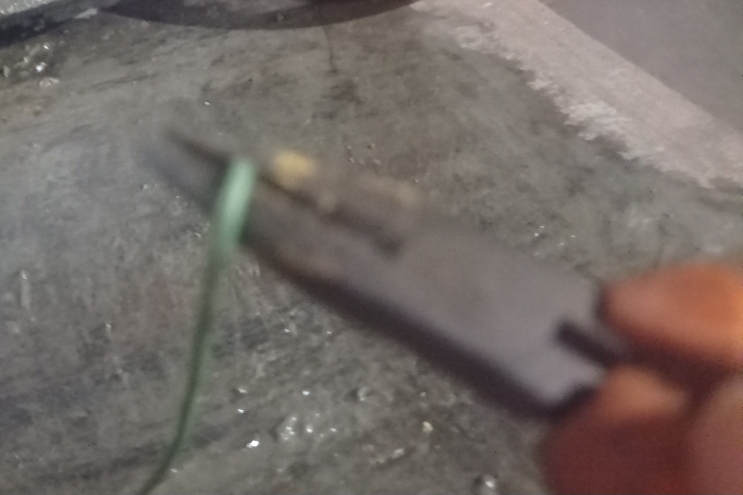
bent tip
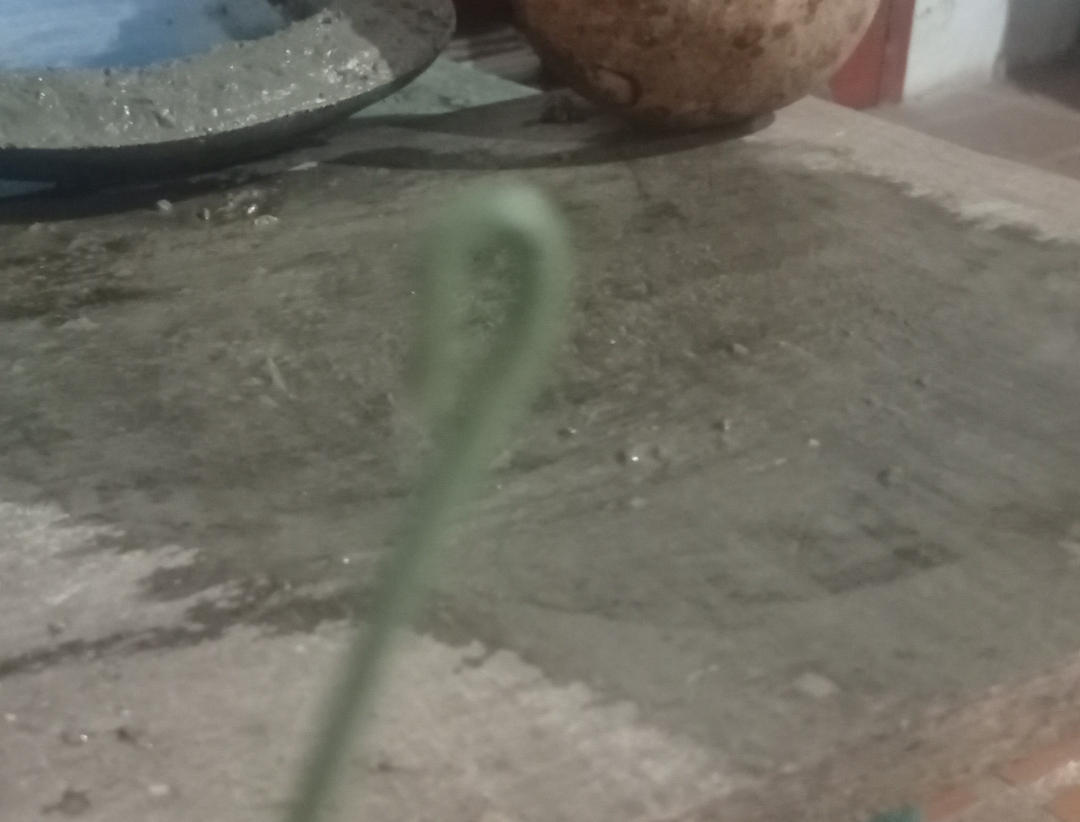
We take a round lid.
We introduce the wire that we bend under pressure so that it remains in a way to hang it.
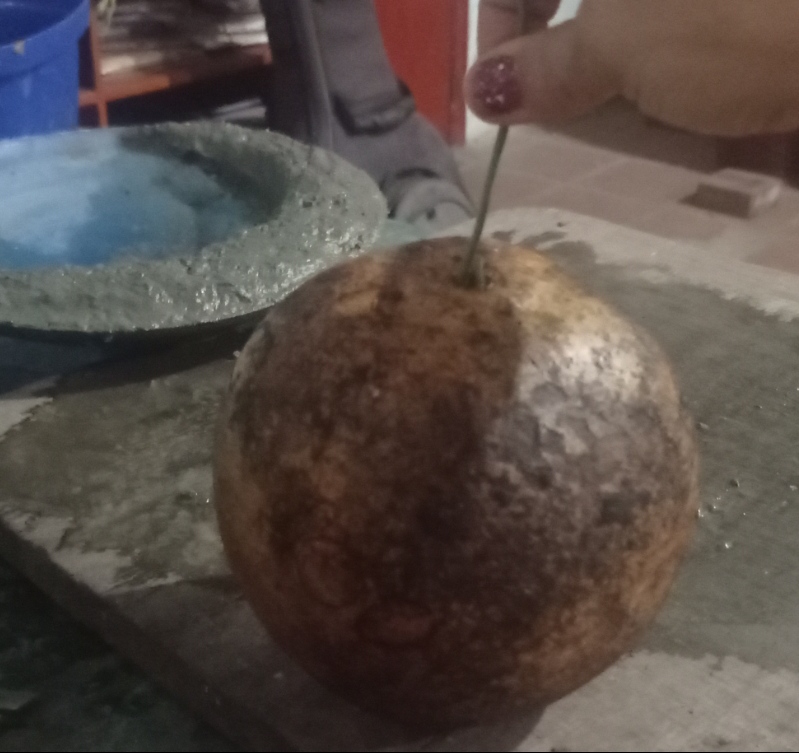
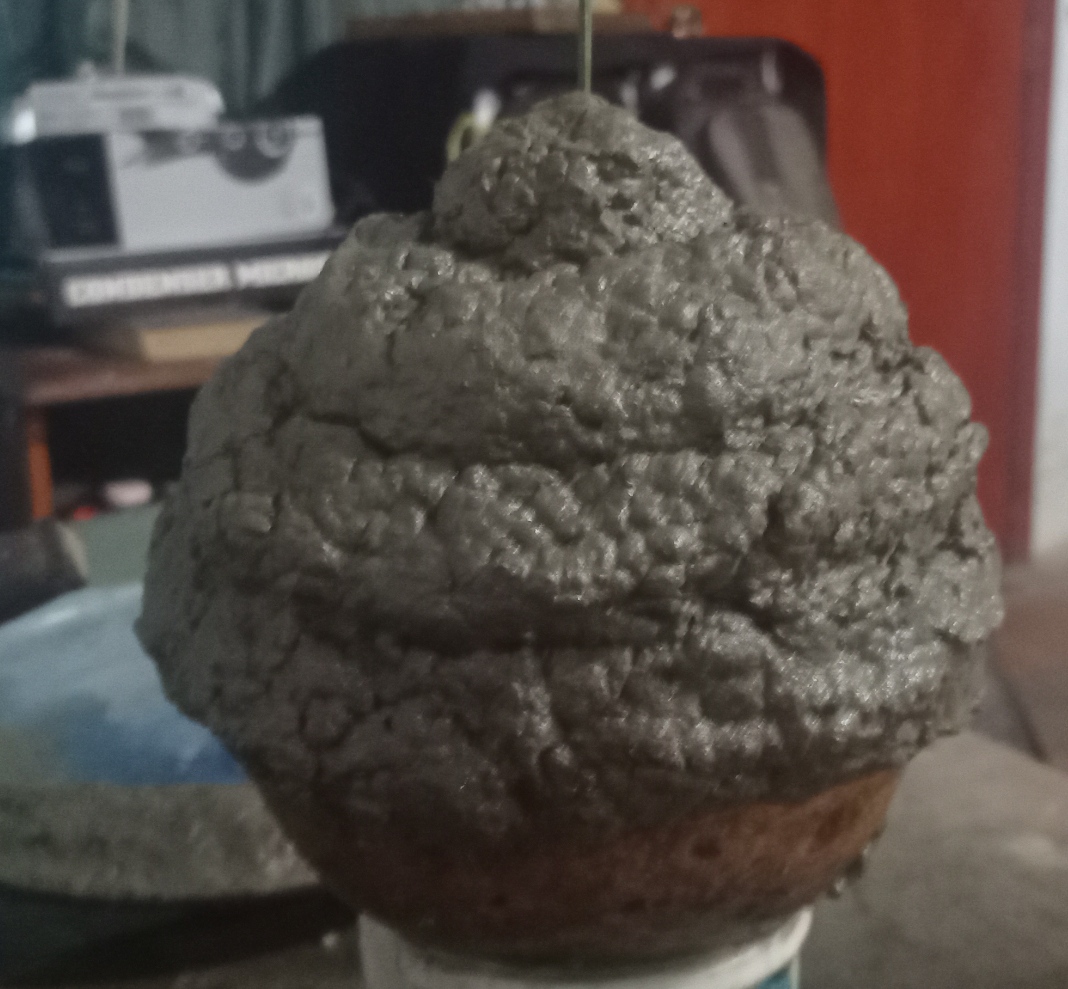
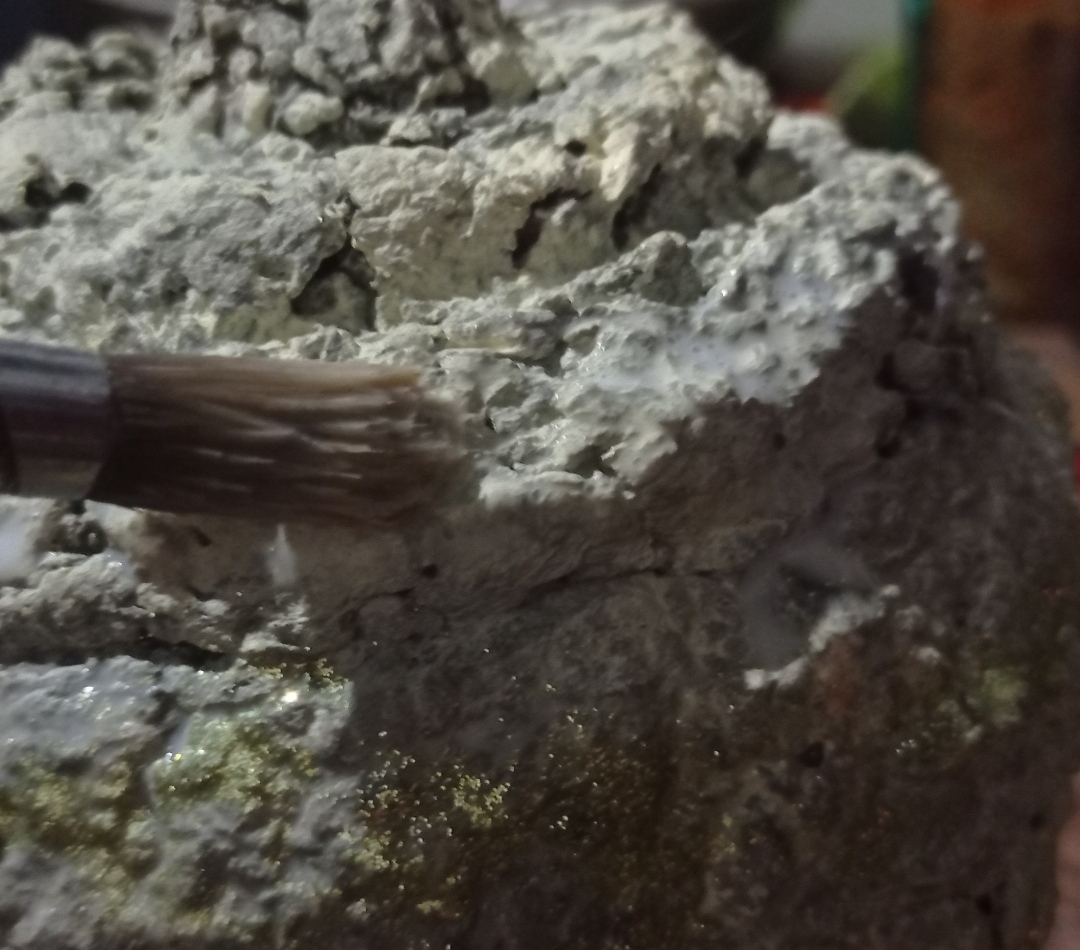
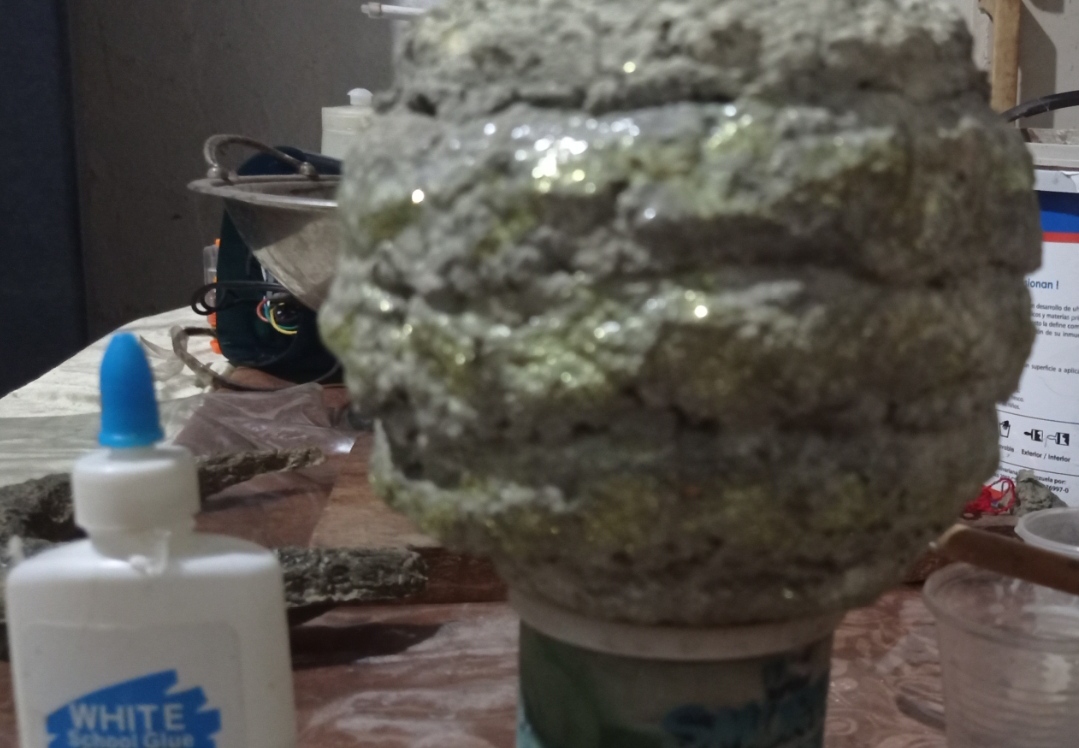
We begin to place the mixture and give it a beehive shape with a small spatula. It is necessary to place it on top of a cup to be able to spin it by hitting the mixture and giving it the shape.
And here we have it ready. We let it dry in the sun for two or more days. And here we have it ready. We let it dry in the sun for two or more days.
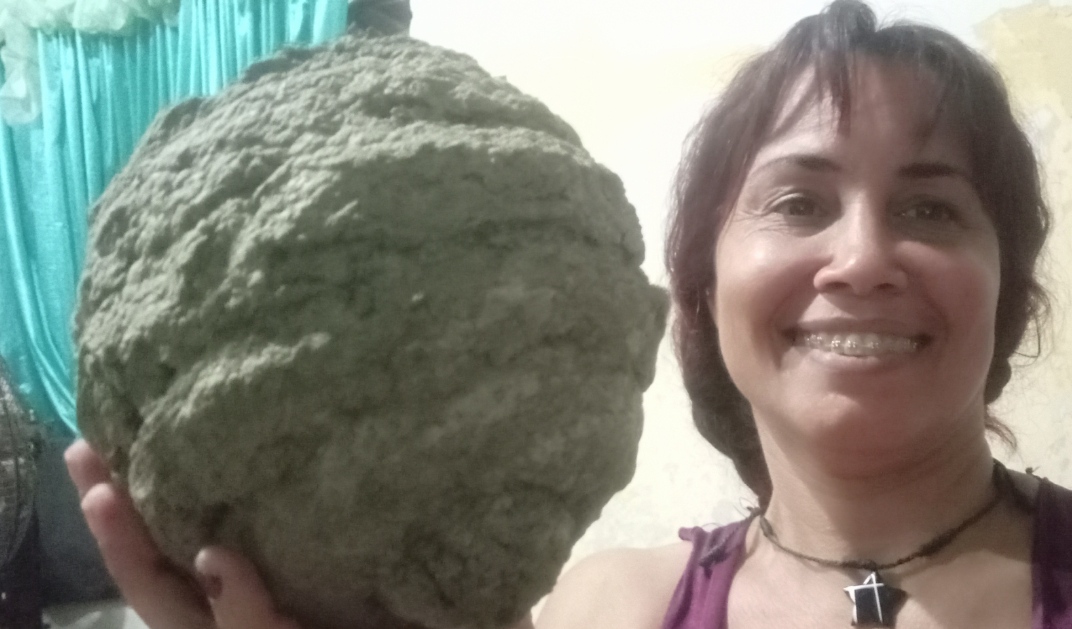
And the moon too.
We now take a paint: it can be cream, yellow or mustard. I took one that I had saved that is almost yellow cream in color
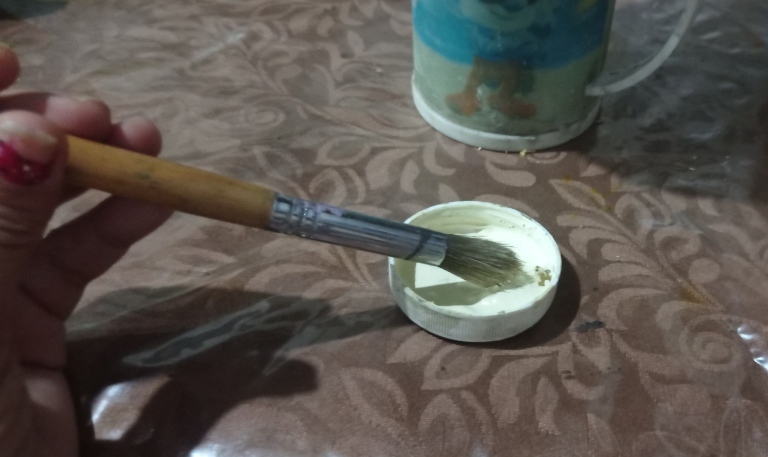
I started painting it all over and let it dry.
We make a soft white glue stick to stick glitter on it
The frost I'm going to hit is yellow. It can be gold or orange as you like.
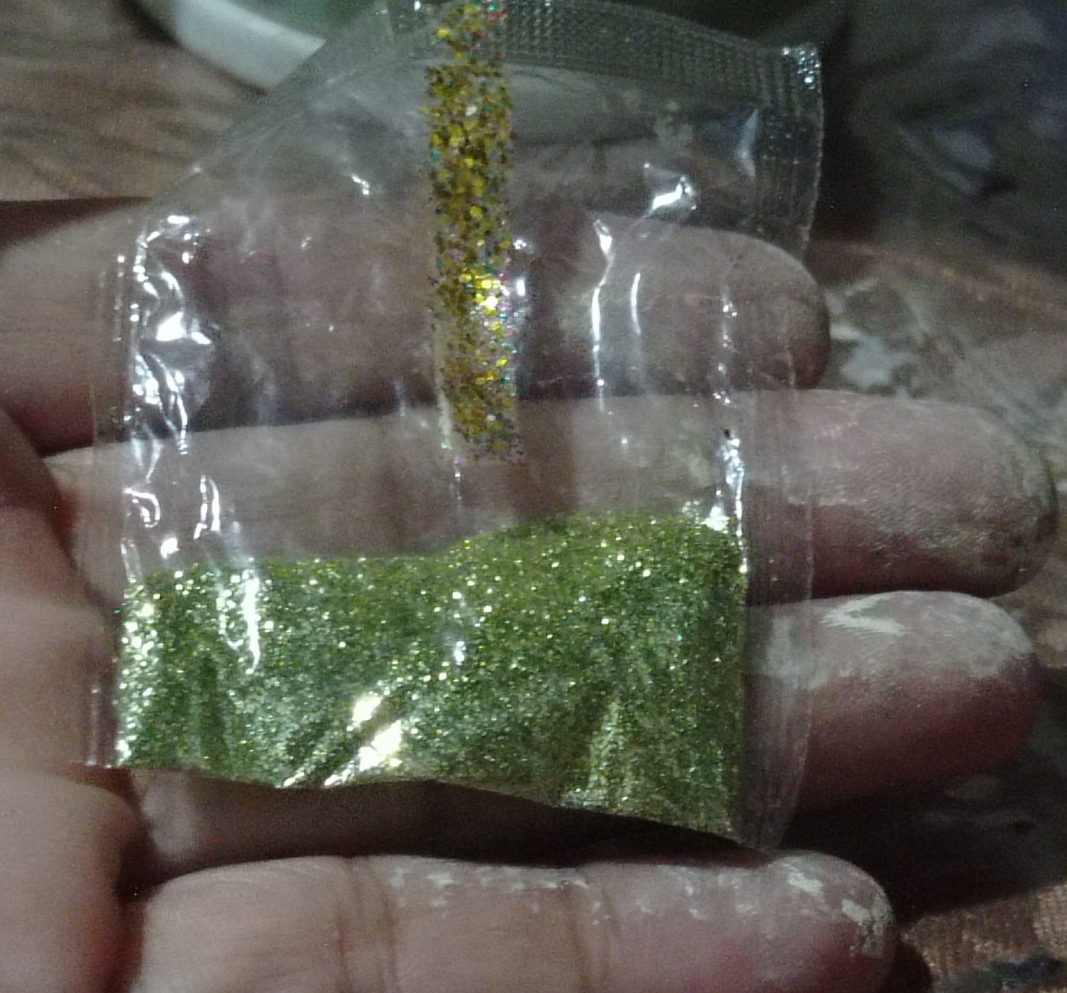
We put the paste paste with a brush and then we add the frosting.
And ready. Let dry.
Now we paint the beautiful moon that is the protagonist of the scene in white.
You can use ceramic paint or on canvas. I use one to paint the wall that I have at home.
Here we already have the beautiful moon ready for the scene
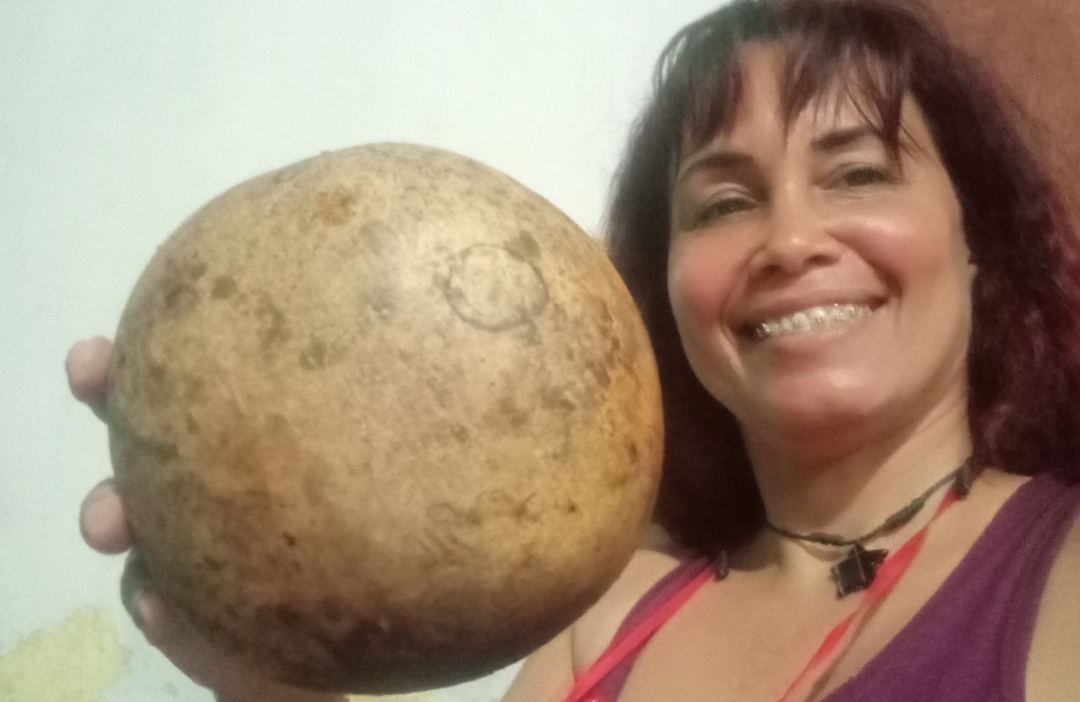
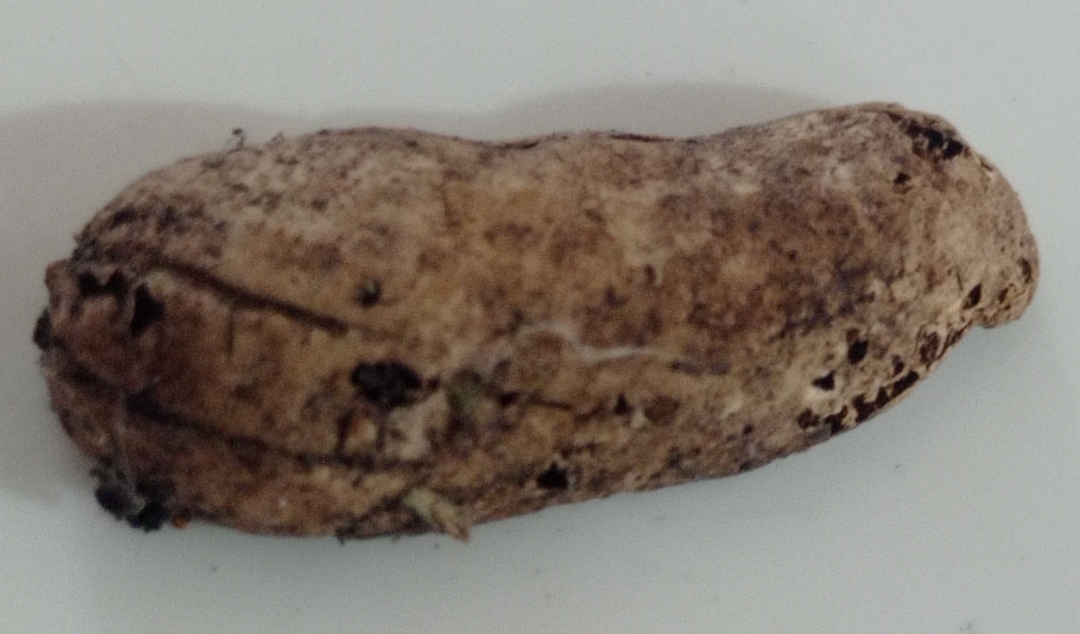
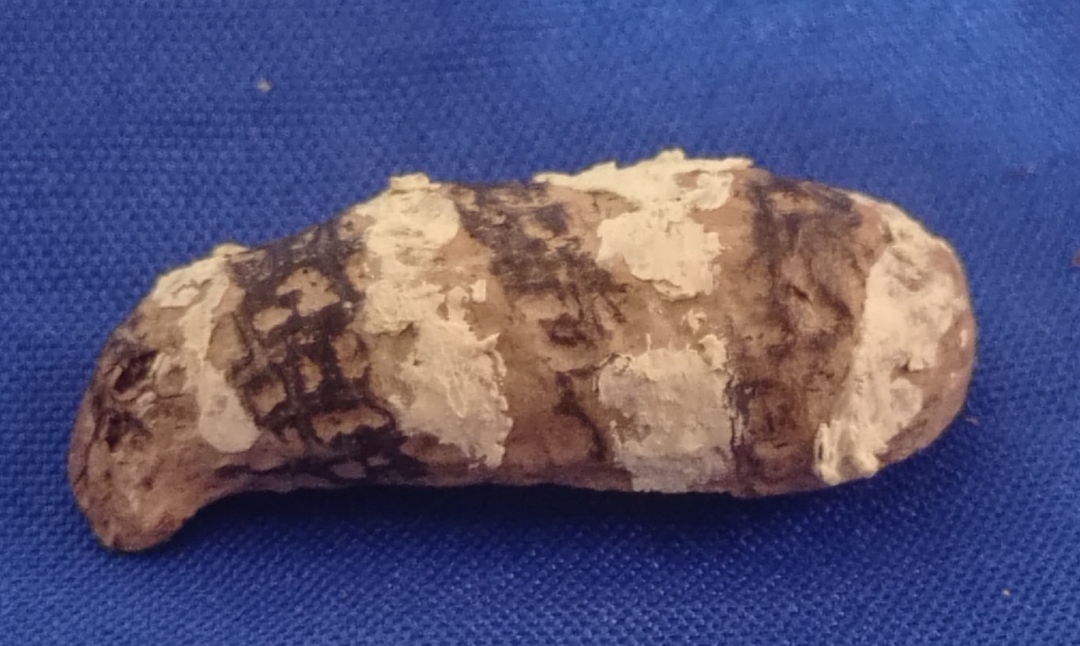
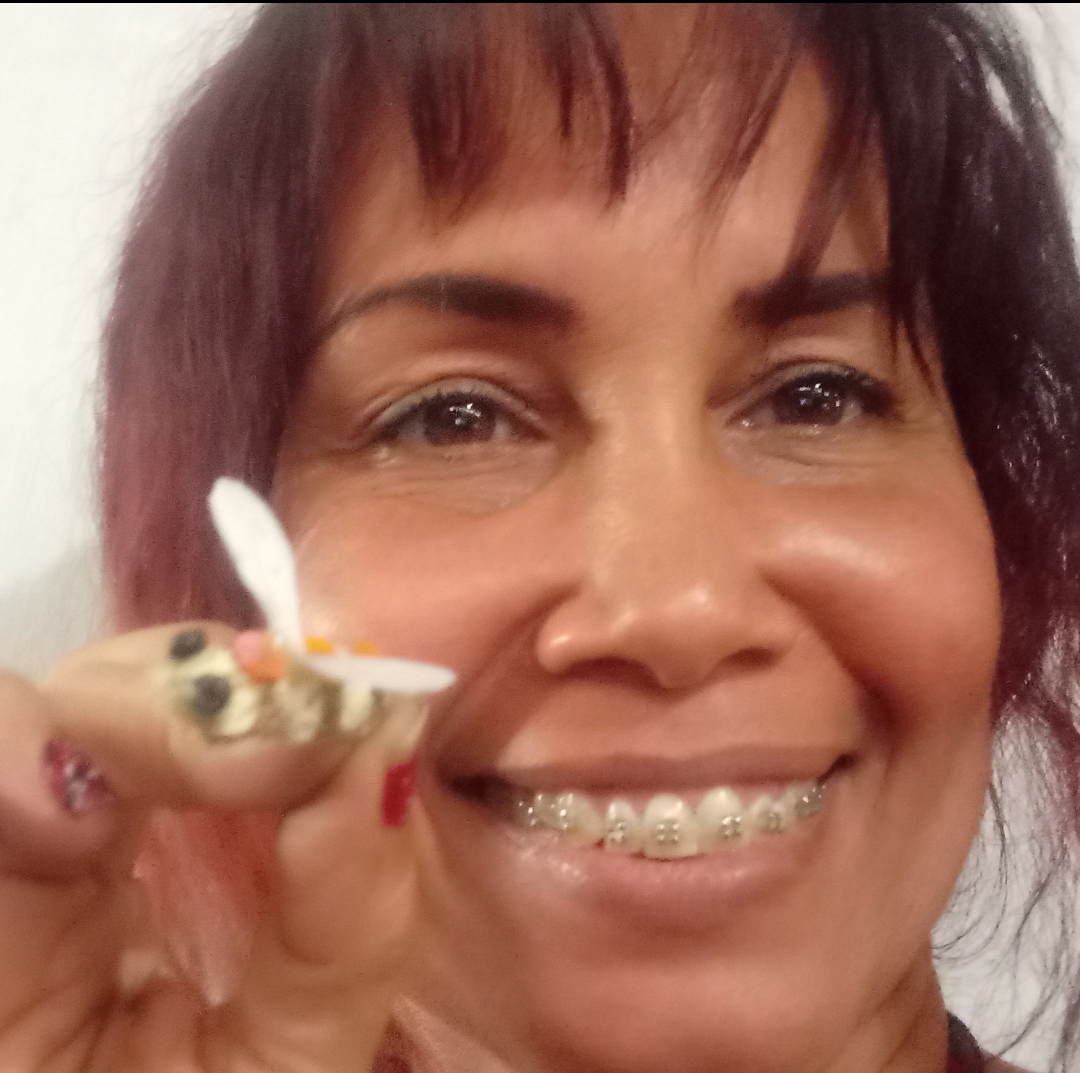
The hive needs its bees to make its honey. Here we proceed to do them. Very original. Impromptu ideas.
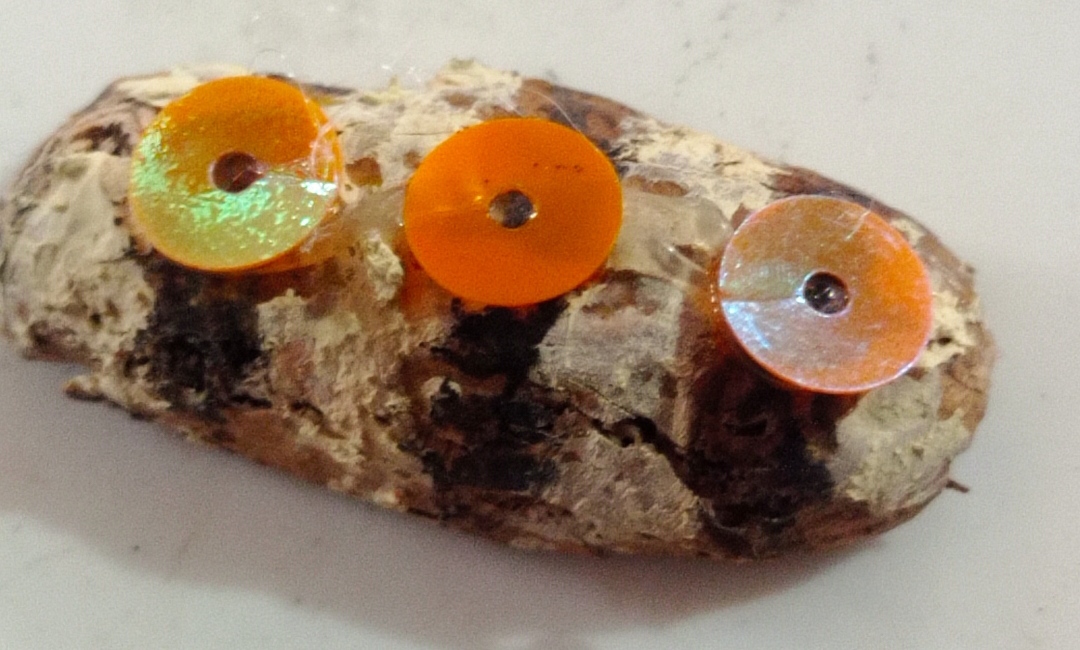
It occurred to me to grab one of the peanuts I had as fertilizer for the plants. That was looking for ideas to make a bee. And I saw a peanut and immediately imagined it as a bee.

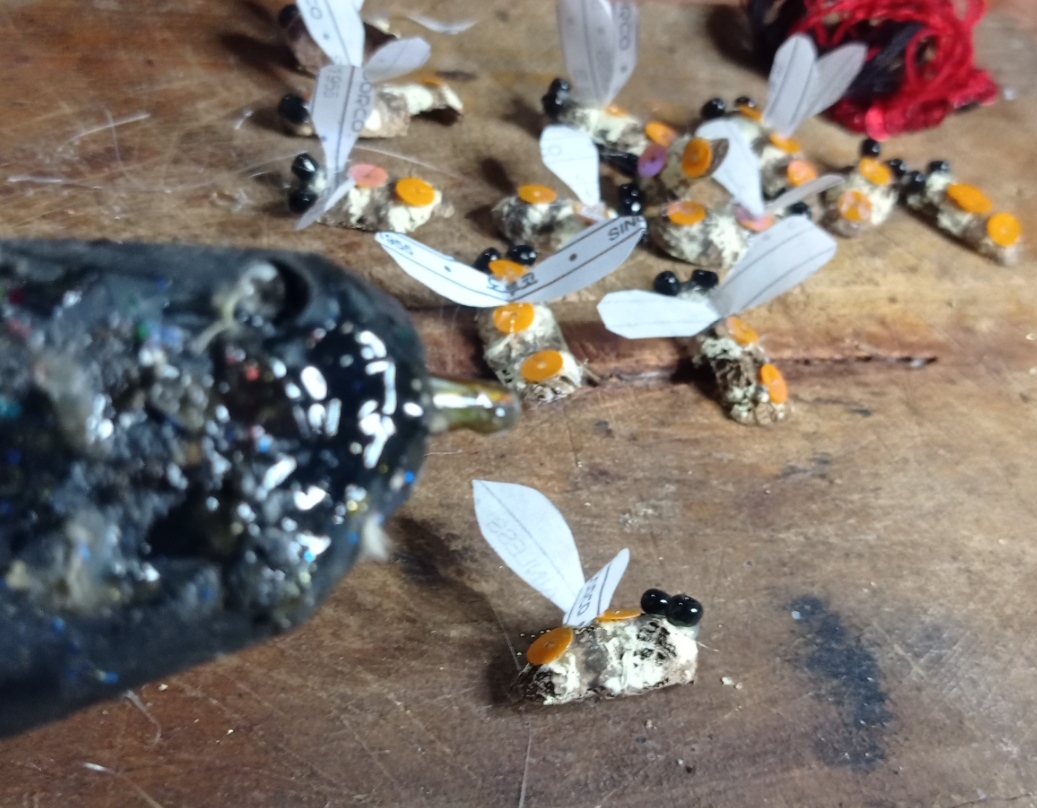
I proceeded to paint it previously clean. I made some yellow stripes with the brush and then let them dry.
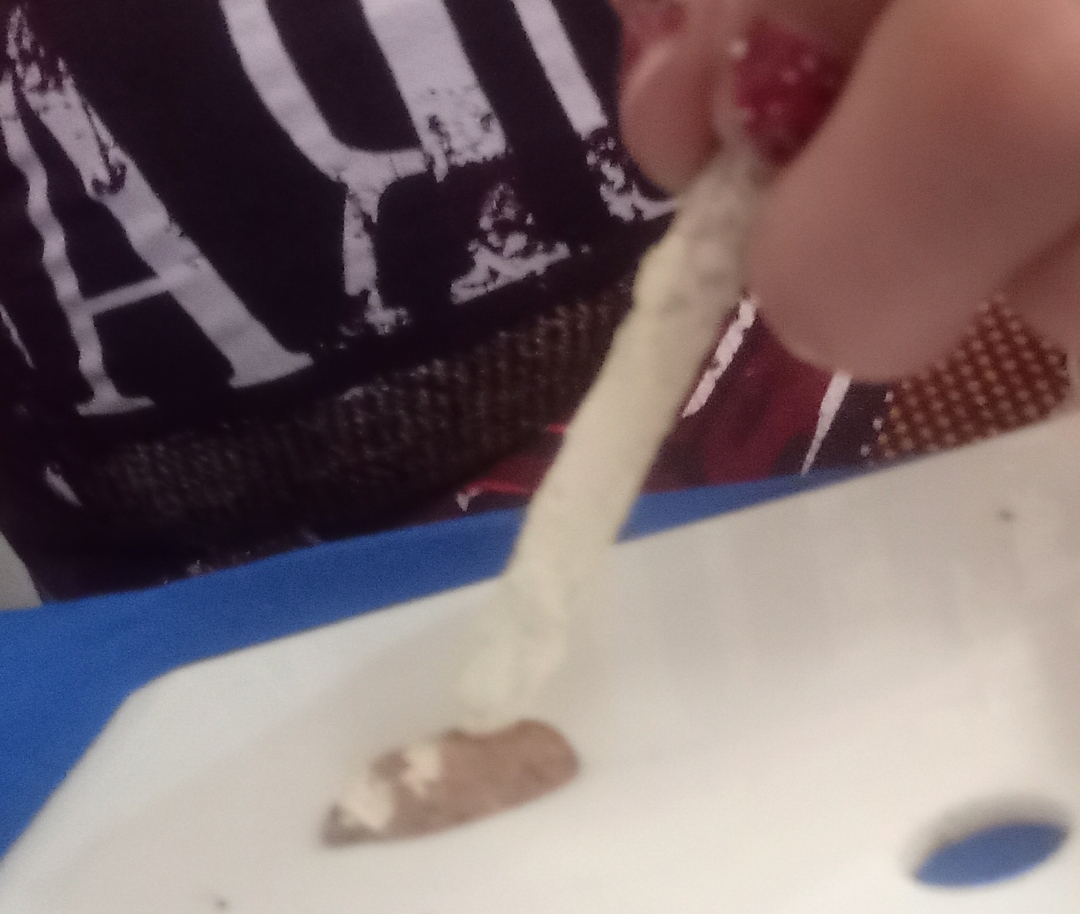
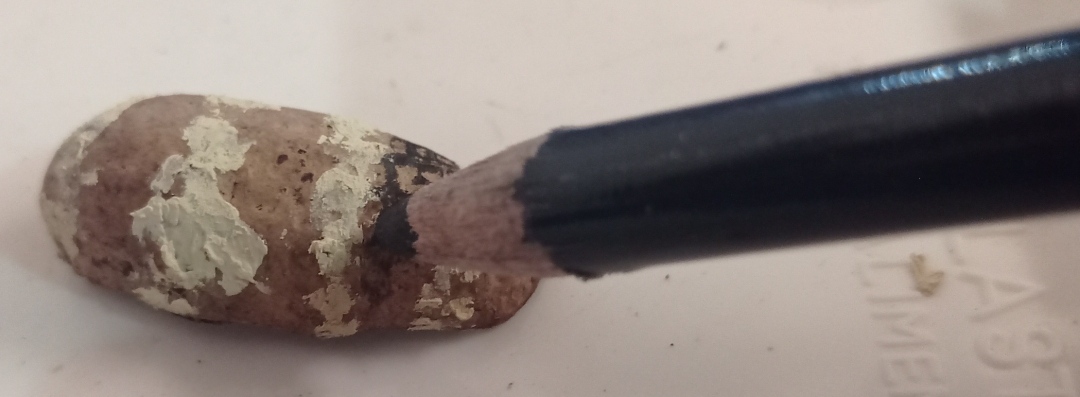
Since I didn't have black paint I used this charcoal pencil which is obviously black.
And I made them the black stripes. This process was repeated for 25 bees that I made.
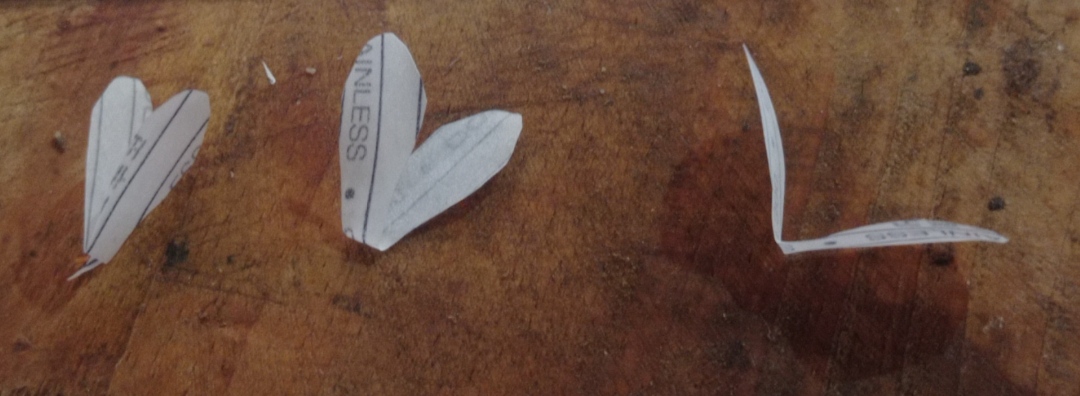
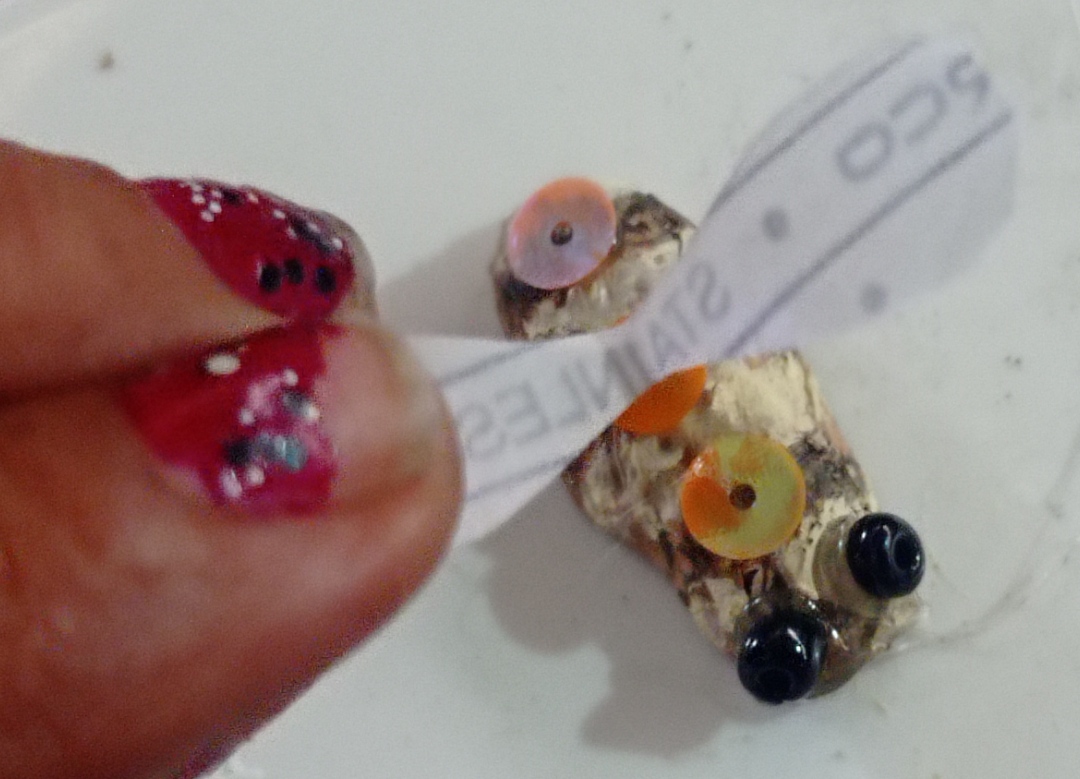
For the wings, take a sheet paper that has hard characteristics so that the wings stand upright.
They can take a mold or make it directly with the scissors since it is not so difficult to shape it.
Here it is ready. Of them 25 wings were made.
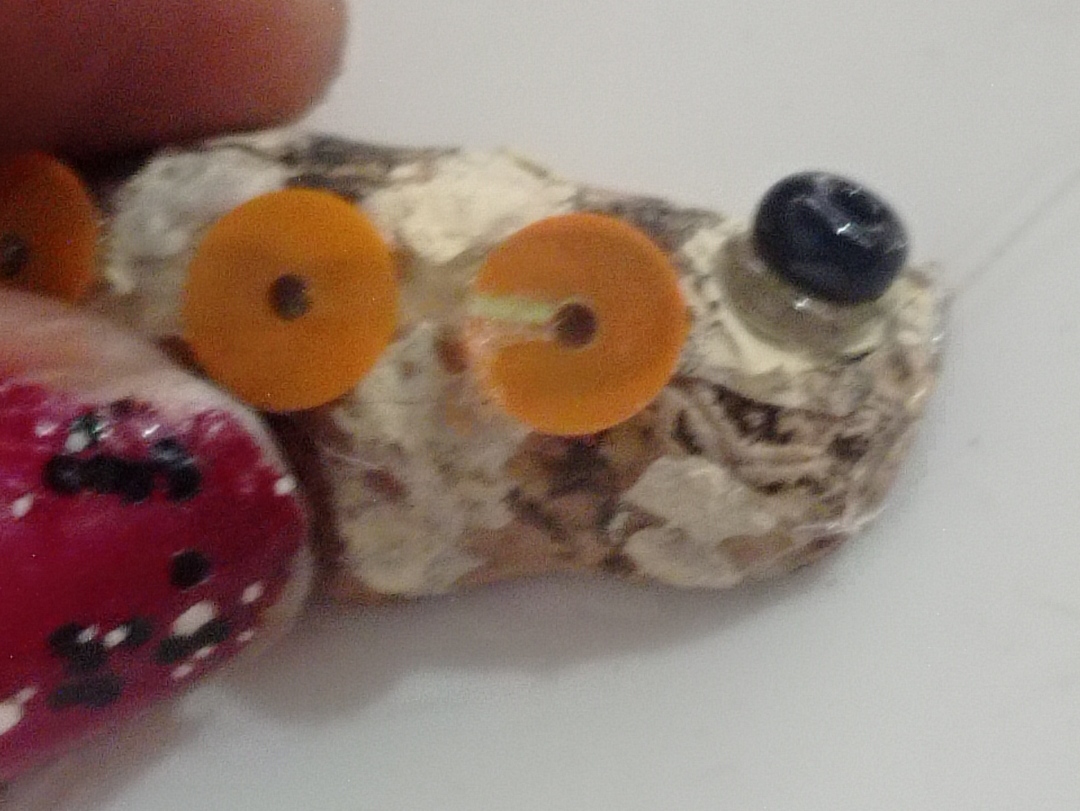
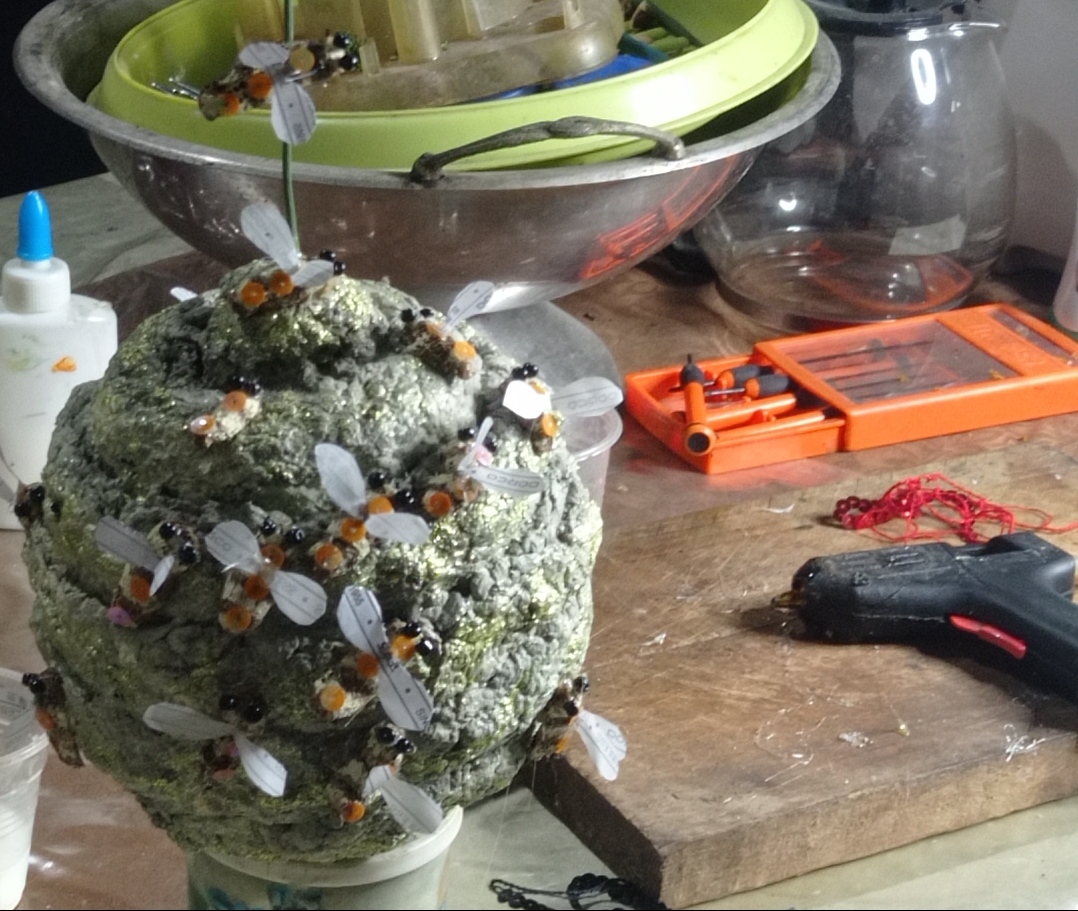
Once we have the bees painted and the wings ready, we begin to decorate them.
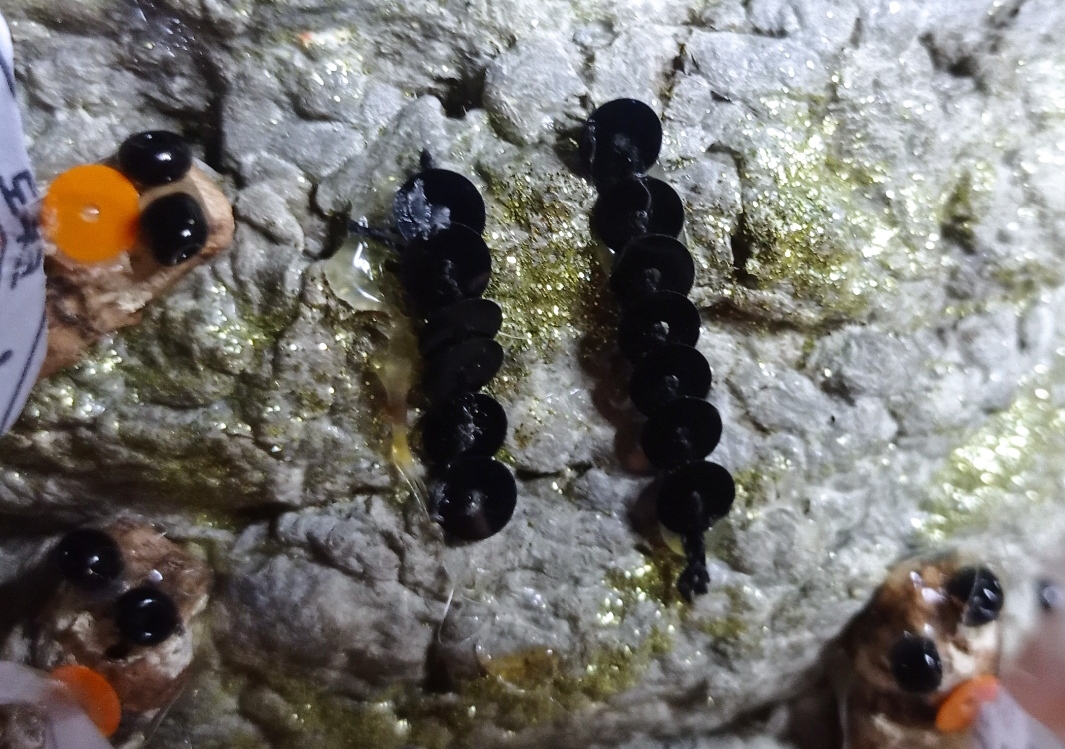
we use silicon
And orange sequins

and we hit
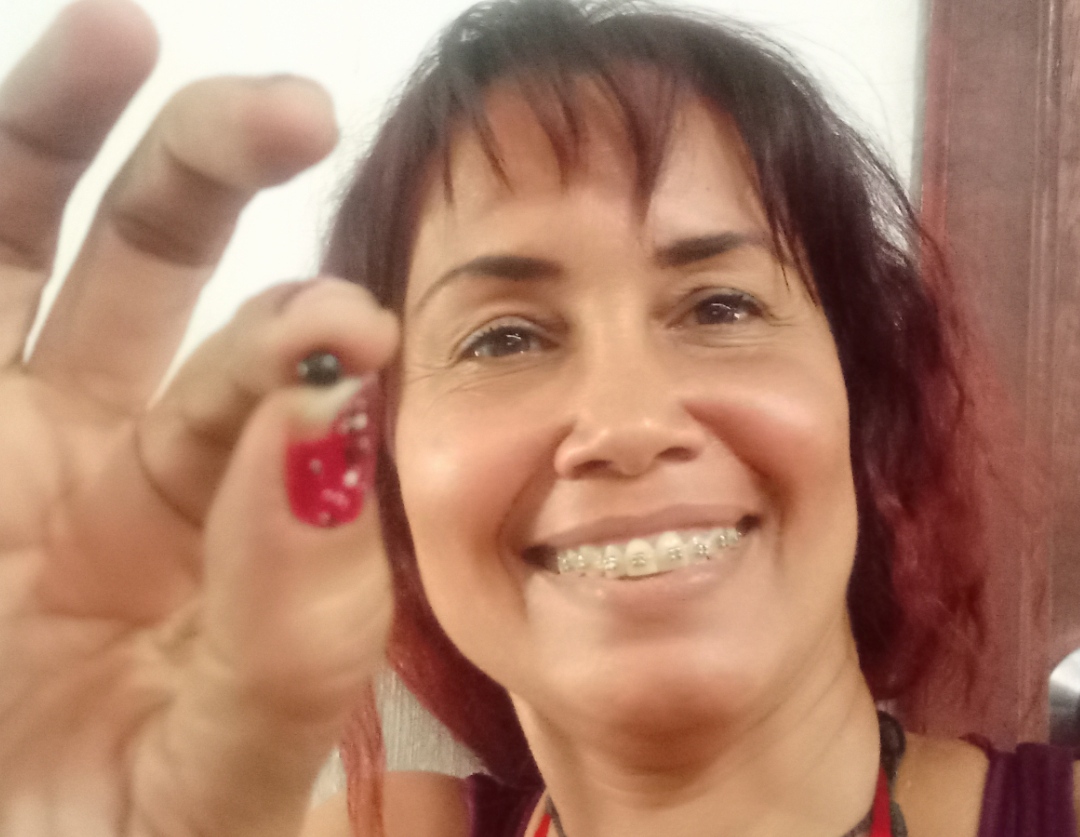
Now we use these beads as eyes.
And we hit This is how we do it with all the others.
Finally we glue the wings.
Here we see how cute it was.

To finish this beautiful hive we glued its bees with Silicon.
You can place it however you want
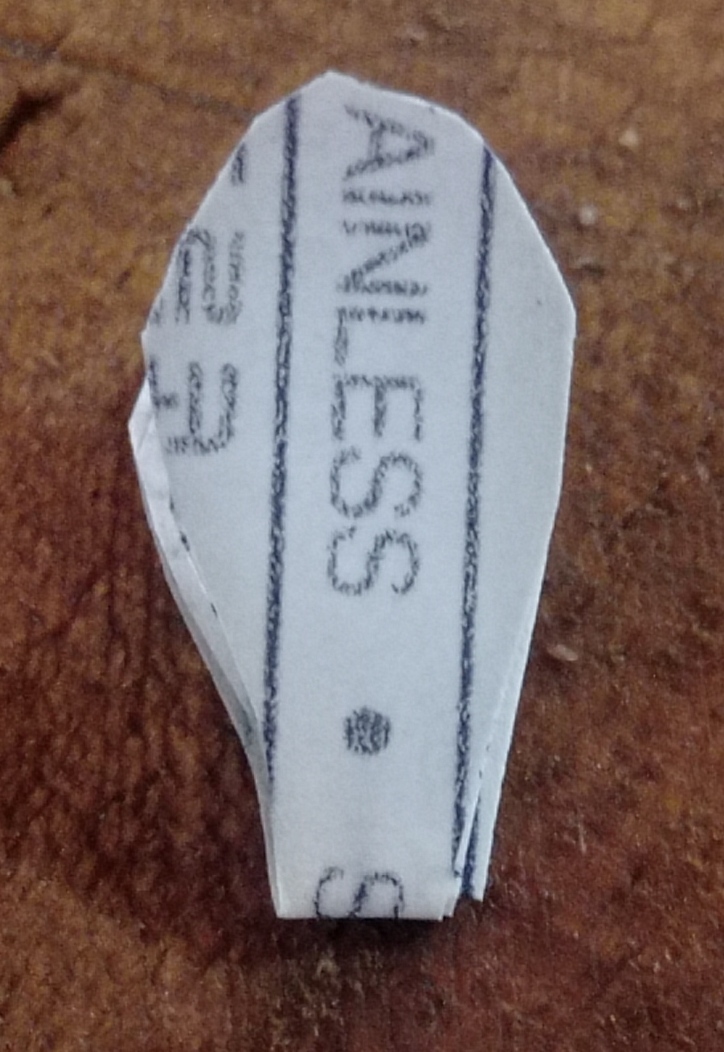
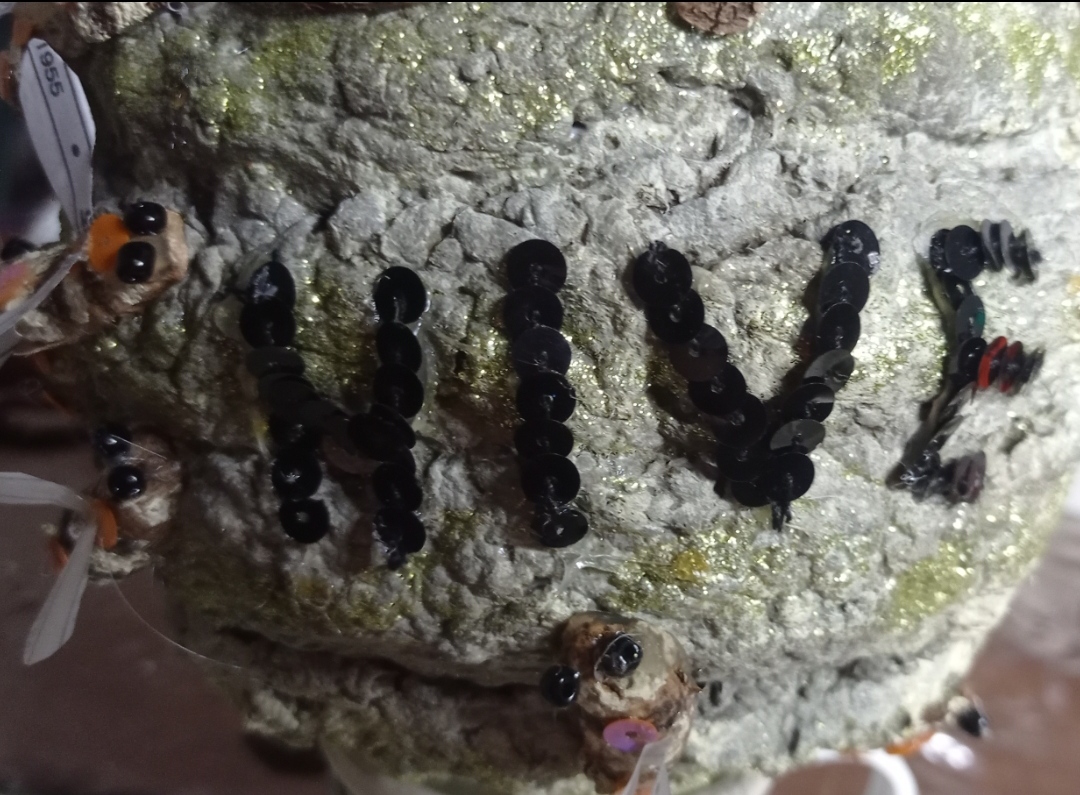
It occurred to me to put the name in black sequins to identify the platform. So cut with the scissors the amount of sequins necessary to form the letters
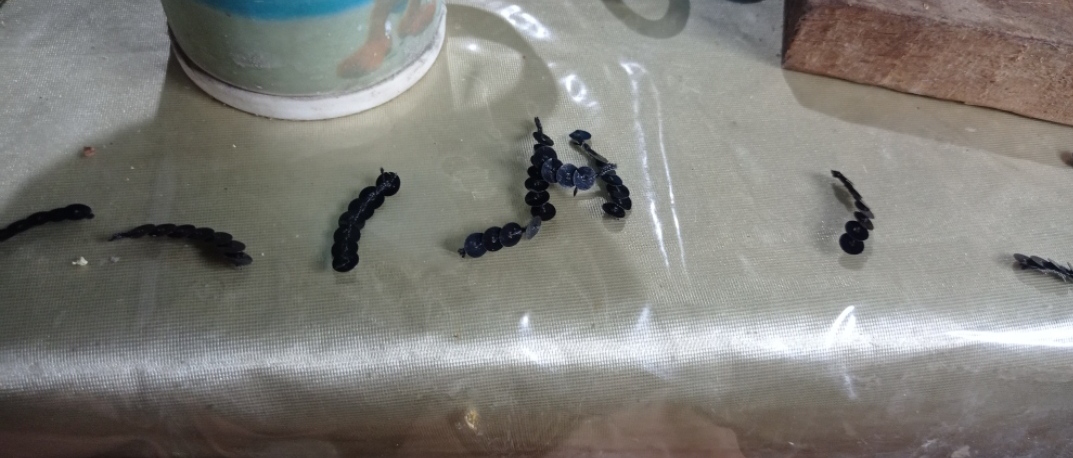
I started gluing them.
And ready.
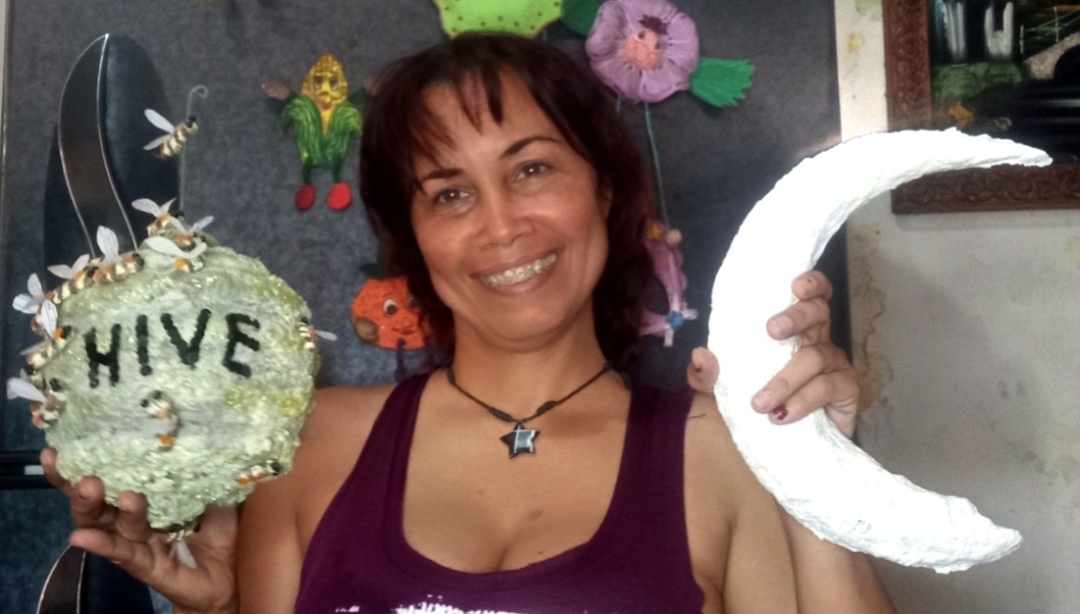
Here we have the moon and the hive with its bees.
Because I got so excited doing this DIY, I was motivated to make a mini story. This story will be watched on a video after the procedure.
Its title is: The Voice of the Moon.
La Voz De La Luna
The Voice Of The Moon
Erase una vez, unas abejitas crearon una muy bonita colmena en un árbol muy frondoso. Ellas buscaron el mejor árbol del lugar. En ese lugar se observaba una media luna muy brillante y hermosa que hablaba muy iluminada. La iluminación era su voz que se escuchaba a todo lo que le rodeaba y las abejas les gustó el lugar debido a esa voz que no dejaba de hablar. Cuando las abejas escuchaban esa voz, ellas se activaban más. No dormían en ese tiempo de media luna y trabajaban sin cesar elaborando ese alimento que nos gusta a todos que es la miel. La luna cumplía una función muy importante en las abejitas. Su voz las activaban y animaban a trabajar. Que bella es la Luna. Una de las abejita salió de la colmena para pedir gracias a la luna por ayudarlas a darle fuerza y ánimo para obtener su alimento y así todas llegaron a ser felices para siempre. La luna sintiéndose feliz por ayudar y las abejas feliz por tener a una amiga muy hermosa llamada "LUNA".
Once upon a time, some bees created a very beautiful hive in a very leafy tree. They searched for the best tree in the place. In that place there was a very bright and beautiful crescent that spoke very illuminated. The lighting was his voice that was heard to everything around him and the bees liked the place because of that voice that did not stop talking. When the bees heard that voice, they became more active. They did not sleep during that half-moon time and they worked without ceasing preparing that food that we all like, which is honey. The moon played a very important role in the bees. His voice activated and encouraged them to work. How beautiful is the moon. One of the little bees came out of the hive to ask for thanks to the moon for helping them give her strength and encouragement to obtain her food and thus they all became happy forever. The moon feeling happy to help and the bees happy to have a very beautiful friend called "LUNA".
FIN
END
I hope you liked it and encouraged to make these beautiful DIY and my story.
In the story I relate the moon, which is our satellite, and our beautiful Hive platform, with its little bees, which are us the users, and honey, I relate it to the production of jobs that are formed in the hive.
Happy day to everyone.🤗
The photos were taken with the camera of my Redmi note 9 phone.
And the video collage was made with the photos of the procedure and edited with viva video.
The video of the story was made with a DIY photo of the moon, a DIY photo of the beehive and a mini video of me and was edited with the Capcut program
I'm glad you enjoyed my Tutorial👏
Thanks for being here!💞
▶️ 3Speak
Thank you for sharing this post in the DIYHUB Community!
Your content got selected by our fellow curator priyanarc & you just received a little thank you upvote from us for your great work! Your post will be featured in one of our recurring compilations which are aiming to offer you a stage to widen your audience within the DIY scene of Hive. Stay creative & HIVE ON!
Please vote for our hive witness <3
Que alegría. Muchísimas gracias por el apoyo y me encanta que les haya gustado mi trabajo. Saludos y abrazo.
I love the way the cardboard clay turned out, your participation was very creative. Greetings and good luck in the contest.
Gracias me alegra que le haya gustado. Con esa mezclilla puedes forrar tarros rotos, vasos y otra cosa con la finalidad que quede como florero y así decoras un poco tu casa. De algún modo también se recicla algún adorno que te gustaba y que se te haya roto con eso lo puedes cubrir dándole la forma que quieras. Gracias por visitarme. Saludos y abrazos.
Nunca he usado plastilina de cartón, se ve muy sencilla de preparar, y permite ahorrar costos en materiales, gracia por compartir esta genial idea para reutilizar el cartón; el proyecto te quedó hermoso, me encantaron las abejas.
Bendiciones!
Gracias. A mí también me gustaron mucho las abejas jajajajaja jajajajaja. Las conchas de maní también tienen utilidad y se puede barnizar para que dure más tiempo. Me alegra que le haya gustado. Saludos y abrazos.
hermosas abejitas. Me ha gustado mucho tu trabajo, sobre todo el video y la historia, suerte en el concurso amiga @elinorrg.
Gracias amiga por gustarte y tu apoyo. La historia bueno jajaja jajaja inventada. Saludod y abrazos.