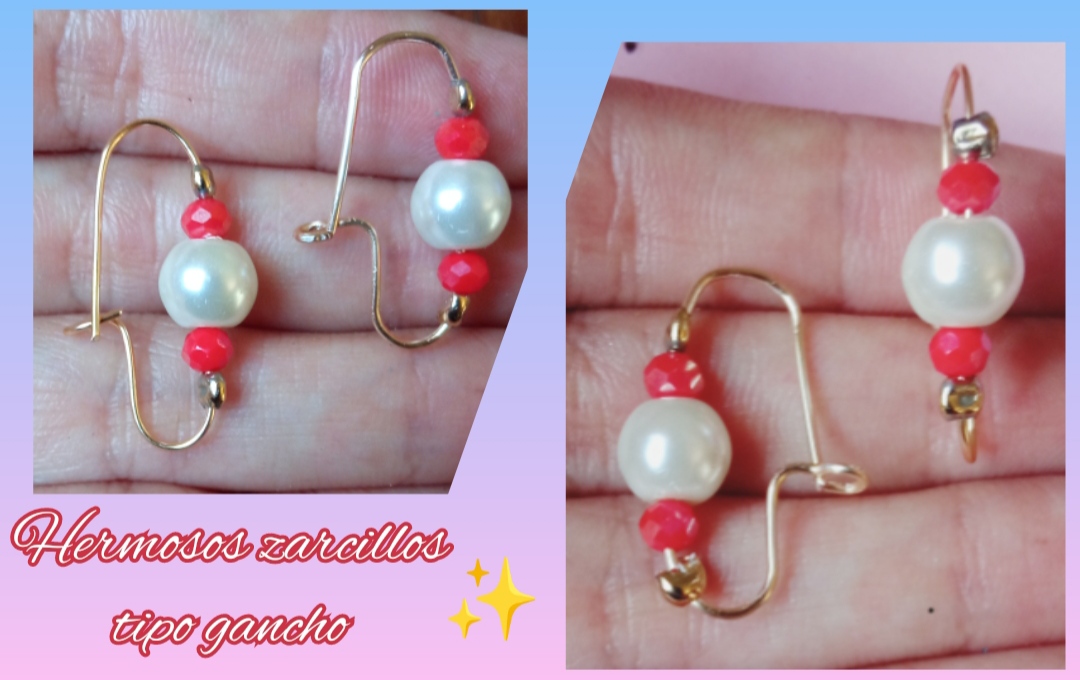
Feliz y bendecido día para todos, es un gran placer para mí el tener la oportunidad de compartir una vez más en este hermoso comunidad en esta ocasión quiero compartir con todos ustedes la elaboración de unos sencillos zarcillos completo algo diferente a lo que estamos acostumbrados a elaborar Pero de igual forma muy fáciles de elaborar y económicos. Siguiendo tres simples pasos podemos elaborar estos bellos accesorios súper hermosos cómodos e ideales para lucir en cualquier ocasión o para realizar un hermoso detalle a una persona especial.
Happy and blessed day to all, it is a great pleasure for me to have the opportunity to share once again in this beautiful community. On this occasion I want to share with all of you the elaboration of some simple complete tendrils, something different from what we are used to elaborating, but in the same way, very easy to elaborate and cheap.
By following three simple steps we can make these beautiful accessories that are super beautiful, comfortable and ideal to wear on any occasion or to make a beautiful detail for a special person.
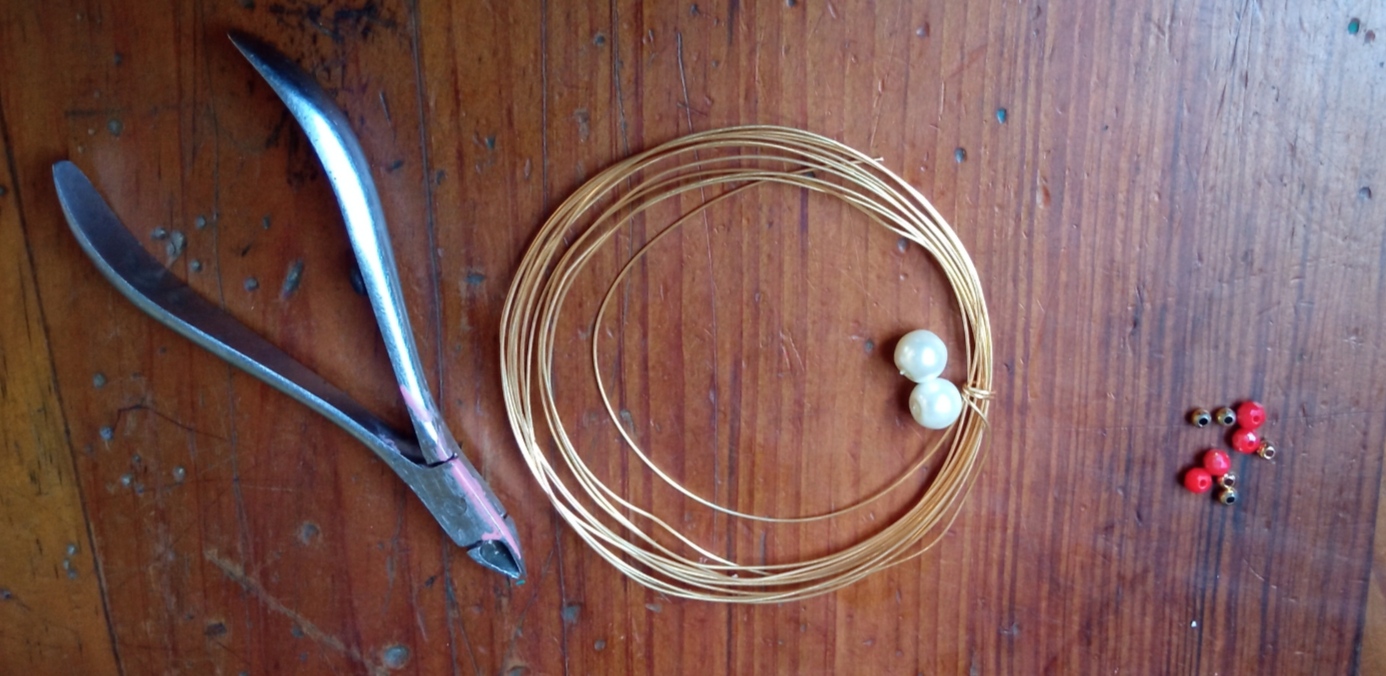
- Alambre de bisutería calibre 20
- piedras perladas blancas medianas.
- Cristales rojos.
- piedras cerradores dorados.
- pinza de bisutería.
- 20 gauge jewelry wire
- medium white pearl stones.
- Red crystals.
- golden closing stones.
- jewelry clip.
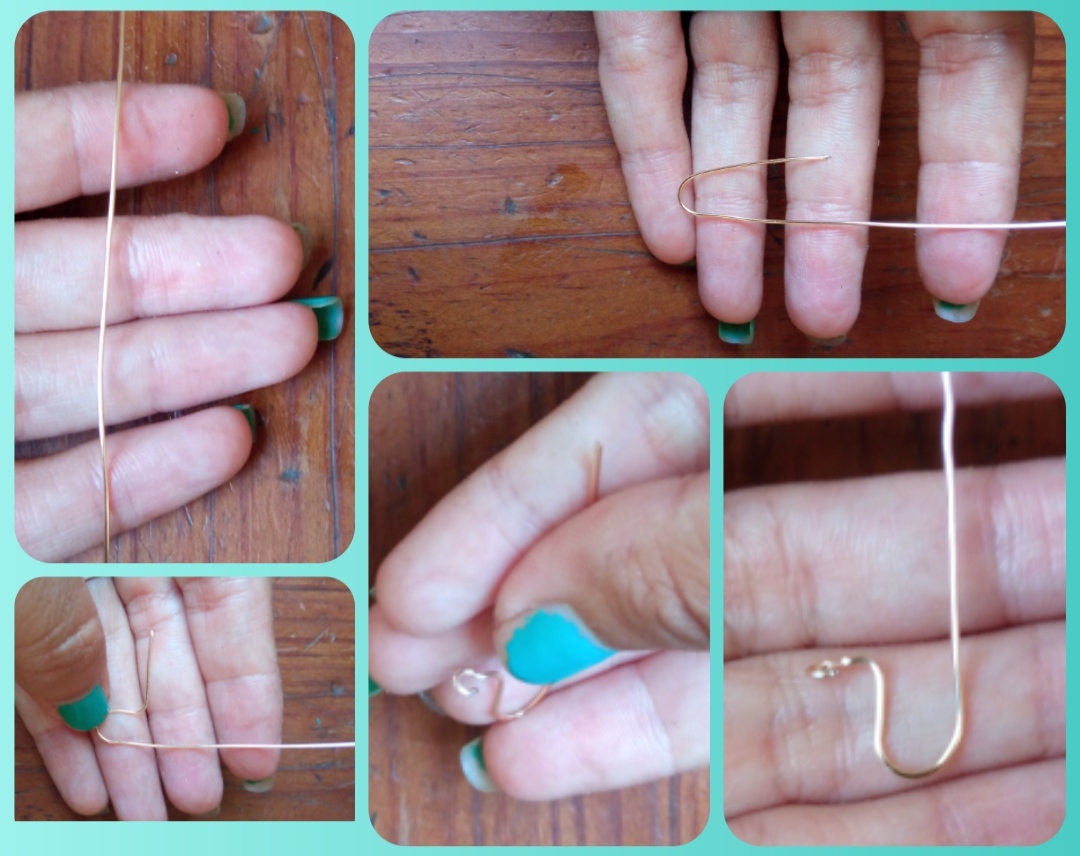
✴️ Paso 1: para iniciar nuestra elaboración del día de hoy lo primero que debemos realizar es cortar un pedazo de alambre de bisutería calibre 20 de aproximadamente 10 cm de los cuales doblaremos un pedacito con ayuda de la pinza dejando una pequeña separación tipo onda tal cual pueden observarlo a continuación en la punta de este pedazo que hemos doblado realizaremos una pequeña forma semicircular la cual dejaremos un poco abierta.
✴️ Step 1: to start our preparation today, the first thing we must do is cut a piece of 20-gauge costume jewelry approximately 10 cm, of which we will bend a small piece with the help of the pliers, leaving a small wave-like separation as you can see below. At the tip of this piece that we have bent, we will make a small semicircular shape which we will leave a little open.
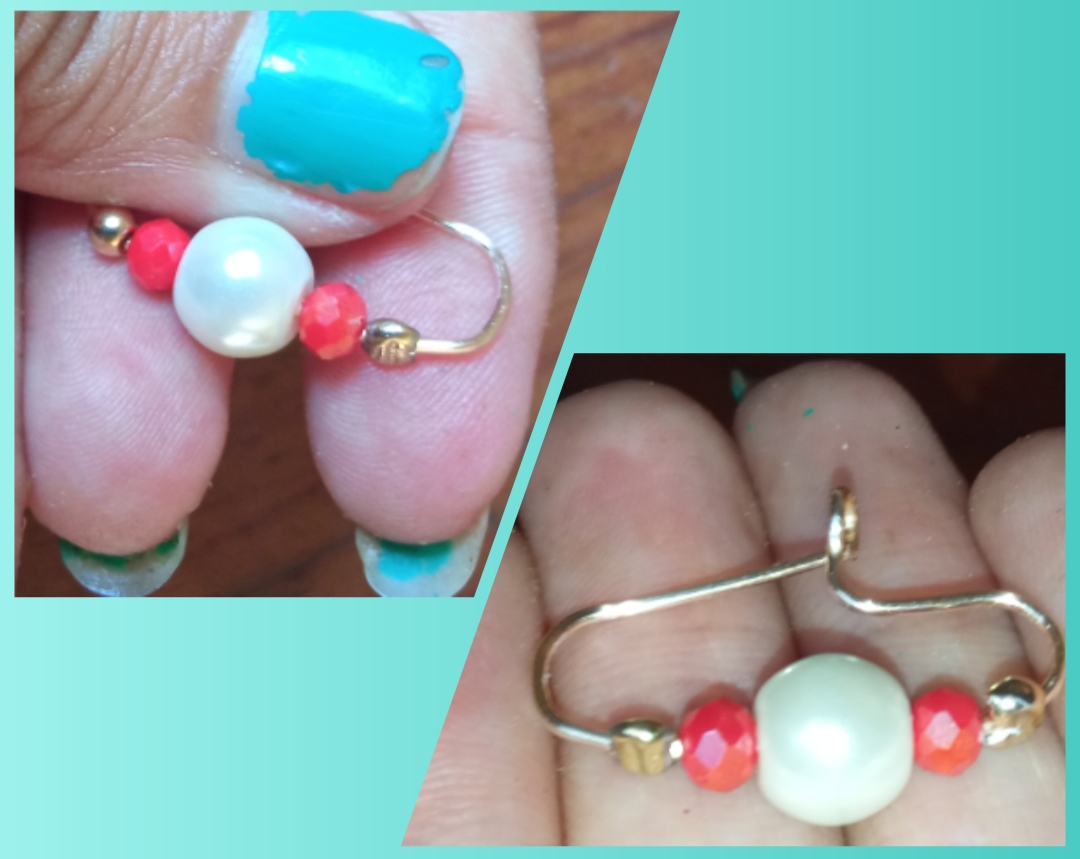
✴️ Step 2: Then, through the piece of wire that remains upwards, we will introduce a small drying stone, a red crystal, the pearly stone, another red crystal and finally a small closed stone and measuring the space that you are taking in the wire, we will leave a small free space and we will fold the top down again until joining it with the folded one in the first step.
The tip of the wire that comes from above must be of perfect length to be able to enter the small circle that we left at the back.
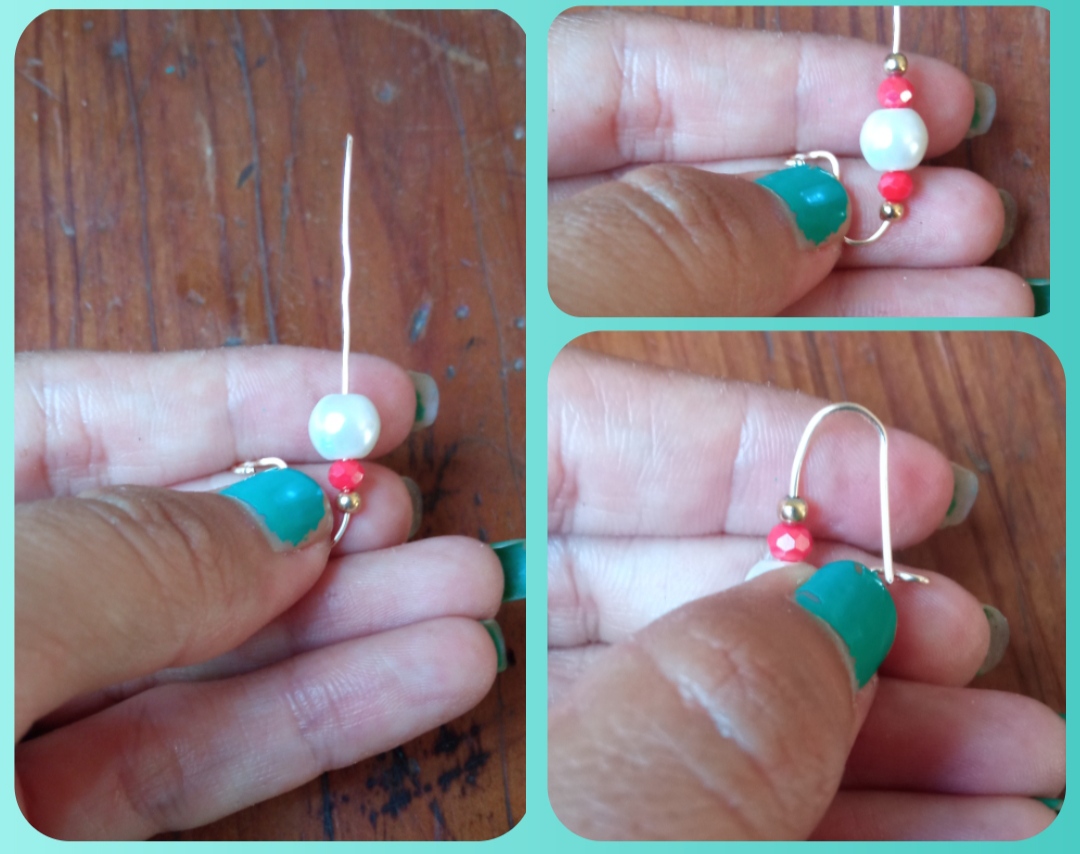
✴️ Paso 3: como último paso tomaremos la pinza subiremos un poco las piedras de manera que queden en la parte central de alambre y aplastaremos uno de las piedras cerradoras la de abajo una vez quedé aplastada esta no servirá para sujetar las piedras sin que puedan bajarse lo mismo realizaremos con la pequeña piedra sembrador que encontramos en la parte superior esto nos permitirá evitar que las piedras puedan moverse y queden perfectamente decorando la parte central de nuestro hermoso zarcillo. Y así procedemos a elaborar nuestra segunda pieza.
✴️ Step 3: as the last step we will take the clamp, we will raise the stones a little so that they remain in the central part of the wire and we will crush one of the closing stones, the one below it once it is crushed, it will not serve to hold the stones without them being able to come down. We will do the same with the small sowing stone that we found in the upper part, this will allow us to prevent the stones from moving and remaining perfectly decorating the central part of our beautiful tendril.
And so we proceed to make our second piece.
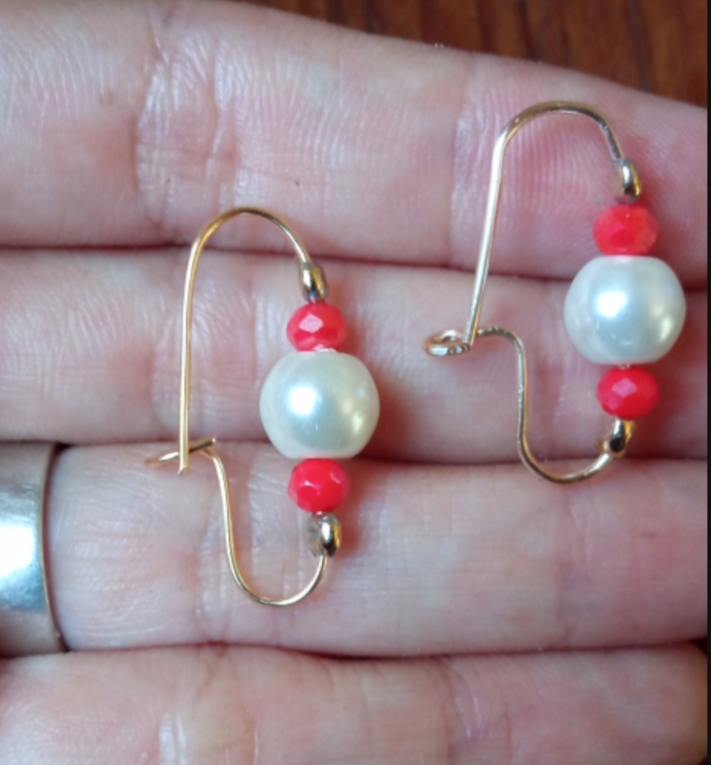
Todas las Fotos son de mi autoría y fueron tomadas con mi Celular Redmi 9And in this way, quickly and easily, we will obtain a beautiful pair of comfortable and youthful earrings which we can combine and elaborate in the color of your choice.
Dear friends, this has been my elaboration today for all of you with great affection, I hope it has been to your liking and this simple tutorial can be useful to you. I say goodbye for this opportunity, grateful for your visit.
greetings and blessings.
All Photos are my author and were taken with my Redmi 9 Cellphone
Ha quedado muy hermosos estos aretes amiga!