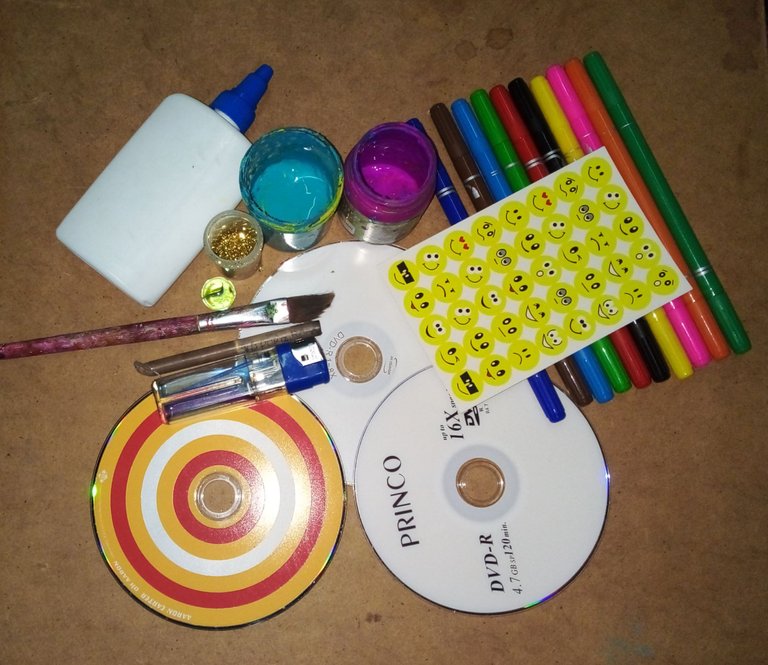
MATERIALES - MATERIALSUn CD con tapa blanca.
Una metra o pequeña pelotica que quepa en el centro del cd.
Marcadores o Pintura y pincel.
Sticker de colores para decorar.
Silicón caliente o frío.
Escarcha o brillantina.
Una tapita plásticas de refresco.
A CD with a white cover.
A meter or small ball that fits in the center of the cd.
Thick markers or Paint and brush.
Colorful sticker to decorate.
Hot or cold silicone.
Frost or glitter.
- A plastic soda cap.
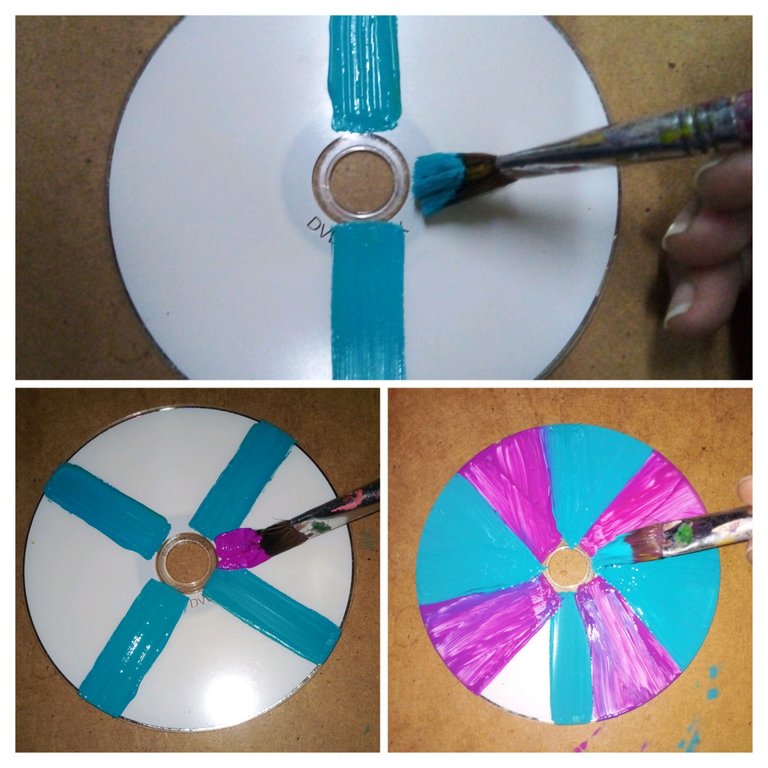
EMPECEMOS 🌀 LET US BEGINPaso 1
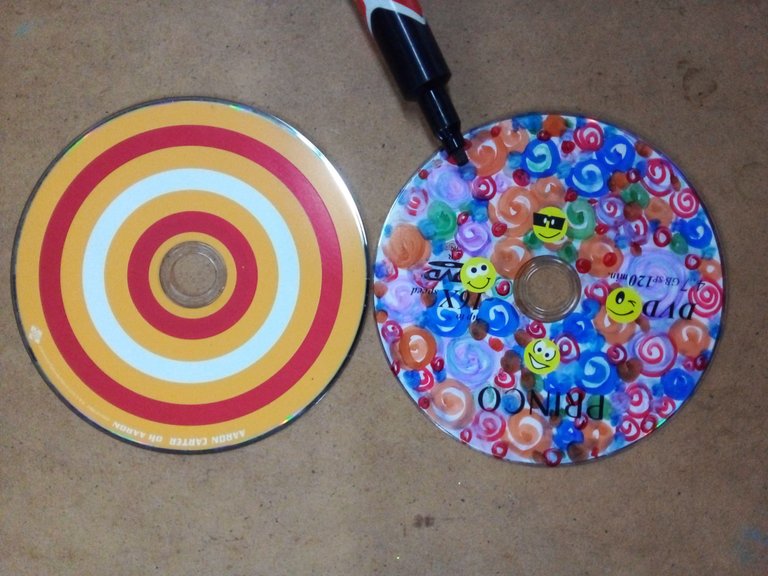
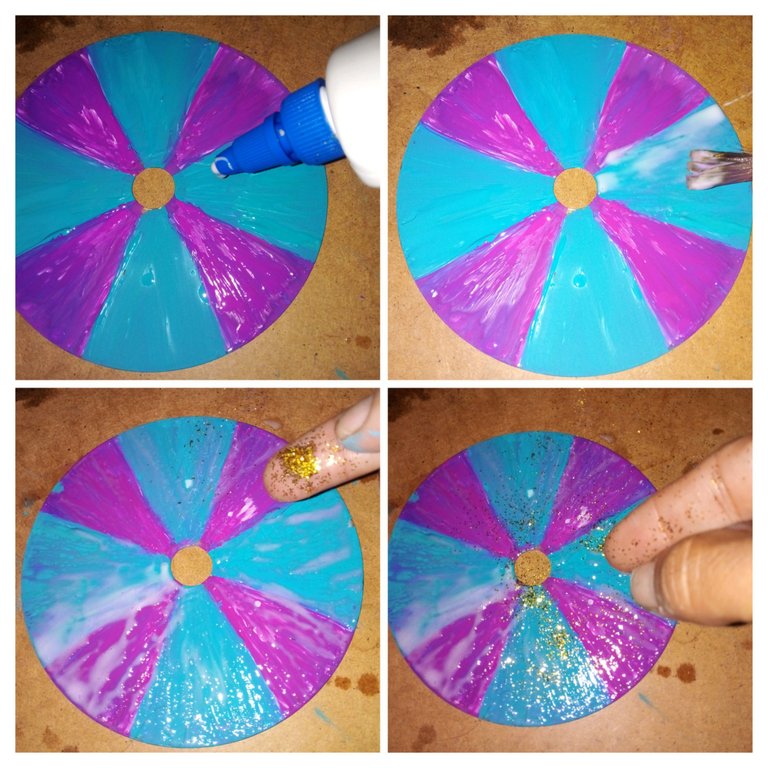
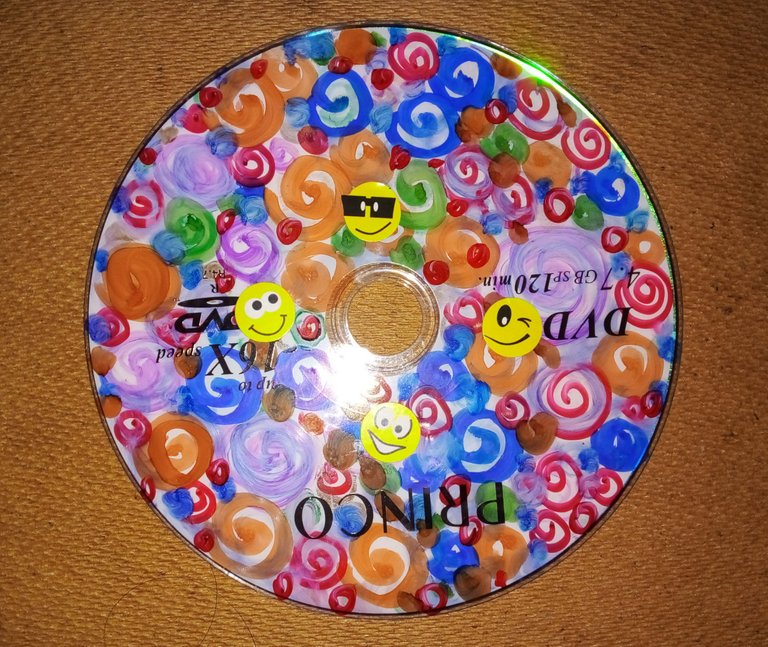
Tomé el CD por la parte blanca agregándole pintura al frío con mis tonos favoritos. En ese instante también se puede usar marcadores haciendo los diseños al gusto personal, colocándole sticker u otro elemento de poco peso, también se pueden aprovechar esos cd`s que ya por su fabricación vienen estampados.
Step 1
I took the CD by the white part adding paint to the cold with my favorite tones. At that moment you can also use markers making the designs to your personal taste, placing a sticker or other light weight element, you can also take advantage of those cd`s that are already stamped due to their manufacture.
Paso 2
Una vez seca la pintura agregué pega sobre los colores y rocié con escarcha dejando secar durante una hora al aire libre.
Step 2
Once the paint was dry I added glue on the colors and sprayed with glitter letting it dry for an hour in the open air.
If we have to work with paint, it is important to warn the children that the drying process requires time and patience, therefore I recommend using markers so that they make figures to their liking, with the possibility of adding stickers, since they get very anxious asking And when is it going to dry?😁
Paso 3
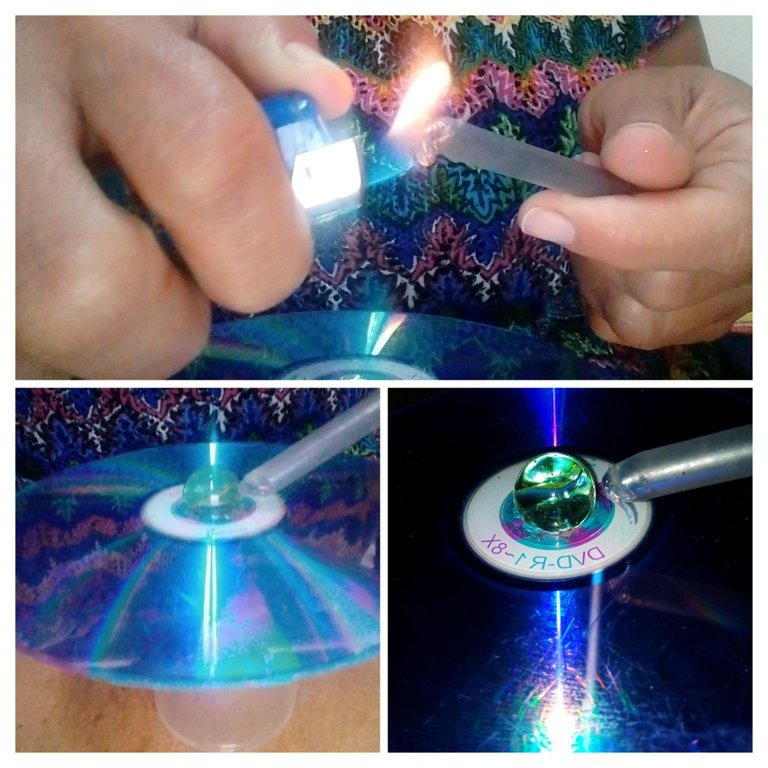
Una vez secado y decorado el CD por la parte superior, en la inferior en el centro le agregué un poco de silicón caliente y rápidamente coloque la metra, reforzando el alrededor con más silicón caliente. Lo mismo se puede hacer con el silicón frío pero de igual forma requiere tiempo de secado... ¡Y la paciencia de los niños no tiene límite! 😁
Step 3
Once the CD was dry and decorated from the top to the bottom in the center, I added a little hot silicone and quickly placed the meter, reinforcing the surrounding area with more hot silicone. The same can be done with cold silicone but it still requires drying time... And the patience of children has no limit! 😁
Paso 4
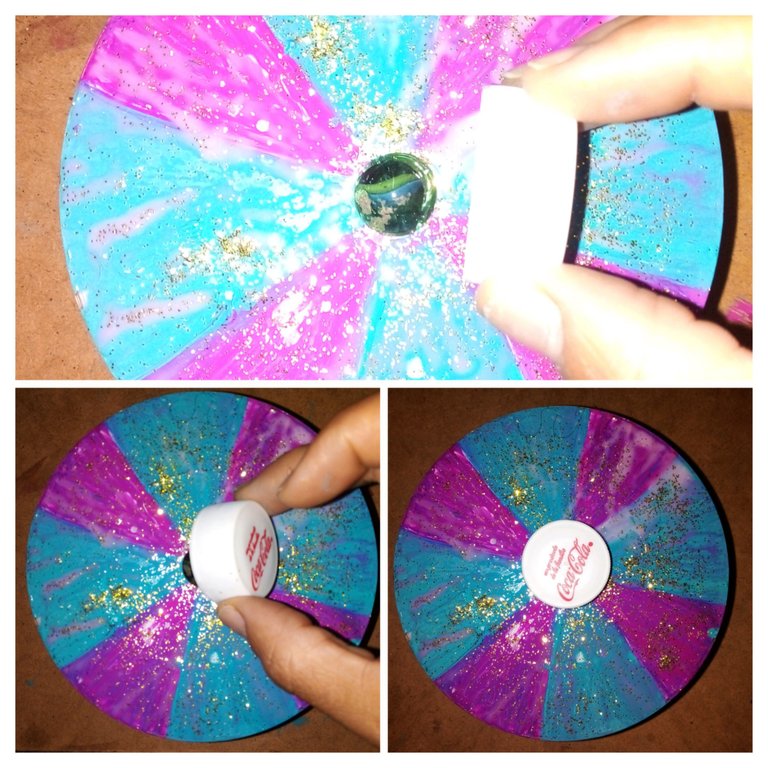
Por último no menos importante, la tapita del refresco la pegé con silicón en el centro de la parte colororida, la cual sirve para hacer girar el trompo CD.
Step 4
Last but not least, I glued the lid of the soda with silicone in the center of the colored part, which is used to spin the CD top.
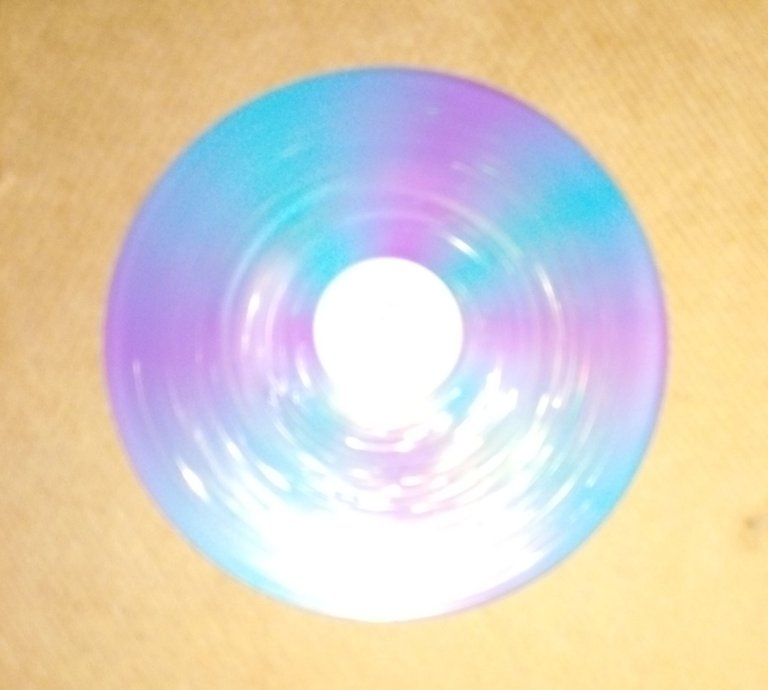

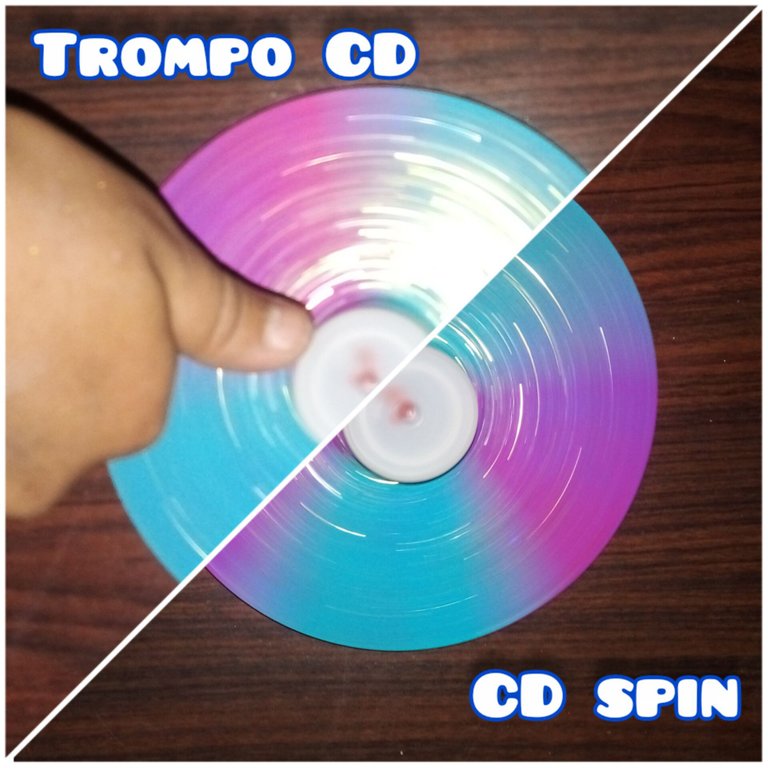
Que bello el efecto del trompo al girar por efecto de la escarcha. Excelente forma de enseñar y dar opciones a los peques a la hora de jugar más allá de las tablets y teléfonos.🤪
Gracias por compartirlo 🌹✨
Gracias a ti @zuly63 por venir y dejarme tu valioso comentario te abrazo con mi corazón de arte ecológico ♻️🥰♻️
LOL... Children would really enjoy playing this game. I like the way the disk look while it is being pinned. I would love to try it myself
This post has been selected to be curated by @lazy-panda of the Hive Learners Community.
There are two things here, firstly you have made something old in a new way and secondly it will be considered as an interesting toy by children, you have shown great creativity.
@evev que ingeniosa y divertida está la idea, a mi niña interior le provocó tener uno, tengo todo menos la metra
Hola linda @mosa71 Puedes usar una pelotica de collares o algo circular en desuso que quepa dentro el hoyito del cd y listo.
Que fino me gusto esto @evev gracias por compartirlo.😃
@tipu curate 6
Upvoted 👌 (Mana: 0/55) Liquid rewards.
@evev me gusta eso de pintarlo con marcadores queda de diseño original y se debe ser más rápido. Igual como para trabajar la paciencia hay que esperar. Que siga tu mente creativa dando que ofrecer. Un abrazo
Sigamos creando en este mundo donde estamos locos 🤓 abrazo linda mujer 🥰