Hello, DIYHub friends. It's almost weekend, and I'm waiting for it to get chilled.
Today I come with to show you some of my recycling things. As you may know, here in Venezuela, the heat is very high, we're living like inside of a sauna. And to make it worse, yellow bulbs 💡 only produce more heat and consequently sweat.
My room was like a chicken incubator because of the high temperatures 🌡️. So I have to look back, and go to my high school knowledge where I learned some things about electricity to repair a led bulb for my room.
I have to tell you that I try with three bulbs and finally I get to repair two of them.
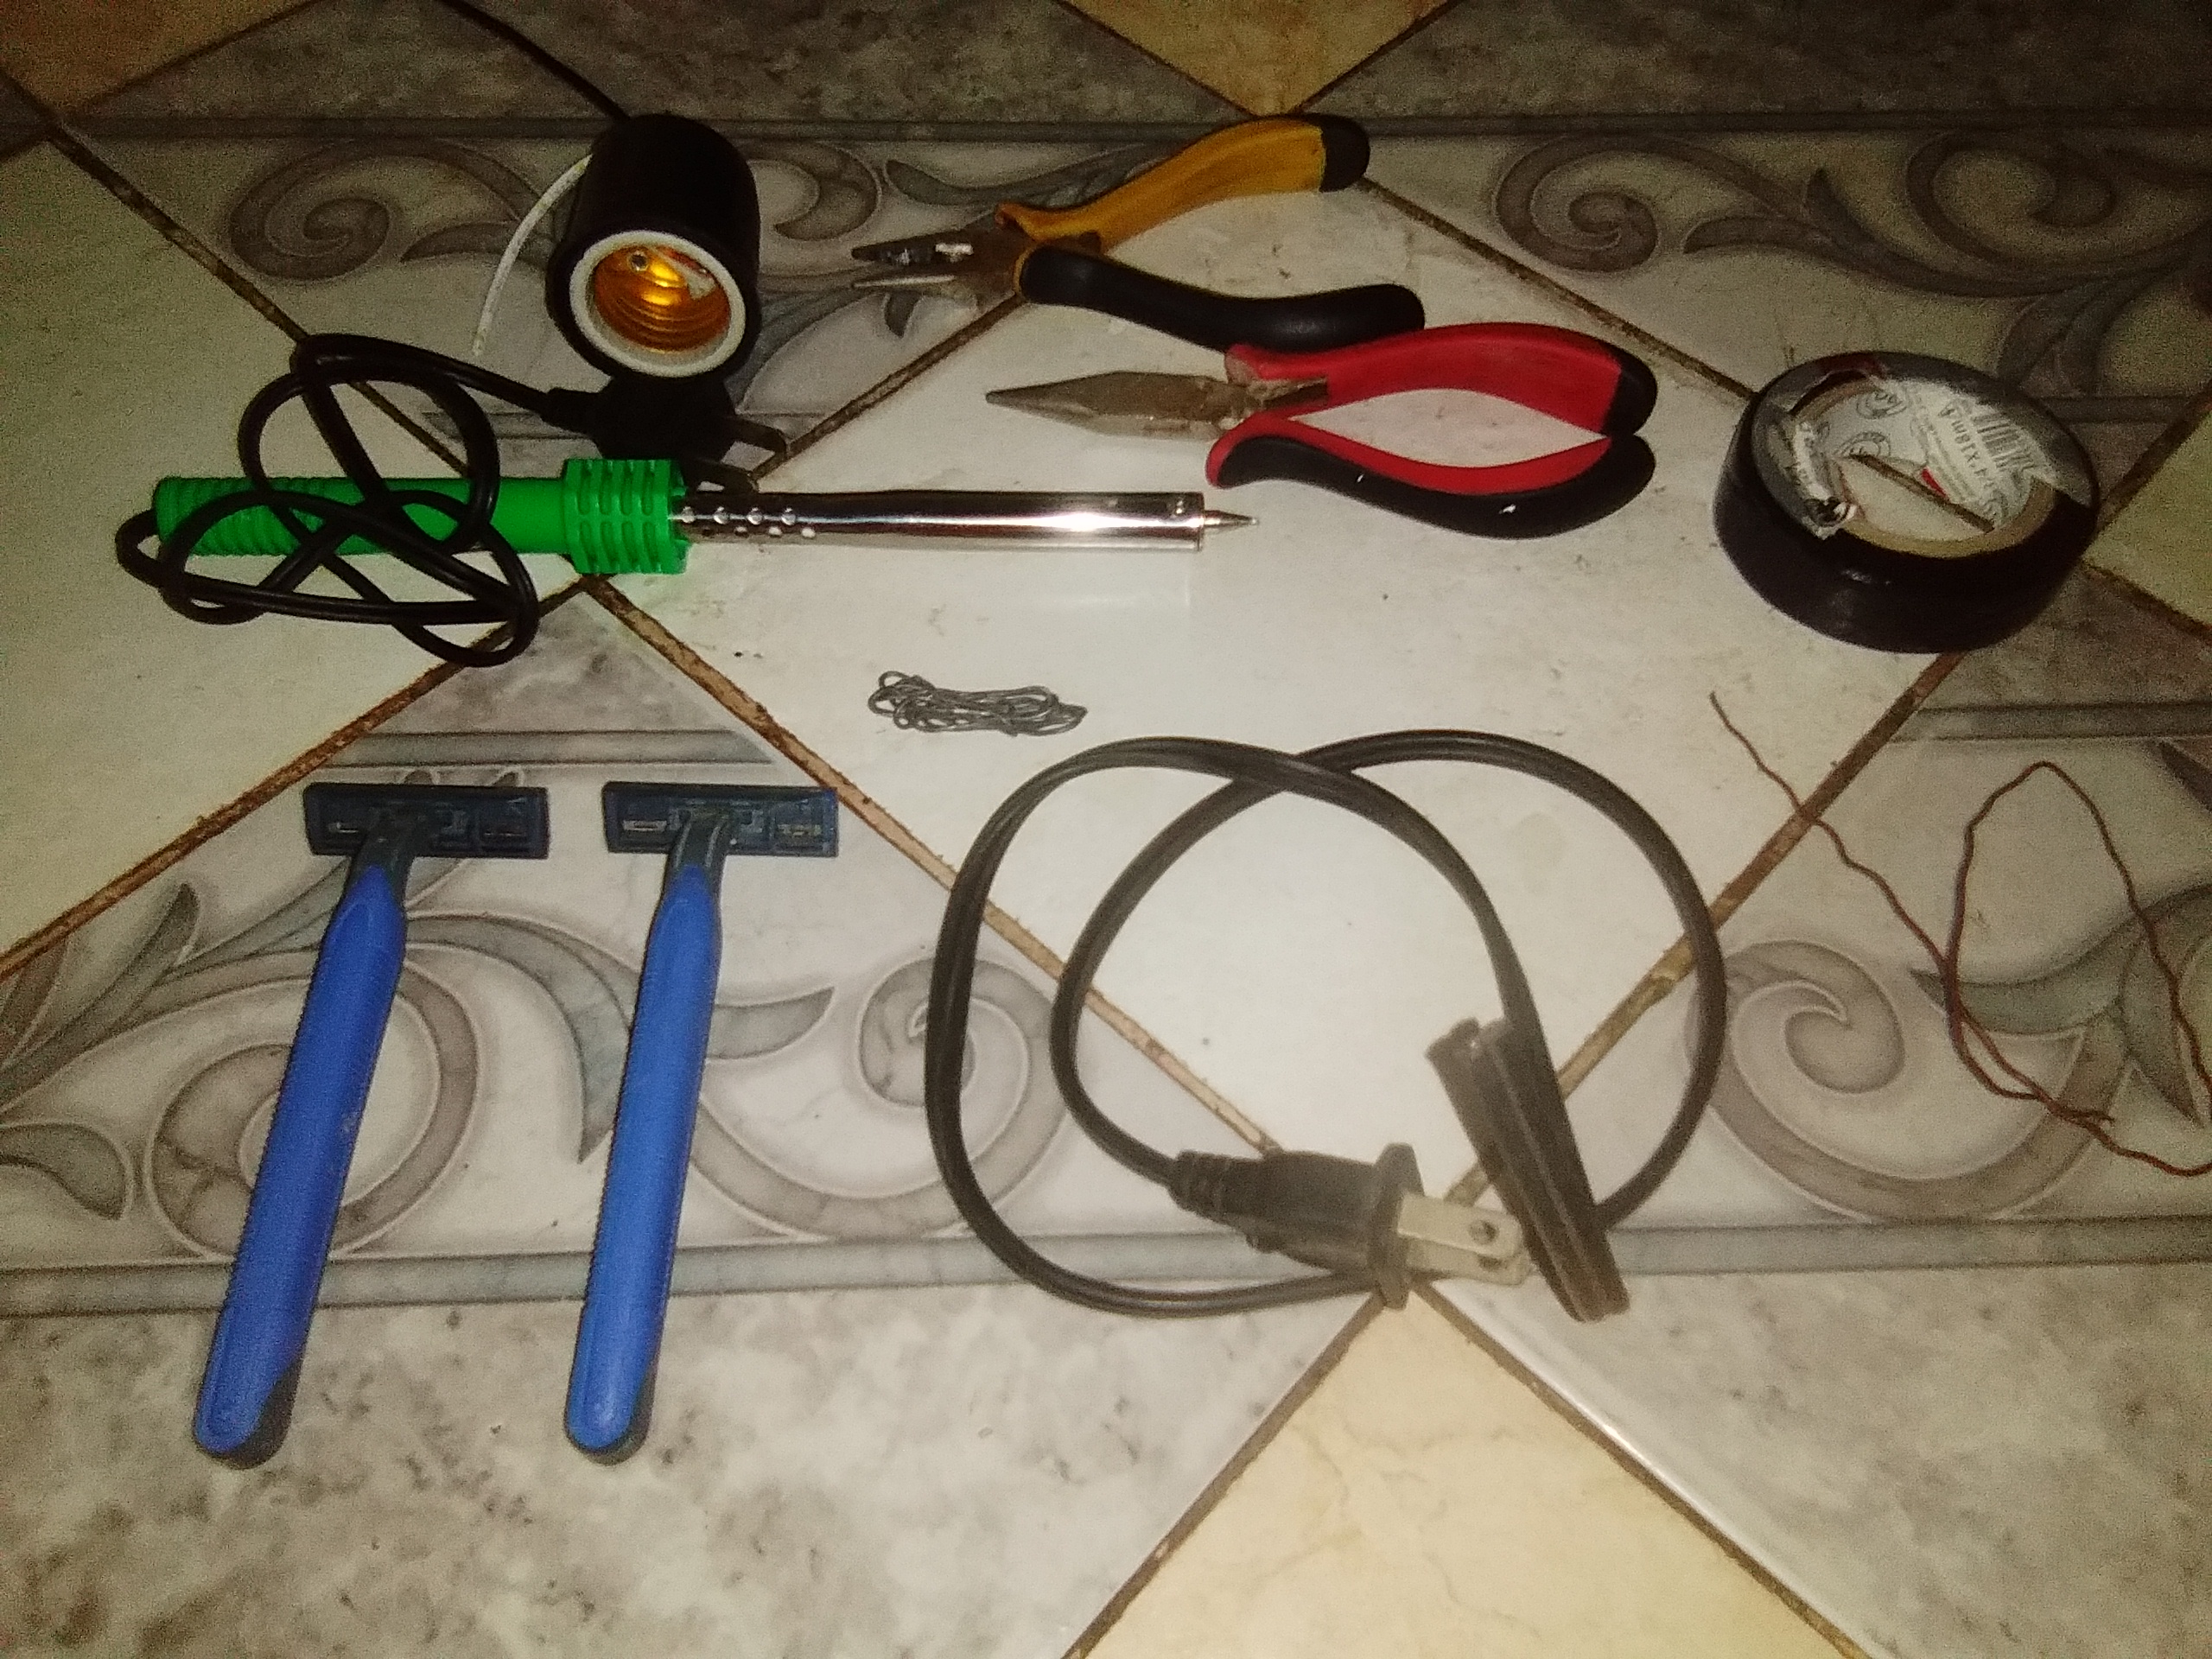
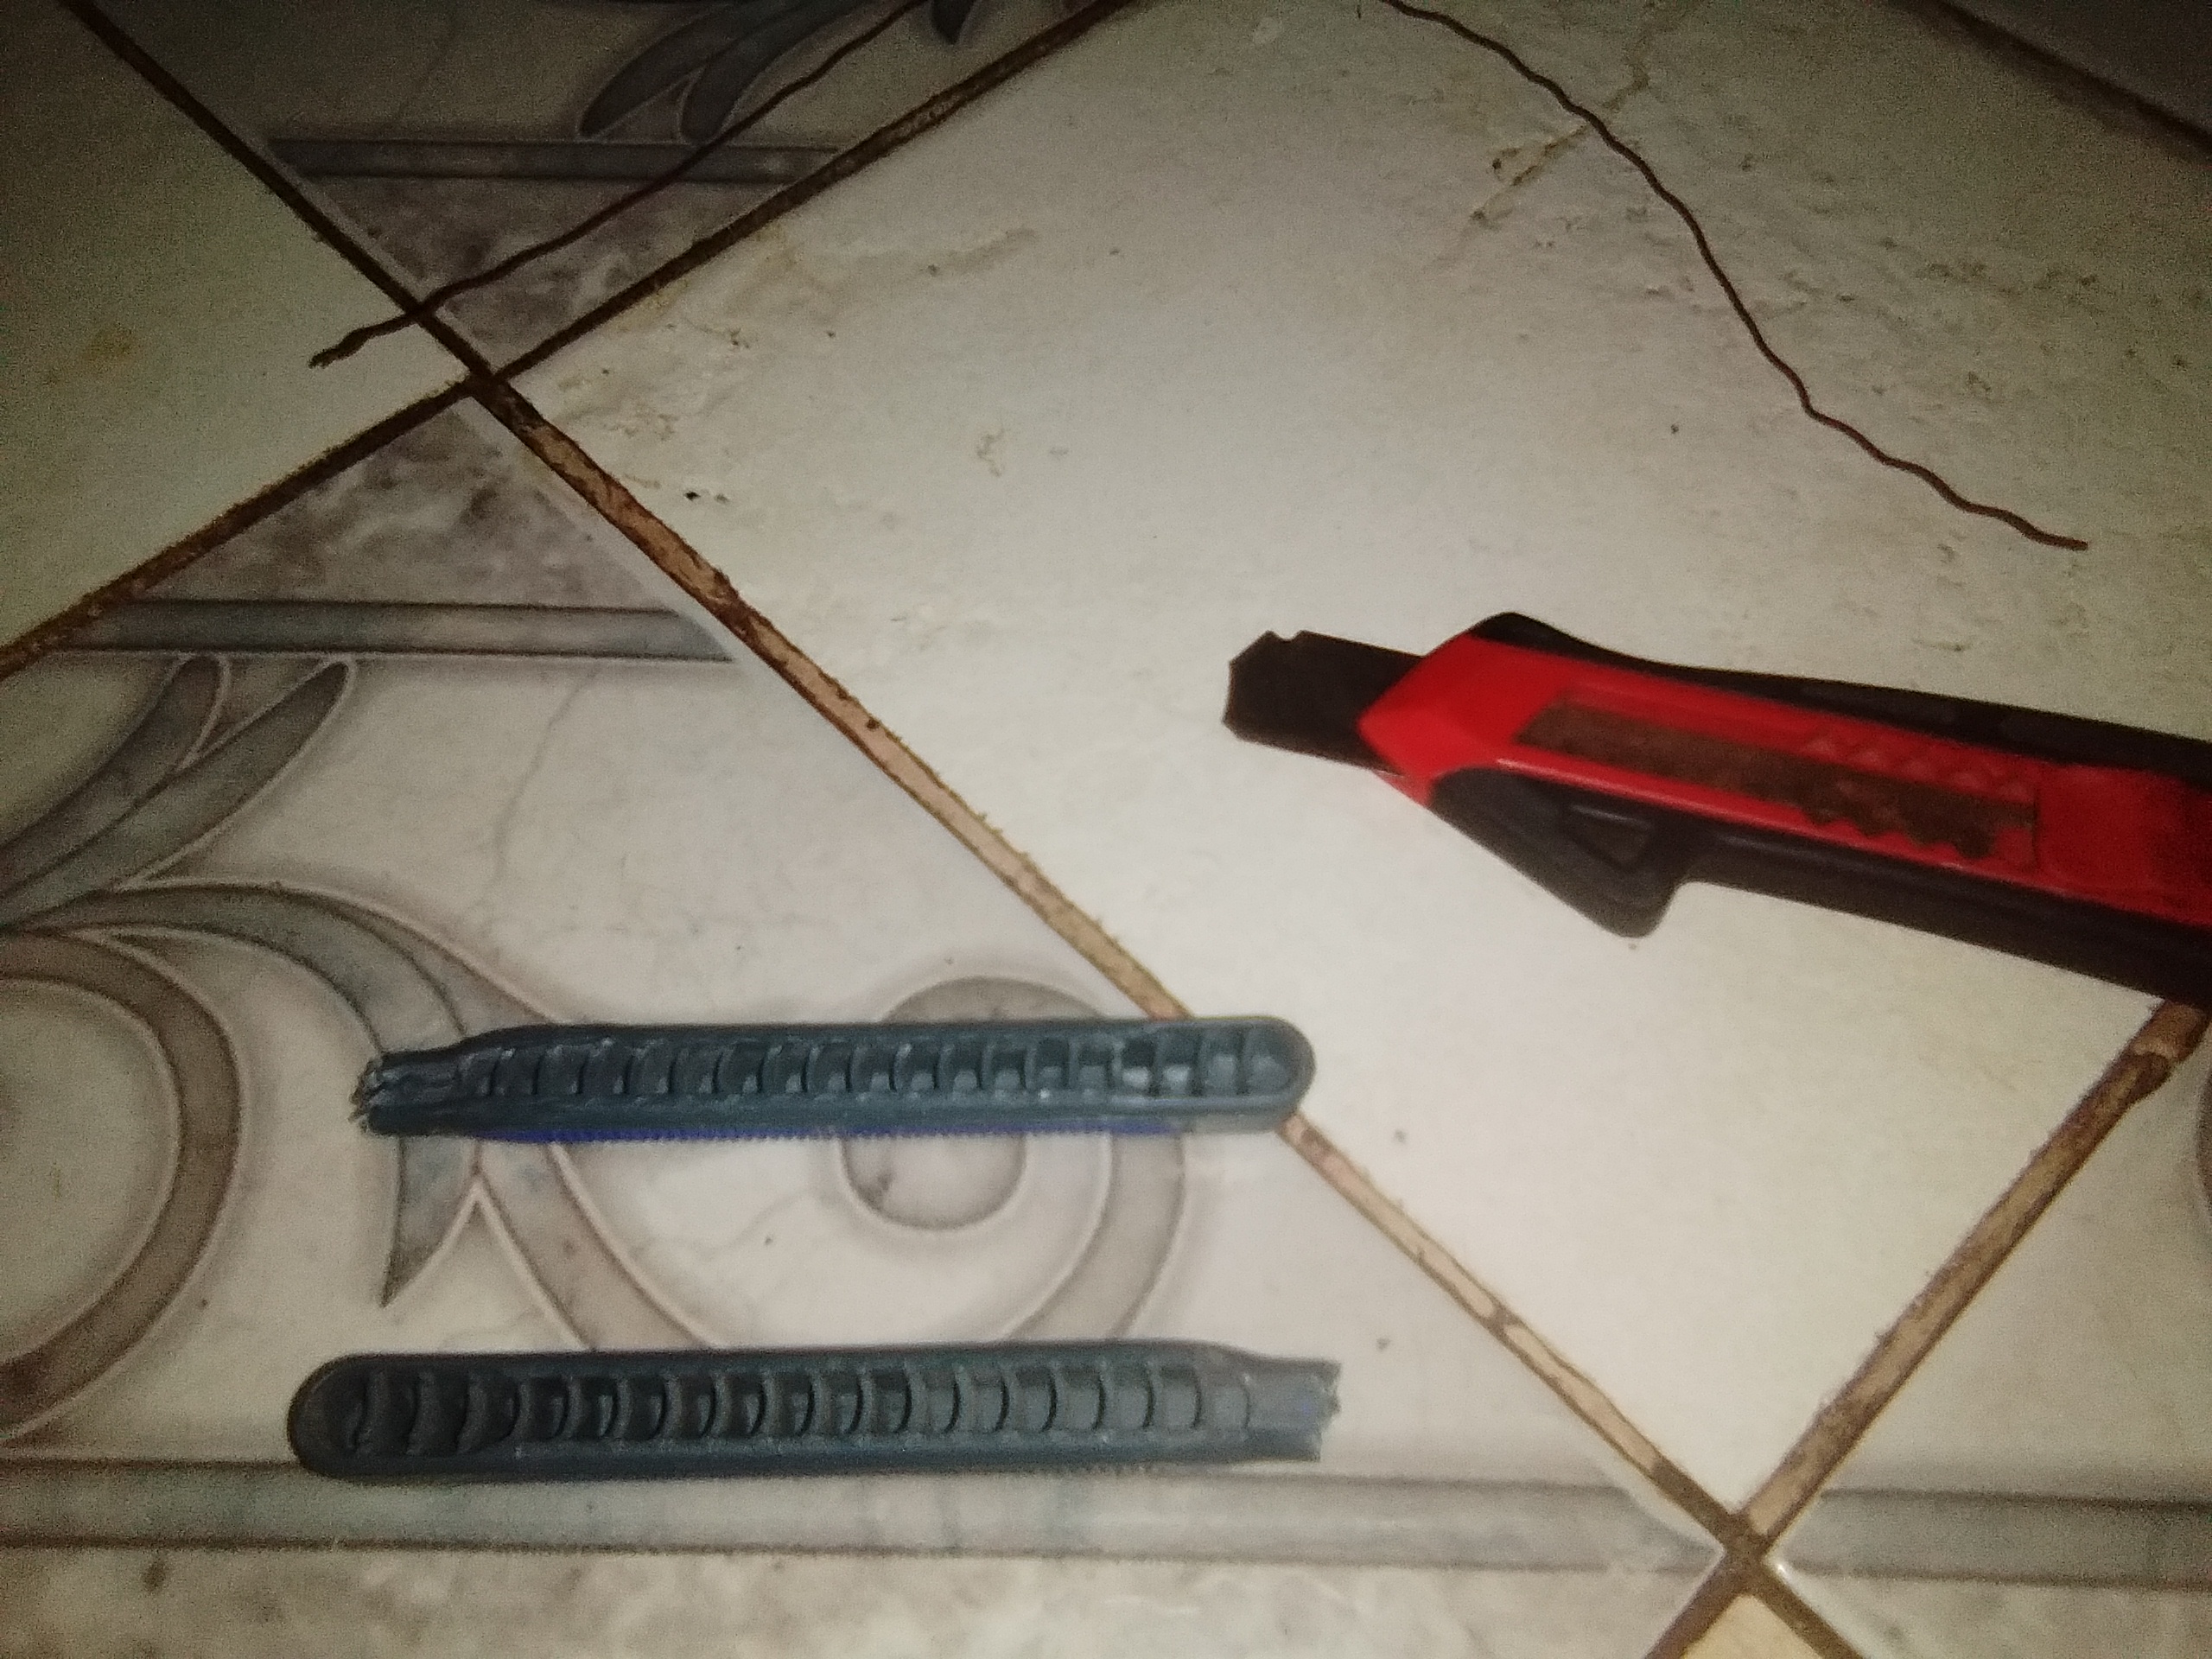
This is what I use.
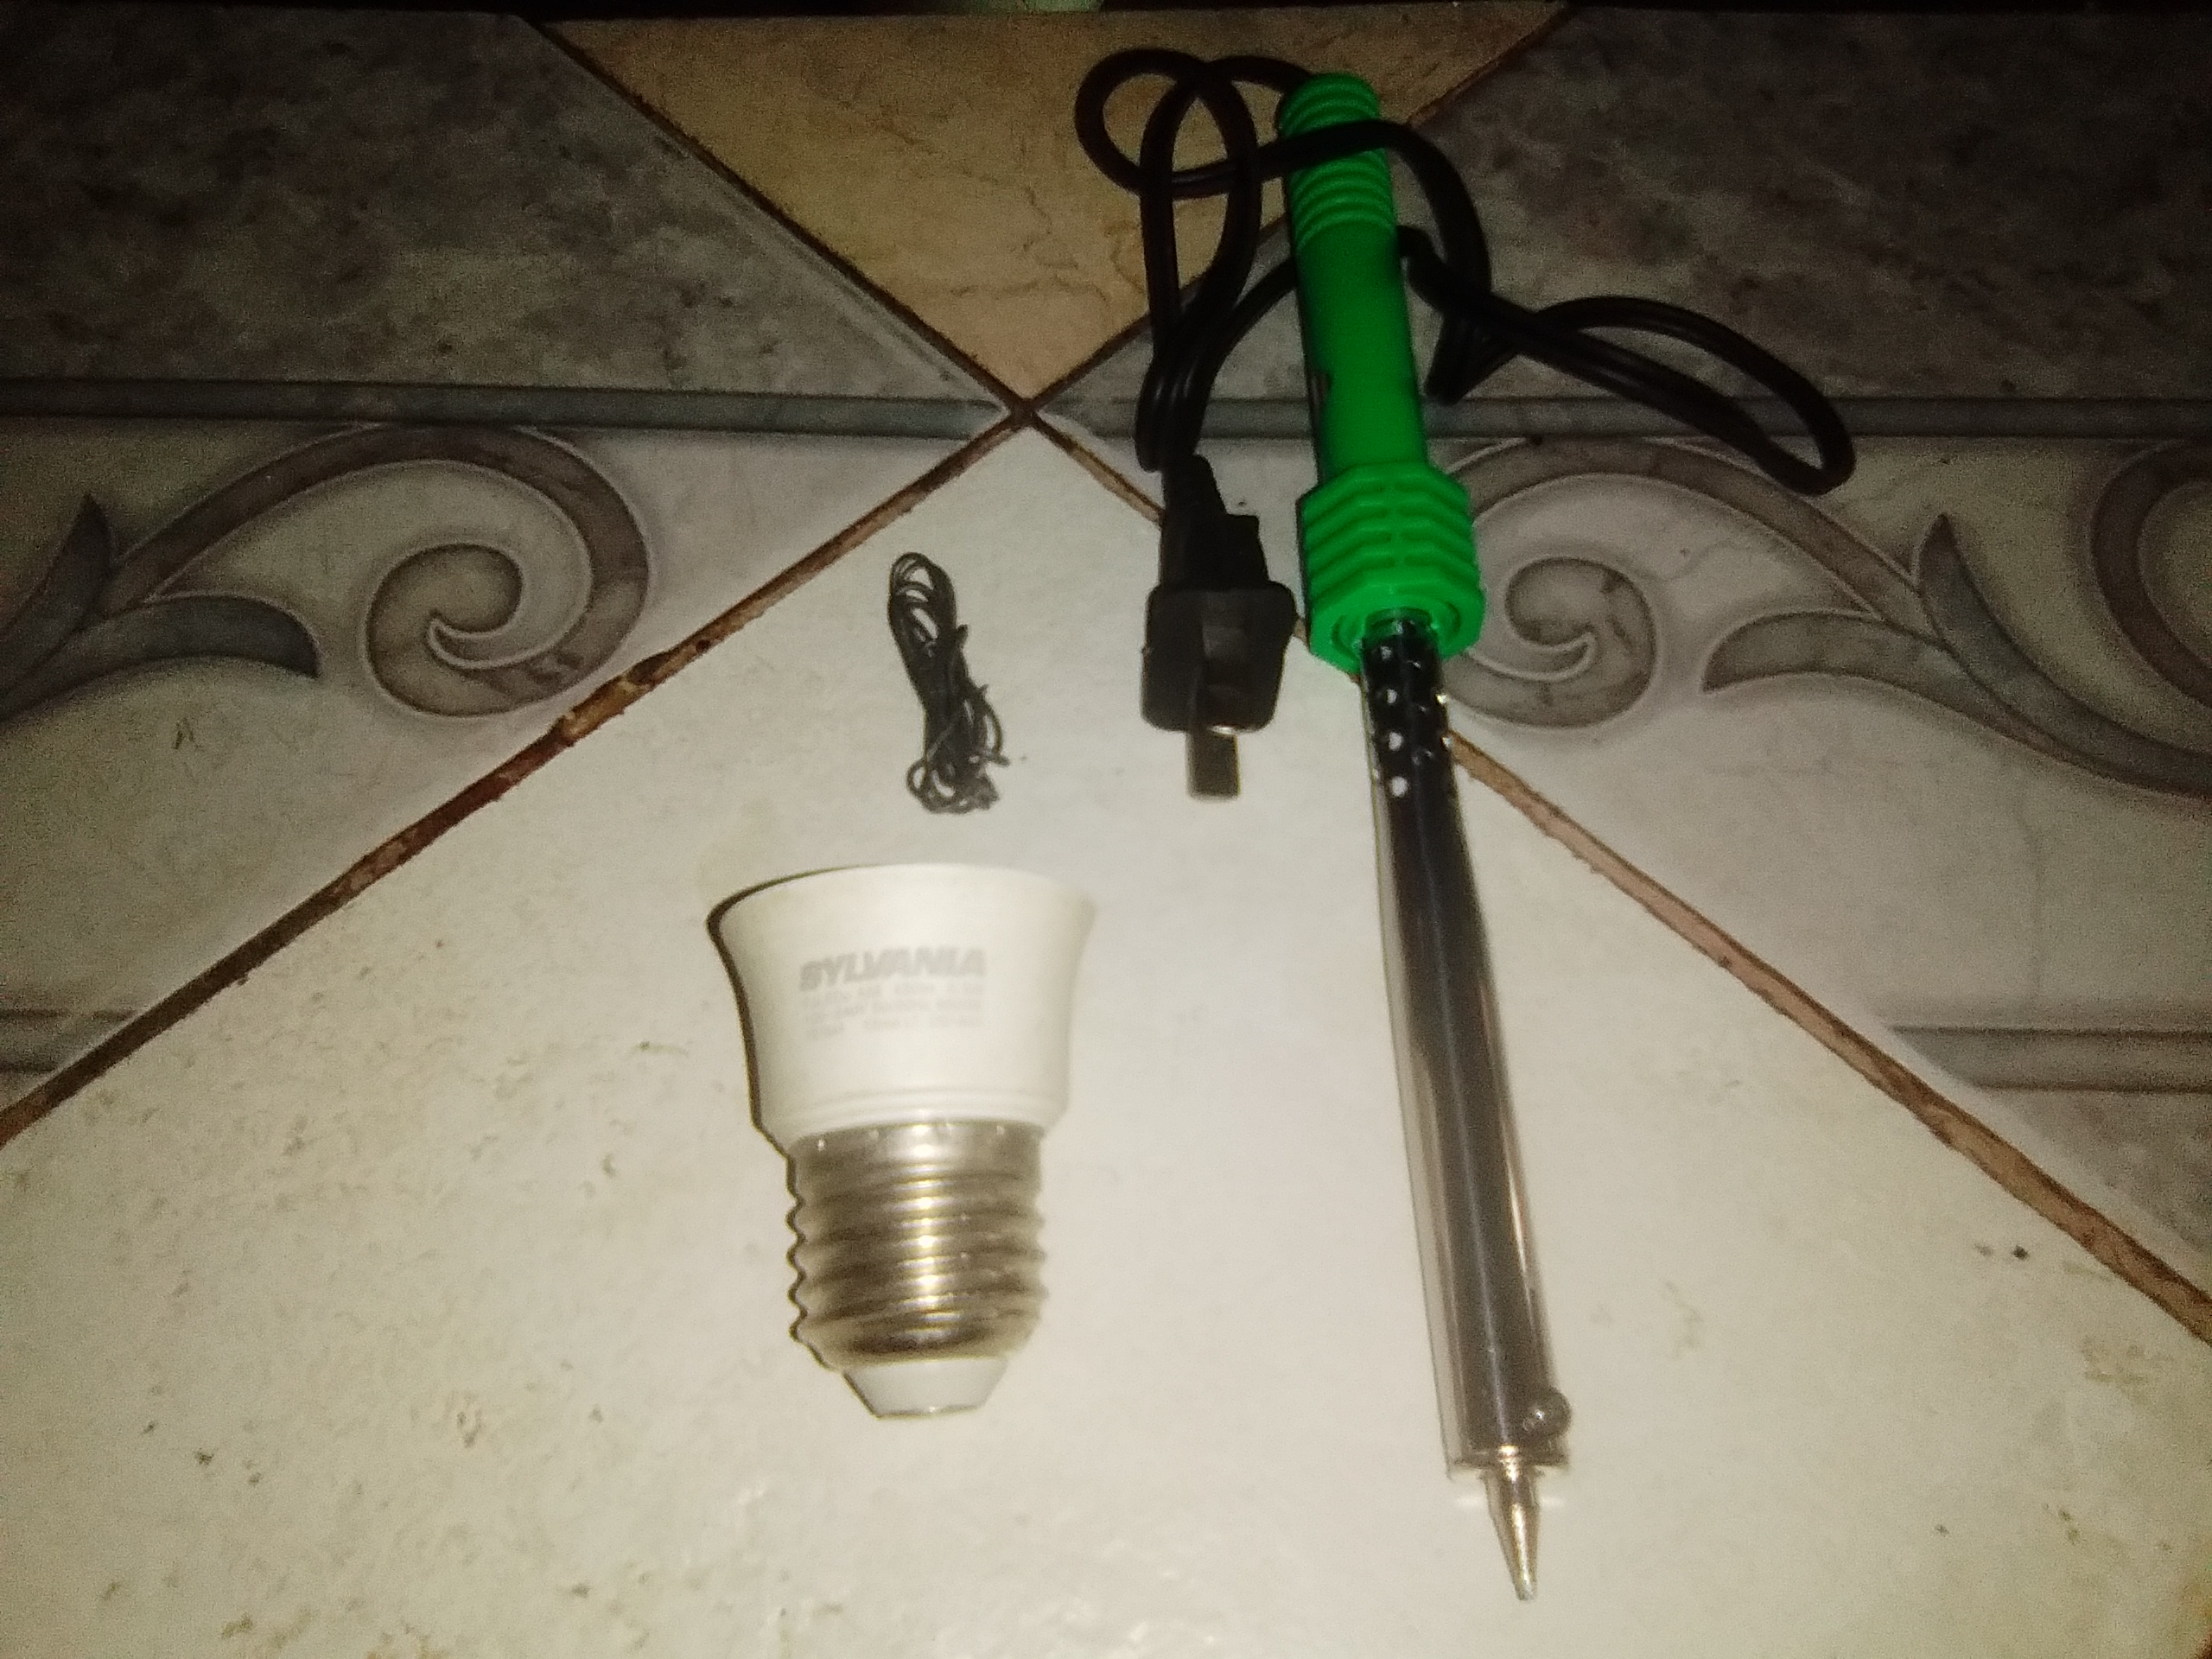
Materials.
- Socket
- Clamps
- Cable
- Tape
- Cutter
- Soldering iron
- Tin
- Plug
- Two old razors.
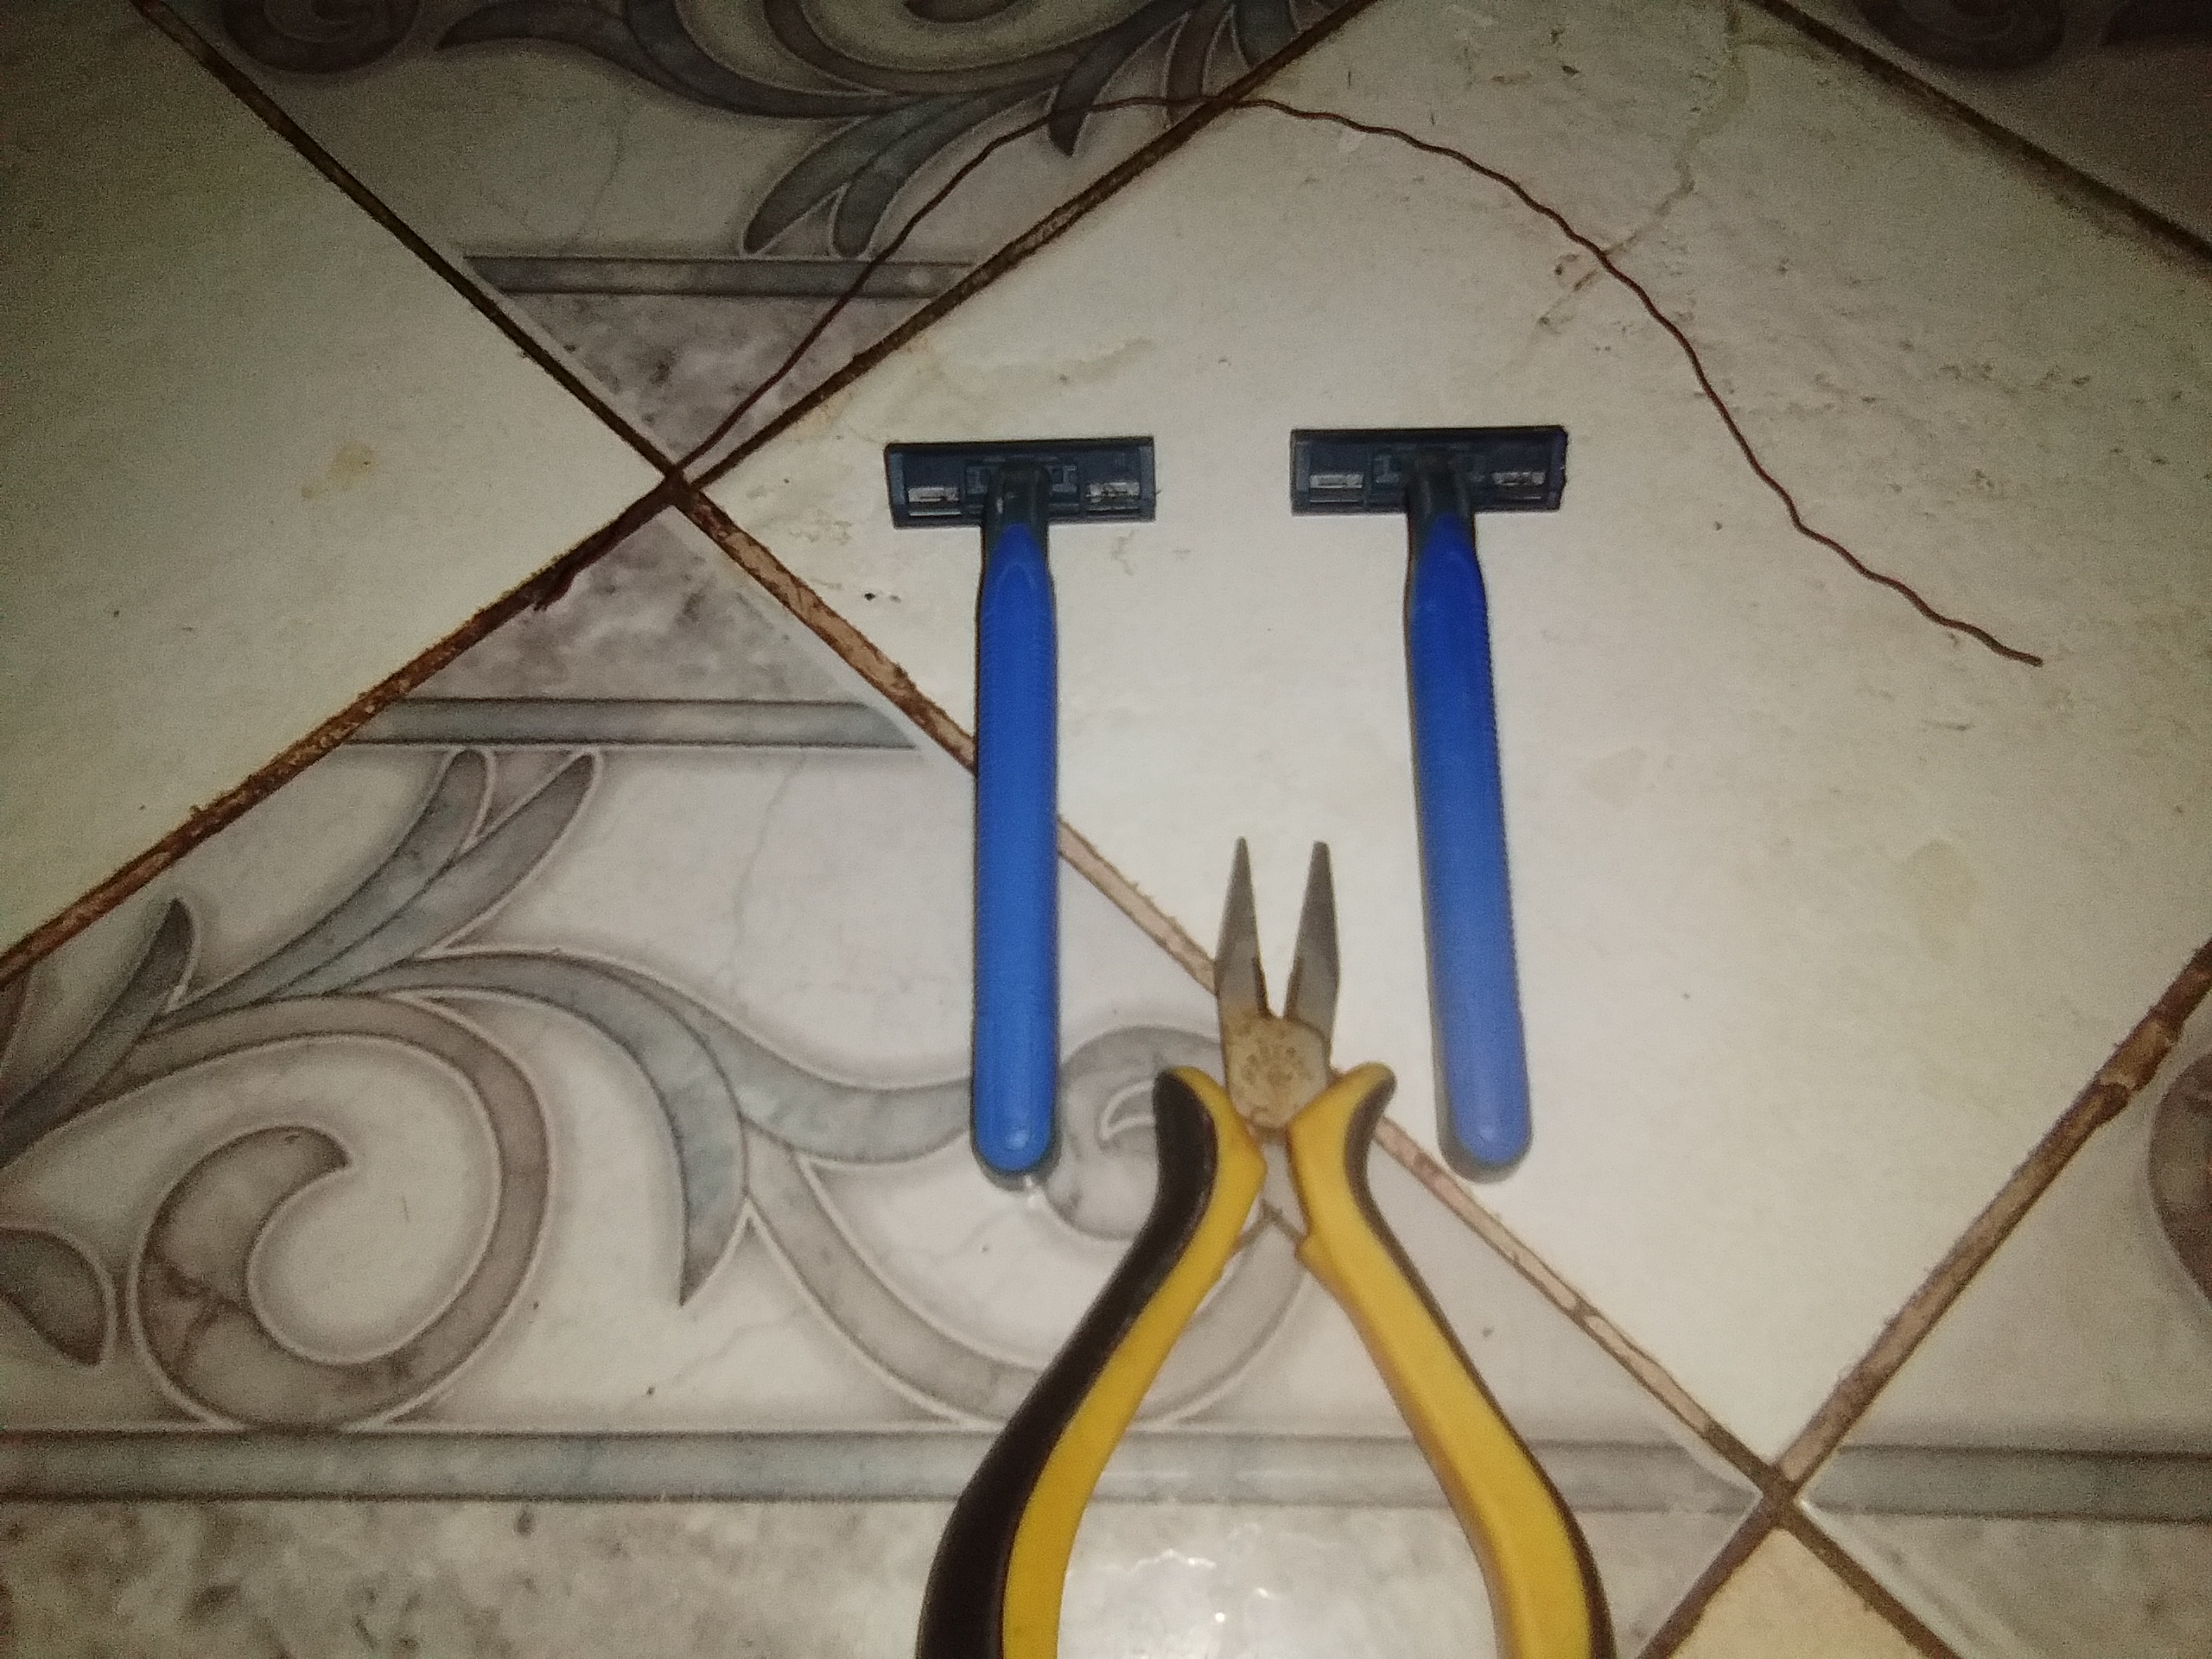
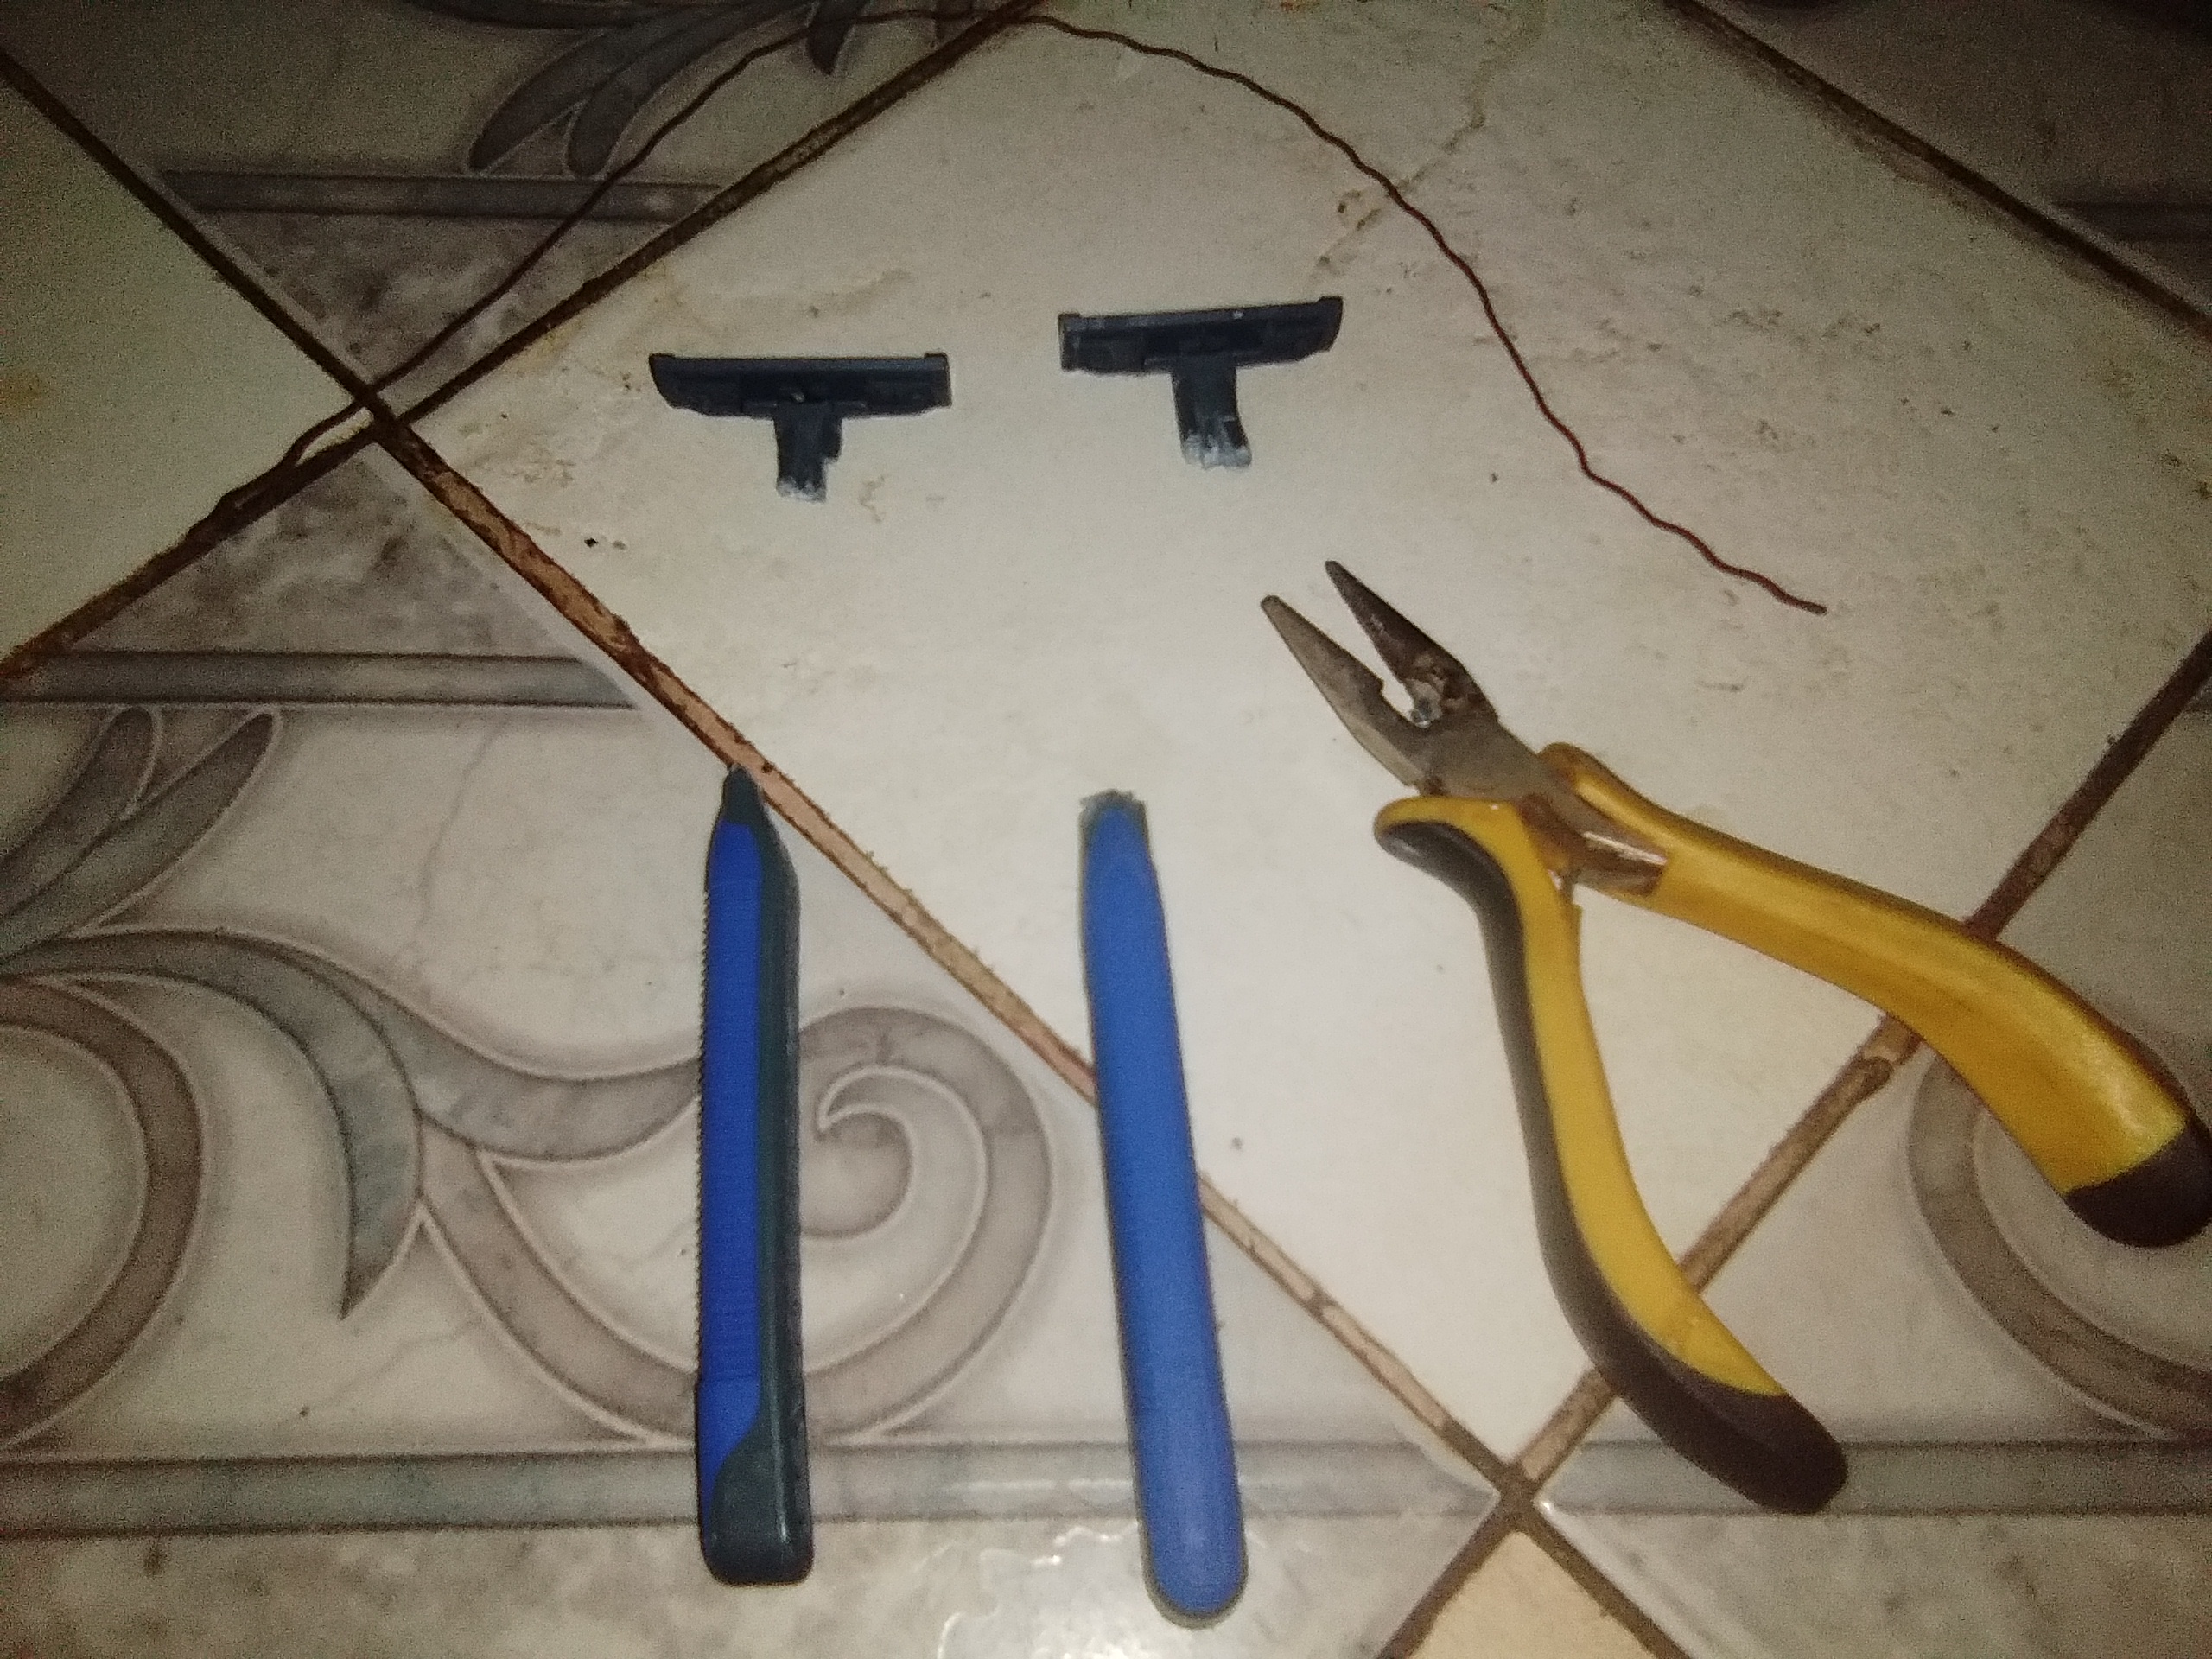
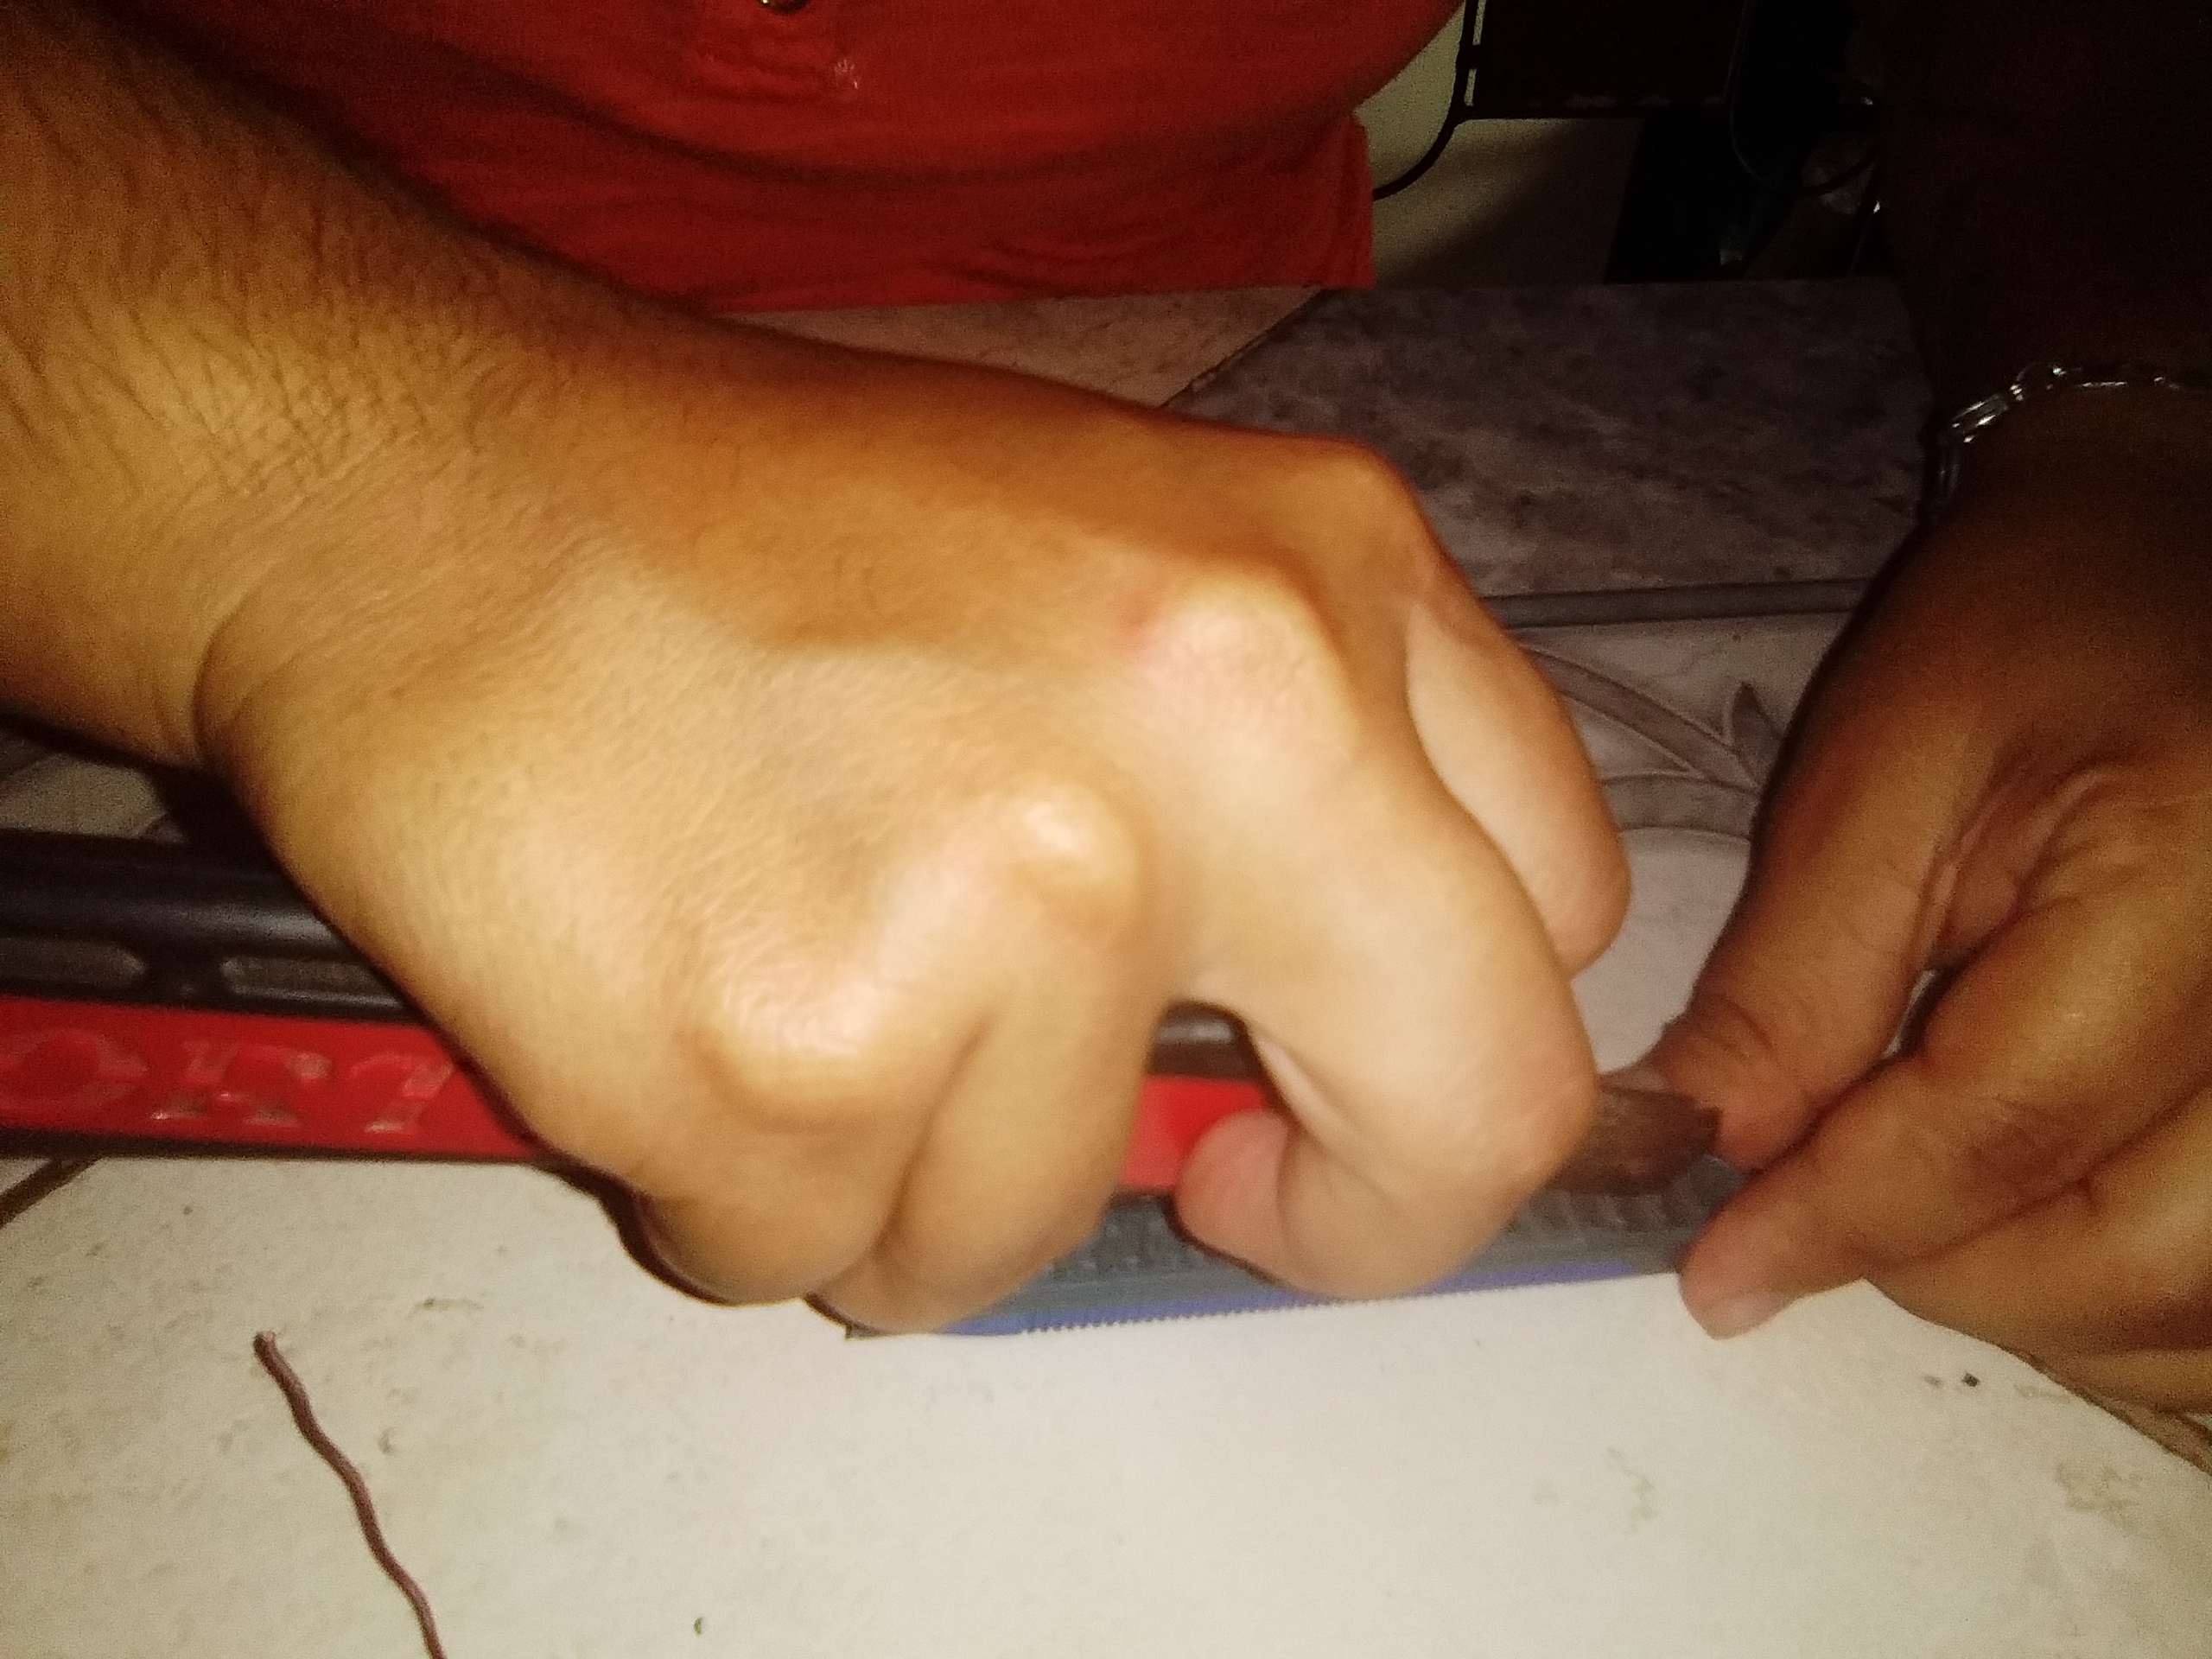
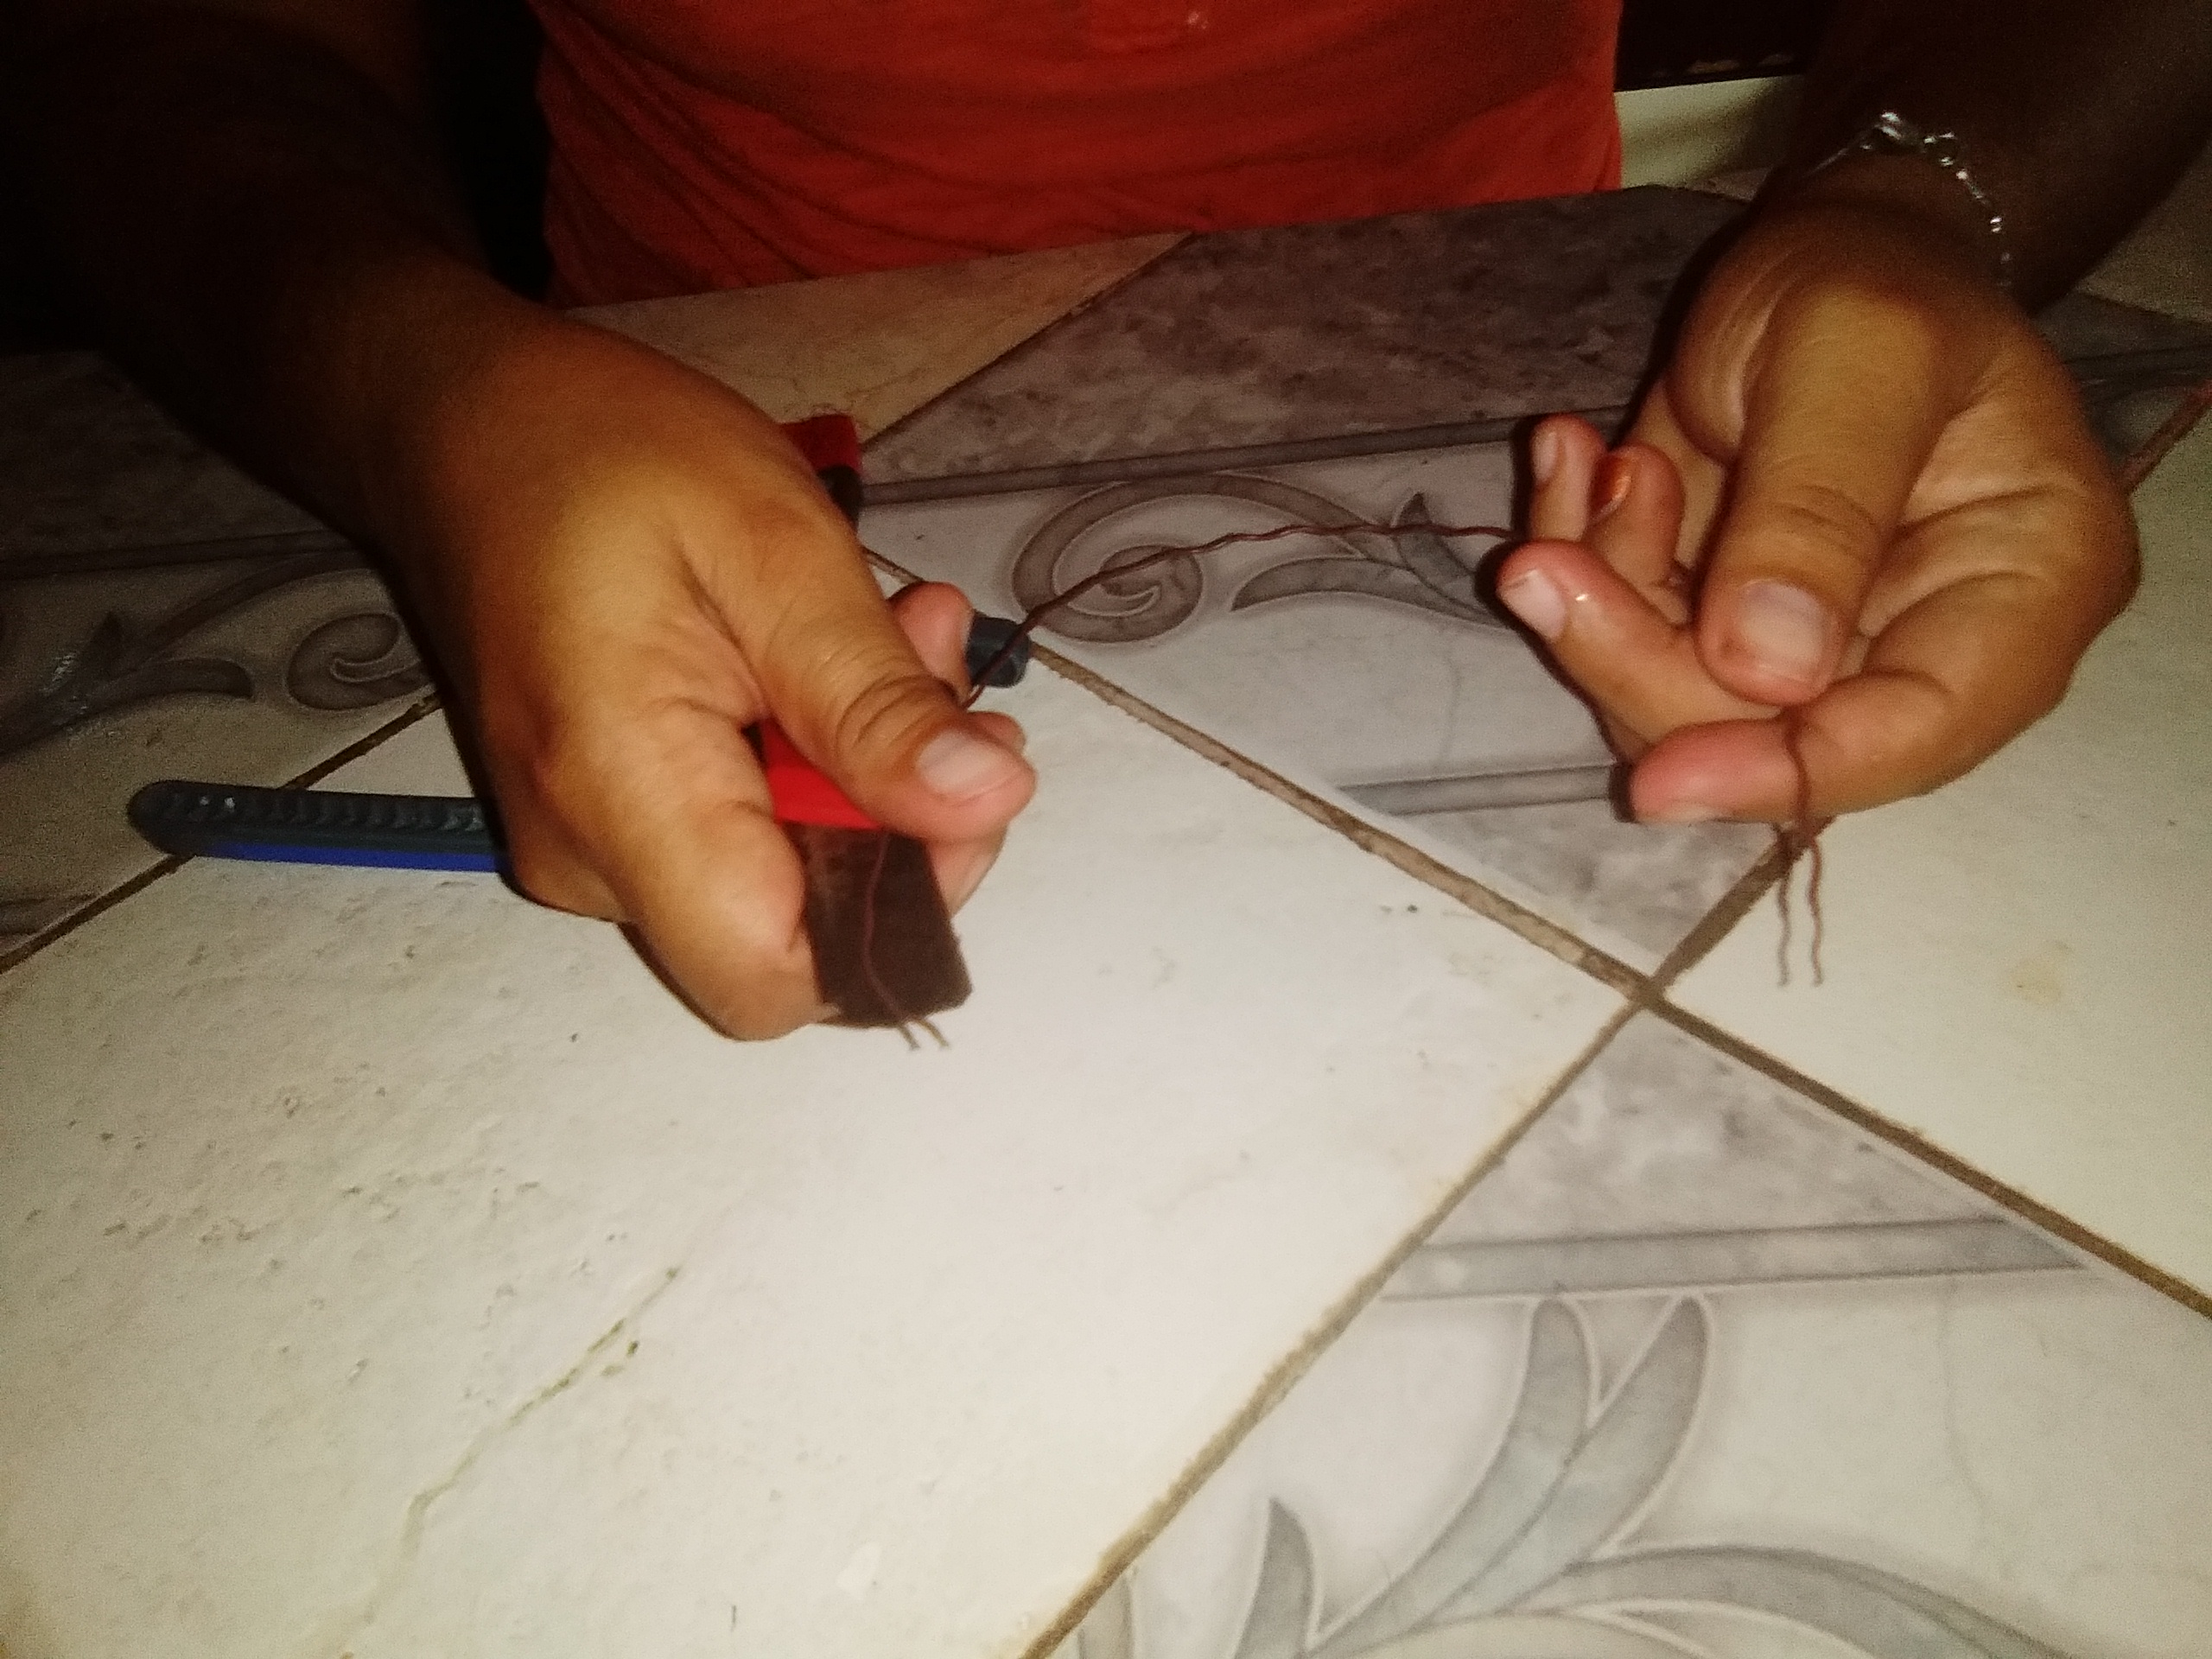
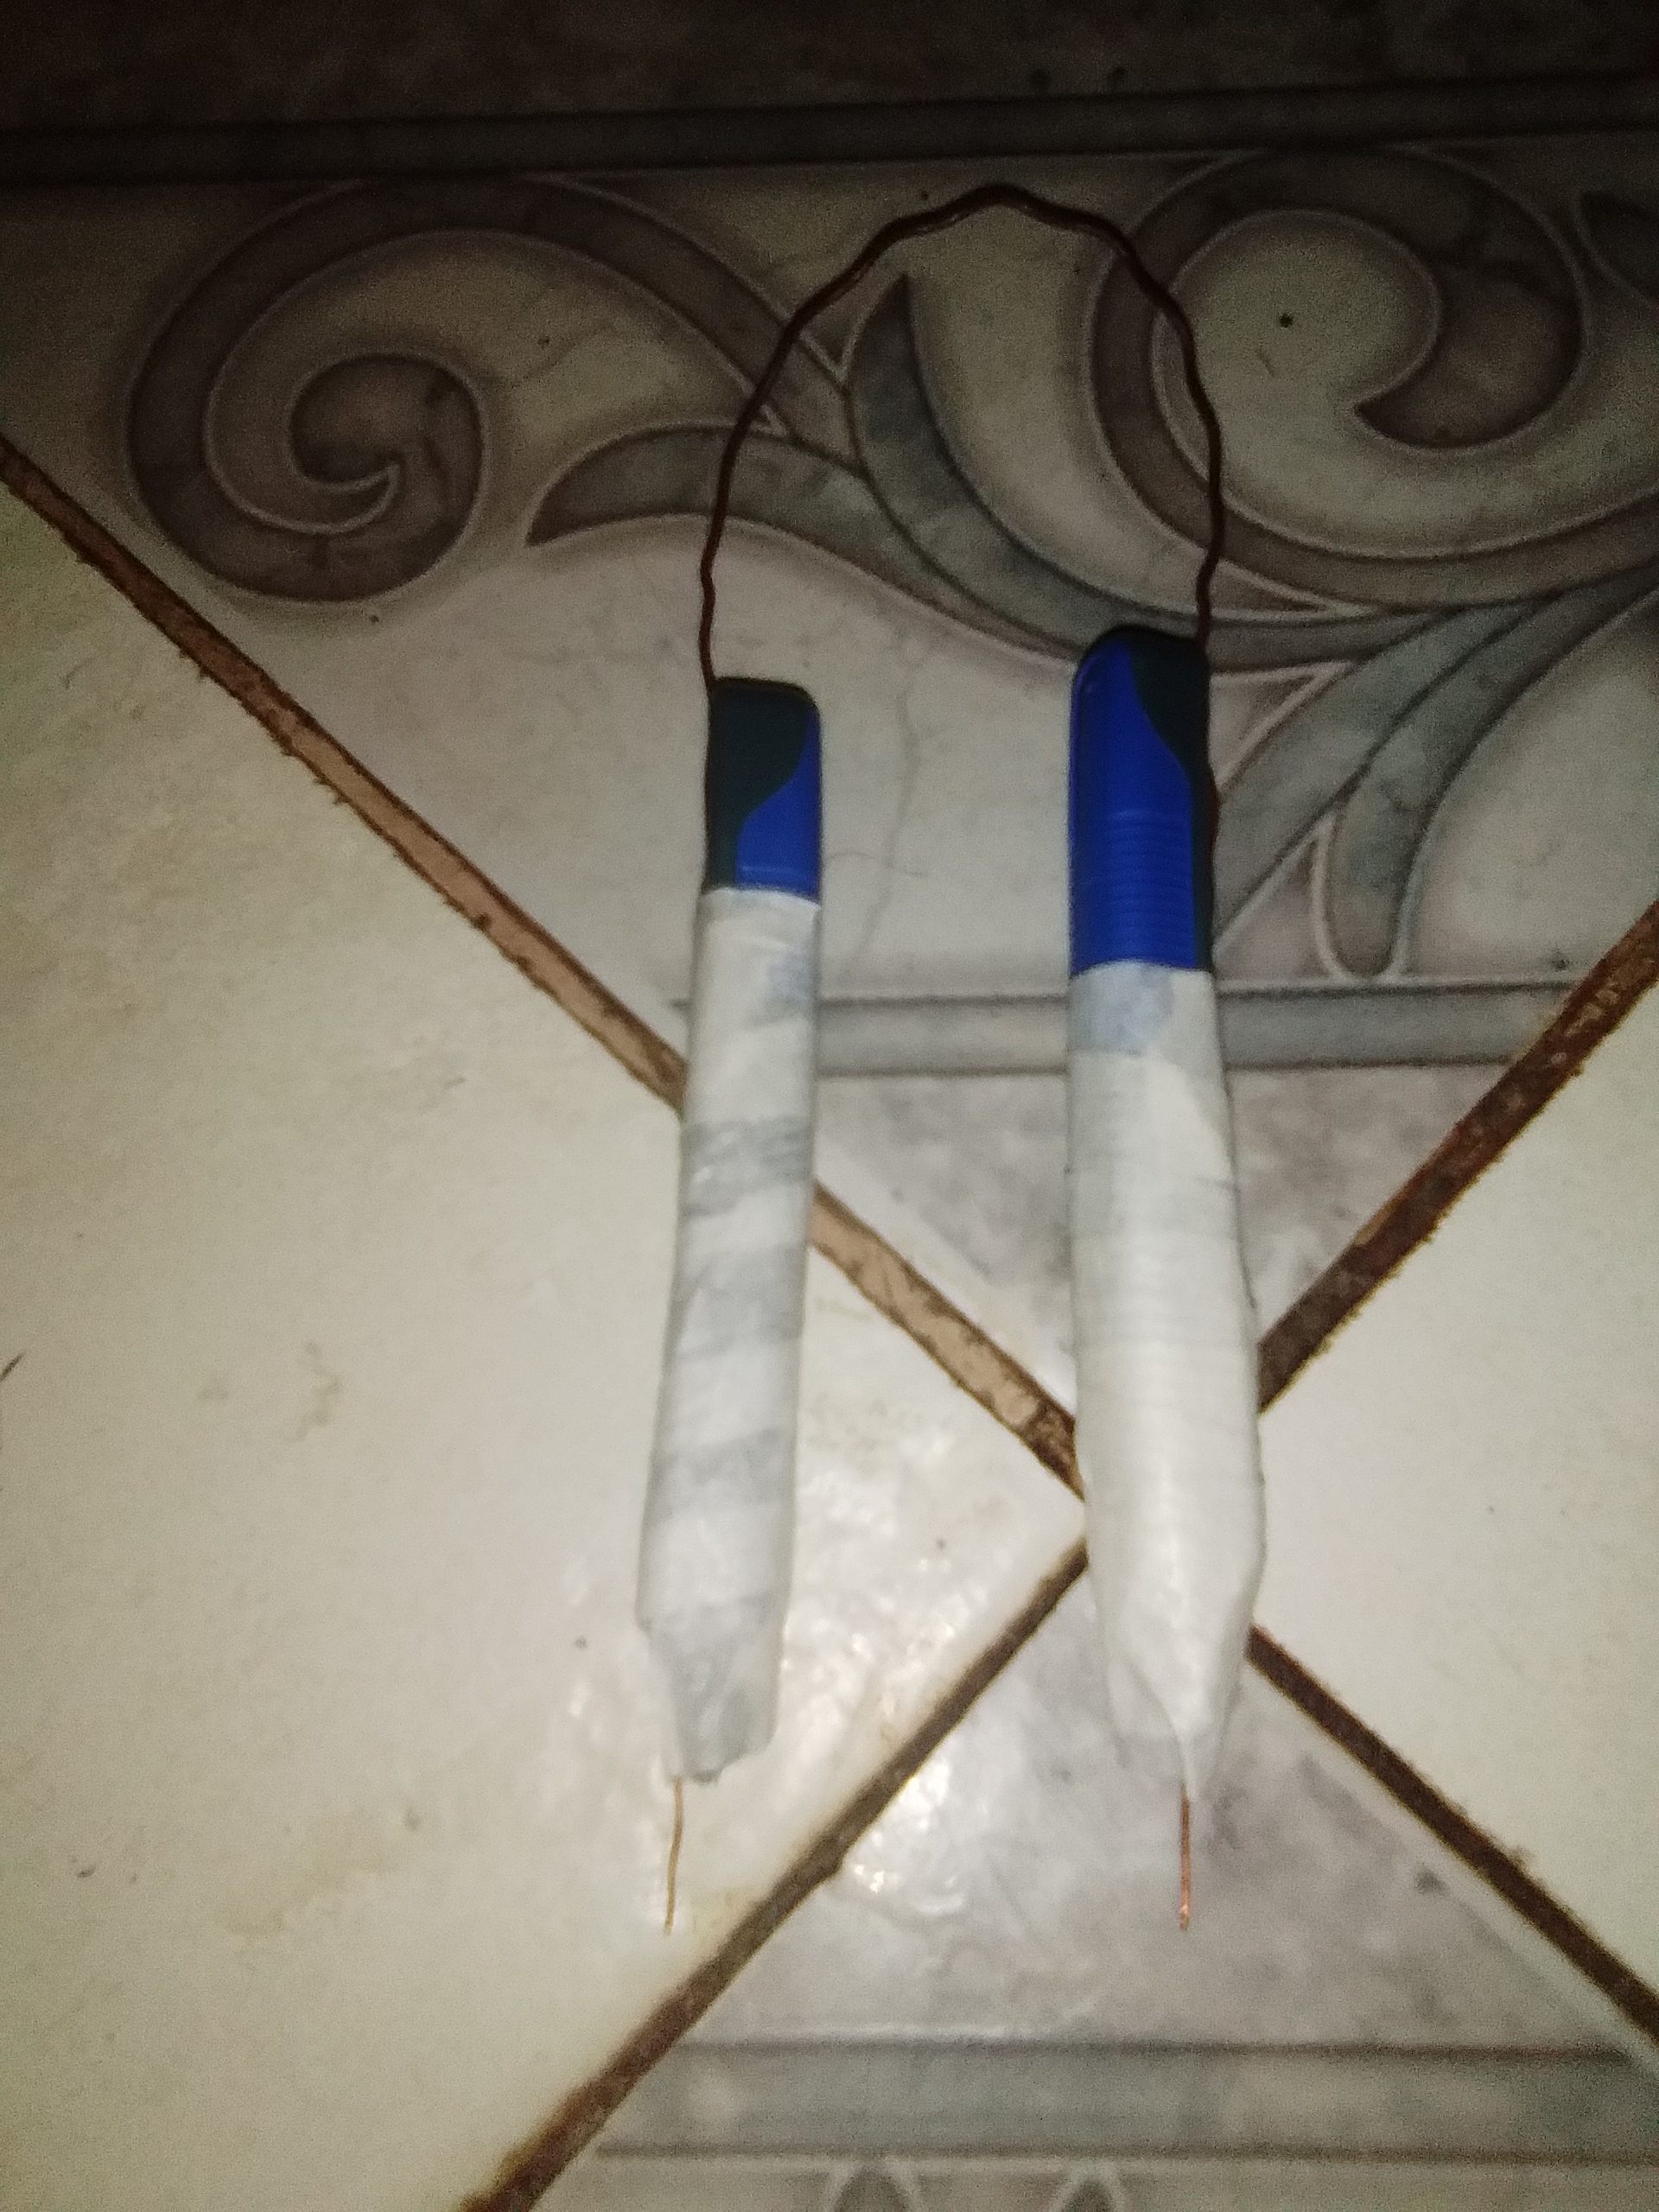
Step 1: Tester to bridge the leds.
For this easy tool I only had to have a cutter, tweezers, tape, two old razors and a single-ended wire. I removed the heads from the razors. Then in the middle I made vertical cuts with the cutter and with the help of the tweezers I put the wire in the slots of the razor sticks leaving the copper tips on the outside. Then I wrapped it with tape so that the wire would not come out.
This way we will have a homemade tester.
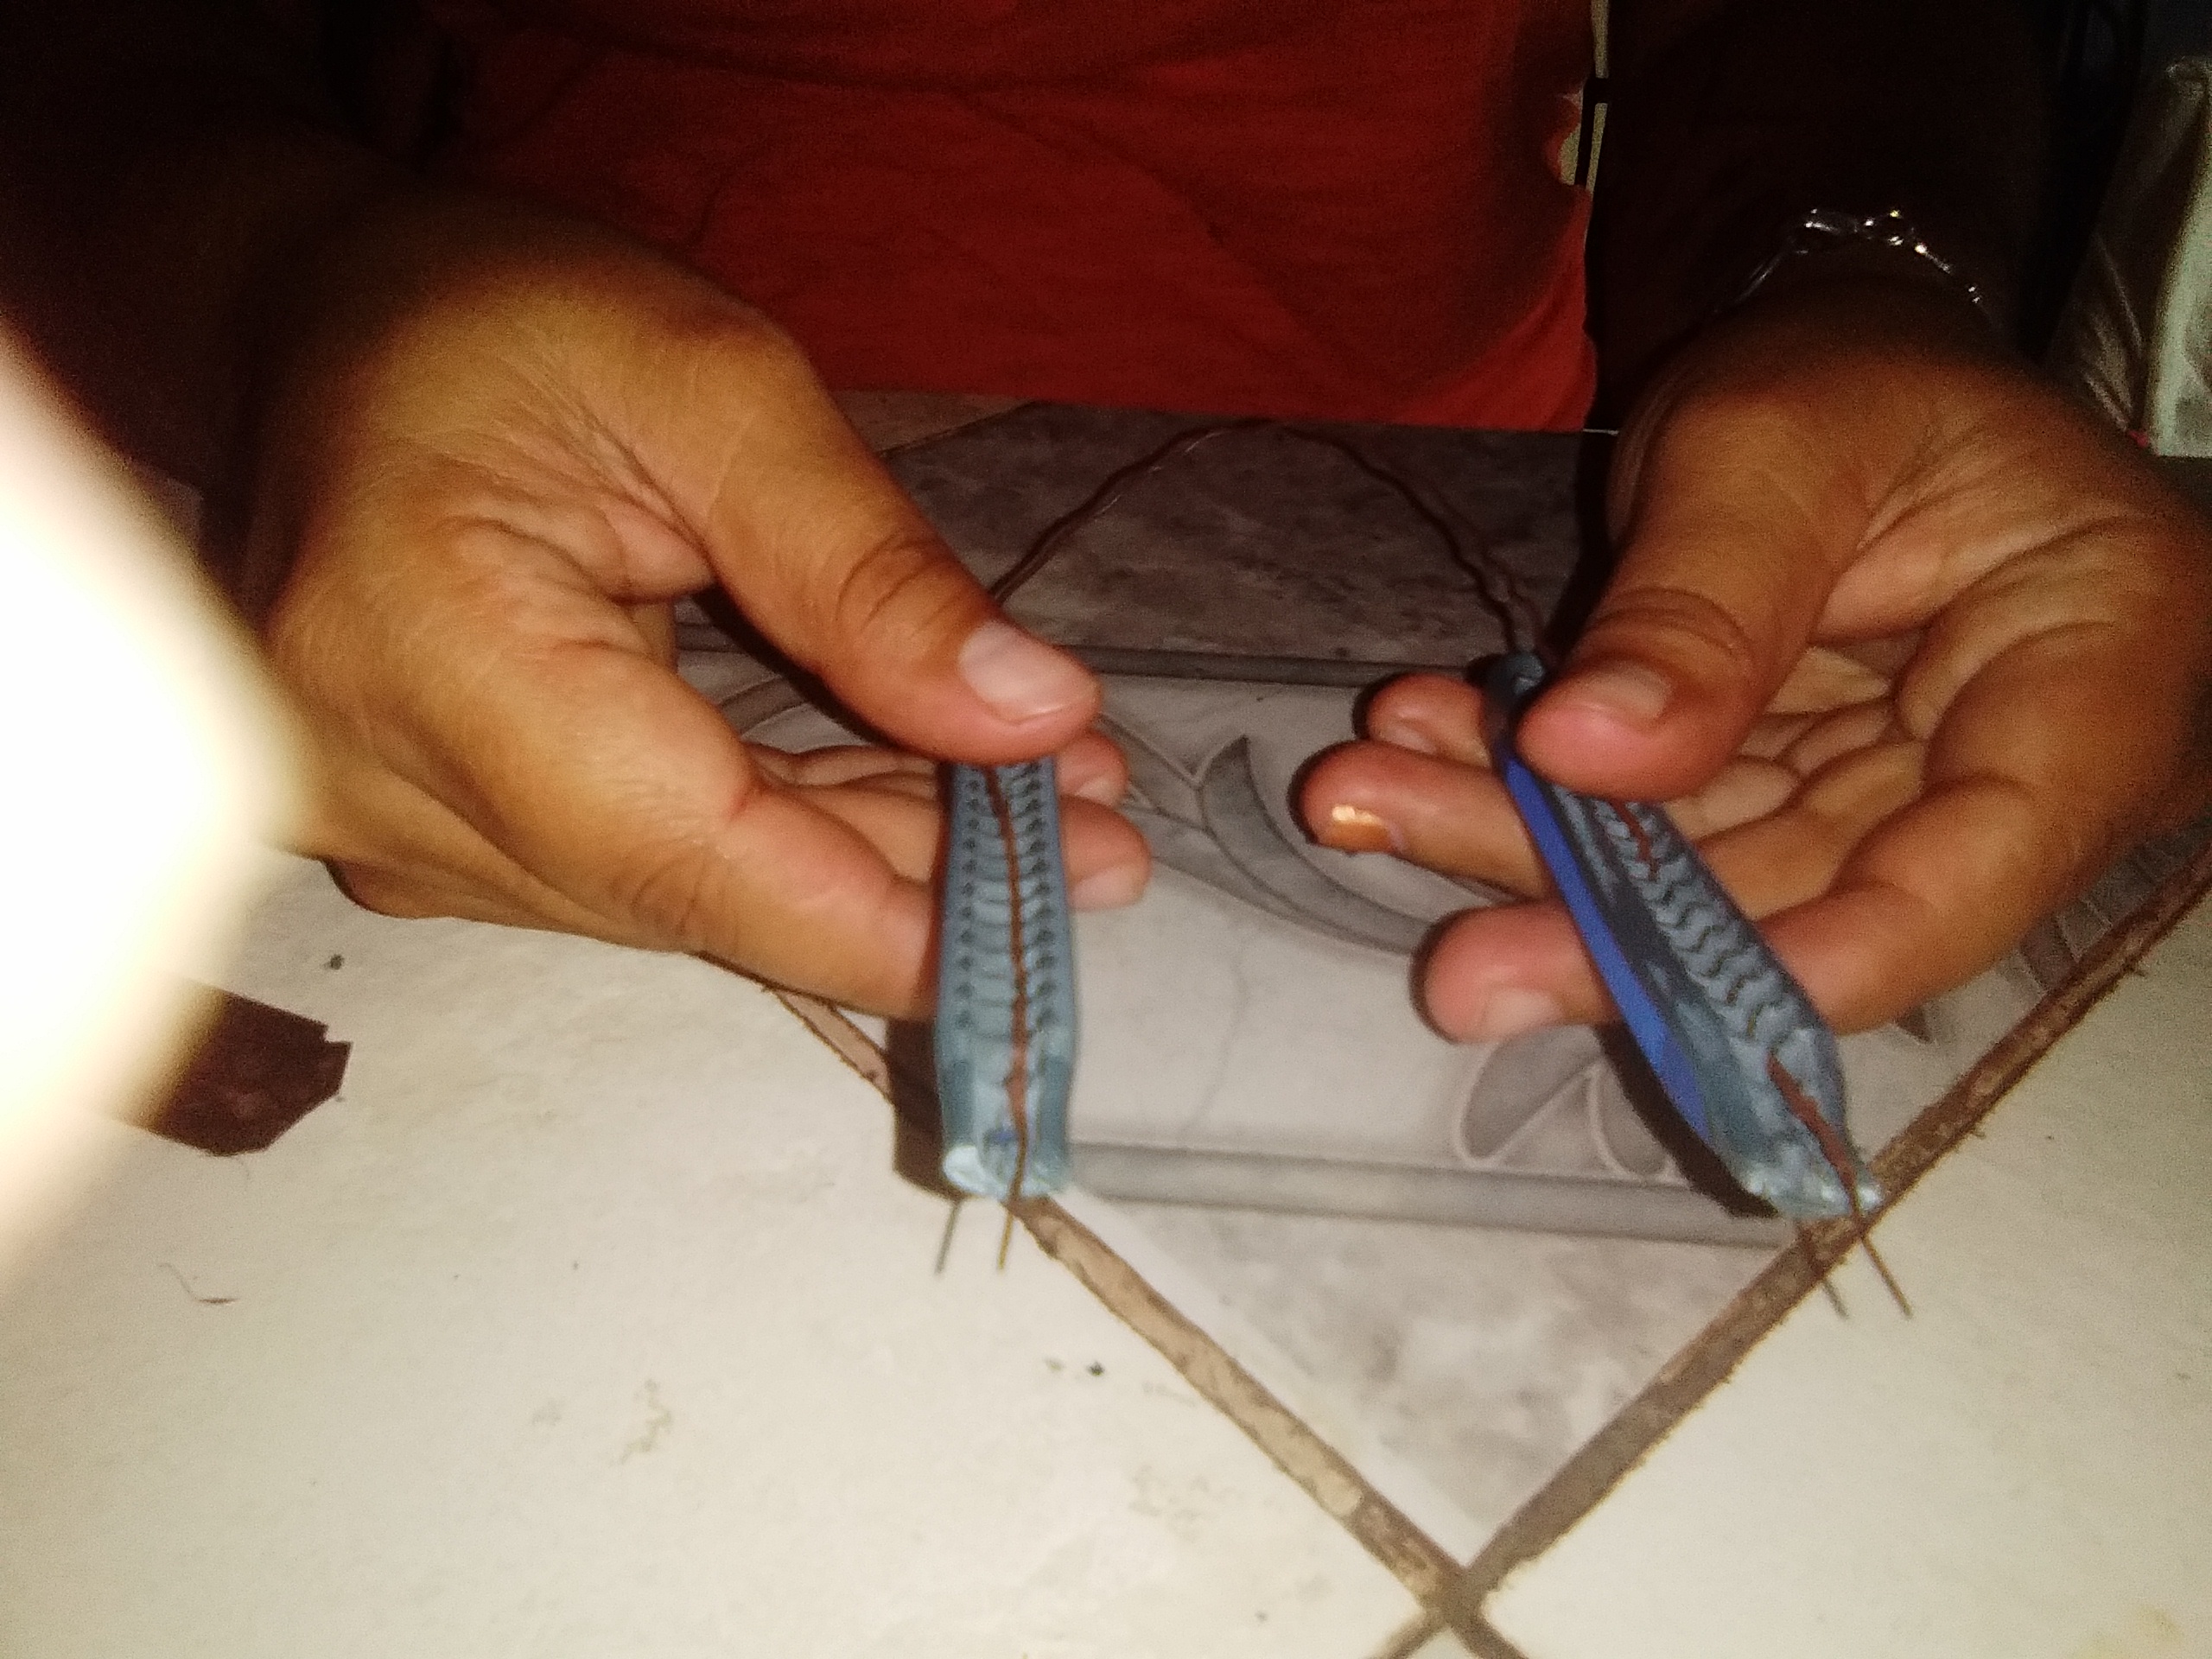
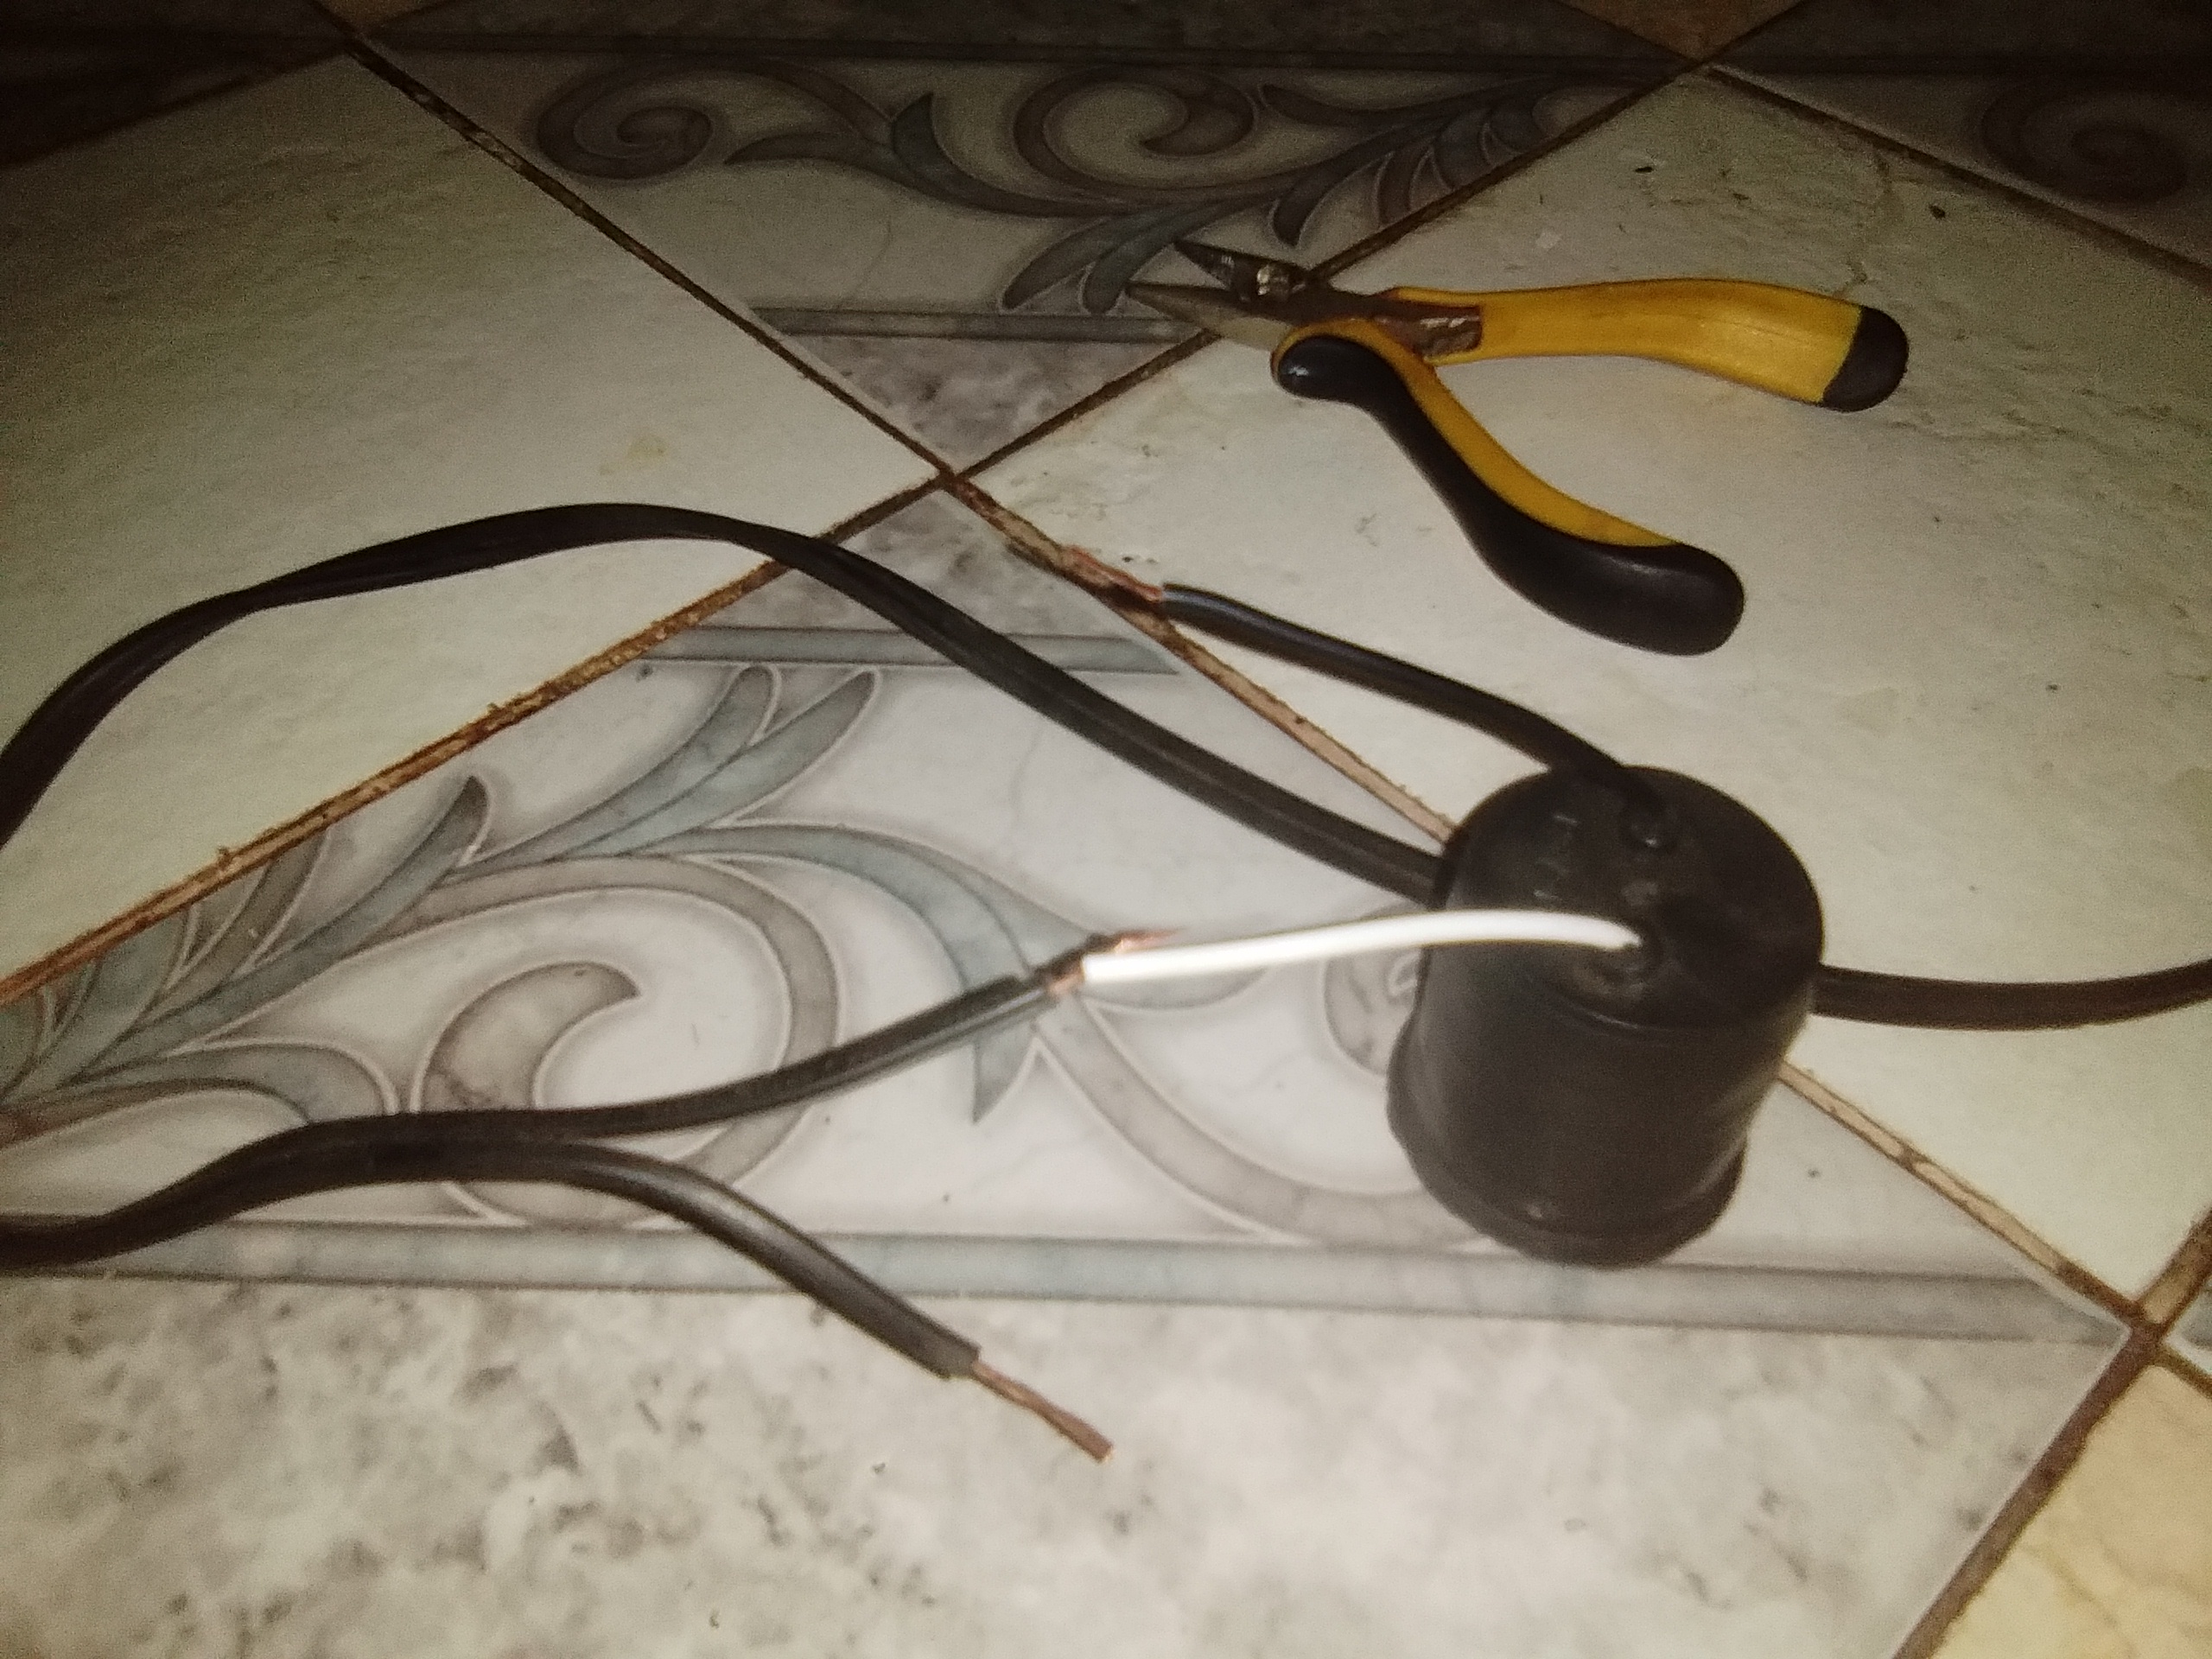
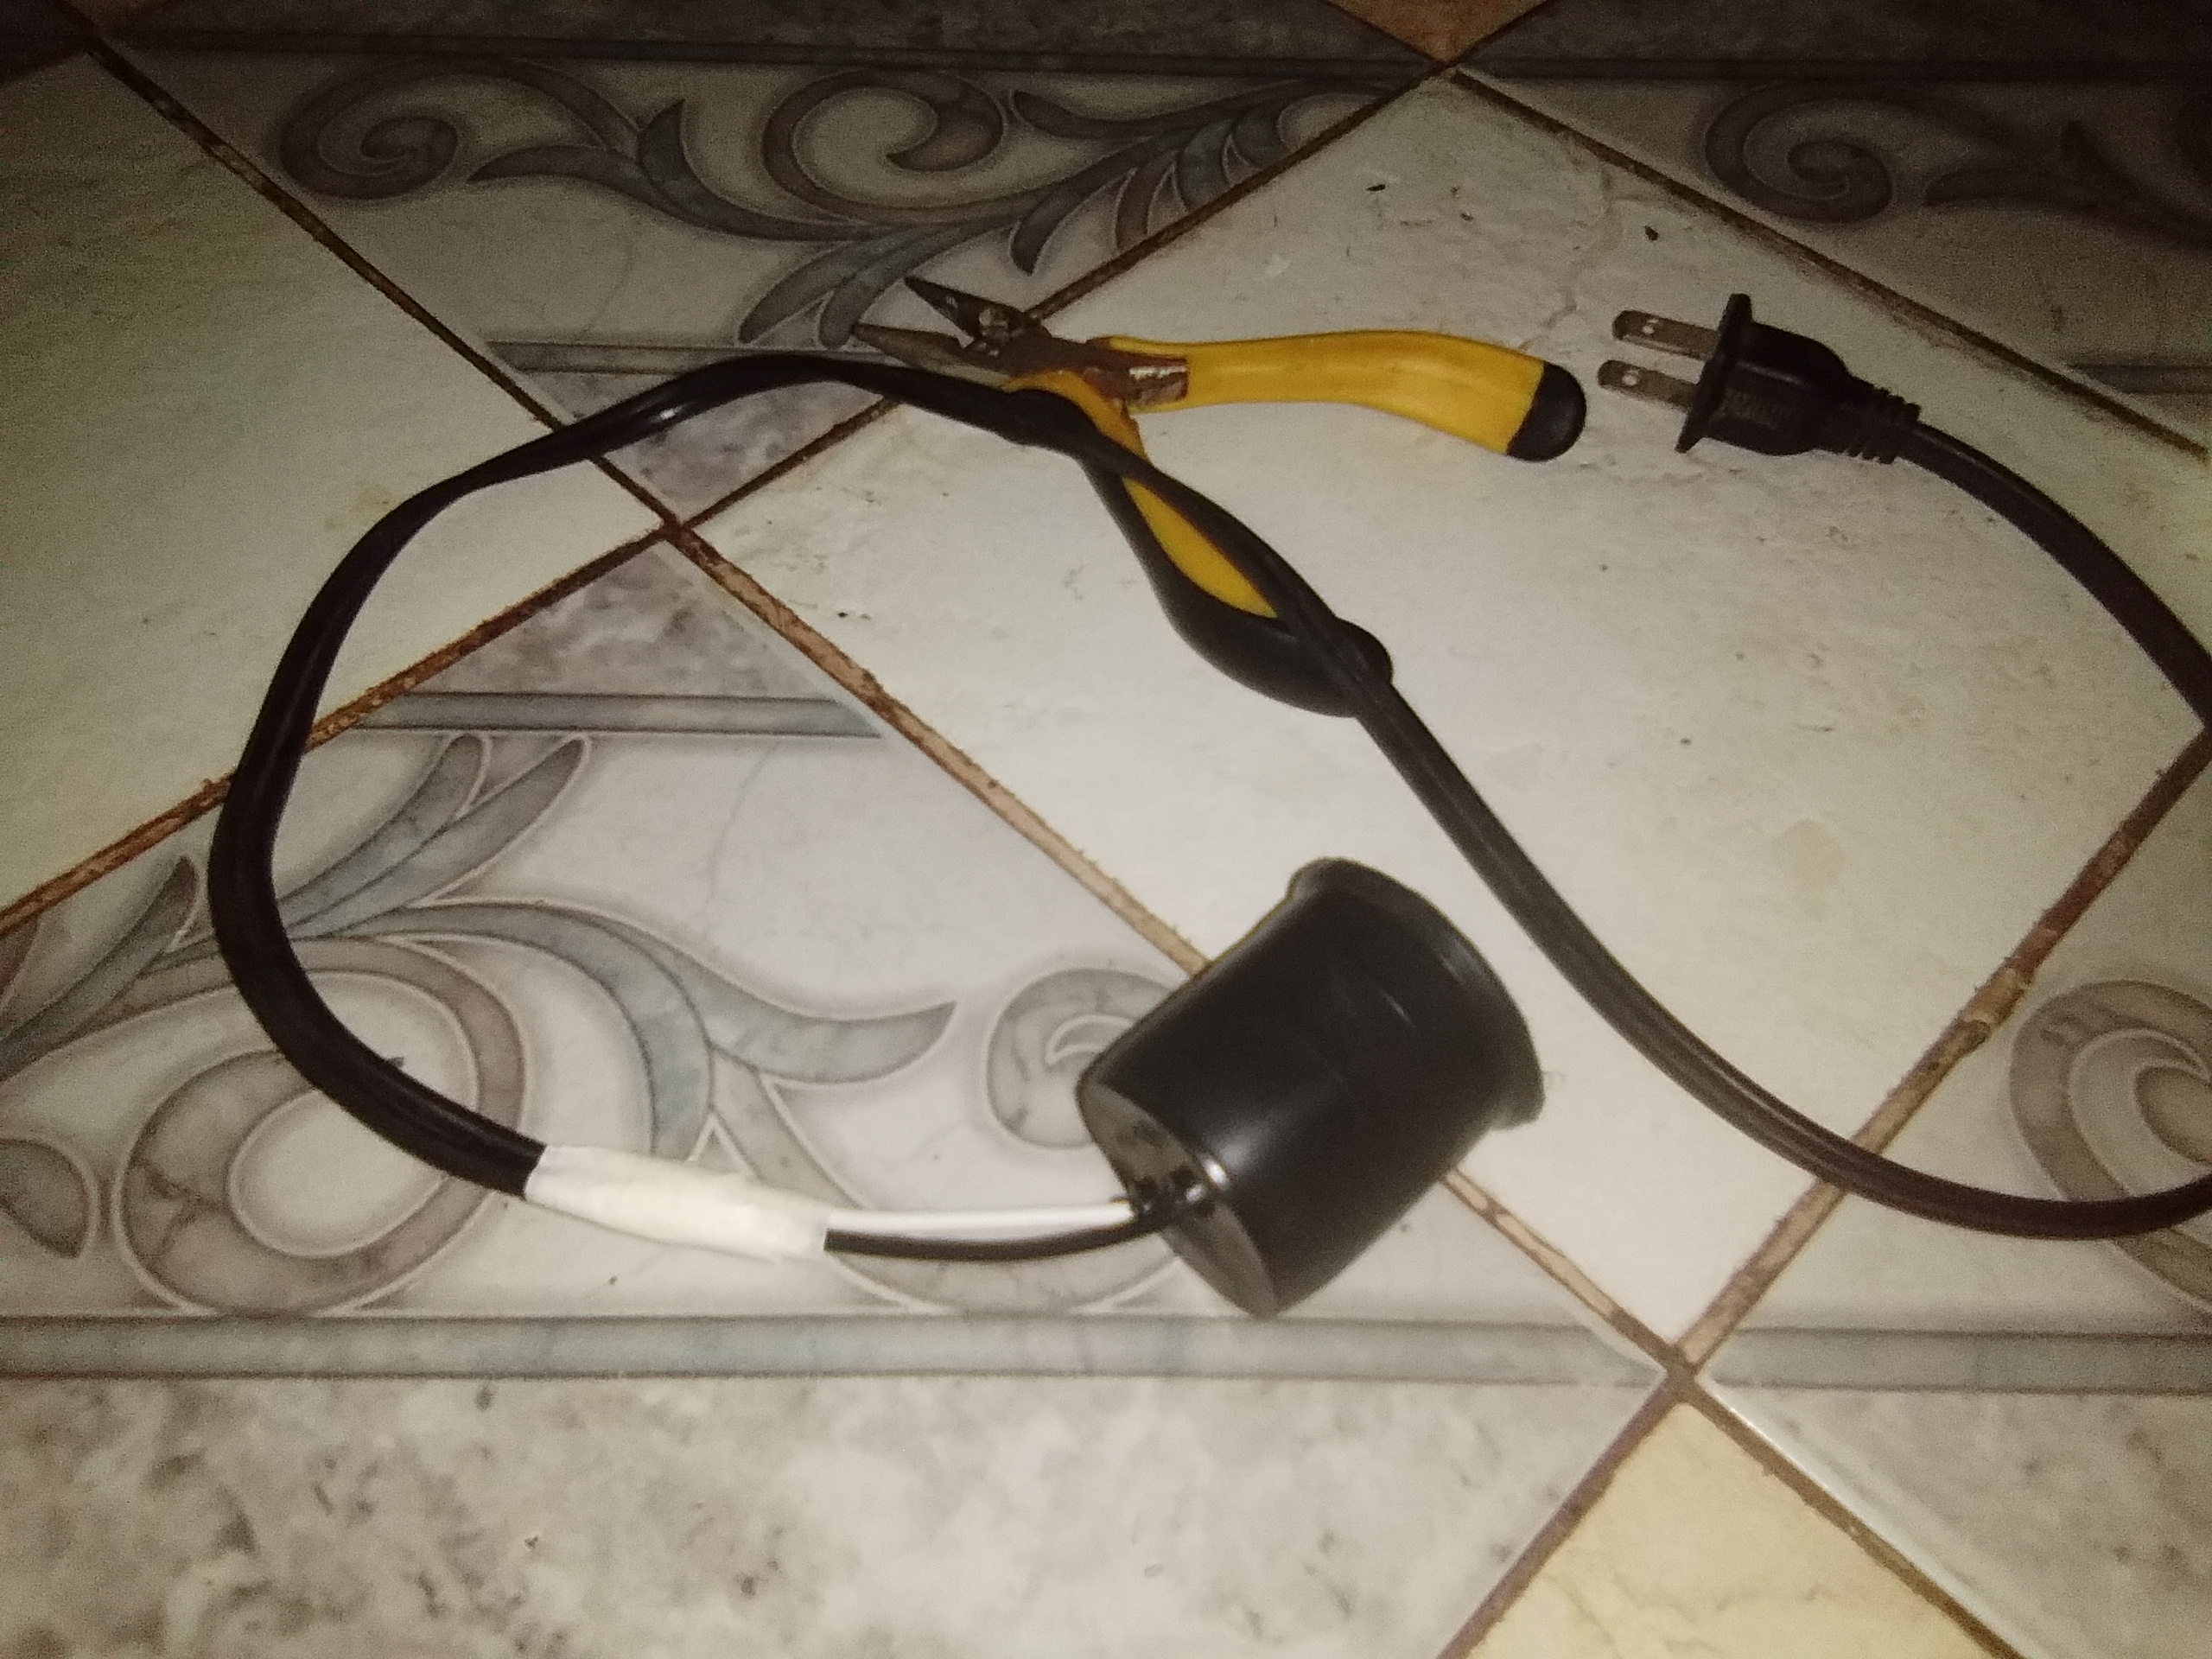
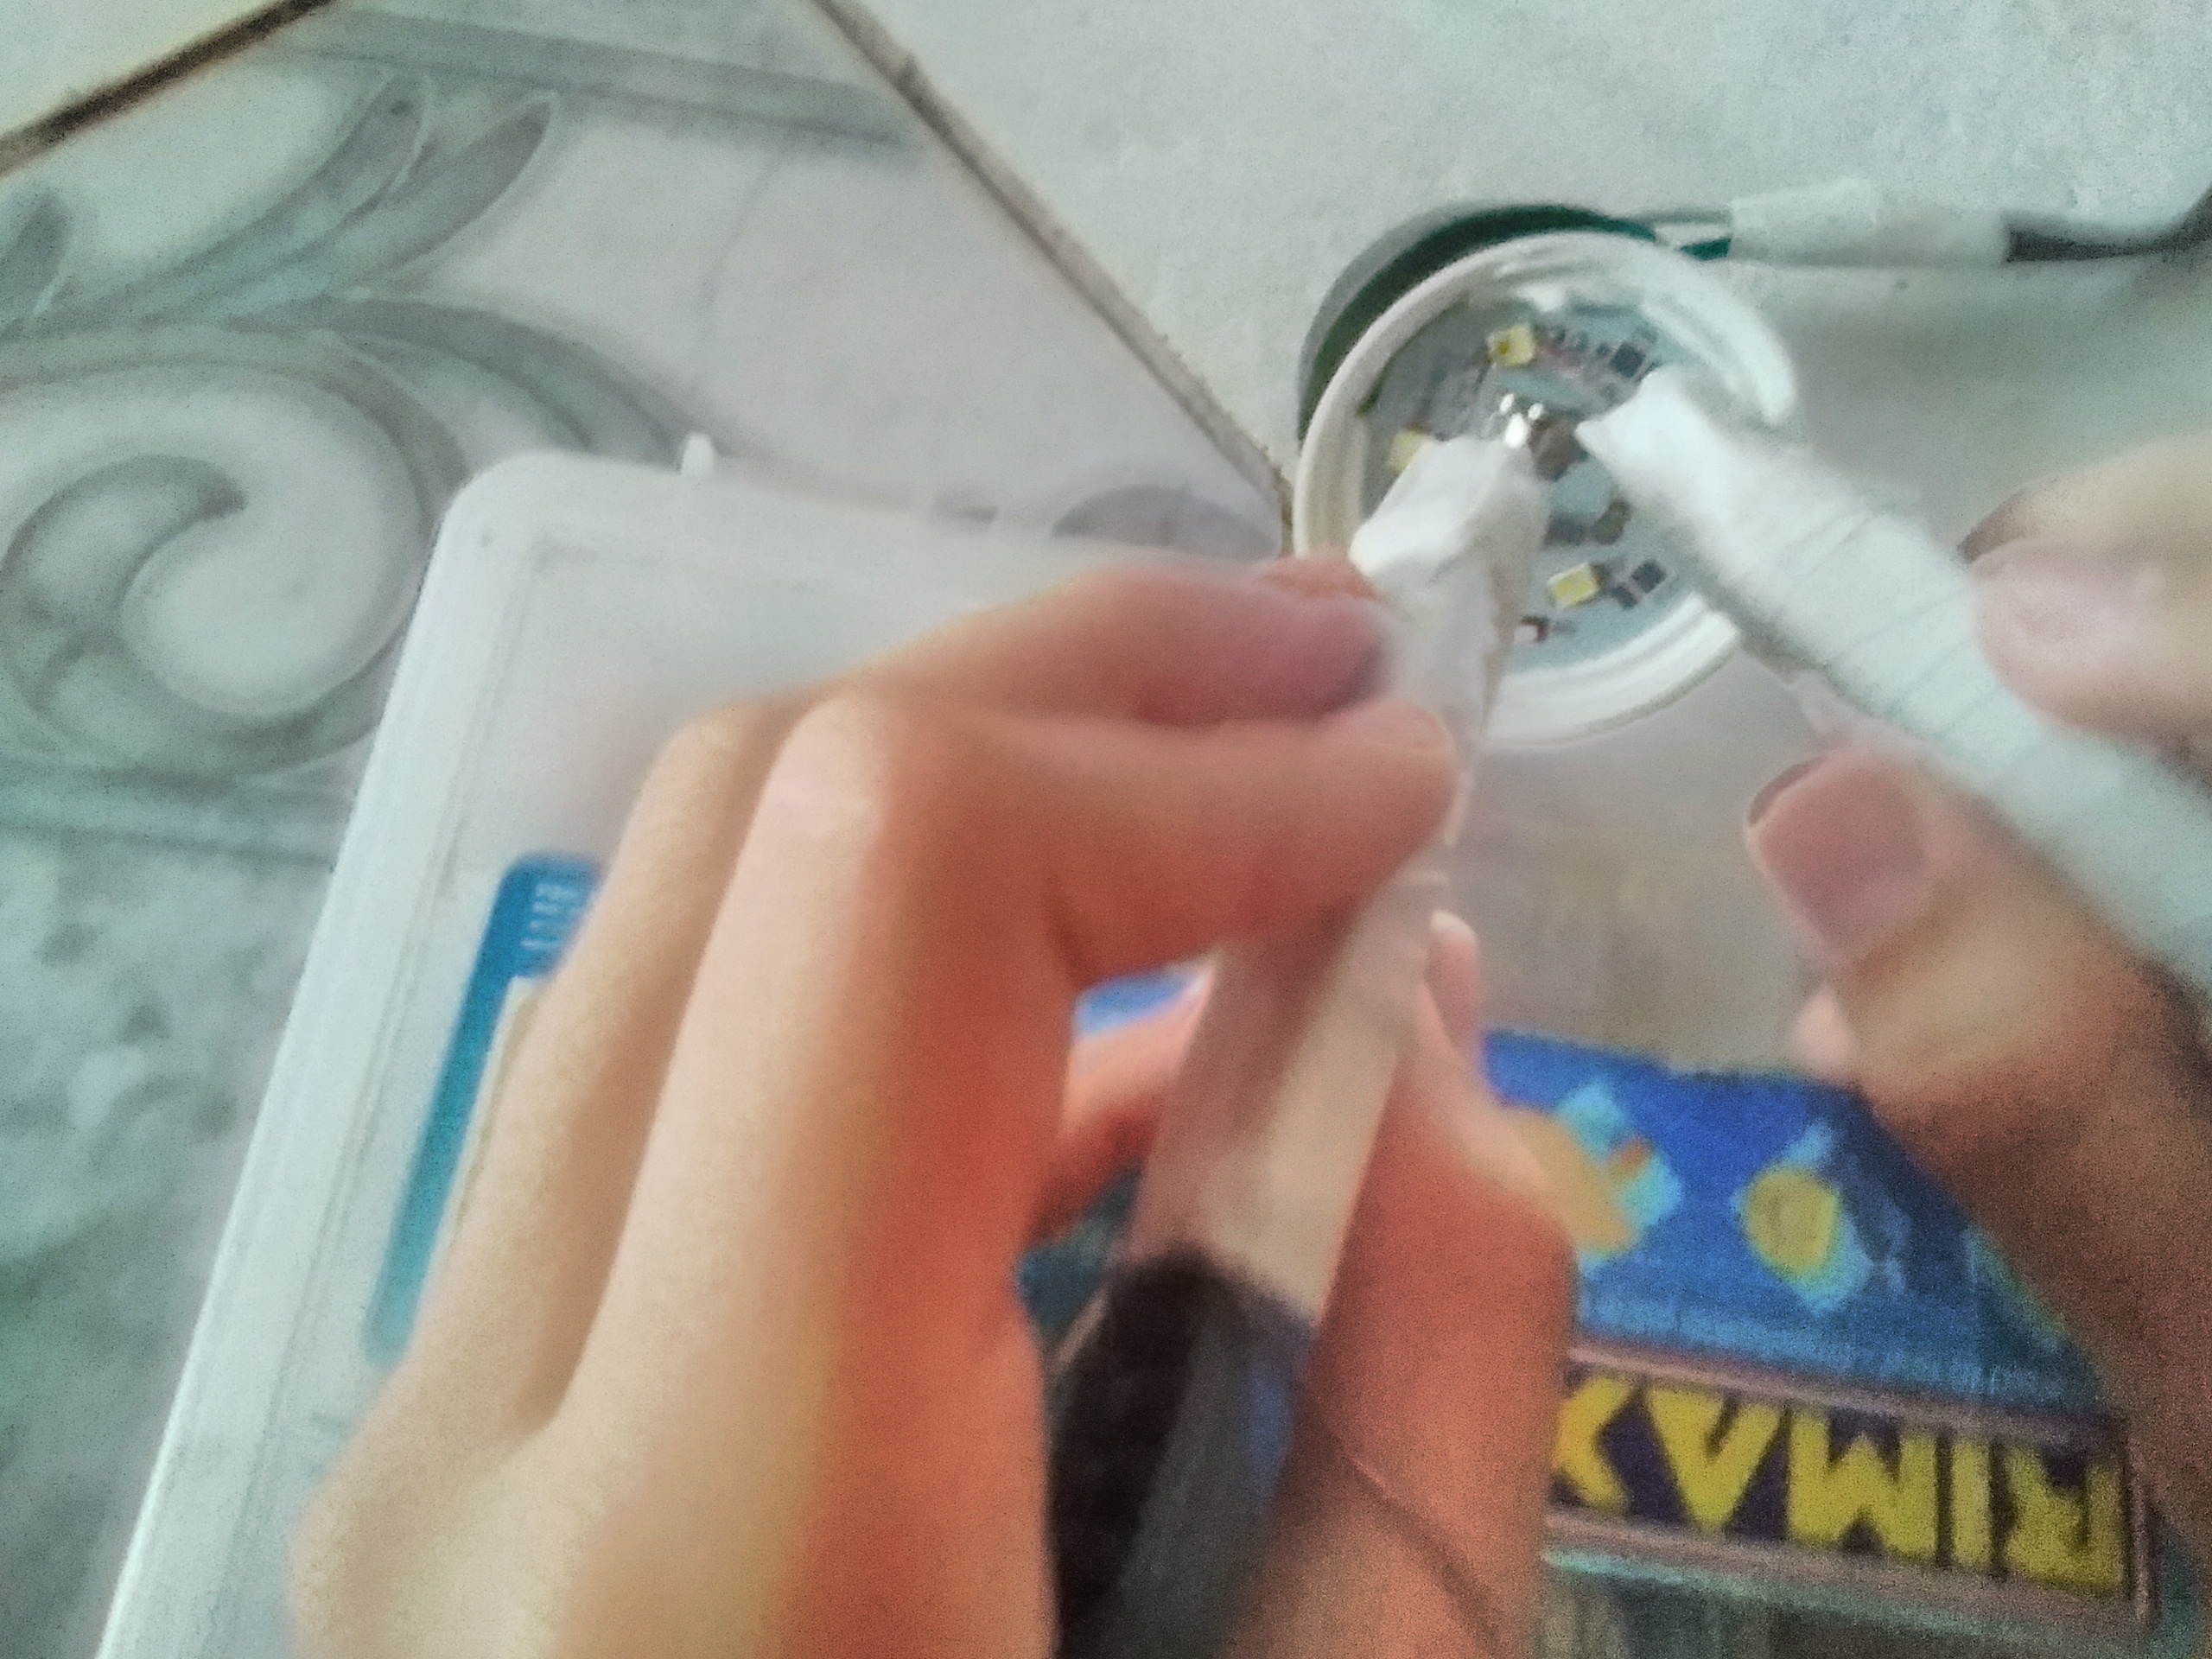
Step 2: A bulb tester.
For this we only need to use: tape, a cable with a plug and a socket.
The only thing we will do is to connect the wires, keeping in mind that the white wire of the socket is the positive one and the black one is the negative one. On the plug wire we have both black wires, but one of them has grooves and that will be our negative. So we just connect positive to positive, and negative to negative. We put tape to insulate each one to avoid shorting and that's it.

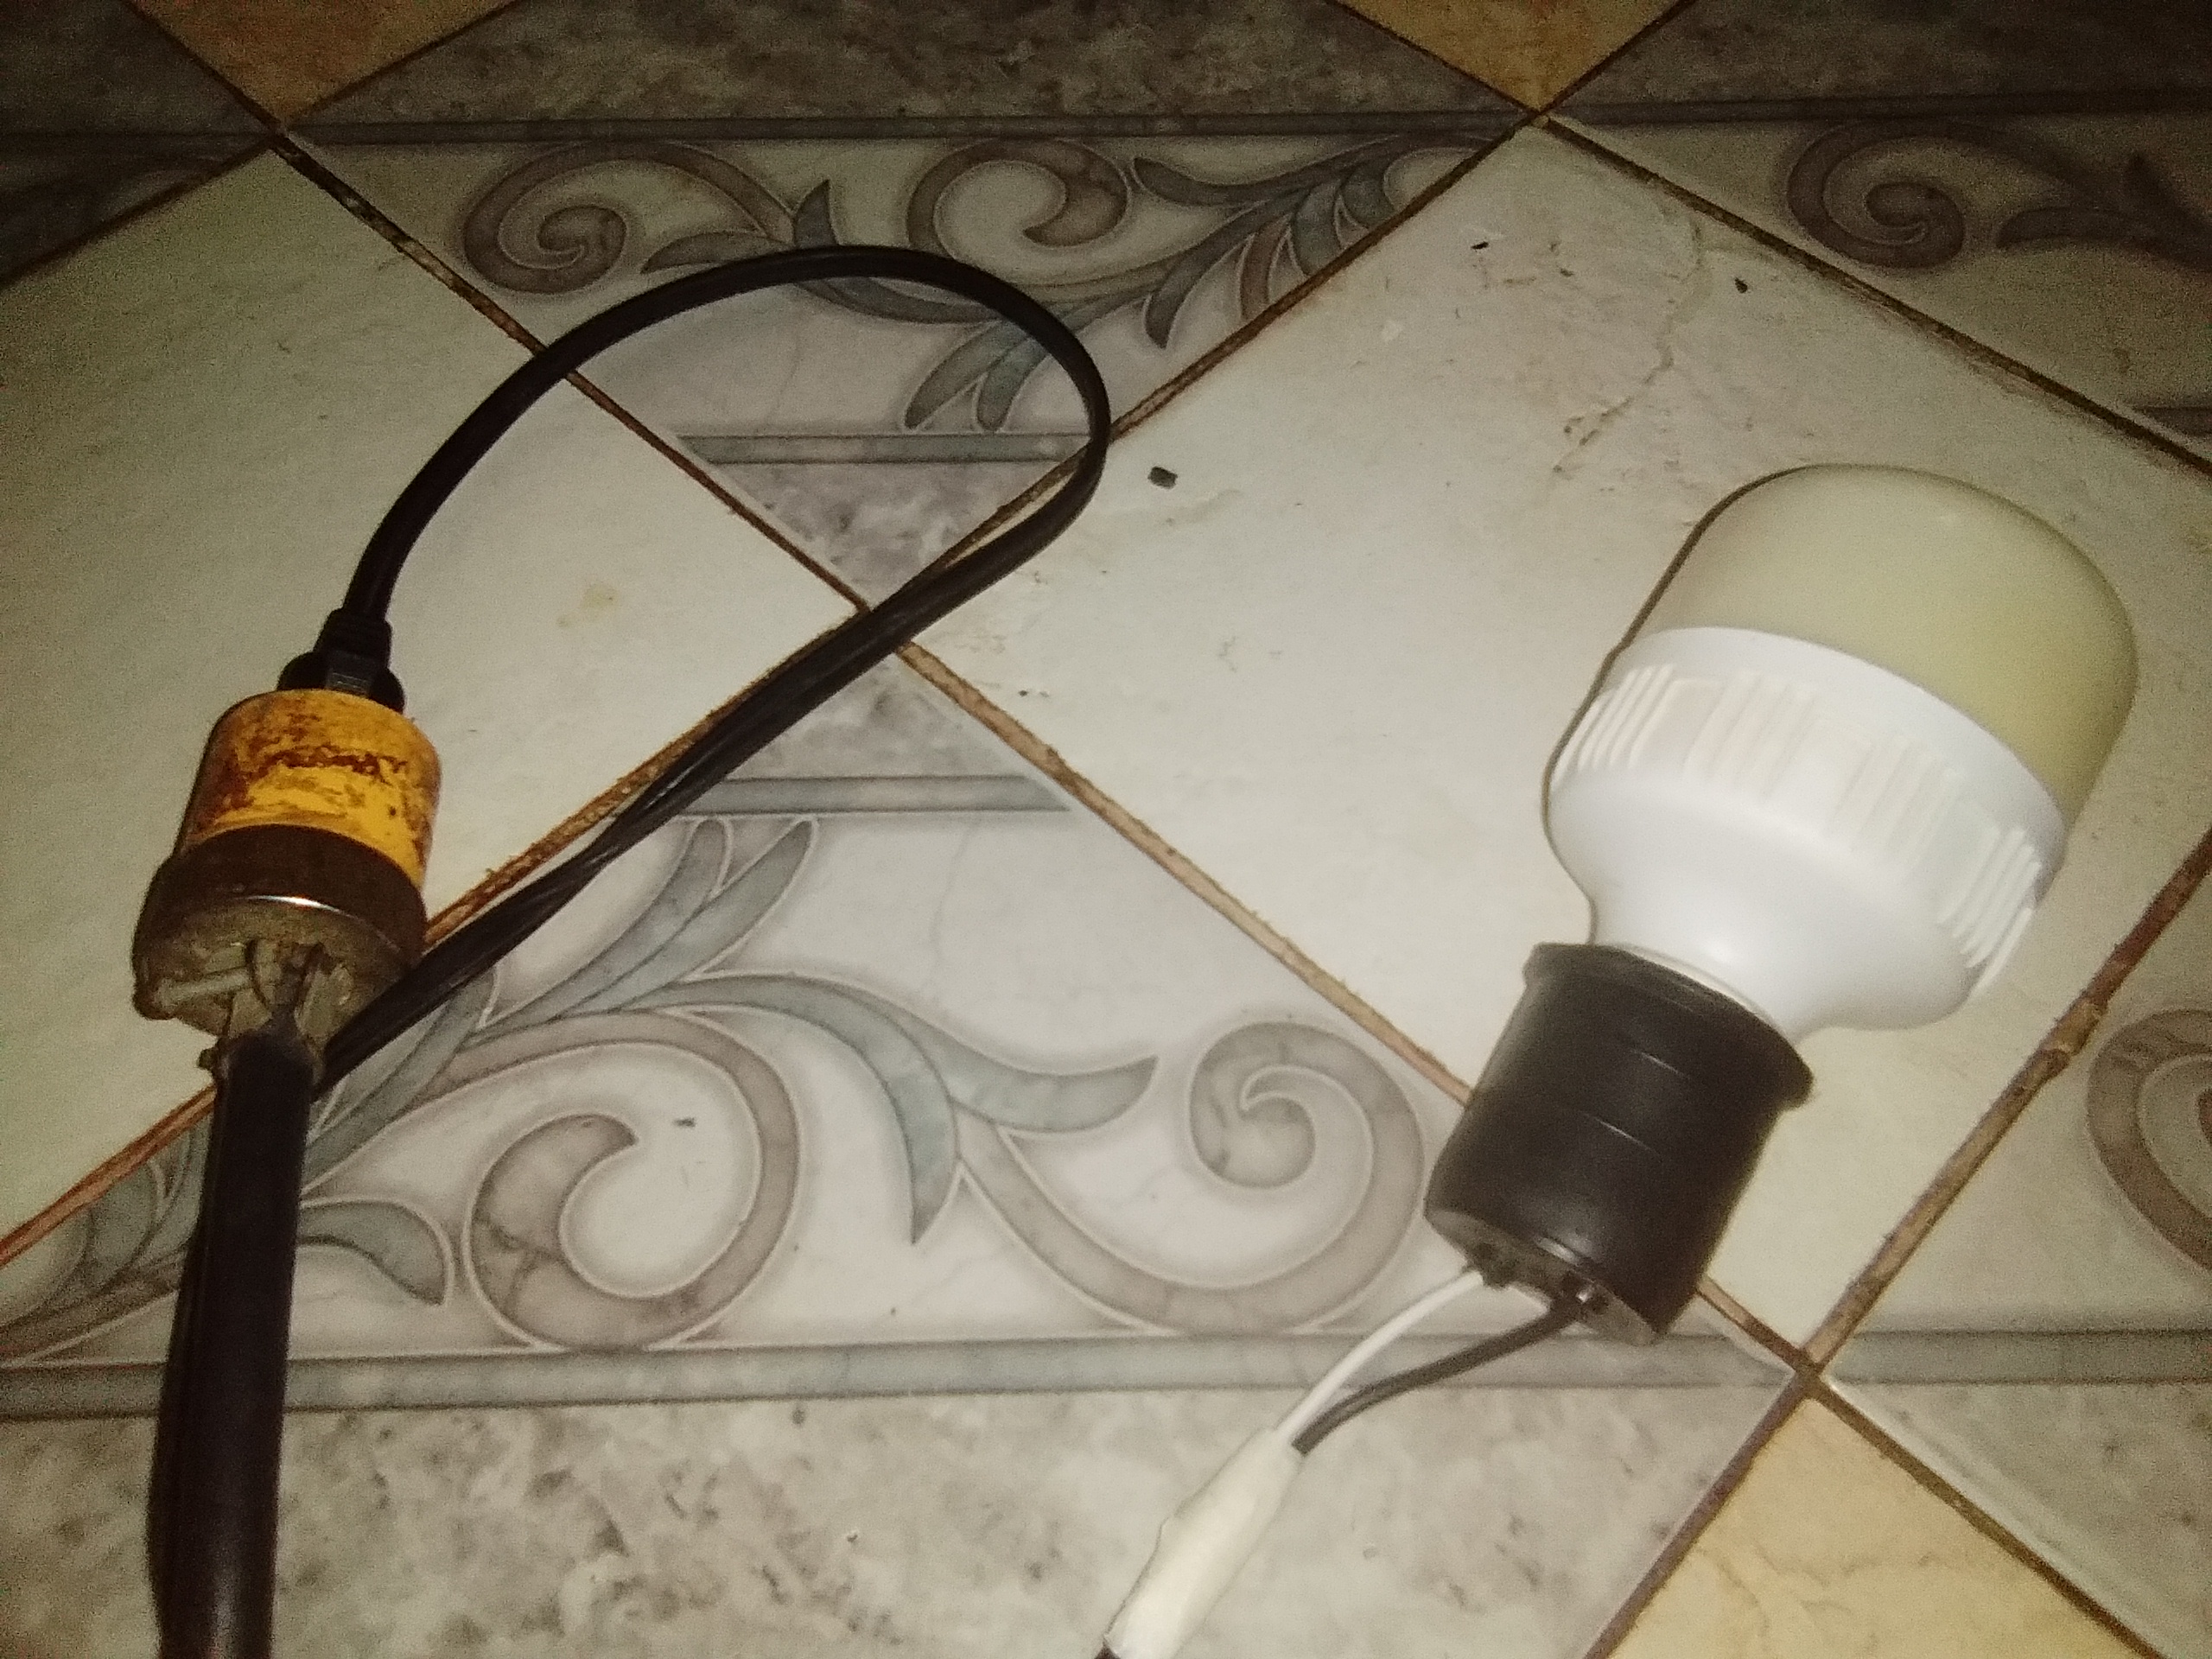
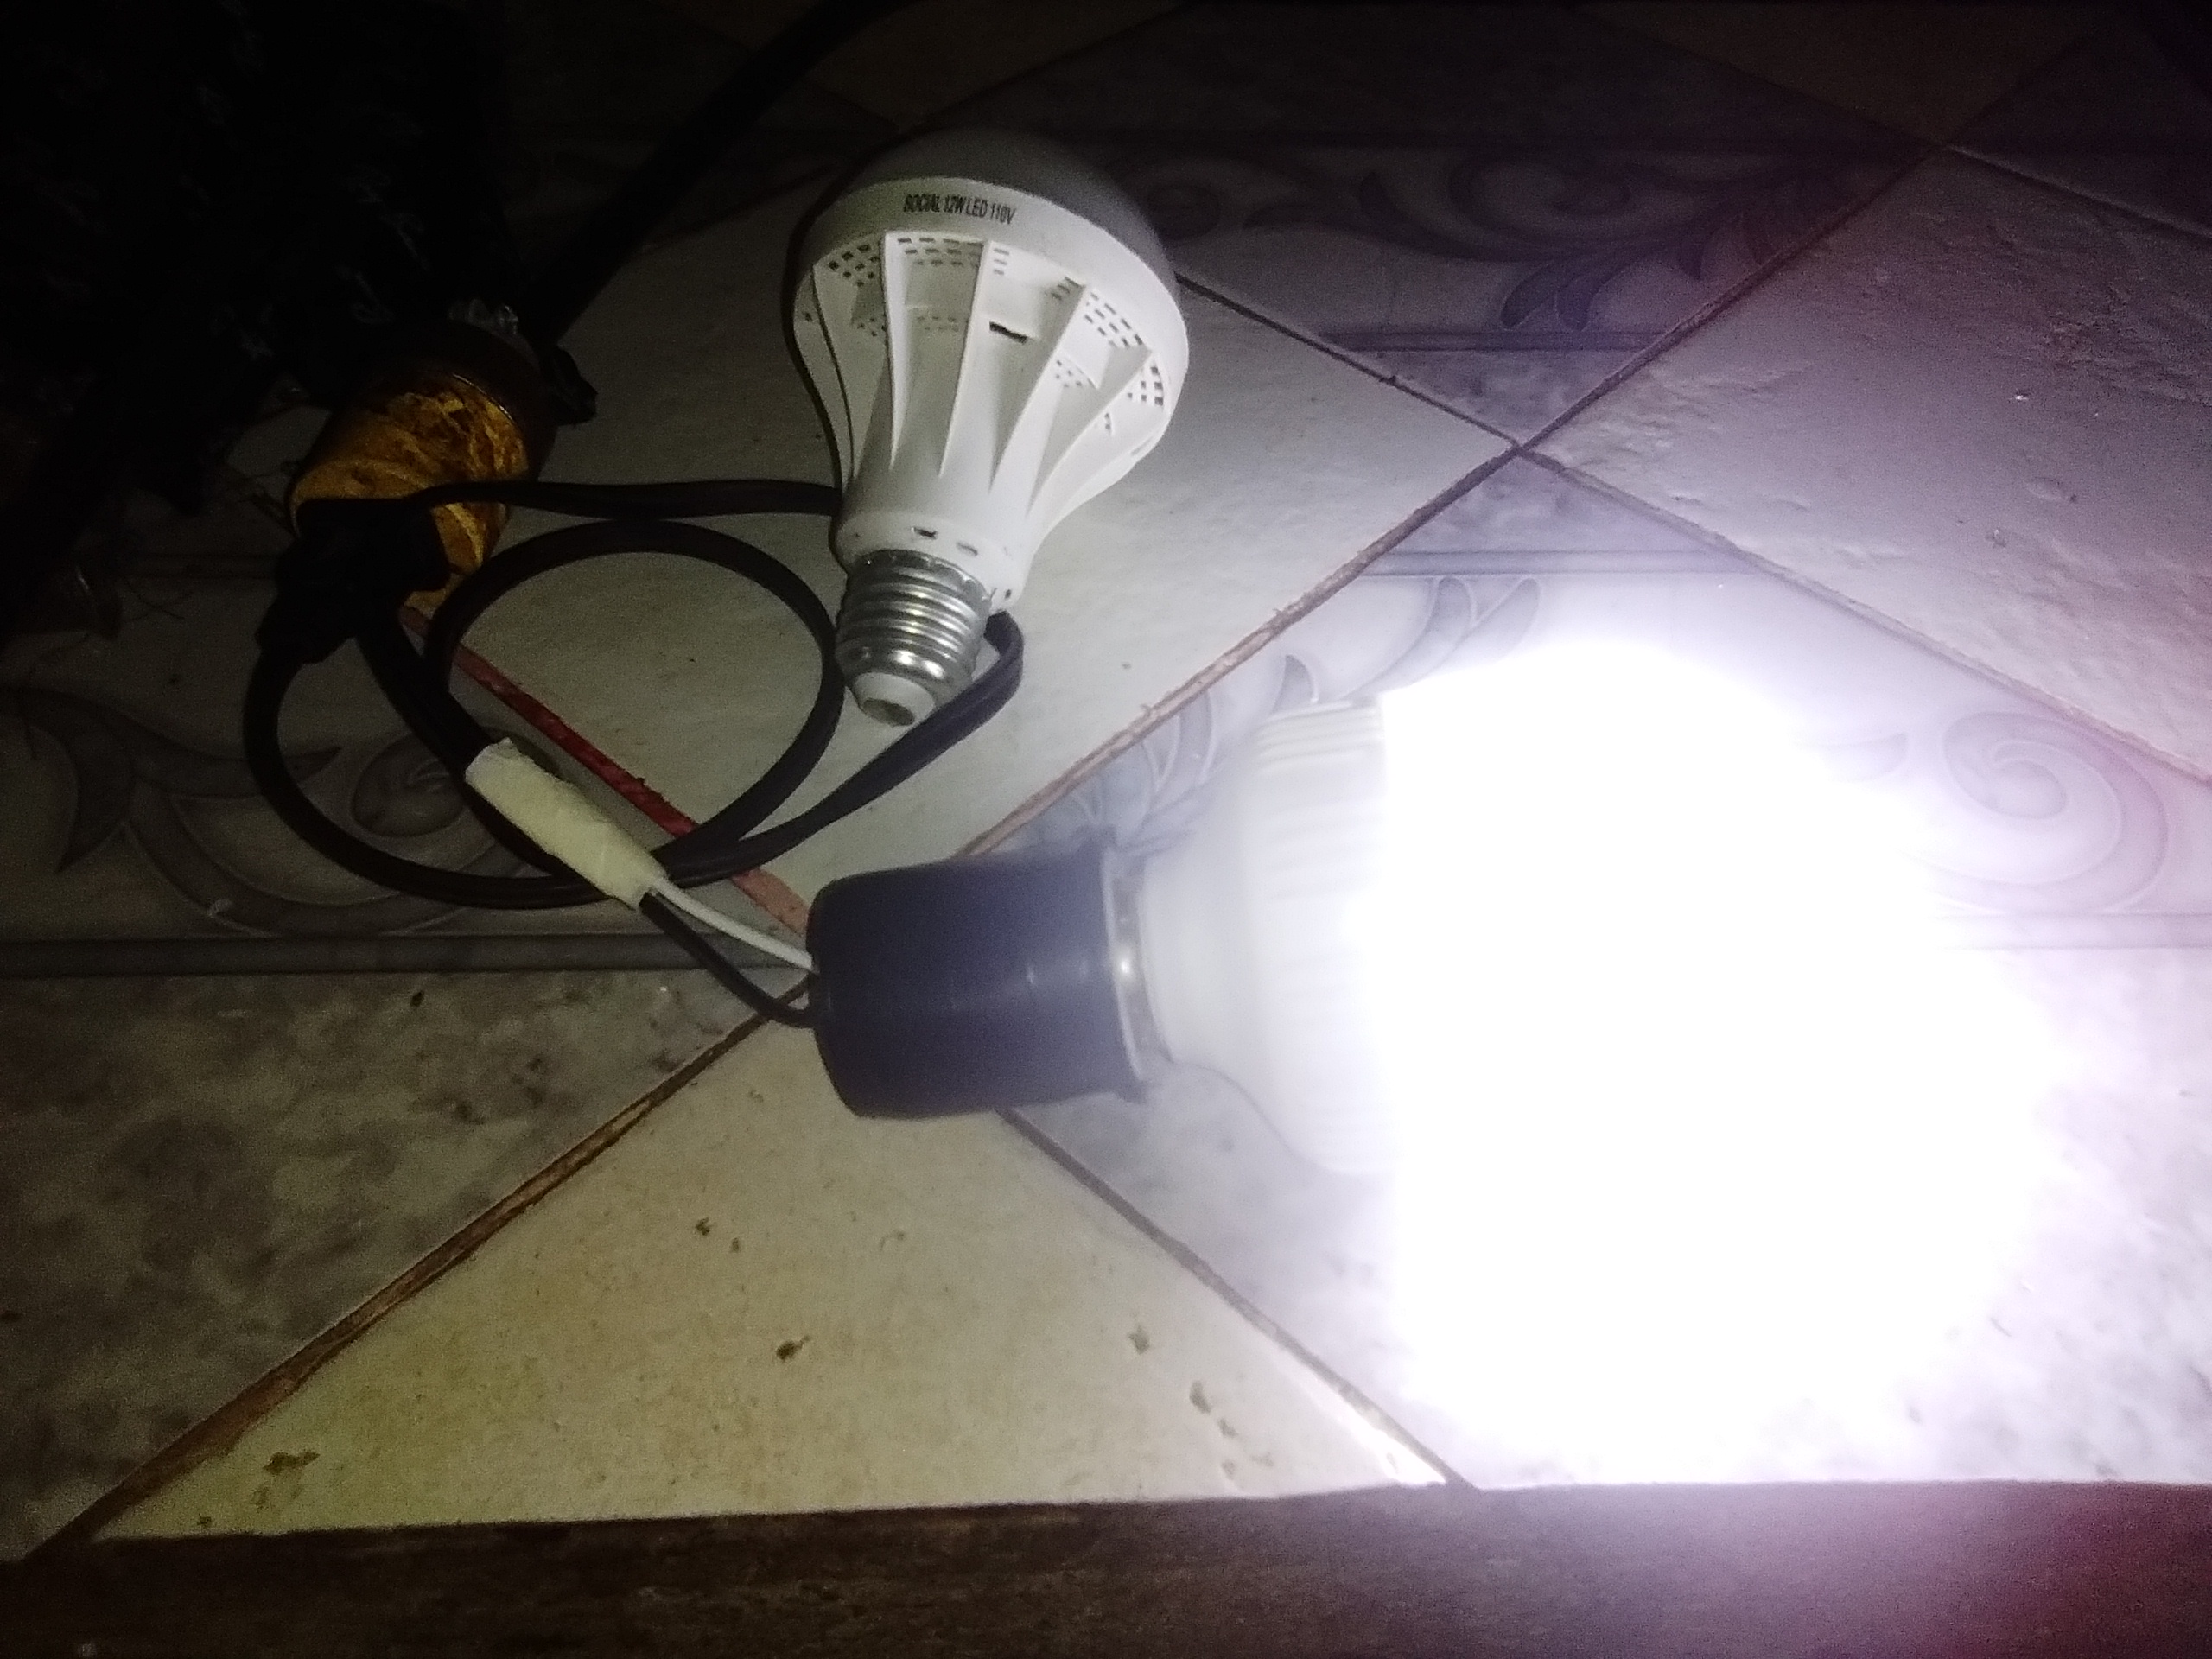
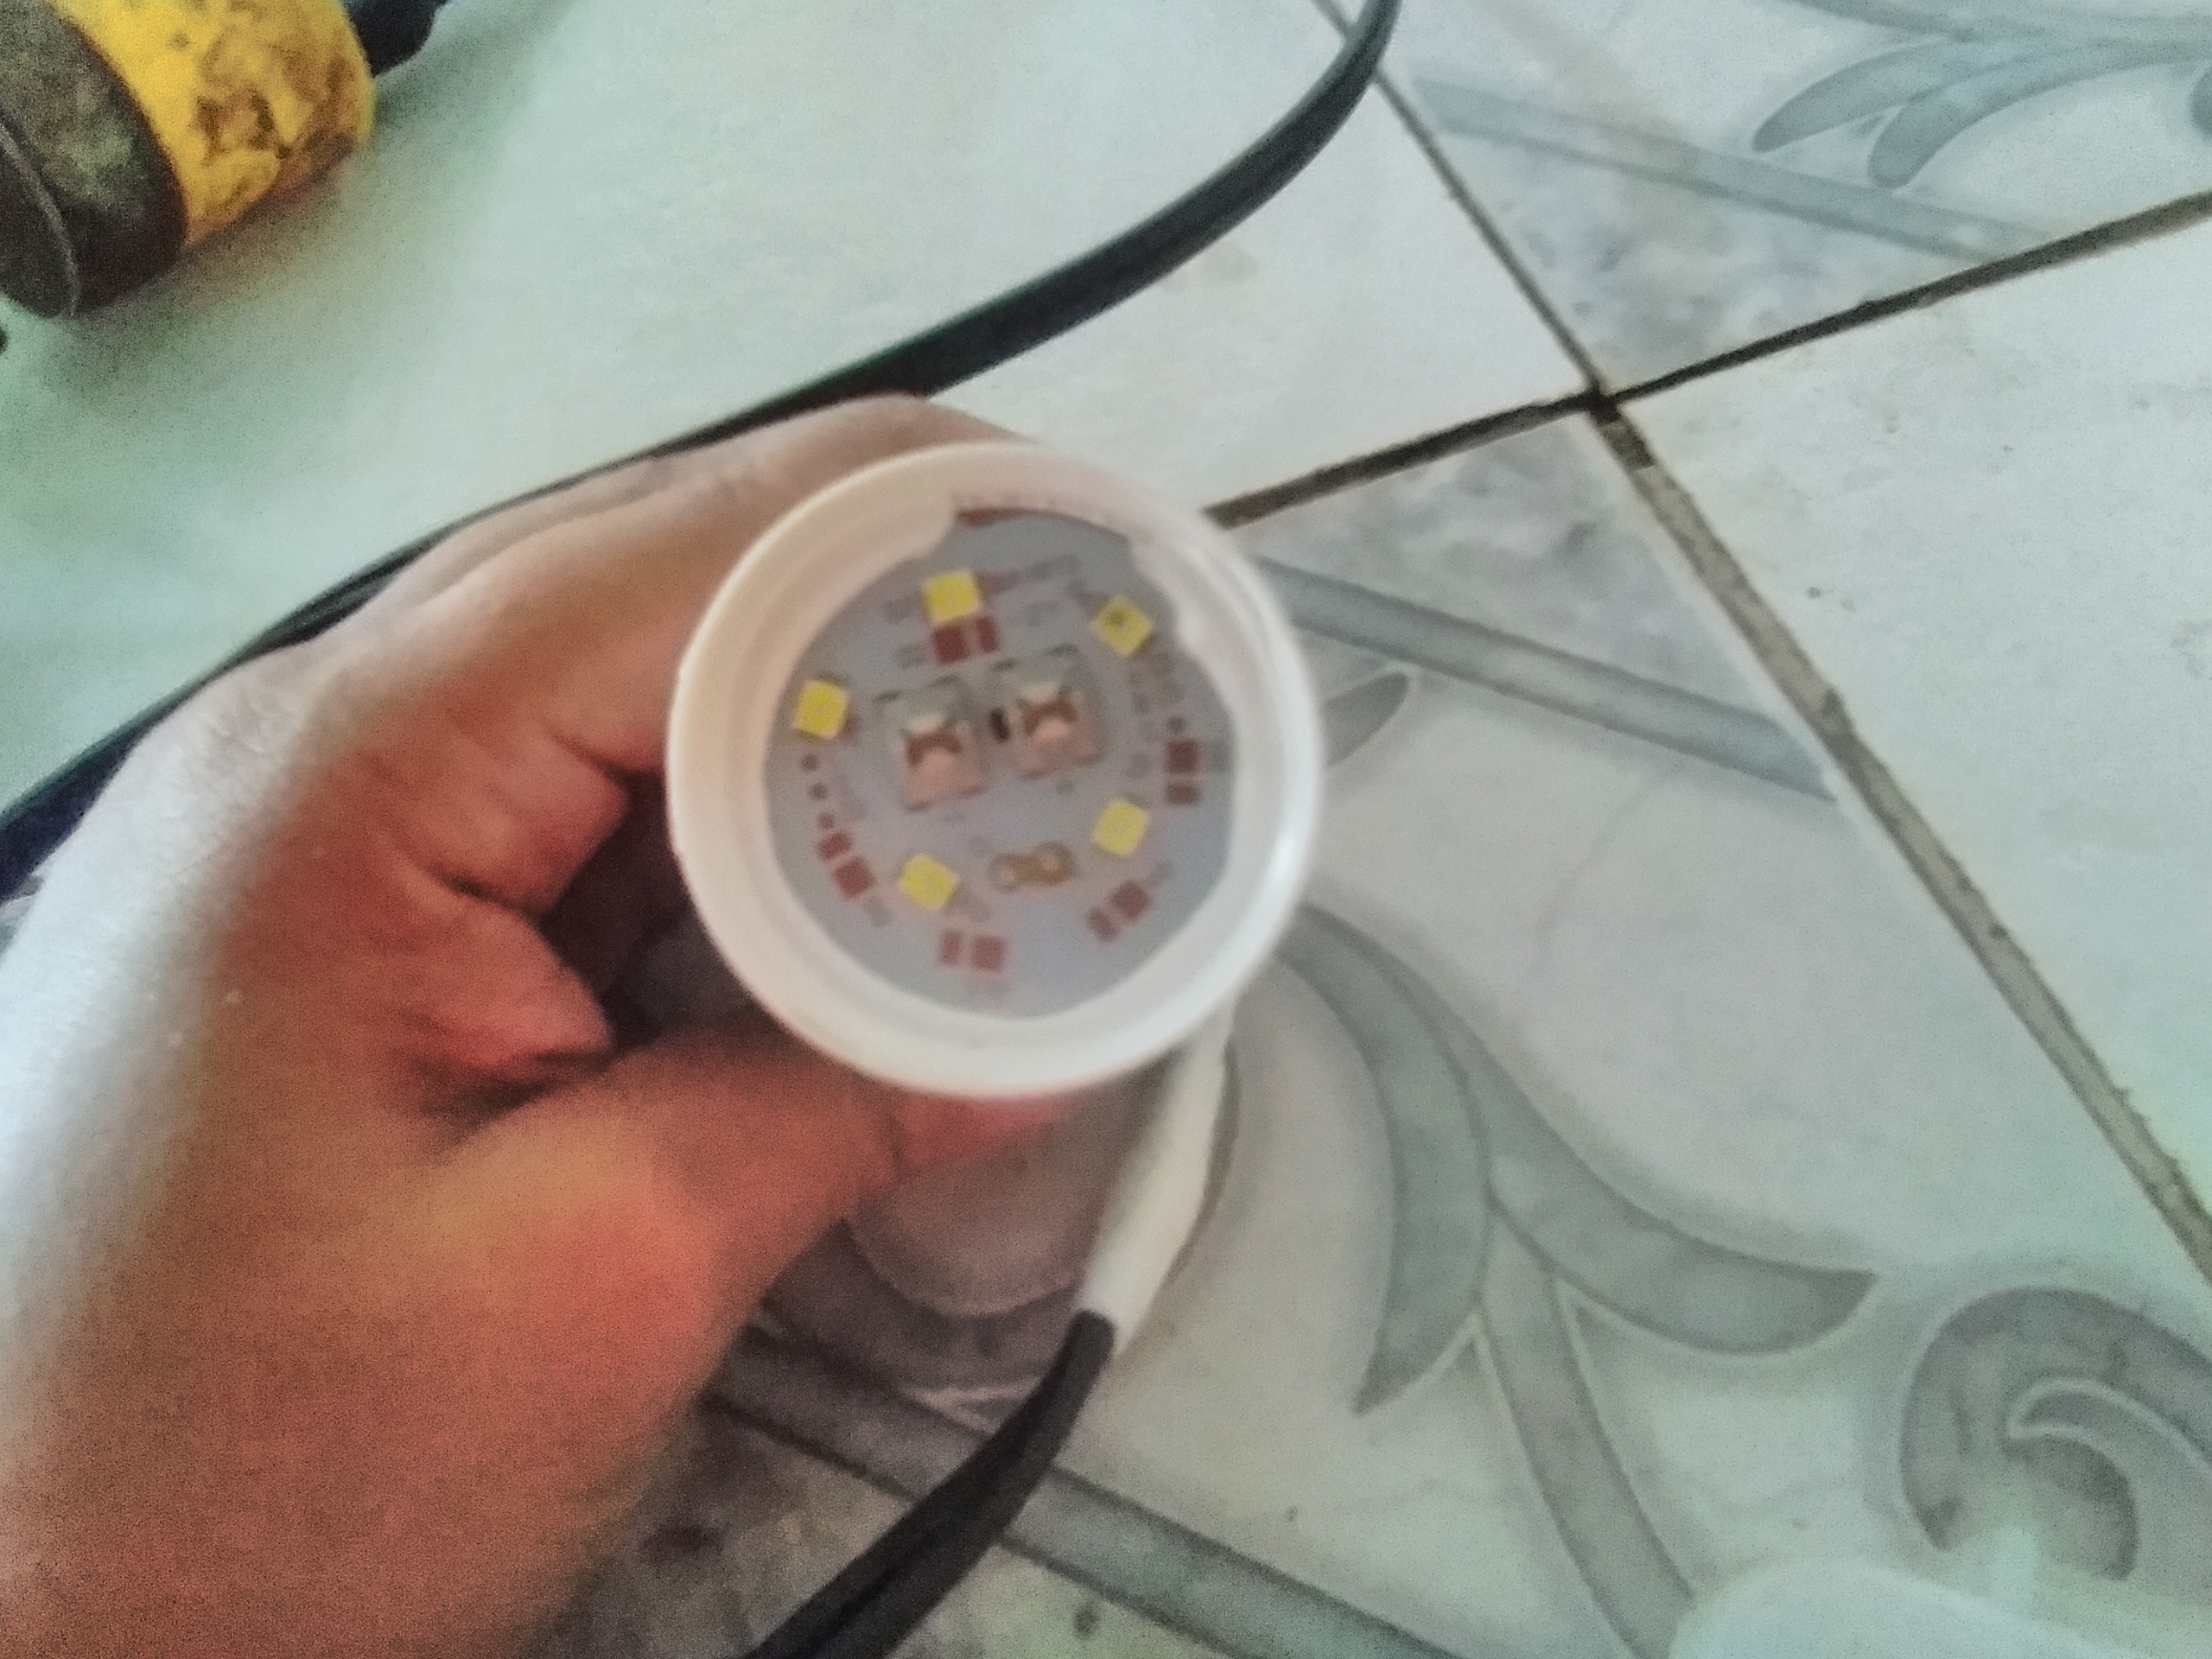
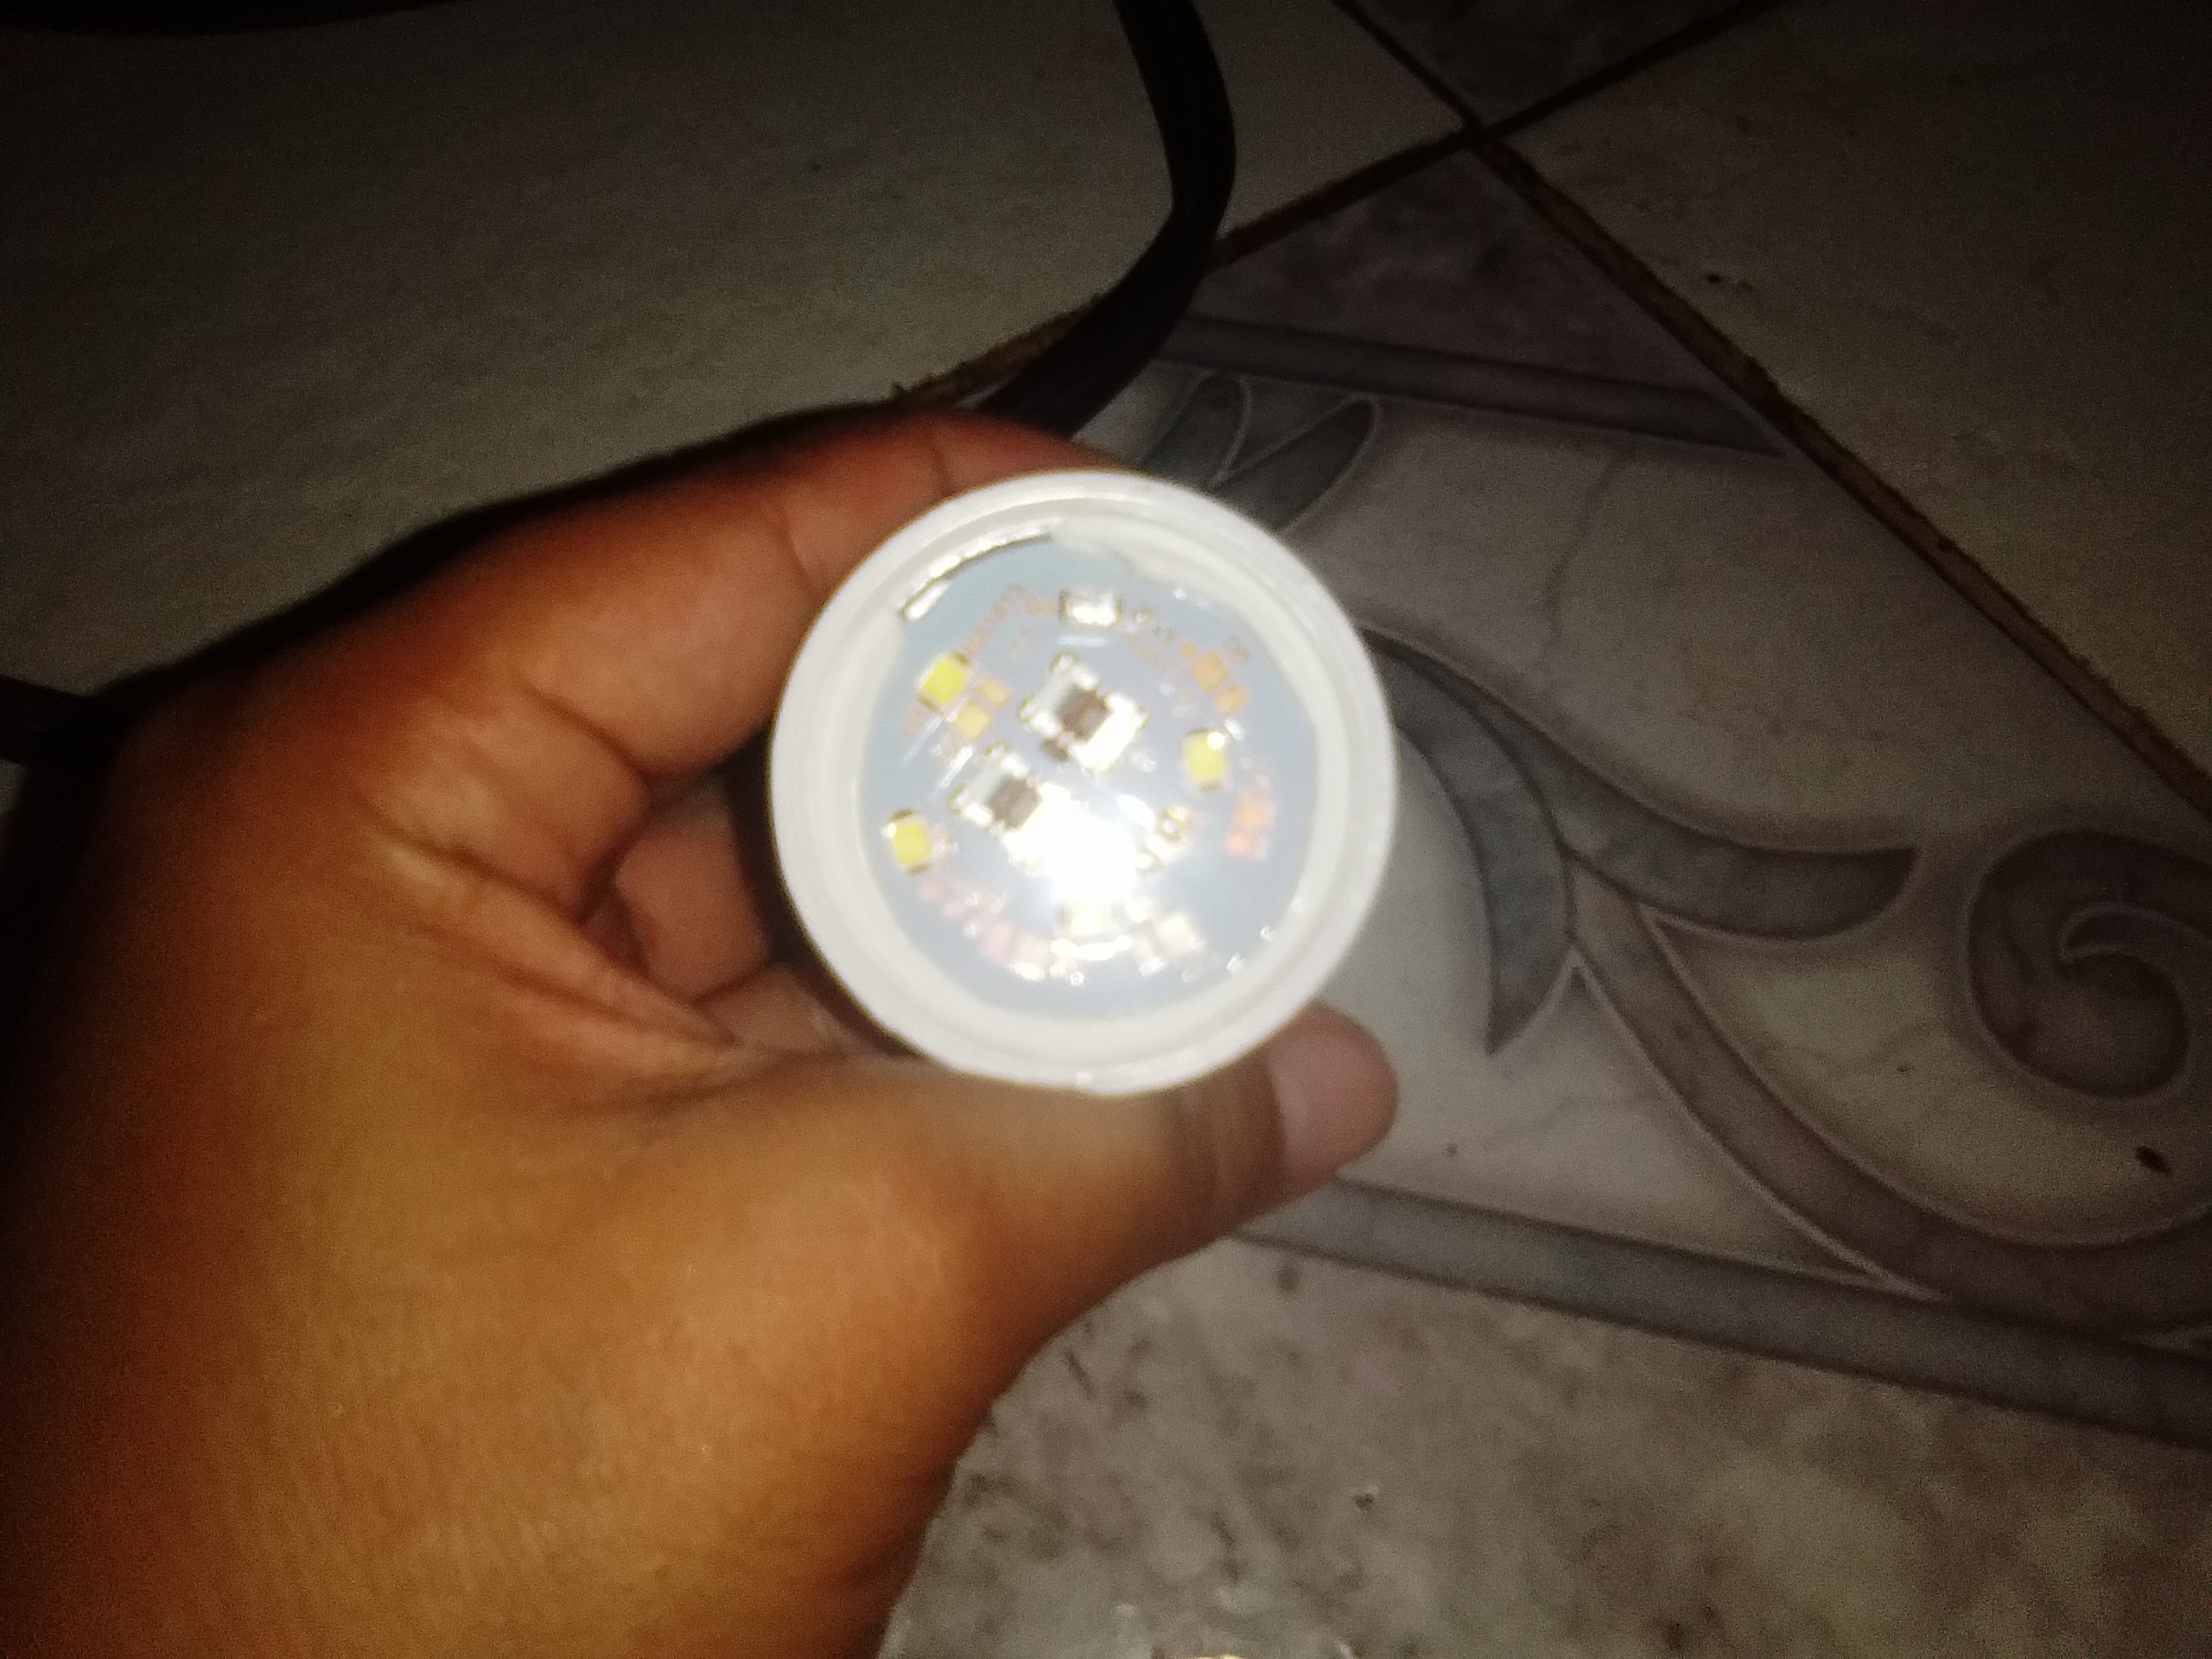
Step 3: Check the light bulbs.
In this step what we must do is to force a little the lower shell to be able to see the led circuit.
Step 4:
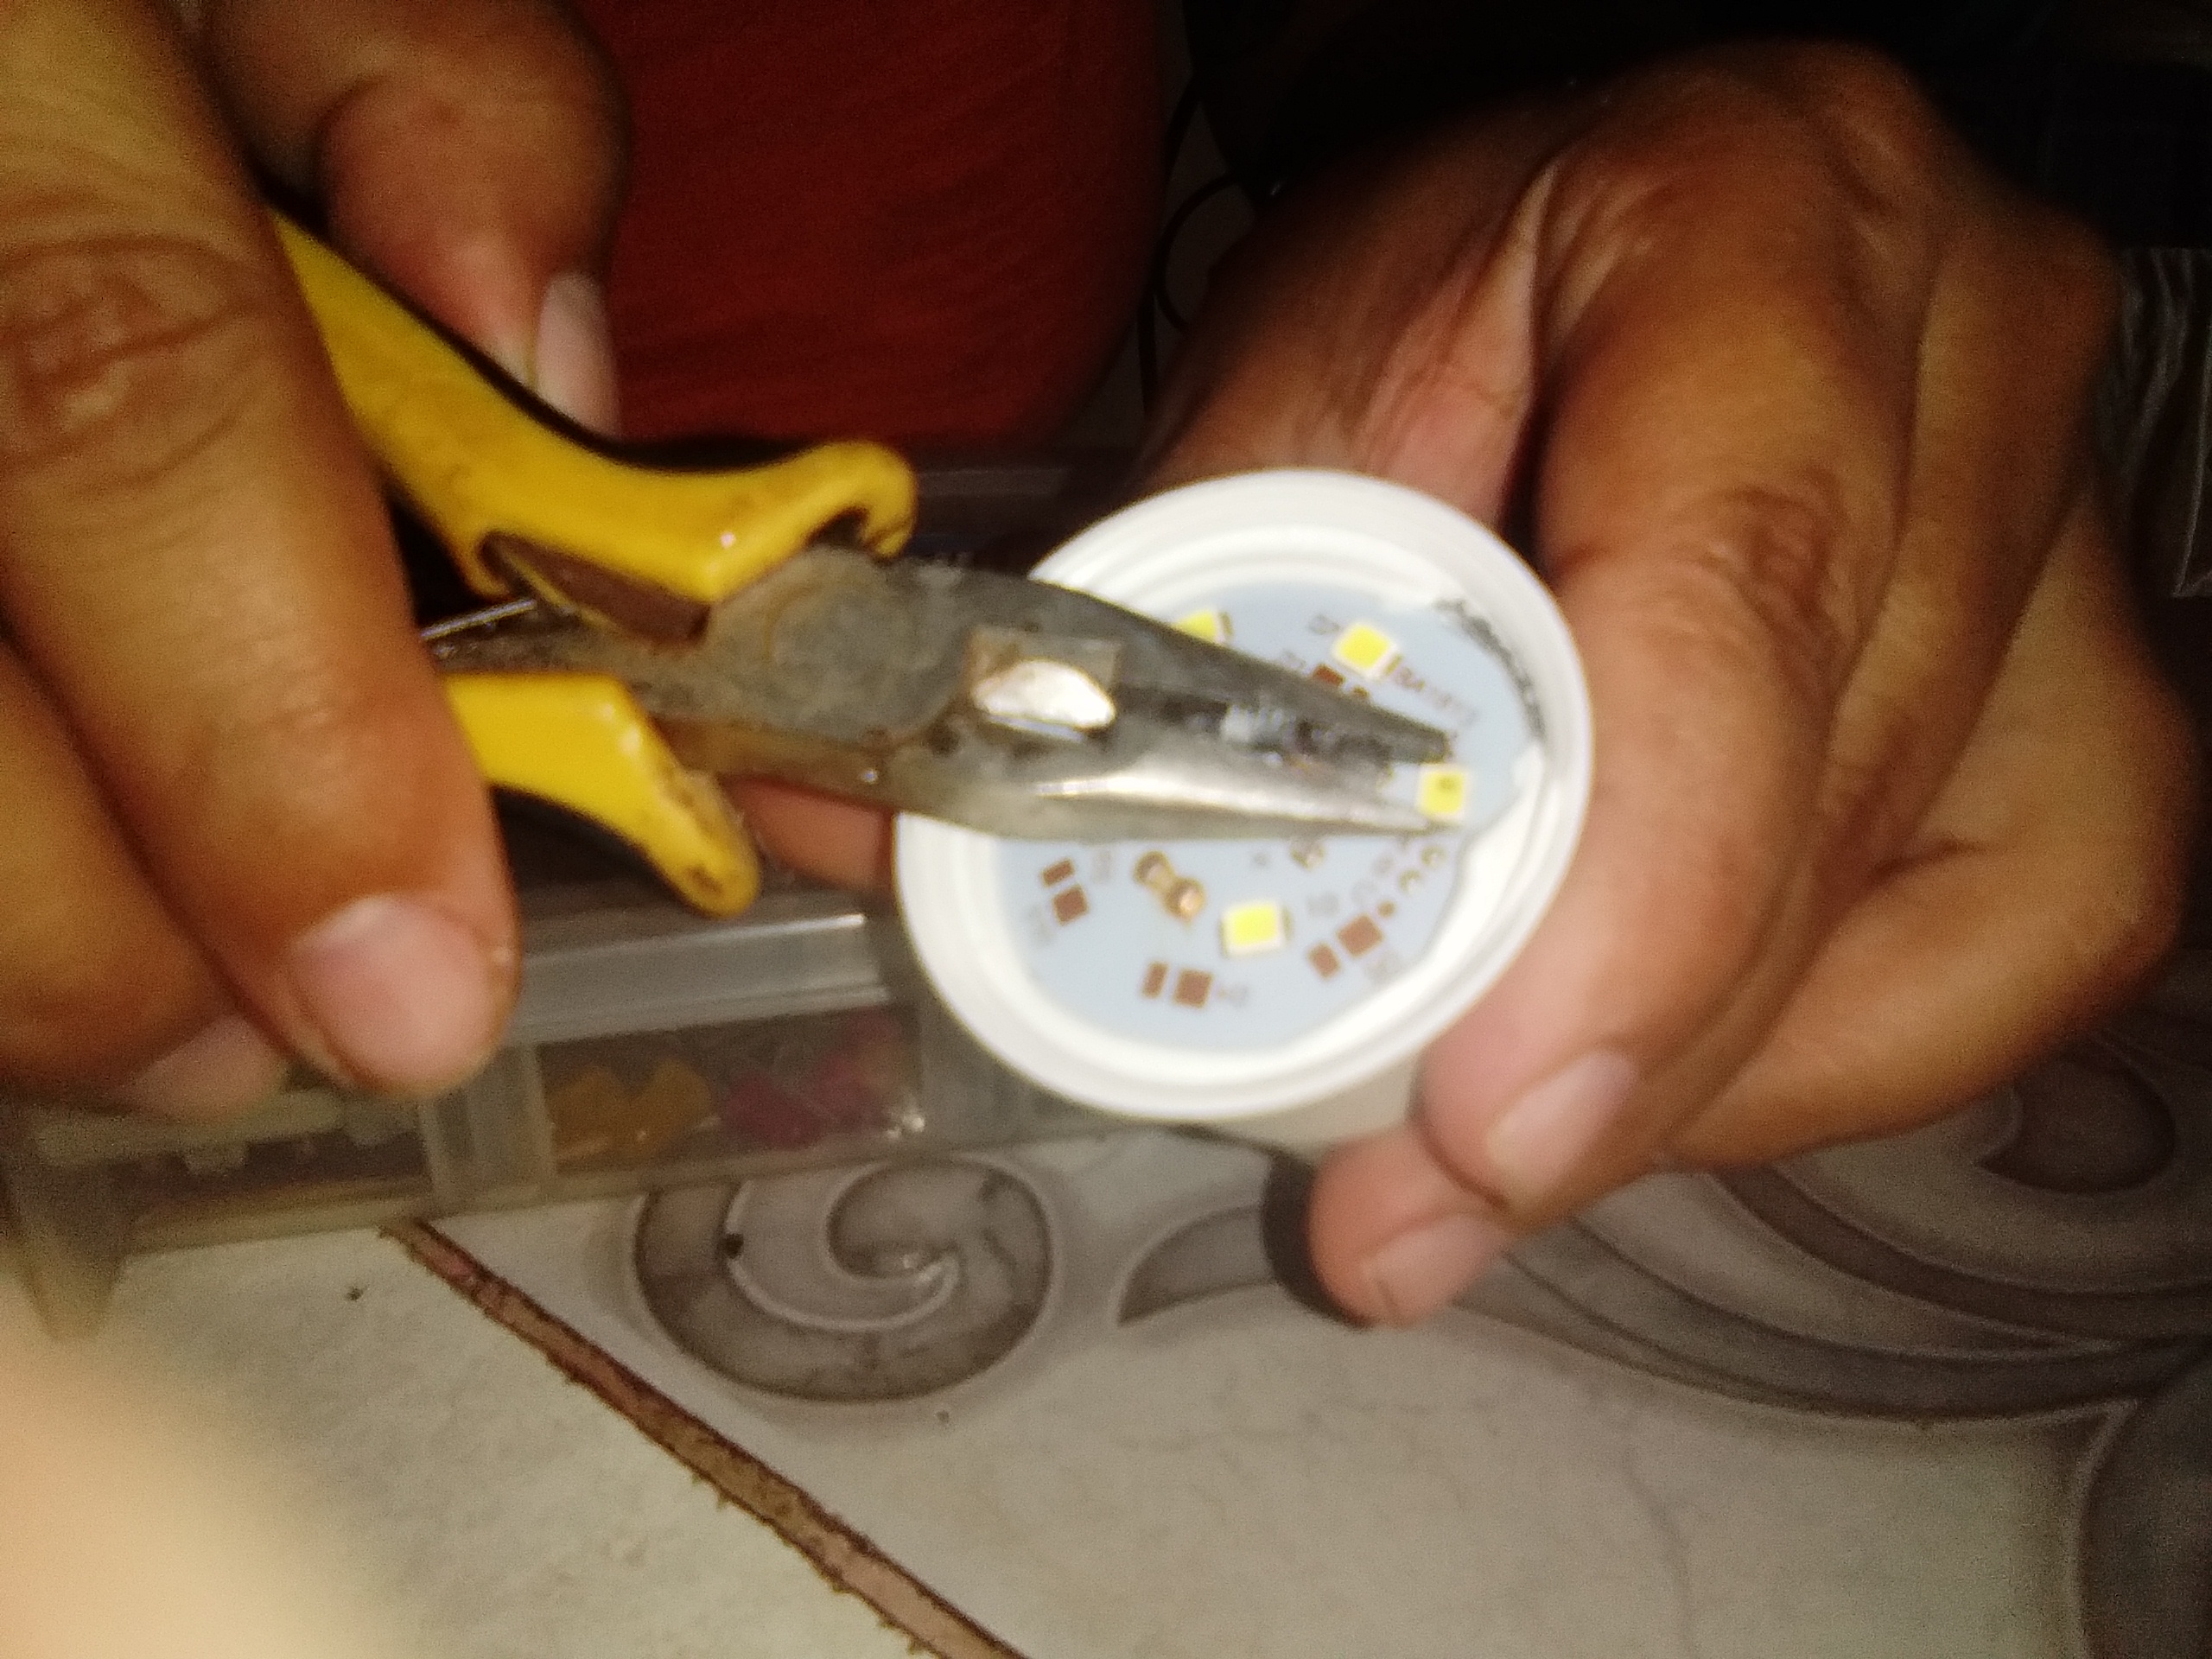
With the jumper we test the leds one by one. We put the tips of the jumper on each side of the led. If the led turns off, then it is good. On the other hand, if we jumper a led, and all the leds light up, it means that we have found the damaged one.

Step 5:
After we find the bad led, what we will do is to remove it with a tweezers leaving only the board in sight. In this we will melt a small amount of tin with the soldering iron.
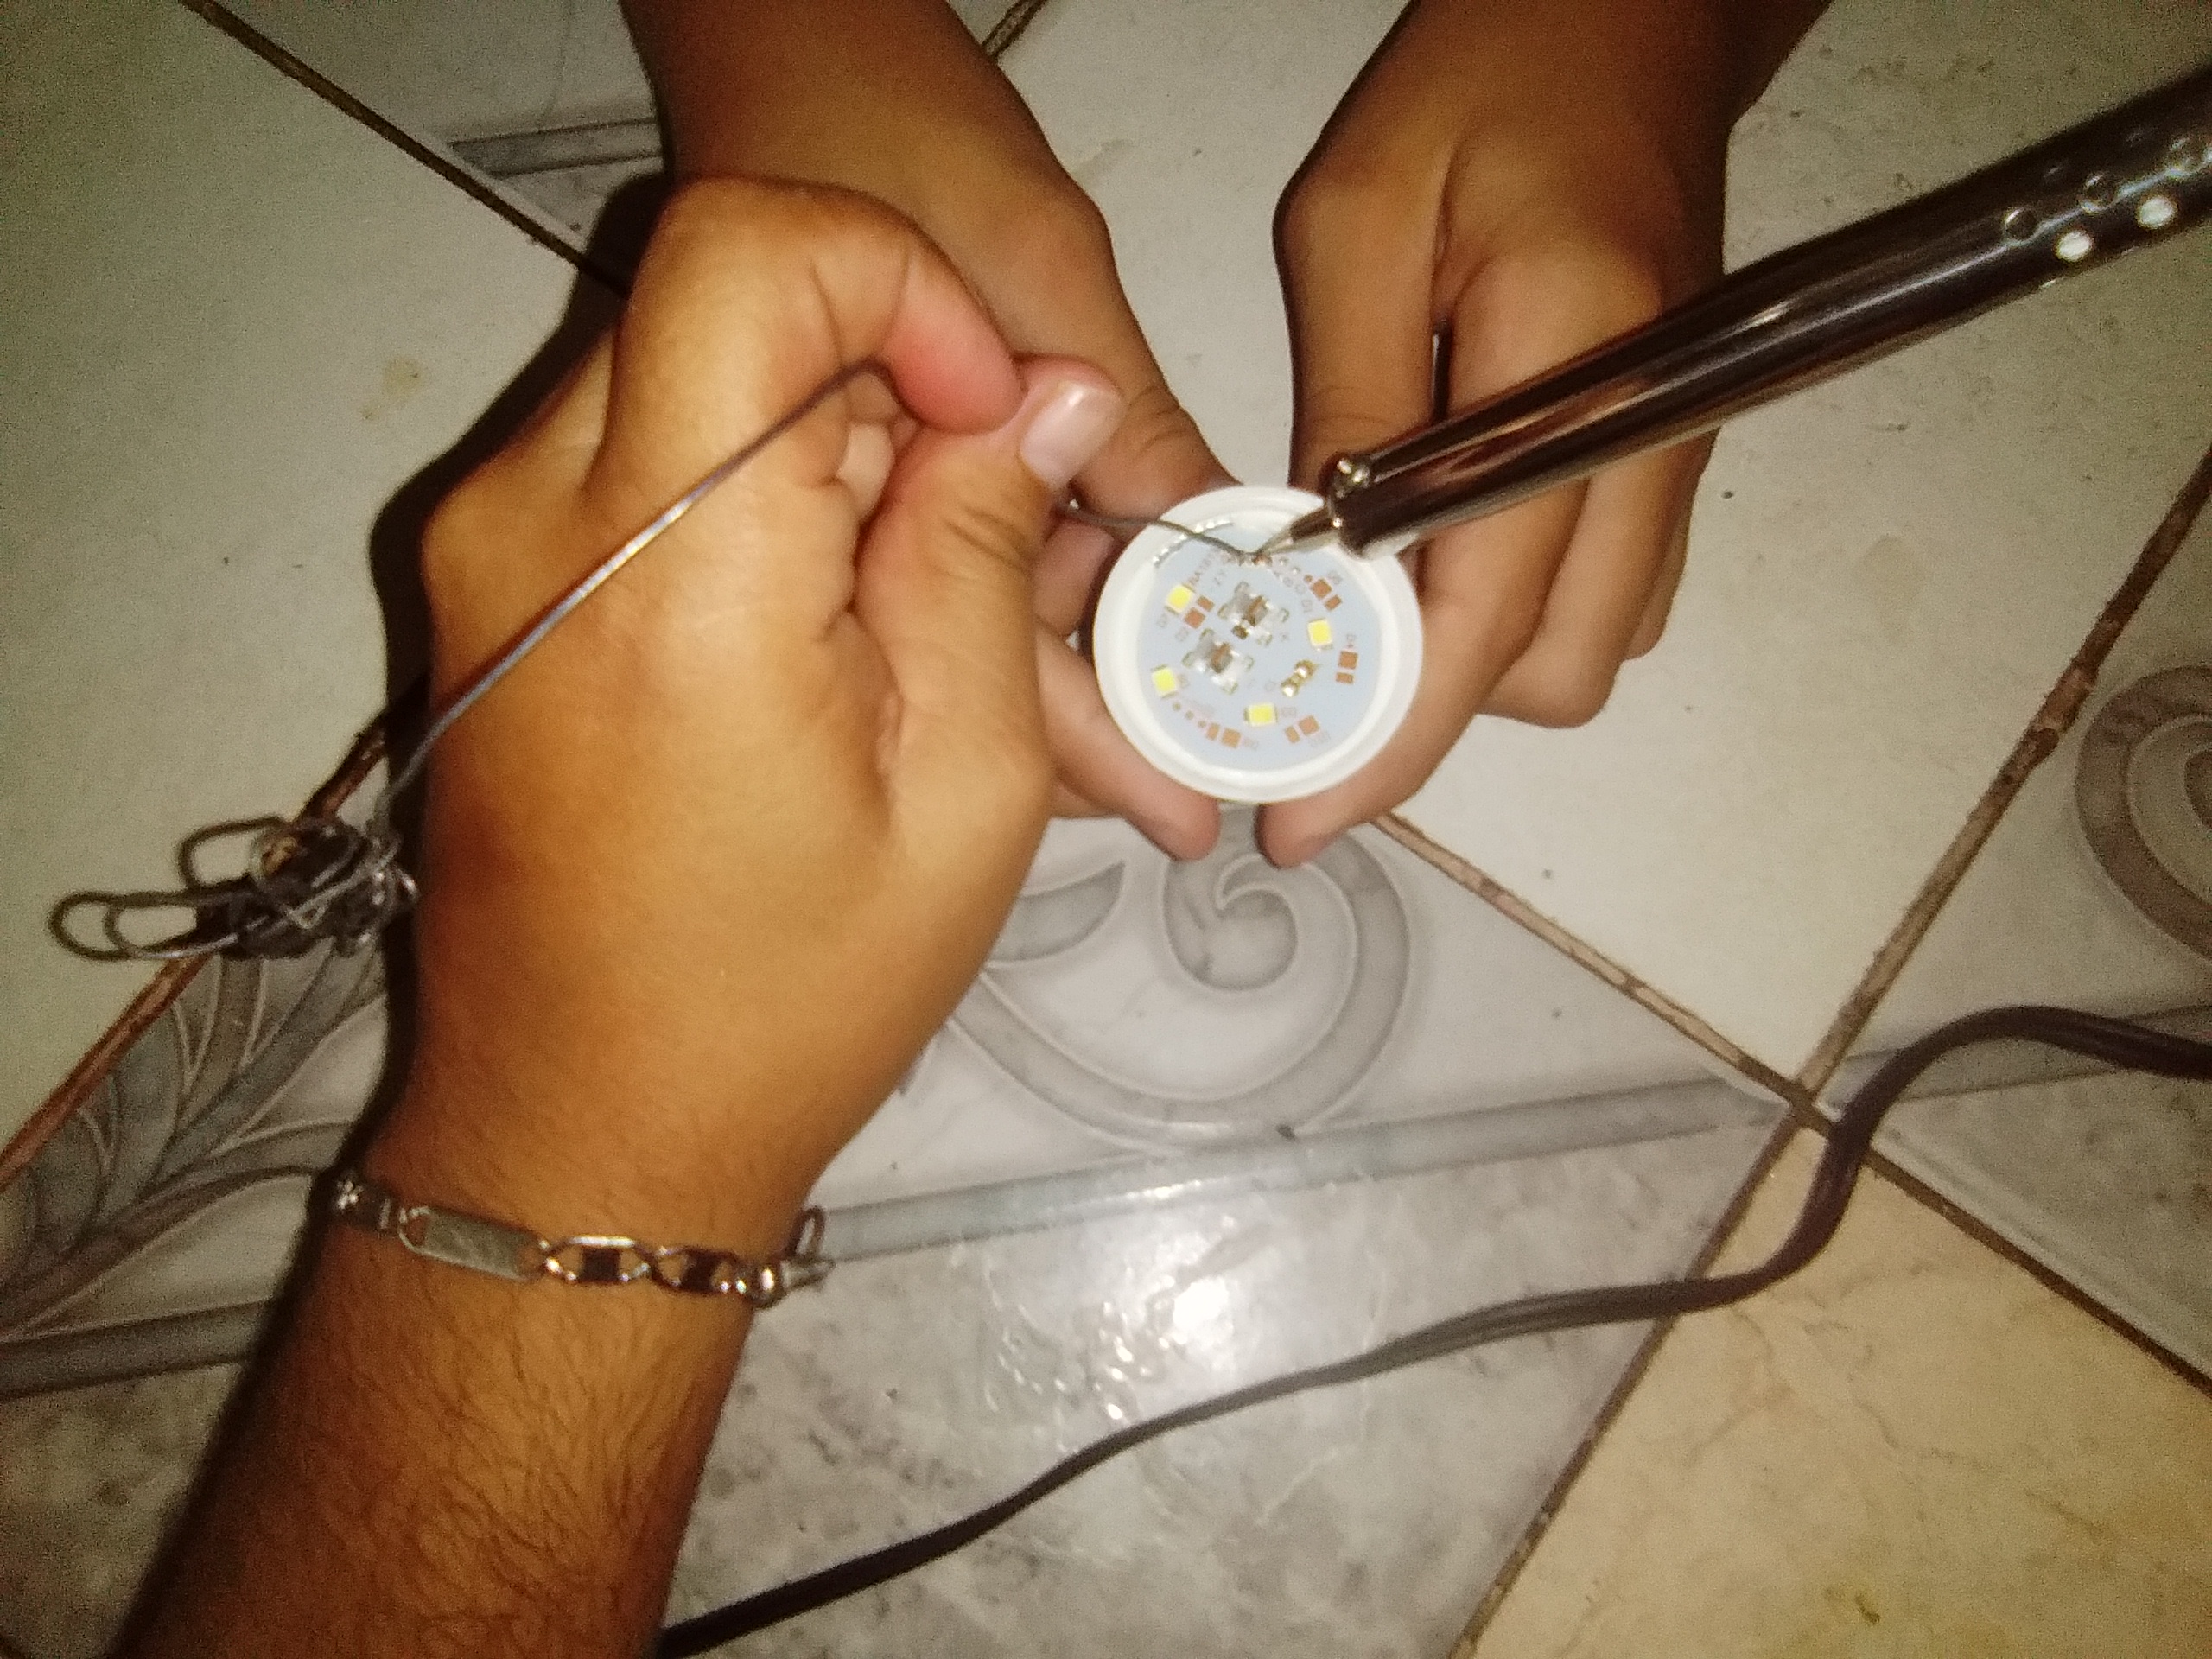
Step 6:
After we solder the tin where the led was previously, we will test again with our light bulb tester and make sure that the other leds light up.
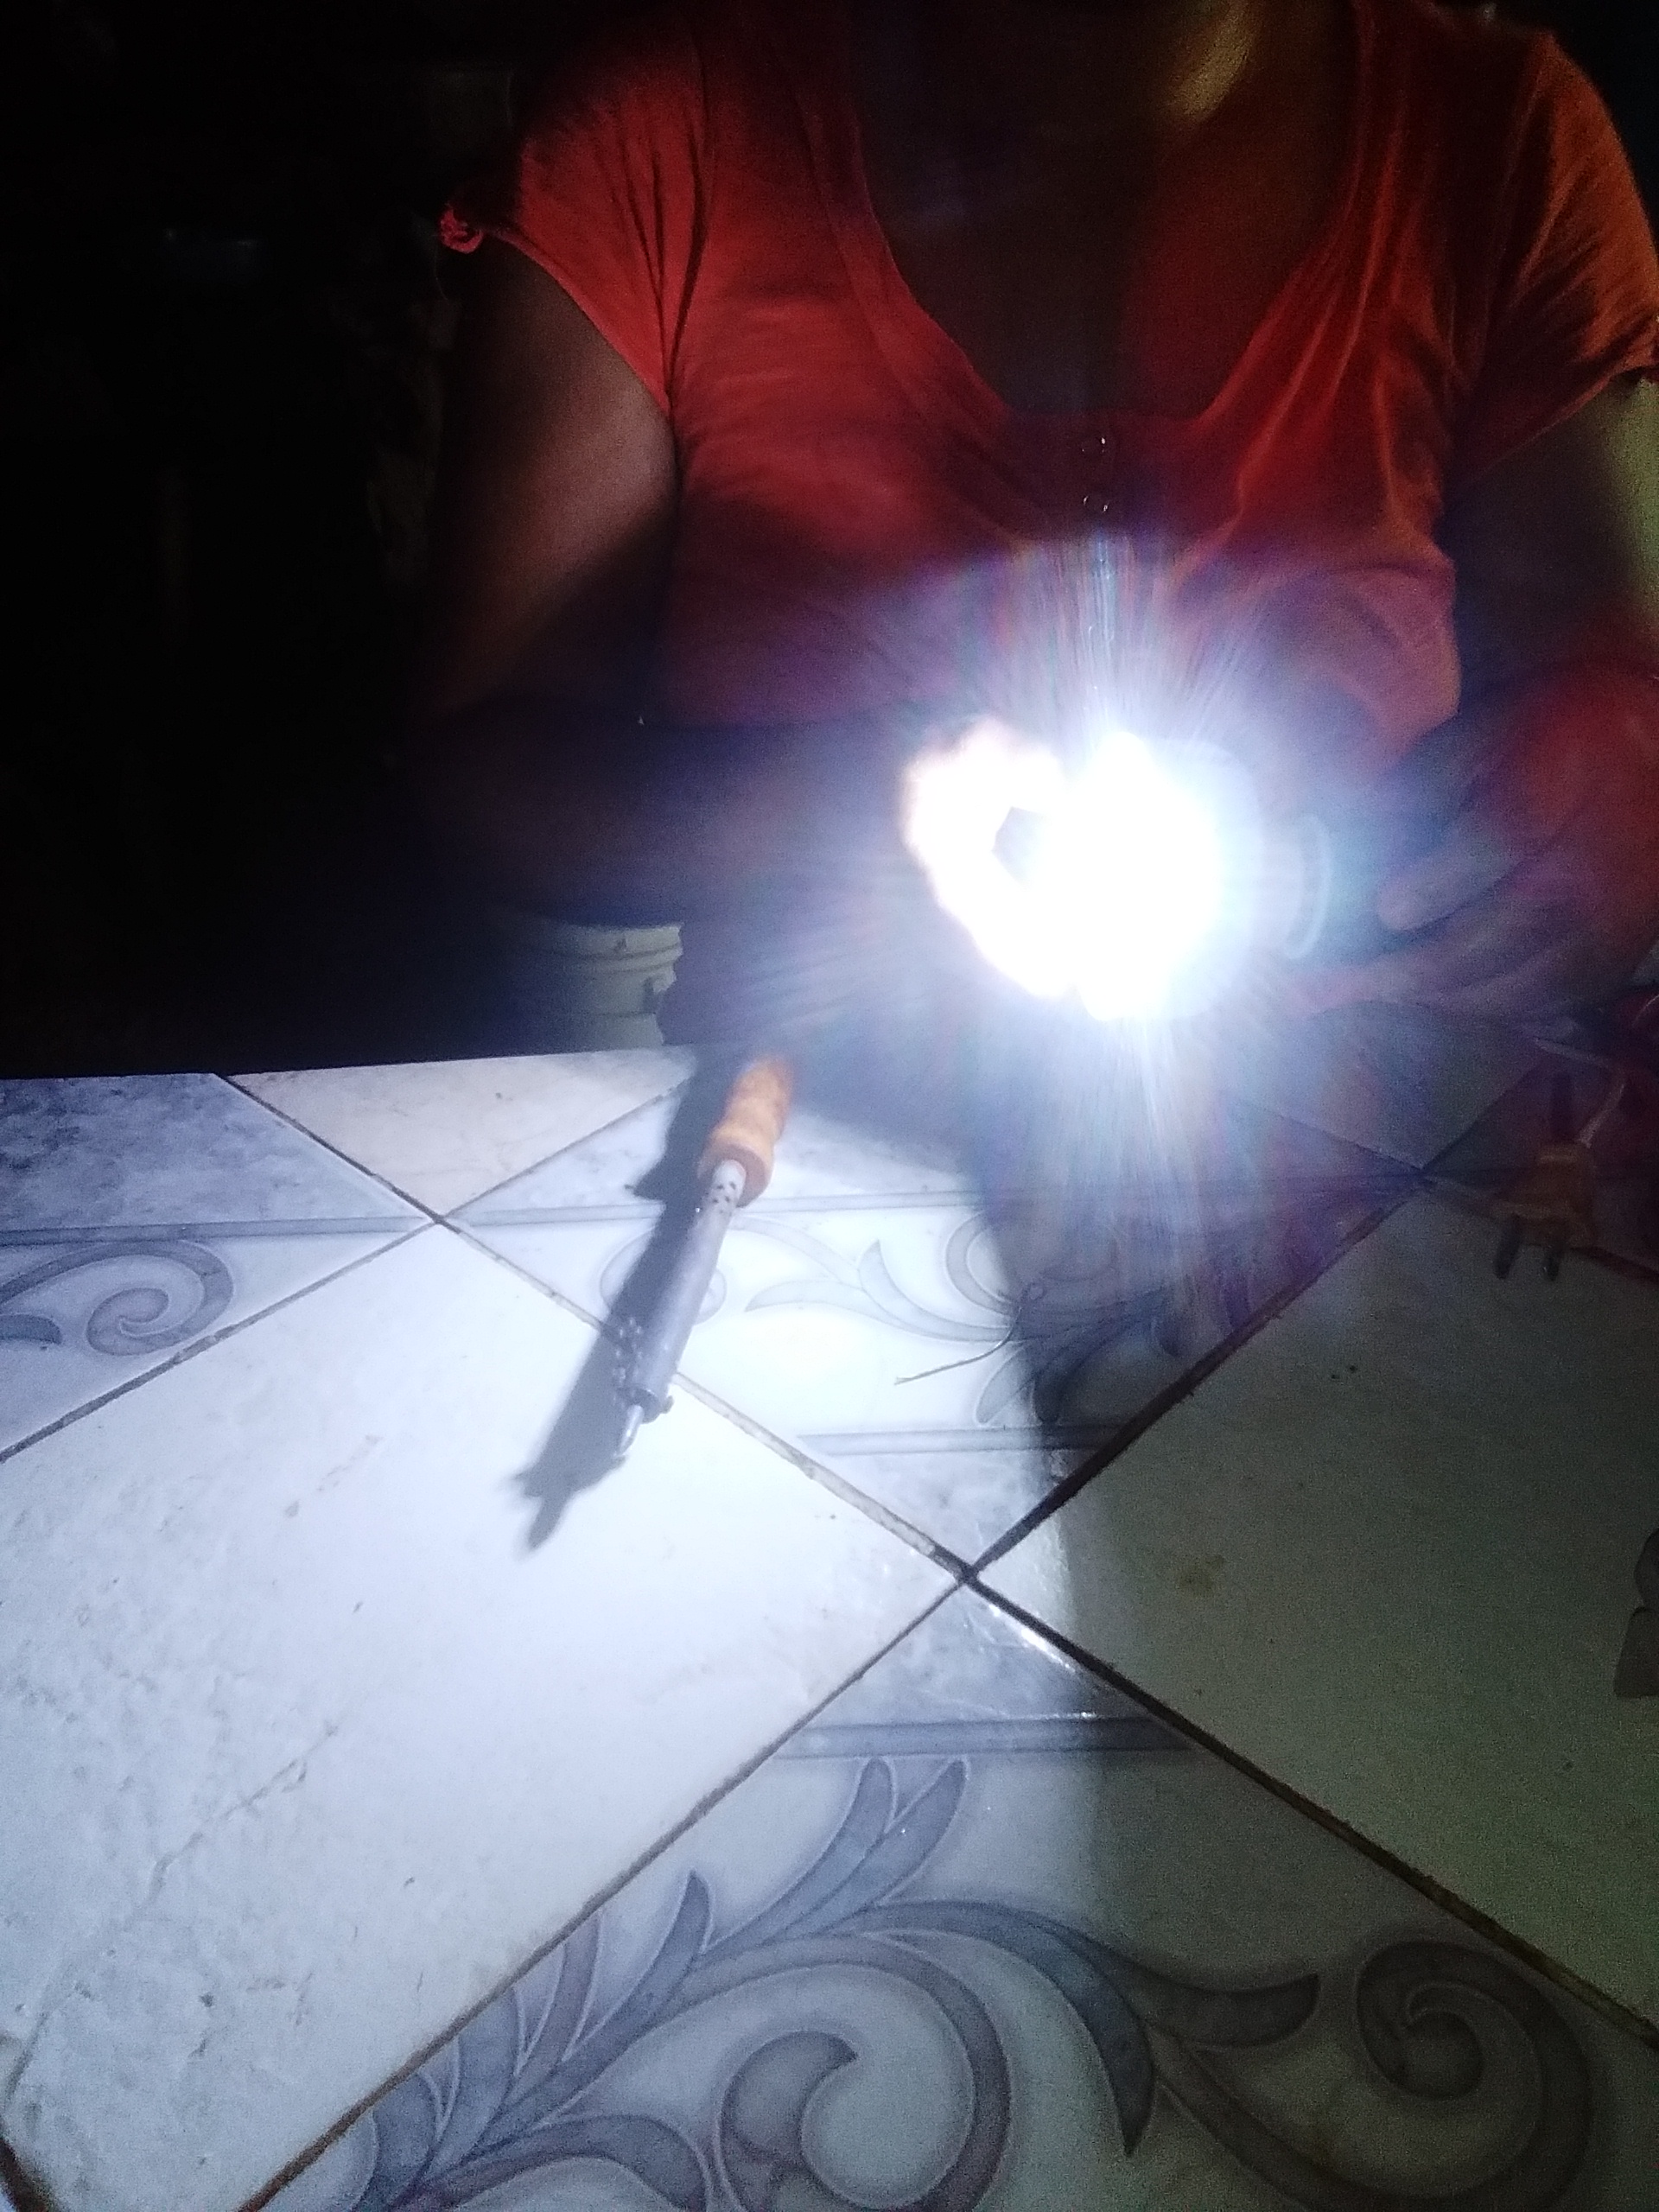
Step 7:
When we see that it works, what we will do is disconnect and put its shell back on.

This one my second try.
In this way we will have our bulb already repaired.
I had to try several, and I was able to repair at least two. I put one in my room, and the other will serve for a project I have in mind.
Shorting a broken LED is a good way to bring life back into a light bulb. It also means you put more stress on the remaining leds,so the next one will broke soon. Instead of shorting the bad led you should put a resistor in its place.
Yes, you're totally right. I didn't have a resistor in that moment, though. I was working with things I had, but I know I should buy some resistors. Thanks for the advice. 😊
This is a must thing to learn as bulbs getting wasted is a common problem for almost every places.
Yes, it is. And also, here, led bulbs are some kind of expensive, so repair them is pretty cool.