
Greetings!!!
Hello to everyone and welcome to my blog. Fixing things by myself is something I love doing. I’m sure it has to do with the way I was brought up. My dad would always try to fix broken things in our house by himself before trying to call for someone to help him out. I guess I took after him. We had just reported back to school for our last semester and noticed our switch board wasn’t functioning anymore. Initially my roommate wanted to call an electrician but I told him if I had the proper tools I would be able to fix it.
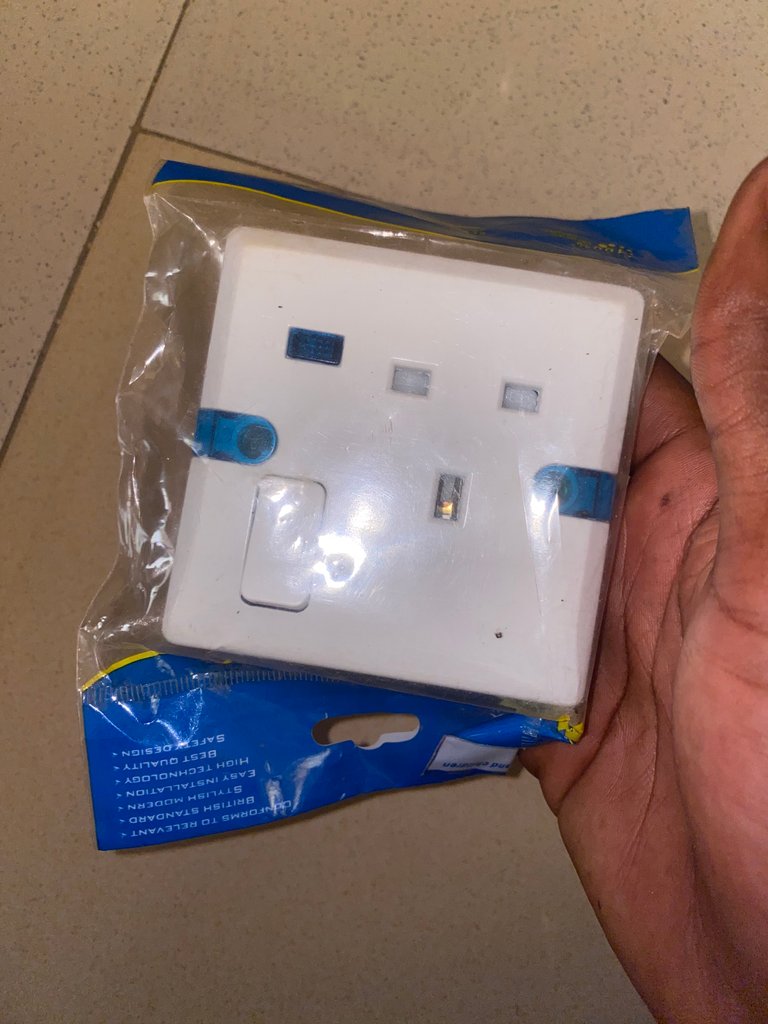

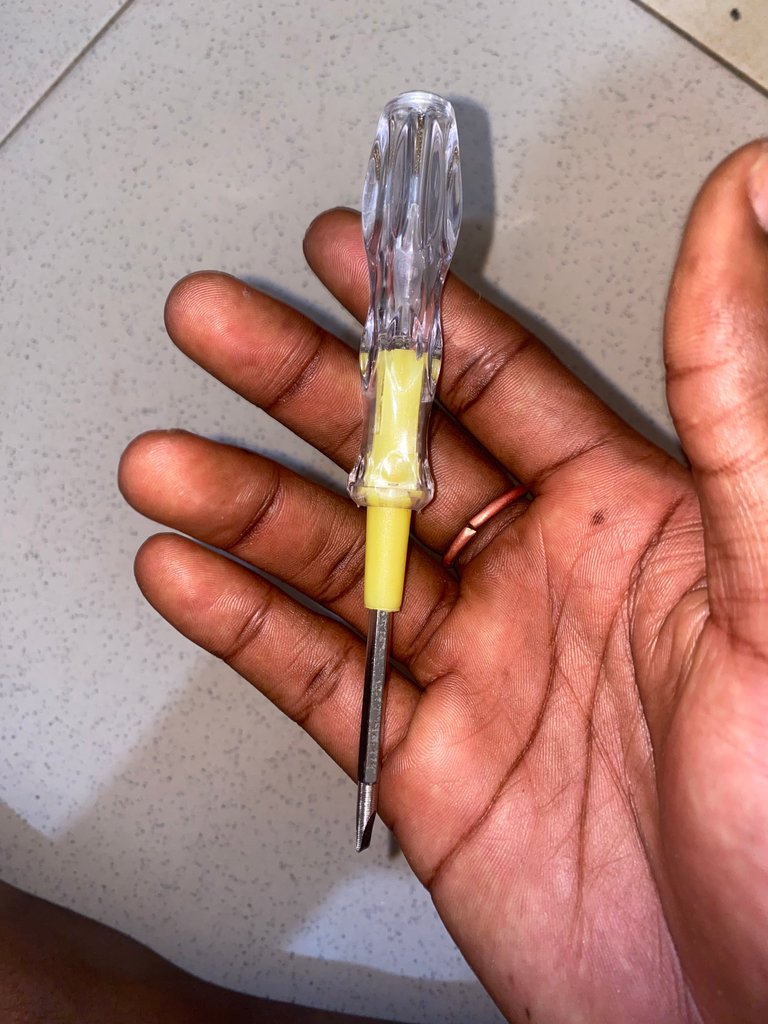
Fixing it ourselves will save us a reasonable amount of money we would have paid to the electrician. So we went to an electrical shop and bought a brand new switch board and a tester pen. They all cost less than $7. Below are the steps I took in replacing the old and worn out switch board.
Step 1
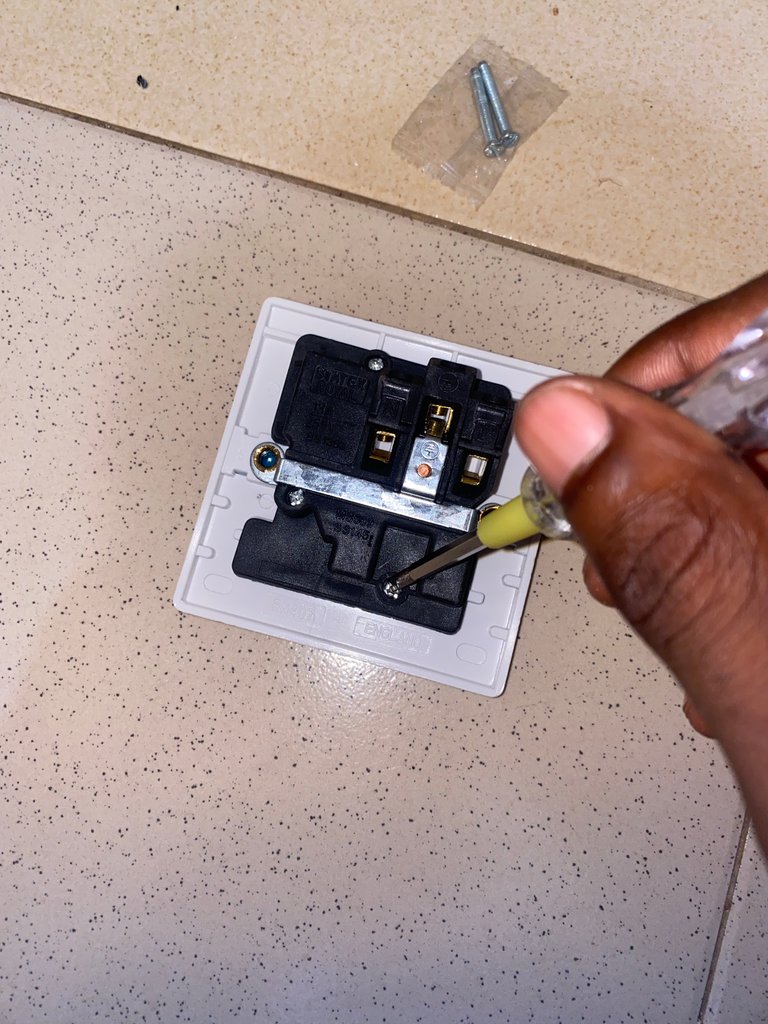
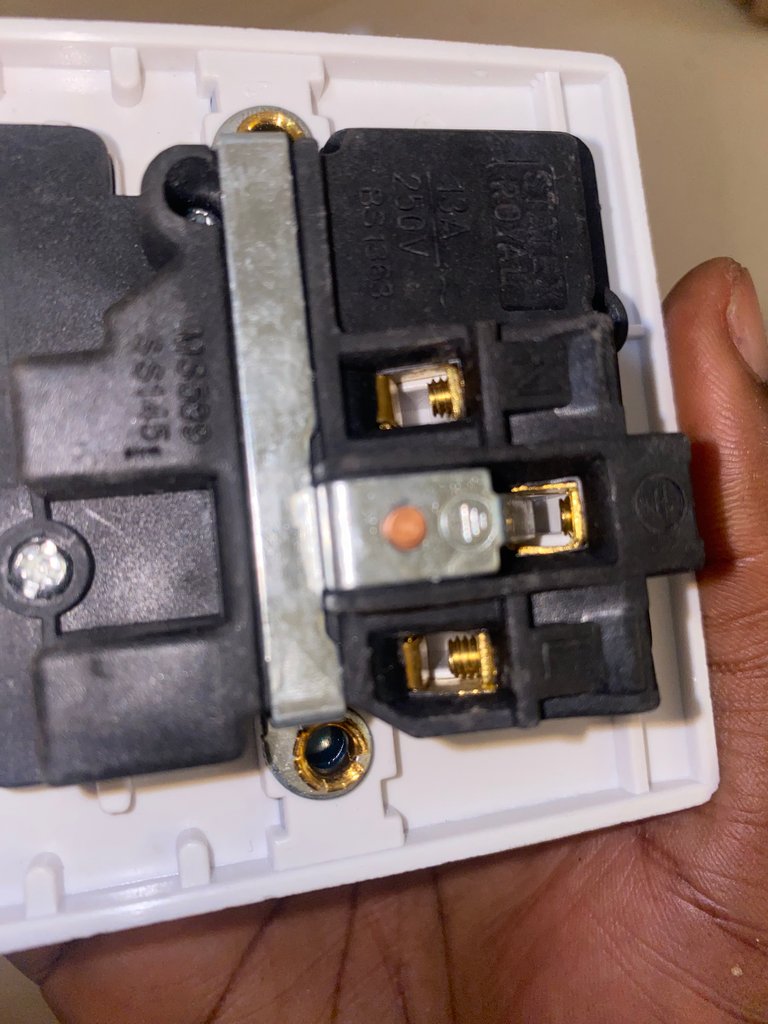
For the first step, take out the switch board from the rubber and check if all the three pins together with the nuts are there. If they aren’t, then you need to return the switch board and request for a refund or change another one.
Step 2
Now after confirming that all the nuts and three pins are intact, use your tester to loosen them a bit. This creates space for the wires to be able to enter. FYI. You will not completely loosen the nut, but just a little.
Step 3
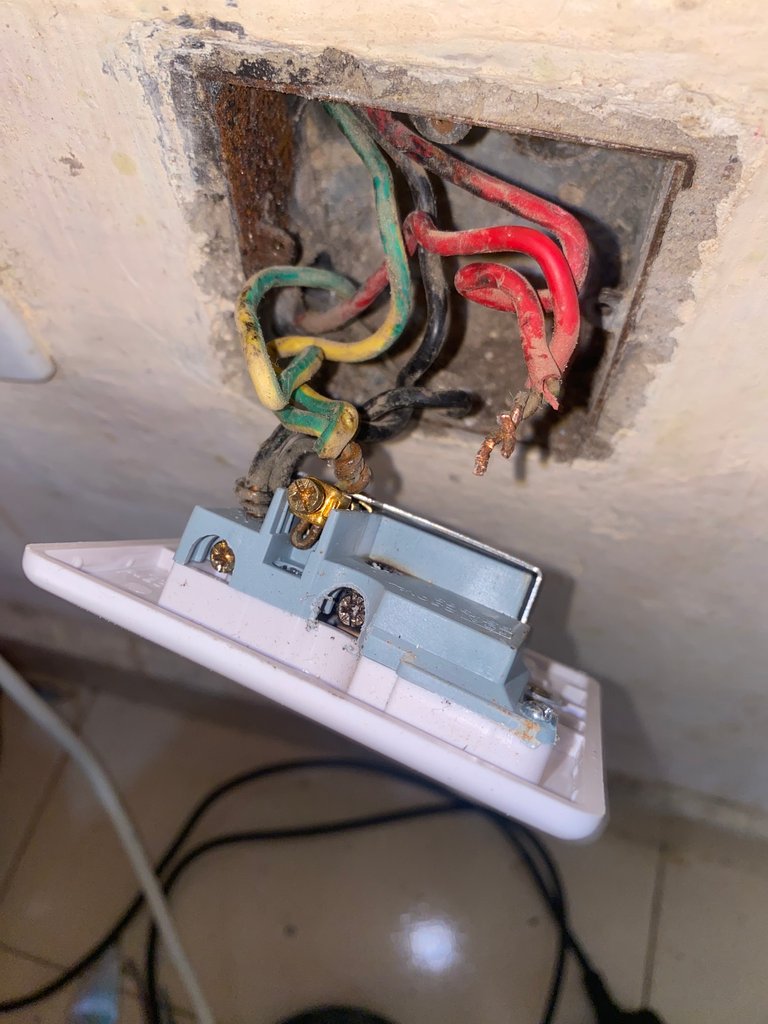
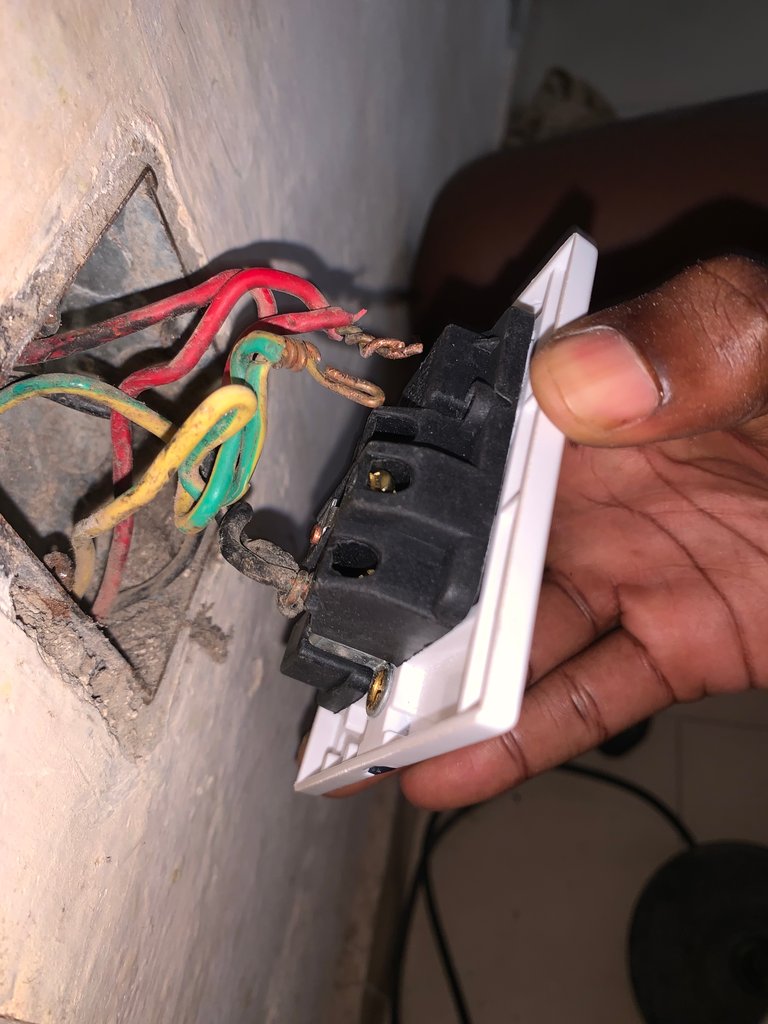
Remove the faulty switch board by using your tester to loosen the nuts and freeing the wires. The are three wires, red, green and black. The green one goes on top, the red and back goes to the side ways.
Step 4
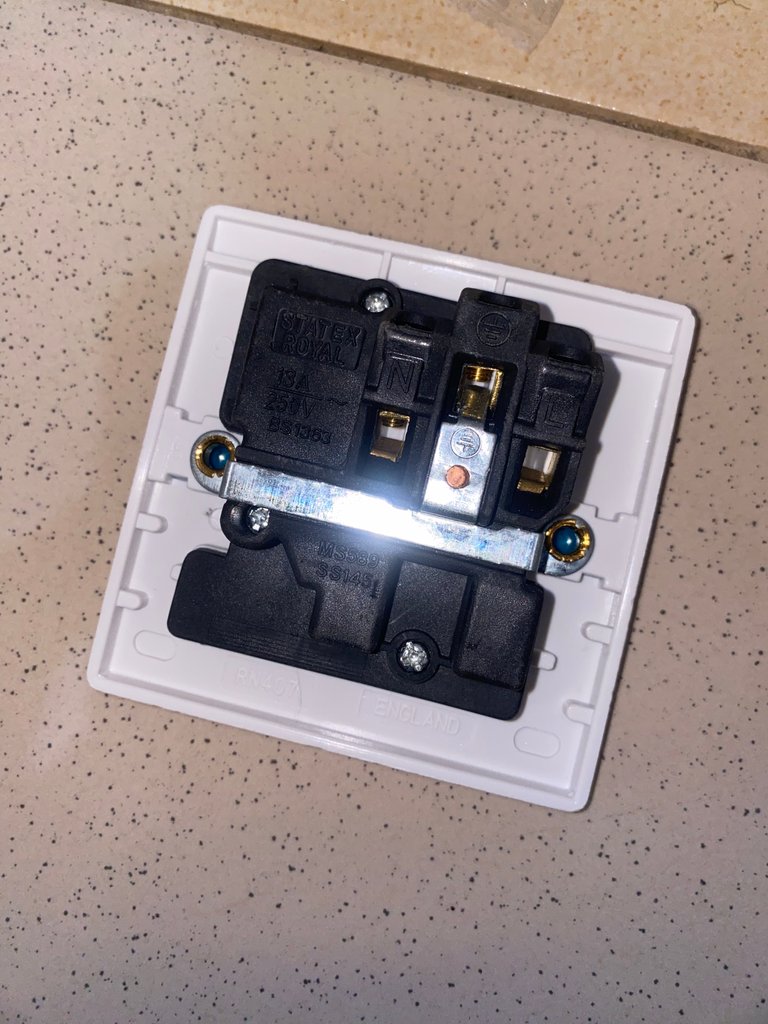
The hard part is over, now use the tester to tighten the nut we had loosen earlier. This should the wires in place. Make sure you tighten it very hard to prevent any slip off when you push it back in.

Step 5
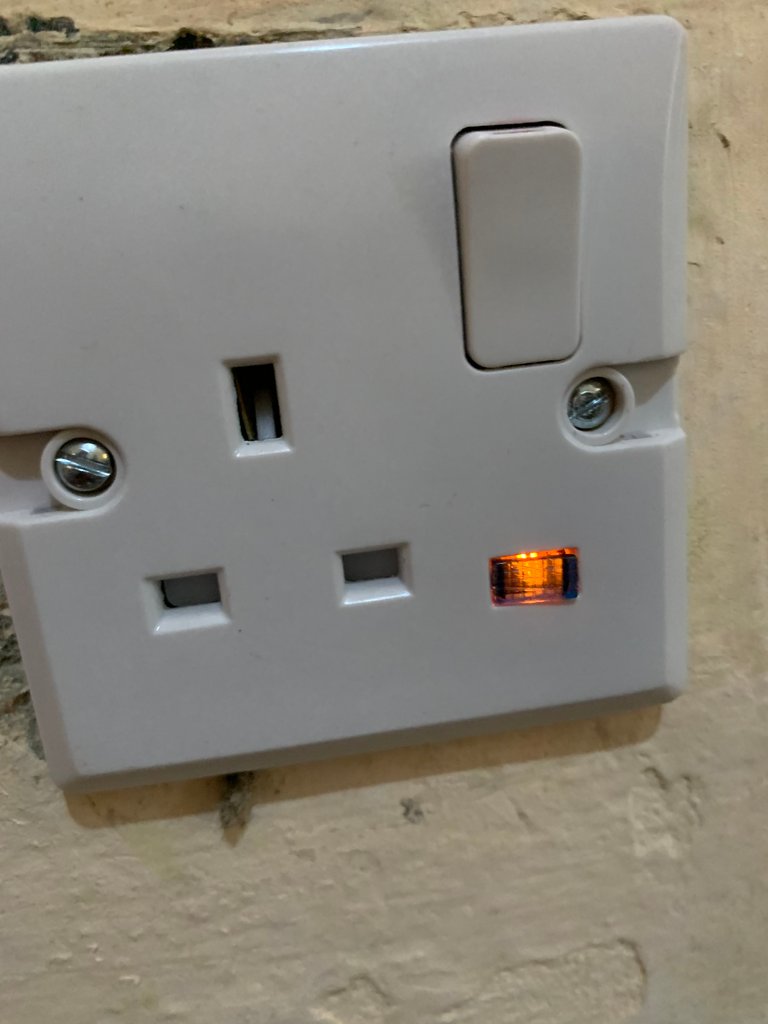
I would normally advise you try and switch it on before you screw it to the wall. If it comes on, then you know you have done the right connections else you can easily go back and try something else. In my case it was perfect.

Step 6
Now use the bigger nuts to tighten the switch board to the wall. Do this for both sides. This should be pretty easy.

And boom, that is how you replace a faulty switch board with a new one. I hope you learnt something today because my roommate sure did. And I saved us a couple of bucks. Thank you for attention.
Yay! 🤗
Your content has been boosted with Ecency Points, by @jimah1k.
Use Ecency daily to boost your growth on platform!
Support Ecency
Vote for new Proposal
Delegate HP and earn more