I own a pottery wheel and I have been using it to make pots, vessels, mugs, etc. for a few years now. Making pottery is a hobby of mine, therefore the time that I spend doing it fluctuates depending on what else I have going on in my life.
Throwing clay on a pottery wheel is not an easy task because it requires upper arm strength, control and patience. Most of all, it requires practice to perfect the techniques used. I discovered a jig on YouTube that helps to open up a ball of clay that has already been centered. The best thing about this jig is that it is inexpensive to make. I bought the materials for $29. On the contrast, the strong arm pottery jig cost $325. Honestly, there is no comparison to the strong arm jig because the less expensive jig does not assist in centering the clay for you. The cheap jig helps to open the clay and maintain a consistent floor depth.
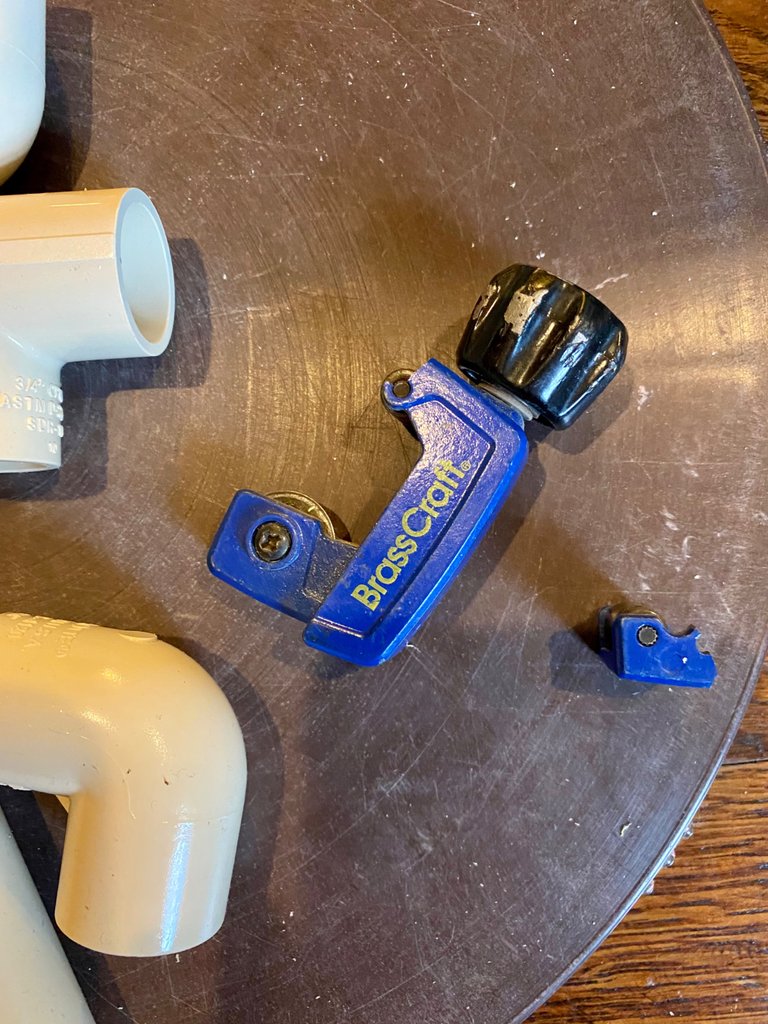
The jig is made from 3/4 inch CPVC pipe which is very strong. I attempted to cut it with a tubular pipe cutter and I broke my pipe cutter.
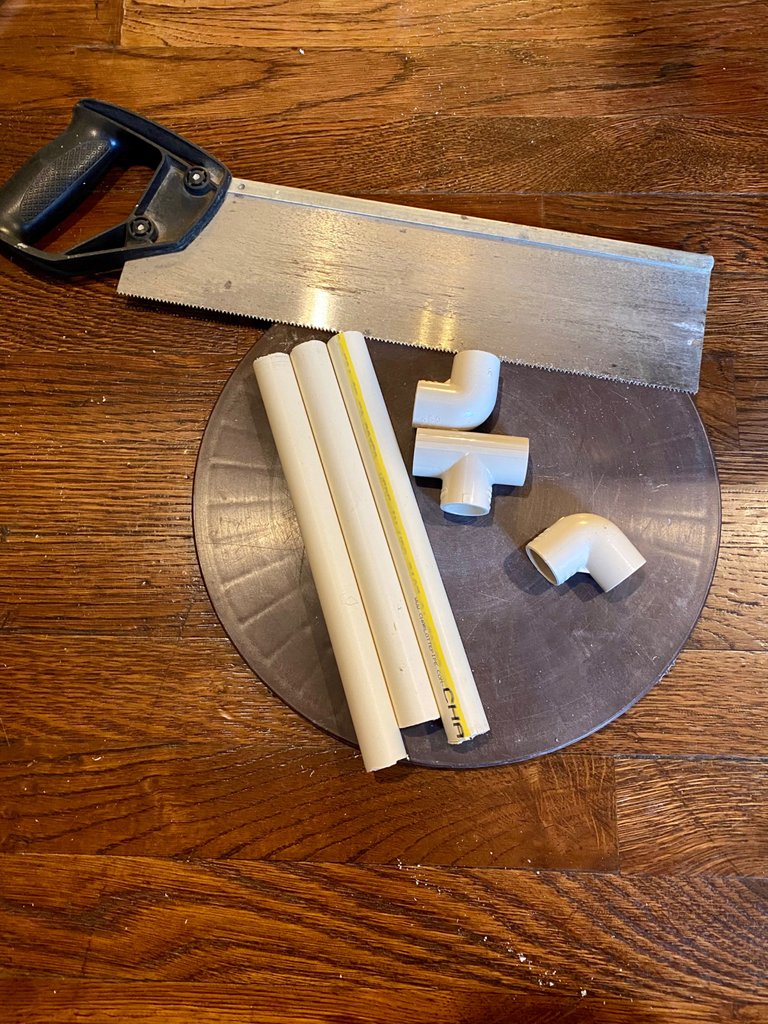
My next attempt was to cut the pipe with a miter box and various hacksaws that I have on hand. That took too much time and it was still difficult for me. I actually broke a hacksaw blade while cutting the pipe.
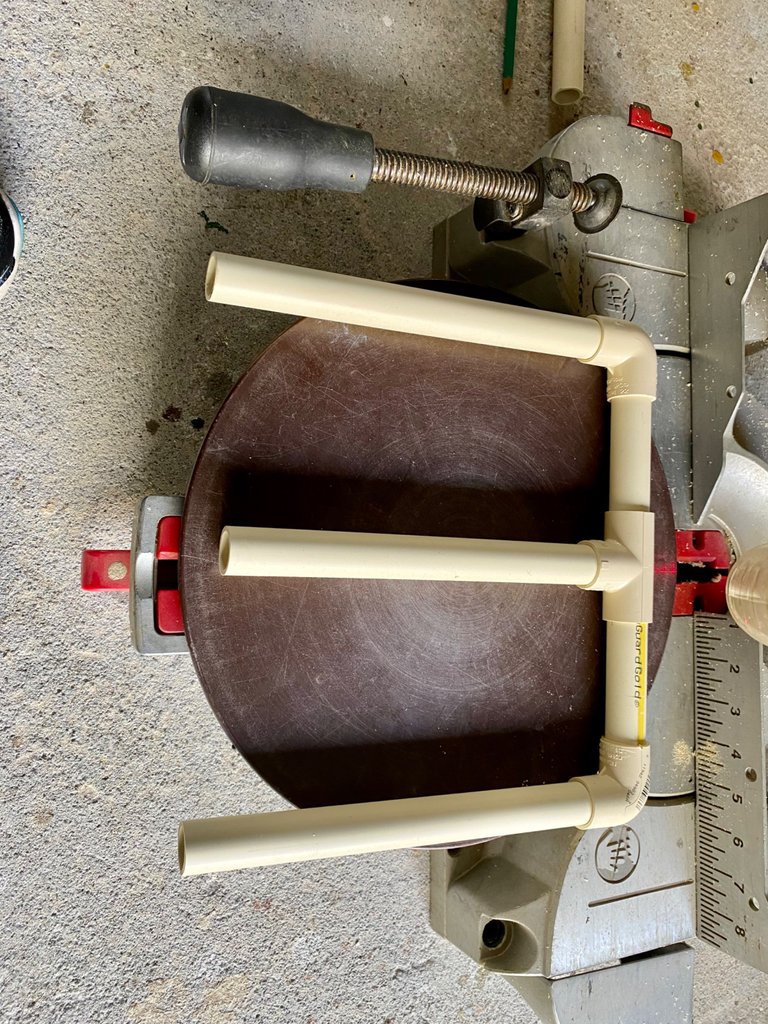
I am not as strong as I used to be, which is why I did not want to spend time sawing that rock hard pipe in a miter box. My next solution was to use my electric compound miter saw. I know that I should have started with that saw, but it was in a spot in my garage that was inaccessible to me at first.
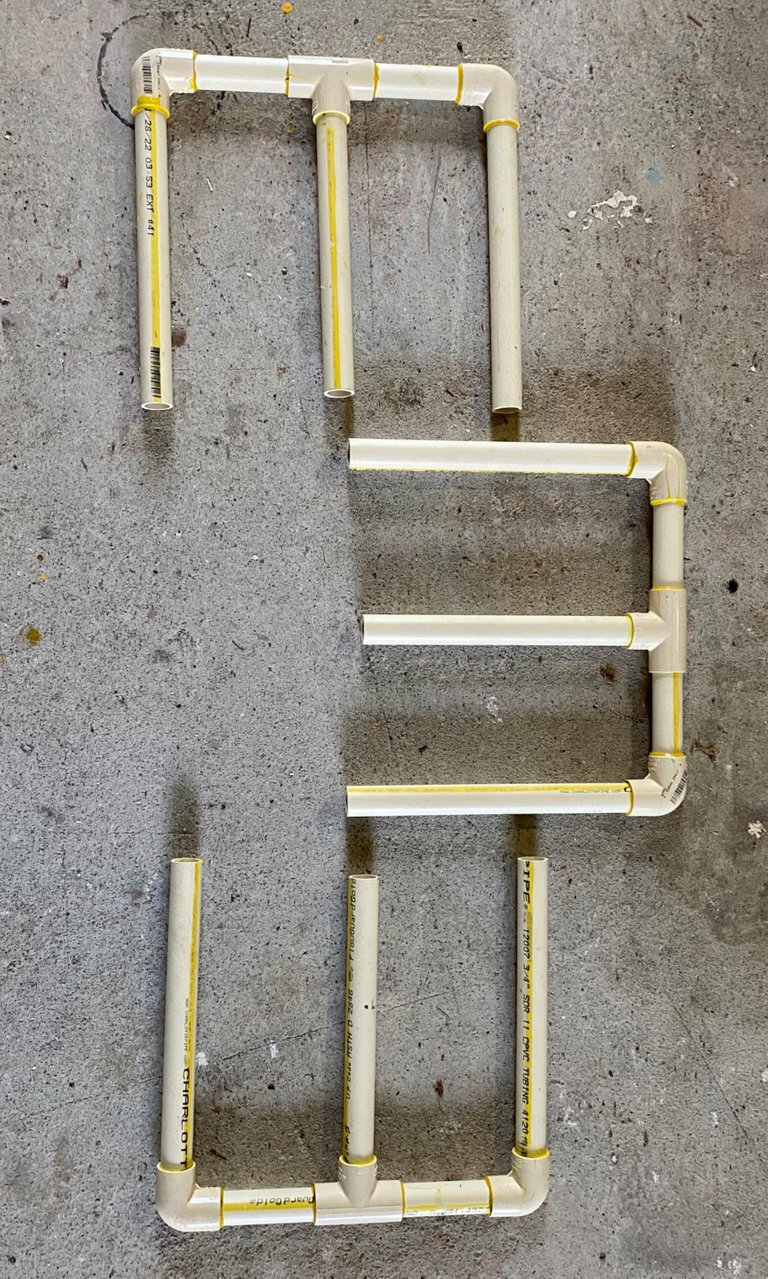
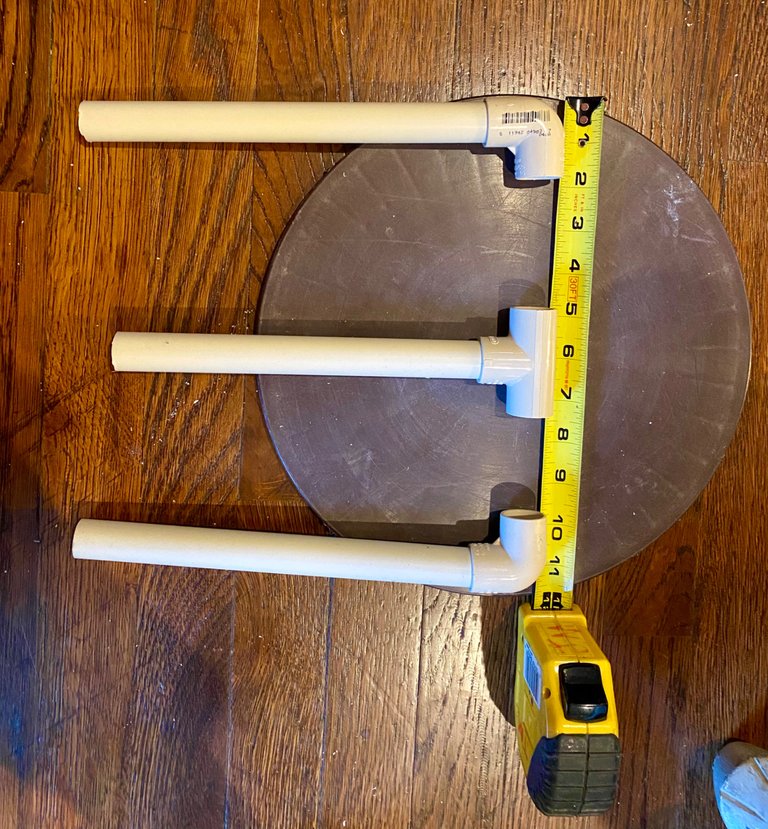
After getting the saw down to the floor of the garage, everything went very smoothly. I needed three legs for the jig, two 90° elbows, and one T joint. I had to measure the lengths of the pipe so that they did not exceed the diameter of my pottery wheel bat. in addition, the center pipe length had to be shorter than the two outer legs.
After cutting the pipe, I did a dry fit to make sure that the jig would have the right proportions.
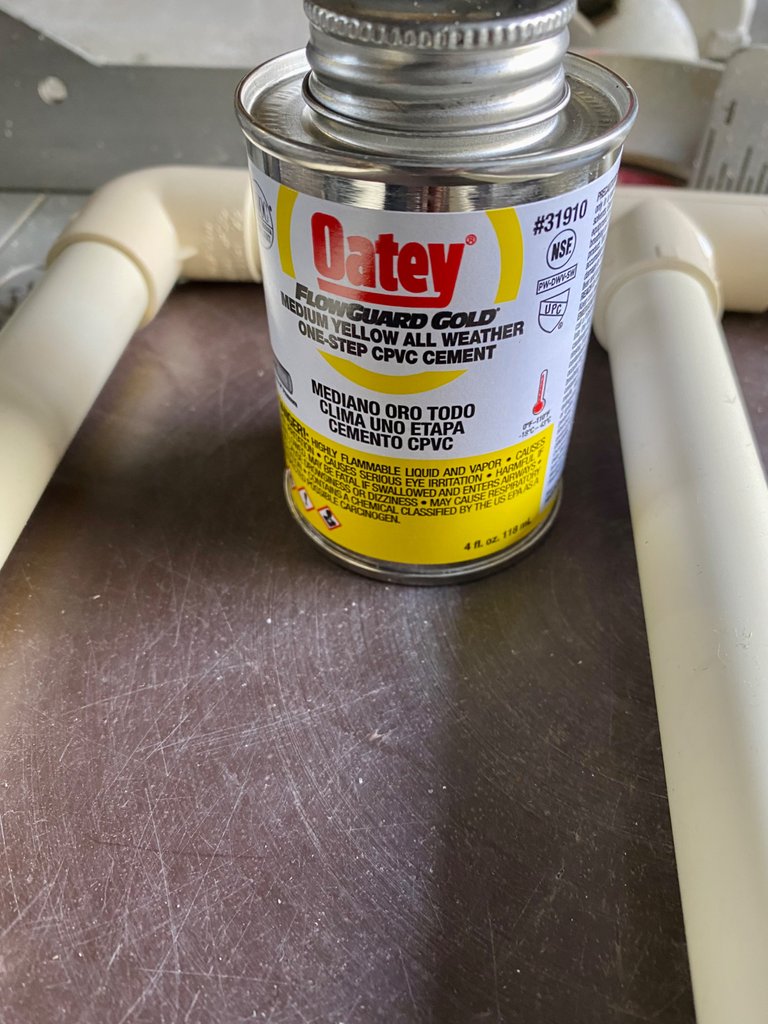
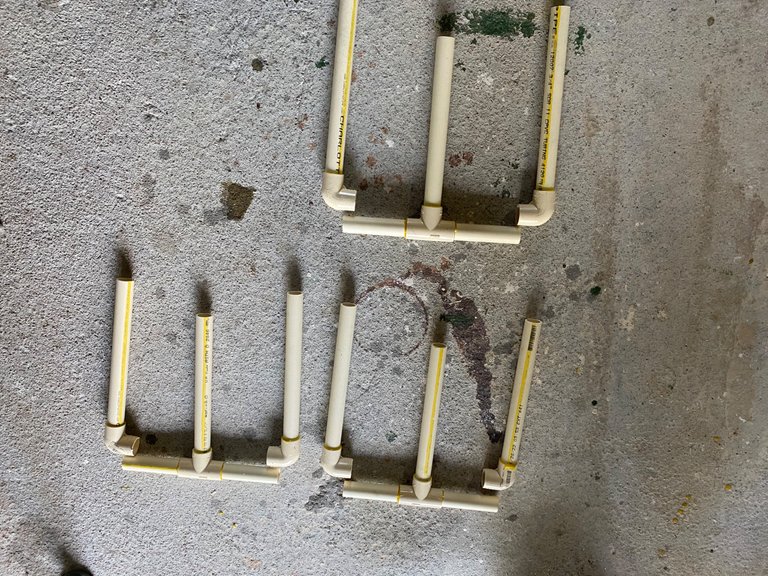
The last step was to glue all of the pieces together. I was able to make three jigs. I will donate one to the senior center that I use for my pottery class. I will keep one, and I will give one to my best friend who also throws clay on a pottery wheel.
Tom Whittaker is the designer of this jig. I used this video as a guide in making my own. He explains how he did it and demonstrates it’s use. He also modified the size of the pipe in the comments. He mentions using 1/2 inch CPVC pipe in the video, but edits the size in the comments. He mentions that he was not used to making videos. I really appreciate people sharing their knowledge, skills, and accomplishments for other’s benefit.
I hope that you can make this jig too if you are a potter, or if it is an art form that you are considering.
Enjoy your day.
