


Hello my dear readers, I hope you are having or have had an excellent day. Origami is an art that consists of making any figure by folding paper.
You can make paper sculptures from the simplest, like the ones our parents taught us when we were children: boats, aeroplanes, among others. And also more complicated ones such as animals of all kinds, geometric figures and many more. But all this is done with a lot of patience, being very concentrated on what you are doing, because if not, the folds don't come out well.
I have seen in some articles on the internet, that it brings very good benefits to do this art, both in children and adults. It helps to encourage imagination, manual dexterity and coordination, improves memory, patience and consistency, among many other benefits.
I particularly love this art, I remember when I was a child, my older sister taught me how to make a shirt out of a banknote. She was impressed when I saw how I did it and the final result was great. After several practices, I managed to do it by myself and proudly showed it to my fellow students, who like me, at that time, were also excited and wanted to learn it too.
Nowadays, whenever I can, I make a figure or two for my daughter, who also loves it and looks for ways to do it on her own. Today I want to share with you a little of this art that I have learned to make. So I take the opportunity to participate in this contest that here I leave you the link so that you are encouraged to participate too, you still have the opportunity, because the deadline is until November 27th. And I would especially like to invite @celeni and @apunawu. Without further ado, I'll show you the step by step.
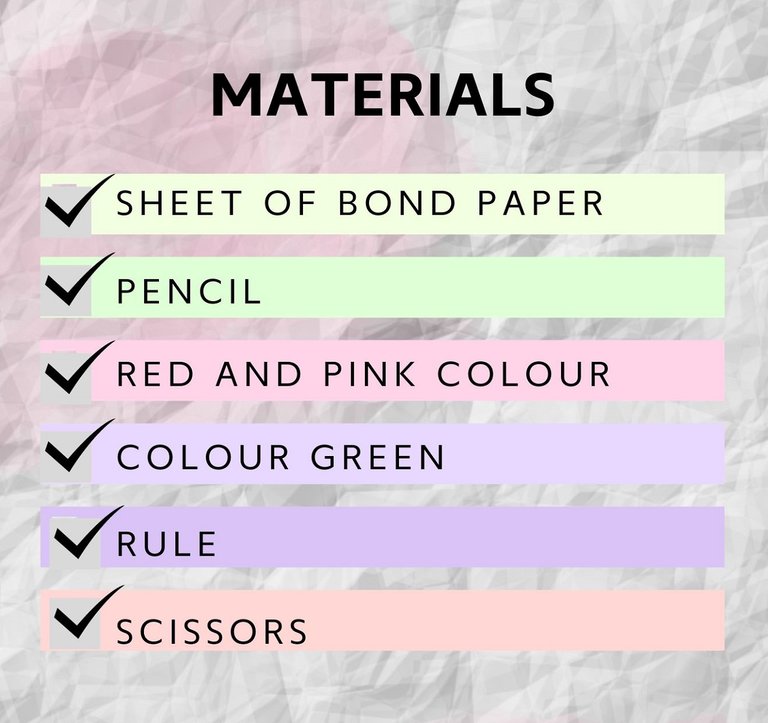
STEP BY STEP:
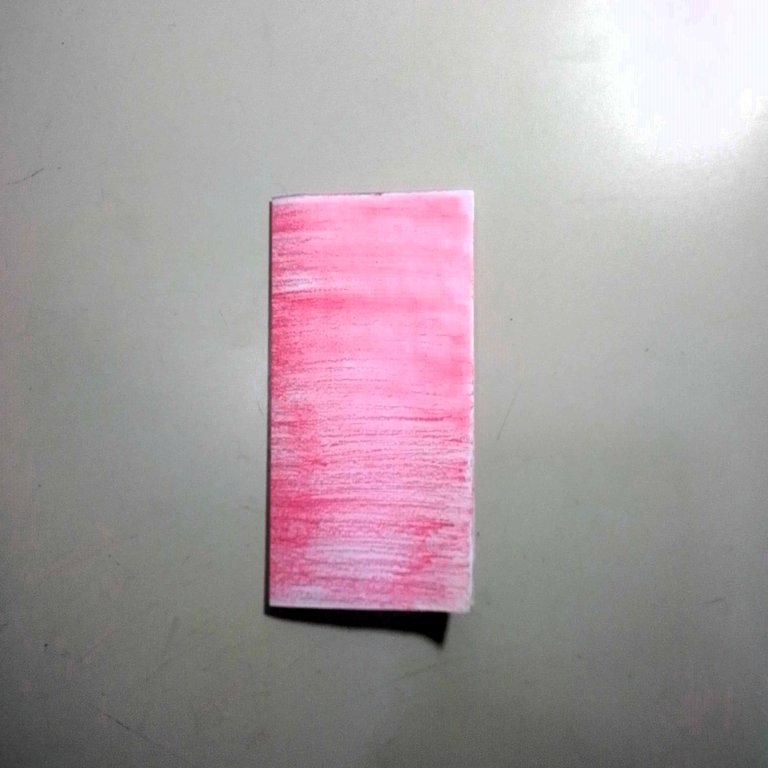
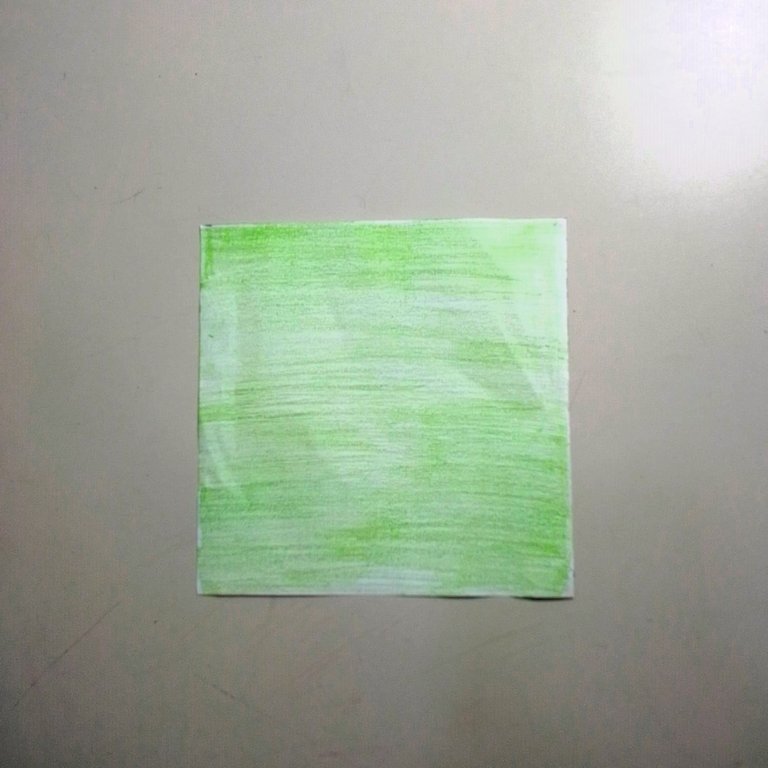
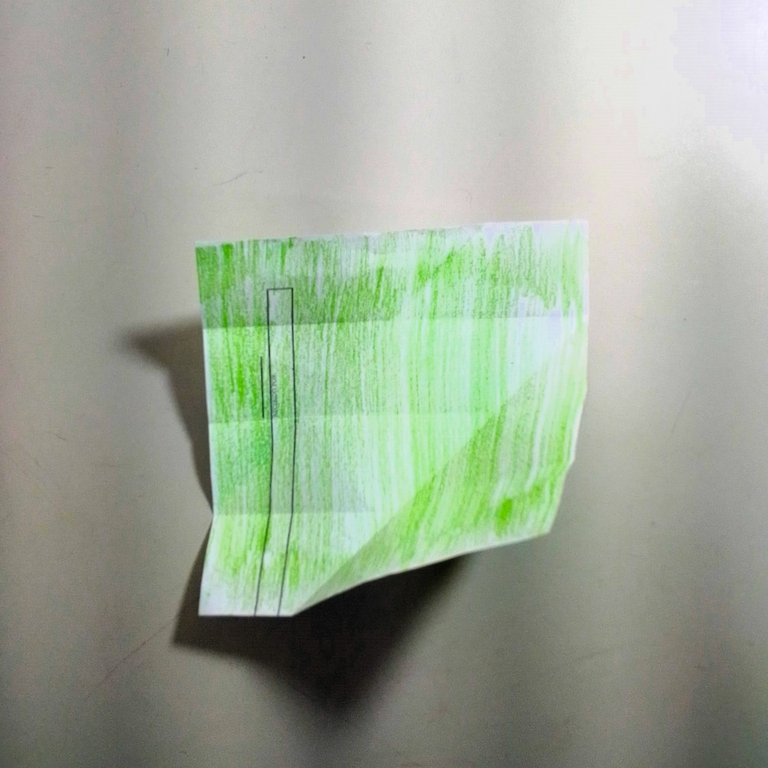
I don't have special origami sheets, let alone coloured sheets, but that doesn't stop me from doing it with sheets of Bond paper. So on the sheet, with the help of the ruler, I will mark two squares of 13 x 13 cm.


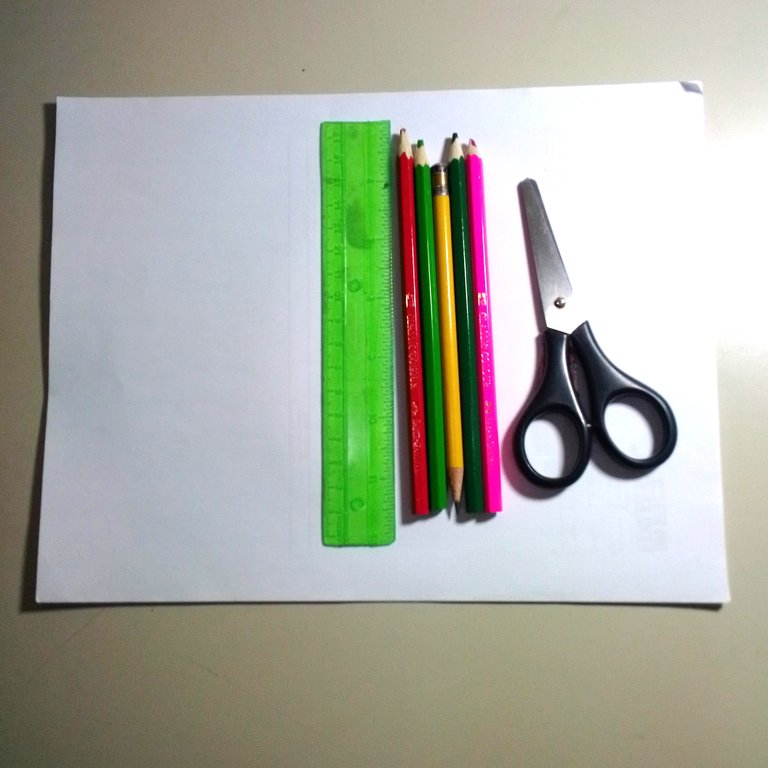
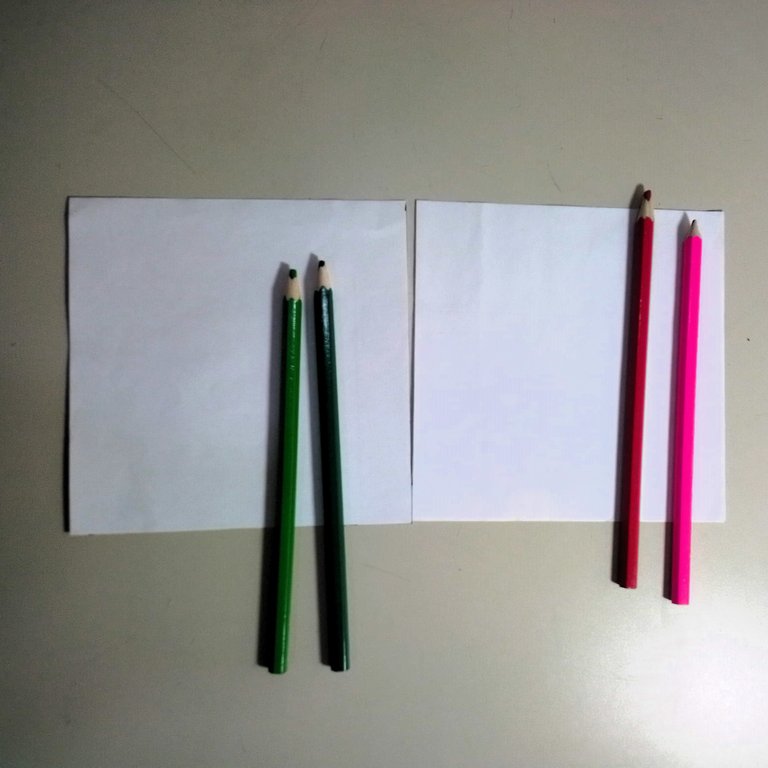
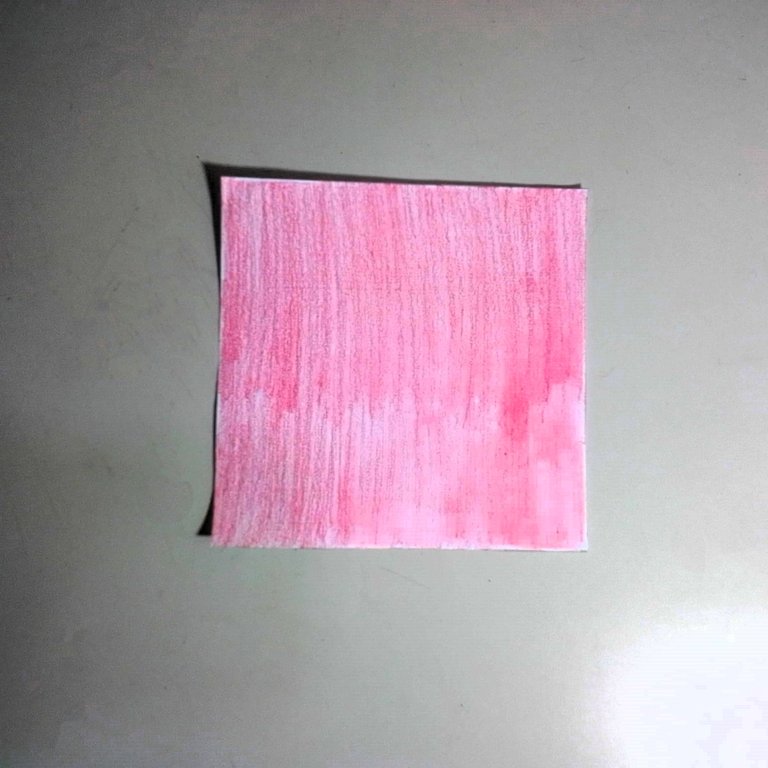
I cut out the squares and I will need 6 squares of the same size. Once they are cut out I will paint them with the colours, I will paint 3 in red and pink and the other 3 in two shades of green.
 |  |  |
|---|
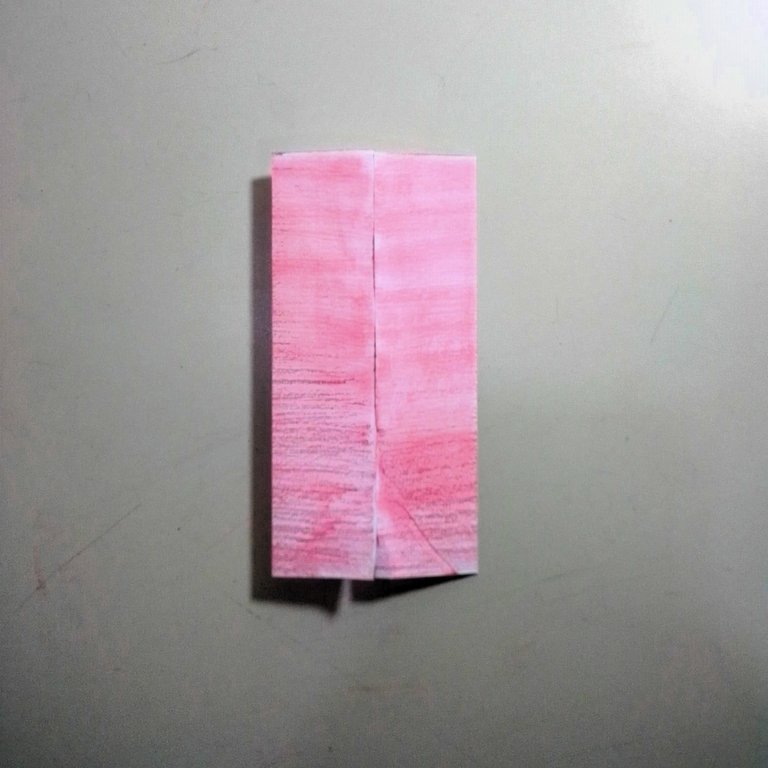
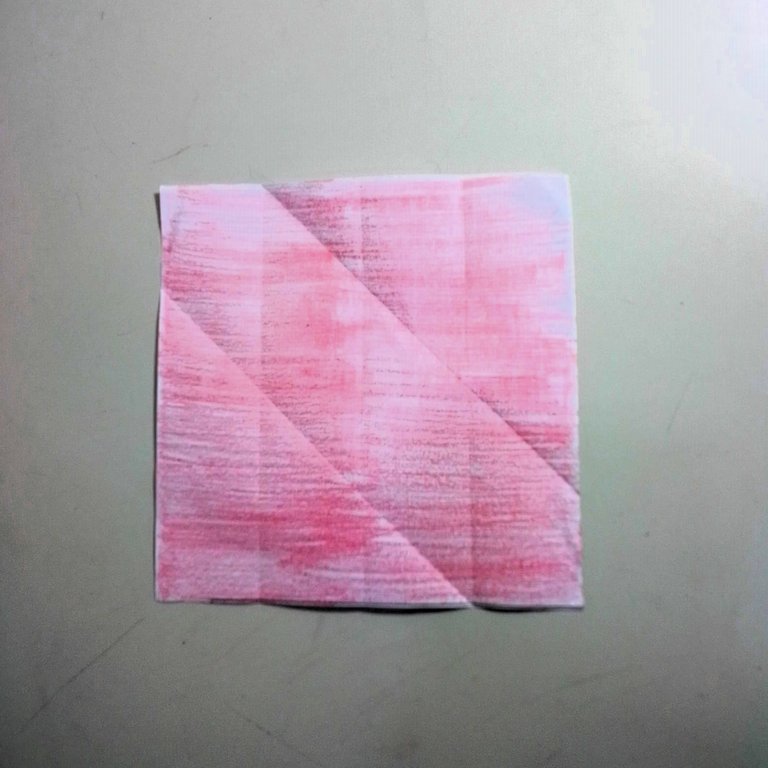
I will start by folding the red squares, fold in half and then open and bring the edges to the centre as shown in the picture.
 |  |  |
|---|
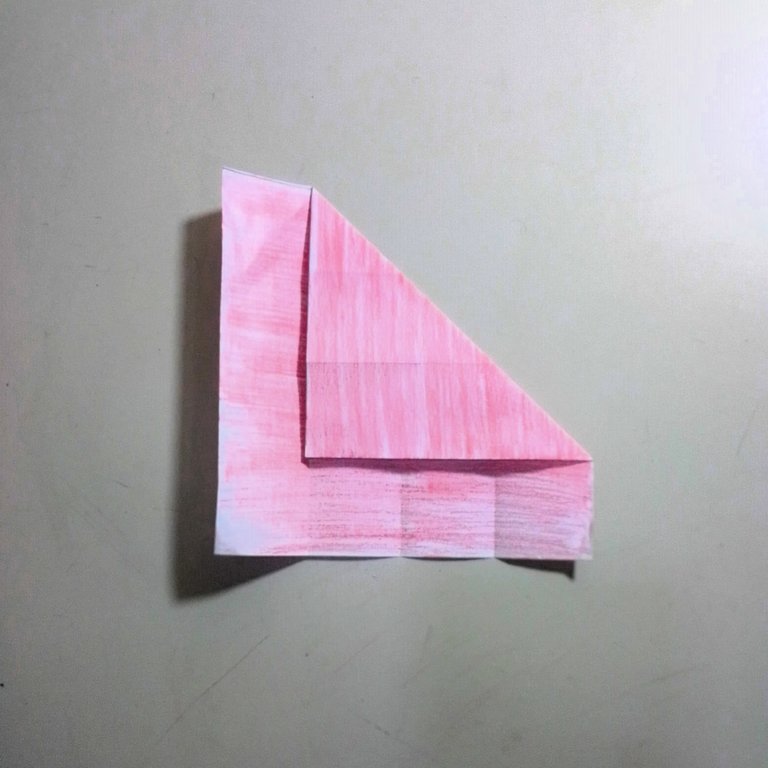
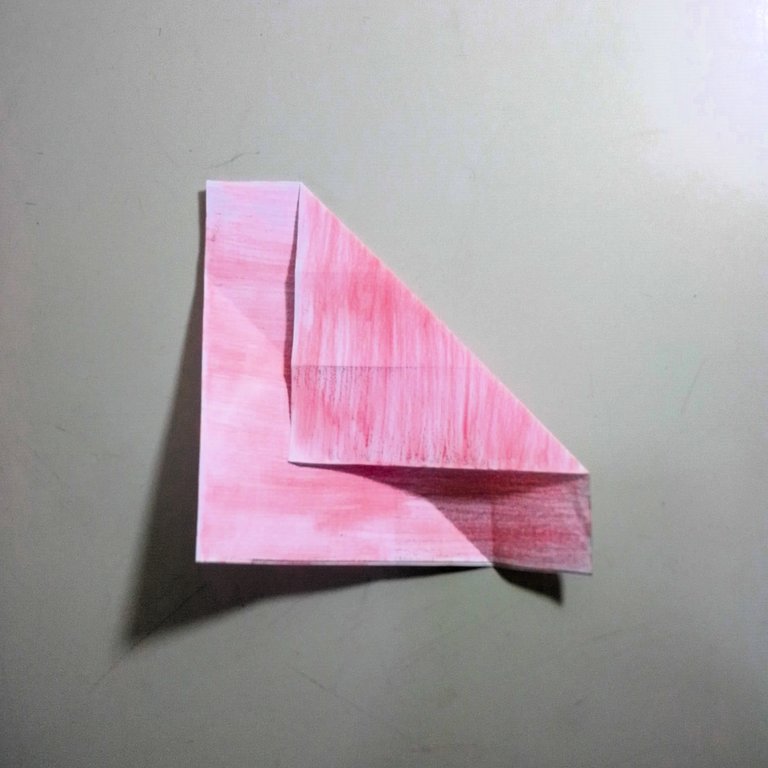
Then I will fold the right corner to the first fold on the left side, as shown in the picture. I open the sheet and turn it 90º and do the same procedure with the other corner.
 |  |  |
|---|
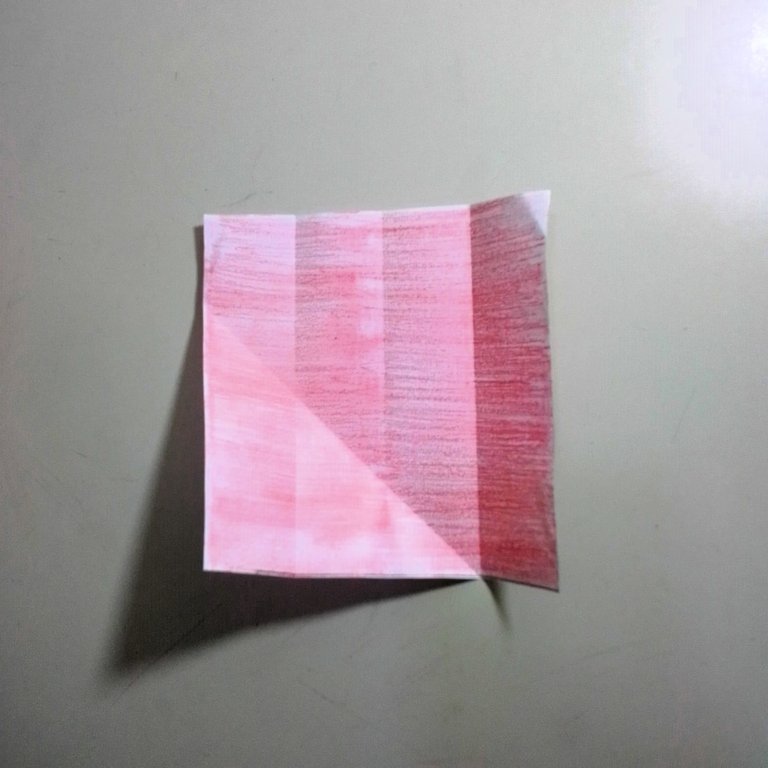
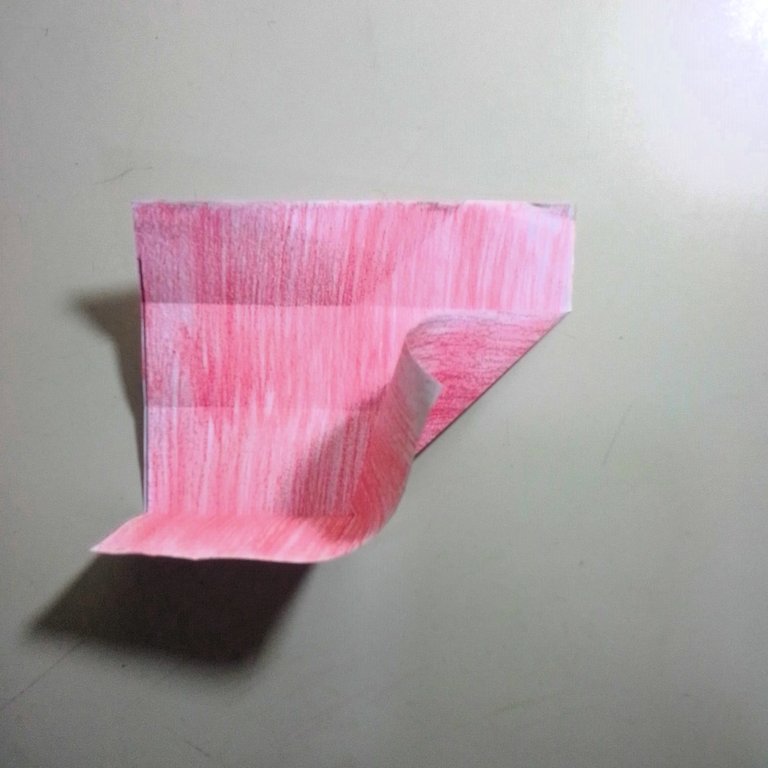
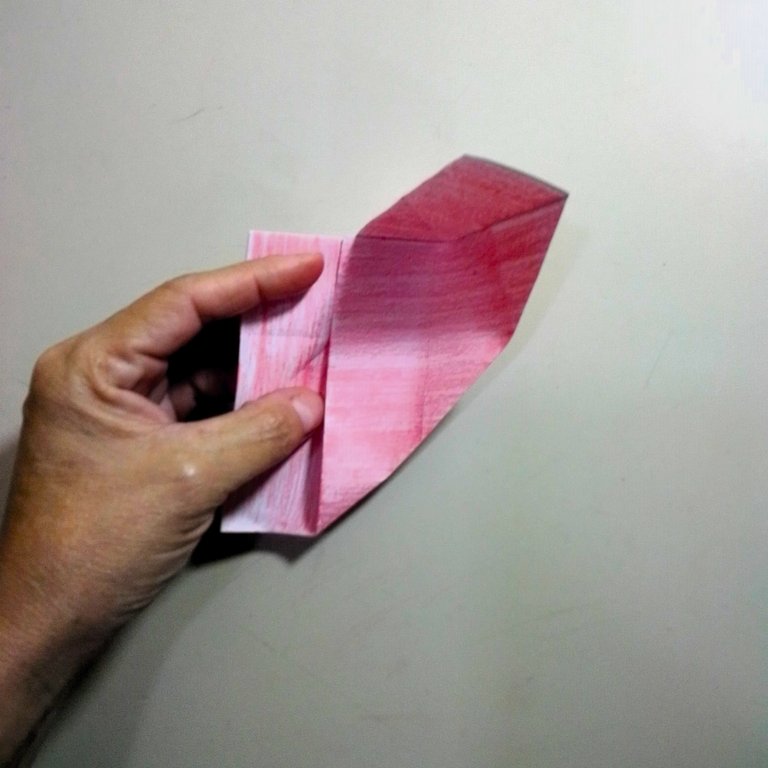
I unfold the sheet and turn it to the right, then fold the bottom corner upwards at its first marked fold and in turn, fold the bottom corner at its marked diagonal fold, leaving me with a wave, which I flatten to the right, as shown in the image.
 |  |  |
|---|
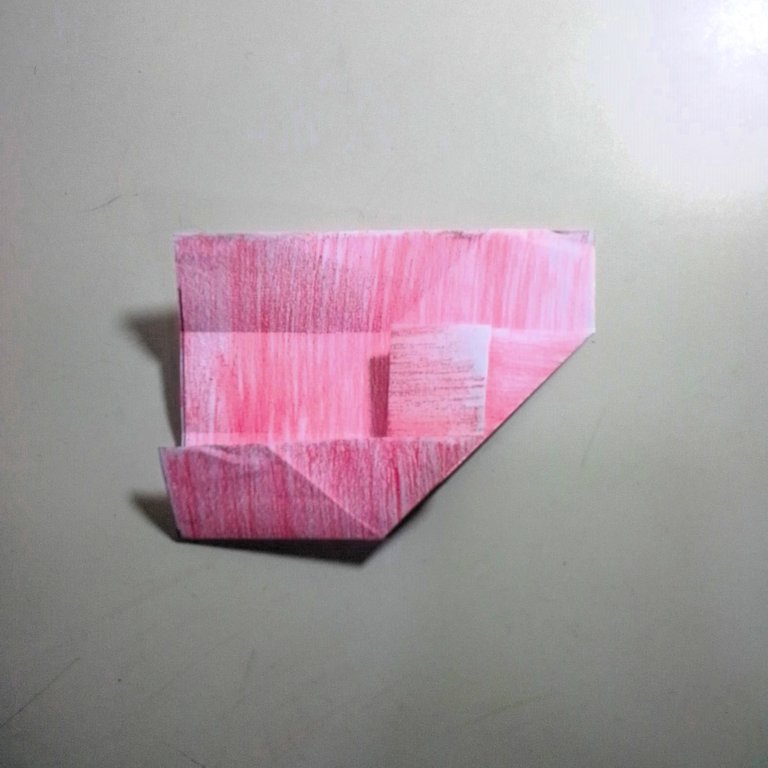
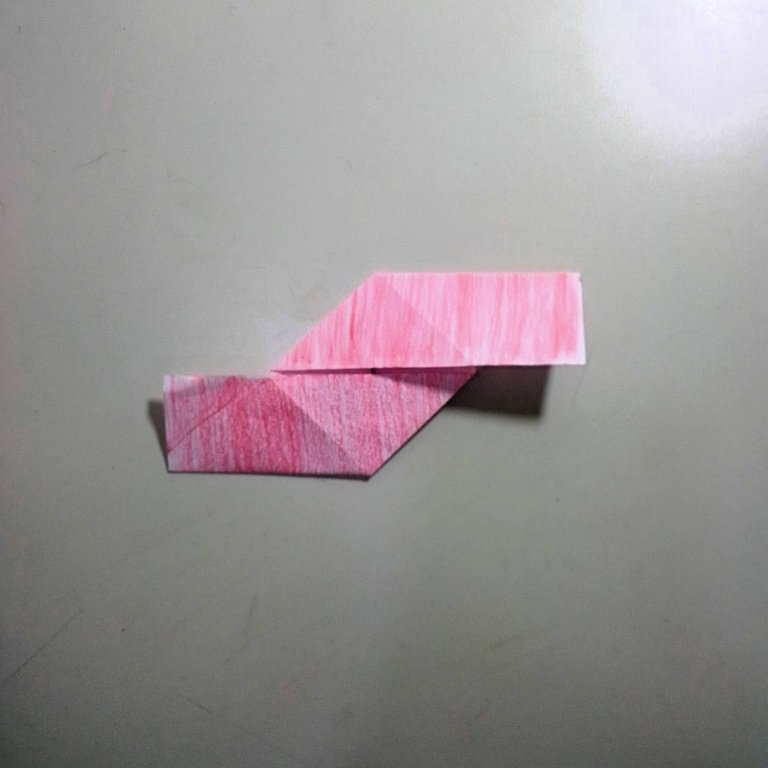
I will do the same procedure on the other side, this fold should be below the previous one.

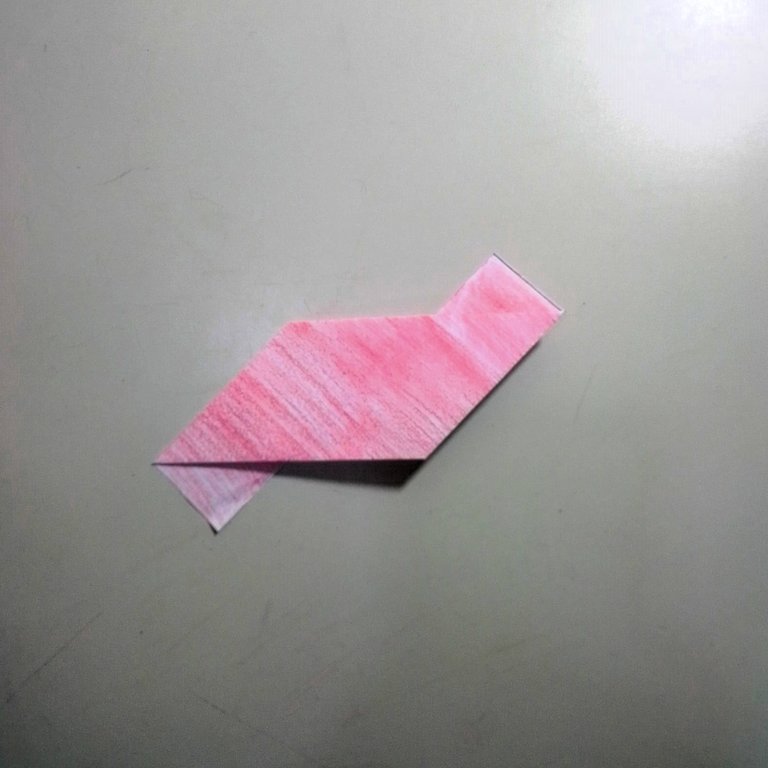
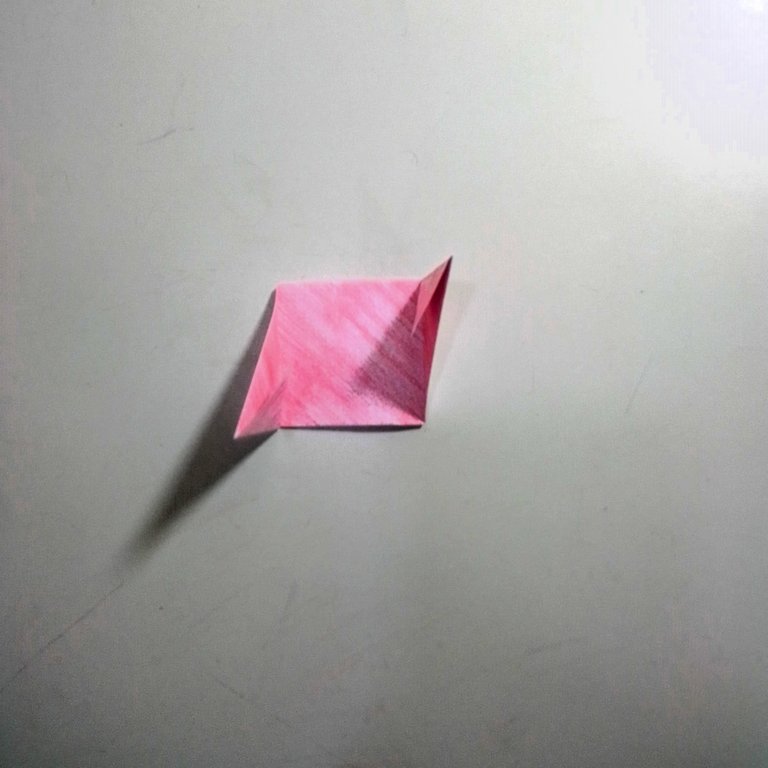
As you can see in the picture I have two raised ends, so I flip the piece over and fold the ends to the other side.
 |  |  |
|---|
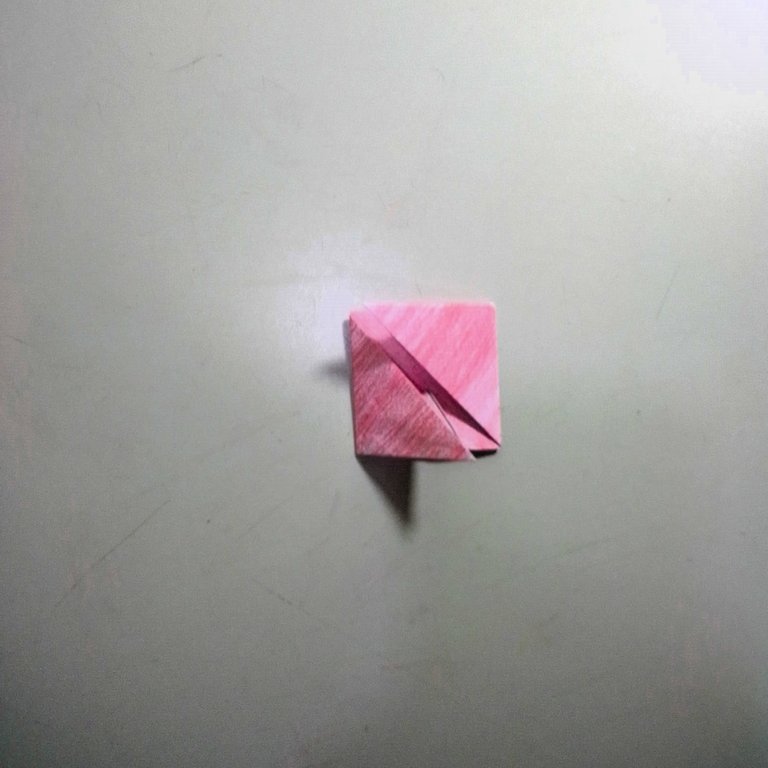
Once the ends are folded, I will bring the top right corner to the left and do the same with the bottom. I'll leave it like this, as you can see I'm left with two points.
 |  |
|---|
 |  |
|---|

I will repeat all these processes with the two remaining red squares and leave them there while I make the folds in the green sheets.
To make the remaining green parts, the steps are very similar to what I did before. So I will take the green square and fold it in half and then bring the edges to the centre as shown in the picture.


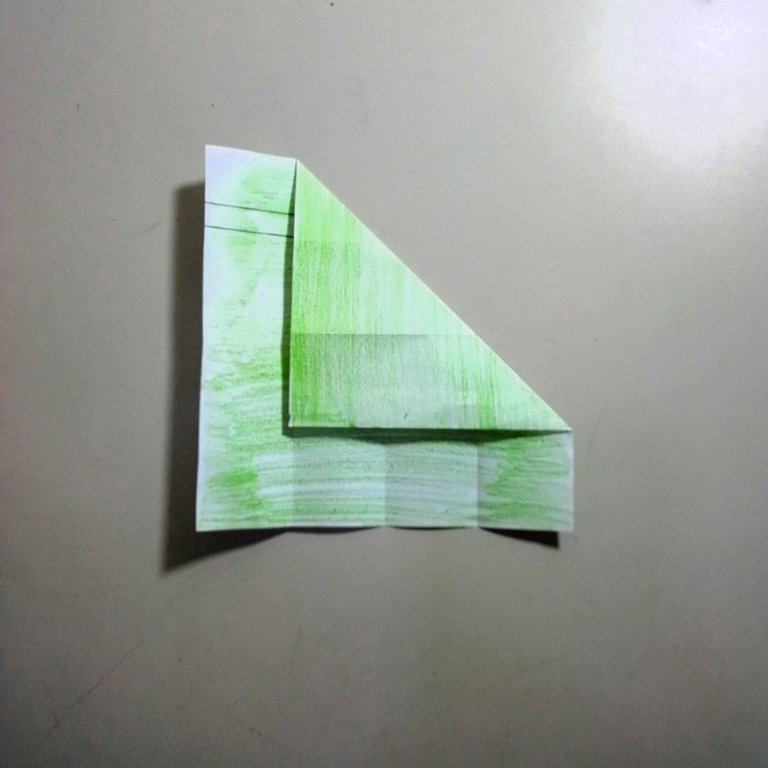
Then I will fold the right corner to the first fold on the left side, as shown in the picture. I open the sheet and turn it 90º and do the same procedure with the other corner.
I unfold the sheet and turn it to the right, and then fold the bottom corner up to its first marked fold and in turn, I fold the bottom corner to its marked diagonal fold, leaving me with a wave, which I will flatten to the right, as shown in the image.

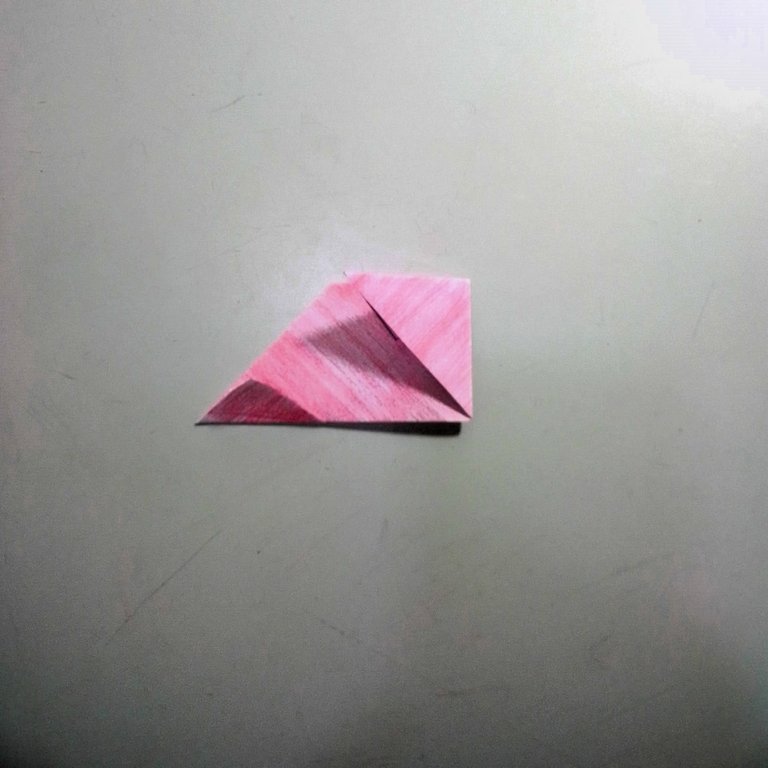
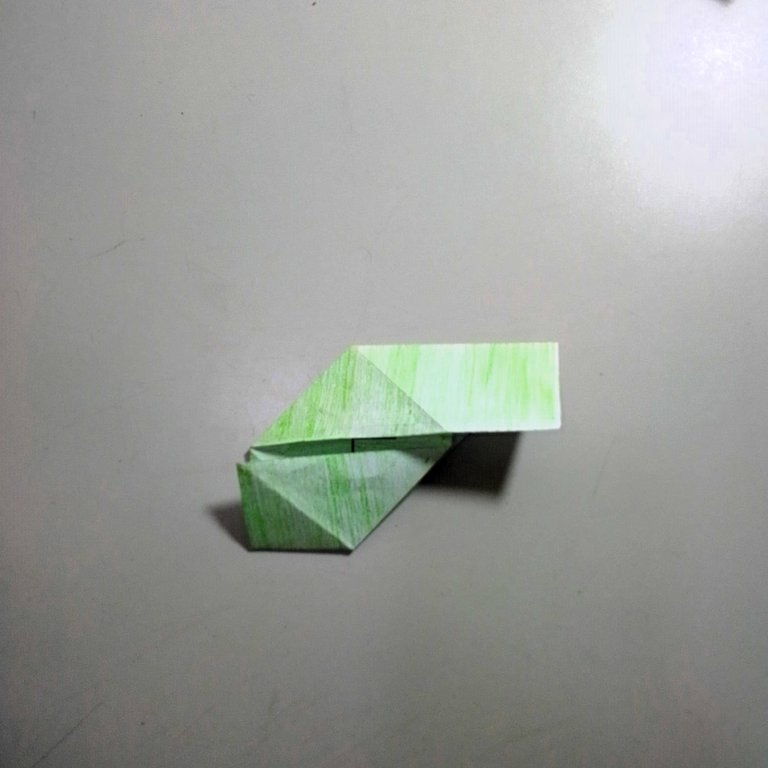
I turn the piece to the right and fold the bottom corner upwards, forming a triangle. Then I turn the piece to the right and make the fold that I had made in the previous step, this fold should be inside the top fold.
As you can see in the pictures, there should be two points, one longer than the other.
 |  |  |
|---|
 |  |
|---|
And now I have the 6 pieces ready to assemble the flower.

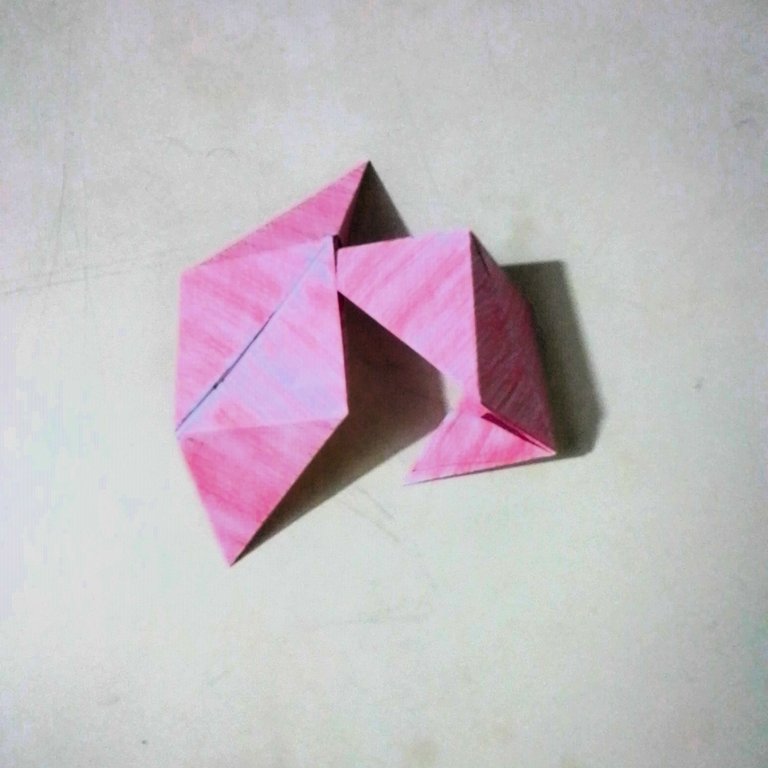
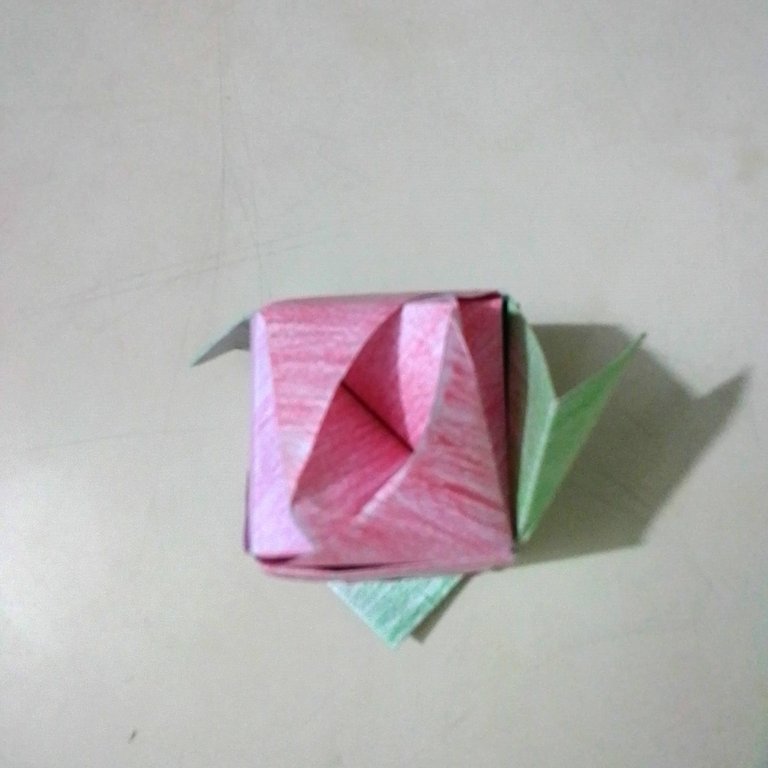
I will assemble the petals of the rose, as you know, each piece will have two long tips. I will insert one tip into the square part of the other piece and the third tip will be placed on top of the square part as well.
It is important that when inserting all the tips, the openings of the square part all coincide in one corner, otherwise the flower will not be able to open.

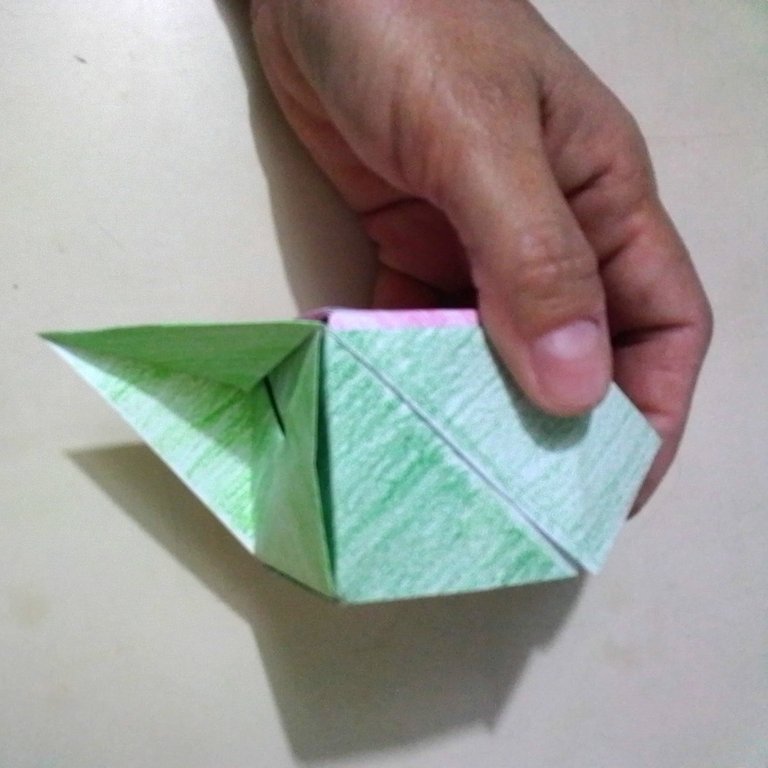
To assemble the leaf part it is almost the same as the previous process. In this case the pieces have one end longer than the other. I will take one piece with the smaller end facing upwards and insert the longer end of the other piece on one side. And from the bottom, I place the other piece, only the longer end, as you can see in the pictures.
In this case it is important that the openings of the square part form a kind of triangle.


Now I will attach the petals to the leaves by inserting the tips of the rose into the openings of the leaves. Try to form a cube with the small tips of the leaves on the outside.
We will only insert all the tips if we only want to form the cube.
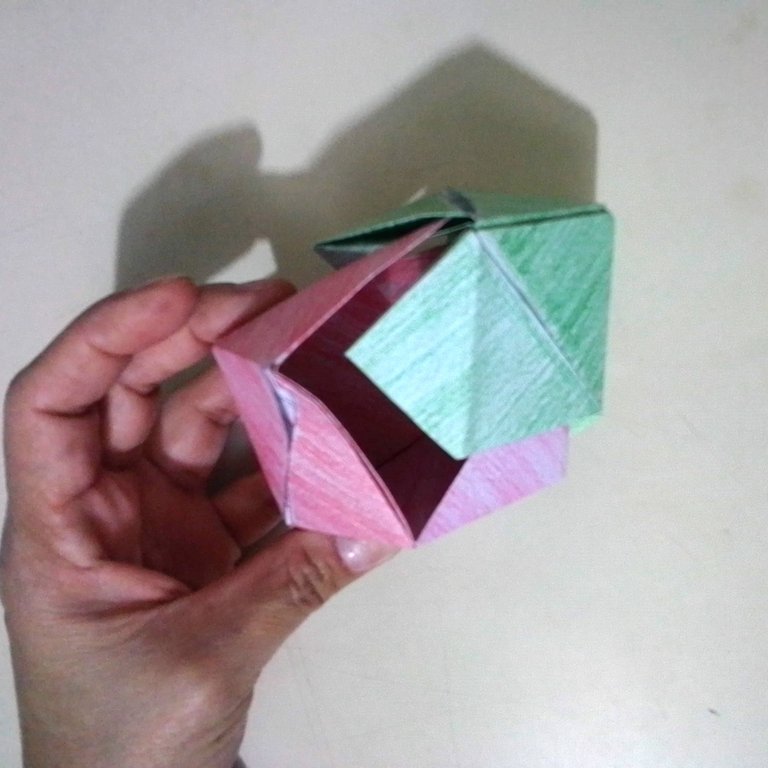

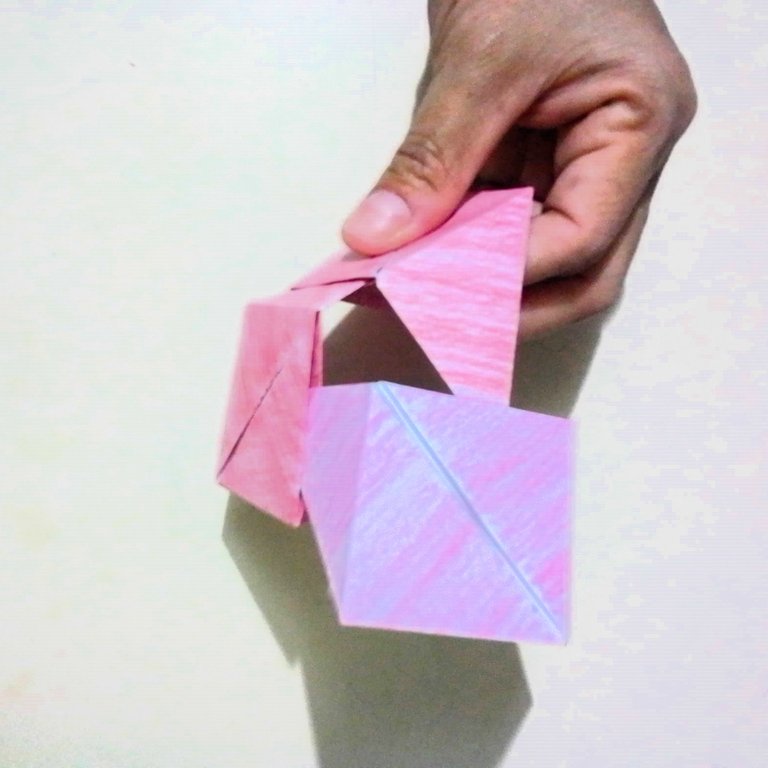
The green tips that are left outside the cube, I will stretch them, as shown in the picture.

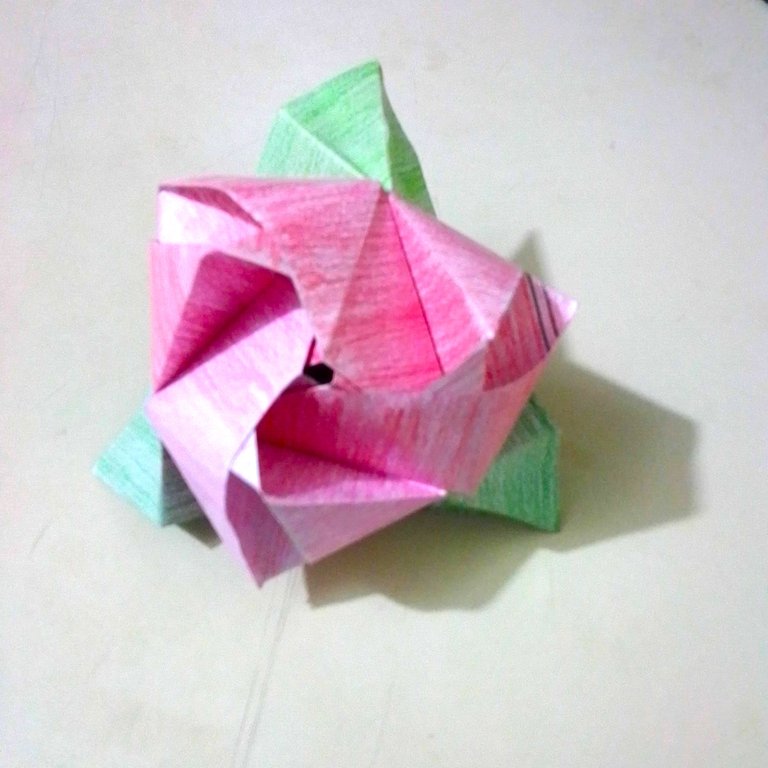
To open the rose, carefully insert your fingers into the sides of the square part, trying to lift the opening, pulling it upwards a little so that it looks like waves.
I will do the same with the other two sides. And as you can see, you can already see the rose. Although it looks complicated, I tried to explain it as specifically as I could, I hope it was understood.

I hope you liked this tutorial that I was happy to prepare for you. I loved the final result, what did you think of it?
I say goodbye as always, but not before thanking you for taking a little of your valuable time to visit my blog and support me. Be well and take care of yourselves.


Content of the original creation:
🌹 All photos are mine taken and edited with my Alcatel phone.
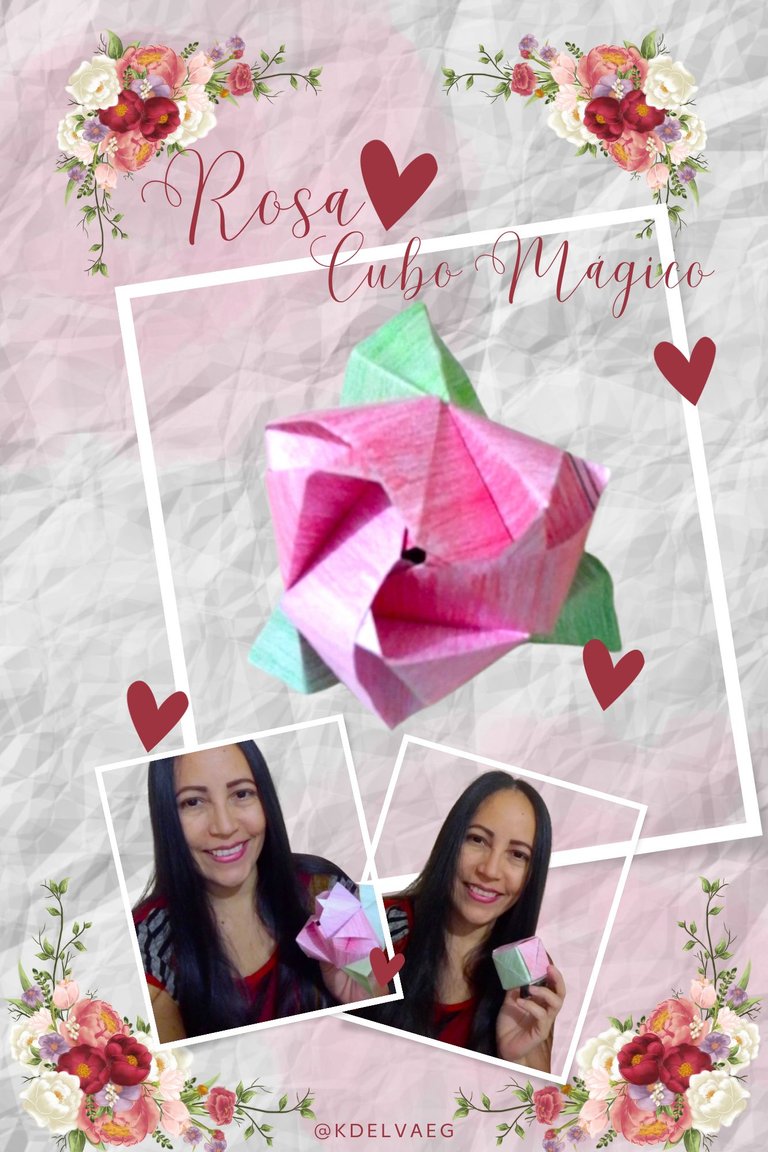
🌹 The cover image, was made with the Canva app and edited by me.
🌹 The images of the splitter are taken from the website https://www.glitter-graphics.com/
🌹 The English translation was made with the help of DeepL.
🌹 The letters indicating the languages were taken from https://cooltext.com/.

Hola mis queridos lectores, espero que tengan o hayan tenido un excelente día. El origami es un arte que consiste en hacer, cualquier figura a través del plegado del papel.
Se pueden hacer esculturas en papel desde la más simple, como las que nos enseñan nuestros padres cuando éramos niños: los barcos, aviones, entre otros. Y también más complicados como animales de todo tipo, figuras geométricas y muchas más. Pero todo esto se hace con mucha paciencia, estar muy concentrado en lo que se hace, porque si no, no sale bien los dobleces.
He visto en ciertos artículos por internet, que trae muy buenos beneficios el realizar este arte, tanto en niños como en adultos. Ayuda a incentivar la imaginación, la destreza manual y la coordinación, mejora la memoria, a tener paciencia y ser constante, entre otros muchos beneficios.
A mí en lo particular me encanta este arte, recuerdo que cuando era niña, mi hermana mayor me enseño a hacer una camisa con un billete. Está impresionada cuando vi como lo hacía y el resultado final fue genial. Después de varias prácticas, logre hacerlo por mí misma y orgullosamente se lo mostraba a mis compañeros de estudios, que así como yo, en aquella oportunidad, también se emocionaban y querían aprenderlo también.
Hoy en día, siempre que puedo le hago una que otra figura a mi hija, que le encanta también y busca la manera de hacerlo sola. Hoy quiero compartir con ustedes, un poco de este arte que he aprendido hacer. Así aprovecho la oportunidad de participar en este concurso que aquí les dejo el enlace para que se animen a participar también, aún tienen oportunidad, pues el plazo es hasta el 27 de noviembre. Y en especial, quiero invitar a @celeni y @apunawu. Sin más preámbulos, les muestro el paso a paso.

PASO A PASO:
Les cuento que no poseo hojas especiales para hacer origami, ni mucho menos hojas de colores, pero eso no me detiene para hacerlo con hojas de papel Bond. Así que en la hoja, con la ayuda de la regla, marcaré dos cuadros de 13 x 13 cm.
Recorto los cuadros y voy a necesitar 6 cuadros de igual tamaño. Una vez recortados los pintaré con los colores, pintaré 3 de color rojo y rosa y los otros 3 en dos tonalidades de color verde.
| | |
|---|
Empezaré doblando los cuadros rojos, doblaré por la mitad y luego abriré y llevaré las orillas hasta el centro como se muestra en la imagen
| | |
|---|
Luego doblaré la esquina de la derecha hasta el primer pliegue del lado izquierdo, tal como se muestra en la imagen. Abro la hoja y la giro 90º y hago el mismo procedimiento con la otra esquina.
| | |
|---|
Desdoblo la hoja y la giraré a la derecha, para luego doblar la parte de abajo hacia arriba en su primer dobles marcado y a su vez, doblo la esquina de abajo en su doblez diagonal marcado, quedándome como una onda, la cual aplanaré hacia la derecha, quedando como se muestra en la imagen.
| | |
|---|
Realizaré el mismo procedimiento del otro lado, este doblez debe quedar por debajo del anterior.
Como pueden ver en la imagen me quedan dos puntas levantadas, así que volteo la pieza y doblo las puntas hacia el otro lado.
| | |
|---|
Una vez dobladas las puntas, llevaré la esquina superior derecha hacia la izquierda y haré lo mismo con la parte de abajo. Quedando un cuadrado armado y lo dejaré así, como pueden ver me quedan dos puntas.
| |
|---|
| |
|---|
Todos estos procesos los voy a repetir con los dos cuadros restantes de color rojo y los dejaré allí mientras hago los dobleces en las hojas de color verde.
Para realizar las partes restantes en color verde, los pasos son muy parecidos a los que hice anteriormente. Así que tome el cuadro verde y doblaré por la mitad y luego llevaré las orillas hasta el centro como se muestra en la imagen.
Luego doblaré la esquina de la derecha hasta el primer pliegue del lado izquierdo, tal como se muestra en la imagen. Abro la hoja y la giro 90º y hago el mismo procedimiento con la otra esquina.
Desdoblo la hoja y la giraré a la derecha, para luego doblar la parte de abajo hacia arriba en su primer dobles marcado y a su vez, doblo la esquina de abajo en su doblez diagonal marcado, quedándome como una onda, la cual aplanaré hacia la derecha, quedando como se muestra en la imagen.
Giro la pieza a la derecha, la esquina de abajo la doblaré hacia arriba, formando un triángulo. Luego giro la pieza hacia la derecha y hago el doblez que había hecho en el paso anterior, este doblez debe quedar por dentro del doblez de arriba.
Como pueden ver en las imágenes, debe de quedar dos puntas, una más larga que la otra.
| | |
|---|
| |
|---|
Y ahora ya tengo las 6 piezas listas para armar la flor.
Armaré los pétalos de la rosa, como ya saben, cada pieza quedaba con dos puntas largas. Introduciré una punta en la parte cuadrada de la otra pieza y la tercera punta la colocaré por arriba también en la parte cuadrada.
Es importante que a la hora de introducir todas las puntas, las aberturas de la parte cuadrada coincidan todas en una esquina, de lo contrario no se podrá abrir la flor.
Para armar la parte de las hojas es casi igual al proceso anterior. En este caso las piezas tienen una punta más larga que la otra. Tomaré una pieza colocando la punta más pequeña hacia arriba y le introduzco, por un lado, la punta más larga de la otra pieza. Y por la parte de abajo, coloco la otra pieza, solo la punta más larga, así como pueden apreciar en las imágenes.
En este caso es importante que las aberturas de la parte cuadrada, formen una especie de triángulo.
Ahora uniré los pétalos a las hojas, para ello introduciré las puntas de la rosa en las aberturas de las hojas. Tratando de formar un cubo y que las puntas pequeñas de las hojas queden por fuera.
Solo introduciremos todas las puntas, si solo queremos armar el cubo.
Las puntas verdes que quedaron por fuera del cubo, las estiraré, quedando de la forma como se muestra en la imagen.
Para abrir la rosa, introduciré con cuidado los dedos por los lados de la parte cuadrada, tratando de levantar, la abertura, la halaré un poco hacia arriba para que quede como unas ondas.
Lo mismo haré con los otros dos lados. Y como pueden ver, ya se puede apreciar la rosa. A pesar de que se ve complicada, les trate de explicar lo más específico que pude, espero que se haya entendido.
Espero que les haya gustado este tutorial que con mucho gusto preparé para ustedes. A mí me encanto el resultado final. ¿Qué les pareció a ustedes?
Me despido como siempre, no sin antes agradecerles por tomarse un poco de su valioso tiempo, para visitar mi blog y apoyarme. Pórtense bien y cuídense mucho.
Content of the original creation:
🌹 Todas las fotos son mías tomadas y editadas con mi teléfono Alcatel.
🌹 La imagen de portada, fue hecha con la aplicación Canva y editada por mí.
🌹 Las imágenes del divisor fueron tomadas de la página de https://www.glitter-graphics.com/
🌹 La traducción al inglés la realicé con la ayuda de DeepL.
🌹 Las letras que indican los idiomas fueron tomadas de https://cooltext.com/
Your choice of using standard bond paper and painting it with vibrant colors is a great way to show that you don't need specialized materials to create stunning origami pieces. Good luck with the contest.
Thank you very much. I have always said:. That the limitations are set by oneself. That is why, when faced with any obstacle, the best thing to do is to look for another solution to overcome it.
Congratulations, your post has been upvoted by @dsc-r2cornell, which is the curating account for @R2cornell's Discord Community.
Enhorabuena, su "post" ha sido "up-voted" por @dsc-r2cornell, que es la "cuenta curating" de la Comunidad de la Discordia de @R2cornell.
Thank you very much, I am happy to have your support.