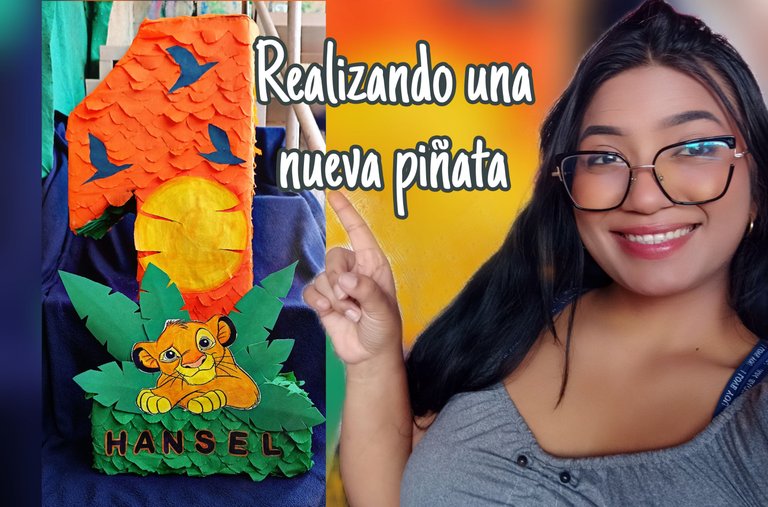
Hola a todos mis queridos amigos de Hive
Espero que se encuentren súper bien esta noche. ¡No tienen idea de cuánto los extraño! No quiero decirles lo mismo de siempre, pero gracias a Dios todo está mejorando y pronto, muy pronto, estaré compartiendo contenido de calidad diariamente. Estoy muy emocionada por todo lo que estoy planeando para ustedes con muchísimo cariño, pero por ahora les quiero mostrar una hermosa piñata que hice este fin de semana para mi sobrinito que estaba cumpliendo un añito, con la temática del Rey León y con muchísimo cariño. Espero de todo corazón les guste y sin más que agregar, ¡comencemos con este paso a paso!
Hello to all Hive friends
I hope you are doing great tonight, you have no idea how much I miss you! I don't want to tell you the same old same old, but thank God everything is getting better and soon, very soon, I will be sharing quality content on a daily basis. I am very excited about everything I am planning for you with so much love, but for now I want to show you a beautiful piñata I made this weekend for my little nephew who was celebrating his first birthday, with a Lion King theme and with so much love. I wholeheartedly hope you like it and without further ado, let's get started with this step by step!
Materiales a utilizar:
• Cartón
• Silicón
• Pegamento de barra
• Papel crepé naranja y verde
• Foami
• Dibujos, tijeras y colores
Materials to use:
Cardboard
Silicone
Glue stick
Orange and green crepe paper
Foami
Drawings, scissors and colors
*Paso a paso:
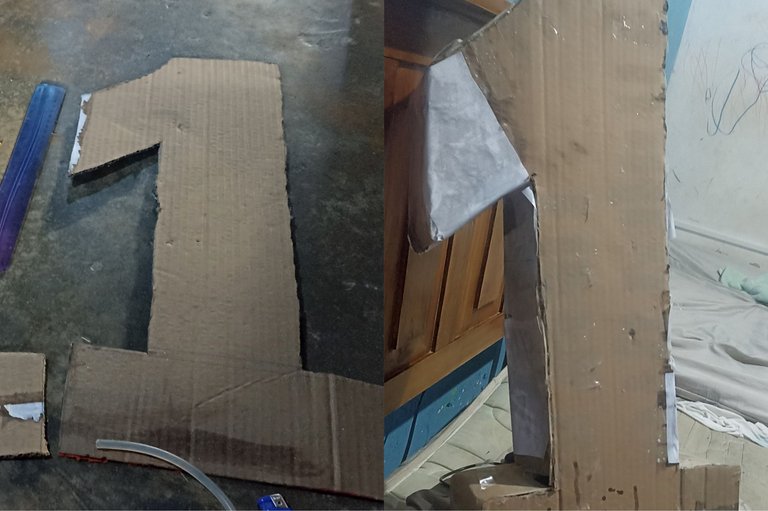
Primero comencé haciendo un uno grande en una base de cartón y al recortarlo utilicé ese mismo como molde para hacer ambos iguales. Al tener las dos caras del uno, comencé a recortar varias tiras de 6 cm para unir las dos caras del uno ya recortado. Todo esto lo pegué con silicón, pero luego lo fortalecí con un poco de cinta plástica.
Step by step:
First I started by making a large one on a cardboard base and when I cut it out I used that same one as a mold to make both the same. Once I had the two sides of the one, I began to cut several strips of 6 cm to join the two sides of the one already cut. I glued all this with silicone, but then I strengthened it with some plastic tape.
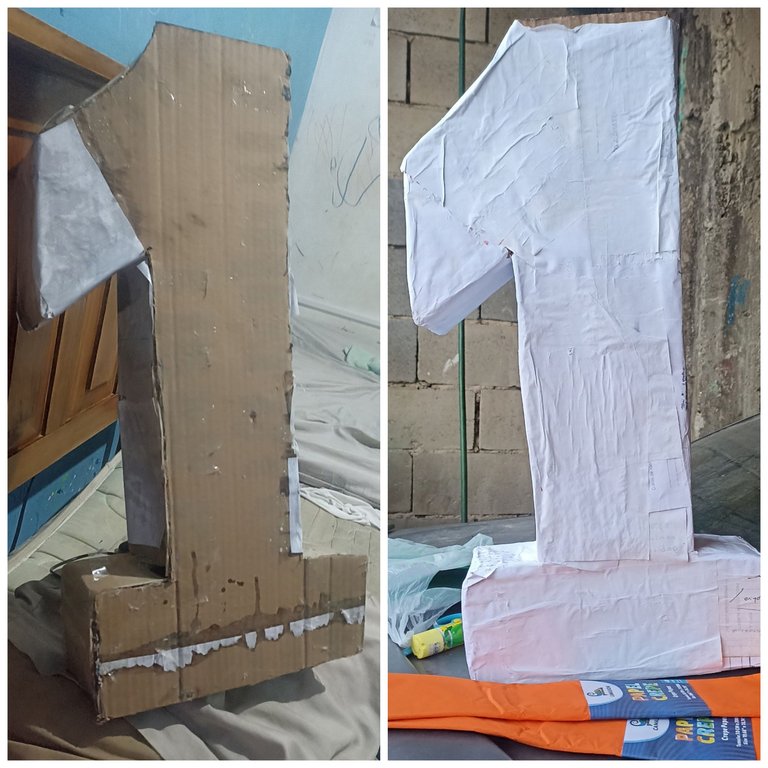
Seguidamente hice un poco de mezcla de pegamento blanco y agua para ir pegando retazos de papel, hojas de todo tipo con la intención de endurecer la piñata y sea más resistente a los golpes. Solo le realicé una capa ya que no eran muchos niños y eran pequeños.
Then I made a little mixture of white glue and water to go sticking scraps of paper, leaves of all kinds with the intention of hardening the piñata and be more resistant to shocks. I only made one layer since there were not many children and they were small.
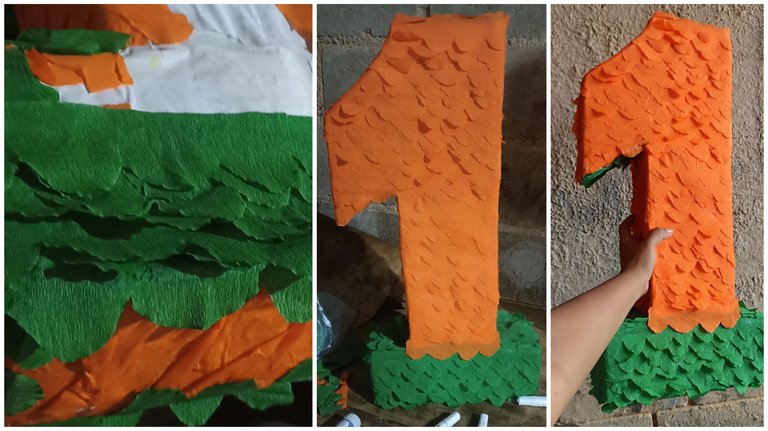
La parte más bonita fue decorarla. Aquí corté con curvas estilo nubecitas el papel crepé naranja y verde, comenzando a pegarlo tiras por tira hasta cubrir toda la piñata, mitad verde y mitad naranja.
The most beautiful part was to decorate it. Here I cut the orange and green crepe paper with cloud-like curves, starting to glue it strip by strip until I covered the whole piñata, half green and half orange.
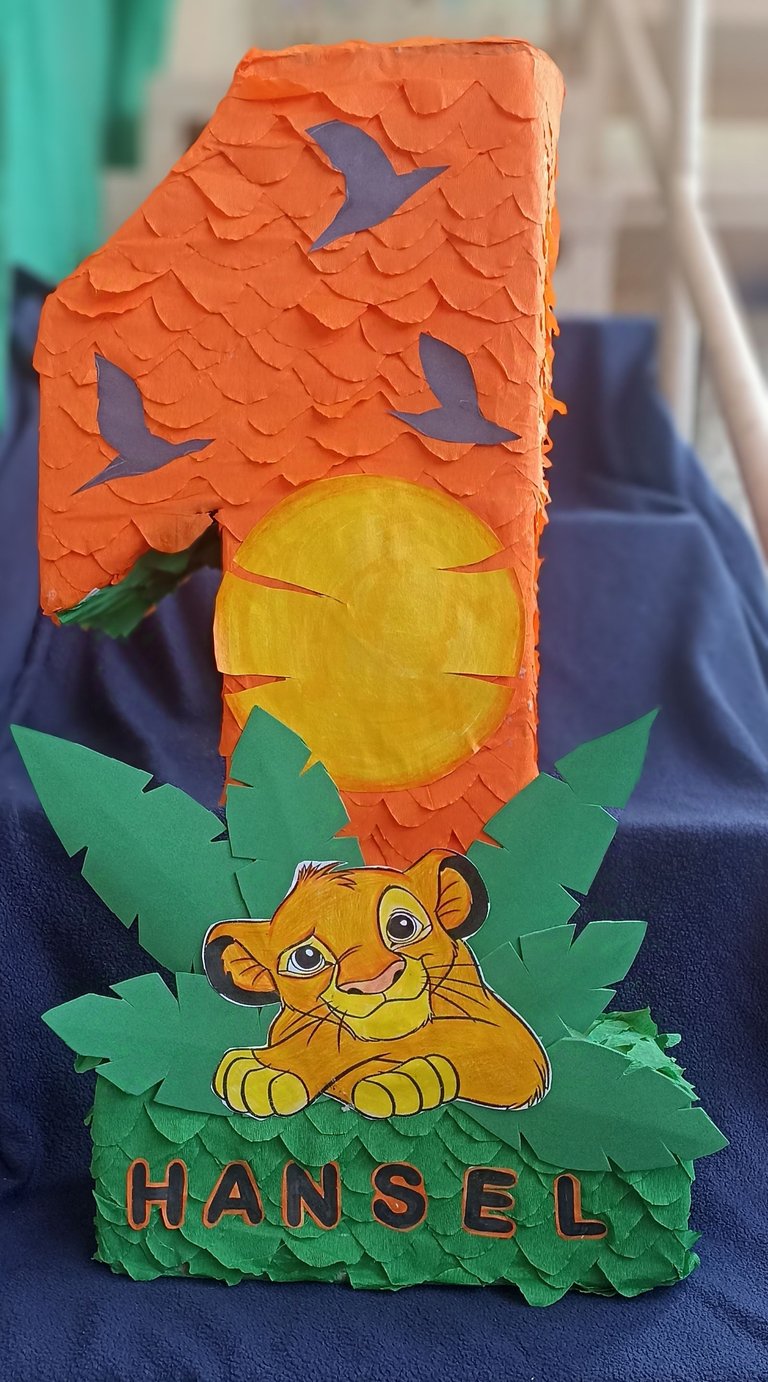
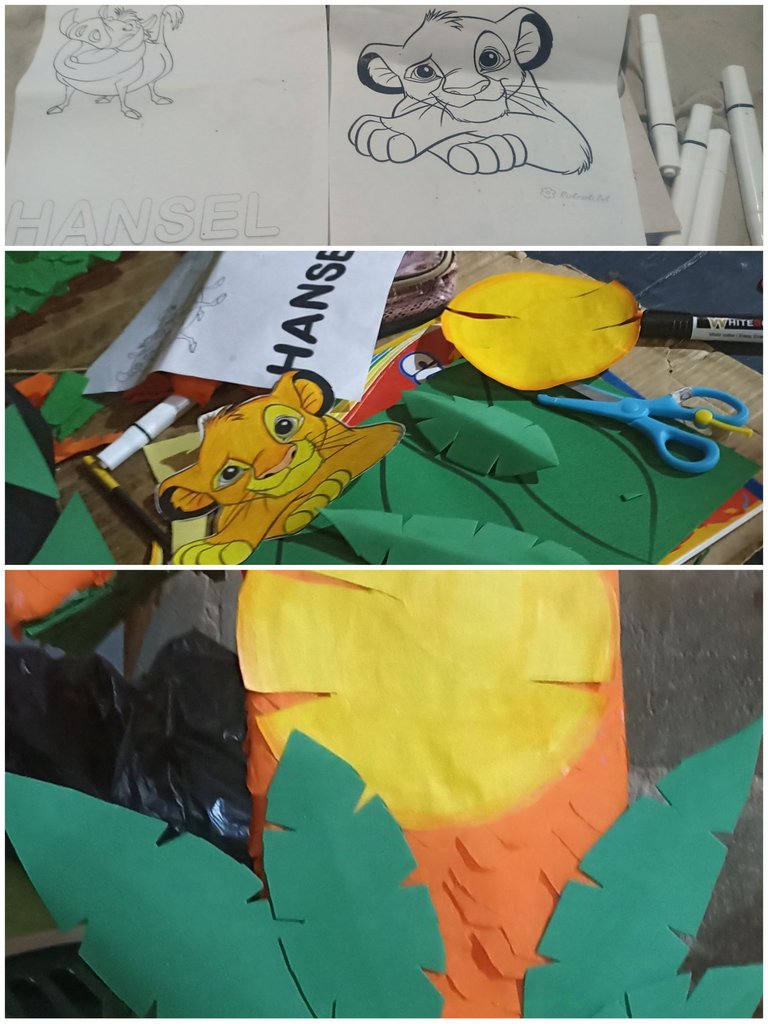
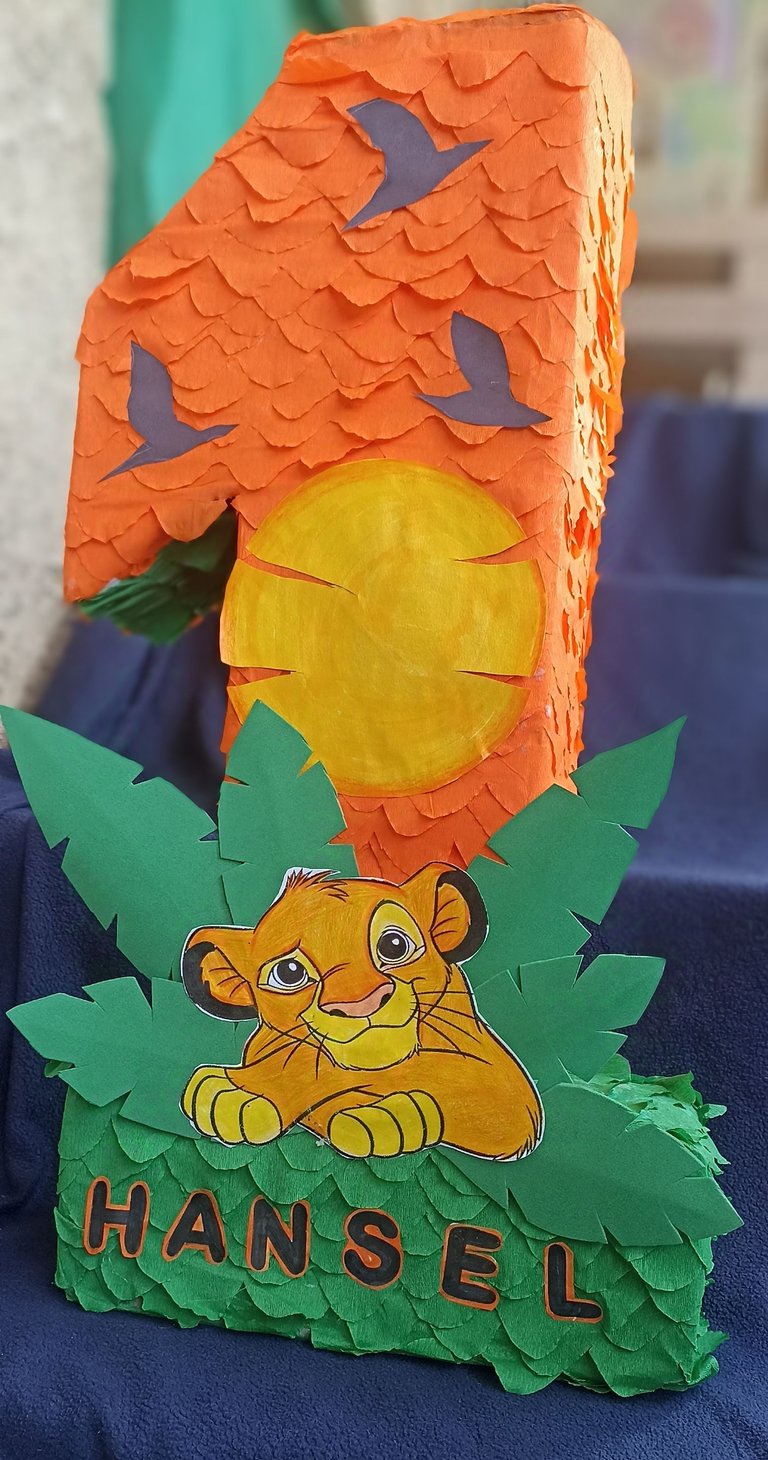
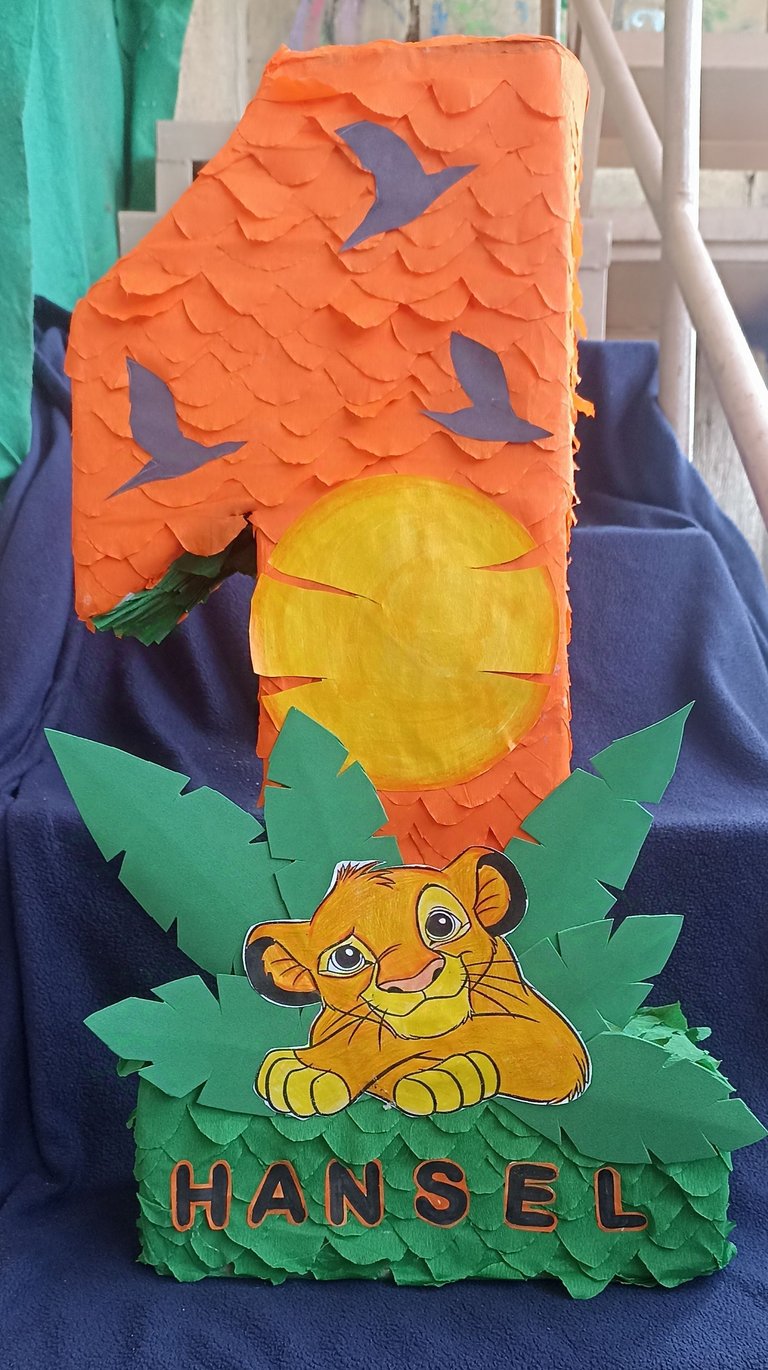
Para culminar, pegué algunos dibujos con la temática del Rey León que yo misma pinté y también el nombre del niño con algunos detalles en foami como hojas, el sol con un estilo muy de selva y también tres aves. Me encanta cómo quedó, sin duda una belleza a la cual le dediqué mucho cariño y esfuerzo como un regalo para mi sobrinito quien cumplía un añito.
To finish, I glued some drawings with the Lion King theme that I painted myself and also the child's name with some foami details like leaves, the sun with a very jungle style and also three birds. I love how it turned out, without a doubt a beauty to which I dedicated a lot of love and effort as a gift for my little nephew who turned one year old.
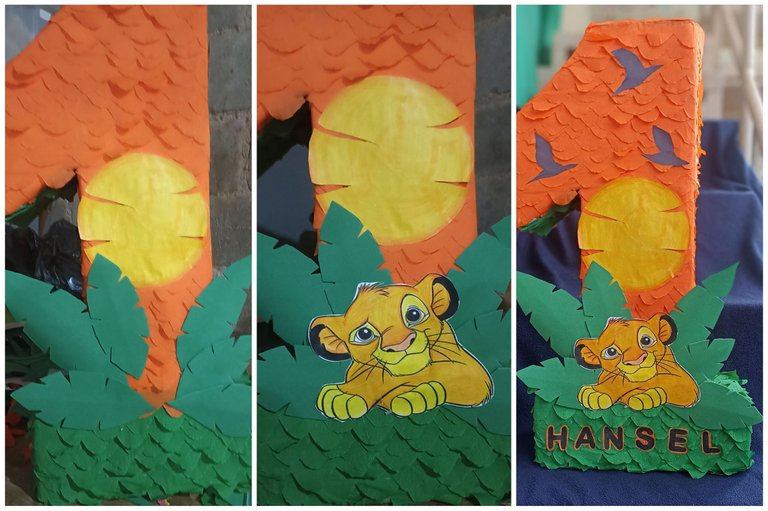
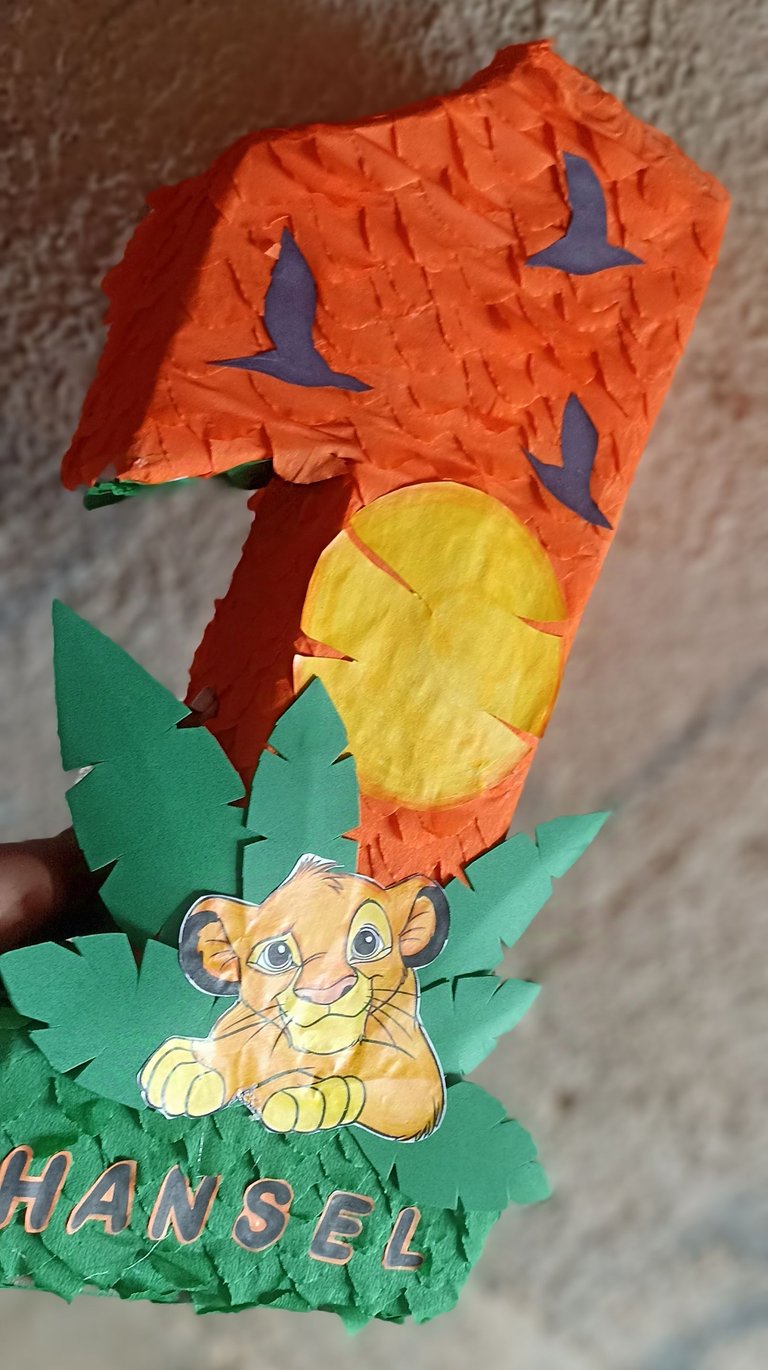
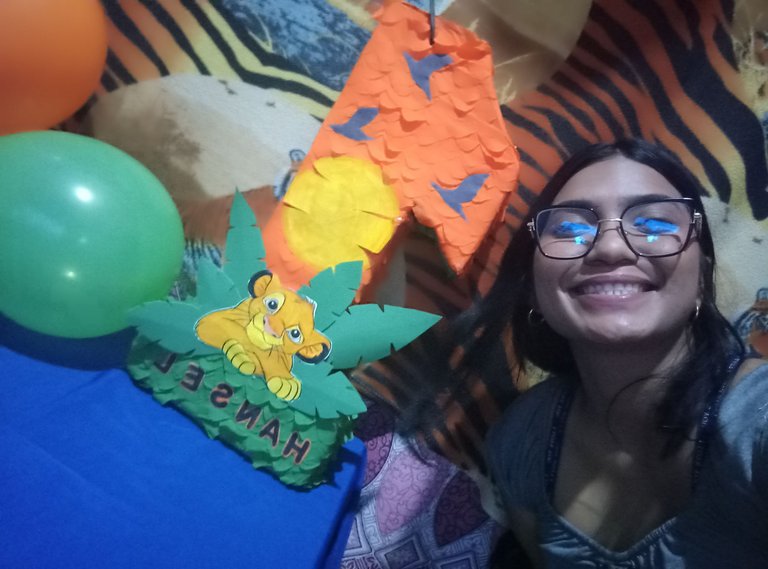
Aquí les muestro el resultado final de esta piñata inspirada en el Rey León. Como siempre, quiero darles las gracias por quedarse a leer y regalarme un ratito de su tiempo. Nos vemos en una próxima publicación. ¡Un abrazo!
Here I show you the final result of this Lion King inspired piñata. As always, I want to thank you for staying to read and giving me a little bit of your time. See you in a future post, hugs!



Lo haces ver muy simple con este gran paso a paso, estoy seguro que lleva mucha dedicacion . Muy bonita creatiidad. Felicidades! Ahora falta darle a la piñata! Saludos y exitos
Si bella, la verdad si se llevó su tiempo y trabajo pero me gustó mucho hacerla, es muy divertido hacer todo esto. Gracias @rodriguezkike232 por tu apoyo☺️
this is fantastic and you did great job to create this stuff using paper. nice
Gracias por todo el apoyo, un abrazo 🤗 @diyhub
quedo hermosa! un excelente trabajo de verdad, seguro le encanto
It was beautiful! a really excellent job, I'm sure she loved it!
Gracias bella por tu apoyo. Si les encantó 😃 un abrazo @yasmarit
Aww the pinyata is so lovely, very well done . You did an amazing job here !diy
Ayyyy gracias que linda 🤗 @meyateingi
You can query your personal balance by
@meyateingi just sent you a DIY token as a little appreciation for your post dear @keilis! Feel free to multiply it by sending someone else !DIY in a comment :) You can do that x times a day depending on your balance so:!DIYSTATS