Hola hola Hivers!!!
Hoy traigo para ustedes un detalle fácil de hacer que puede servir para guardar cositas de los pequeños de la casa o para entregar un obsequio, pero sobre todo que se puede realizar con cosas que tienen en el hogar. ¡Y es con material de Reciclaje!
Hello, hello, Hivers!
Today I bring for you an easy to do detail that can serve to keep things from the little ones of the house or to give a gift, but above all that can be done with things you have at home. And it's with recycling material!
Aprovecho así y me uno al Reciclaje Creativo Challenge propuesto por @jennyzer.
I take advantage of this and join the Creative Recycling Challenge proposed by @jennyzer.
Entonces nos ponemos manos a la obra.
Then we get down to business.
Proceso/Process
- Puedes imprimir los patrones según la foto anexo. Sino puedes imprimir lo puedes dibujar según las medidas.
Patron pequeño. 9 cm de alto x 9 cm de ancho
Patron grande. Base 9 cm, altura 16 cm, parte superior 11 cm.
You can print the patterns according to the attached picture. >Otherwise you can print it out according to the measurements.
Small pattern. 9 cm high x 9 cm wide
Big pattern. Base 9 cm, height 16 cm, top 11 cm.

- Recortar patrones y dibujarlos en el cartón.
Cut out patterns and draw them on the cardboard.
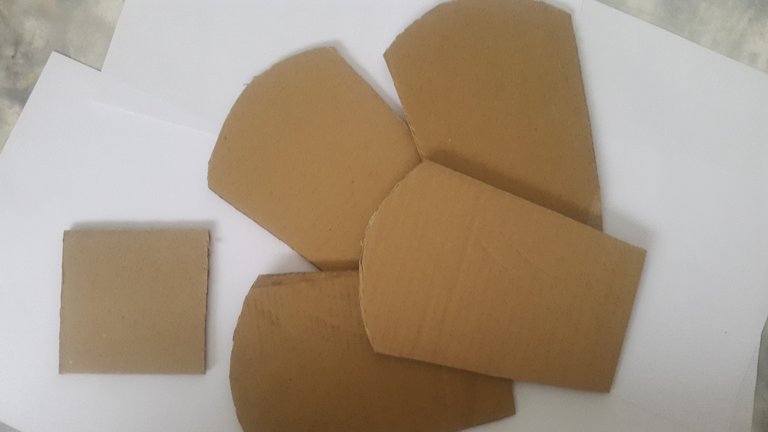
- Recortar las piezas de cartón, una (1) base, cuatro (4) piezas grandes.
Cut out the pieces of cardboard, one (1) base, four (4) large pieces.
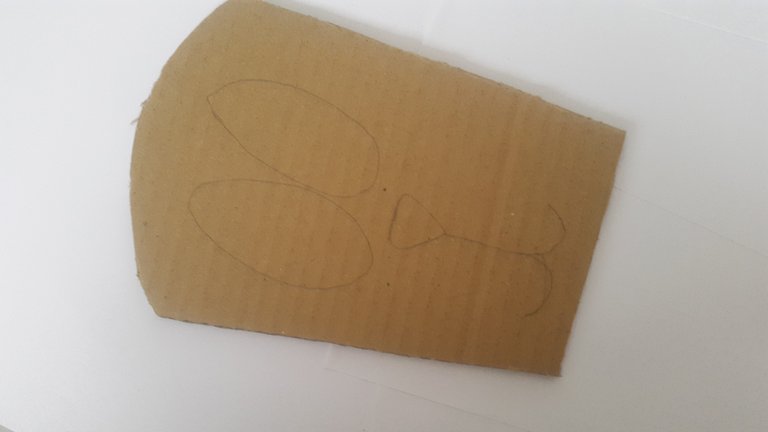
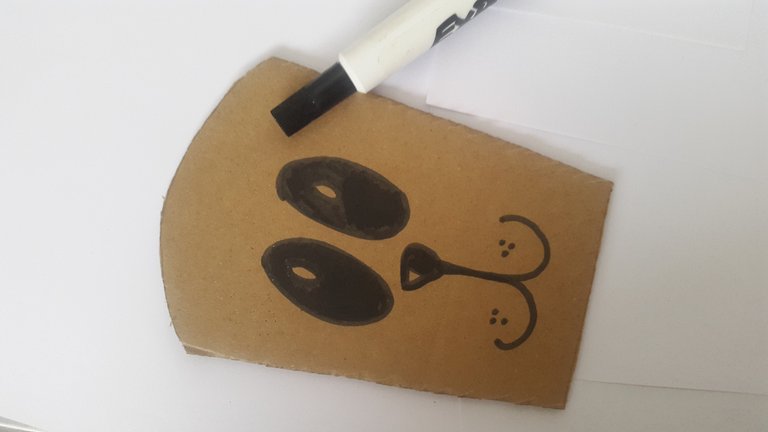
- Dibujar rostro en una de las piezas, primero con lápiz cuando estés a gusto con la forma, lo marcas con marcador.
Nota: En este caso no pinté los cartones porque el diseño es un osito, así aprovecho el color marrón.
Draw face on one of the pieces, first with pencil when you are comfortable with the shape, mark it with marker.
Note: In this case I didn't paint the cardboards because the design is a teddy bear, so I take advantage of the brown color.
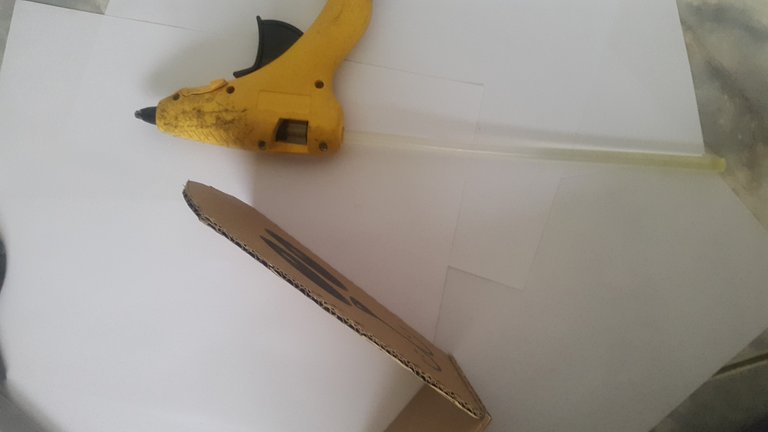
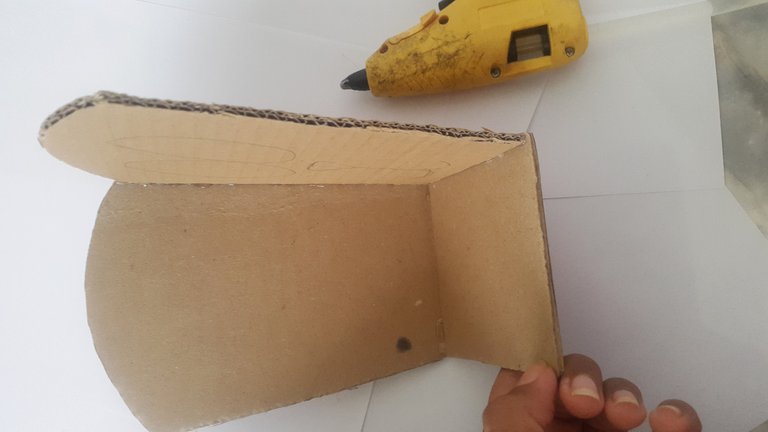
- Pegar las piezas, iniciando con una pieza grande y la base. Luego vas pegando las demás piezas grandes.
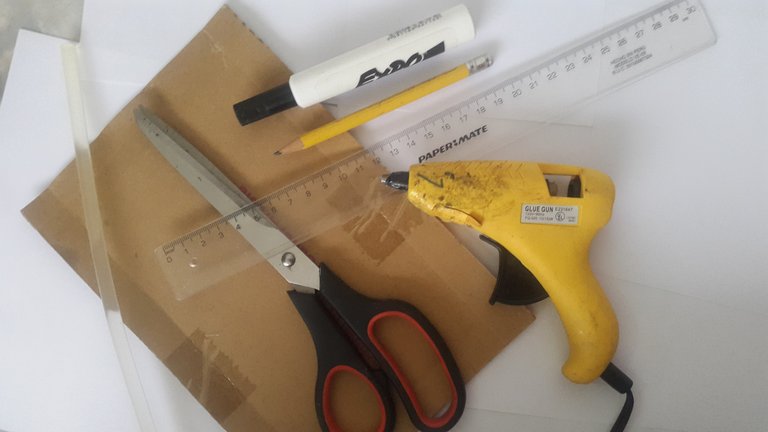
Nota: Se puede pegar no cualquier tipo de pega, yo lo realice con silicón caliente por la rápidez.
Paste the pieces, starting with a big piece and the base. Then you paste the other big pieces.
Note: You can glue not any kind of glue, I made it with hot silicone because of the speed.
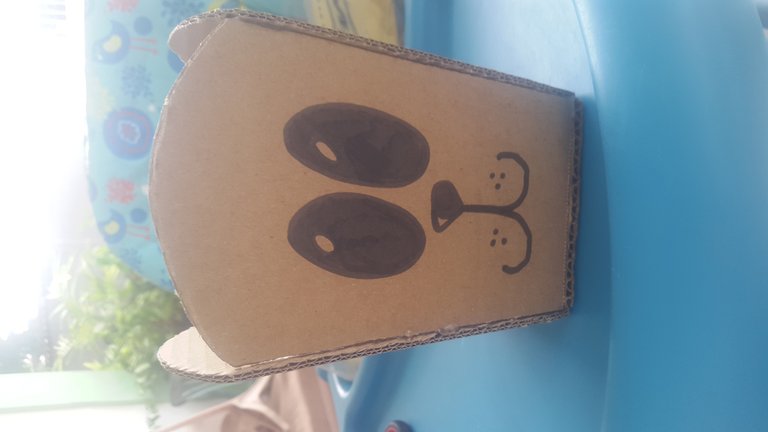
Y listo!!!
And that's it!

Tenemos lista nuestra cajita, que puede servir como un lindo cotillón, una cajita para guardar o una cajita para obsequiar.
We have our little box ready, which can serve as a nice cotillion, a little box to keep or a little box to give away.
Espero les haya gustado.
I hope you liked it.
Recuerda somos visitantes en este mundo. Seamos conscientes creemos un nuevo mundo.
Remember we are visitors in this world. Let's be aware that we are creating a new world.
Gracias por estar aqui.
Thank you for being here.
Esta es una excelente opción para reutilizar el cartón, simple pero no deja de ser una manualidad muy linda, y lo más importante es que estas reciclando.
Very cute! ❤️
Thank you very much.
Chevere para reutilizar los cartones quedo genial gracias
Si. Así damos un nuevo uso. Gracias por estar aquí