✨Bienvenidos. // Welcome. ✨
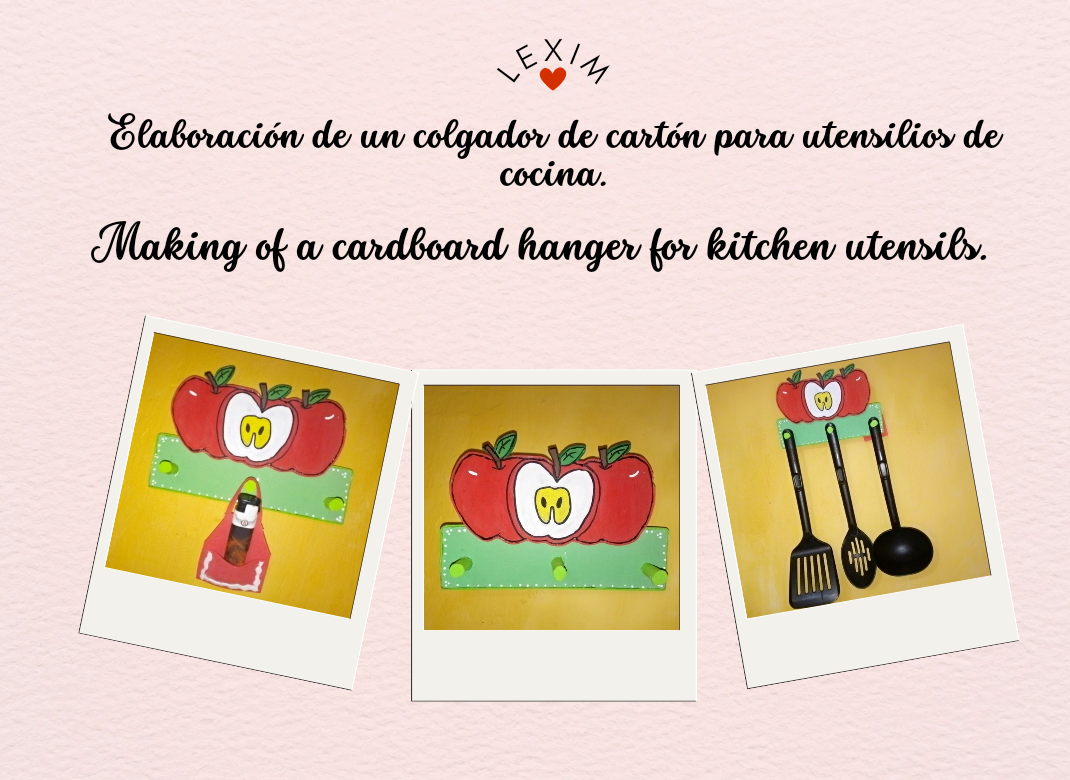
Hello to all dear colleagues a pleasure to greet you. Today I want to share one of my creative activities that I like to do with much affection for you a step by step this time I made a hanger for kitchen utensils made of cardboard very nice and simple and of course easy to perform can be hung on the wall saving space in the kitchen we can hang the spoon, knives, lighter and even the keys so they do not get lost also serves to decorate the kitchen I hope you like it here I leave its elaboration.
Hola a todos queridos compañeros un gusto en saludarlos. Hoy les quiero compartir una de mis actividades creativas que me gusta hacer con mucho cariño para ustedes un paso a paso en esta ocasión elabore un colgador de utensilios de cocina hecho de cartón muy lindo y sencillo y porsupuesto fácil de realizar se puede colgar a la pared ahorrando espacio en la cocina podemos colgar cuchara, cuchillos, encendedor y hasta las llaves para que no se pierda también sirve para adornar la cocina espero que les guste aca les dejo su elaboración.

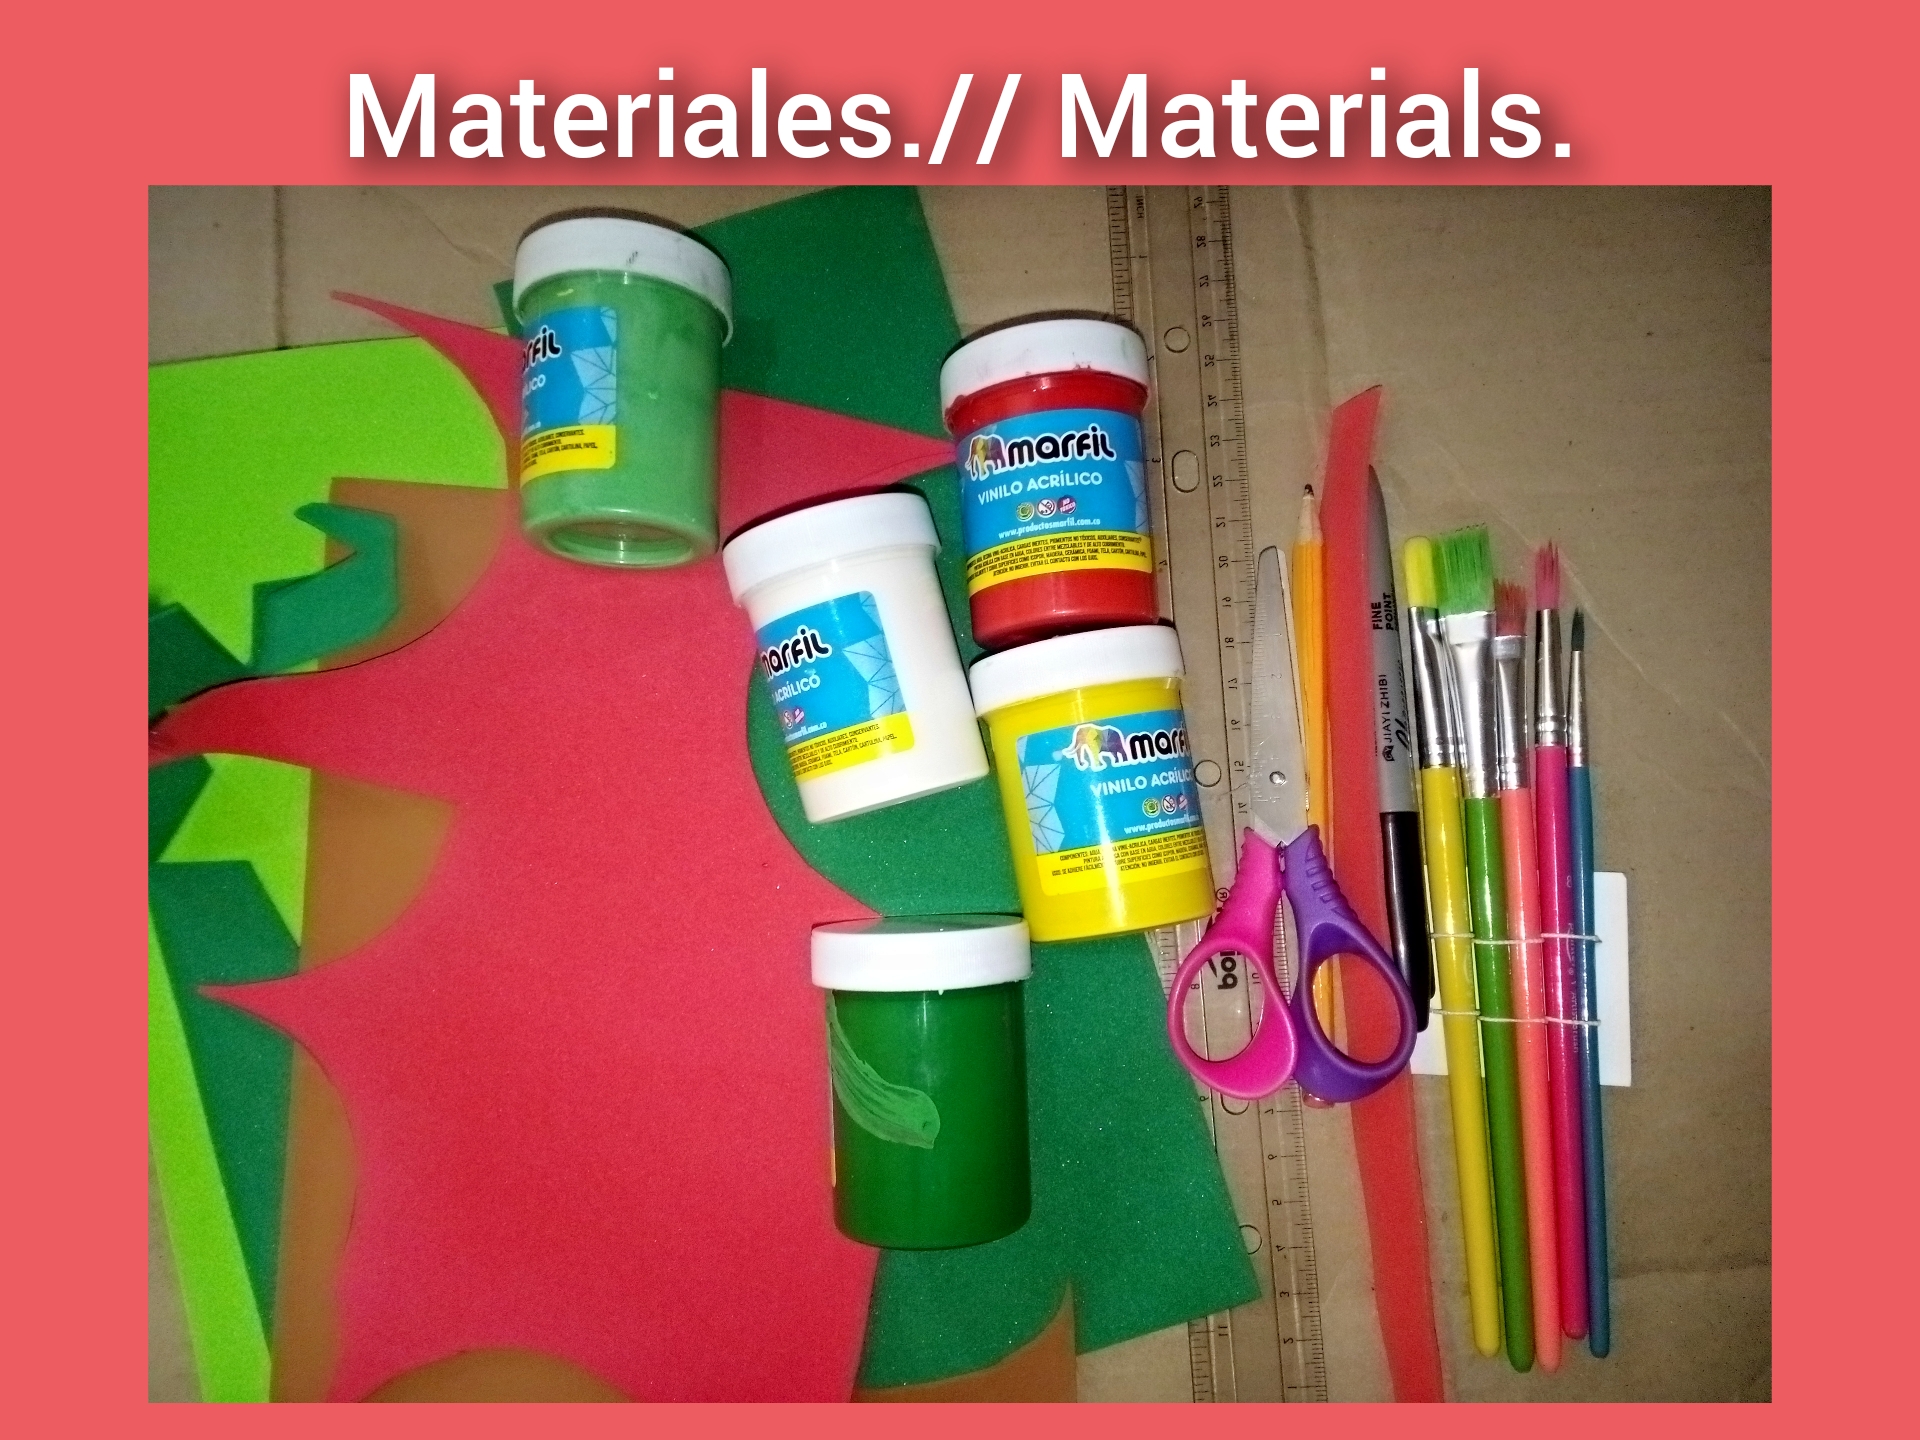
Materials.
Materiales.
- Thick cardboard.
- Pencil.
- Scissors.
- Ruler.
- Brushes.
- Assorted eva rubber.
- Stencil.
- Assorted acrylic paint.
- Silicone gun.
- 1 toothpick.
- Marker pen.
- Cartón grueso.
- Lápiz.
- Tijera.
- Regla.
- Pinceles.
- Goma Eva surtidos.
- Plantilla.
- Pintura acrílica surtidas.
- Pistola de silicón.
- 1 palillos.
- Rotulador.
Step by step.
Paso a paso.
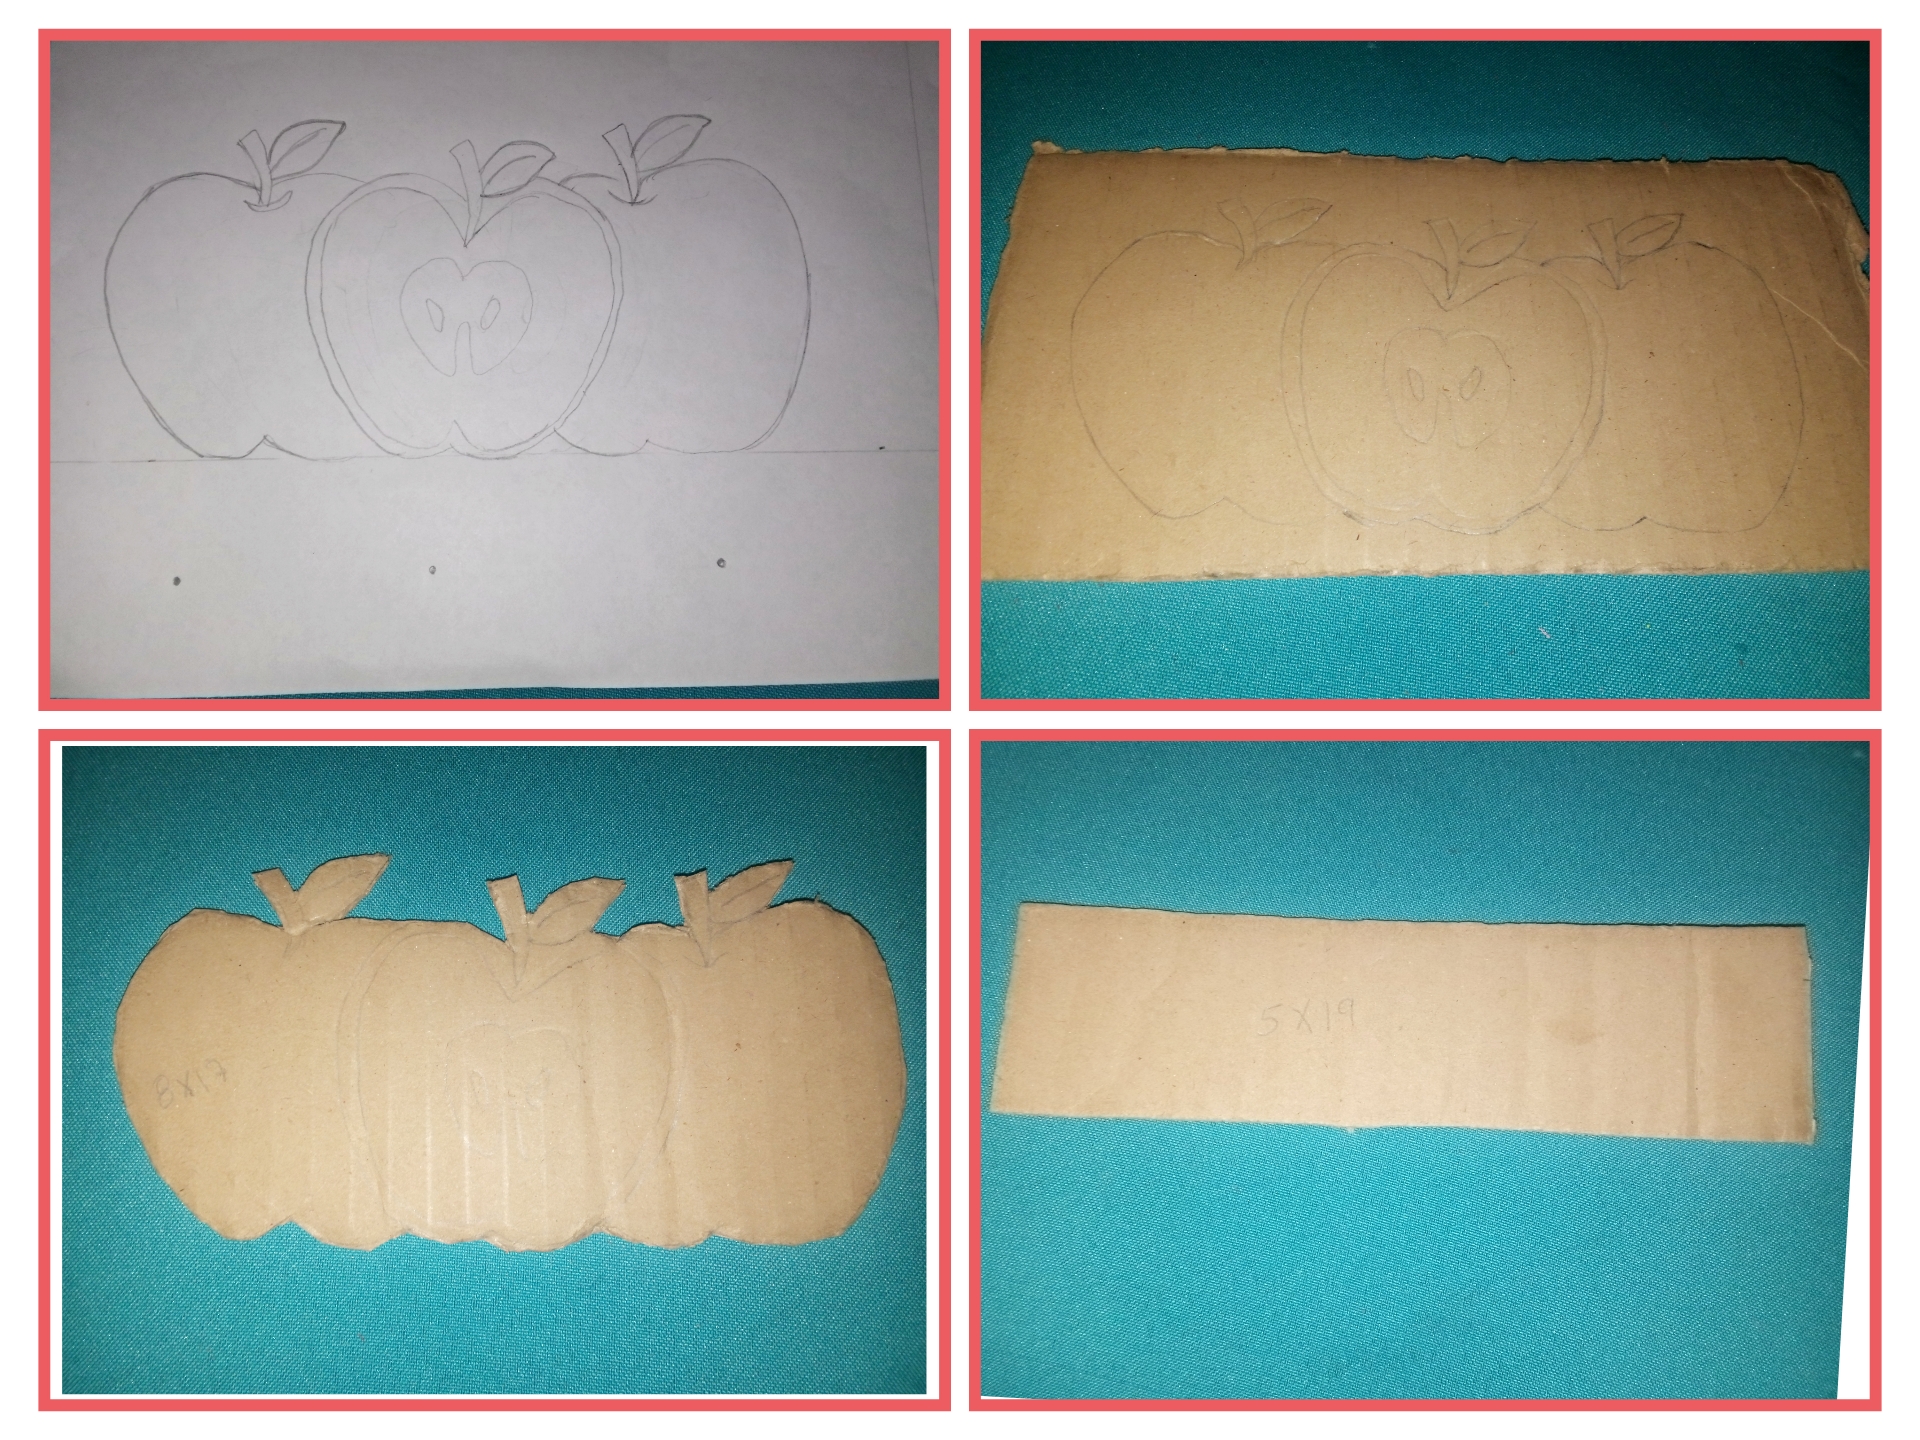
Paso 1. // Step 1.
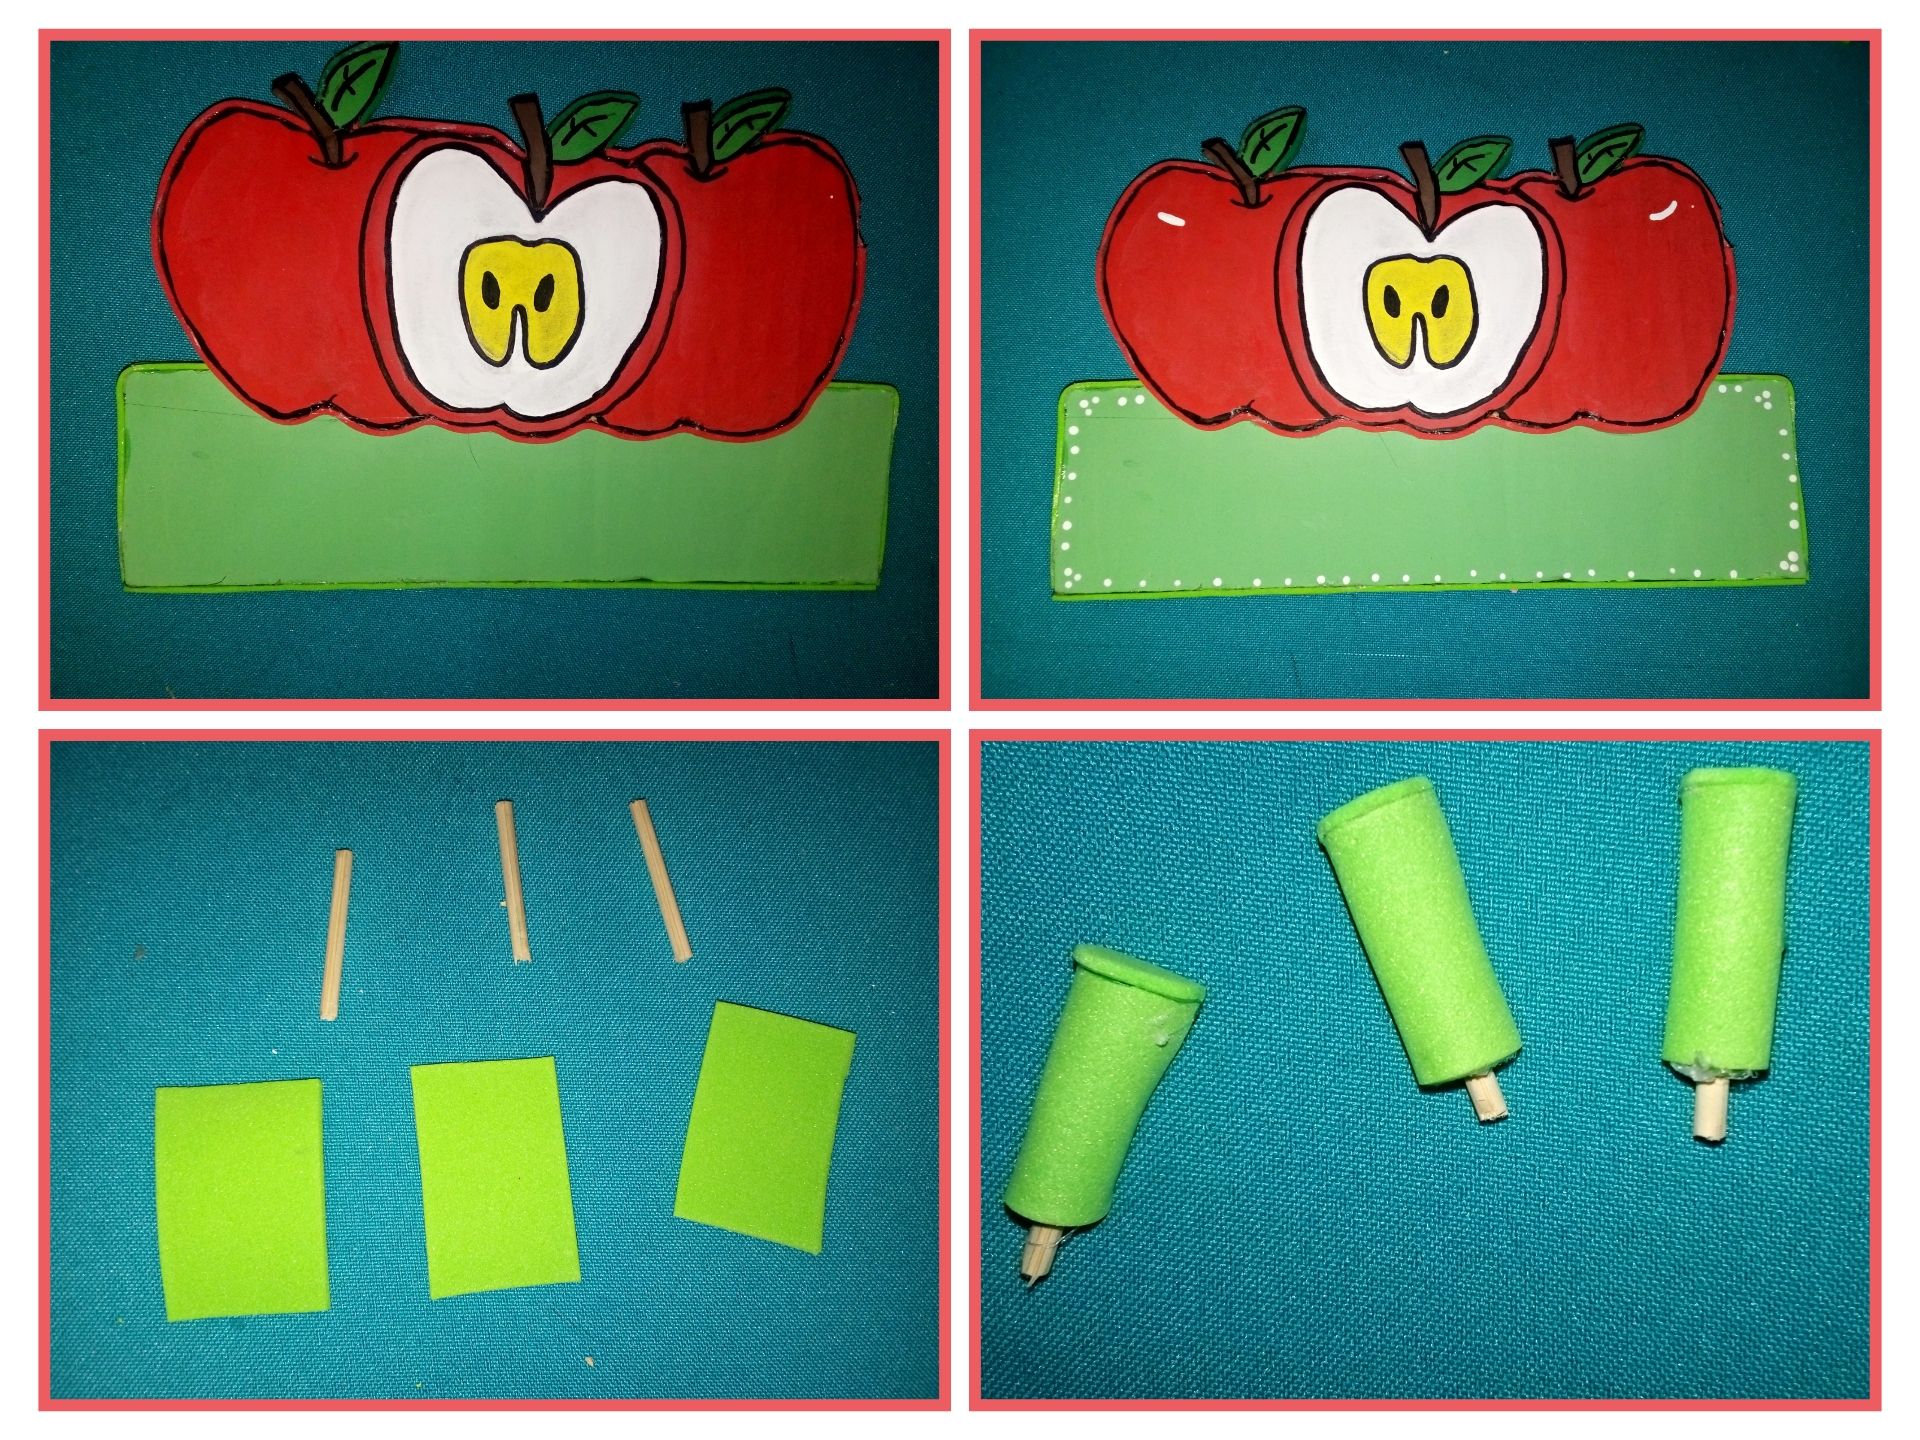
Take the template of the apples and draw on the cardboard cut all around the edge and then cut another cardboard with the measure of 5x 19 centimeters.
Coge la plantilla de las manzanas y dibuja sobre el cartón corta por todo el borde y luego corta otro cartón con la medida de 5x 19 centímetros.
Paso 2. // Step 2
We paint with acrylic paint with a red for the apples, green for the leaves, brown for the trunk, white inside, and yellow for the seed and the seeds in black so we finish painting the apples and outline with the black marker. And paint the 5 x 19 centimeters cardboard in light green. With the eva rubber, cover the edges and glue a handle on the back to hold the apples.
Pintamos con la pintura acrílica con un rojo para las manzanas, verde para las hojas, marrón para el tronco, el blanco por dentro, y el amarillo por la semilla y las semillas de negro así terminamos de pintura las manzanas y delineamos con el rotulador negro. Y pinta de verde claro el cartón de 5 x 19 centímetros. Con la goma Eva cubre por los borde y atrás pegamos un asa para sujetar.
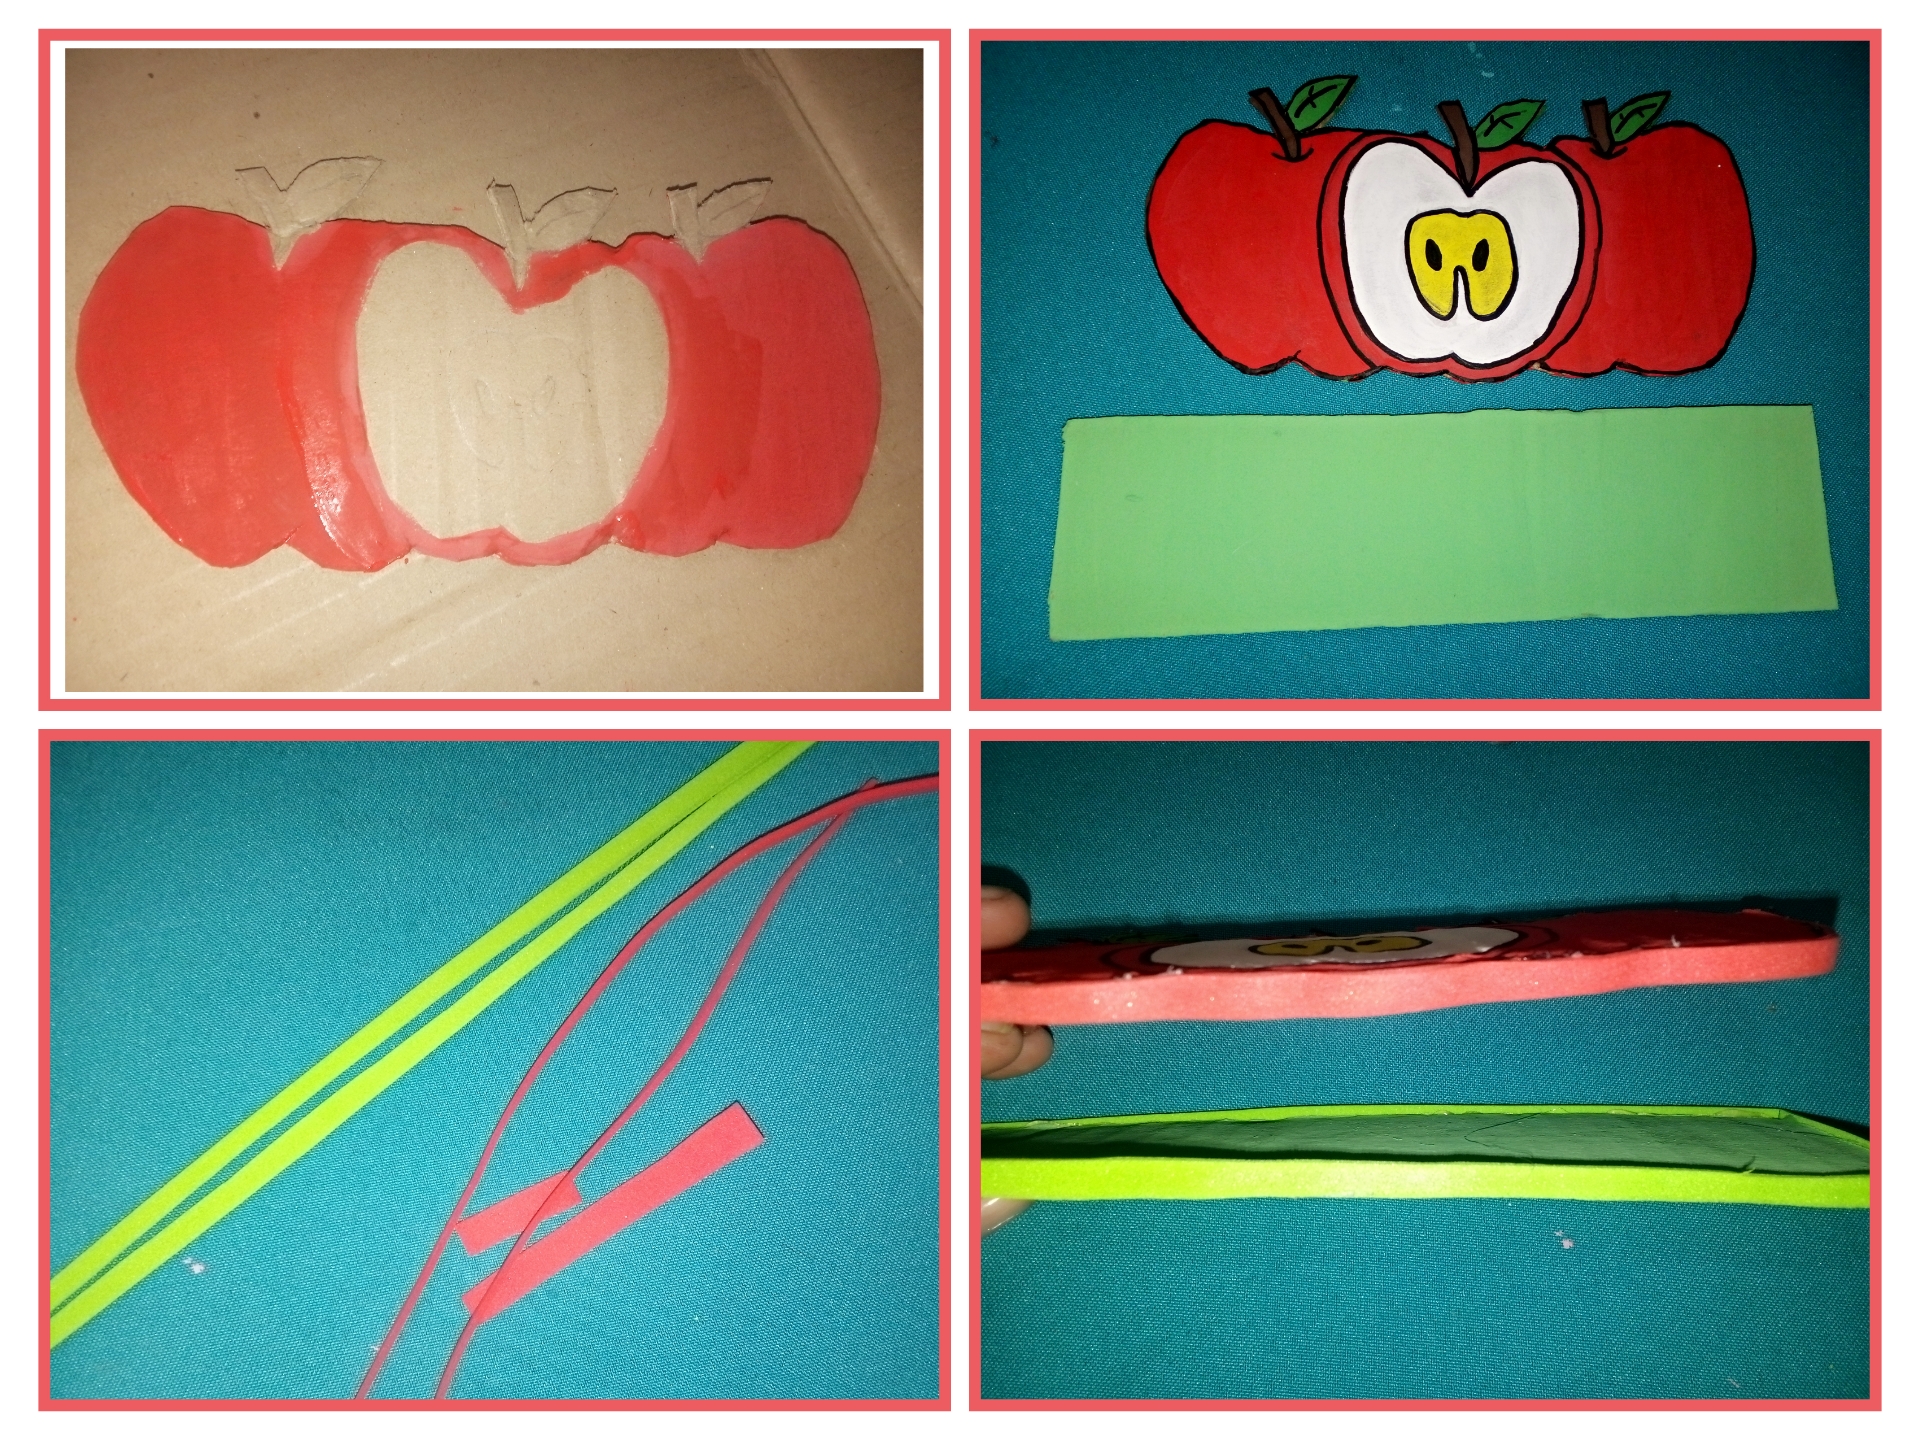
Paso 3. // Step 3.
Glue the two pieces, the apples and the rectangle. Decorate the light green cardboard with white acrylic paint with dots. Cut three 3 x 3 centimeter pieces of Eva rubber and three sticks by rolling the Eva rubber inside a stick and gluing it with hot silicone.
Pega las dos piezas las manzanas y el rectángulo Decorar con puntos el cartón verde claro con pintura acrílica de color blanco. Corta tres pedazo de goma Eva de 3 x 3 centímetros y tres palillos enrollando la goma Eva dentro de un palillos pegando con silicón caliente.
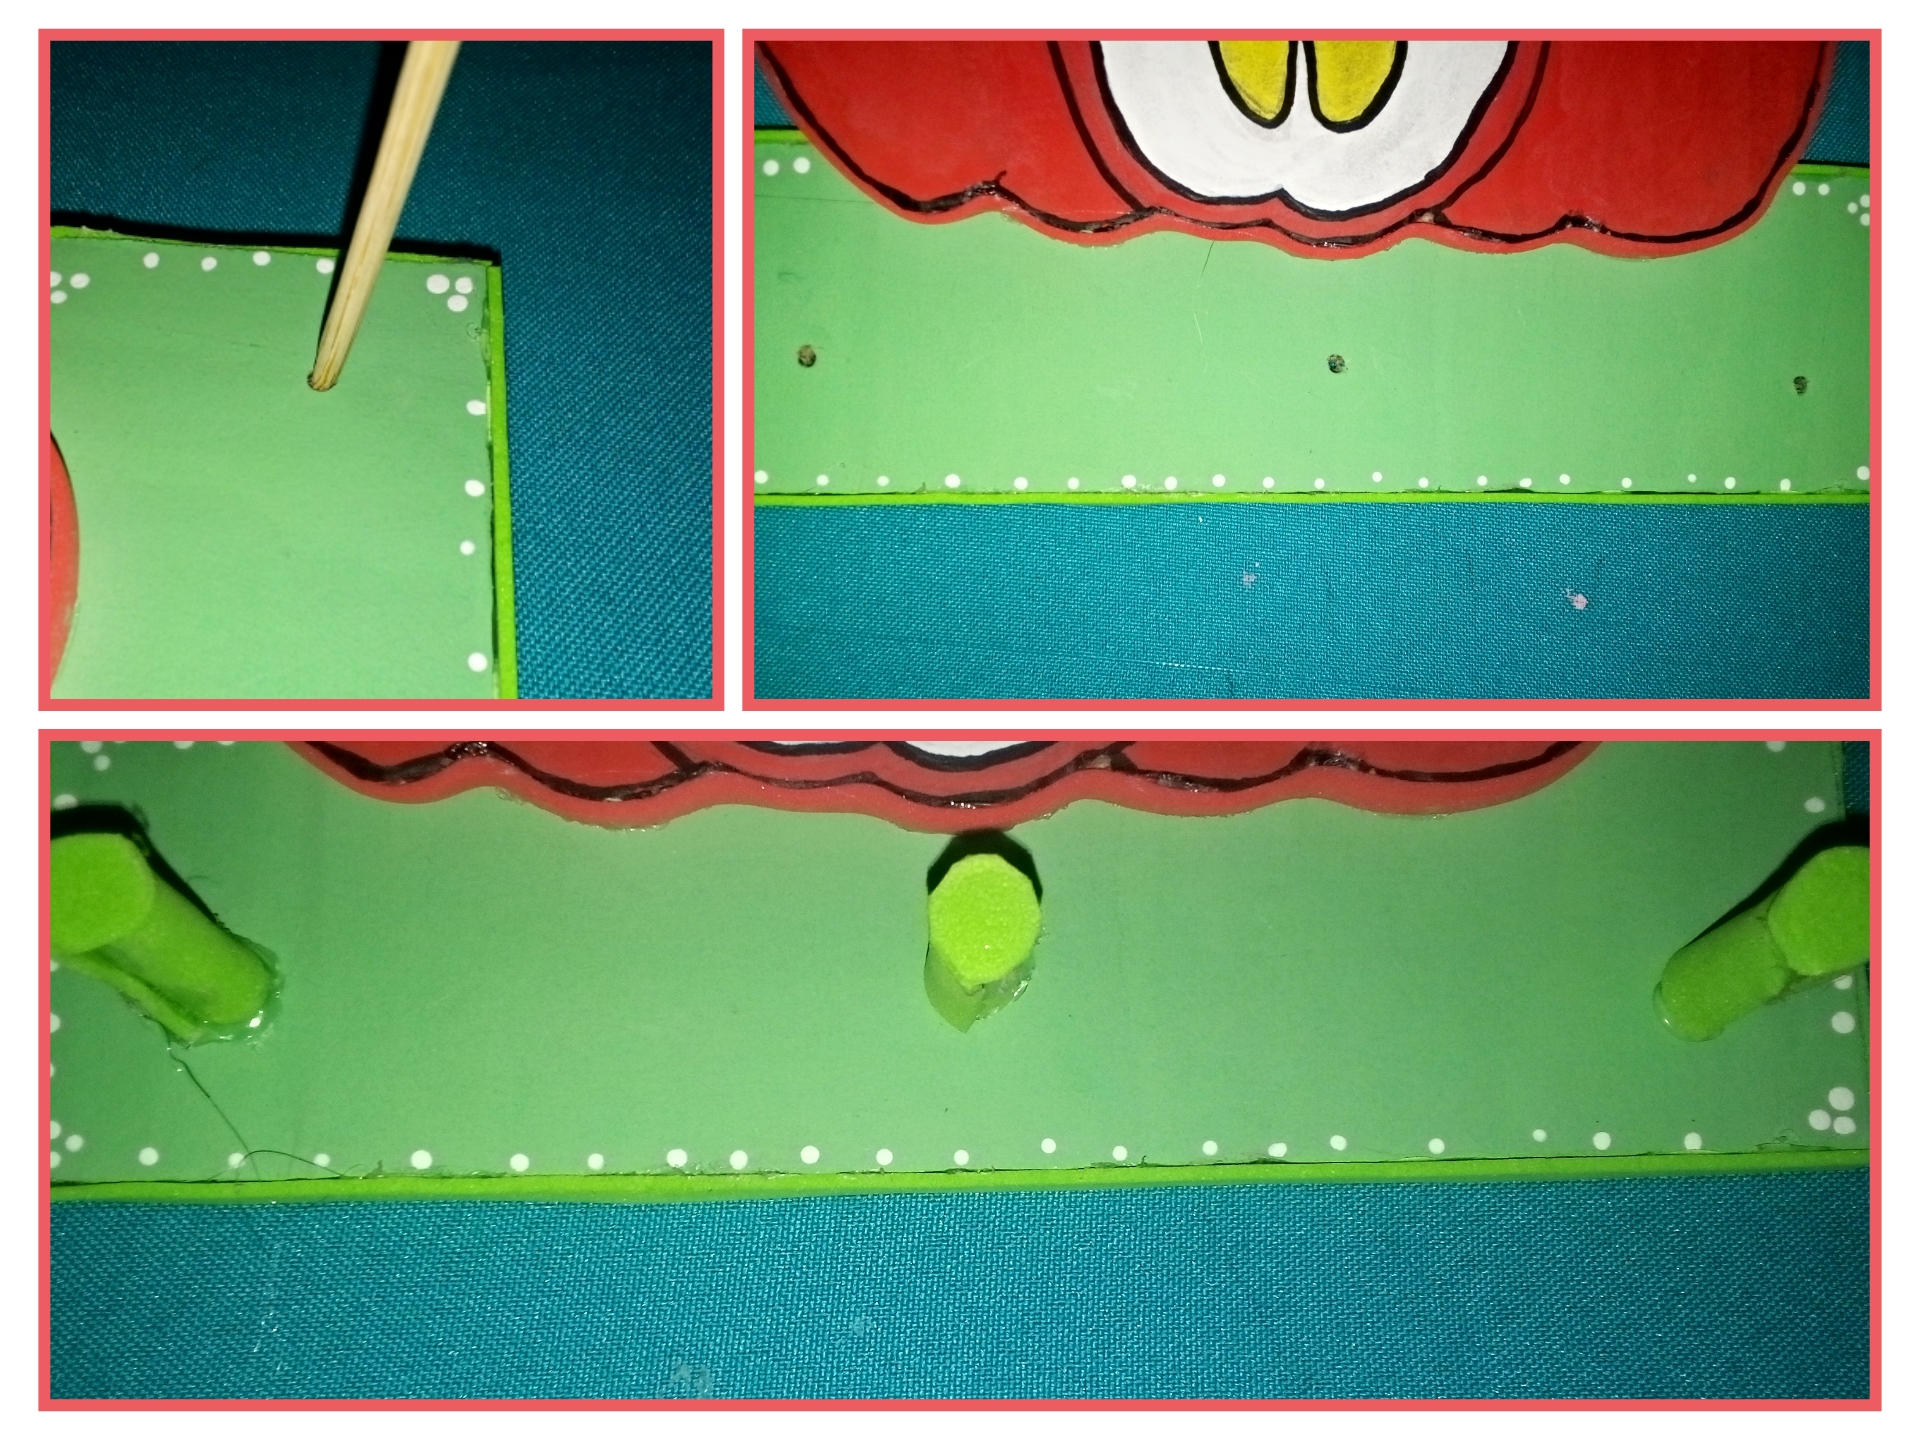
Paso 4. // Step 4.
Make three holes with the help of a toothpick to place the utensils and glue the three fasteners with hot silicone and we have finished the kitchen utensil hanger.
Haz tres agujeros con la ayuda de un palillos para colocar los utensilios y pega los tres sujetadores con silicón caliente y hemos culminado el colgador de utensilios de cocina.
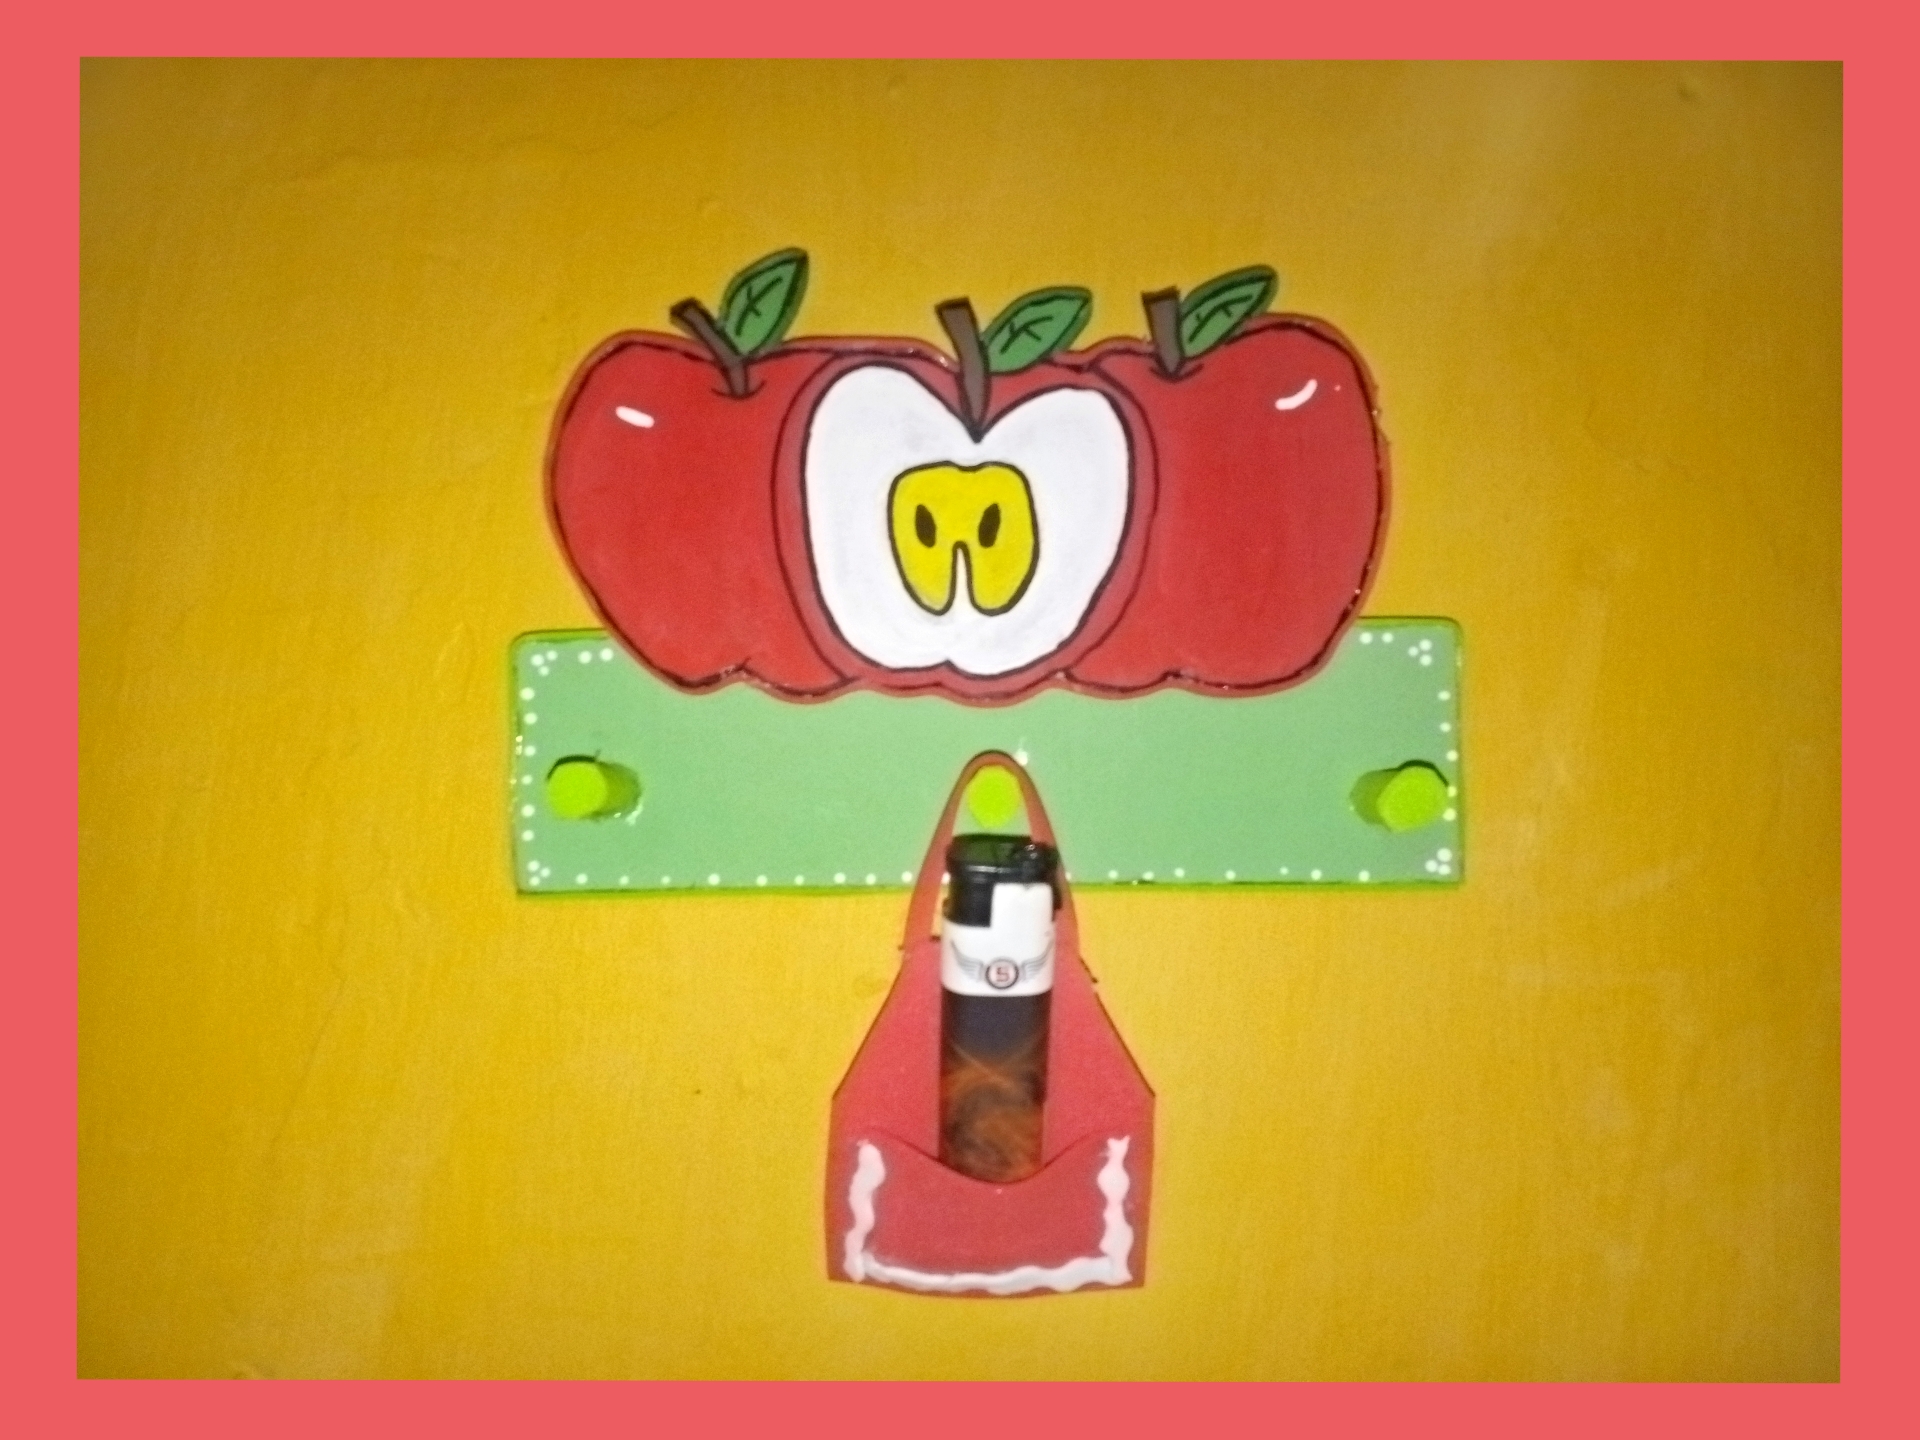
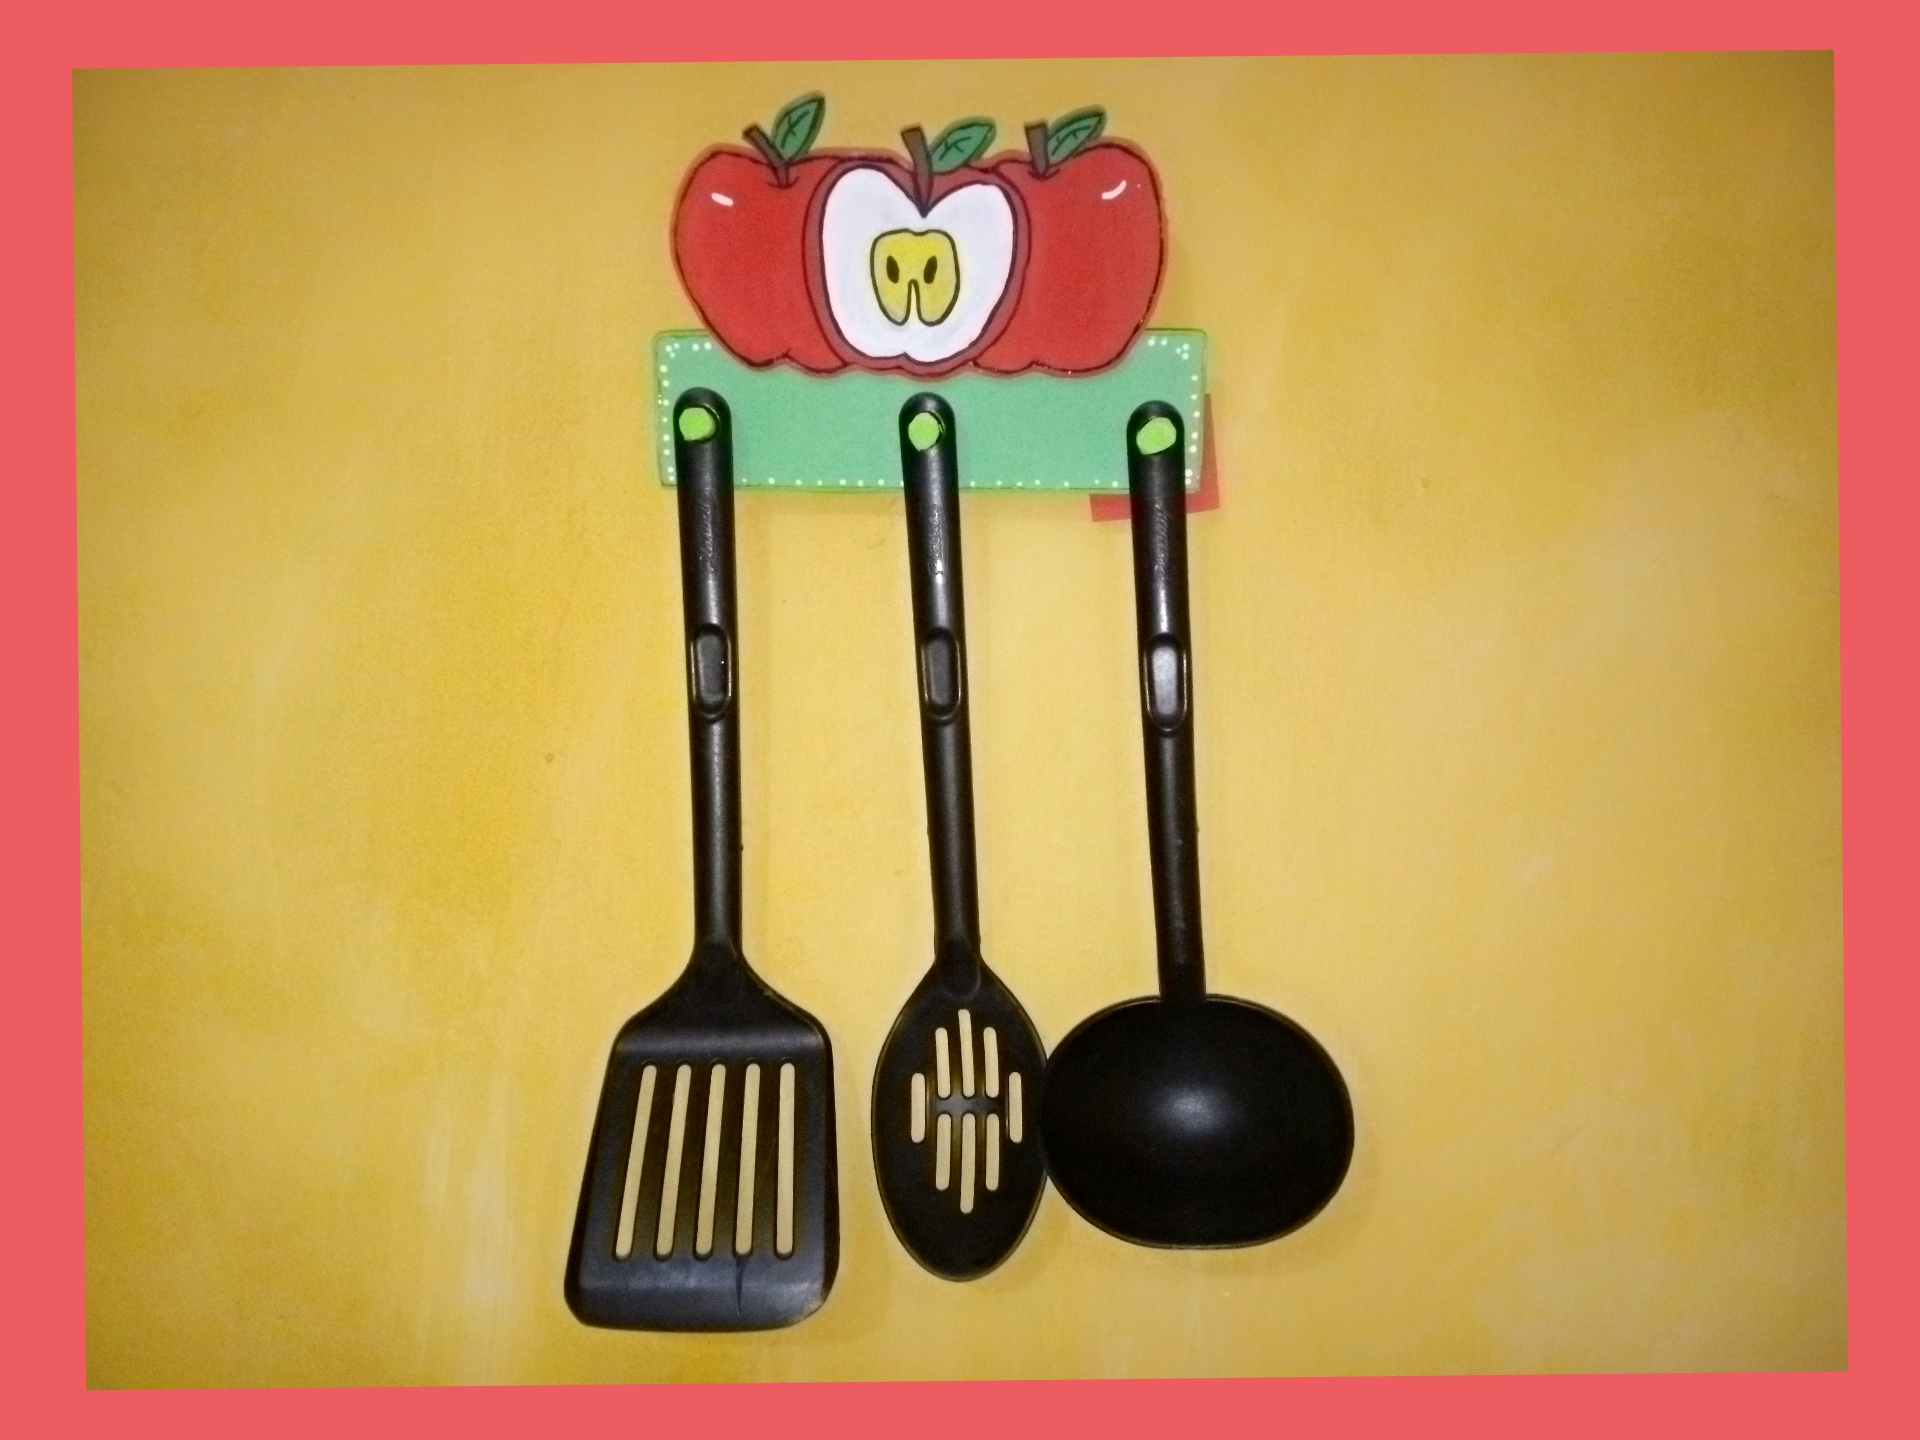
✨Final result. // Resultado final.✨
Gracias por visitar.
Todas las fotos y el contenido son originales que hago diariamente para mi blog. Para La traducción uso deepl los marcos y separadores es usado de canva .📷🖼️🤗
Thank you for visiting.
All photos and content are originals that I make daily for my blog. For translation I use deepl the frames and separators are used from canva .📷🖼️🤗

Wow this is really beautiful hanger. I really love the color combinations
Thank you very much that you like the utensil hanger if the colors are very cheerful and makes a nice atmosphere in the kitchen.
a kitchen hanger is a smart creation. Now the place can tidy and all utensils are well stored.
Bravo.
That's right @diyhub we keep everything tidy and save space in the kitchen.
❤️
I like it , very simple , nice job
!DIY
Thanks I'm glad you liked it, it's super simple and cute and practical to make.
You can query your personal balance by
!DIYSTATSEsta muy lindo tu trabajo amiga, bello y llamativo para ese espacio como lo es nuestra cocina.
Gracias por regalarnos tu proceso...
!DIY
Hola @dayadam gracias por tu comentario, si queda muy lindo en la cocina y a la vez mantenemos el orden.
You can query your personal balance by
!DIYSTATS