
Hola queridos amigos, hoy les traigo el proceso de como hice este colgante con este cristal ahumado en forma de rombo, que fue un pedido de una clienta que me lo entrego, para este caso y la mayoría donde haya que engastar, me siento un poco inseguro, ya que no es de mis habilidades más desarrolladas dentro del conocimiento práctico de la joyería, pero igual tengo la capacidad de sacar por lo menos este tipo de proyectos adelante y quedar contento con el resultado.
Para este post narraré más o menos como fui realizando la pieza sin dar detalles de medida y otros datos, básicamente porque fui haciendo y resolviendo según los materiales que tenía a mano en mi mesa, además de que mientras hago esta pieza voy haciendo otras y me tardo varios días; igual le daré alguna lista de elementos usados para elaborar esta pieza:
- Fleje, hilo y lámina de plata.
- Pinzas de joyería, redonda, plana y piqueta
- Arco de segueta y sierras 2/0
- Soladura de plata
- Lijas 3m 220, 360 y 400, además de limas.
- Ácido para decapado de piezas
- Bórax como fundente, soplete.
- Motor de banco
- Cera de Pulir para joyería y discos de algodón o mopa para sacar brillo.
PROCESO

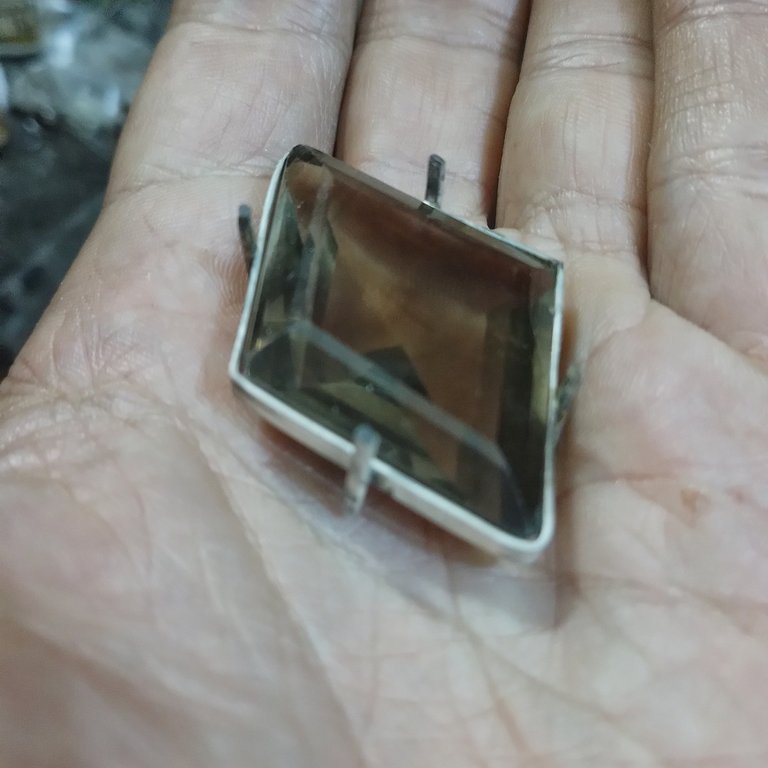
Esta es la vista del cristal en mi mano para que aprecien el tamaño.

El fleje de plata lo moldeé con las pinzas de joyería con mucho cuidado y luego trate de cortarlo a la medida para soldar después. En este paso debí pasar por fuego con el soplete para ablandar la plata y poder moldear mejor y luego hacer el corte con la segueta.

Soldé y fui moldeando un poco para que el cristal entrara en el rombo de plata, ya que al aplicar fuego la estructura de plata suele deformarse un poco y hay que hacer ajuste para que el cristal entre.

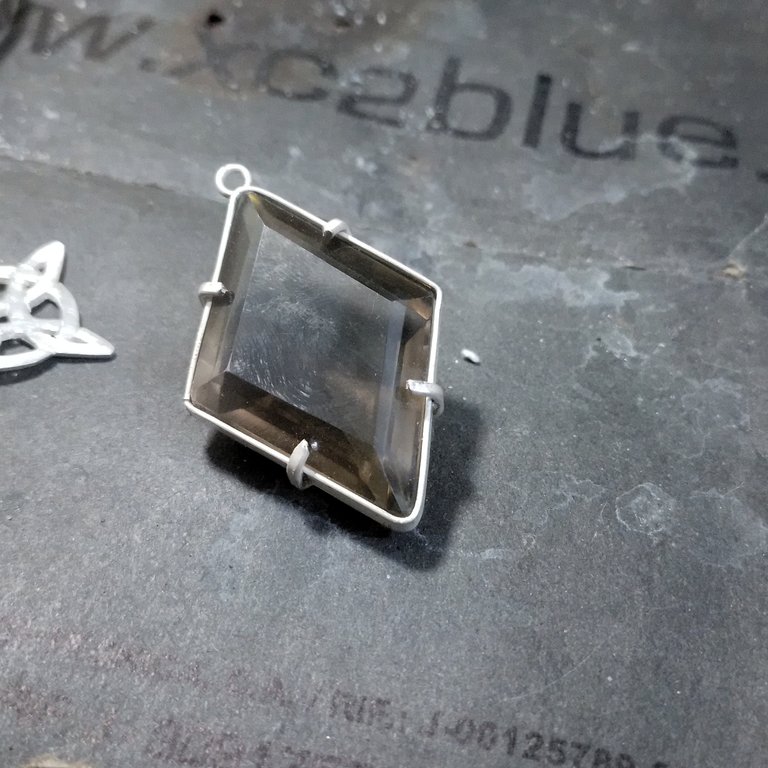
Allí en la imagen se aprecia las 4 garras que le soldé al rombo, estas su función va a ser sostener el cristal. Para soldar lo hice una por una, usando la soldadura de plata, bórax como fundente y aplicando fuego con el soplete, me ayude con unas pinzas que son para sostener la pieza mientras se soldá.
En la imagen se aprecia que hay un avance, pero aún queda trabajo. Lo metí luego al ácido para que se quitara el chamuscado que quedo en la plata luego de la actividad de soldar.

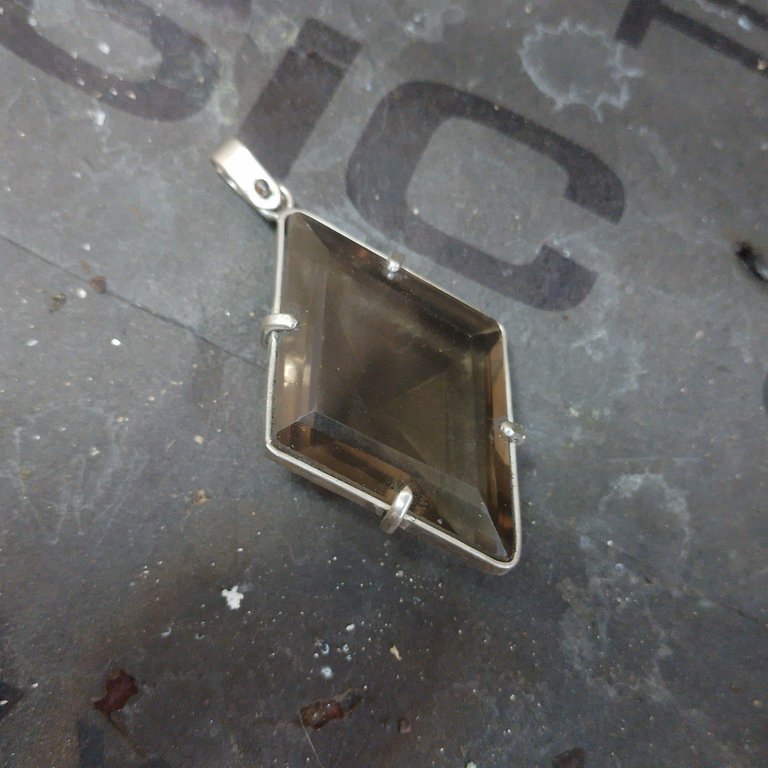
Soldé un aro que servirá para colocar el pasador de la cadena o collar.

aquí ya se aprecia como encaja el cristal en nuestra estructura.

En teoría ya tenemos armada la base de plata donde engastaremos el cristal.

Otra vista del cristal por la parte posterior.
Con paciencia y las pinzas planas, fui cerrando las garras para ajustar el cristal, antes corte y lime las puntas de las garras para un mejor acabado.
Quería evitar riesgo, así que el pasador lo corte y abrí hueco donde pudiera pasar un hilo de plata y así no soldar, a este hilo le hice una bola con el soplete. El dobles del pasador lo hice con una pinza redonda.
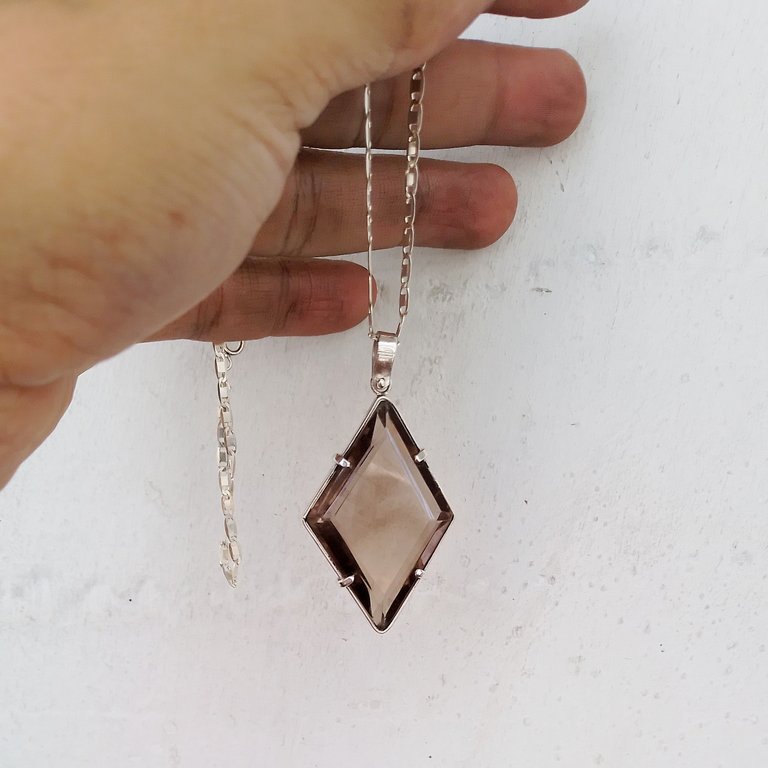
Este es el resultado final luego de lijar y pulir, este ultimo proceso lo hice con el motor de banco y las mopas o discos de tela de algodón con un poco de cera para pulir.
Espero les haya gustado el resultado igual que a mi.
Si quieren ver mi trabajo de joyería y seguirme vayan a:
https://www.instagram.com/m16ueljoyas
¡GRACIAS!
///////////////////////////////////
//////////////////////////
/////////////
///////
///
/
ENGLISH / GOOGLE TRANSLATOR
Hello dear friends, today I bring you the process of how I made this pendant with this smoked crystal in the shape of a rhombus, which was a request from a client who gave it to me, for this case and most where it has to be set, I feel a little unsure, since it is not one of my most developed skills within the practical knowledge of jewelry, but I still have the ability to carry out at least this type of project and be happy with the result.
For this post I will narrate more or less how I made the piece without giving details of measurement and other information, basically because I was making and solving according to the materials I had on hand on my table, in addition to the fact that while I make this piece I make others and I It took several days; I will still give you a list of elements used to make this piece:
- Strap, thread and silver foil.
- Jewelry tweezers, round, flat and pick
- Saw bow and saws 2/0
- Silver soldering
- 3m 220, 360 and 400 sandpaper, as well as files.
- Acid for stripping parts
- Borax as a flux, blowtorch.
- Bench motor
- Polishing wax for jewelry and cotton pads or mop to shine.
PROCESS
This is the view of the glass in my hand so you can appreciate the size.
I shaped the silver strap very carefully with the jewelry pliers and then tried to cut it to size to solder later. In this step I had to put it under fire with the blowtorch to soften the silver and be able to shape it better and then make the cut with the saw.
I soldered and molded a little so that the glass would fit into the silver rhombus, since when fire is applied the silver structure tends to deform a little and an adjustment must be made for the glass to fit.
There in the image you can see the 4 claws that I welded to the rhombus, their function will be to hold the glass. To solder I did it one by one, using silver solder, borax as a flux and applying fire with the blowtorch, I helped myself with tweezers that are to hold the piece while it is soldered.
The image shows that there is progress, but there is still work to do. I then put it in the acid to remove the charring that was left on the silver after the soldering activity.
I welded a ring that will be used to place the pin of the chain or necklace.
Here you can see how the glass fits into our structure.
In theory we already have the silver base assembled where we will set the crystal.
Another view of the glass from the back.
With patience and flat tweezers, I closed the claws to adjust the glass, before cutting and filing the tips of the claws for a better finish.
I wanted to avoid risk, so I cut the pin and opened a hole where I could pass a silver wire and thus not solder. I made a ball out of this wire with the blowtorch. I doubled the pin with a round tweezer.
This is the final result after sanding and polishing, I did this last process with the bench motor and mops or cotton cloth discs with a little polishing wax.
I hope you liked the result as much as I did.
If you want to see my jewelry work and follow me go to:
https://www.instagram.com/m16ueljoyas
THANK YOU!
Hermosísimo amigo , exitos!
Gracias 🫂
Increíble trabajo, el cristal es muy lindo, me recordó a una suerte de "piedra filosofal" estaría increíble ver el proceso de tu trabajo en video. Debió ser bastante ardió. Éxitos.
Hola es complicado que grabé porque ando siempre de corrida. Pero pronto cuando baje el ritmo de.trabajo
Any client would be delighted with this result. It looks really well made.
Este trabajo es súper hermoso, muy elegante✨
Gracias si debería hacer más pero esos cristales grandes no se consiguen