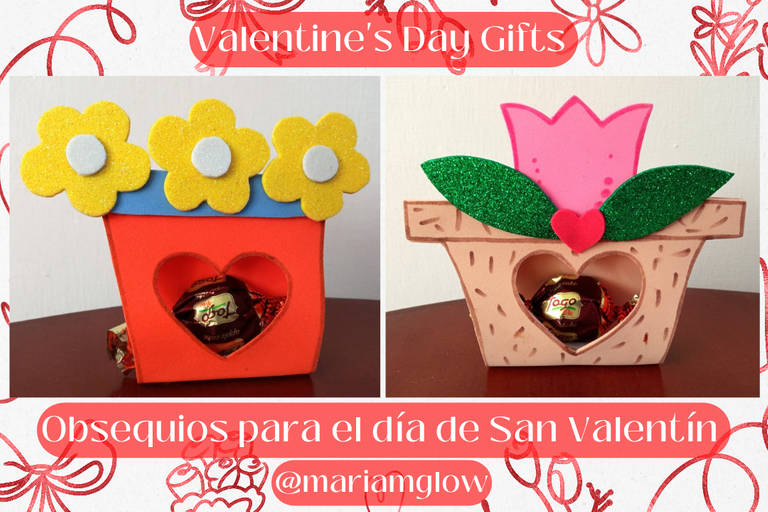
Holaaa chicosss!! Espero que estén pasando un lindo martes!! Para mi primer post en esta comunidad quise hacer estos lindos obsequios para dar a un ser querido el día de San Valentín. Ya se está acercando esa ocasión y quiero seguir mostrándoles diferentes opciones para realizar nosotros mismos los regalos que queremos ofrecer. En esta oportunidad se trata de unas pequeñas macetas y flores elaboradas con foami (goma EVA). Sinceramente me gustó mucho el resultado, espero que a ustedes también. A continuación les indicaré los materiales que usé y el paso a paso:
Hellooo guysss! I hope you are having a nice Tuesday!!! For my first post in this community I wanted to make these cute gifts to give to a loved one on Valentine's Day. The occasion is getting closer and I want to continue showing you different options to make the gifts we want to offer ourselves. This time they are small flower pots and flowers made with foami (EVA rubber). Sincerely I really liked the result, I hope you do too. Below I will tell you the materials I used and the step by step:
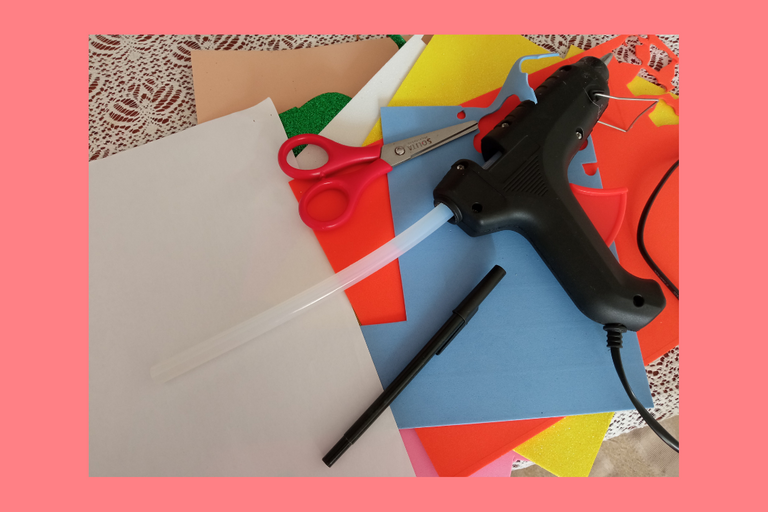
📌 Materiales:
- Foami (goma EVA), colores: naranja, marfil, rosado, rojo, azul.
- Foami escarchado, colores: verde, amarillo, blanco.
- Tijera.
- Silicón.
- Lápiz o bolígrafo.
- Papel.
- Marcadores, colores: marrón y rosado.
- Regla.
- Dulces.
📌 Materials:
- Foami (EVA rubber), colors: orange, ivory, pink, red, blue.
- Frosted Foami, colors: green, yellow, white.
- Scissors.
- Silicone.
- Pencil or pen.
- Paper.
- Markers, colors: brown and pink.
- Ruler.
- Candy.
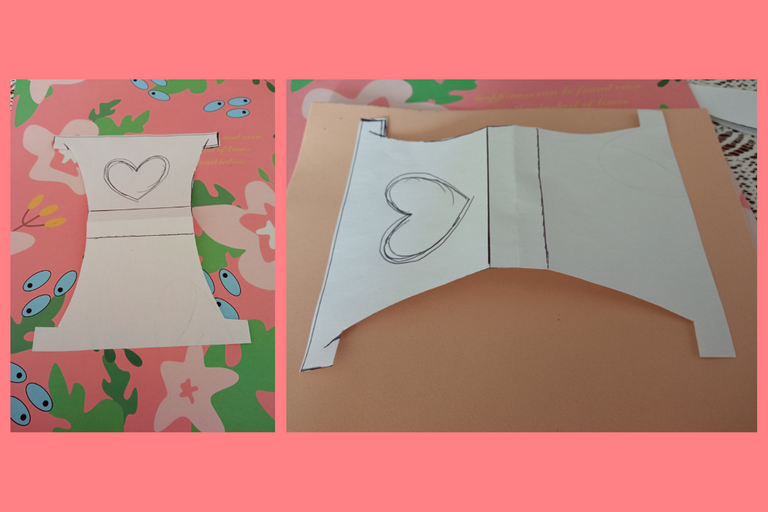
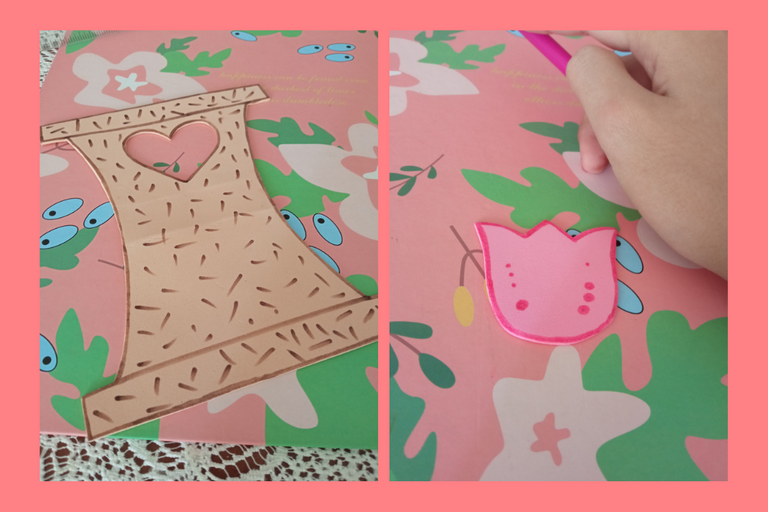
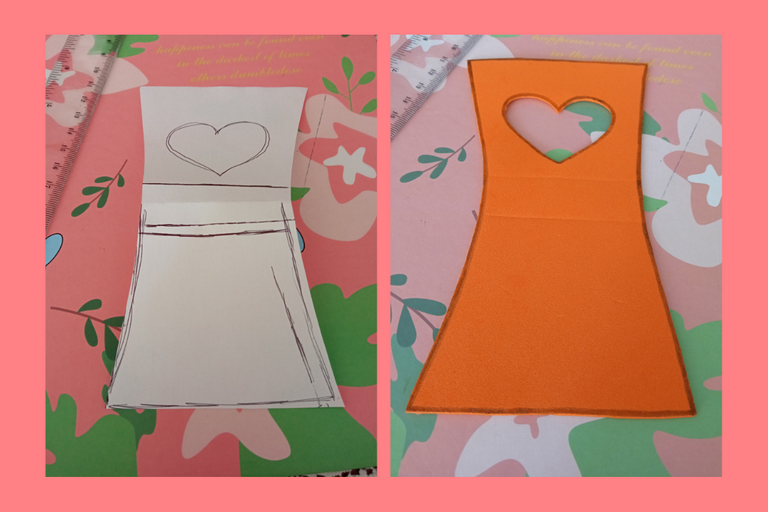
Primero, realicé el patrón de la primera macetita, podemos hacer las dos usando el mismo, no hay ningún problema. Y luego lo marcamos con un lápiz en el foami.
First, I made the pattern of the first flowerpot, we can make both using the same one, there is no problem. And then we mark it with a pencil on the foami.
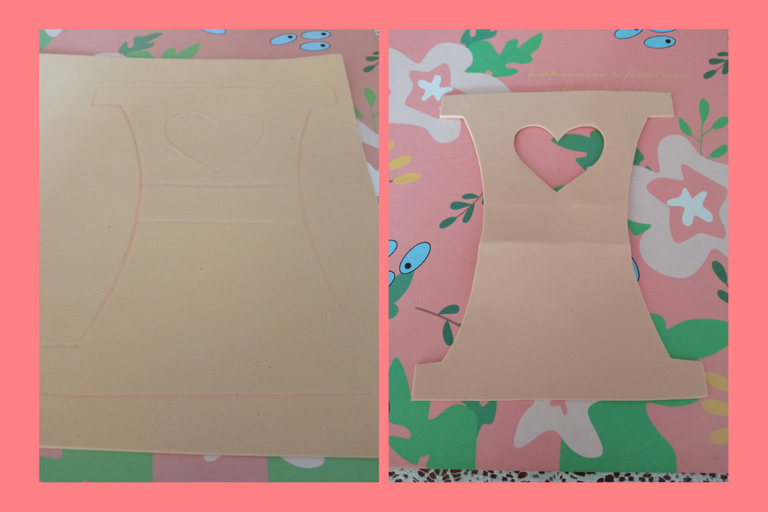
Luego de marcar, cortamos.
After marking, we cut.
Después realizamos el patrón de un tulipán en papel y lo marcamos en el foami rosado.
Then we make the pattern of a tulip on paper and mark it on the pink foami.
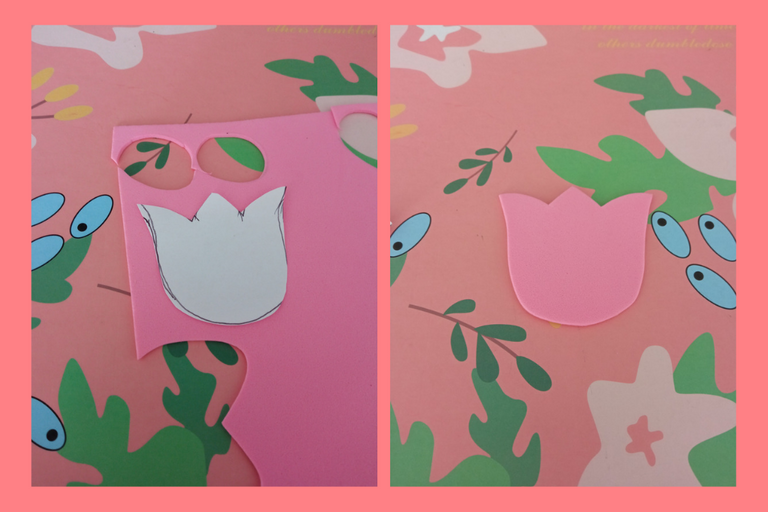
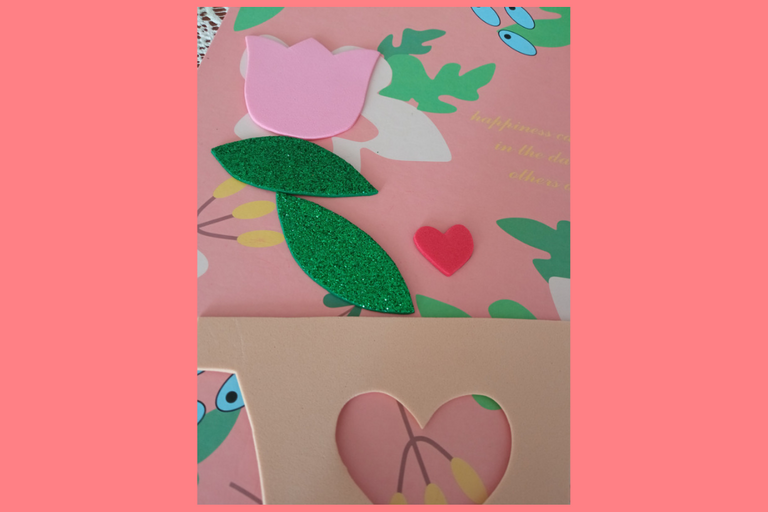
Cortamos dos hojitas usando el foami verde escarchado, y un corazón de foami rojo.
We cut two little leaves using the frosted green foami, and a red foami heart.
Con el marcador marrón realizamos varios detalles en la pieza principal, y con el marcador rosado dibujamos el tulipán.
With the brown marker we made several details on the main piece, and with the pink marker we drew the tulip.
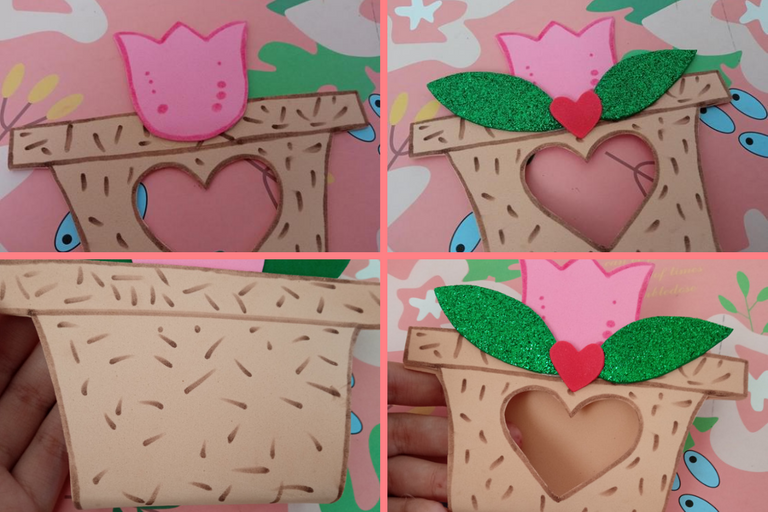
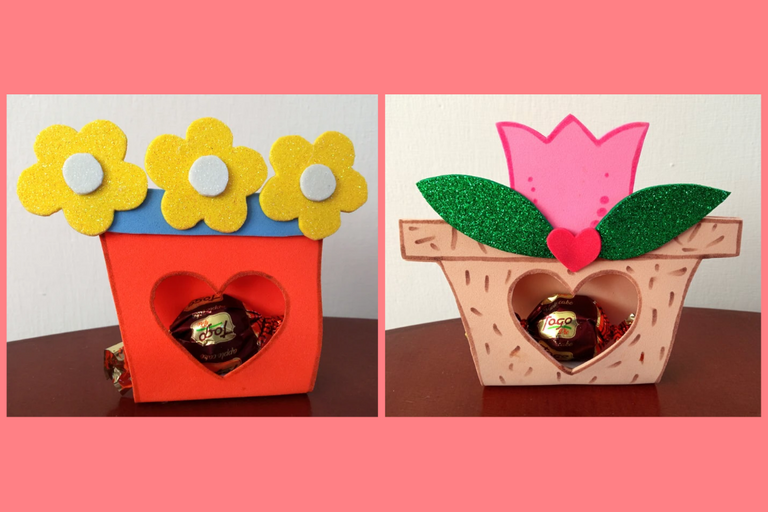
Primero pegamos el tulipán en la parte en la que está el corazón. También pegamos las dos hojitas y el corazón. Después procedemos a pegar la otra pestaña hacia la parte de atrás, quedaría como se ve en la imagen.
First we glue the tulip on the part where the heart is. We also glue the two leaves and the heart. Then we proceed to glue the other tab to the back, as shown in the picture.
Para hacer el otro modelo de obsequio podemos usar el mismo patrón como lo dije anteriormente, pero en mi caso yo hice otro, y lo marqué en el foami color naranja. Y dibujé la silueta con el marcador marrón.
To make the other gift model we can use the same pattern as I said before, but in my case I made another one, and I marked it on the orange foami. And I drew the silhouette with the brown marker.
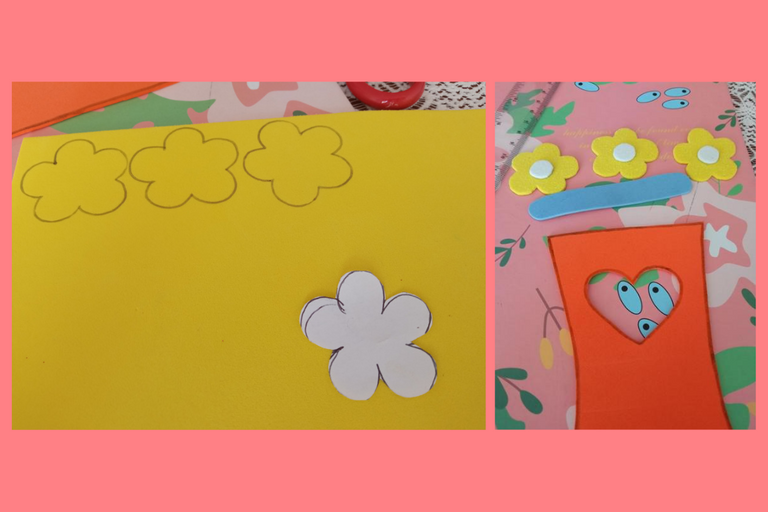
Marcamos las florecitas en el foami amarillo escarchado y cortamos junto con tres círculos de color blanco. También cortamos una pieza de color azul.
We marked the little flowers on the frosted yellow foami and cut them together with three white circles. We also cut a blue piece.
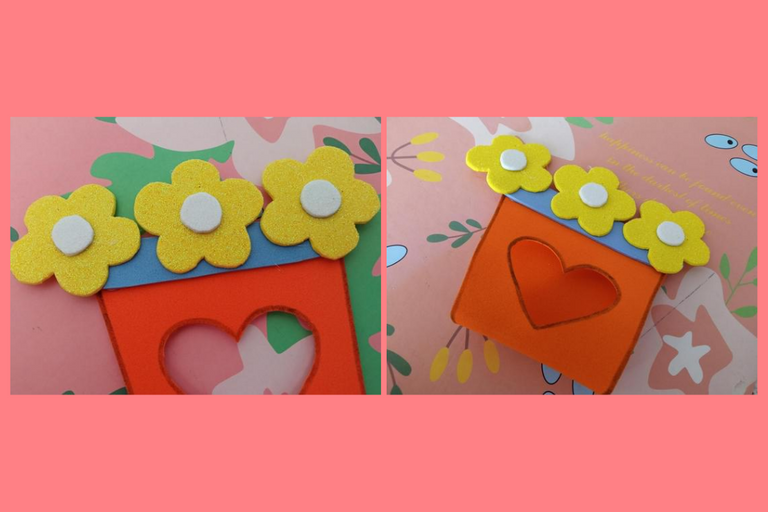
Pegamos la pieza azul primero, luego las florecitas y luego la otra pestaña de la maceta. Y así quedaría.
Glue the blue piece first, then the flowers and then the other flange of the flowerpot. And that's how it would look like.
Le colocamos las golosinas que queramos y están listos para ser entregados a una bonita persona💘. Espero que les haya gustado mucho este post chicosss, gracias por leer, hasta una próxima oportunidad!!🏹🌷
We put the candies we want and they are ready to be given to a nice person💘. I hope you liked this post a lot guysss, thanks for reading, until next time!!🏹🌷
Todas las imágenes son de mi autoría @mariamglow, tomadas con mi teléfono Redmi 9, editadas en Canva, texto traducido en DeepL.
All images authored by me @mariamglow, taken with my Redmi 9 phone, edited in Canva, text translated at DeepL.

The rewards earned on this comment will go directly to the people( @mariamglow ) sharing the post on Twitter as long as they are registered with @poshtoken. Sign up at https://hiveposh.com.
Thank you for sharing this post in the DIYHUB Community!
Your content got selected by our fellow curator sharminmim & you just received a little thank you upvote from us for your great work! Your post will be featured in one of our recurring compilations which are aiming to offer you a stage to widen your audience within the DIY scene of Hive. Stay creative & HIVE ON!
Please vote for our hive witness <3
Hola @marianglow, que idea tan original para obsequiar golosinas, las dos están hermosas , mu favorita la del Tulipán con doble golosina por favor ,jajaja
Bendiciones!
Holaaa, mi favorita también es la del tulipán🌷. Me alegra que te haya gustado mi post amiga. Muchas gracias por leer y comentar!!🌷🌷