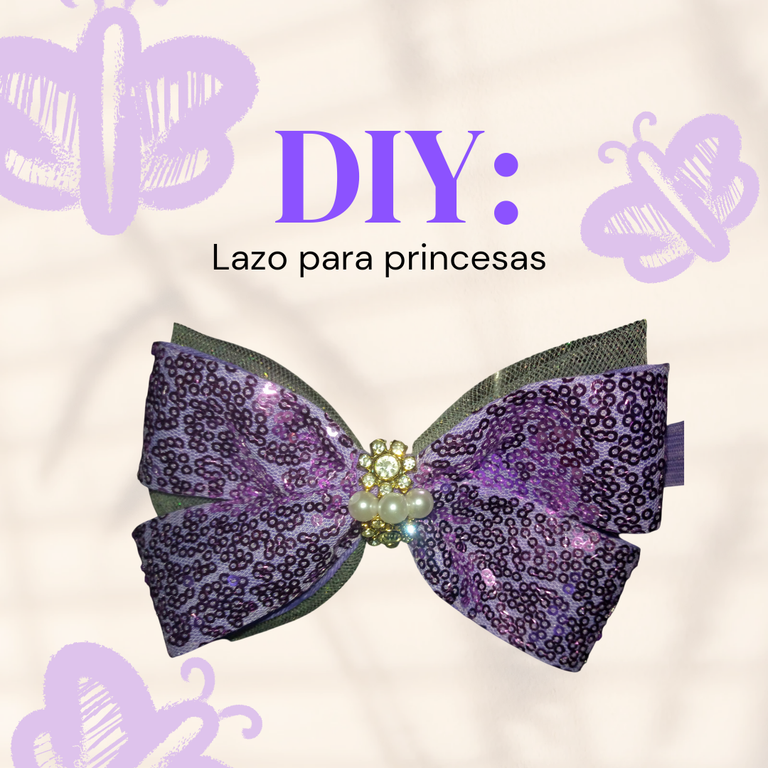

Hola hola, gente bonita de Hive! Paso por acá para mostrarles otro súper sencillo tutorial de un alzo para princesas, ideal para un regalo especial.
Hello hello, beautiful people of Hive! I'm here to show you another super simple tutorial for a princess bow, perfect for a special gift.
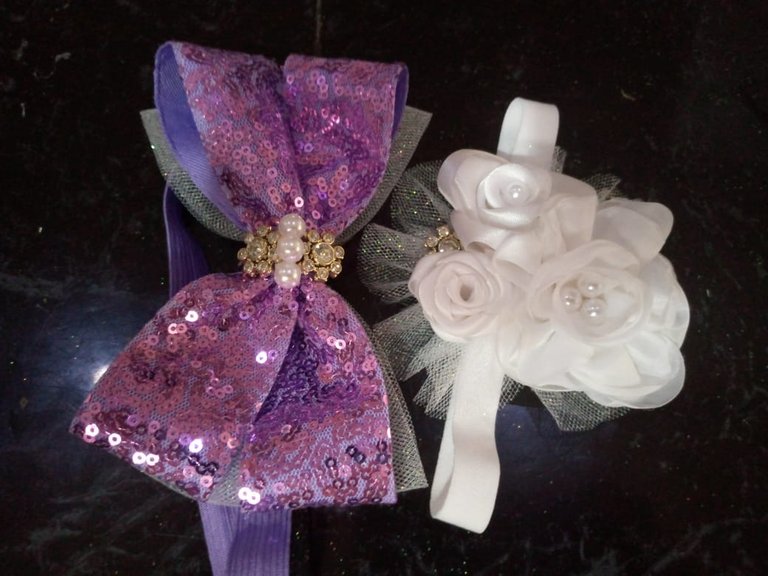
Desde pequeña he trabajado, porque soy bastante ambiciosa y me gusta tener mis cosas propias. Y recuerdo que empecé a hacer este tipo de diademas y tuvieron bastante receptividad. Hacía muchas flores con telas brillantes, después les muestro un poco de ese proceso, si te gustan las manualidades, está es una buena idea de emprendimiento.
I have worked since I was little, because I am quite ambitious and I like to have my own things. And I remember I started making these kinds of headbands and they were pretty well received. I used to make a lot of flowers with shiny fabrics. I will show you a little bit of that process later. If you like crafts, this is a good business idea.
Sin nada más que aportar, empecemos con el tutorial.
Without anything else to add, let's get started with the tutorial.

Materiales: || Materials:

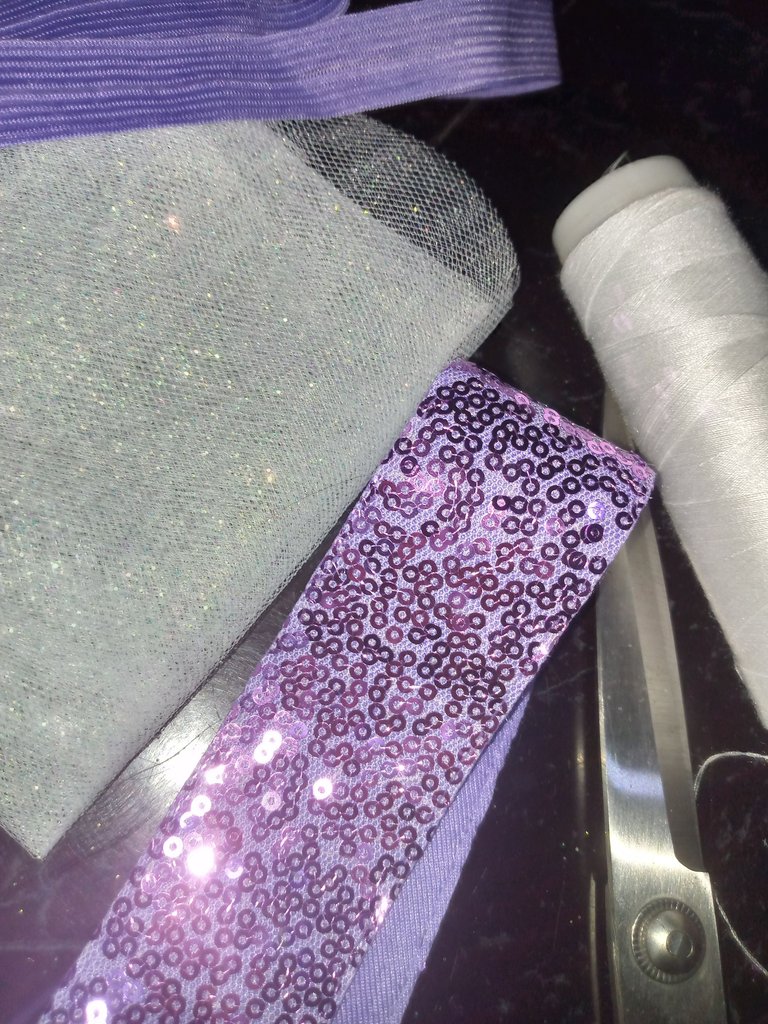
✓Cinta de lentejuelas
✓Tull de novia (tiene como destellos)
✓Tijeras
✓silicon caliente
✓Encendedor
✓ Perlas y decoraciones
✓Sequin ribbon
✓Bridal tulle (it has sparkles)
✓Scissors
✓Hot glue
✓Lighter
✓Pearls and decorations

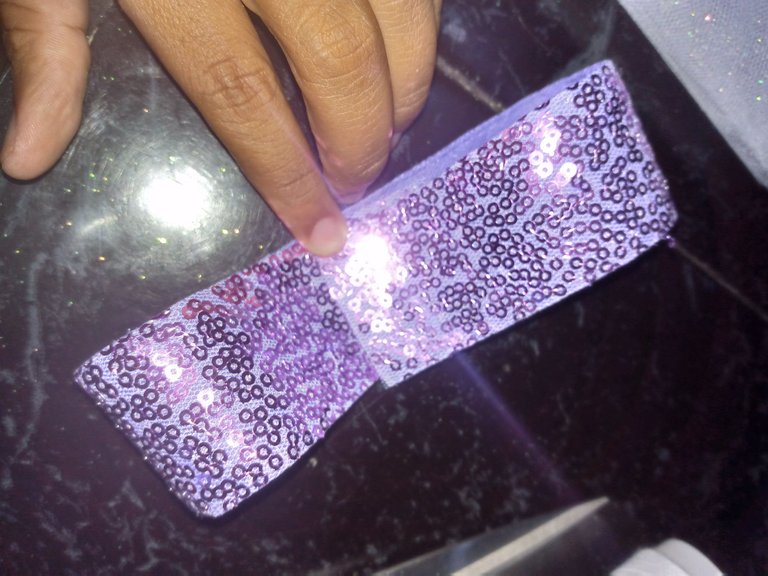
1: Tomé un trozo de cinta de 25cm y lo doblo justo a la mitad.
1: I took a 25cm piece of ribbon and folded it right in half.
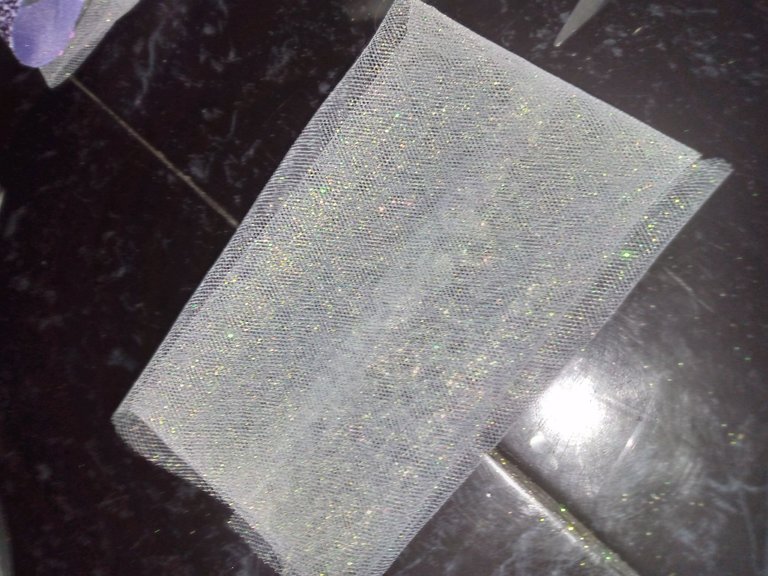
2: De tull tomé un tro de 30cm de largo y 20 de ancho, doble las puntas arriba y abajo hacia el centro, y luego a la mitad del largo. De esta forma:
2: I took a piece of tulle 30cm long and 20cm wide, folded the ends up and down towards the centre, and then halfway along the length. Like this:
3: con hilo y aguja fruncí justo en el centro ambas piezas.
3: Using thread and needle, I gathered both pieces right in the center.
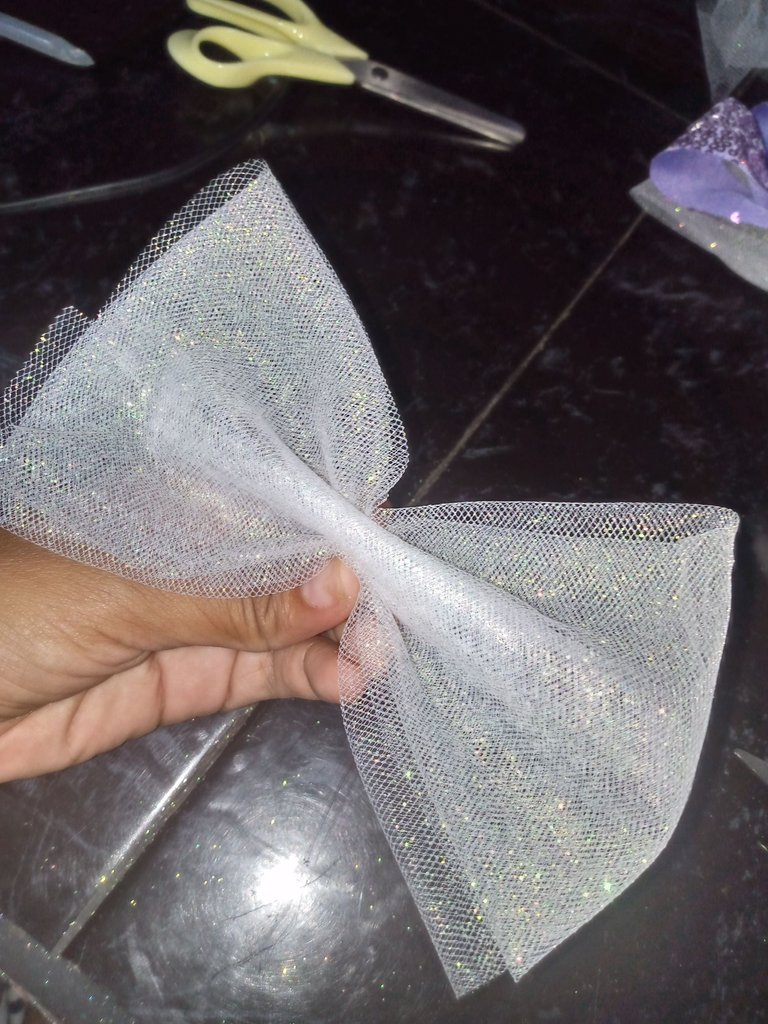
4: Ahora uni ambas piezas con silicón caliente.
4: Now I joined both pieces with hot silicone.
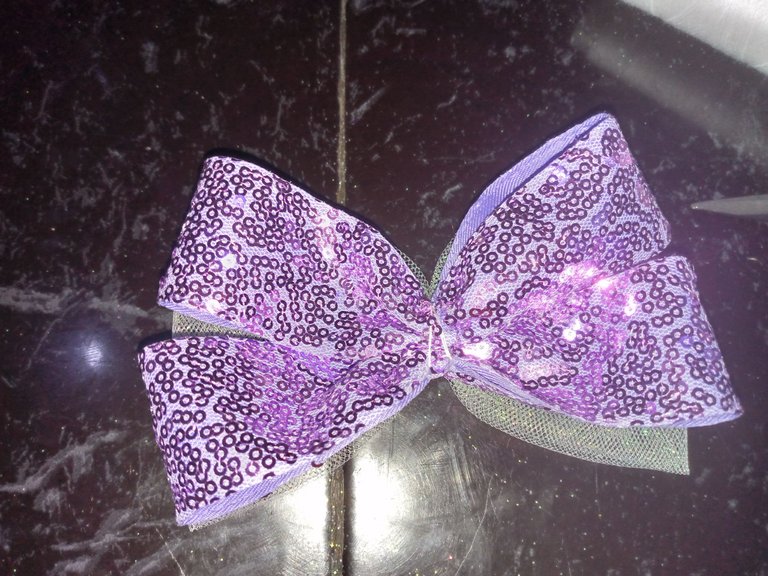
5: le coloqué un fajo de cinta elástica justo en el centro y luego le puse algunas decoraciones.
5: I placed a bundle of elastic ribbon right in the center and then added some decorations.
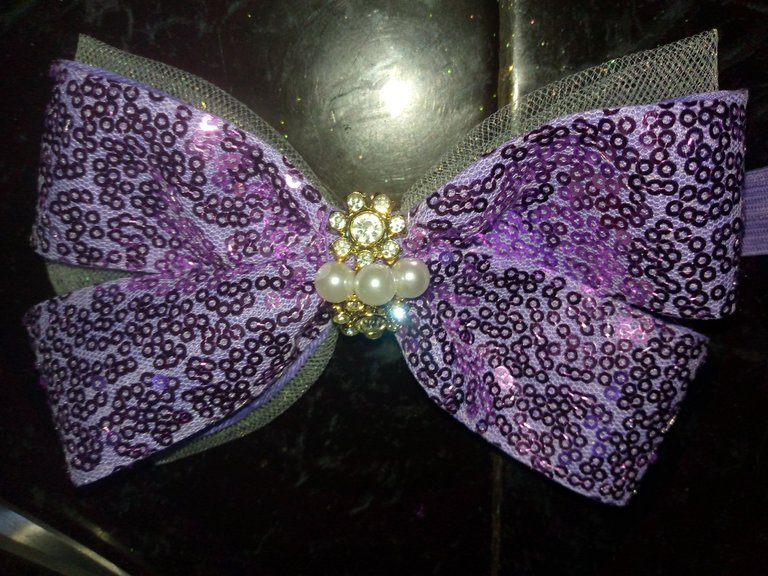
Y así quedó de bonito:
And this is how it turned out beautifully:


Such a cute and lovely little bow. It looks easy to make too. Thank you for sharing.
muy bello y creativo, quedo hermoso y el color
very beautiful and creative, it was beautiful and the color
Gracias por leerme! Abrazo❤️